Fixing kitchen cabinets to dot and dab walls can seem like a daunting task, but with the right tools and techniques, it can be a simple and straightforward process. Whether you're looking to update your kitchen or just need to secure your cabinets to the wall, we've got you covered with our step-by-step guide. Read on to learn how to fix kitchen cabinets to dot and dab walls like a pro.How to Fix Kitchen Cabinets to Dot and Dab Walls


How to Fix Kitchen Cabinets to Dot and Dab Walls
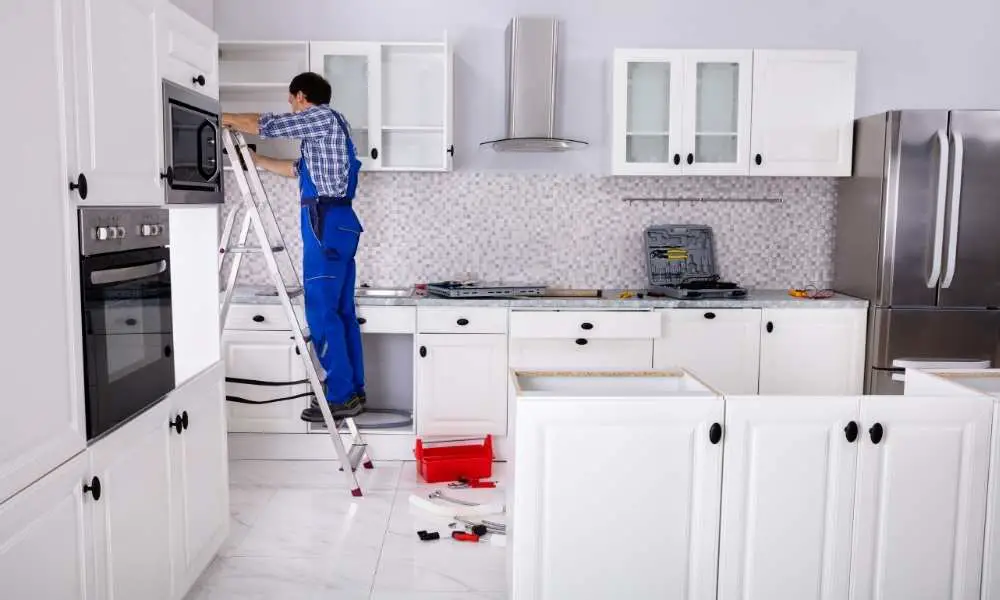


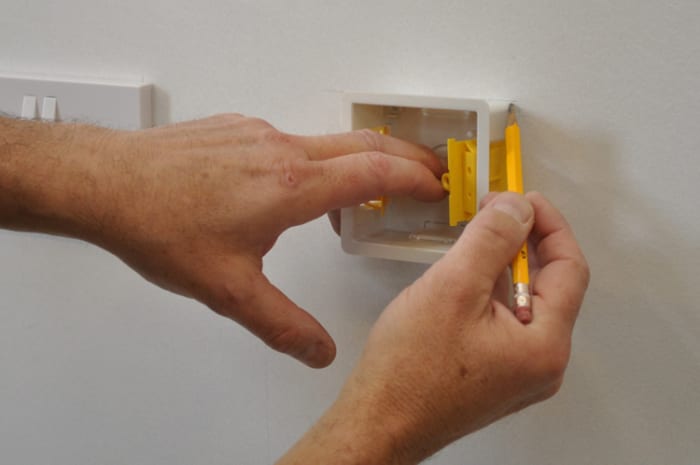
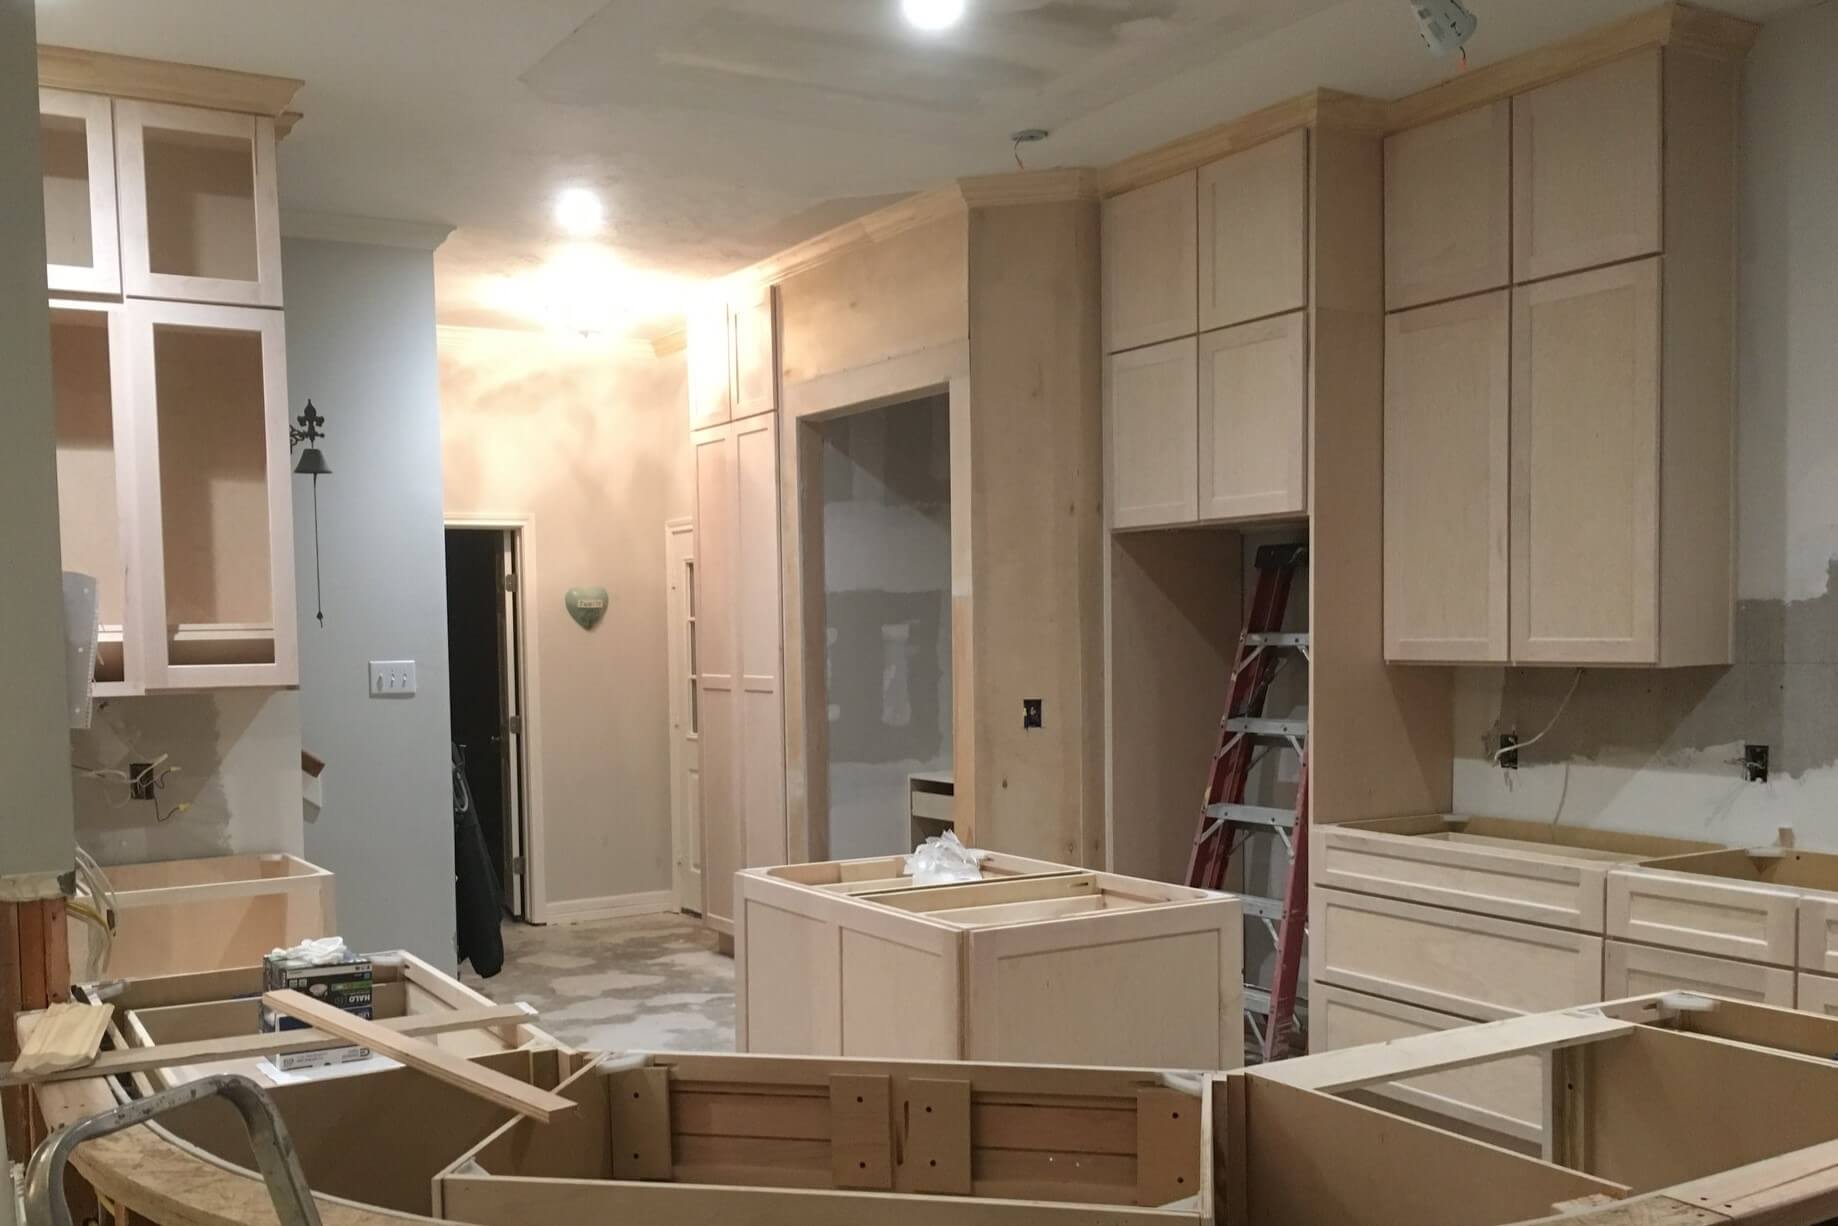
The first step in fixing kitchen cabinets to dot and dab walls is to gather all the necessary materials. You will need a drill, screws, a stud finder, a level, and a pencil. It's also helpful to have a helper to assist you with holding the cabinets in place while you secure them to the wall. Start by positioning your cabinets where you want them on the wall. Use the level to ensure they are straight and mark the placement of the cabinets with a pencil. Next, use the stud finder to locate the studs in the wall. This is crucial for securing the cabinets properly. Once you have located the studs, drill pilot holes into the back of the cabinets where you marked the placement. Make sure the drill bit is slightly smaller than the screws you will be using. This will help prevent the wood from splitting. Next, have your helper hold the cabinets in place while you secure them to the wall. Use your drill to drive the screws through the pilot holes and into the studs. Make sure the cabinets are level and securely attached to the wall. Repeat this process for each cabinet, making sure to check the level and secure them to the studs. Once all the cabinets are attached, you can add the doors and hardware to finish the installation.Fixing Kitchen Cabinets to Dot and Dab Walls: A Step-by-Step Guide


Fixing Kitchen Cabinets to Dot and Dab Walls: A Step-by-Step Guide


Securing kitchen cabinets to dot and dab walls can be a cost-effective and satisfying DIY project. It's important to have the right tools and materials on hand and to follow the proper steps for a successful installation. By doing it yourself, you can save money and create a custom look that fits your kitchen perfectly. Follow the steps outlined above for fixing kitchen cabinets to dot and dab walls. Remember to use a stud finder to locate the studs and drill pilot holes before securing the cabinets to the wall. Take your time and double-check the level before drilling in the screws. With a little patience and attention to detail, you can achieve professional-looking results.DIY: How to Secure Kitchen Cabinets to Dot and Dab Walls


DIY: How to Secure Kitchen Cabinets to Dot and Dab Walls


Installing kitchen cabinets on dot and dab walls can be tricky, but these top tips will help make the process easier and more successful. 1. Use a level to ensure the cabinets are straight and even. 2. Double-check the placement of the cabinets before drilling any holes. 3. Always secure the cabinets to the wall studs for maximum stability. 4. Use a helper to hold the cabinets in place while you secure them to the wall. 5. Take your time and don't rush the installation process. 6. Use high-quality screws and drill bits to prevent wood splitting. 7. Make sure the cabinets are securely attached to the wall before adding doors and hardware. By following these tips, you can ensure a successful and secure installation of your kitchen cabinets on dot and dab walls.Top Tips for Installing Kitchen Cabinets on Dot and Dab Walls


Top Tips for Installing Kitchen Cabinets on Dot and Dab Walls


While fixing kitchen cabinets to dot and dab walls is a relatively simple process, there are some common mistakes that can lead to issues down the line. Avoid these mistakes to ensure a successful and long-lasting installation. 1. Not using a level to ensure the cabinets are straight and even. 2. Failing to locate and secure the cabinets to the wall studs. 3. Using incorrect screws or drill bits, resulting in wood splitting. 4. Rushing the installation process and not double-checking the placement and level of the cabinets. By avoiding these mistakes, you can ensure a secure and professional-looking installation of your kitchen cabinets on dot and dab walls.Fixing Kitchen Cabinets to Dot and Dab Walls: Common Mistakes to Avoid


Fixing Kitchen Cabinets to Dot and Dab Walls: Common Mistakes to Avoid

Before you begin fixing kitchen cabinets to dot and dab walls, make sure you have all the necessary tools and materials on hand. Here's a list of what you'll need: - Drill - Screws - Stud finder - Level - Pencil - Helper By having all of these items ready, you can ensure a smooth and efficient installation process.Tools and Materials Needed for Fixing Kitchen Cabinets to Dot and Dab Walls

Tools and Materials Needed for Fixing Kitchen Cabinets to Dot and Dab Walls


Securing kitchen cabinets to dot and dab walls requires attaching them to the wall studs for maximum stability. Finding the studs can be tricky, but with the right tools, it can be a simple process. Here's how to find studs in dot and dab walls: 1. Use a stud finder to locate the studs. Move the stud finder along the wall until it beeps or lights up, indicating a stud. 2. Once you have located a stud, measure 16 inches from that point to find the next stud. This is the standard spacing for studs in most homes. 3. Repeat this process along the wall where you will be securing the cabinets. By following these steps, you can easily find the studs and ensure a secure installation of your kitchen cabinets on dot and dab walls.How to Find Studs in Dot and Dab Walls for Securing Kitchen Cabinets


How to Find Studs in Dot and Dab Walls for Securing Kitchen Cabinets


:max_bytes(150000):strip_icc()/ExposedWallStuds-a63fcebbc3414a23918706ee2b45cc72.jpg)
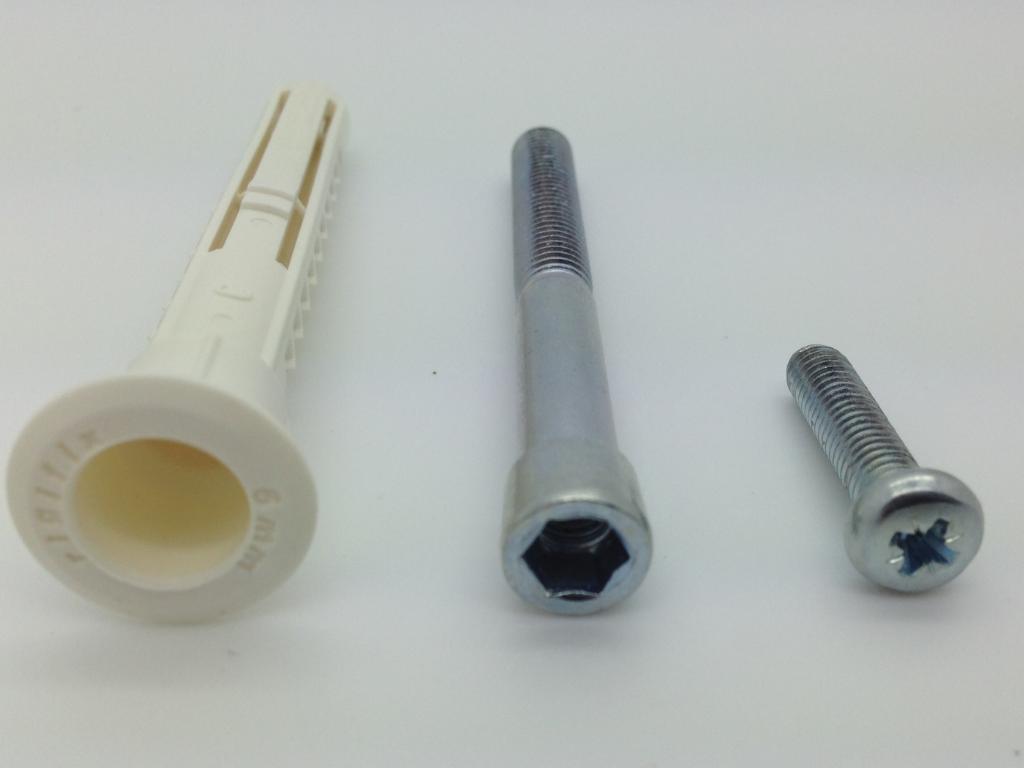
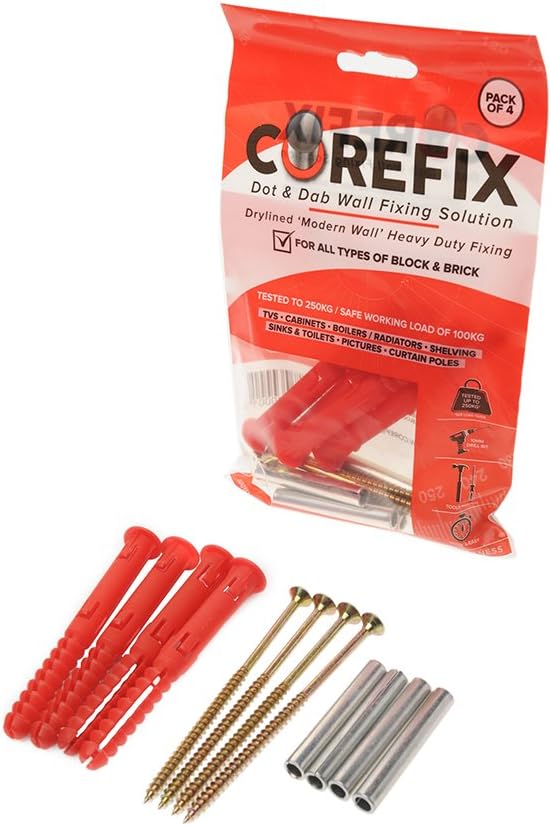
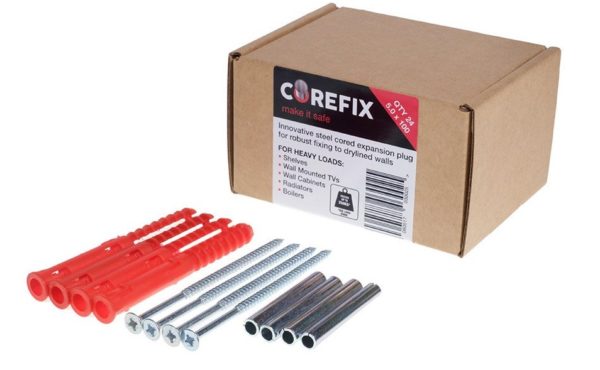
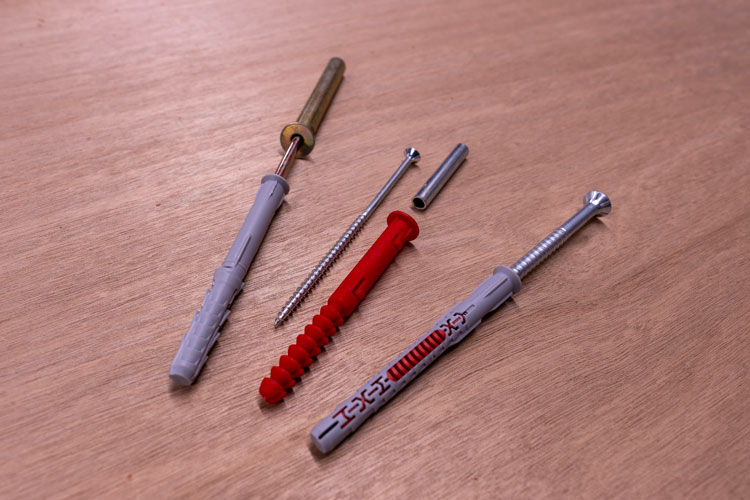
While the method described above is the most common and effective way to secure kitchen cabinets to dot and dab walls, there are some alternative methods you can try. - Using adhesive: Some people choose to use a strong adhesive in addition to screws to secure the cabinets to the wall. This can provide extra stability, but it's important to make sure the adhesive is compatible with your wall material. - Wall anchors: If you are unable to find studs in your dot and dab walls, you can use wall anchors to secure the cabinets. However, this method may not provide as much stability as securing the cabinets to studs. Always use caution and consult a professional if you are unsure about using alternative methods for fixing kitchen cabinets to dot and dab walls.Alternative Methods for Fixing Kitchen Cabinets to Dot and Dab Walls


Alternative Methods for Fixing Kitchen Cabinets to Dot and Dab Walls


When it comes to fixing kitchen cabinets to dot and dab walls, it's always helpful to seek advice from experts in the field. Here are some best practices recommended by professionals: 1. Use a stud finder to locate the studs and always secure the cabinets to them for maximum stability. 2. Double-check the placement and level of the cabinets before drilling any holes. 3. Take your time and make sure the cabinets are securely attached to the wall before adding doors and hardware. 4. Use high-quality screws and drill bits to prevent wood splitting. By following these best practices, you can ensure a successful and secure installation of your kitchen cabinets on dot and dab walls.Expert Advice: Best Practices for Fixing Kitchen Cabinets to Dot and Dab Walls


Expert Advice: Best Practices for Fixing Kitchen Cabinets to Dot and Dab Walls


If you prefer visual instructions, there are many helpful video tutorials available online that can guide you through the process of fixing kitchen cabinets to dot and dab walls. These tutorials can provide a step-by-step demonstration and helpful tips for a successful installation. By following the advice and techniques outlined in this article, you can confidently fix kitchen cabinets to dot and dab walls in your own home. With the right tools and patience, you can achieve a professional-looking installation that will last for years to come.Video Tutorial: How to Fix Kitchen Cabinets to Dot and Dab Walls

Video Tutorial: How to Fix Kitchen Cabinets to Dot and Dab Walls
Why Dot and Dab Walls are a Popular Choice for Kitchen Cabinet Installation

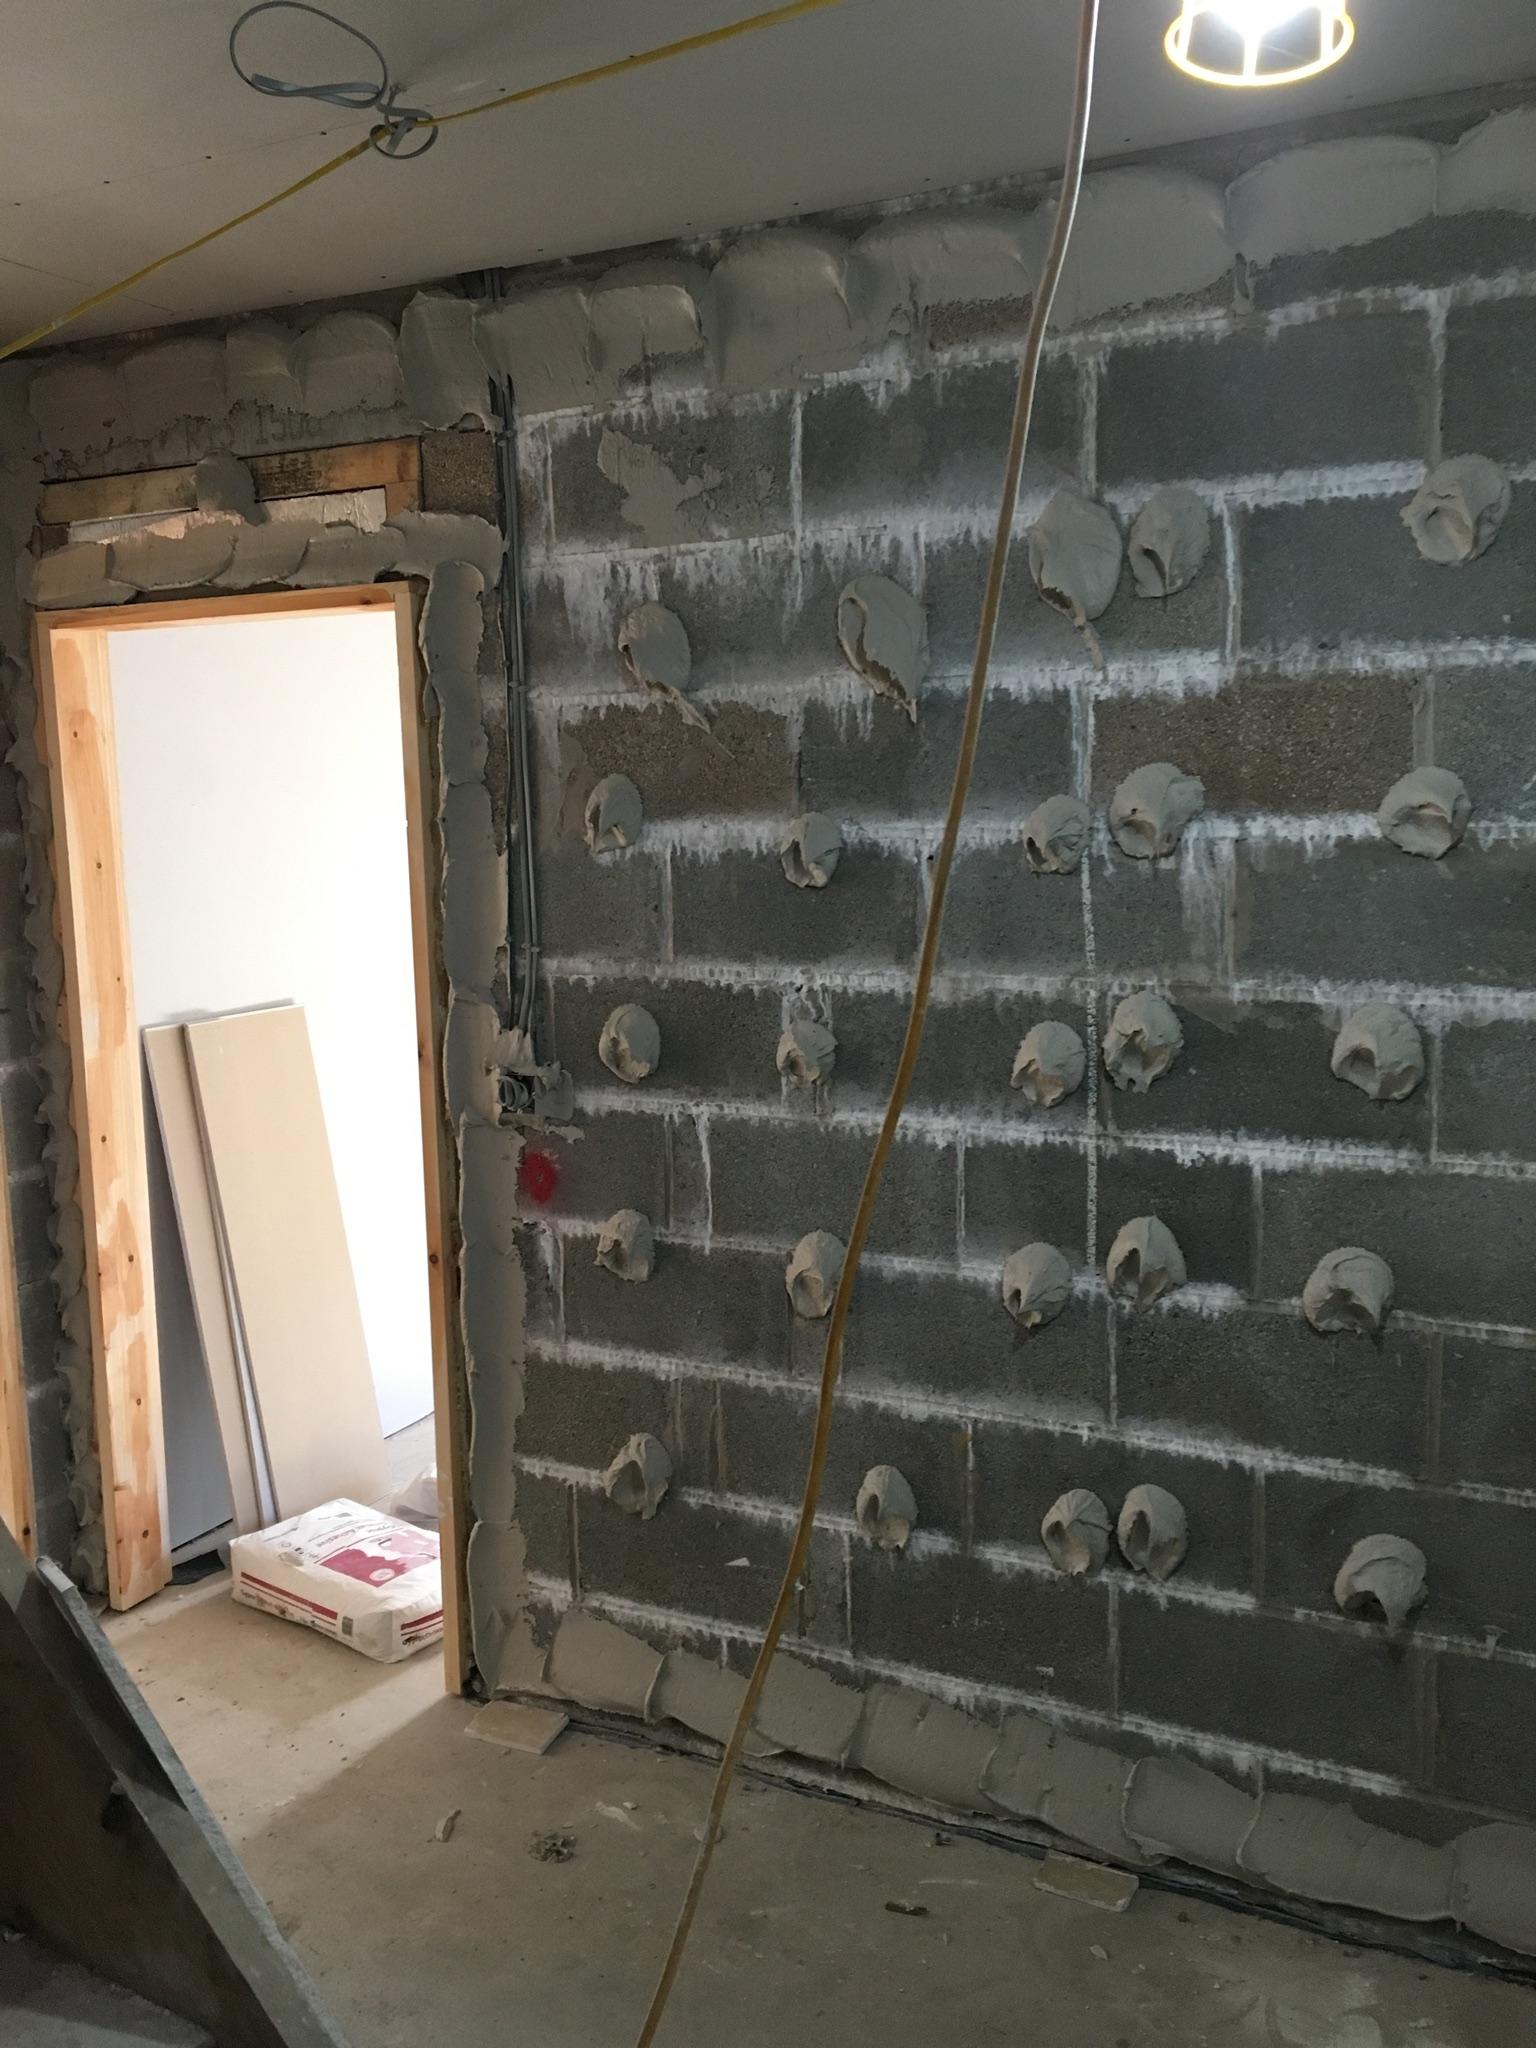
What are Dot and Dab Walls?
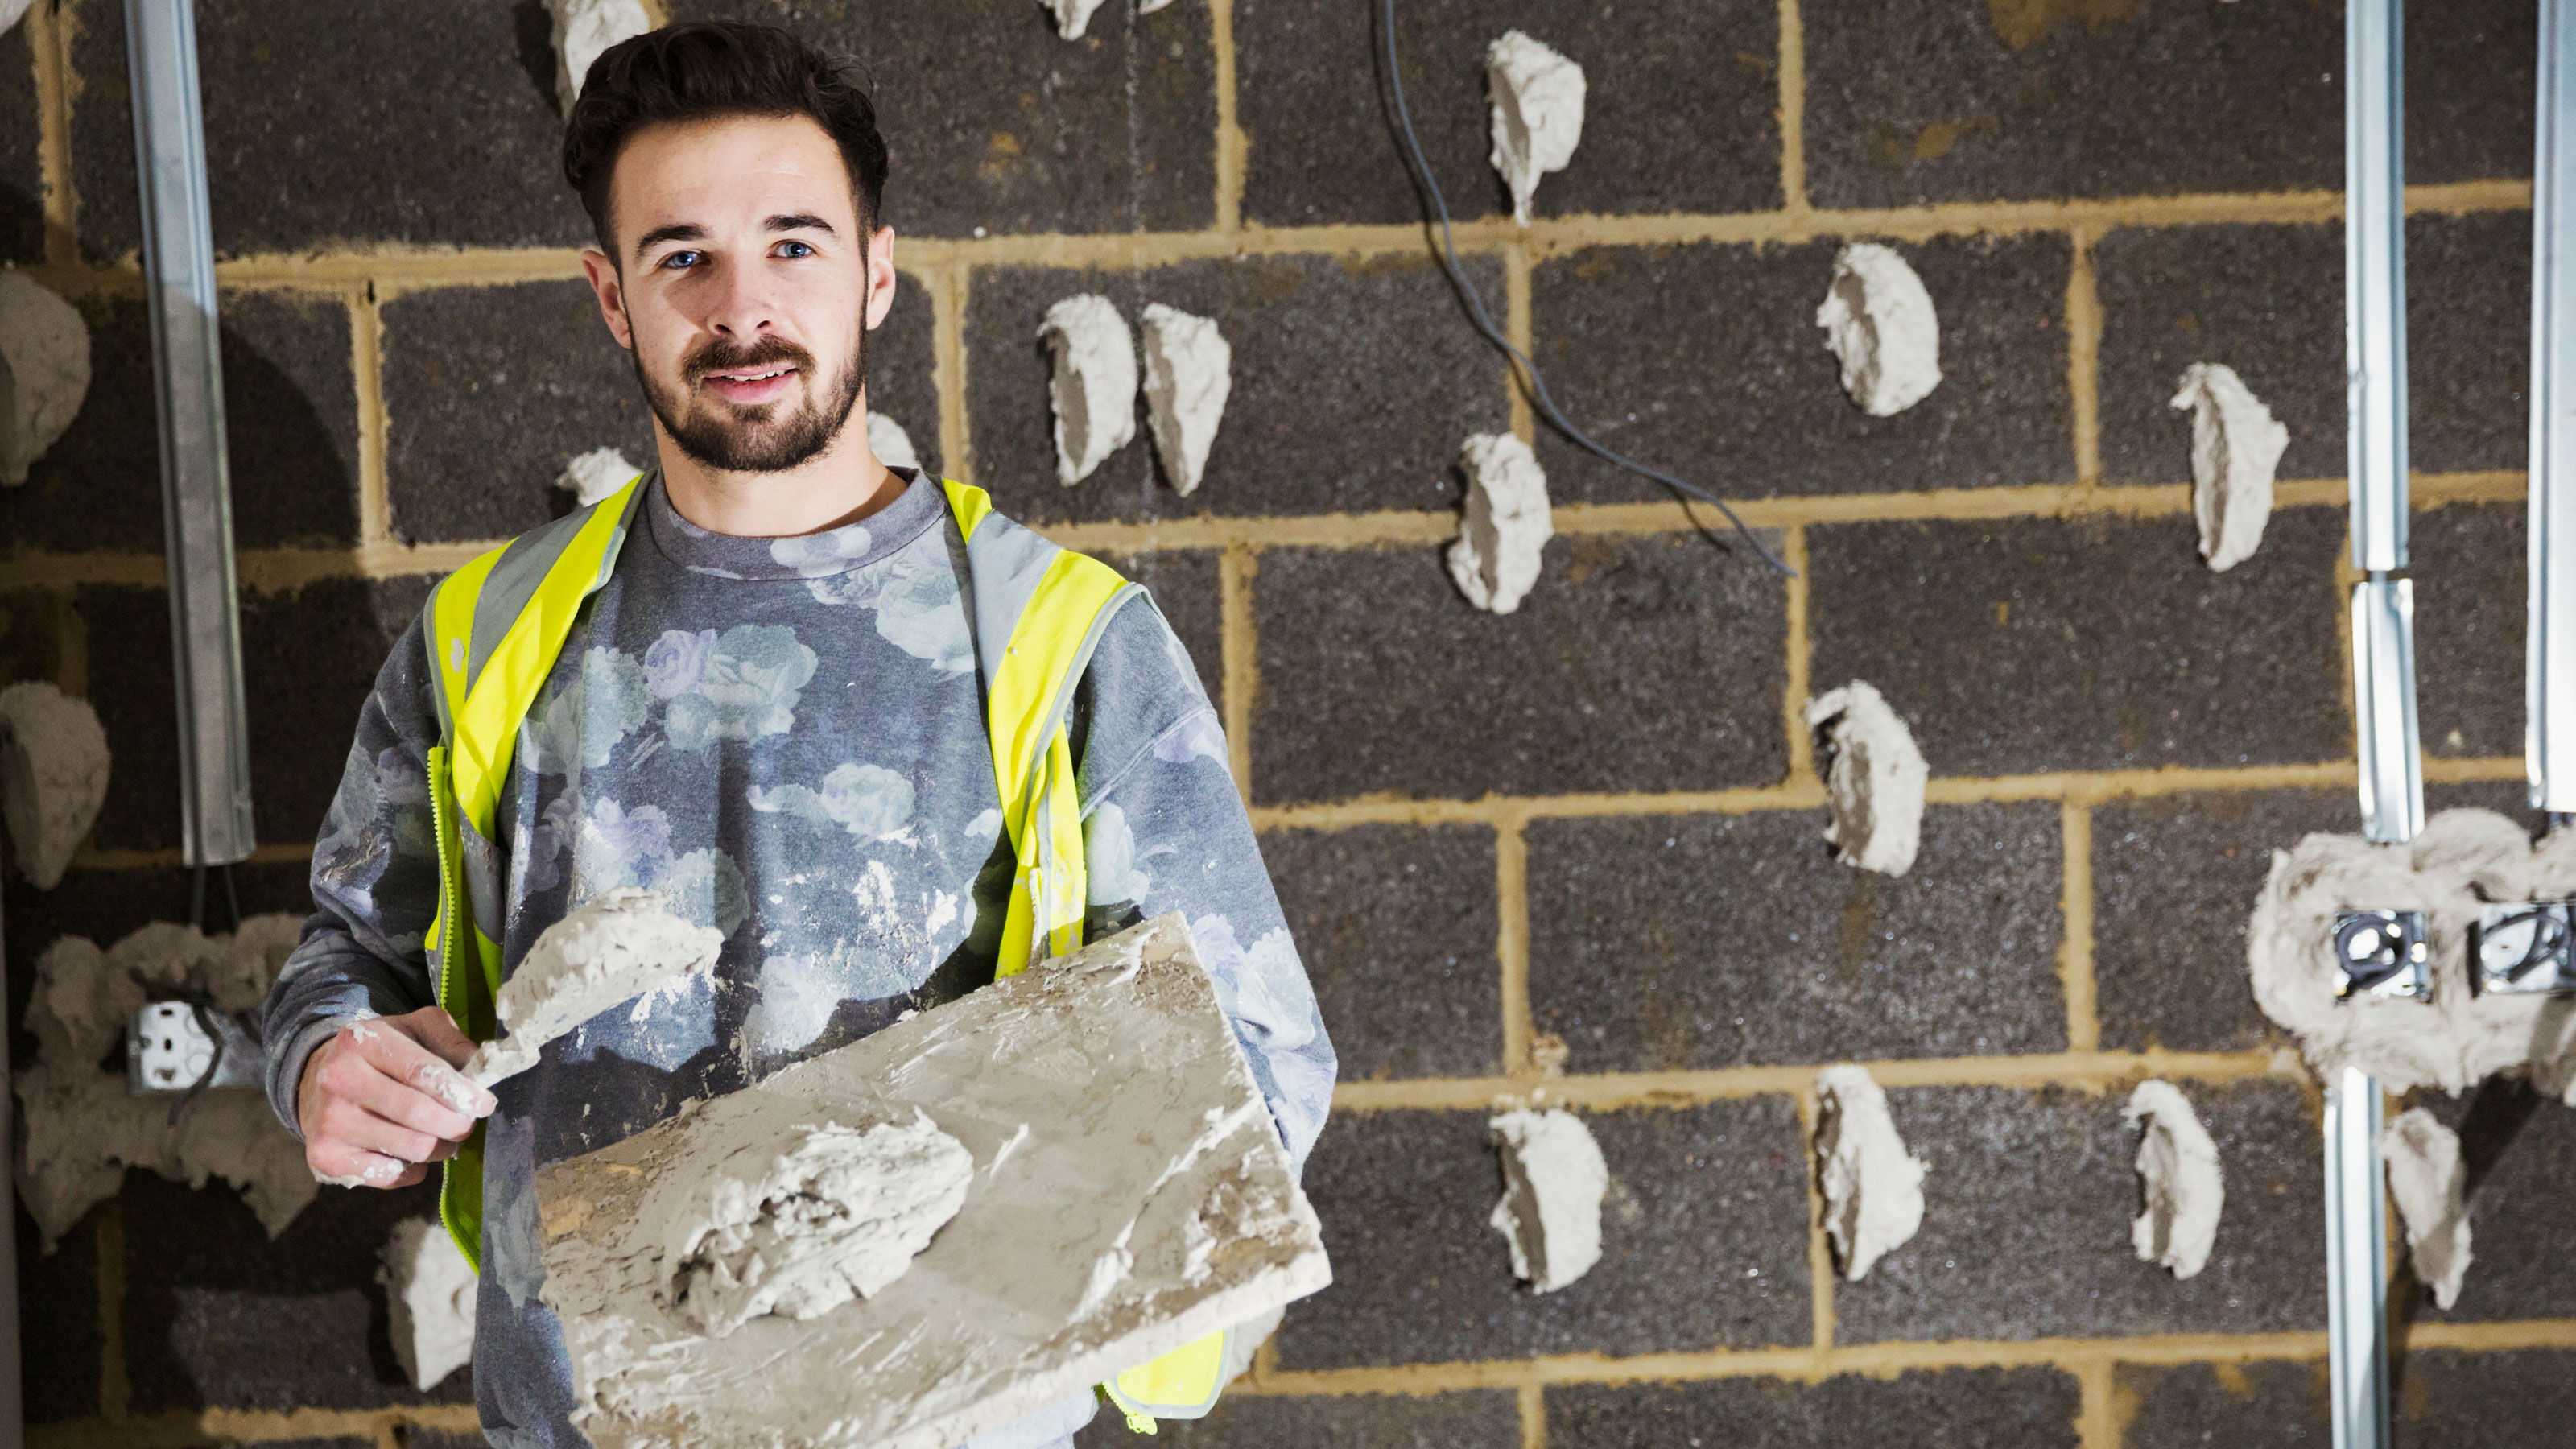
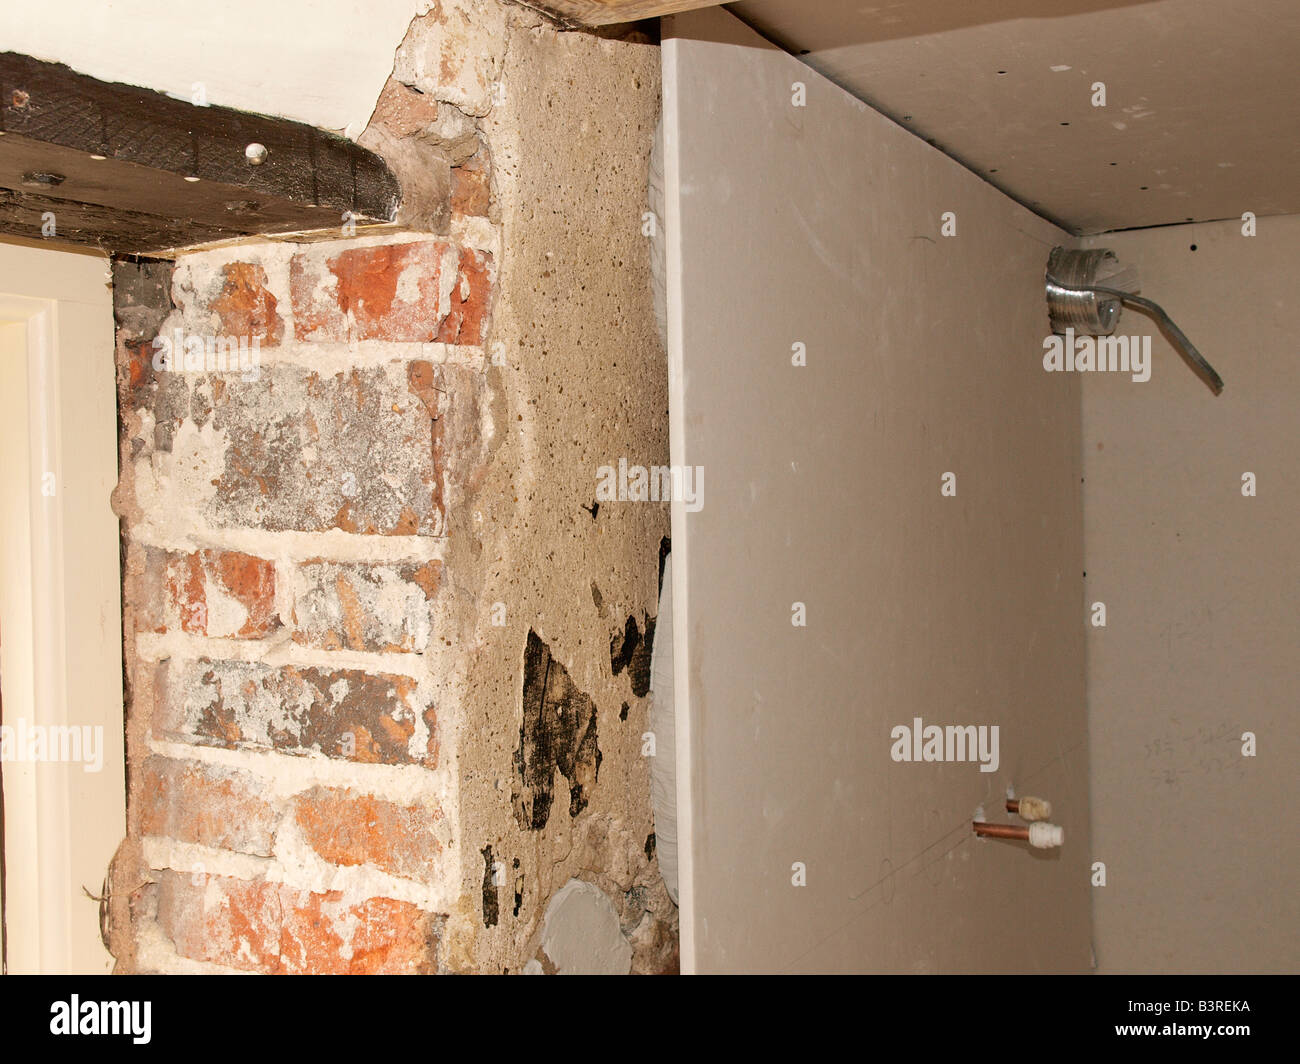
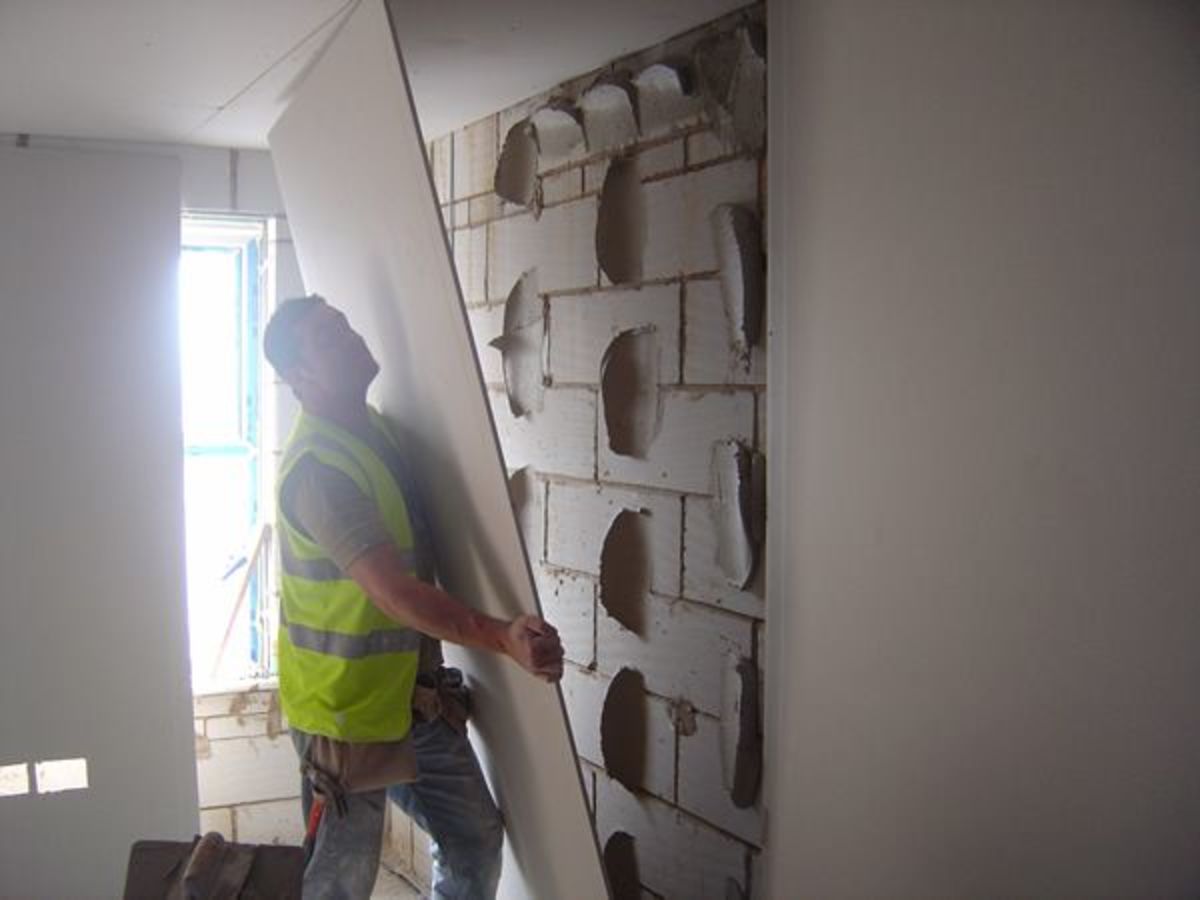
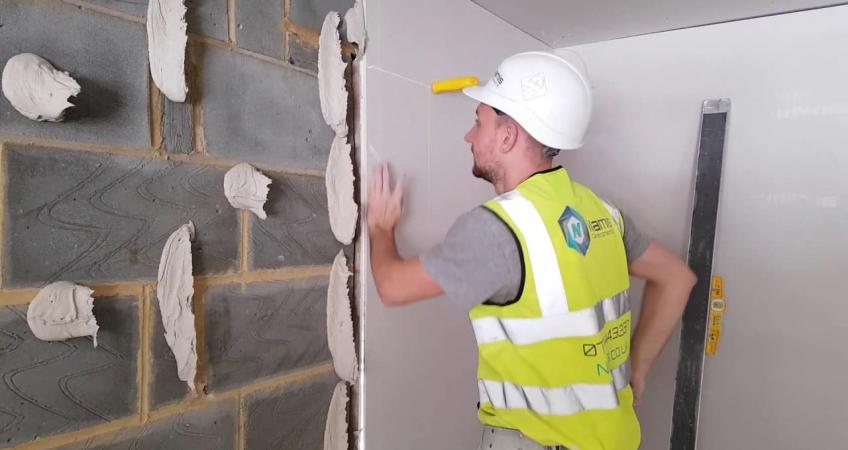 Dot and dab walls, also known as drylining, are a type of interior wall construction that uses plasterboard and adhesive to create a smooth surface. This method has become increasingly popular in recent years due to its ease and speed of installation, making it a popular choice for kitchen cabinet installation.
Why Choose Dot and Dab Walls for Kitchen Cabinets?
 When it comes to installing kitchen cabinets, the type of wall construction you choose is crucial. Dot and dab walls offer several benefits that make them an ideal choice for this particular task.
1. Strong and Durable:
Despite its simple construction, dot and dab walls are incredibly strong and durable. The adhesive used in this method creates a strong bond between the plasterboard and the wall, making it capable of supporting heavy kitchen cabinets.
2. Moisture Resistant:
Kitchens are prone to high levels of moisture, which can be damaging to traditional wall materials. However, dot and dab walls are moisture-resistant, making them a practical choice for kitchen cabinet installation.
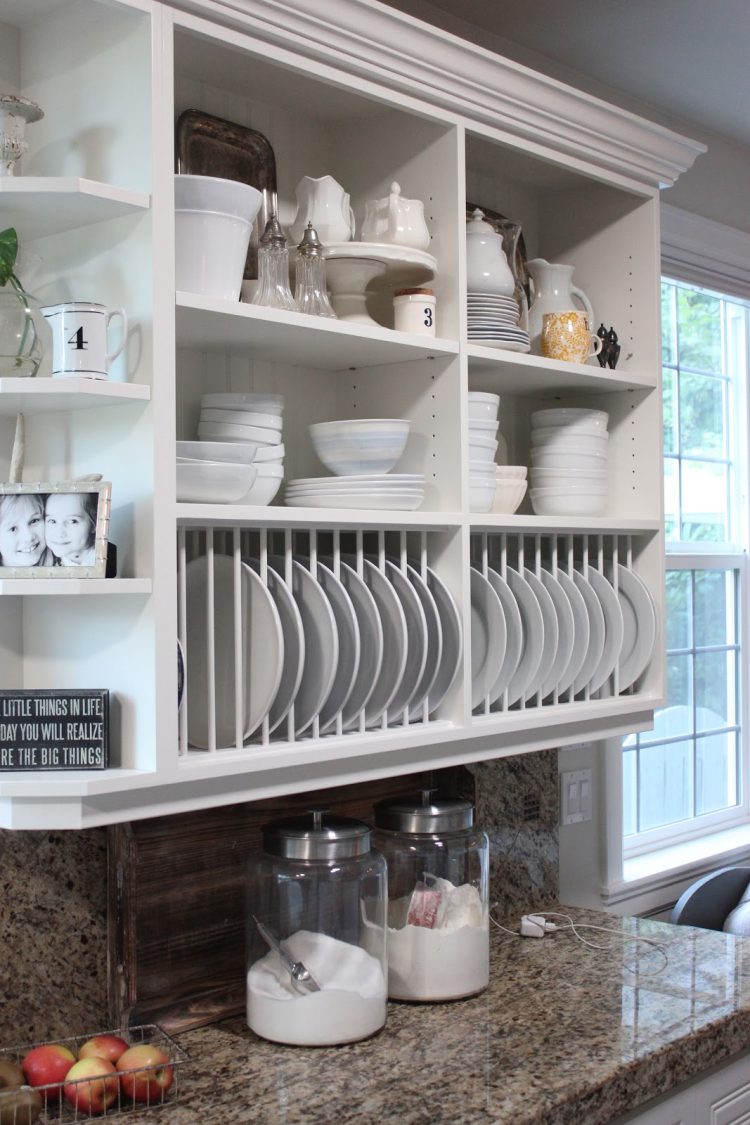
3. Smooth Surface:
The use of plasterboard in dot and dab walls results in a smooth surface, perfect for attaching kitchen cabinets. This eliminates the need for any additional preparation, saving time and effort during the installation process.
When it comes to installing kitchen cabinets, the type of wall construction you choose is crucial. Dot and dab walls offer several benefits that make them an ideal choice for this particular task.
1. Strong and Durable:
Despite its simple construction, dot and dab walls are incredibly strong and durable. The adhesive used in this method creates a strong bond between the plasterboard and the wall, making it capable of supporting heavy kitchen cabinets.
2. Moisture Resistant:
Kitchens are prone to high levels of moisture, which can be damaging to traditional wall materials. However, dot and dab walls are moisture-resistant, making them a practical choice for kitchen cabinet installation.
3. Smooth Surface:
The use of plasterboard in dot and dab walls results in a smooth surface, perfect for attaching kitchen cabinets. This eliminates the need for any additional preparation, saving time and effort during the installation process.
The Process of Installing Kitchen Cabinets on Dot and Dab Walls
 Now that we understand the benefits of dot and dab walls for kitchen cabinet installation, let's take a closer look at the process of fixing cabinets to this type of wall.
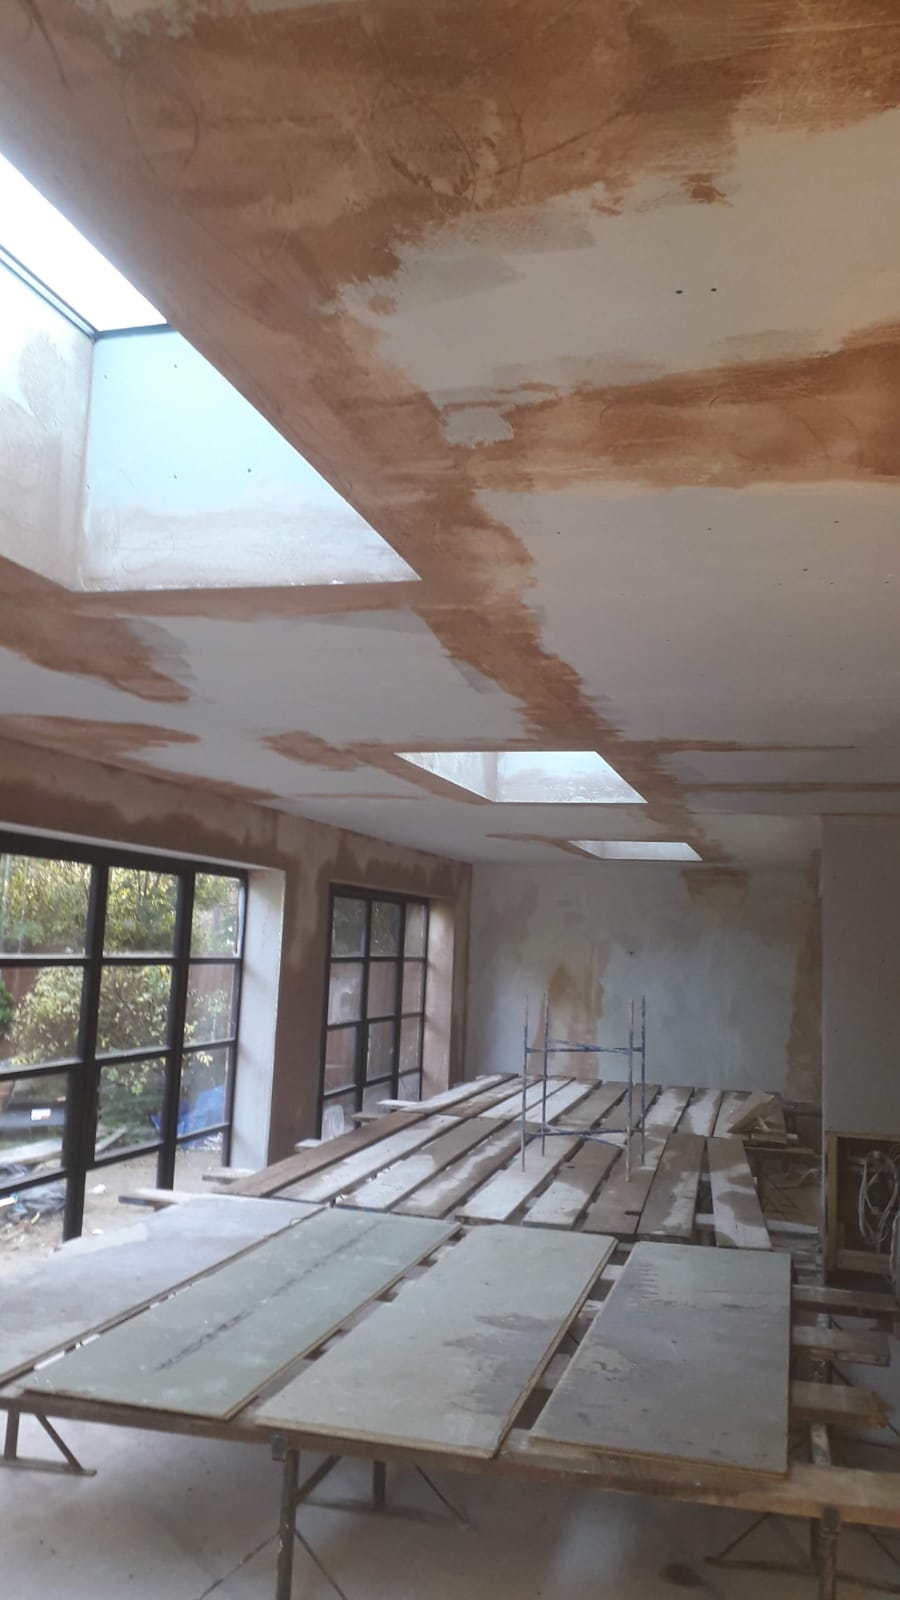
Step 1: Prepare the Wall Surface
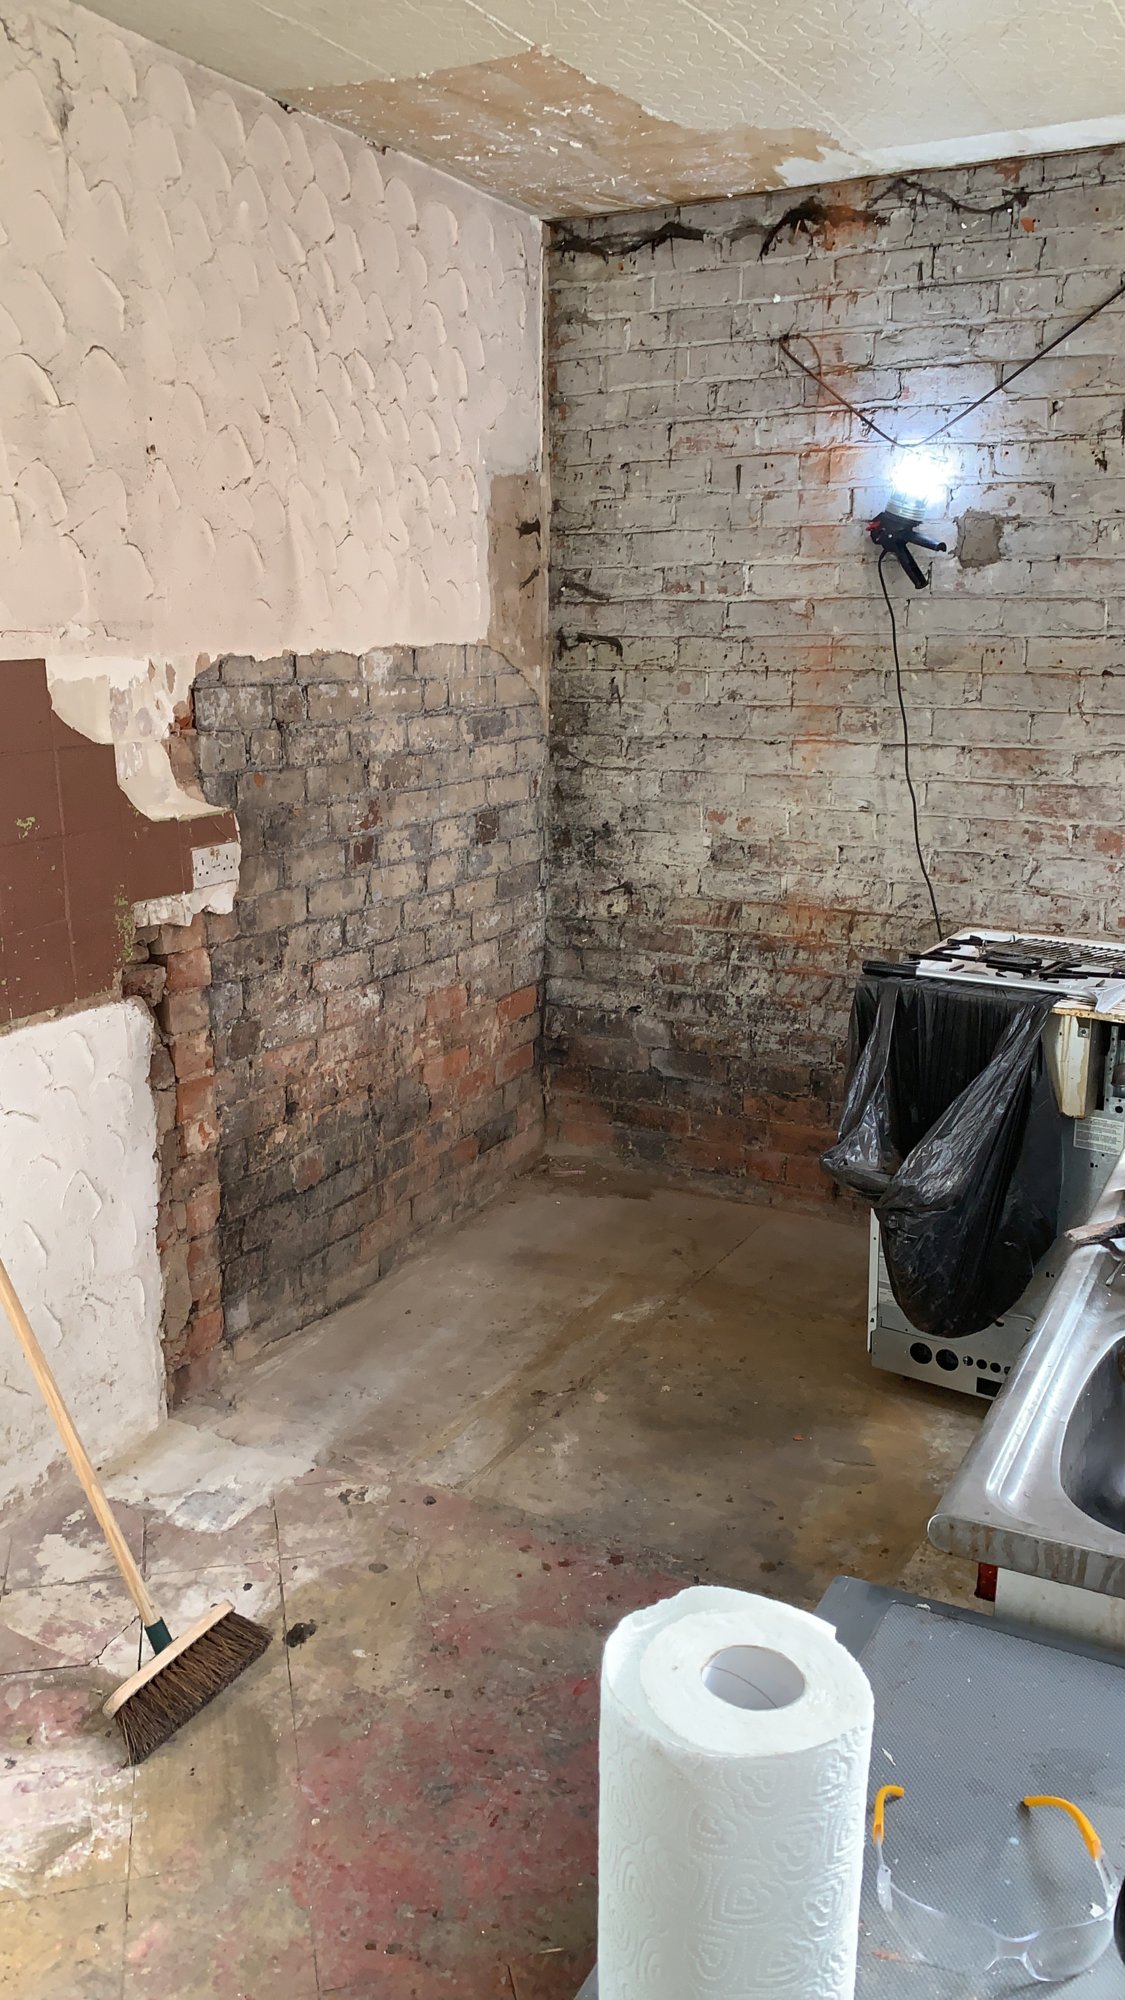
Before installing the cabinets, it is essential to ensure that the wall surface is clean and free of any debris. Use a damp cloth to wipe down the wall and let it dry completely before moving on to the next step.
Step 2: Measure and Mark
Use a measuring tape and mark the placement of each cabinet on the wall. This step is crucial to ensure that the cabinets are installed evenly and evenly spaced.
Step 3: Apply Adhesive
Using a trowel, apply the adhesive in small dots on the back of the cabinet. Be sure to leave enough space for the adhesive to spread when the cabinet is pressed against the wall.
Step 4: Fix the Cabinet
Carefully lift the cabinet and place it on the marked spot on the wall. Gently press the cabinet against the wall to spread the adhesive and create a strong bond.
Step 5: Secure with Screws
Once the adhesive has dried, use screws to secure the cabinet to the wall for added stability.
Now that we understand the benefits of dot and dab walls for kitchen cabinet installation, let's take a closer look at the process of fixing cabinets to this type of wall.
Step 1: Prepare the Wall Surface
Before installing the cabinets, it is essential to ensure that the wall surface is clean and free of any debris. Use a damp cloth to wipe down the wall and let it dry completely before moving on to the next step.
Step 2: Measure and Mark
Use a measuring tape and mark the placement of each cabinet on the wall. This step is crucial to ensure that the cabinets are installed evenly and evenly spaced.
Step 3: Apply Adhesive
Using a trowel, apply the adhesive in small dots on the back of the cabinet. Be sure to leave enough space for the adhesive to spread when the cabinet is pressed against the wall.
Step 4: Fix the Cabinet
Carefully lift the cabinet and place it on the marked spot on the wall. Gently press the cabinet against the wall to spread the adhesive and create a strong bond.
Step 5: Secure with Screws
Once the adhesive has dried, use screws to secure the cabinet to the wall for added stability.
In Conclusion
 In summary, dot and dab walls are an excellent choice for installing kitchen cabinets due to their strength, durability, and moisture-resistant properties. By following the simple process outlined above, you can easily fix your cabinets to these walls and create a beautiful and functional kitchen space. So, if you're planning on renovating your kitchen, consider using dot and dab walls for a hassle-free cabinet installation experience.