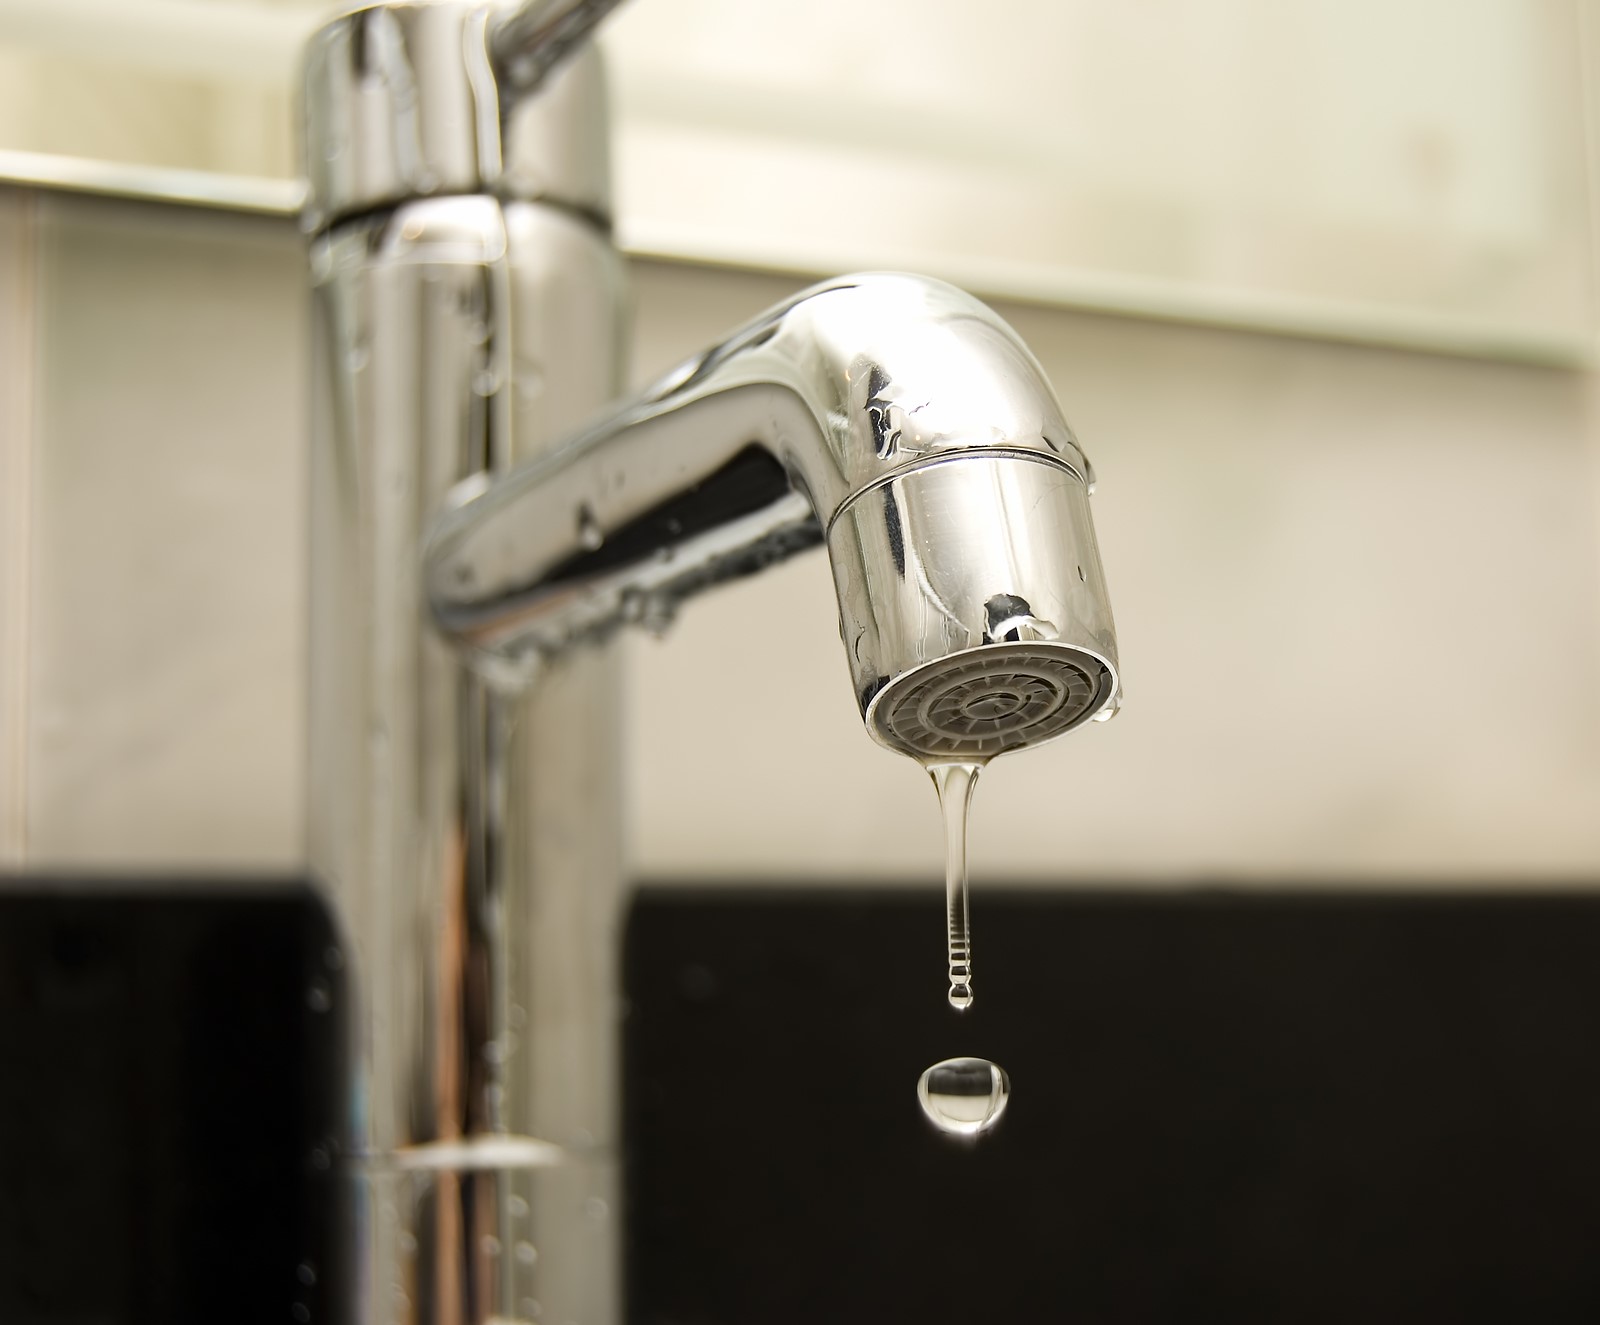
Dealing with a leaking bathroom sink faucet can be a frustrating and wasteful experience. Not only does the constant dripping sound drive you crazy, but it also wastes water and can cause damage to your sink and surrounding areas. But fear not, fixing a leaking bathroom sink faucet is a relatively easy task that can save you time and money in the long run. Follow these 10 steps to stop the drip and keep your bathroom sink in top shape.Fixing Leaking Bathroom Sink Faucet: 10 Steps to Stop the Drip
Before you begin any repairs, make sure to turn off the water supply to your bathroom sink. This can usually be done by turning the shut-off valves located under the sink in a clockwise direction. If you can’t find these valves, you may need to turn off the main water supply to your house.Step 1: Turn Off the Water Supply
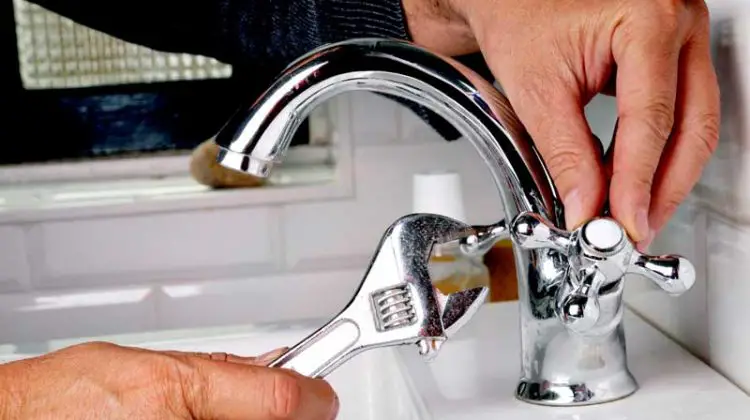
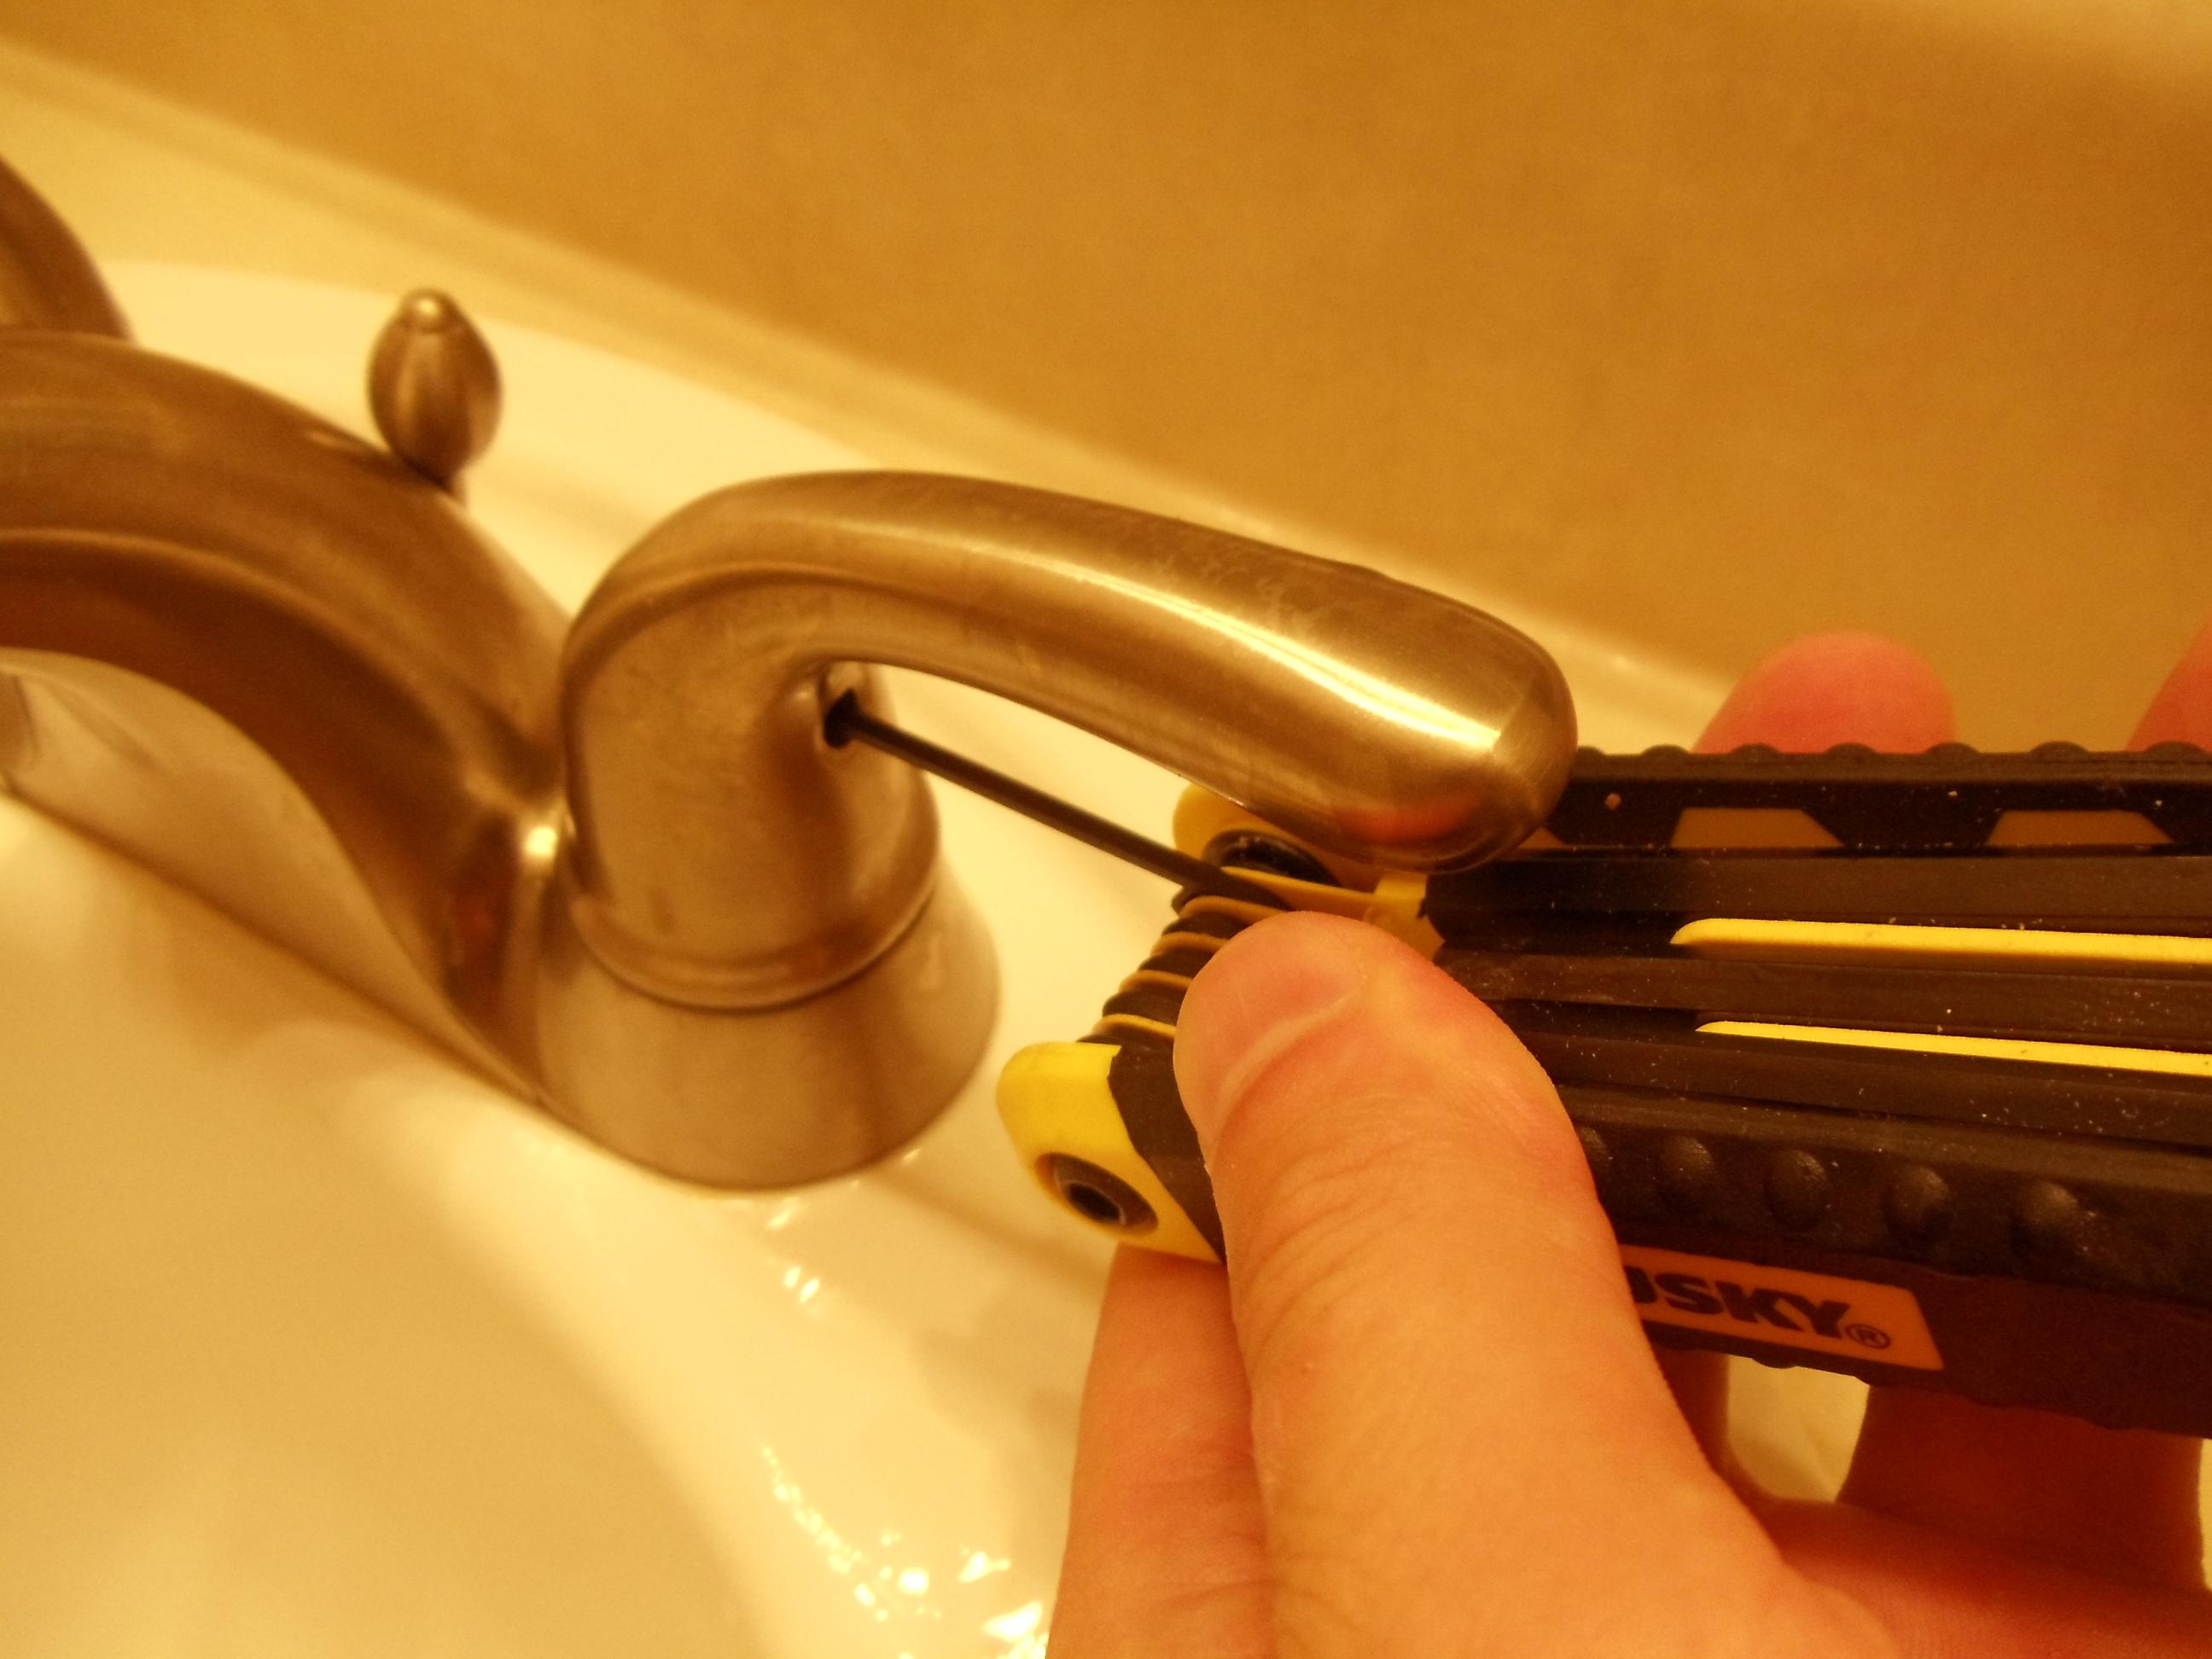
Having the right tools on hand will make the process of fixing your leaking bathroom sink faucet much easier. You will need an adjustable wrench, a flathead screwdriver, and possibly a hex key or Allen wrench depending on your faucet type.Step 2: Gather Your Tools
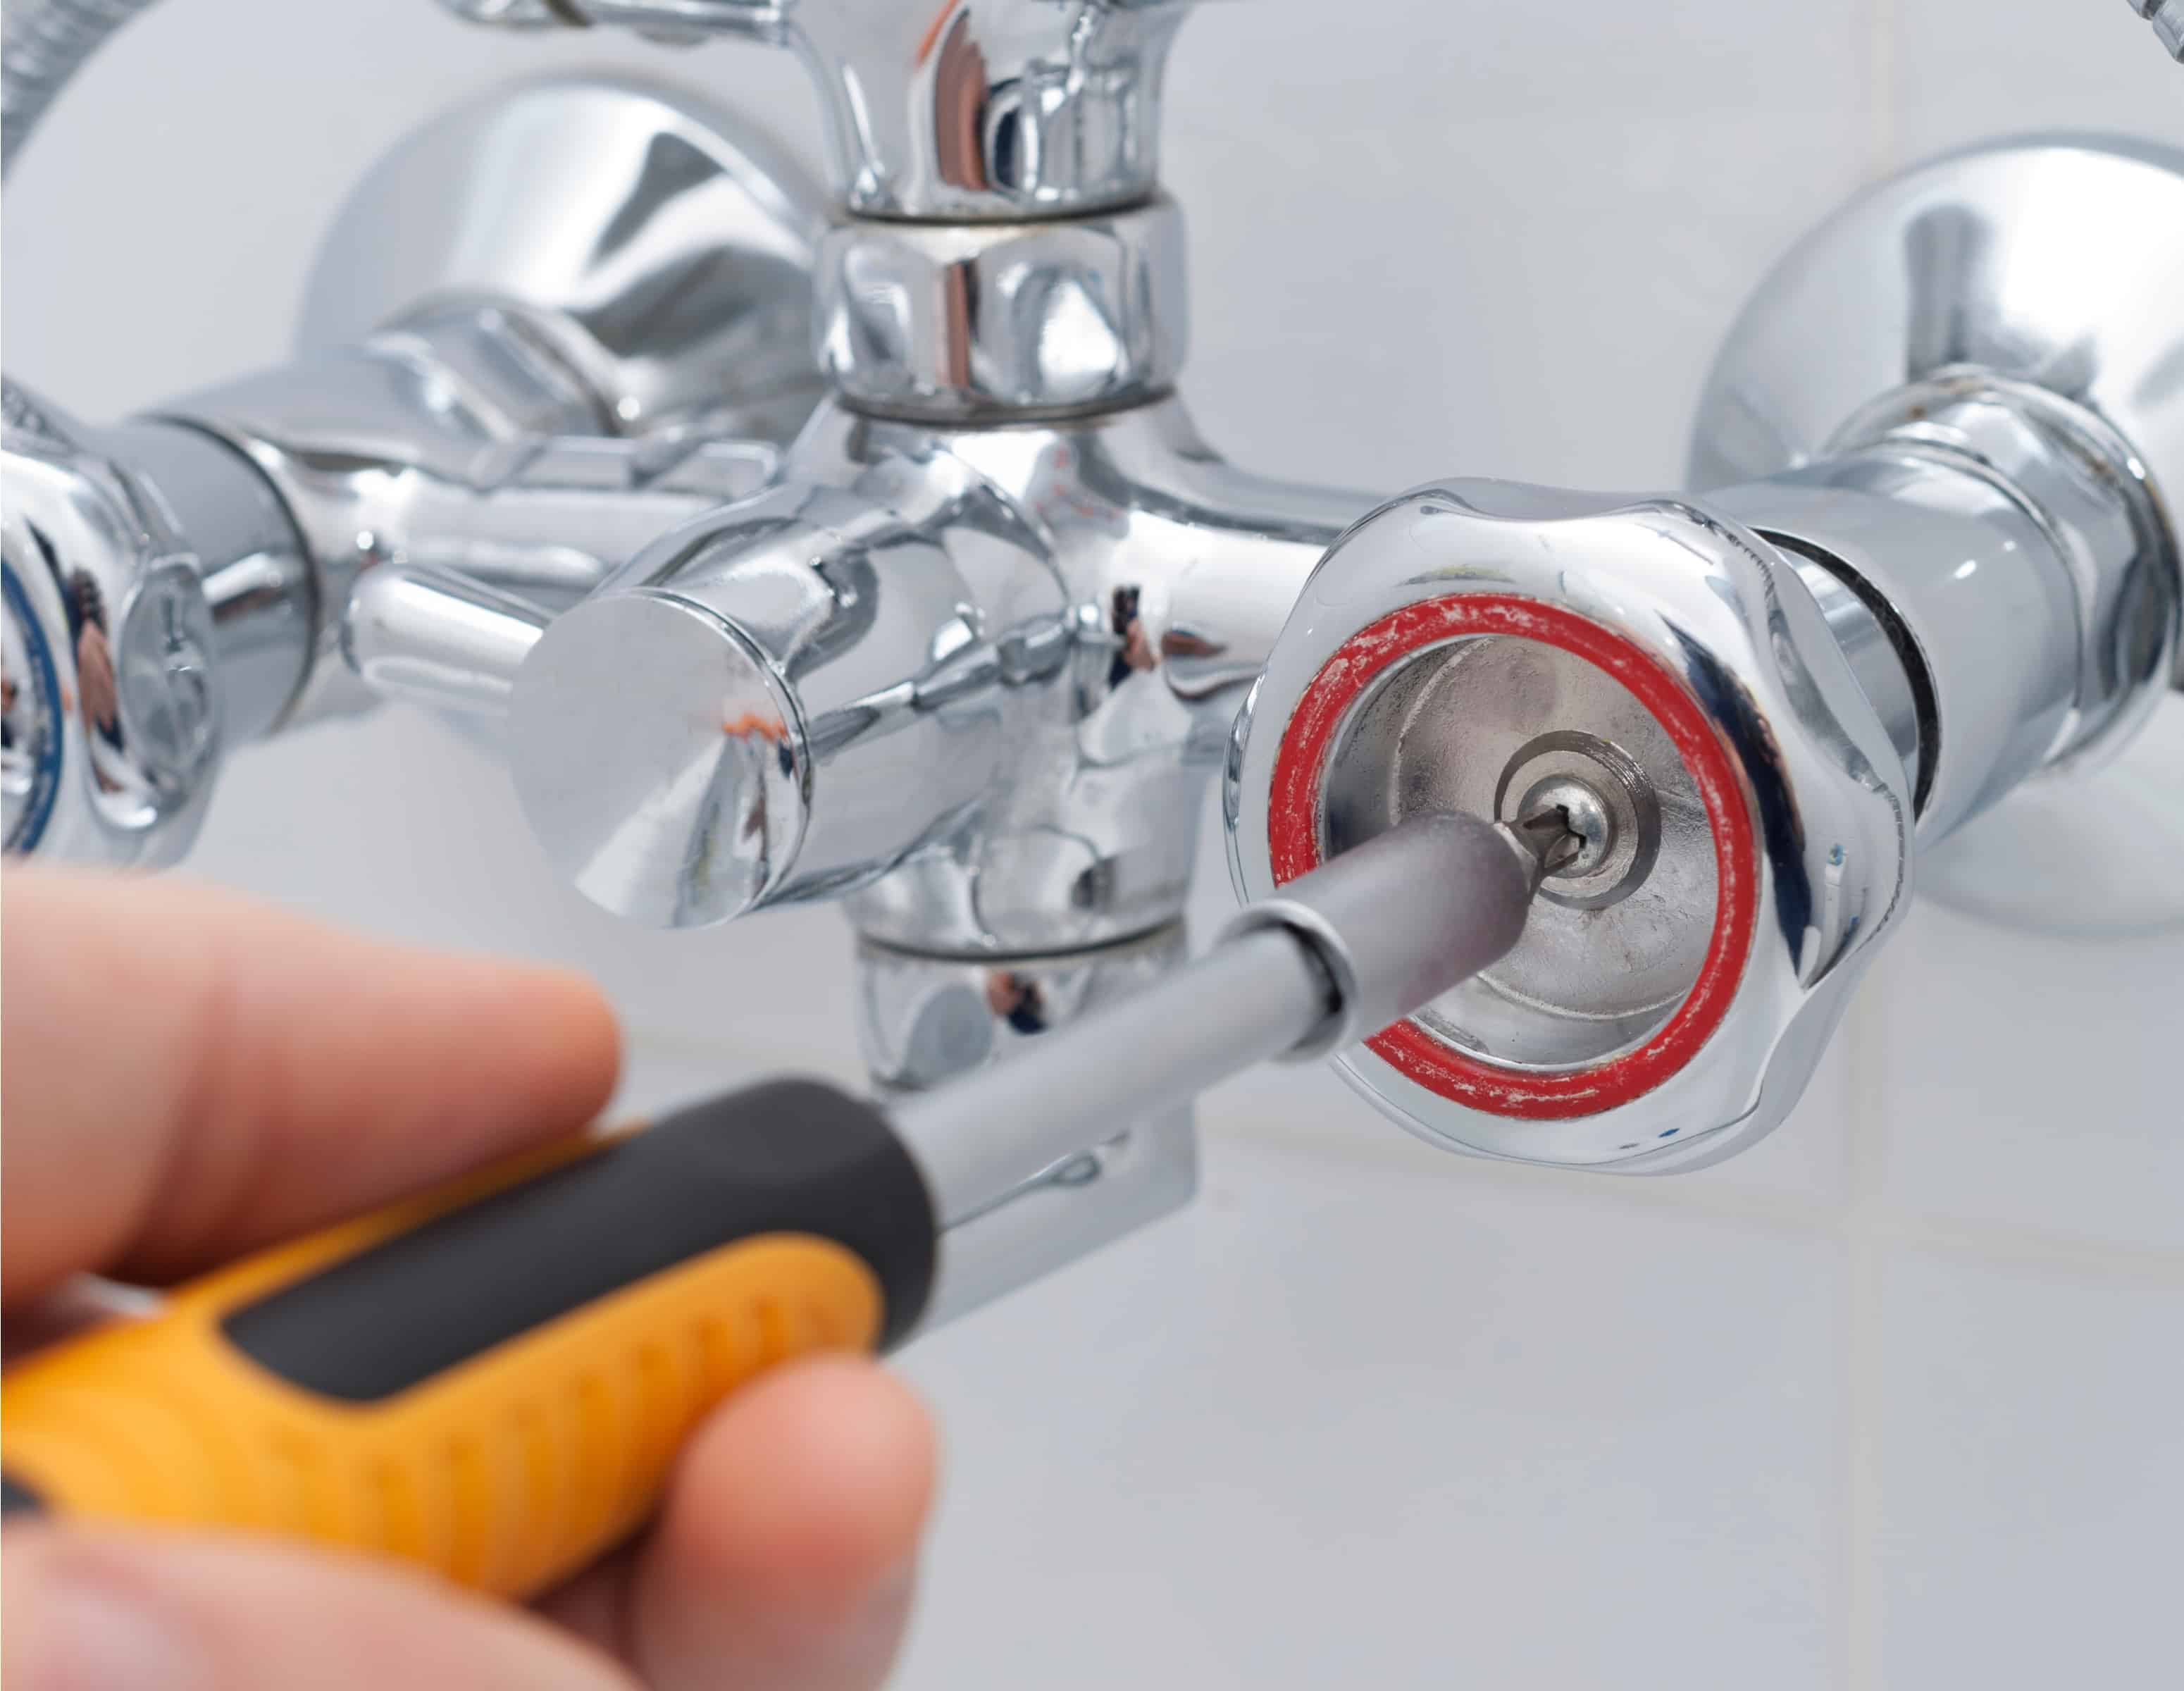
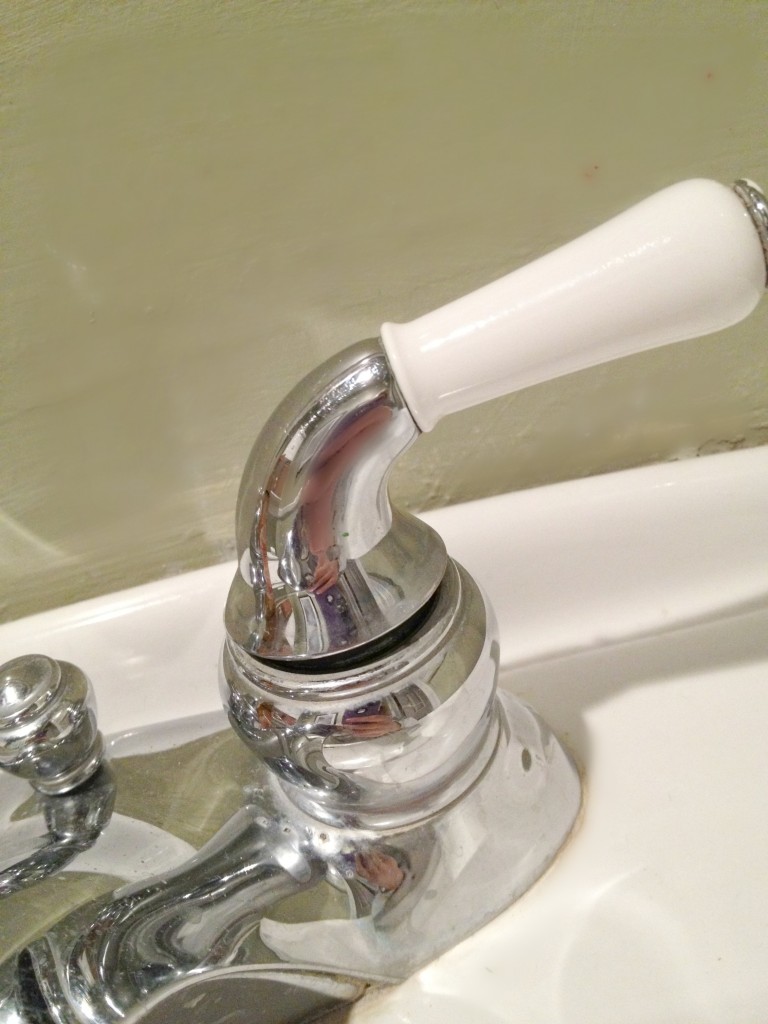
Using your flathead screwdriver, carefully remove the decorative cap on top of your faucet handle. This will reveal a screw that needs to be unscrewed in order to remove the handle. Once the screw is removed, gently lift the handle off the faucet.Step 3: Remove the Handle
Underneath the handle, you will find an O-ring that helps to create a watertight seal. Over time, this O-ring can become worn or damaged, causing leaks. Use your flathead screwdriver to remove the O-ring and inspect it for any signs of wear and tear.Step 4: Inspect the O-Ring
If you notice any damage to the O-ring, it will need to be replaced. Take the old O-ring to your local hardware store to find a suitable replacement. Once you have the new O-ring, carefully slide it into place on the faucet.Step 5: Replace the O-Ring
Some bathroom sink faucets have a cartridge that controls the flow of water. If your faucet has a cartridge, it may need to be replaced if it is causing the leak. A damaged or worn cartridge can lead to leaks around the handle or spout.Step 6: Check the Cartridge
If you determine that the cartridge is the cause of the leak, you will need to replace it. This can usually be done by unscrewing the old cartridge and screwing in the new one. Make sure to follow the manufacturer’s instructions for your specific faucet model.Step 7: Replace the Cartridge
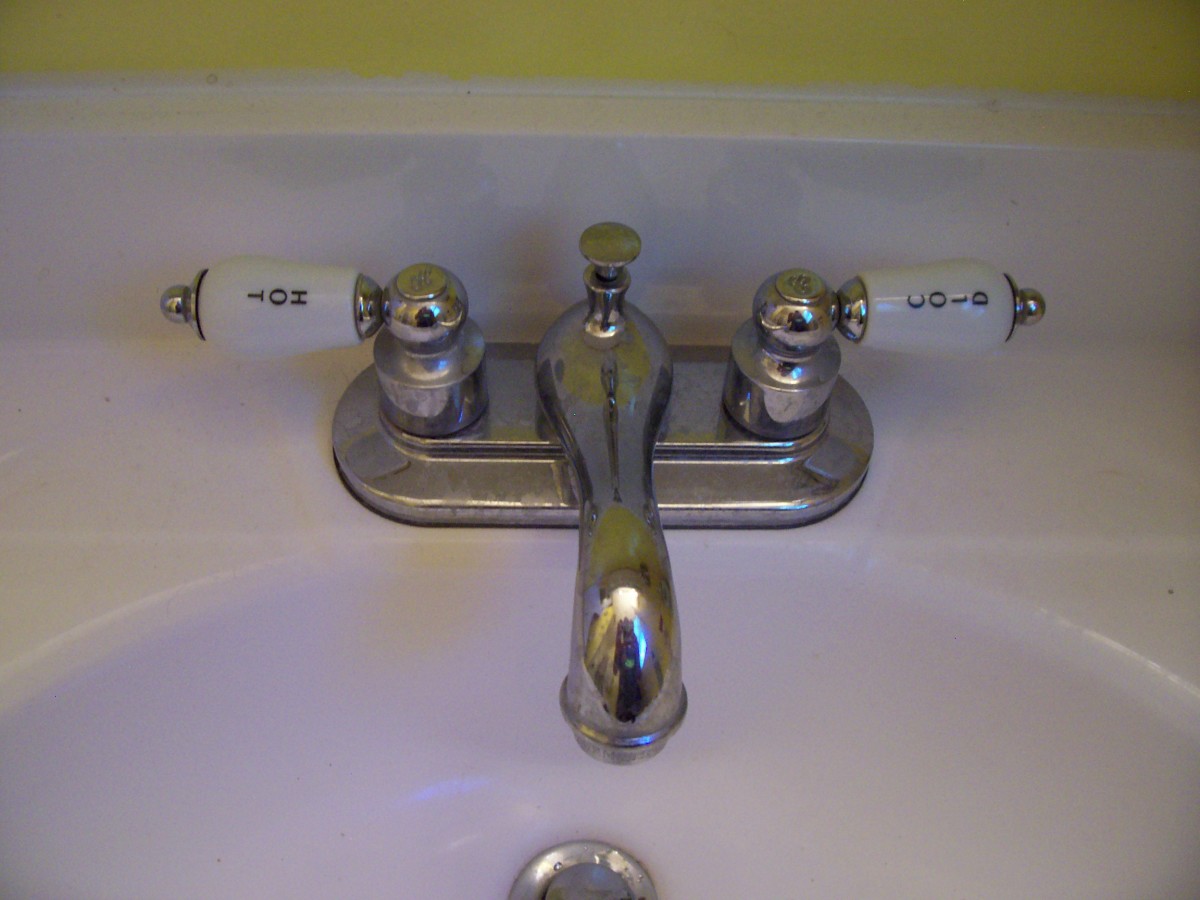
If your bathroom sink faucet has separate hot and cold handles, the leak may be caused by worn or damaged washers. These are located on the bottom of the handles and can be easily replaced with a flathead screwdriver and a new washer.Step 8: Check the Washers
The aerator on your bathroom sink faucet is responsible for regulating the water flow and mixing air with the water. Over time, debris and sediment can build up in the aerator, causing it to leak. Remove the aerator and clean it with a mixture of water and vinegar to remove any buildup.Step 9: Clean the Aerator
Why Fixing a Leaking Bathroom Sink Faucet is Important for Your House Design

Don't Ignore the Dripping Faucet
 When it comes to house design, every detail matters. From the color of the walls to the placement of furniture, each element contributes to the overall aesthetic and functionality of the space. However, one aspect that is often overlooked is the functionality of plumbing fixtures, such as a bathroom sink faucet.
Leaking faucets
may seem like a minor issue, but they can actually have a significant impact on your house design. Not only can they cause
water damage
and
mold growth
, but they can also affect the appearance and function of your bathroom.
Water Damage and Mold Growth
 A leaking bathroom sink faucet may seem like a small annoyance, but it can lead to big problems if left unfixed. The constant dripping of water can cause
stains
and
water damage
to your sink and countertop. Over time, this can also lead to
mold growth
, which can not only damage your bathroom but also pose a health hazard to you and your family.
Fixing a leaking bathroom sink faucet
may seem like a hassle, but it is a crucial step in maintaining the functionality and cleanliness of your house design.
Aesthetic and Functional Impact
 Aside from the potential damage, a leaking faucet can also affect the appearance and function of your bathroom. The constant dripping can create
hard water stains
on your sink and faucet, making them look dull and dirty. This can greatly affect the overall aesthetic of your bathroom and make it less inviting and relaxing.
On top of that, a leaking faucet can also lead to
low water pressure
and
inconsistent water temperature
, making simple tasks such as washing your face or brushing your teeth more difficult and frustrating.
By
fixing a leaking bathroom sink faucet
, you can not only prevent potential damage but also improve the overall appearance and functionality of your bathroom, contributing to a well-designed and efficient house.
Conclusion
 In conclusion, fixing a leaking bathroom sink faucet is not just about stopping the annoying dripping sound. It is an essential step in maintaining the functionality and aesthetics of your house design. Don't ignore the small issues, as they can turn into bigger problems if left unfixed. So, if you notice a leaking faucet in your bathroom, don't hesitate to call a professional and get it fixed as soon as possible. Your house design will thank you for it.















/Bathroomfaucetleak-GettyImages-182691828-59d59e50d088c00010867f1e.jpg)




/how-to-install-a-sink-drain-2718789-hero-24e898006ed94c9593a2a268b57989a3.jpg)

