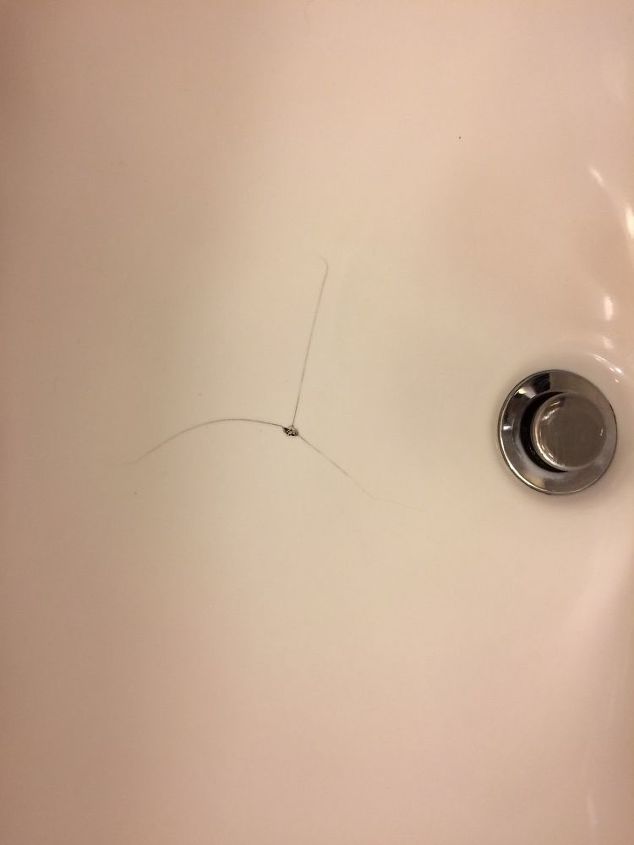
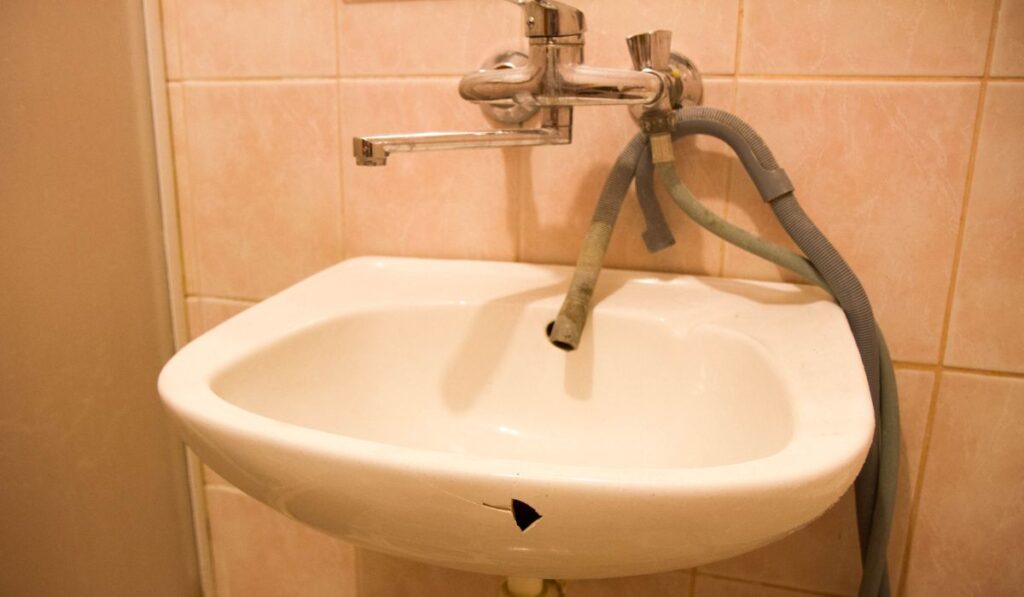
If you have a crack in your undermount bathroom sink, you may be wondering how to fix it. This type of sink is installed under the countertop, making it a popular choice for its sleek and seamless appearance. However, cracks can happen due to a variety of reasons, and it's important to address them as soon as possible to prevent further damage. In this article, we will guide you on how to fix a crack in an undermount bathroom sink in 10 easy steps.How to Fix a Crack in an Undermount Bathroom Sink


How to Fix a Crack in an Undermount Bathroom Sink


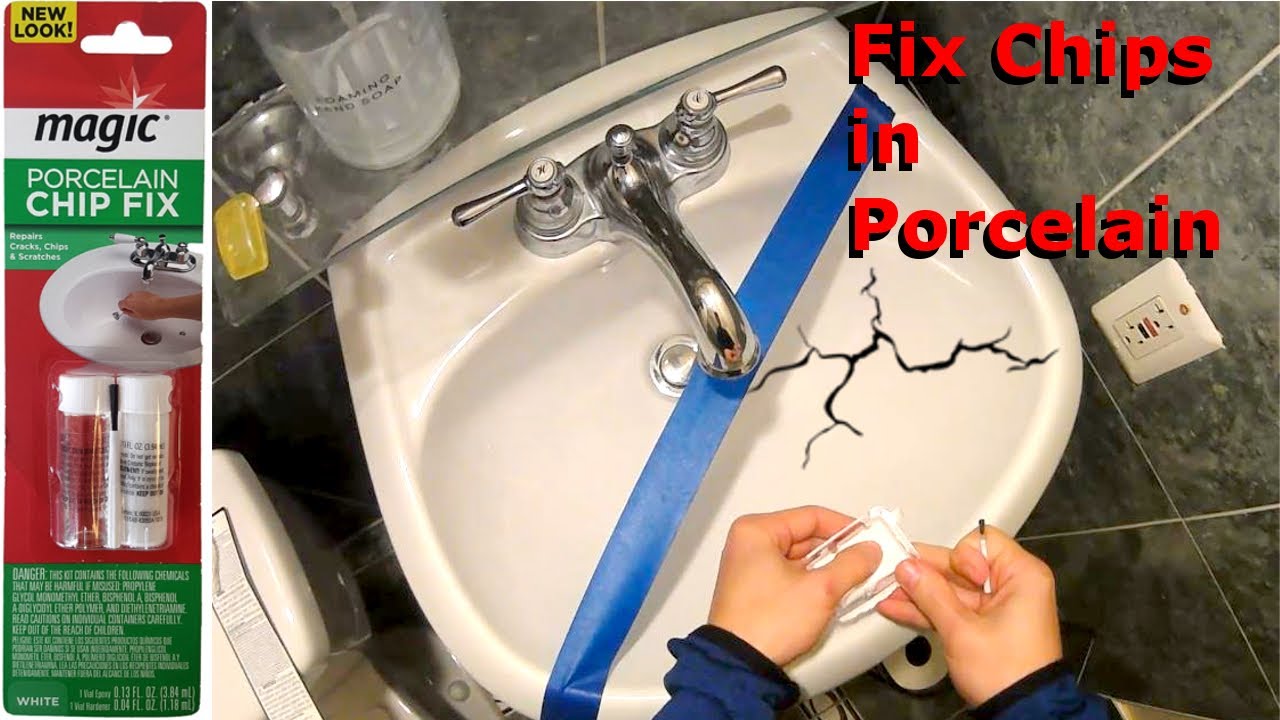
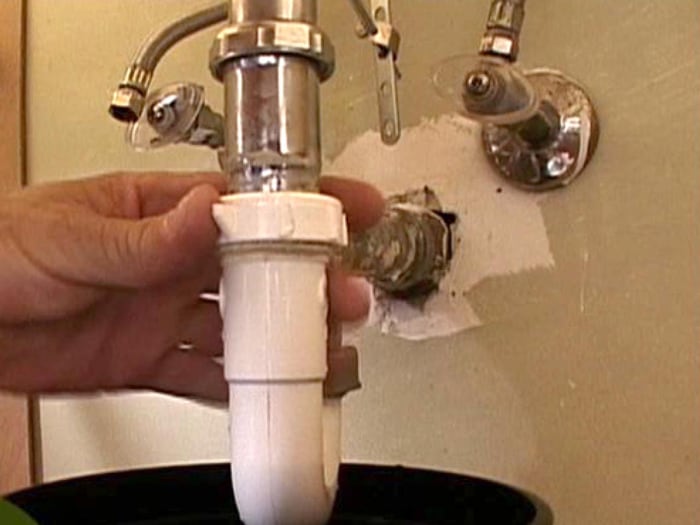
Before we dive into the steps for repairing a crack in your undermount bathroom sink, let's go over the materials you will need. First, you will need a sink repair kit, which can be found at most hardware stores. Look for a kit that is specifically designed for undermount sinks and includes epoxy putty. You will also need sandpaper, a putty knife, a rag, and a small paintbrush.Undermount Bathroom Sink Crack Repair


Undermount Bathroom Sink Crack Repair


If you're feeling handy and want to save some money, you can attempt to fix the crack in your undermount bathroom sink yourself. The process is relatively simple, but it does require some patience and attention to detail. Make sure to follow the steps carefully to achieve the best results.DIY Undermount Bathroom Sink Crack Fix

DIY Undermount Bathroom Sink Crack Fix


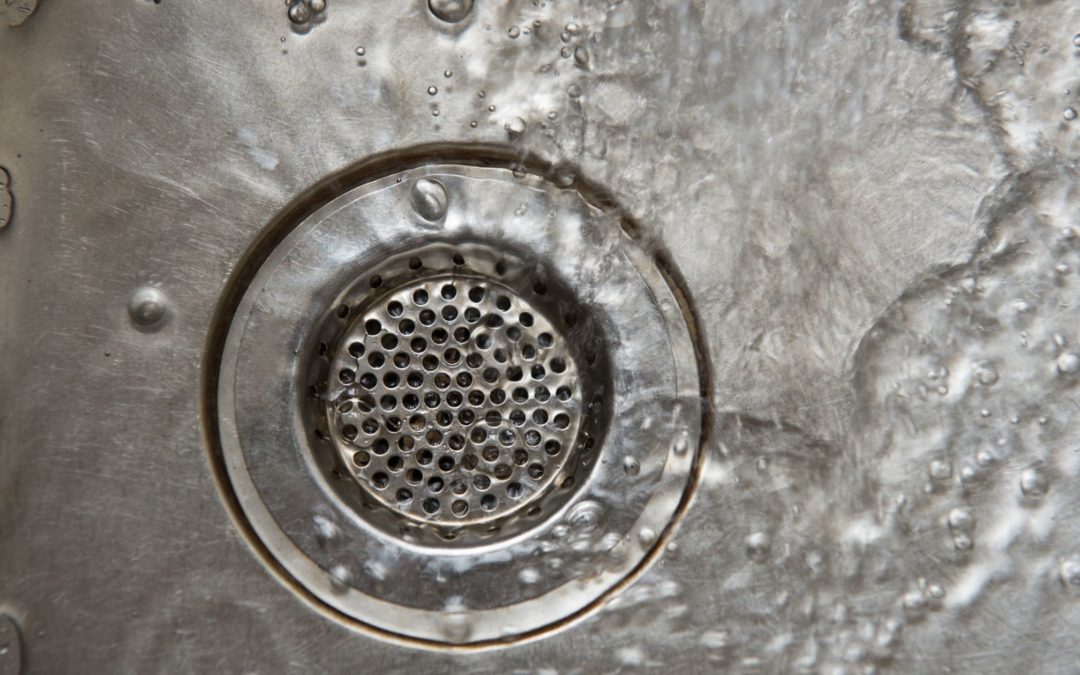
With the right tools and materials, repairing a crack in an undermount bathroom sink can be a quick and easy process. The key is to act fast and address the crack as soon as you notice it. This will prevent the crack from spreading and causing more damage to your sink.Quick and Easy Undermount Bathroom Sink Crack Repair


Quick and Easy Undermount Bathroom Sink Crack Repair


When it comes to fixing a crack in an undermount bathroom sink, using the right products is crucial. As mentioned earlier, it's best to use a sink repair kit that is specifically designed for undermount sinks. These kits typically come with everything you need to fix the crack and achieve a seamless repair.Best Products for Fixing a Crack in an Undermount Bathroom Sink

Best Products for Fixing a Crack in an Undermount Bathroom Sink


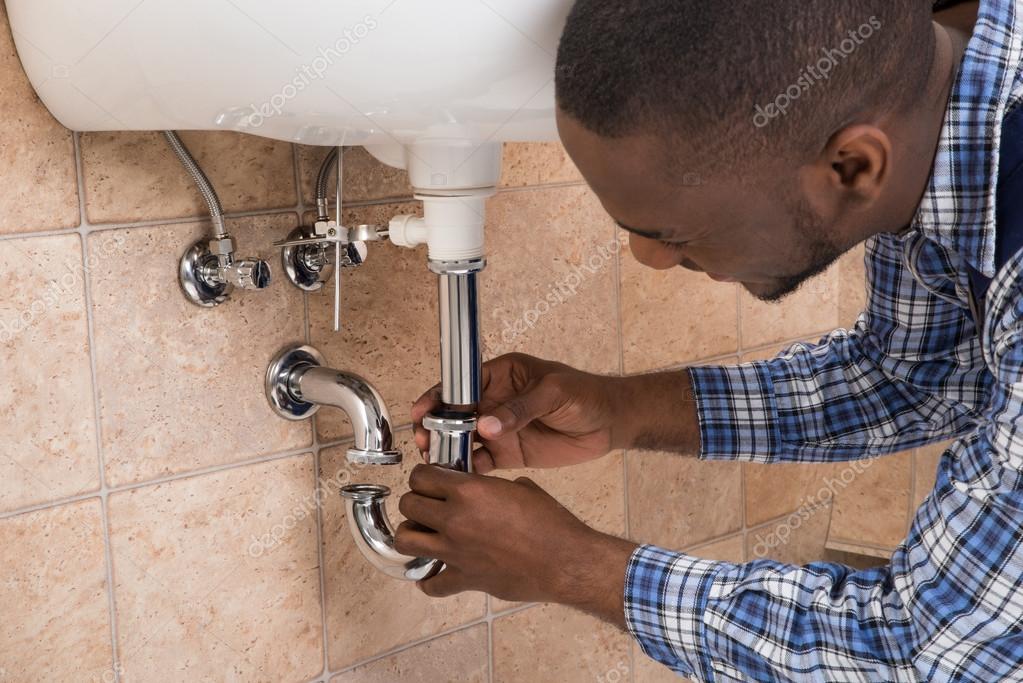
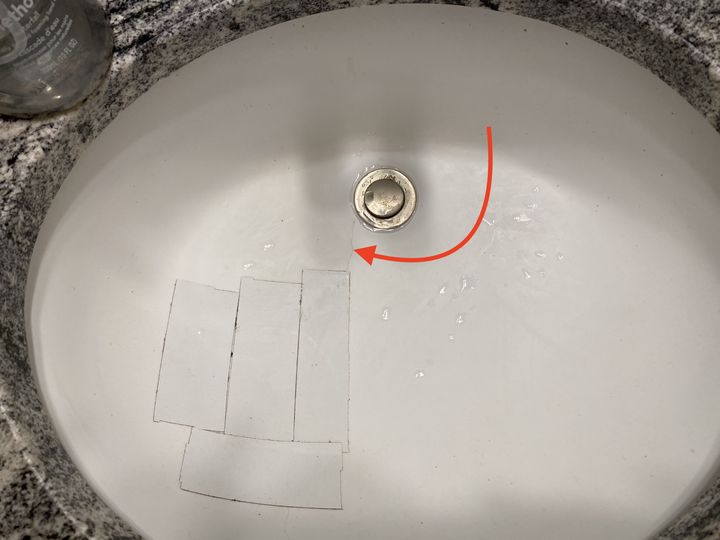
Now, let's get into the steps for repairing a crack in your undermount bathroom sink. Keep in mind that these steps may vary slightly depending on the type of sink repair kit you are using. Always follow the instructions provided with your specific kit for the best results. Step 1: Begin by cleaning the damaged area of your sink with a rag and warm water. Make sure to remove any dirt, grime, or residue. Step 2: Use sandpaper to gently sand the area around the crack. This will create a rough surface for the epoxy putty to adhere to. Step 3: Take a small amount of epoxy putty and knead it in your hands until it becomes pliable. Apply the putty to the crack, making sure to fill it completely. Step 4: Use a putty knife to smooth out the putty and blend it into the surrounding area. This will create a seamless repair. Step 5: Let the putty dry according to the instructions on your sink repair kit. This usually takes around 30 minutes to an hour. Step 6: Once the putty is completely dry, use sandpaper to gently sand the area until it is smooth and level with the rest of the sink. Step 7: Wipe away any dust or debris with a rag. Step 8: Mix the epoxy paint provided in your sink repair kit according to the instructions. This paint will help to seal and protect the repaired area. Step 9: Use a small paintbrush to apply the epoxy paint to the repaired area. Make sure to cover the entire damaged area and blend it in with the rest of the sink. Step 10: Let the epoxy paint dry completely before using your sink again. This may take a few hours, so be patient and avoid using the sink until it is fully dry.Step-by-Step Guide for Repairing a Crack in an Undermount Bathroom Sink


Step-by-Step Guide for Repairing a Crack in an Undermount Bathroom Sink


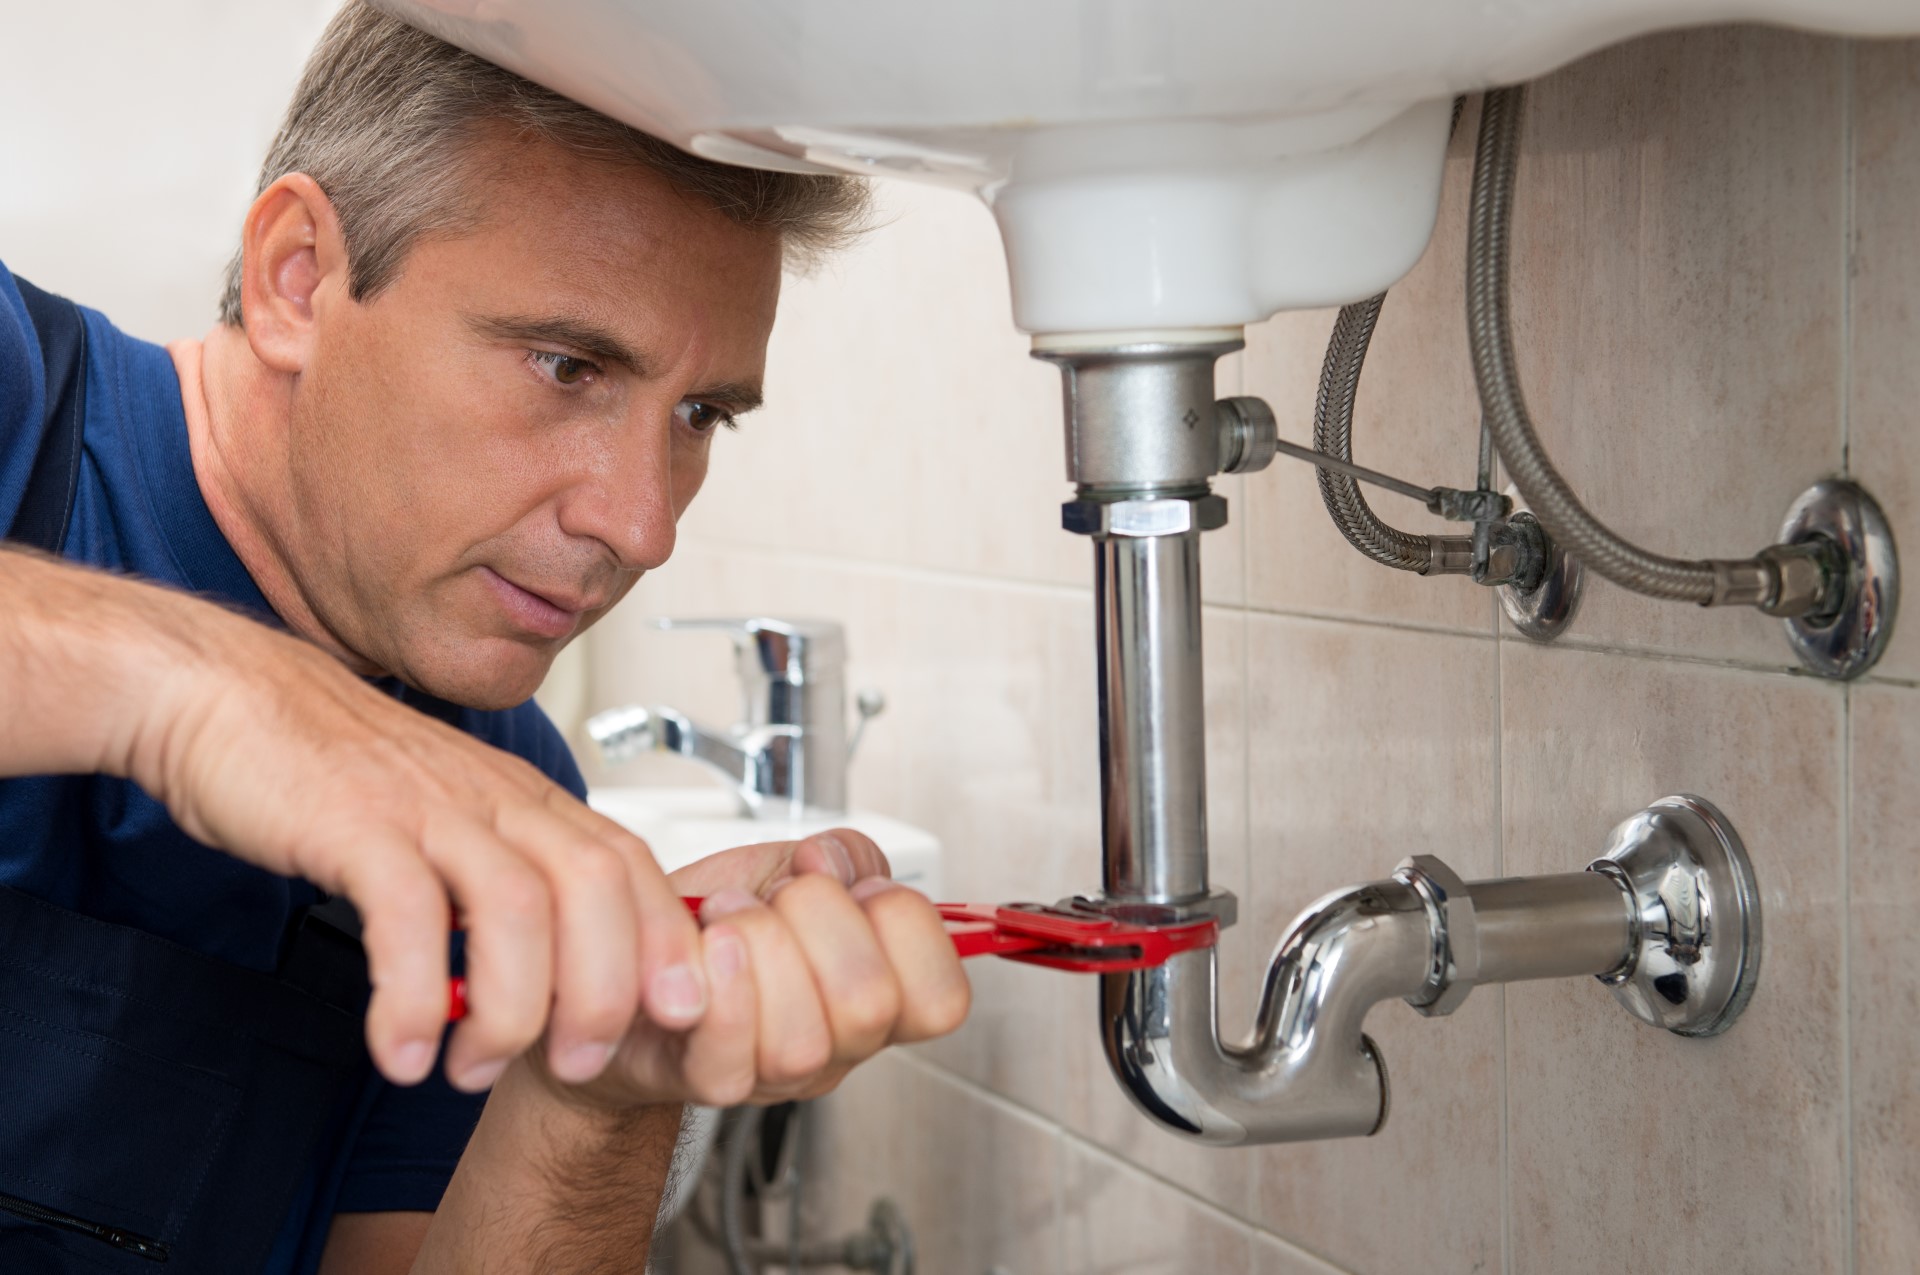
If you're not confident in your DIY skills or the crack in your undermount bathroom sink is severe, it's best to call in a professional. They will have the tools and expertise to fix the crack properly and ensure that it doesn't happen again in the future. They may also be able to identify the cause of the crack and provide tips on how to prevent it from happening again.Professional Tips for Fixing a Crack in an Undermount Bathroom Sink


Professional Tips for Fixing a Crack in an Undermount Bathroom Sink


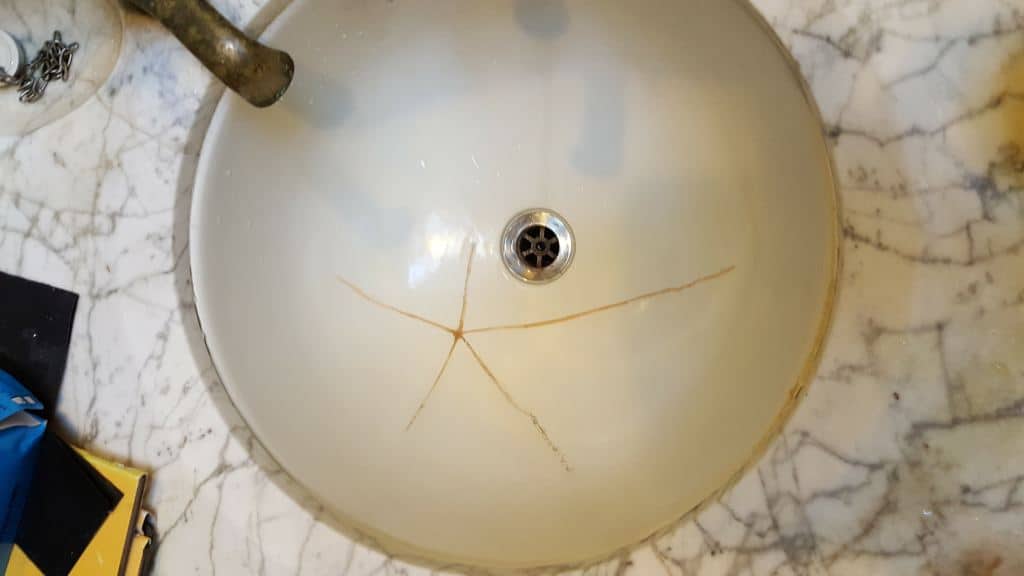
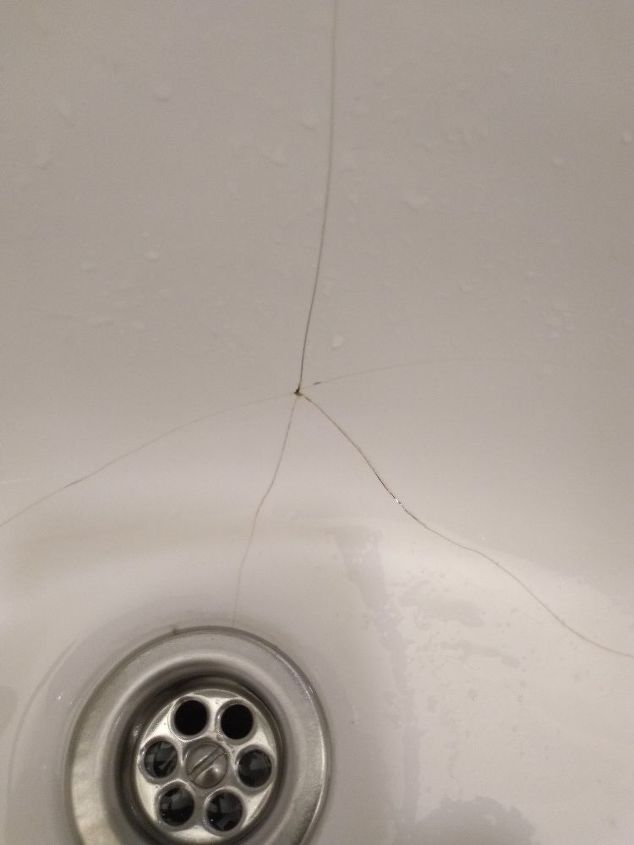
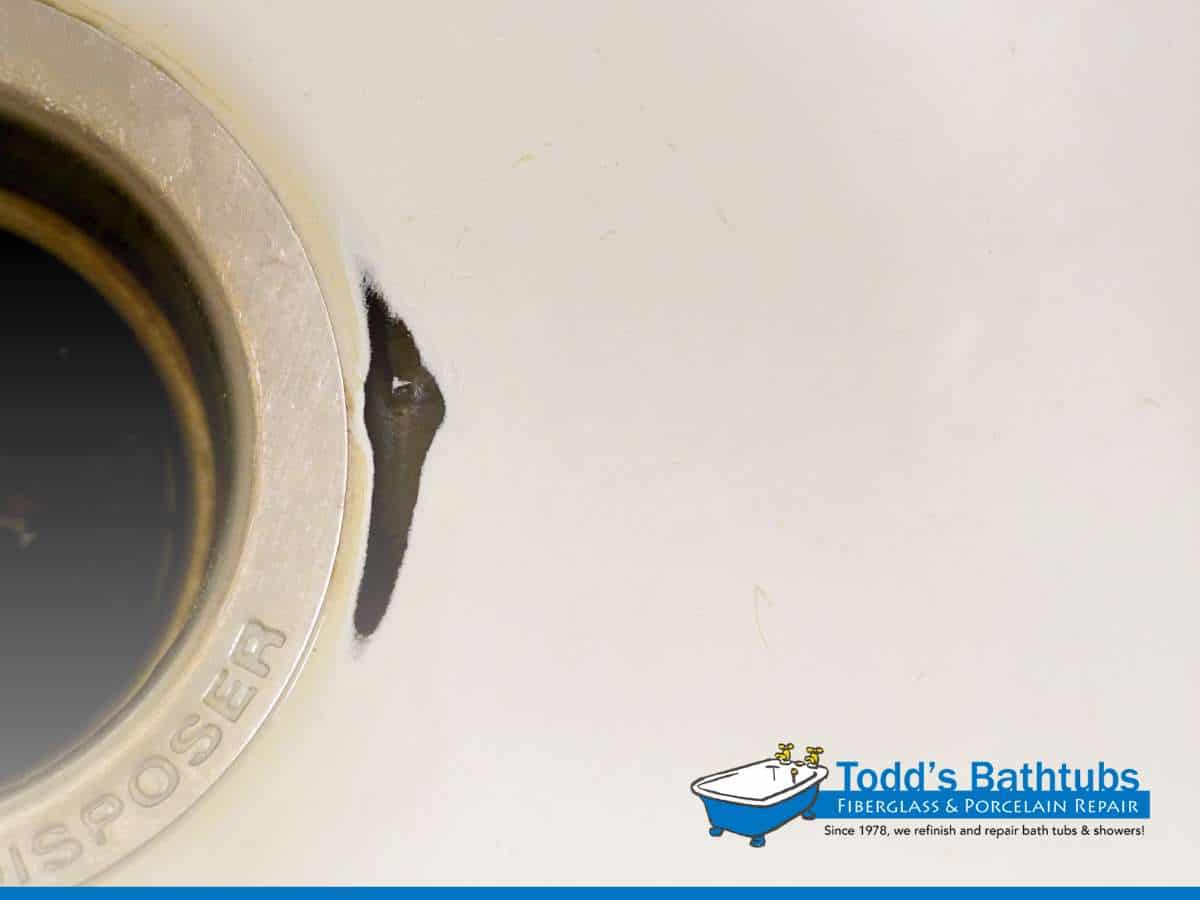
Now that you know how to fix a crack in an undermount bathroom sink, let's discuss some common causes of these cracks and how to prevent them. One of the most common causes is water damage. If the sealant around the sink has deteriorated, water can seep in and cause the sink to crack. To prevent this, make sure to regularly check and replace the sealant around your sink. Another cause of cracks in undermount bathroom sinks is heavy or sharp objects being dropped on the sink. To avoid this, be careful when handling heavy or sharp items near your sink and use cutting boards or protective mats to prevent any accidents.Common Causes of Undermount Bathroom Sink Cracks and How to Fix Them

Common Causes of Undermount Bathroom Sink Cracks and How to Fix Them


In addition to regularly checking and replacing the sealant, there are a few other ways to prevent cracks from forming in your undermount bathroom sink. First, avoid using abrasive cleaners or tools on your sink, as these can damage the surface and cause cracks. Also, be mindful of the weight you put on your sink, as excessive weight can cause stress on the sink and lead to cracks.Preventing Cracks in Your Undermount Bathroom Sink

Preventing Cracks in Your Undermount Bathroom Sink


Finally, we asked an expert for their advice on fixing a crack in an undermount bathroom sink. According to Jane Smith, a professional plumber, "It's important to address a crack in an undermount bathroom sink as soon as possible. The longer you wait, the more it can spread and cause more damage. Using a sink repair kit and following the instructions carefully can result in a seamless and long-lasting repair." In conclusion, fixing a crack in an undermount bathroom sink doesn't have to be a daunting task. With the right tools and techniques, you can achieve a seamless repair and prevent further damage to your sink. Remember to act fast, use the right products, and take preventative measures to keep your undermount bathroom sink in top condition. Expert Advice on Fixing a Crack in an Undermount Bathroom Sink


Expert Advice on Fixing a Crack in an Undermount Bathroom Sink


How to Fix a Crack in an Undermount Bathroom Sink

The Importance of Maintaining Your Undermount Bathroom Sink
 Your bathroom sink is one of the most frequently used fixtures in your home. It not only serves as a functional space for washing your hands and brushing your teeth, but it also adds to the overall aesthetic of your bathroom. And when it comes to bathroom design, undermount sinks have become increasingly popular for their sleek and modern look. However, just like any other fixture in your home, your undermount bathroom sink is prone to wear and tear over time. One common issue that homeowners may face is a crack in their undermount sink. While it may seem like a small problem, a crack in your sink can lead to bigger issues if left unfixed. In this article, we will discuss the steps for fixing a crack in an undermount bathroom sink.
Gather Your Materials
 Before you start the repair process, it's important to have all the necessary materials ready. This will save you time and ensure that the repair is done correctly. You will need a sink repair kit, which can be found at most hardware stores. The kit typically includes epoxy or adhesive, sandpaper, and a putty knife. You may also need a small brush for applying the adhesive and a cloth for wiping away excess material.
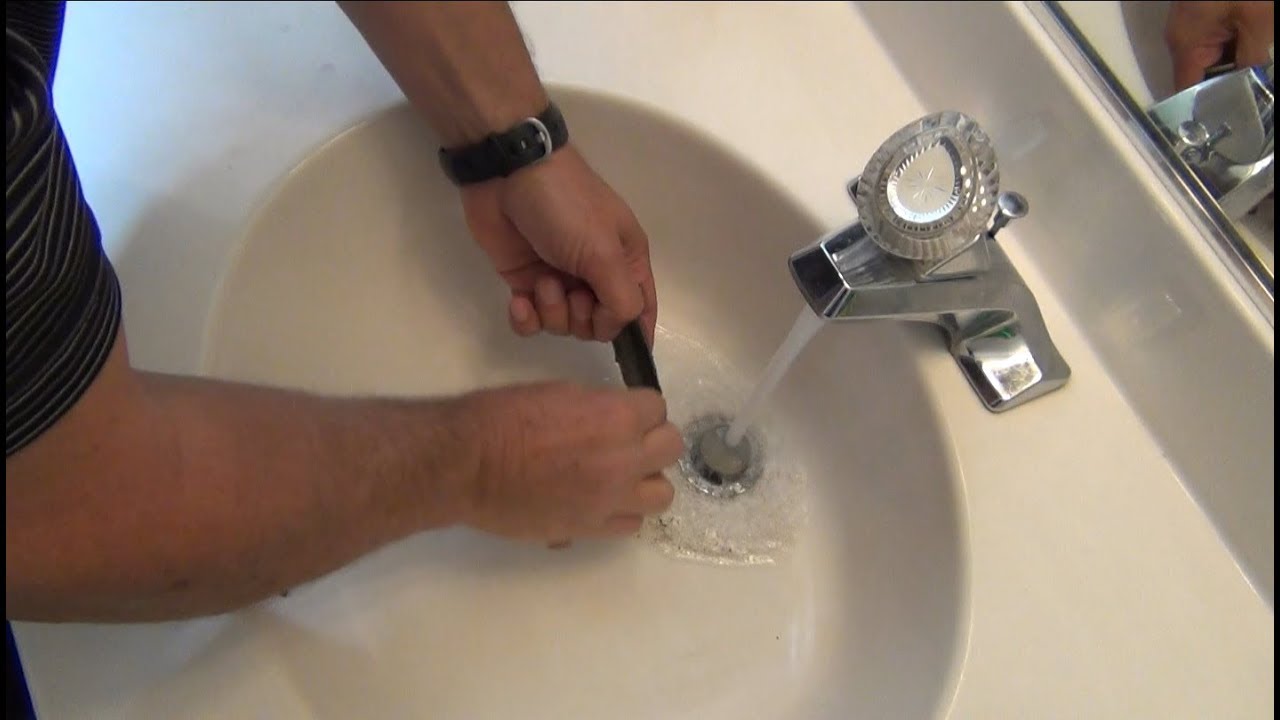
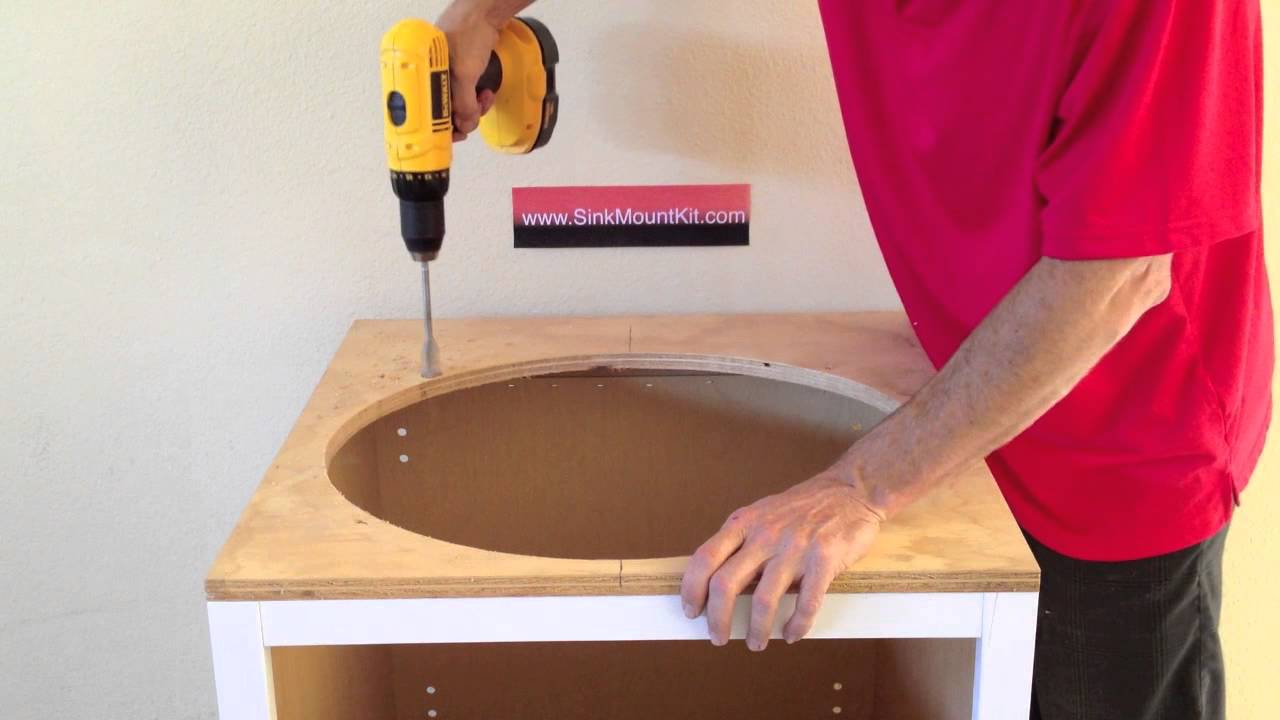
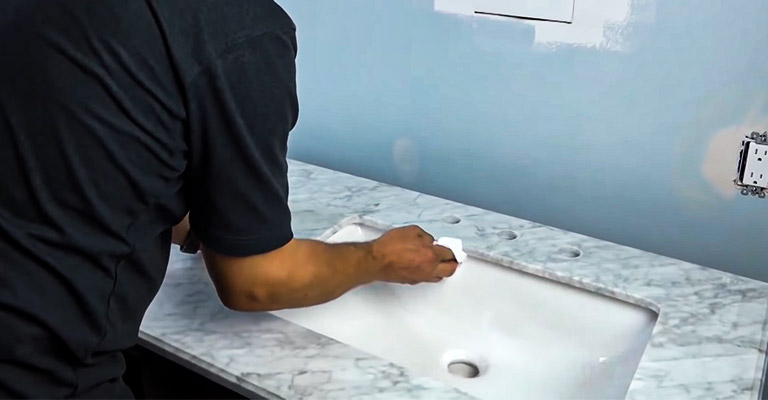
Clean and Prepare the Area
 Once you have all your materials, it's time to clean and prepare the area around the crack. Use a mild cleaner and a cloth to remove any dirt or debris from the sink. Then, use the sandpaper to roughen up the surface of the sink around the crack. This will help the adhesive bond better to the sink.
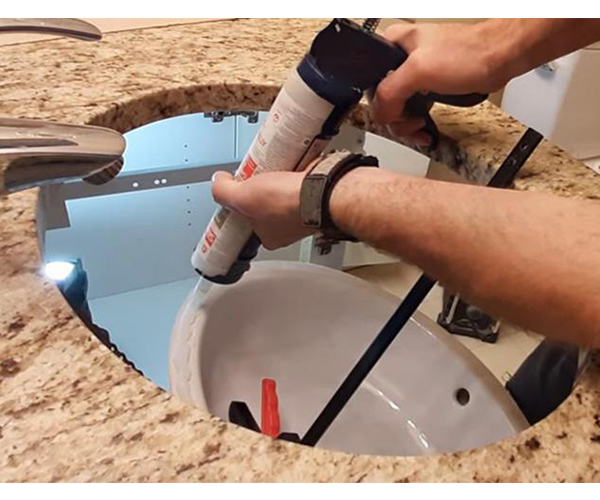
Apply the Adhesive
 Next, follow the instructions on your sink repair kit to mix the epoxy or adhesive. Using the small brush, carefully apply the adhesive to the crack, making sure to fill it in completely. You may need to work in layers, allowing each layer to dry before adding another. Once the crack is filled, use a putty knife to smooth out the surface and remove any excess adhesive.
Let it Dry
 After applying the adhesive, it's important to let it dry completely. This can take anywhere from 24-48 hours, depending on the type of adhesive used. Be sure to follow the recommended drying time on your repair kit.
Finishing Touches
 Once the adhesive is completely dry, use the sandpaper to smooth out any rough edges and give the sink a polished look. You can also apply a sealant to further protect the repaired area. And just like that, your undermount bathroom sink is as good as new!
Remember: It's always best to address any issues with your sink as soon as possible to prevent further damage and costly repairs.
Once the adhesive is completely dry, use the sandpaper to smooth out any rough edges and give the sink a polished look. You can also apply a sealant to further protect the repaired area. And just like that, your undermount bathroom sink is as good as new!
Remember: It's always best to address any issues with your sink as soon as possible to prevent further damage and costly repairs.
In Conclusion
 Fixing a crack in an undermount bathroom sink may seem like a daunting task, but with the right materials and steps, it can be easily done at home. Regular maintenance and prompt repairs can help extend the lifespan of your undermount sink and keep it looking beautiful for years to come. So, if you notice a crack in your sink, don't wait. Follow these steps and get your sink looking brand new again.