How to Fix a Bathroom Sink to the Wall
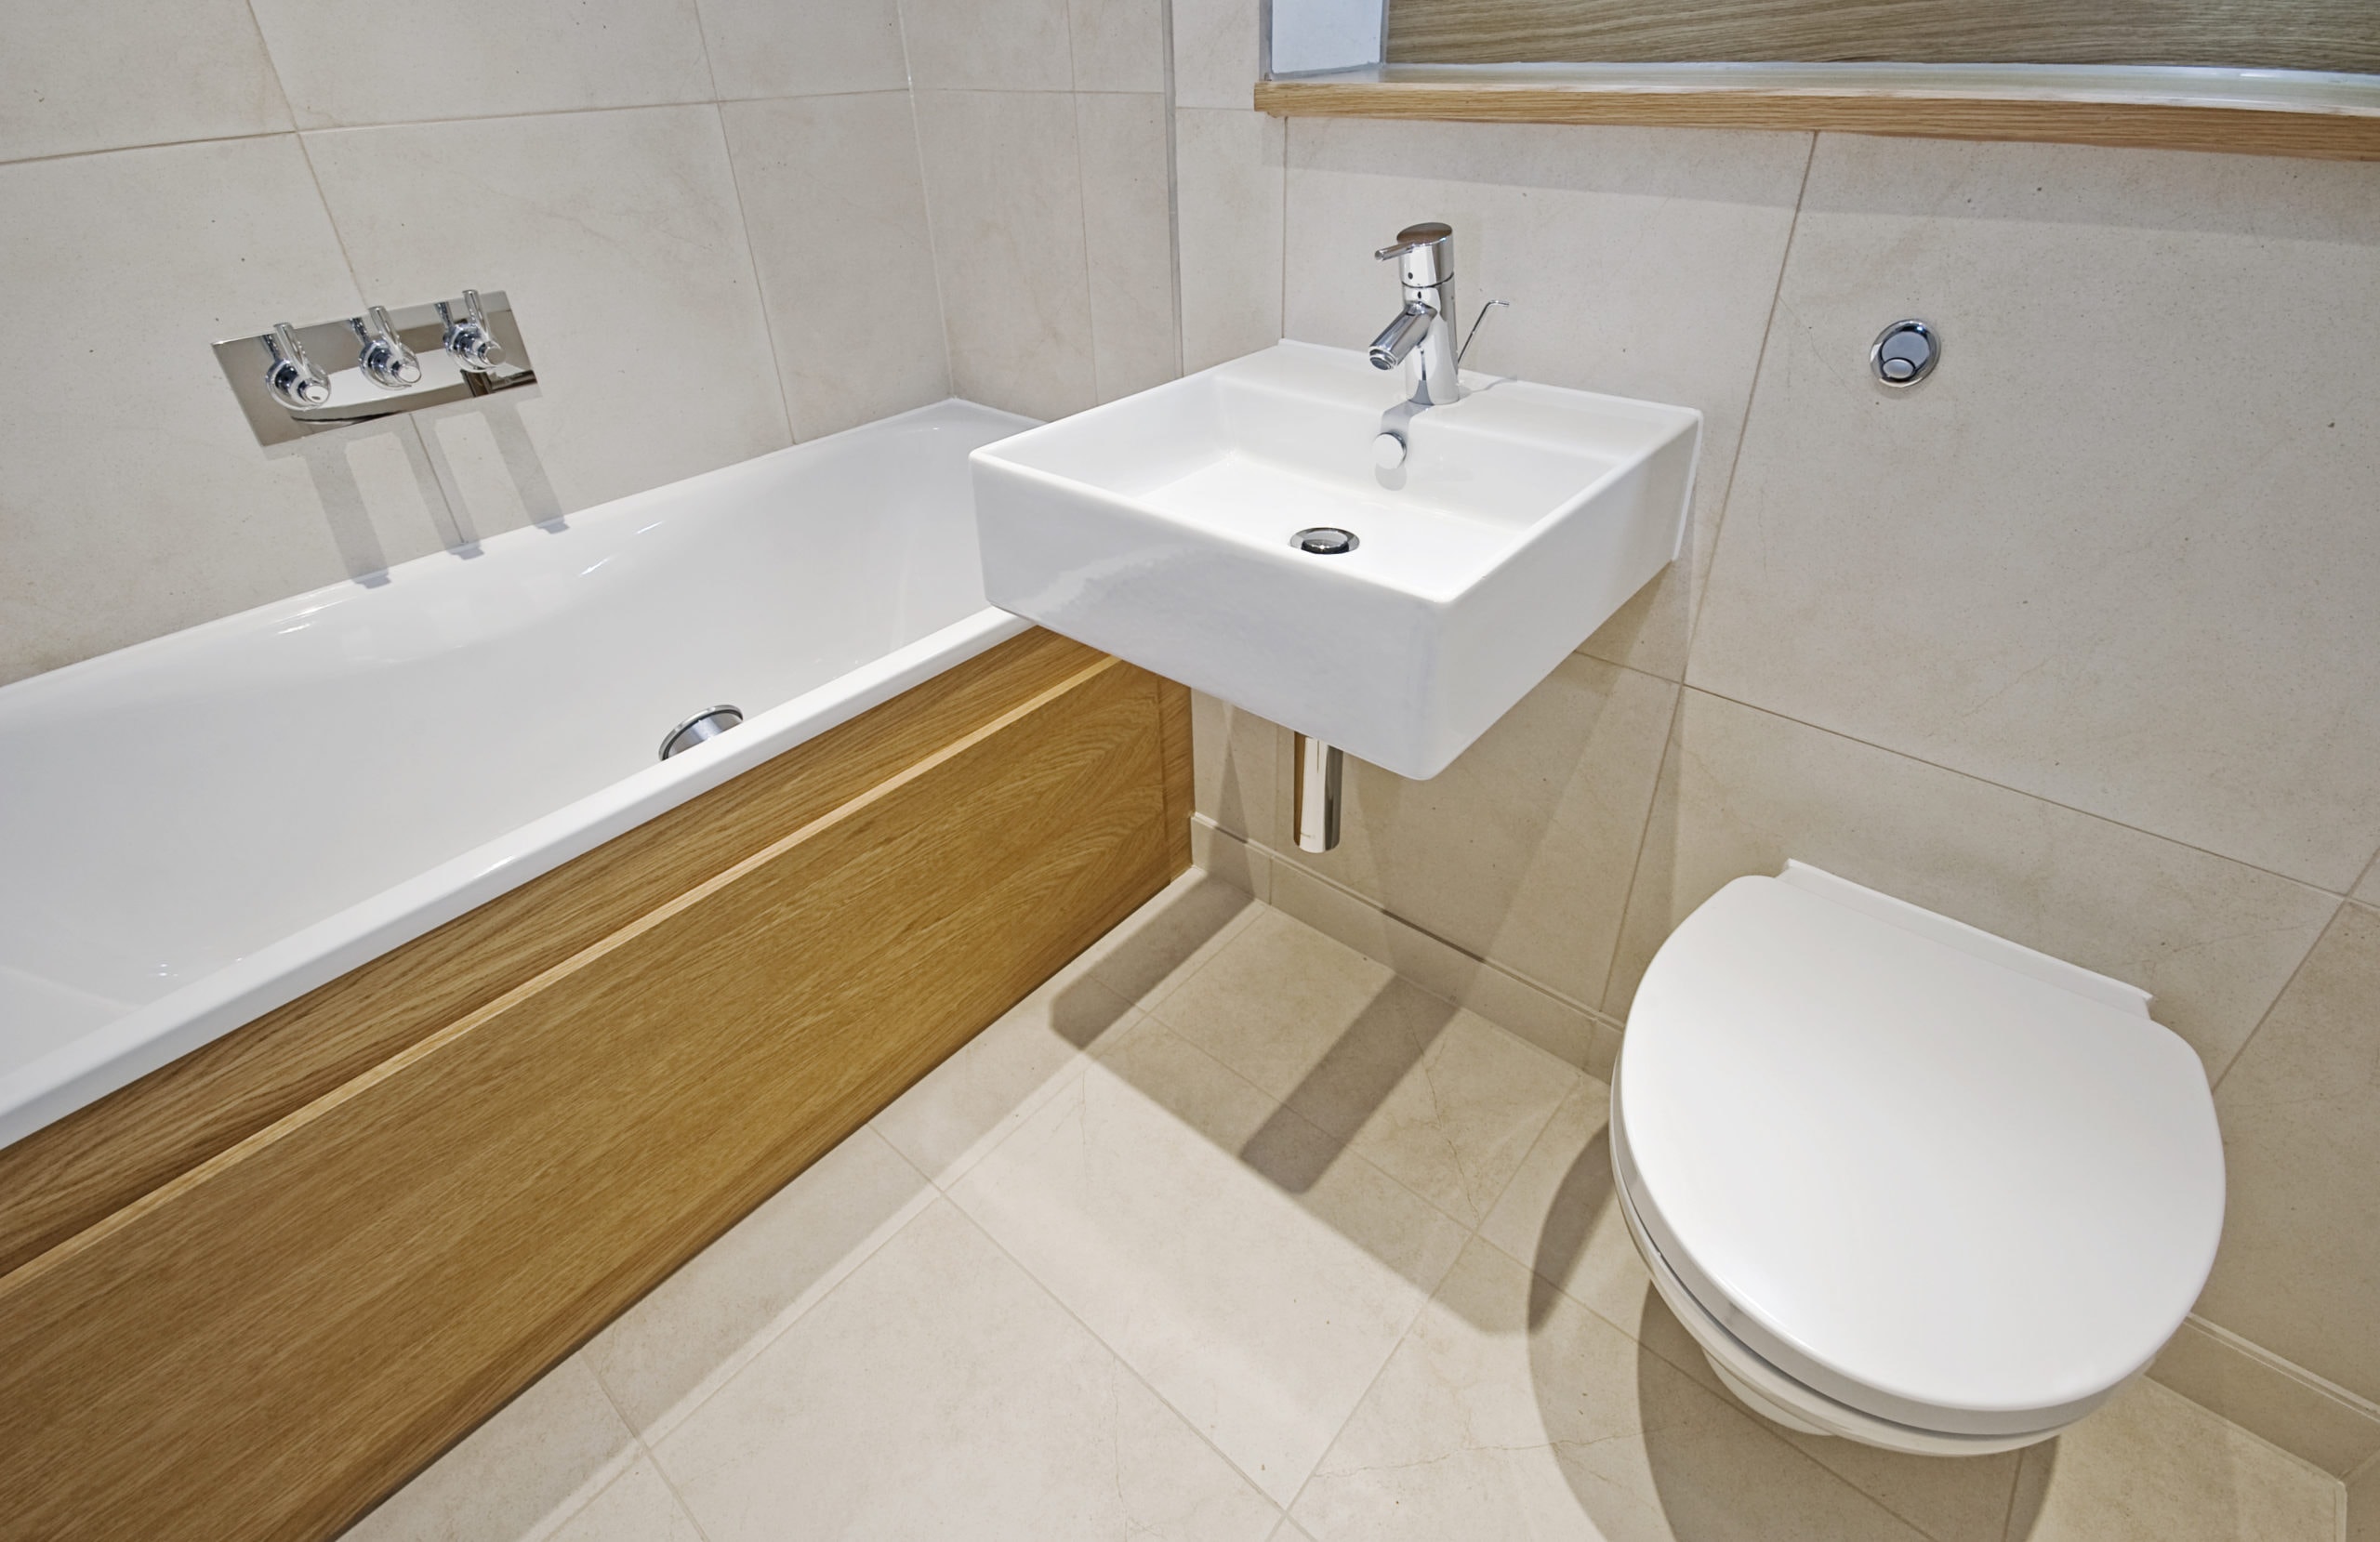
Are you tired of a wobbly bathroom sink that takes up precious counter space? Mounting your sink to the wall can be a great solution for a more modern and space-saving bathroom. But how do you go about it? Here's a step-by-step guide on fixing a bathroom sink to the wall.
Fixing a Bathroom Sink to the Wall: A Step-by-Step Guide
Before you begin, make sure you have all the necessary tools and materials, including a wall-mounted sink, mounting hardware, a drill, level, screwdriver, and silicone sealant. Once you have everything ready, follow these steps:
Step 1: Measure and Mark
Start by measuring the distance between the center of the sink's drain and the wall. Use this measurement to mark the location of the sink's mounting holes on the wall. Next, measure the distance between the mounting holes on the sink and mark them on the wall. Use a level to ensure the marks are straight and even.
Step 2: Drill Holes
Using a drill, create holes in the marked locations on the wall. Make sure the holes are the correct size for the mounting hardware you have. You may need to use a masonry bit if you have a tiled wall.
Step 3: Install Mounting Hardware
Insert the mounting hardware into the holes on the wall. Make sure they are securely fastened and flush with the wall. If you have a tiled wall, use a tile drill bit and wall anchors for a more secure hold.
Step 4: Apply Sealant
Before placing the sink on the wall, apply silicone sealant to the back of the sink where it will come in contact with the wall. This will help create a watertight seal and prevent any leaks.
Step 5: Attach Sink to Wall
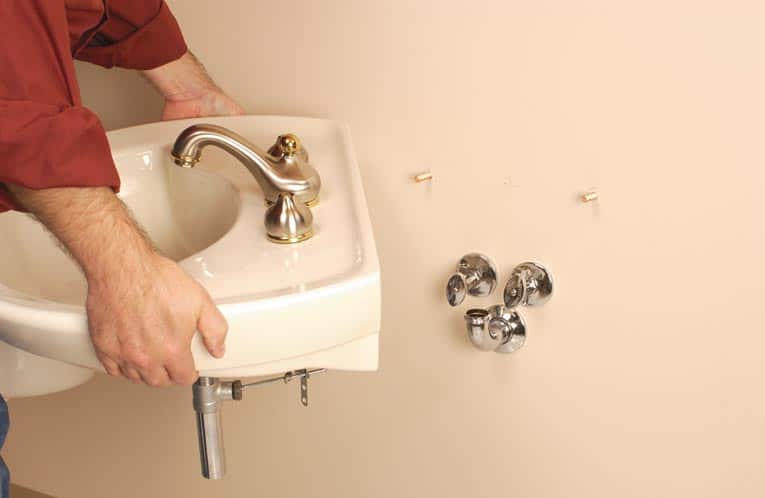
With the help of a friend, carefully lift the sink and place it onto the mounting hardware on the wall. Make sure the sink is level and adjust if necessary. Once it is in the correct position, use a screwdriver to tighten the mounting screws and secure the sink to the wall.
Step 6: Connect Plumbing
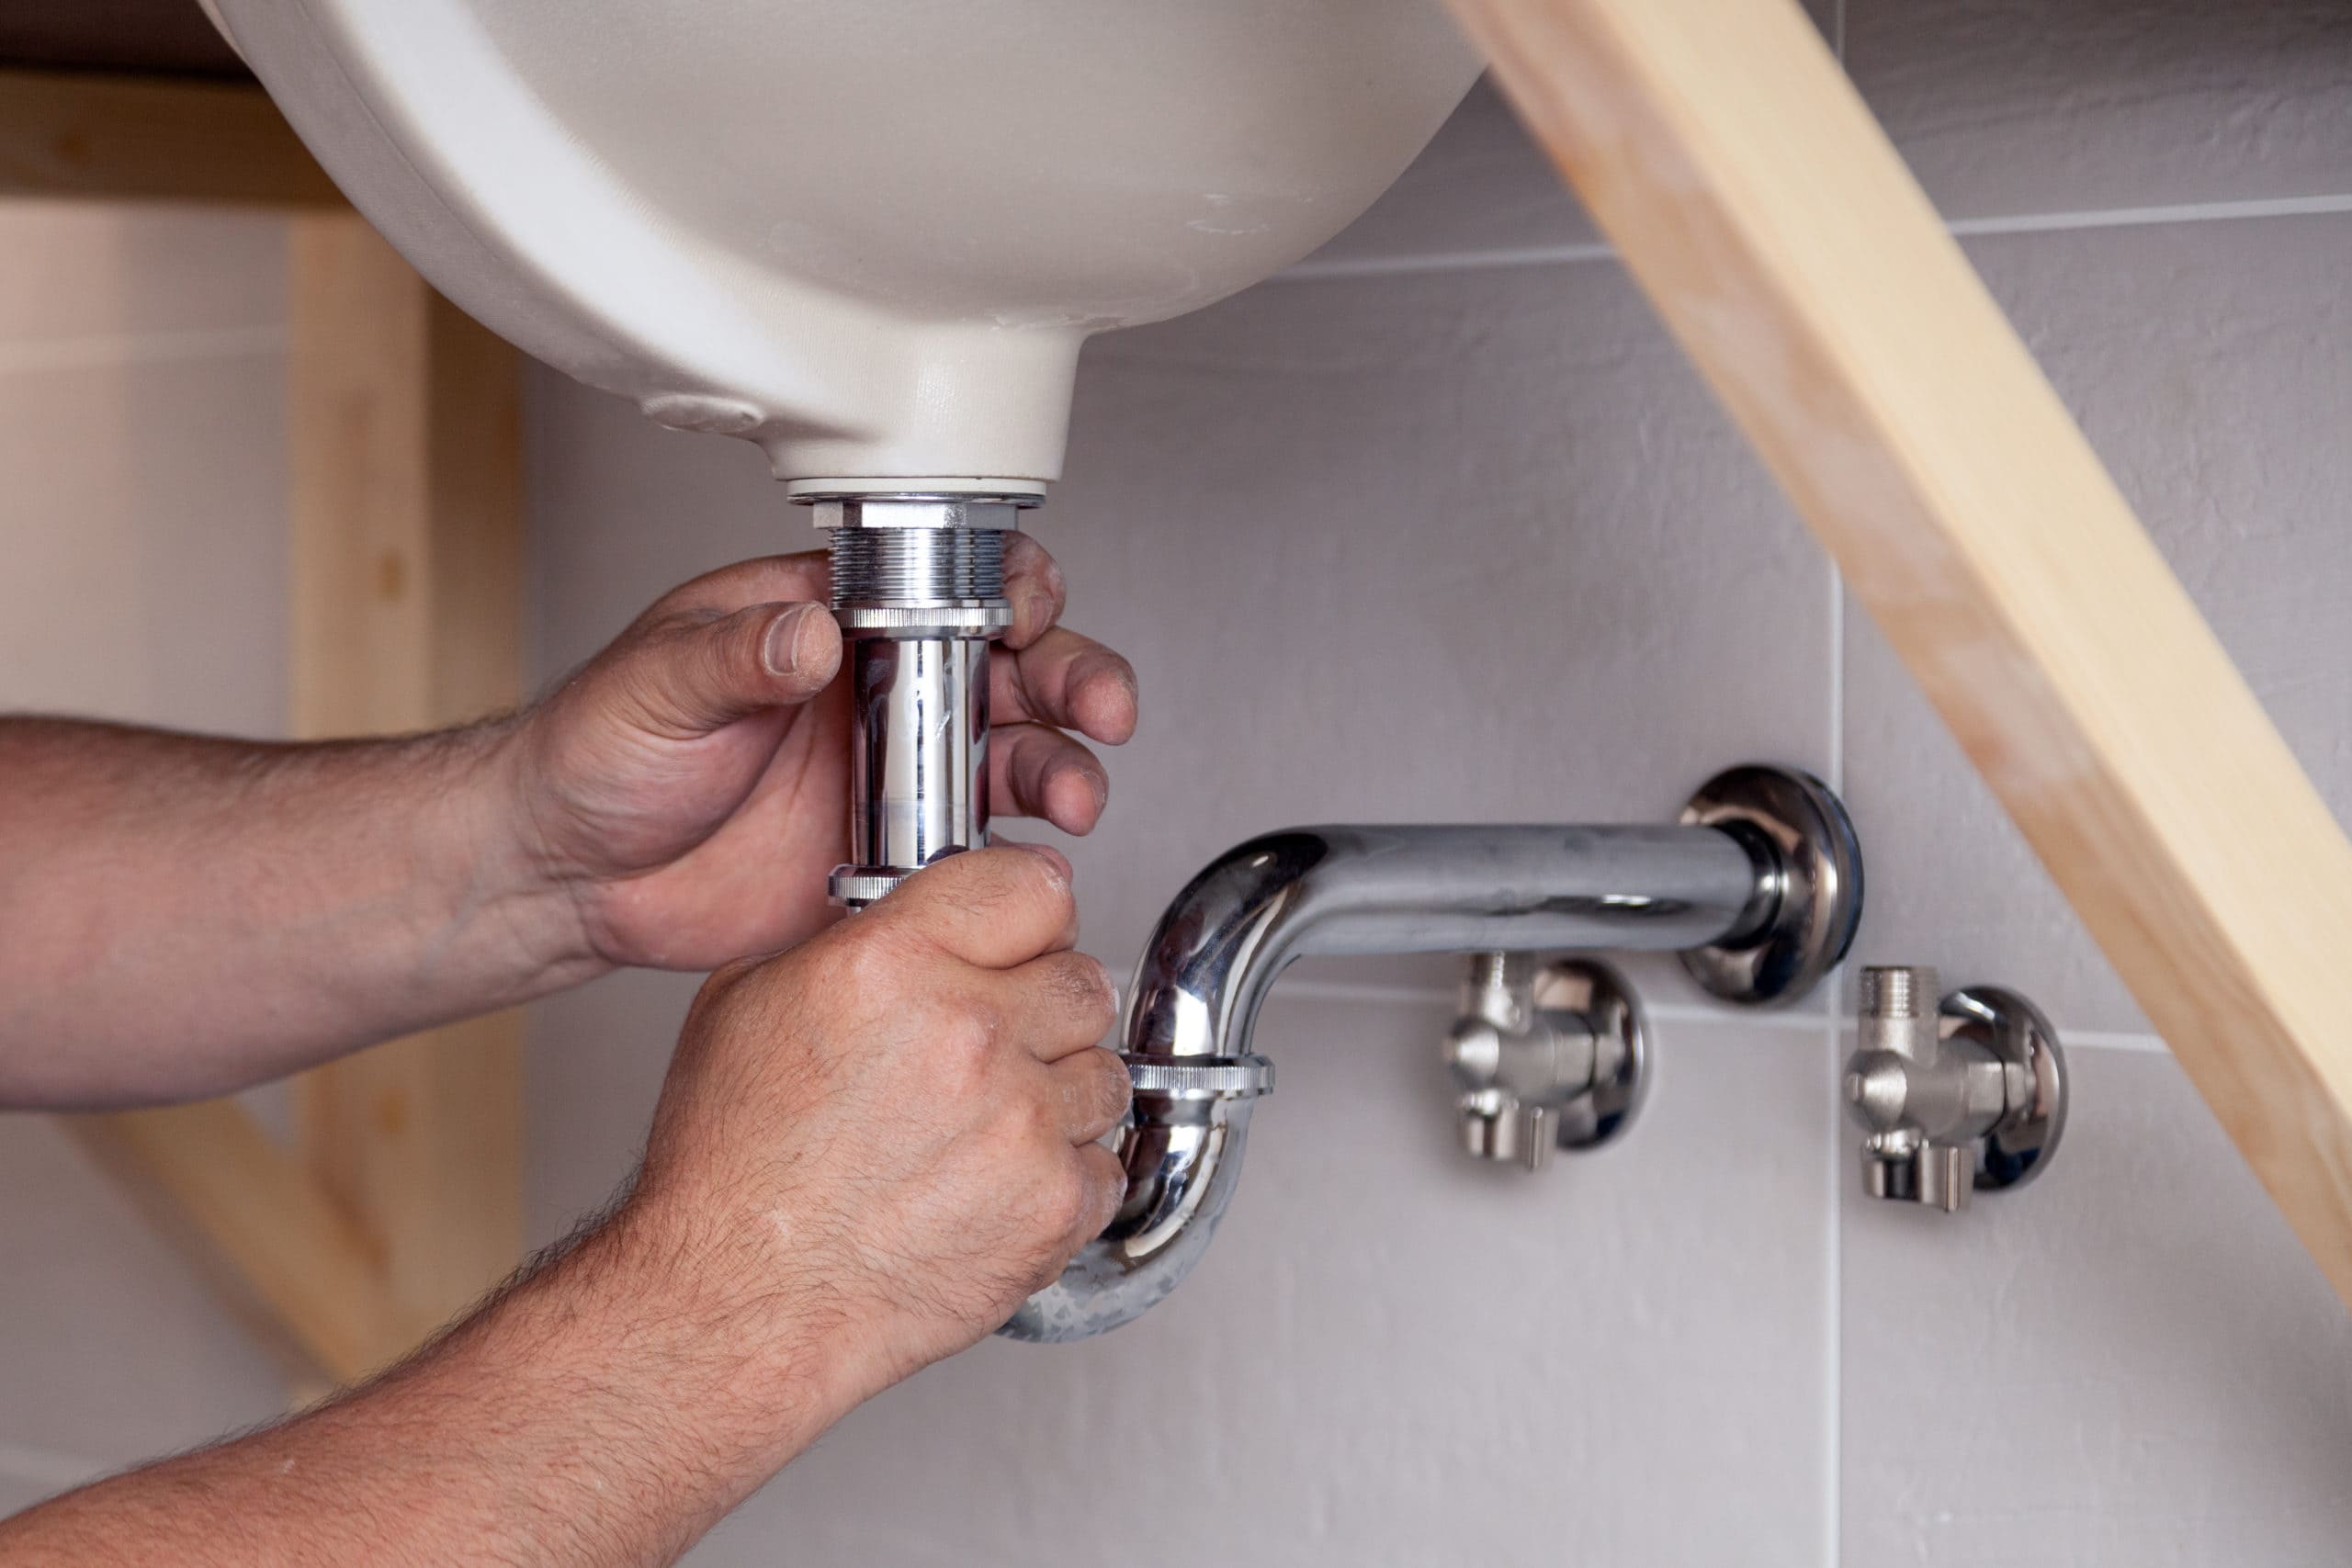
With the sink securely attached to the wall, you can now connect the plumbing. This may require some adjustments depending on the location of your previous sink. Make sure all connections are tight and there are no leaks.
Wall-Mounted Bathroom Sink Installation: Tips and Tricks
If you're new to DIY projects, here are some tips and tricks to keep in mind when installing a wall-mounted bathroom sink:
1. Choose the right sink: Make sure you choose a sink that is designed for wall-mounting and has the necessary mounting holes and hardware included.
2. Find the studs: When drilling into the wall, make sure you locate and use the studs for a more secure hold.
3. Use a level: It's important to make sure your sink is level before securing it to the wall. This will prevent any potential issues with drainage.
4. Seal properly: Using silicone sealant is crucial to prevent any water leakage between the sink and the wall. Make sure you apply it evenly and wipe off any excess.
5. Check for leaks: After installation, run water through the sink and check for any leaks. If there are any, tighten the connections or reapply sealant if necessary.
DIY Bathroom Sink Wall Mount: Easy and Affordable
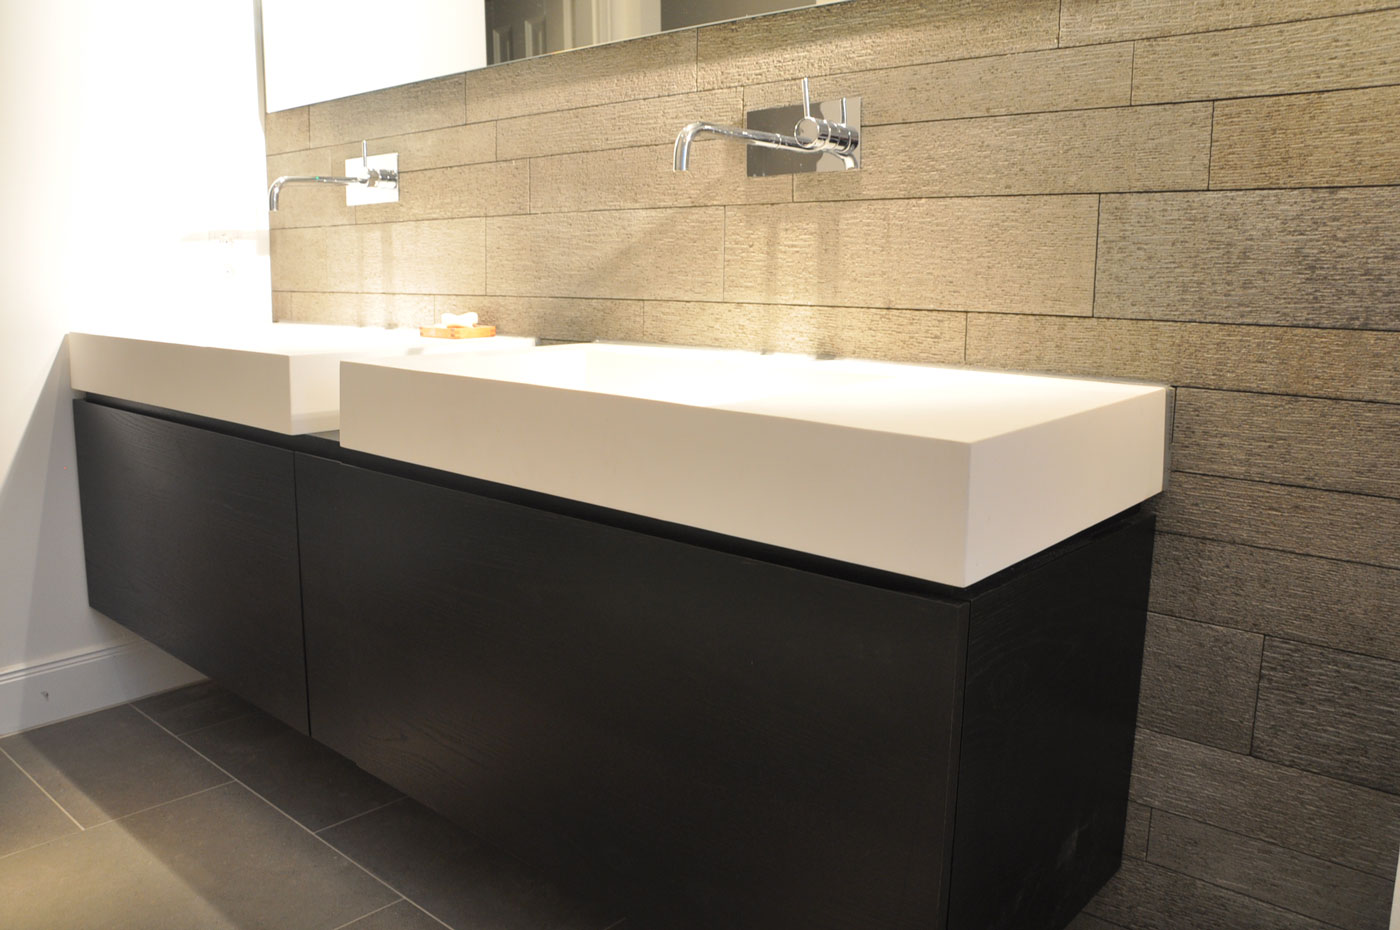
Mounting your bathroom sink to the wall can be an easy and cost-effective DIY project. With the right tools and materials, you can achieve a sleek and modern look without breaking the bank. Plus, it's a great way to save space in a small bathroom.
Securing the Sink to the Wall

Proper Installation is Key
 When it comes to fixing a bathroom sink to the wall, proper installation is key. A secure and stable sink is essential for not only the functionality of your bathroom, but also for the overall aesthetics of your space. With the right tools and techniques, you can easily and effectively secure your sink to the wall, ensuring a long-lasting and sturdy fixture.
Tools and Materials
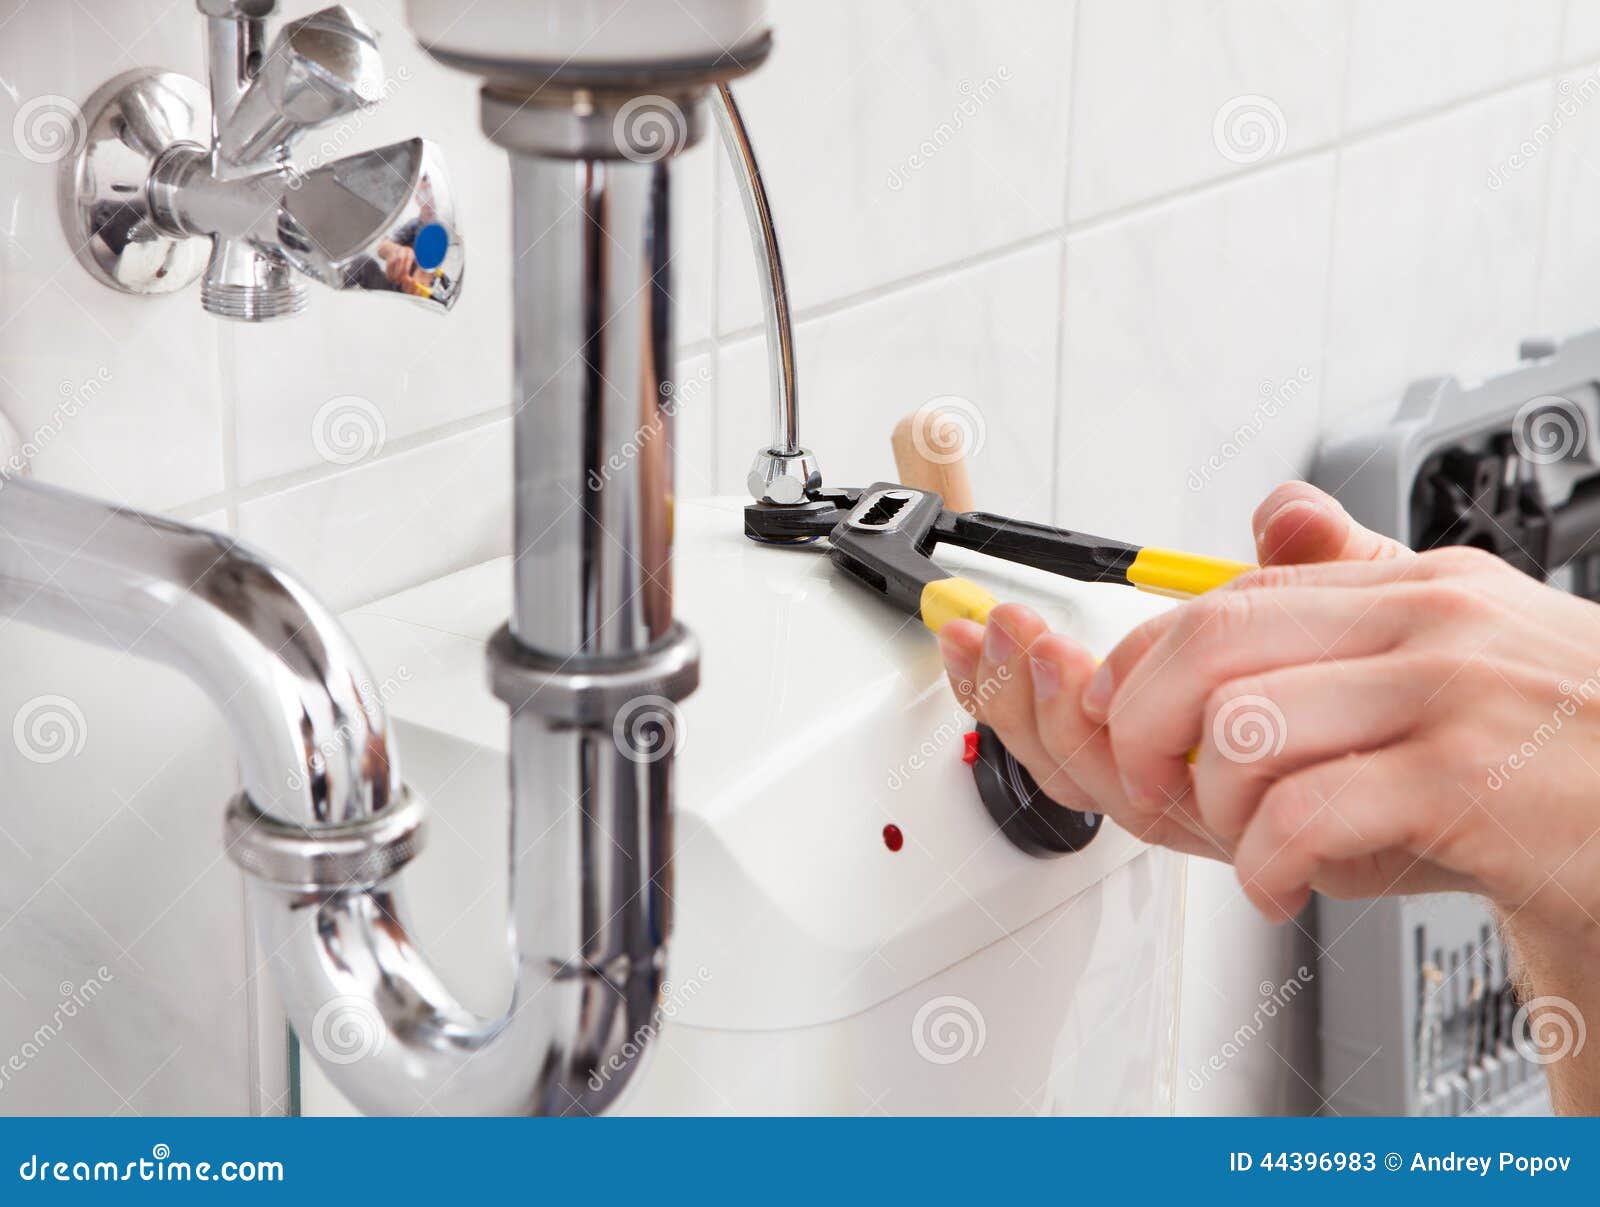 Before beginning the installation process, it's important to gather all necessary tools and materials. These may include a drill, level, screws, screwdriver, mounting brackets, and a silicone adhesive. It's also important to have someone to assist you, as holding the sink in place while securing it to the wall can be a two-person job.
Step-by-Step Guide
 Step 1: Locate the Studs
Using a stud finder, locate the studs on the wall where you will be installing the sink. This will provide the necessary support for the weight of the sink and prevent it from pulling away from the wall.
Step 2: Mark the Placement
Using a pencil, mark the placement of the sink on the wall, ensuring it is level and centered.
Step 3: Drill Pilot Holes
Using a drill bit slightly smaller than the screws, drill pilot holes into the studs where you marked the placement of the sink.
Step 4: Install Mounting Brackets
Next, install the mounting brackets onto the wall using the screws and screwdriver. Make sure the brackets are securely attached to the studs.
Step 5: Apply Adhesive
Using a silicone adhesive, apply a generous amount to the back of the sink where it will be in contact with the wall.
Step 6: Secure Sink to Wall
With the help of your assistant, carefully lift the sink and place it onto the mounting brackets on the wall. Make sure the sink is level and firmly pressed against the wall to ensure proper adhesion.
Step 7: Clean Up
Wipe away any excess adhesive and clean up any mess around the sink. Allow the adhesive to dry according to the manufacturer's instructions.
Final Thoughts
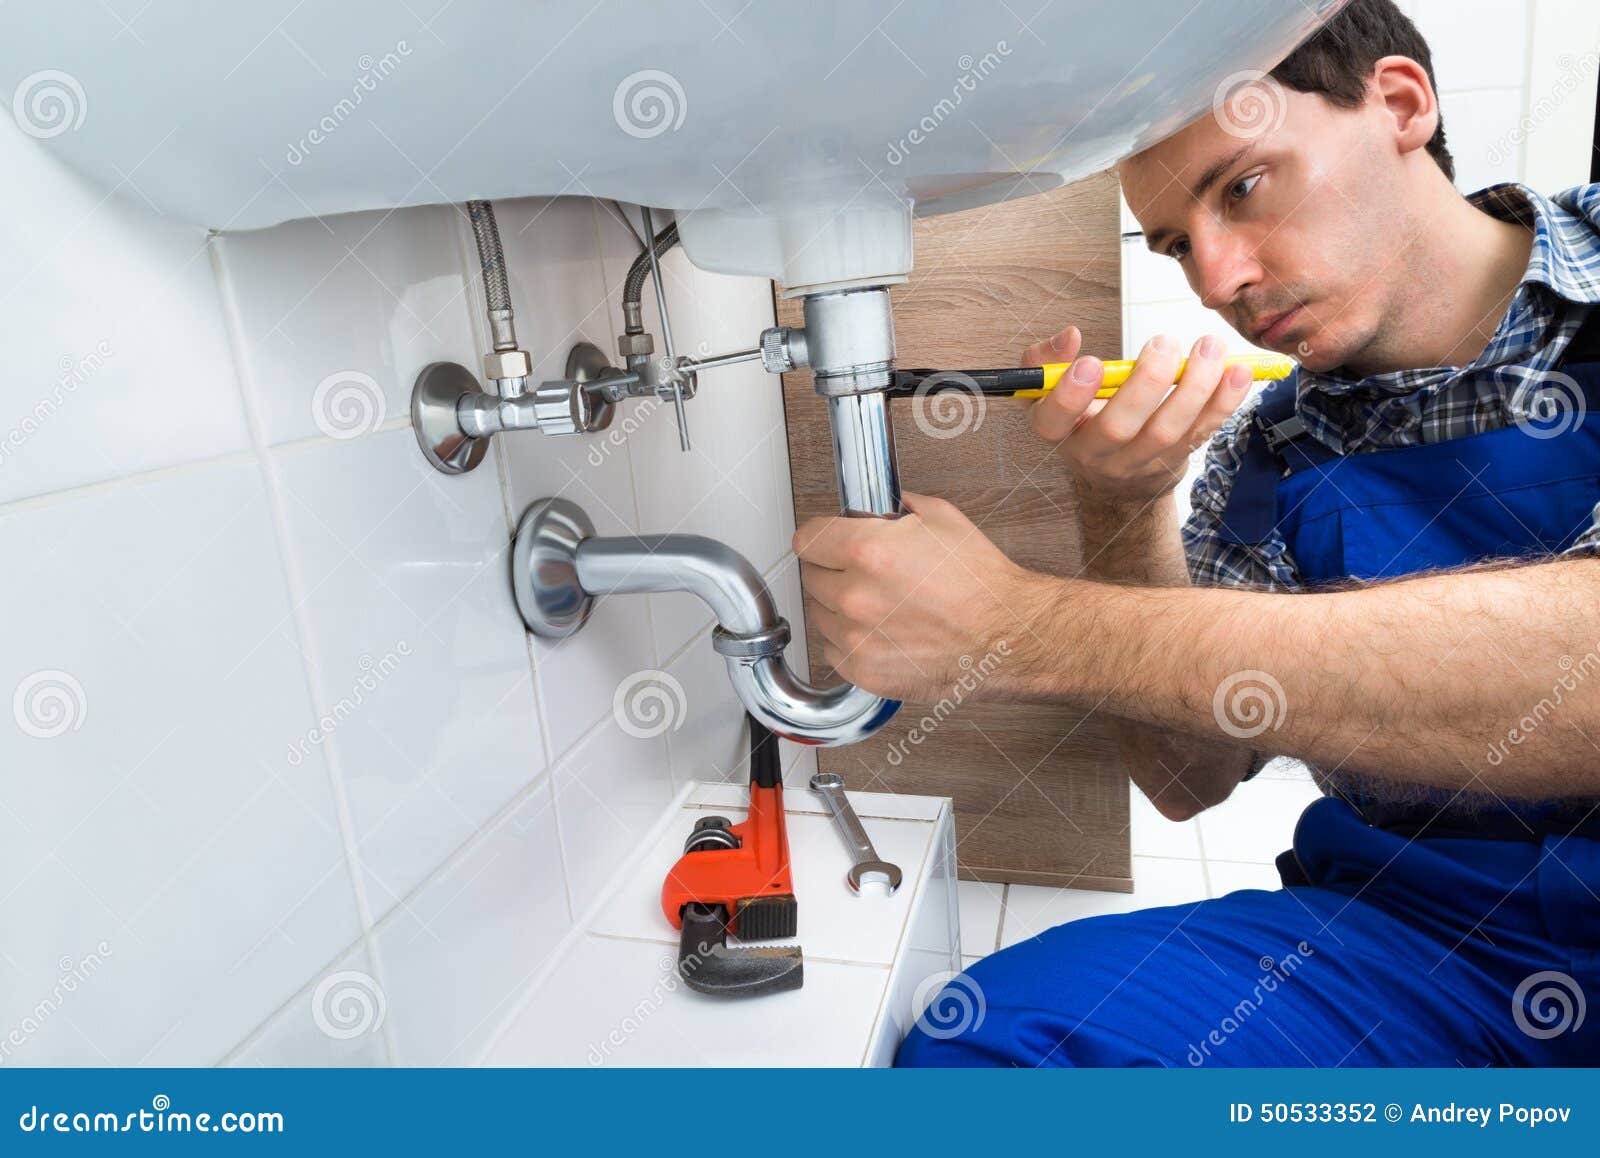 It's important to take the time and care to properly secure your bathroom sink to the wall. Not only will this ensure its stability and functionality, but it will also add to the overall design and aesthetics of your space. With the right tools and techniques, you can easily complete this project and enjoy your newly installed sink for years to come.
