Dealing with a clogged bathroom sink can be a frustrating experience. Not only does it disrupt your daily routine, but it can also lead to unpleasant odors and potential water damage. Fortunately, one of the most effective tools for unclogging a bathroom sink is a plunger. With a few simple steps, you can quickly and easily fix your clogged sink and get back to your daily routine. Fixing a Clogged Bathroom Sink with a Plunger


Fixing a Clogged Bathroom Sink with a Plunger


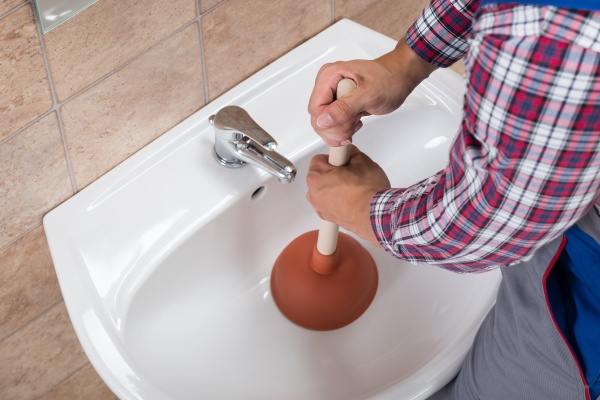
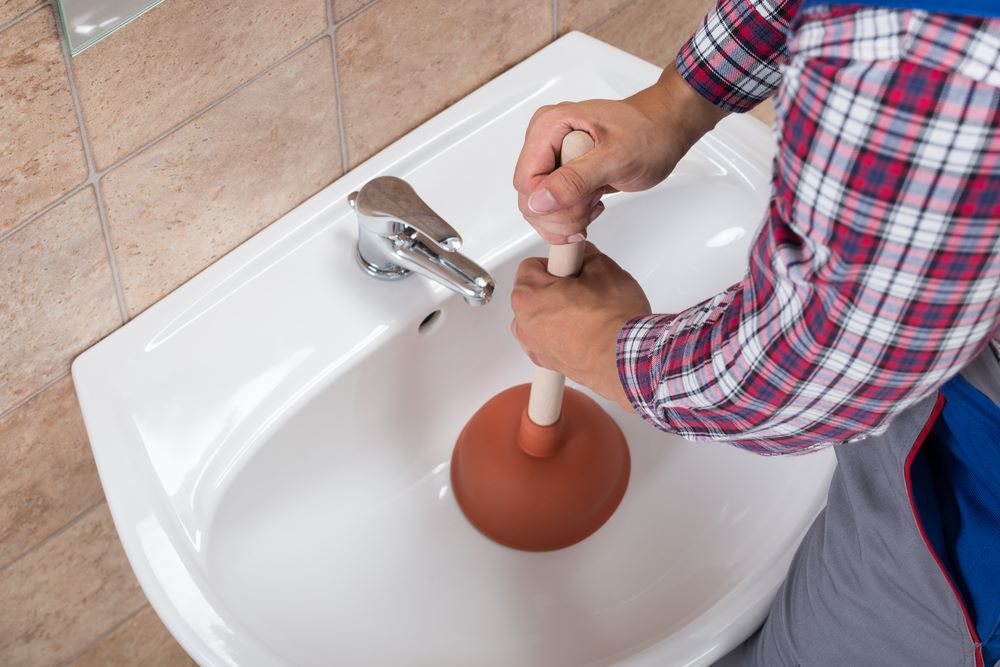
Before you begin, make sure you have the right type of plunger for the job. A flat-bottomed plunger, also known as a cup plunger, is best for unclogging a bathroom sink. Once you have your plunger, follow these steps: 1. Fill the sink with enough water to cover the bottom of the plunger. 2. Place the plunger over the drain and push down firmly to create a seal. 3. Pull up and down on the plunger in a steady motion, making sure to keep the seal intact. 4. Continue plunging until the water starts to drain. 5. Once the water is draining, run hot water for a few minutes to flush out any remaining debris. How to Use a Plunger to Unclog a Bathroom Sink
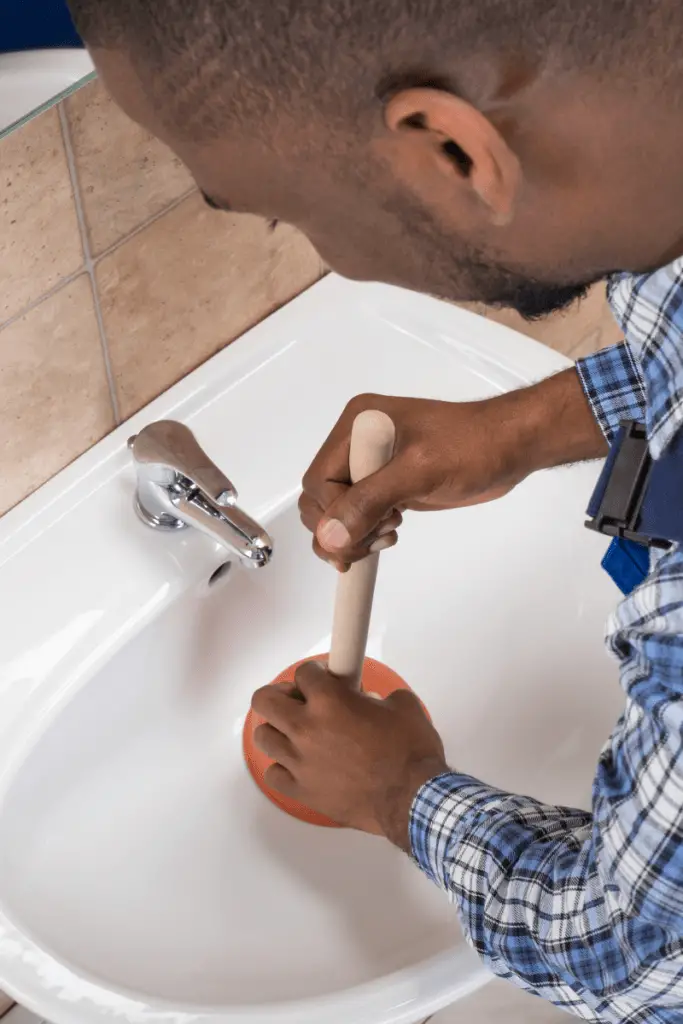

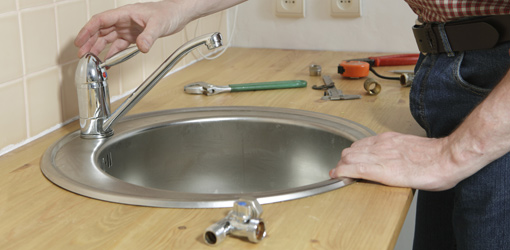
:max_bytes(150000):strip_icc()/plumber-unclogging-kitchen-sink-169270382-5797a9355f9b58461f27f024.jpg)
How to Use a Plunger to Unclog a Bathroom Sink


If your plunger is not creating a good seal or is not working effectively, there may be some simple repairs you can do yourself. 1. Inspect the rubber portion of the plunger for any cracks or tears. If you find any, you can patch them with a piece of duct tape or replace the rubber entirely. 2. Check the handle of the plunger to make sure it is securely attached. If it is loose, tighten any screws or bolts to ensure a secure grip. 3. If the plunger is not creating a good seal, try adding petroleum jelly or dish soap to the rim to help create a better suction. DIY Bathroom Sink Plunger Repair


DIY Bathroom Sink Plunger Repair


Sometimes, a plunger can get stuck in the drain of a bathroom sink, making it difficult to remove. Here are a few tips to help you remove a stuck plunger: 1. Try pouring hot water over the plunger to help loosen it. 2. Use a plunger puller or a pair of pliers to grip the handle and gently twist and pull upwards. 3. If all else fails, you may need to call a professional plumber for assistance. Troubleshooting a Stuck Plunger in a Bathroom Sink


Troubleshooting a Stuck Plunger in a Bathroom Sink


If you find yourself with a plunger stuck in your bathroom sink, don't panic. There is a simple solution that can help you remove it quickly and easily. 1. Fill a pot or bucket with hot water. 2. Carefully pour the hot water over the plunger, focusing on the areas where it is stuck. 3. Wait a few minutes for the hot water to loosen the plunger. 4. Gently twist and pull upwards on the handle to remove the plunger. Quick and Easy Fix for a Plunger Stuck in a Bathroom Sink


Quick and Easy Fix for a Plunger Stuck in a Bathroom Sink


If your bathroom sink is completely clogged and water is not draining at all, using a plunger may require a slightly different approach. Follow these steps for a successful unclogging: 1. Remove any standing water from the sink using a cup or bucket. 2. Fill the sink with enough water to cover the bottom of the plunger. 3. Place the plunger over the drain and push down firmly to create a seal. 4. Pull up and down on the plunger in a steady motion, making sure to keep the seal intact. 5. If the water starts to drain, continue plunging until the sink is completely unclogged. 6. If the water does not drain, you may need to try a different method, such as using a drain snake or calling a professional plumber. Unclogging a Bathroom Sink with a Plunger: Step-by-Step Guide


Unclogging a Bathroom Sink with a Plunger: Step-by-Step Guide


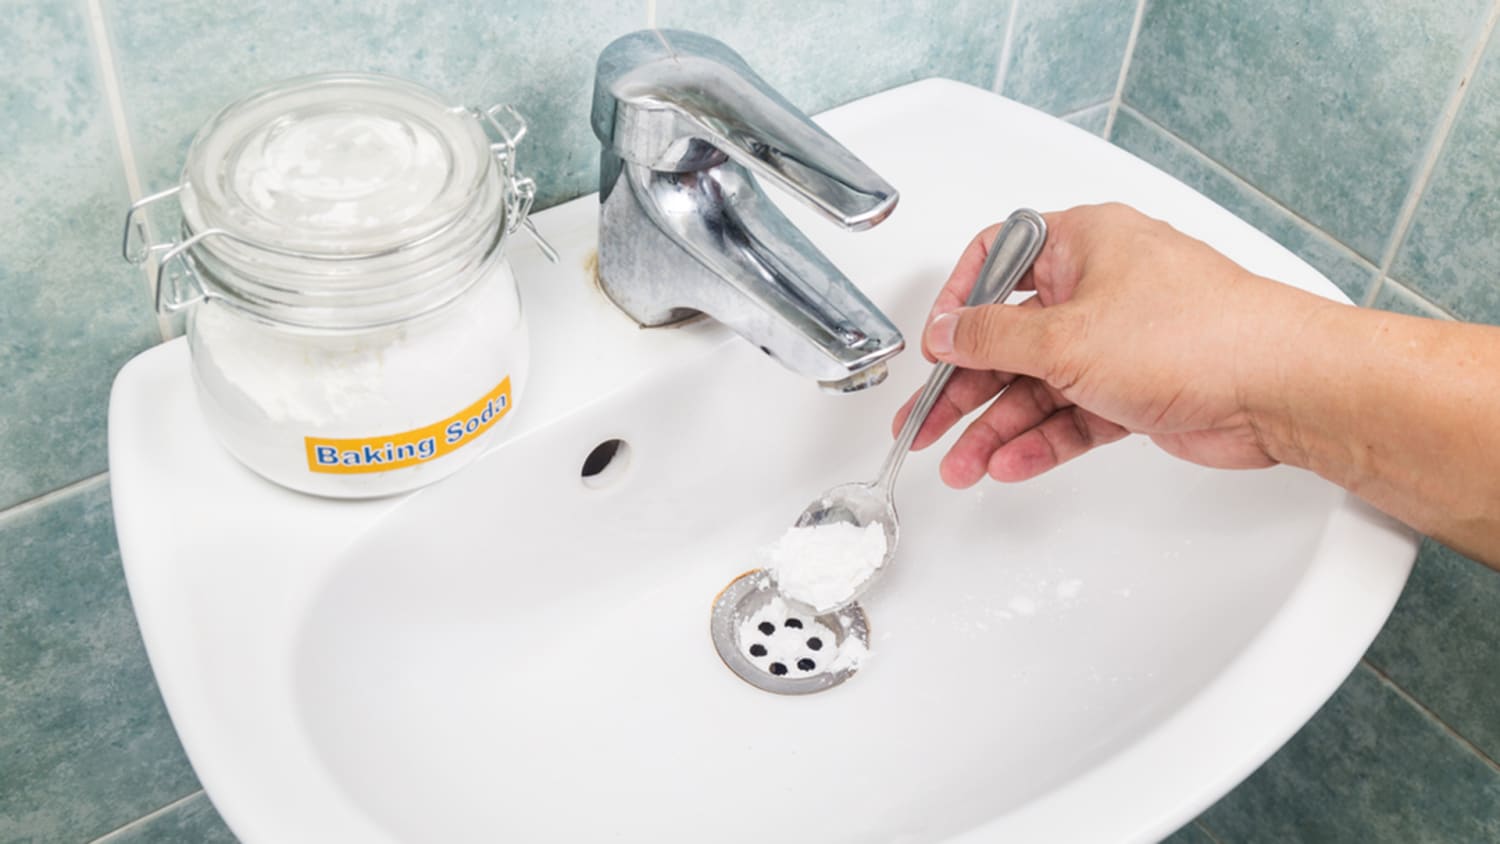


While using a plunger may seem like a simple task, there are some common mistakes that can make the process less effective. Here are some things to avoid when using a plunger on a bathroom sink: 1. Not filling the sink with enough water. The water helps to create a better seal and provides more pressure for unclogging. 2. Not maintaining a steady motion while plunging. This can break the seal and make the process less effective. 3. Using a plunger on a sink that has been recently treated with chemical drain cleaners. These chemicals can cause harmful fumes when mixed with the water in the sink. 4. Not properly cleaning and maintaining your plunger after use. This can lead to a less effective seal and may spread bacteria and germs. Common Mistakes to Avoid When Using a Plunger on a Bathroom Sink


Common Mistakes to Avoid When Using a Plunger on a Bathroom Sink


To ensure your plunger is always ready for use, here are some tips for maintaining it: 1. After each use, rinse the plunger off with hot water and soap. 2. Allow the plunger to air dry completely before storing it. 3. Store the plunger in a dry, clean area to prevent the growth of bacteria and mold. 4. Replace your plunger every 6 months to a year, or as needed. Tips for Maintaining Your Bathroom Sink Plunger


Tips for Maintaining Your Bathroom Sink Plunger


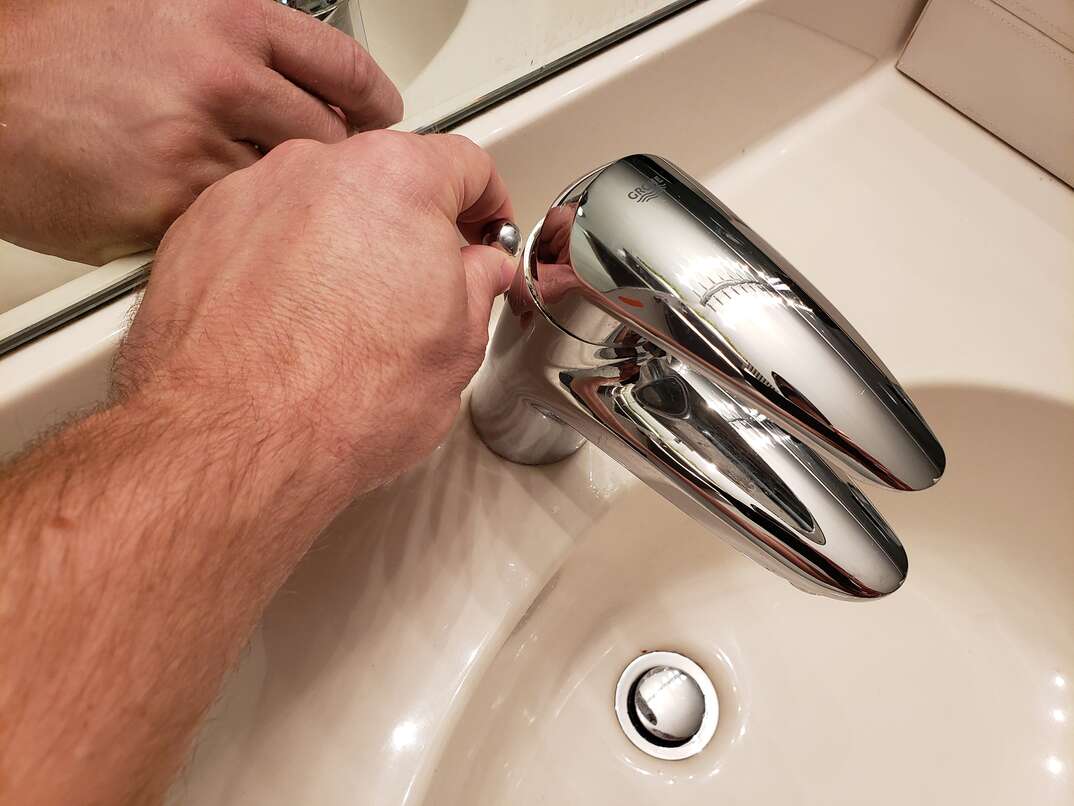
If you find that your plunger is not staying in place while you are trying to unclog your bathroom sink, there are a few simple solutions you can try: 1. Make sure the rim of the plunger is clean and free of any debris. 2. Wet the rim of the plunger before placing it over the drain. This can help create a better seal. 3. Use a plunger with a larger diameter for a better fit. How to Fix a Plunger That Won't Stay in Place in a Bathroom Sink


How to Fix a Plunger That Won't Stay in Place in a Bathroom Sink


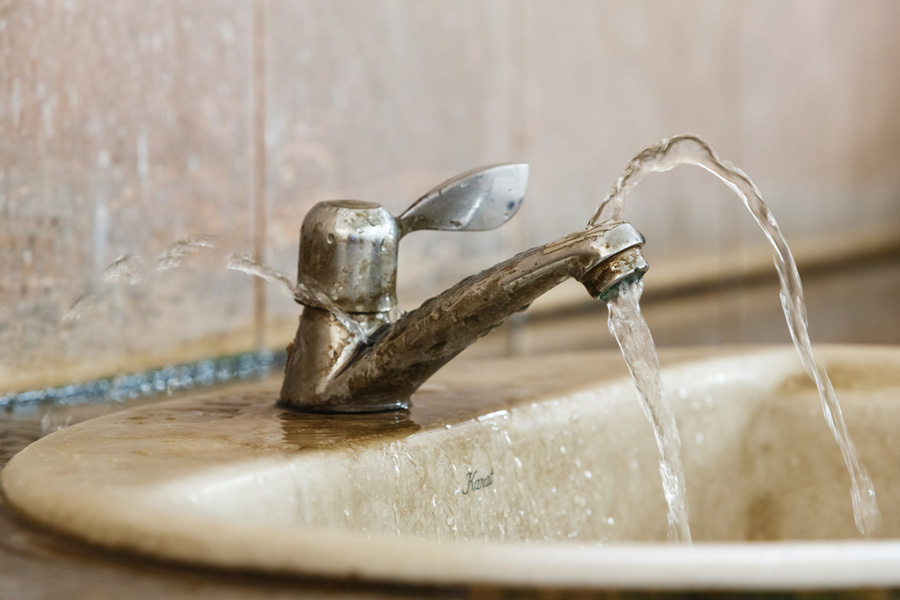
If you find that water is leaking out of the plunger while you are using it, there may be a few reasons for this. Here are some troubleshooting tips: 1. Check the rubber portion of the plunger for any cracks or tears. If you find any, you may need to replace the rubber or patch it with duct tape. 2. Make sure the plunger is securely attached to the handle. If it is loose, tighten any screws or bolts. 3. See if the plunger is the right size for your sink. If it is too small, it may not create a proper seal. With these tips and techniques, you can easily fix a clogged bathroom sink with a plunger. Remember to properly maintain your plunger and know when to call in a professional if the clog cannot be resolved with a plunger. With a little bit of effort, you can keep your bathroom sink running smoothly and avoid any future clogs. Troubleshooting a Leaky Plunger in a Bathroom Sink


Troubleshooting a Leaky Plunger in a Bathroom Sink


The Importance of Proper Sink Maintenance

Why a Clogged Sink is a Major Problem
 Keeping your bathroom sink in good working condition is crucial for the overall functionality and appearance of your home. A clogged sink can not only be inconvenient, but it can also lead to more serious issues if left untreated. Water may back up and cause flooding, which can damage your sink, cabinets, and even your floors. Additionally, a clogged sink can result in unpleasant odors and bacteria buildup, making it an unsanitary environment for you and your family.
Understanding the Plunger and Its Purpose
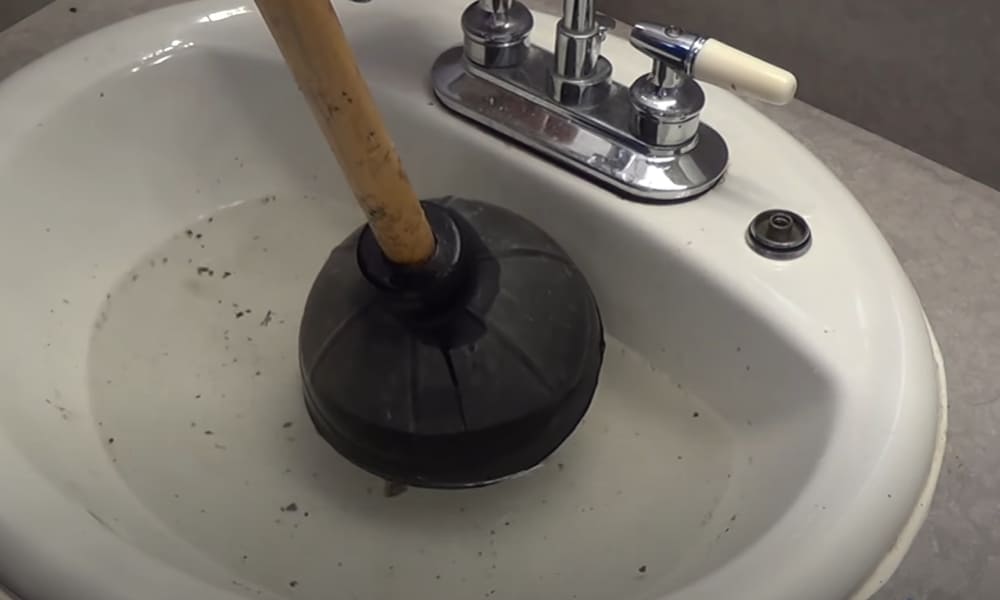
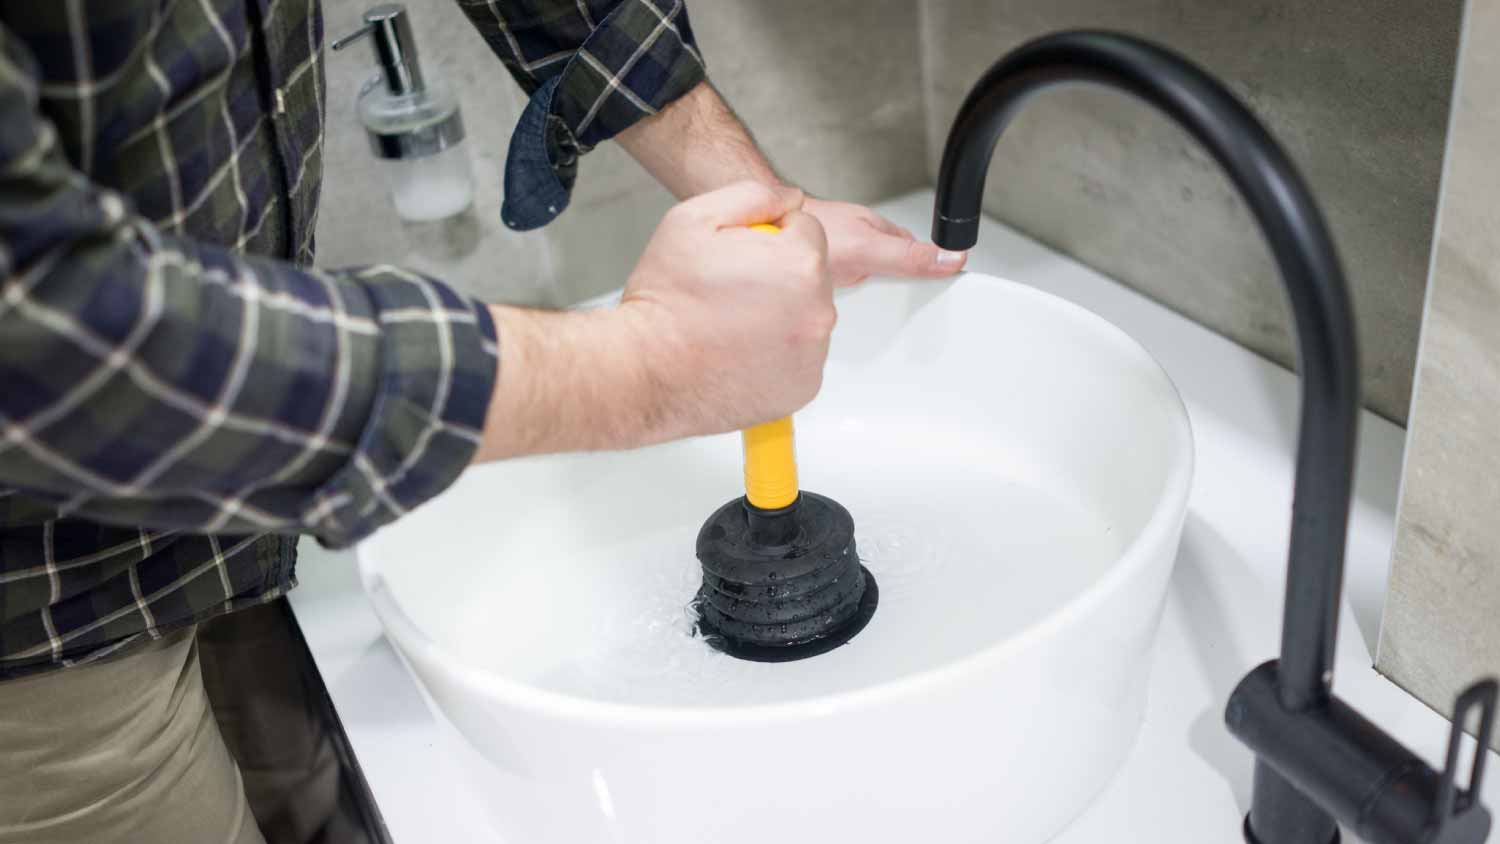
 When it comes to unclogging a sink, the plunger is a handy tool that most homeowners have on hand. This simple yet effective tool uses suction to remove blockages in your sink pipes. However, it is important to note that not all plungers are created equal. For a bathroom sink, it is best to use a smaller, cup-shaped plunger rather than a larger one meant for toilets. This allows for a better seal around the drain, making it easier to generate the necessary suction.
Steps to Fix a Clogged Bathroom Sink with a Plunger
 Now that you have the right plunger, it's time to get to work on unclogging your sink. Here are the steps to follow:
1. Clear the Sink Area
Before you start plunging, make sure to remove any items from the sink, such as toothbrushes or soap dishes. This will prevent them from getting in the way or falling into the drain.
2. Create a Seal
Place the plunger over the drain, making sure it completely covers the opening. You can also add petroleum jelly to the outer rim of the plunger to create a better seal.
3. Plunge Away
Using quick, forceful movements, plunge up and down for about 20-30 seconds. This will create suction and dislodge the blockage.
4. Check the Drain
Remove the plunger and check to see if the water is draining properly. If not, repeat the plunging process a few more times until the water starts to drain.
Now that you have the right plunger, it's time to get to work on unclogging your sink. Here are the steps to follow:
1. Clear the Sink Area
Before you start plunging, make sure to remove any items from the sink, such as toothbrushes or soap dishes. This will prevent them from getting in the way or falling into the drain.
2. Create a Seal
Place the plunger over the drain, making sure it completely covers the opening. You can also add petroleum jelly to the outer rim of the plunger to create a better seal.
3. Plunge Away
Using quick, forceful movements, plunge up and down for about 20-30 seconds. This will create suction and dislodge the blockage.
4. Check the Drain
Remove the plunger and check to see if the water is draining properly. If not, repeat the plunging process a few more times until the water starts to drain.
Preventative Maintenance Tips
 To avoid future clogs in your bathroom sink, here are a few tips to keep in mind:
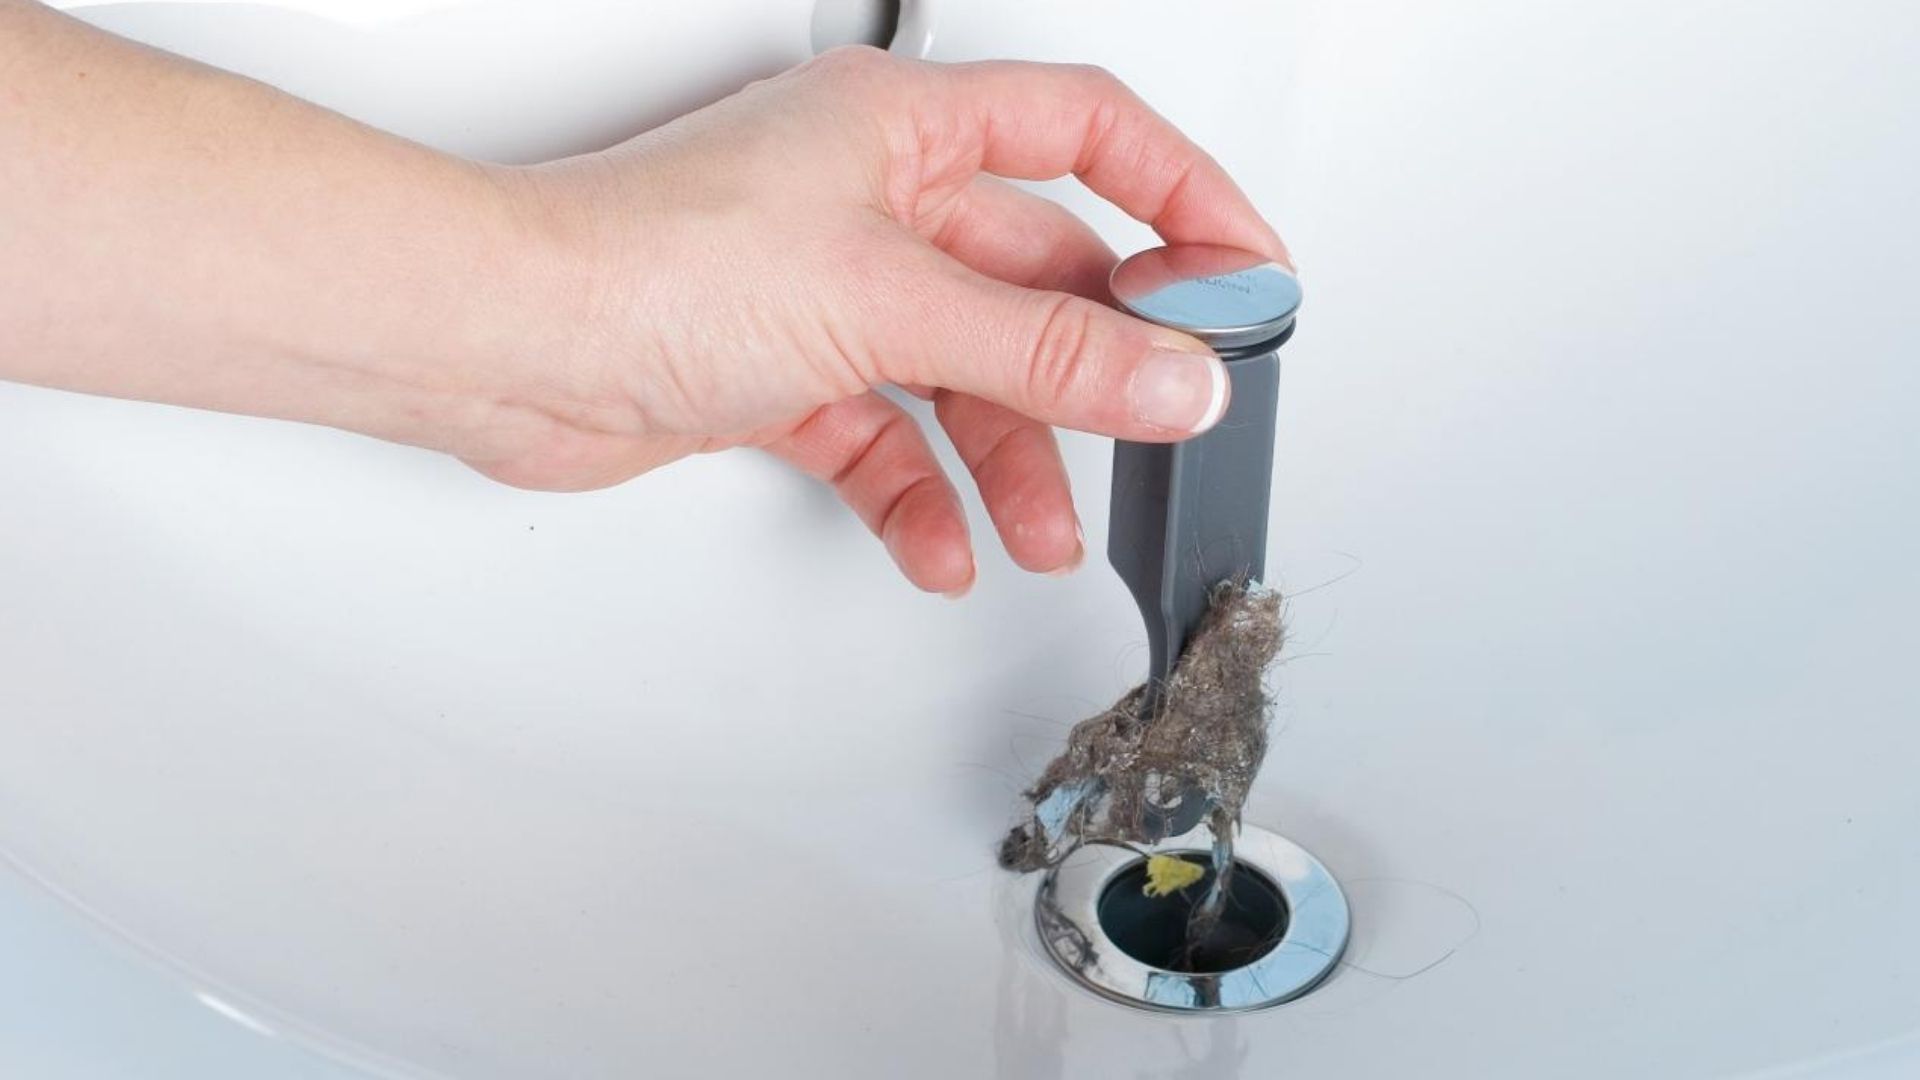
- Regularly clean out the drain stopper to prevent hair and debris buildup.
- Avoid pouring grease or oil down the drain, as it can solidify and create blockages.
- Use a hair catcher in your drain to catch any loose hair and prevent it from going down the pipes.
To avoid future clogs in your bathroom sink, here are a few tips to keep in mind:
- Regularly clean out the drain stopper to prevent hair and debris buildup.
- Avoid pouring grease or oil down the drain, as it can solidify and create blockages.
- Use a hair catcher in your drain to catch any loose hair and prevent it from going down the pipes.
Conclusion
 By properly maintaining and fixing your bathroom sink using a plunger, you can avoid potential plumbing disasters and keep your sink functioning smoothly. Remember to regularly clean and maintain your sink to prevent clogs and keep your home looking and smelling fresh.