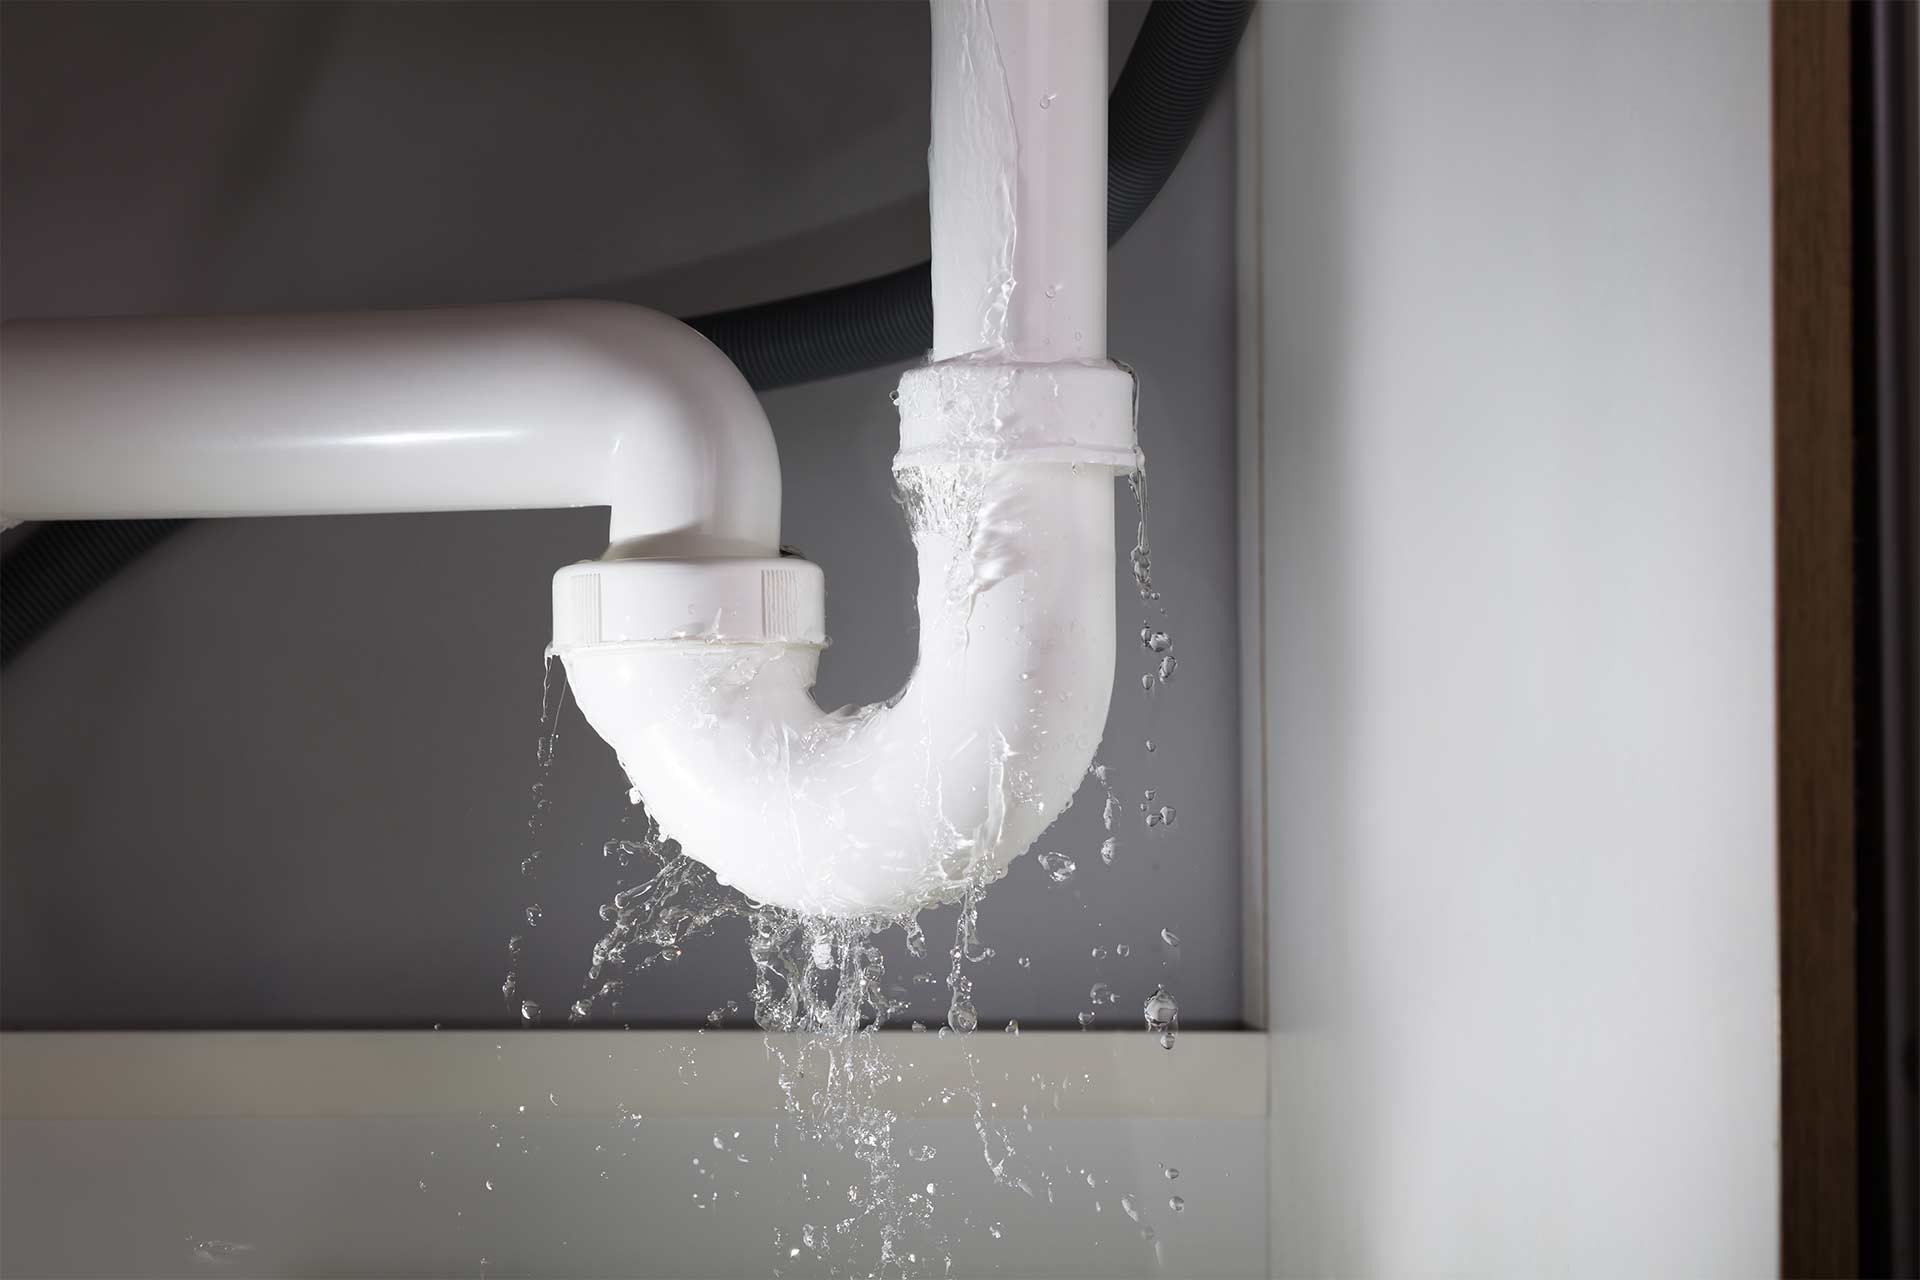
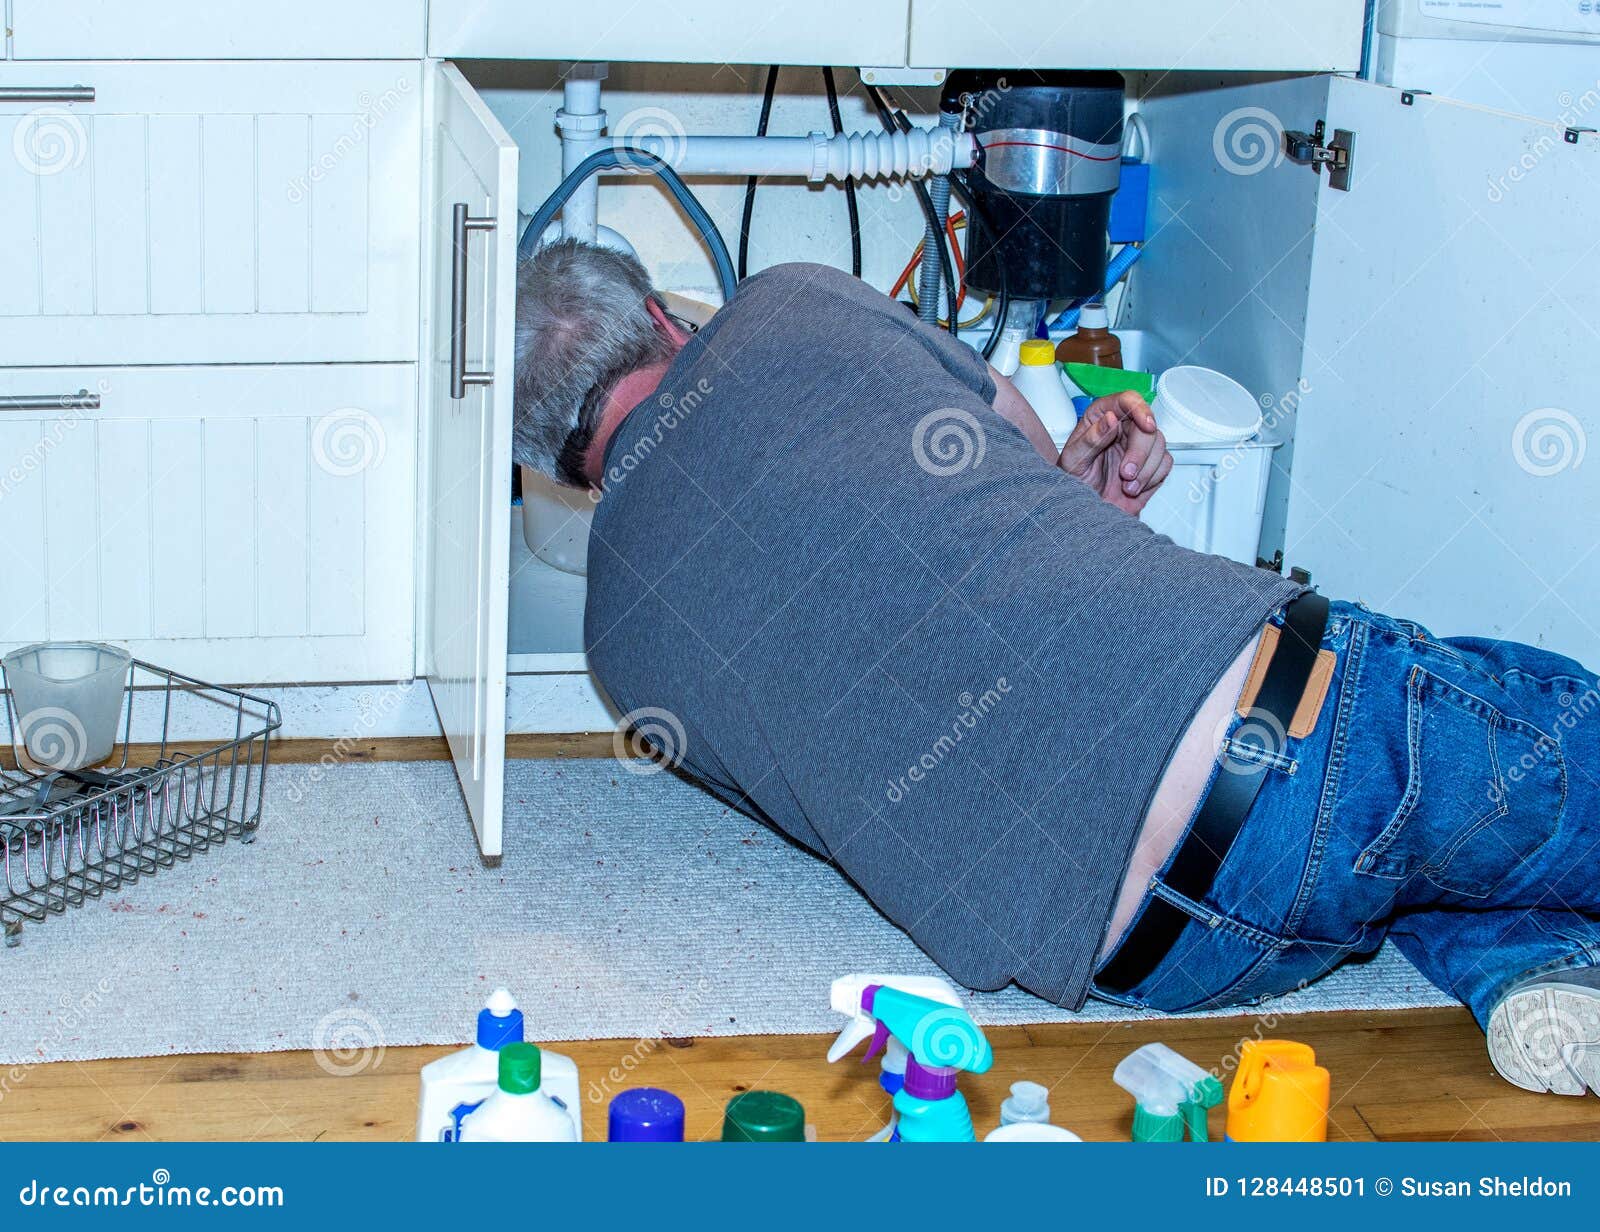
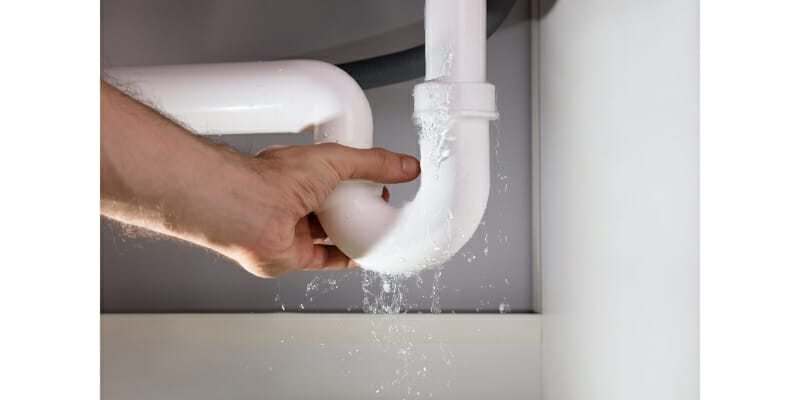
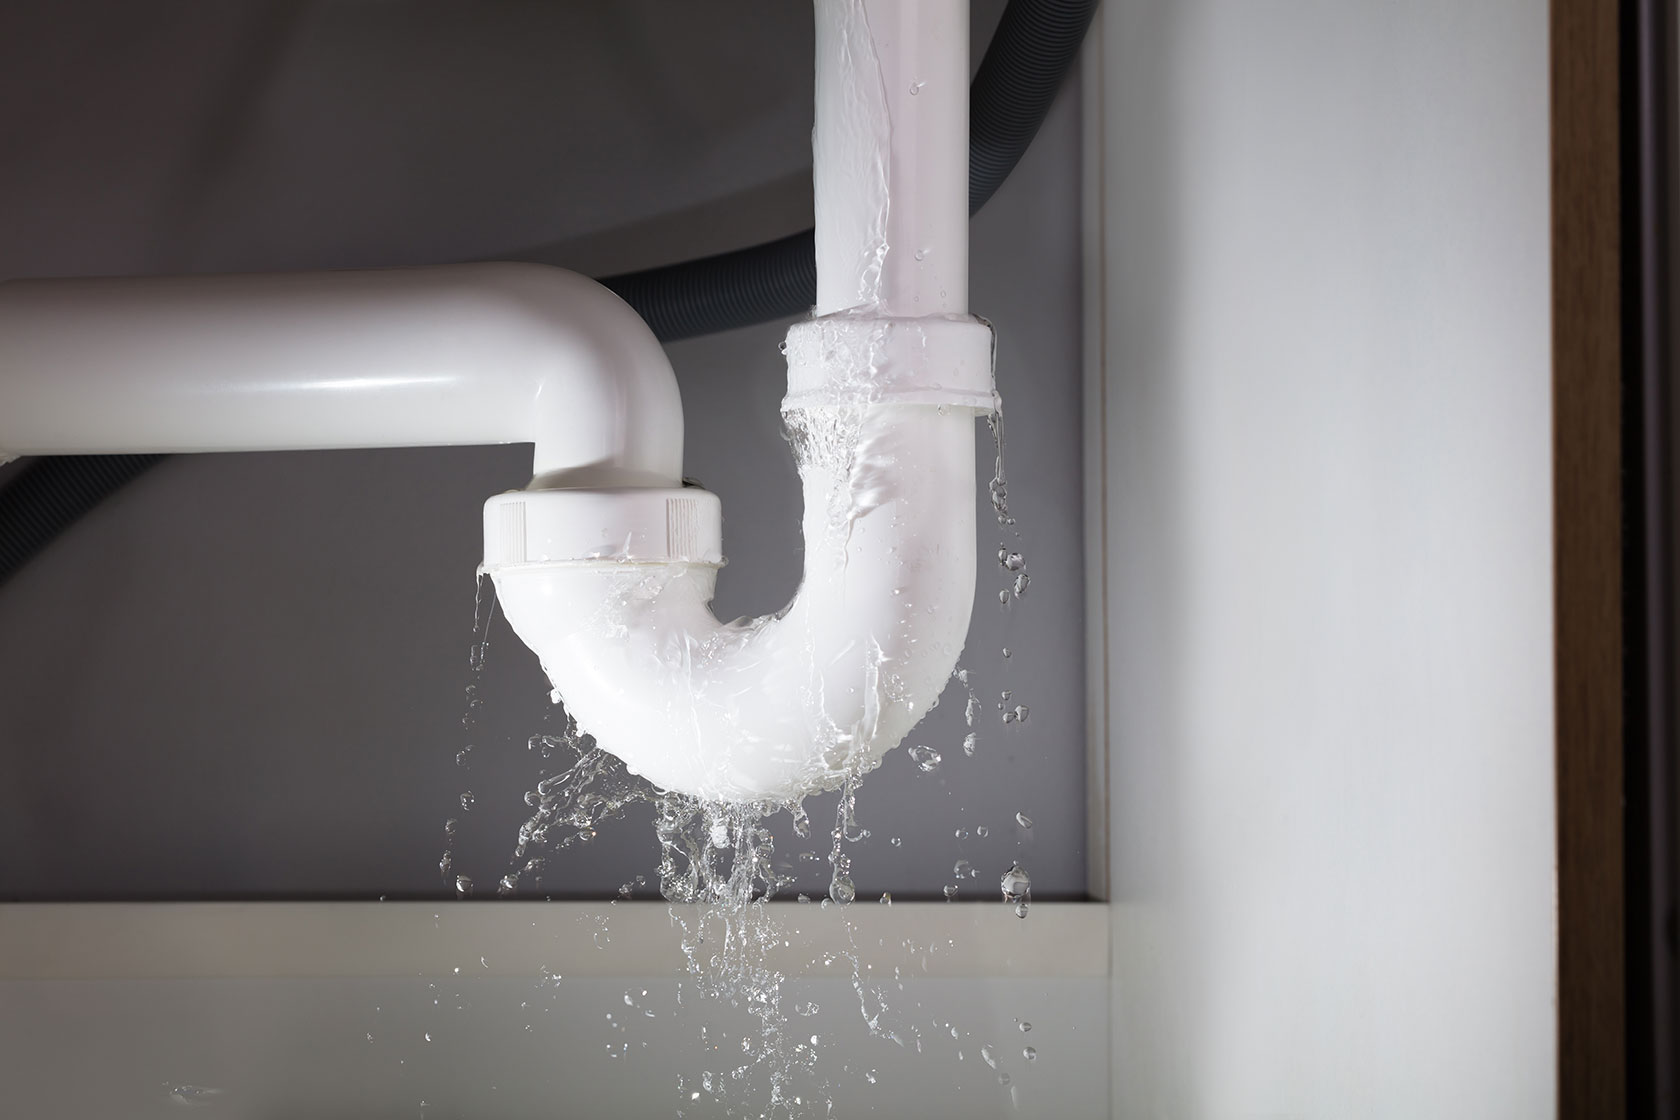
Dealing with a leaky pipe under your bathroom sink can be a frustrating and messy task. Not only does it waste water and cause potential water damage, but it can also lead to mold and mildew growth. Fortunately, fixing a leaky pipe under a bathroom sink is a relatively simple task that can be done by most homeowners. In this article, we will provide you with a step-by-step guide on how to fix a leaky pipe under your bathroom sink, along with some helpful tips and tools.Fixing a Leaky Pipe Under a Bathroom Sink
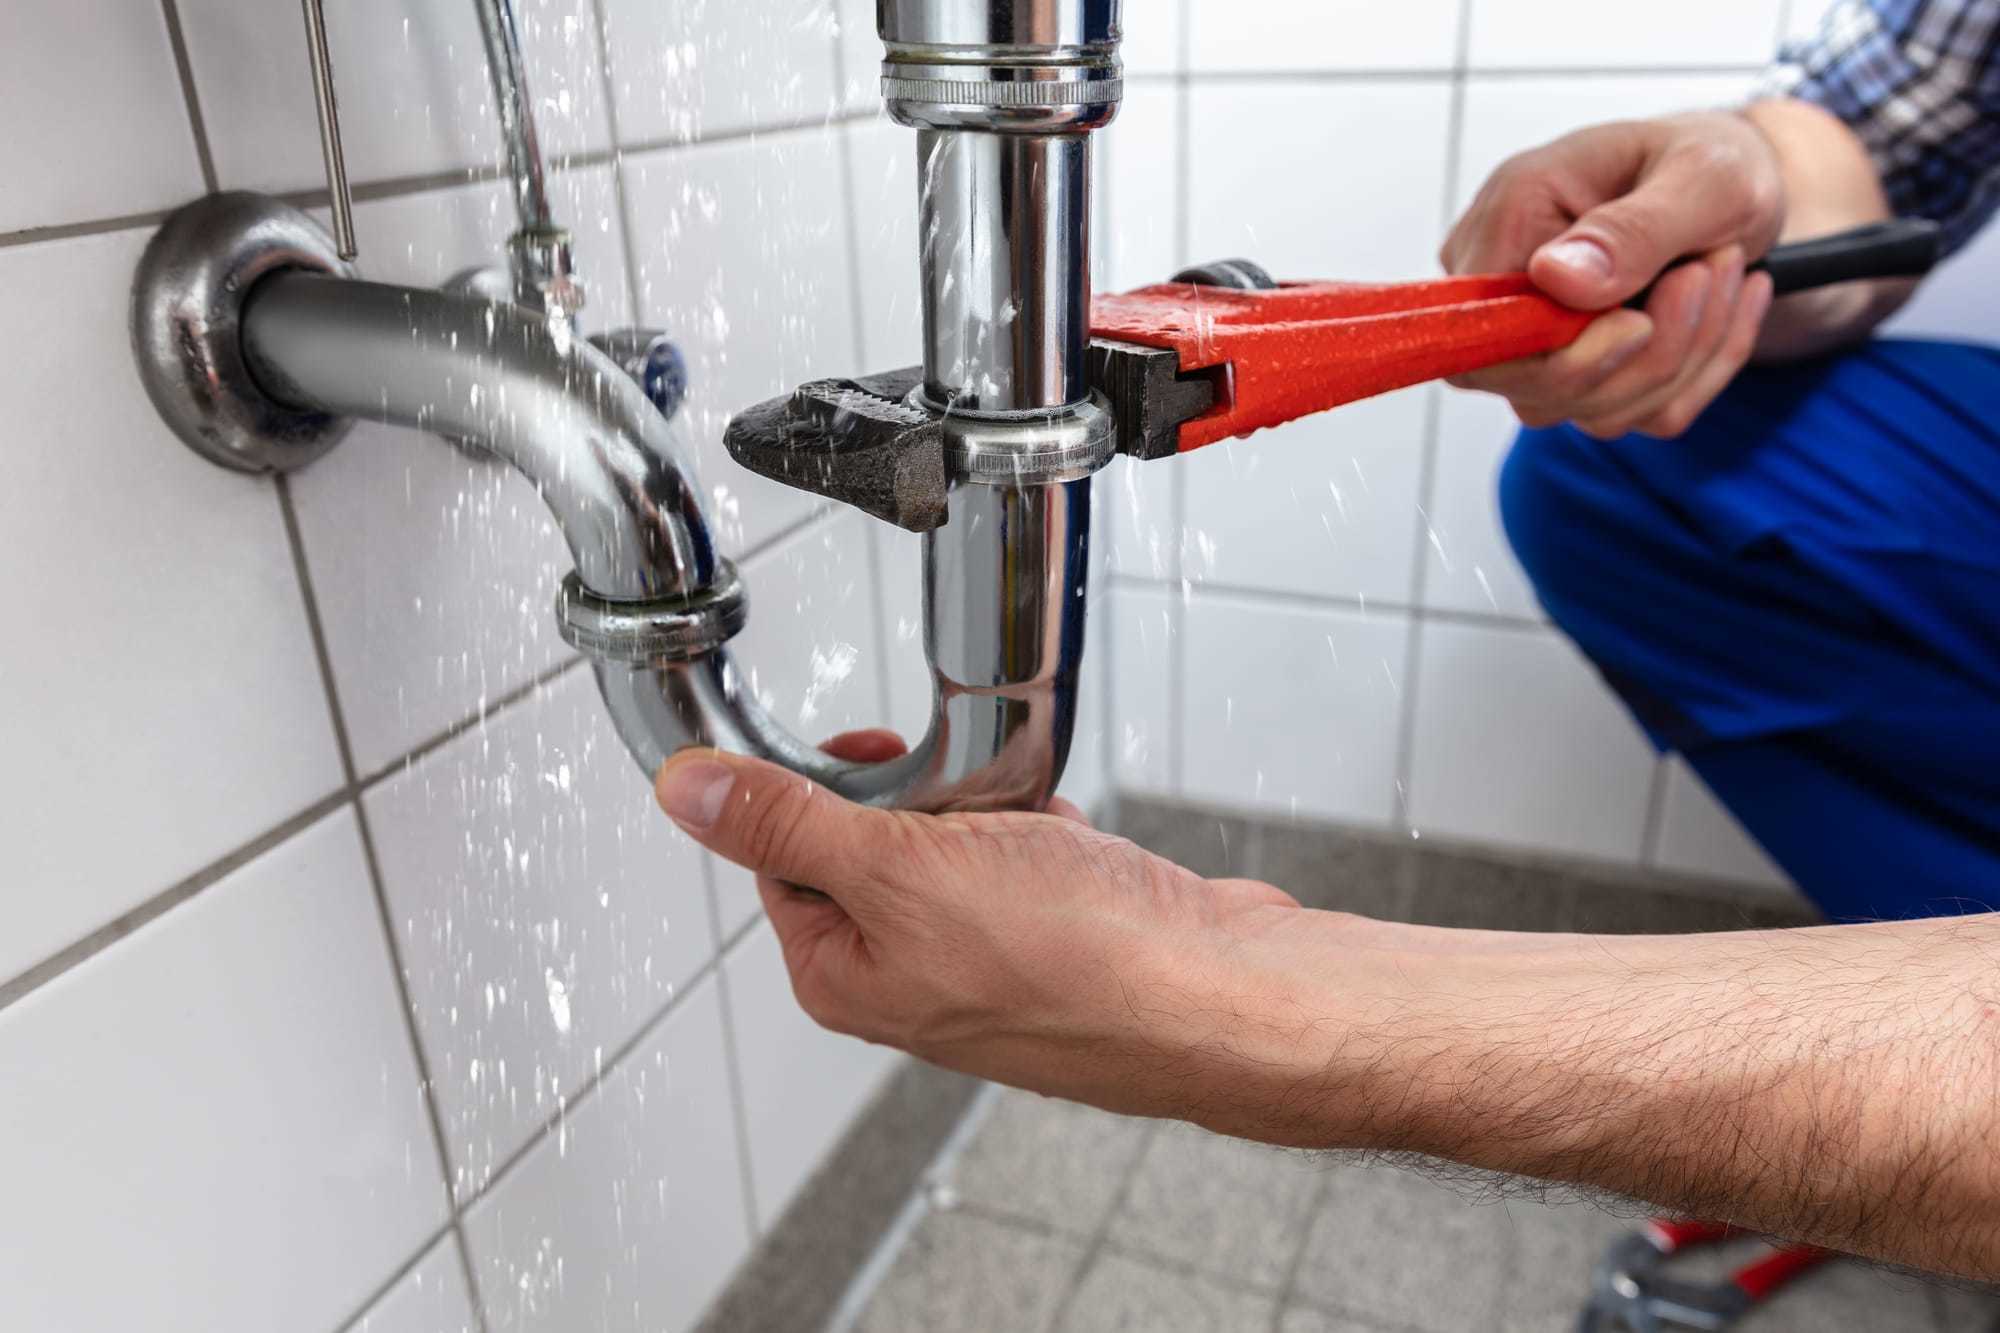
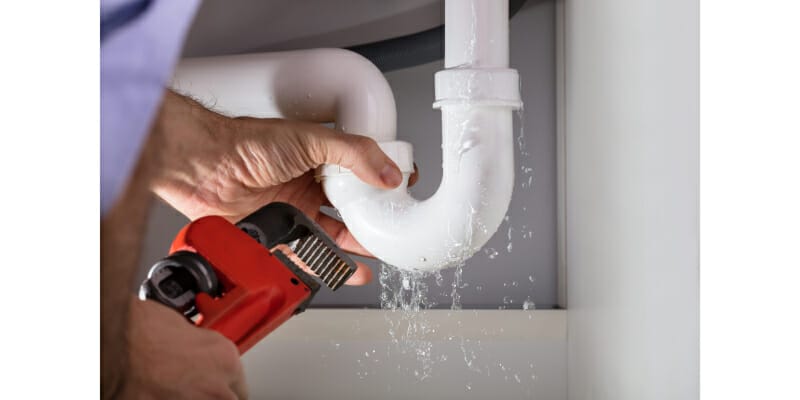
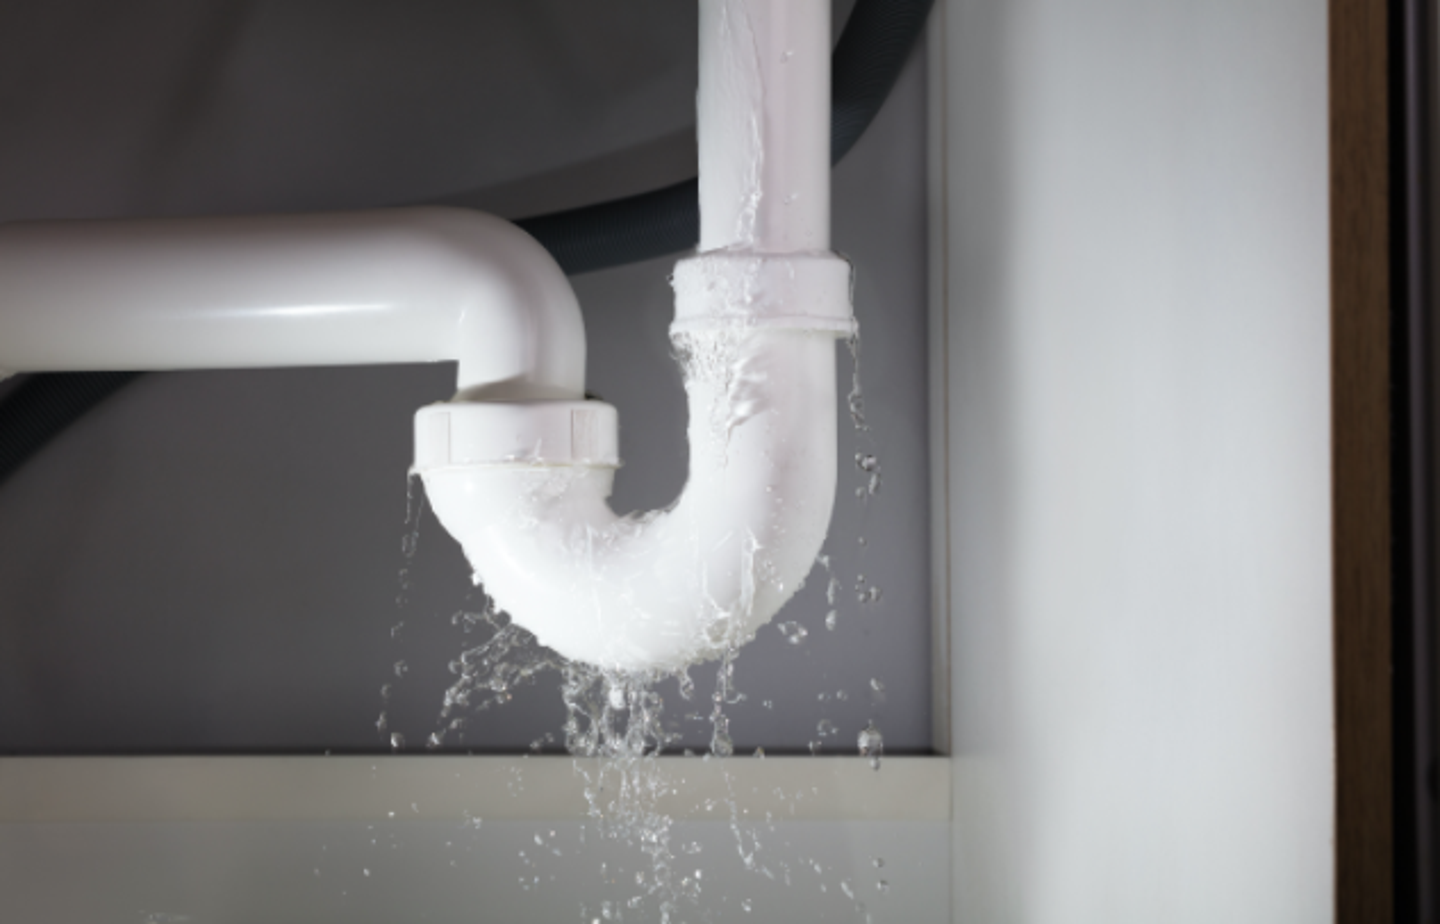
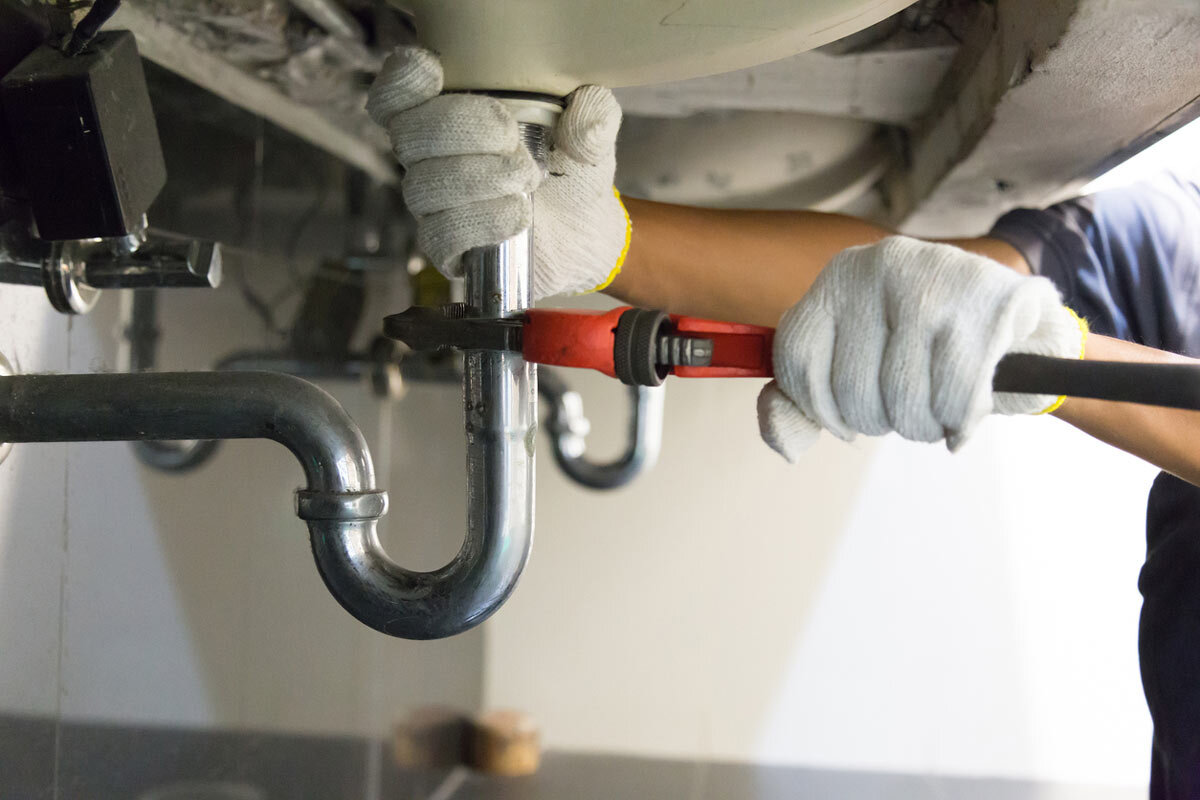
If you notice water dripping from the pipes under your bathroom sink, it's important to act quickly to prevent any further damage. Here's how you can repair a leaky pipe under your bathroom sink: Step 1: Turn off the Water Supply - Before you start working on the leaky pipe, make sure to turn off the water supply to your sink. You can either turn off the main water supply or look for the shut-off valve near the sink. Step 2: Gather the Necessary Tools - To fix a leaky pipe under a bathroom sink, you will need a few essential tools such as a pipe wrench, Teflon tape, plumber's putty, and a bucket to catch any water that may drip during the process. Step 3: Locate the Leak - Inspect the pipes under your bathroom sink to find the source of the leak. It's important to note that the leak may not always be directly under the drip, so check all the pipes and fittings thoroughly. Step 4: Tighten the Connections - In most cases, a leaky pipe is caused by loose connections. Use a pipe wrench to tighten the fittings and joints, but be careful not to over-tighten as it can damage the pipes. Step 5: Replace Damaged Pipes or Fittings - If the leak persists after tightening the connections, you may have a damaged pipe or fitting. You can replace these parts with new ones from your local hardware store.How to Repair a Leaky Pipe Under a Bathroom Sink
If you're a DIY enthusiast, fixing a leaky pipe under your bathroom sink can be a satisfying project. Here are some tips to help you successfully fix a leaky pipe on your own: Tip 1: Use Teflon Tape - Apply Teflon tape to the threads of the fittings before tightening them. This will create a watertight seal and prevent leaks. Tip 2: Use Plumber's Putty - Plumber's putty is a soft, moldable material that can be used to seal small leaks. Apply it around the edges of the fittings to create a tight seal. Tip 3: Be Patient - Fixing a leaky pipe can take some time, especially if you're new to DIY projects. Be patient and take your time to avoid making mistakes.DIY Fix for a Leaky Pipe Under a Bathroom Sink
To summarize, here are the general steps to follow when fixing a leaky pipe under your bathroom sink: Step 1: Turn off the water supply Step 2: Gather the necessary tools Step 3: Locate the leak Step 4: Tighten the connections Step 5: Replace damaged pipes or fittingsSteps to Fix a Leaky Pipe Under a Bathroom Sink
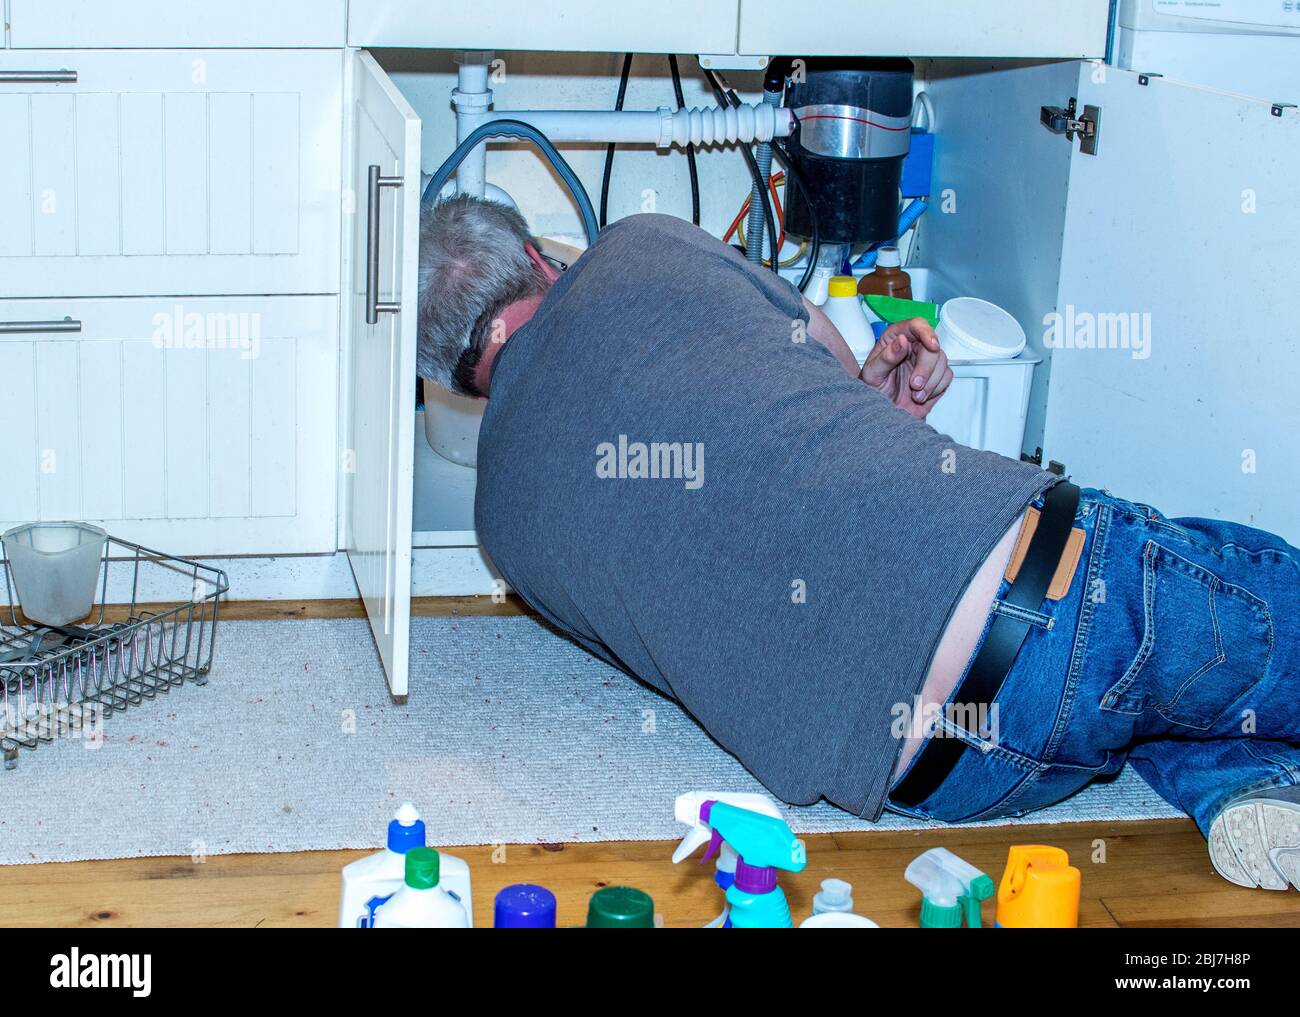
Here are some additional tips to keep in mind when fixing a leaky pipe under your bathroom sink: Tip 1: Regularly Check for Leaks - It's a good idea to regularly inspect the pipes under your bathroom sink for any signs of leaks. This can help prevent potential water damage and save you from costly repairs in the future. Tip 2: Know When to Call a Professional - If you're not confident in your DIY skills or if the leak is severe, it's best to call a professional plumber to fix the leaky pipe for you. Tip 3: Use a Bucket to Catch Water - To avoid making a mess, place a bucket under the leaky pipe to catch any water that may drip during the repair process.Tips for Fixing a Leaky Pipe Under a Bathroom Sink
Understanding the common causes of a leaky pipe can help you prevent them from happening in the future. Here are some of the most common causes of a leaky pipe under a bathroom sink: 1. Loose Connections - As mentioned earlier, loose connections are one of the most common causes of a leaky pipe. Over time, the fittings and joints can become loose, causing water to drip. 2. Corrosion - Over time, the pipes and fittings can corrode due to exposure to water and chemicals. This can lead to cracks and holes, causing leaks. 3. High Water Pressure - High water pressure can put a strain on your pipes, causing them to develop leaks. It's important to regularly check your water pressure and adjust it if necessary.Common Causes of a Leaky Pipe Under a Bathroom Sink
If you're planning to fix a leaky pipe under your bathroom sink, here are the essential tools you will need: 1. Pipe Wrench - This tool is used to tighten or loosen fittings and pipes. 2. Teflon Tape - Teflon tape is used to create a watertight seal around threaded fittings. 3. Plumber's Putty - Plumber's putty is used to seal small leaks and gaps between fittings. 4. Bucket - A bucket is used to catch any water that may drip during the repair process.Tools Needed to Fix a Leaky Pipe Under a Bathroom Sink
If you're not confident in your DIY skills or if the leaky pipe is severe, it's best to seek professional help. A licensed plumber has the necessary skills and tools to fix the leak and ensure it doesn't happen again.Professional Help for a Leaky Pipe Under a Bathroom Sink
Prevention is always better than cure, so here are some tips to help you prevent a leaky pipe under your bathroom sink: 1. Regularly Inspect Your Pipes - As mentioned earlier, regularly inspecting your pipes can help you catch any potential leaks before they become bigger problems. 2. Lower Your Water Pressure - If your water pressure is too high, it can put a strain on your pipes and cause them to develop leaks. Lowering your water pressure can help prevent this from happening. 3. Address Leaks Immediately - If you notice any leaks, it's important to address them immediately before they cause further damage.How to Prevent a Leaky Pipe Under a Bathroom Sink
If you've followed all the steps and tips mentioned in this article and the leaky pipe persists, it may be a sign of a bigger underlying issue. In this case, it's best to call a professional plumber to troubleshoot and fix the problem.Troubleshooting a Leaky Pipe Under a Bathroom Sink
Why You Should Fix a Leaky Pipe Under Your Bathroom Sink

The Importance of Maintaining Your Home
 As a homeowner, it is important to prioritize the maintenance of your house. Regular upkeep not only keeps your home in good condition, but it can also save you from costly repairs in the long run. One area that often gets overlooked is the plumbing system, specifically the pipes under your bathroom sink. A
leaky pipe
may seem like a minor issue, but if left unaddressed, it can lead to bigger problems. In this article, we will discuss the reasons why you should
fix a leaky pipe
under your bathroom sink and how to do it.
Prevent Water Damage
 A
leaky pipe
can cause water to seep into your bathroom floor and cabinets, leading to
water damage
over time. This can weaken the structure of your home and potentially create a breeding ground for mold and mildew. Not only is this a health hazard, but it can also be costly to repair. By fixing the
leaky pipe
under your bathroom sink, you can prevent these issues from occurring and protect your home.
Save Money on Utility Bills
 Did you know that a
leaky pipe
can also cause your water bill to increase? Even a small drip can add up over time, resulting in hundreds of gallons of wasted water and a higher monthly utility bill. By fixing the
leaky pipe
under your bathroom sink, you can save money on your water bill and be more environmentally friendly.
Simple DIY Fix
 Fixing a
leaky pipe
under your bathroom sink may seem like a daunting task, but in reality, it is a simple DIY project that can be done in a few easy steps. First, turn off the water supply to the sink. Next, locate the
leaky pipe
and determine if it needs to be replaced or just tightened. If it needs to be replaced, head to your local hardware store to purchase a new pipe. If it just needs to be tightened, use a wrench to secure it in place. Finally, turn the water supply back on and check for any leaks. If there are still leaks, you may need to call a professional plumber.
In Conclusion
 A
leaky pipe
under your bathroom sink may seem like a minor inconvenience, but it can lead to bigger problems if not addressed. By fixing the
leaky pipe
, you can prevent water damage, save money on utility bills, and protect the overall structure of your home. Plus, with a simple DIY fix, you can easily take care of this issue on your own. Don't wait until it becomes a major problem, take action and fix that
leaky pipe
today.


