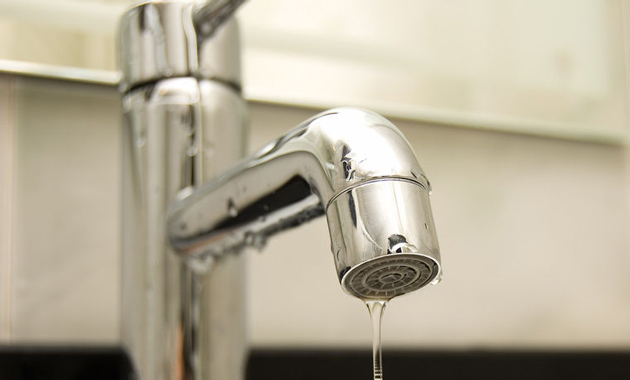
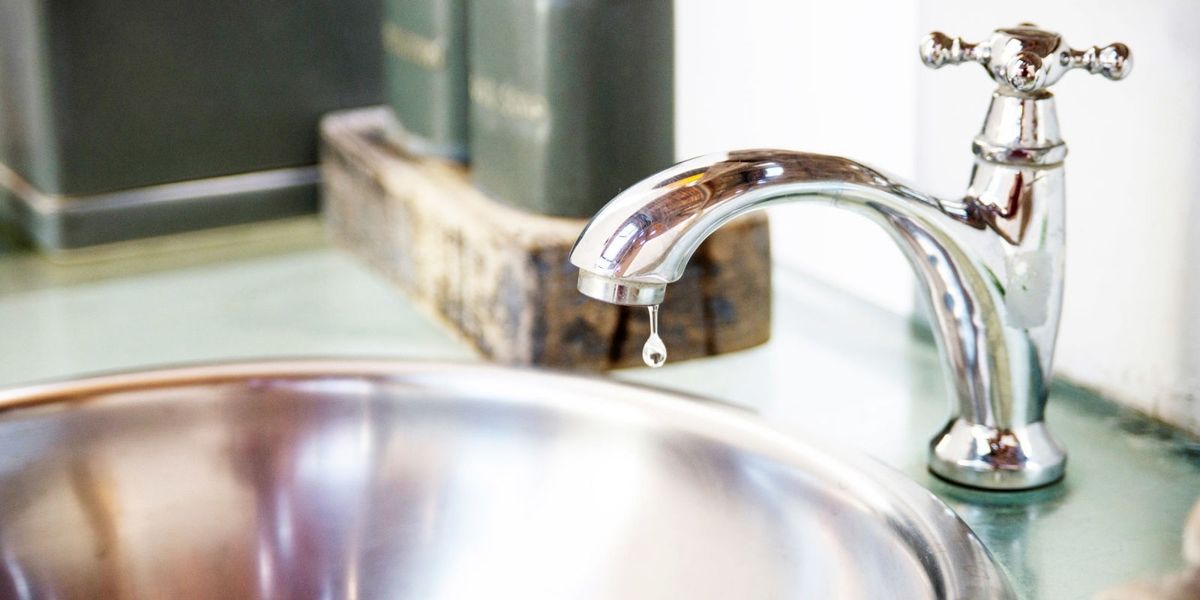
If you've noticed a constant dripping from your kitchen faucet, chances are you have a leak. Not only is this annoying, but it can also lead to wasted water and a higher water bill. The good news is, fixing a leaky kitchen faucet under the sink is a relatively simple DIY task that can save you time and money. Follow these steps to get your faucet working like new again.1. How to Fix a Leaky Kitchen Faucet Under the Sink


1. How to Fix a Leaky Kitchen Faucet Under the Sink


Before you begin, gather all necessary tools and materials. This may include a screwdriver, adjustable wrench, replacement parts, and plumber's tape. Start by shutting off the water supply to the faucet. Then, remove the handle and any decorative caps to access the cartridge or ball valve. Use your tools to remove the old cartridge or valve and replace it with a new one. Finally, reattach the handle and turn the water supply back on to test your fix.2. Step-by-Step Guide for Repairing a Leaky Kitchen Faucet Under the Sink


2. Step-by-Step Guide for Repairing a Leaky Kitchen Faucet Under the Sink


Fixing a leaky kitchen faucet under the sink is a task that can easily be done by yourself, saving you the cost of hiring a professional plumber. With the right tools and some basic knowledge, you can have your faucet working like new in no time. Just make sure to follow all instructions carefully and take your time to avoid any mistakes.3. DIY: Fixing a Leaky Kitchen Faucet Under the Sink


3. DIY: Fixing a Leaky Kitchen Faucet Under the Sink


Understanding the cause of your leaky kitchen faucet can help you prevent future issues. Some common causes include worn out cartridges or valves, loose or damaged seals, and mineral deposits or debris in the faucet. By identifying the root of the problem, you can take the necessary steps to fix it and avoid future leaks.4. Common Causes of a Leaky Kitchen Faucet Under the Sink


4. Common Causes of a Leaky Kitchen Faucet Under the Sink


As mentioned before, you will need a few tools to successfully fix a leaky kitchen faucet under the sink. These may include a screwdriver, adjustable wrench, and replacement parts such as a new cartridge or valve. It's always a good idea to have these tools on hand for any future faucet repairs or maintenance.5. Tools You'll Need to Fix a Leaky Kitchen Faucet Under the Sink


5. Tools You'll Need to Fix a Leaky Kitchen Faucet Under the Sink

To prevent a leaky kitchen faucet under the sink, make sure to regularly check for any signs of wear or damage. It's also a good idea to clean your faucet regularly to remove any mineral deposits or debris that may cause issues. Additionally, avoid using excessive force when turning the faucet on and off, as this can wear out the components faster.6. Tips for Preventing a Leaky Kitchen Faucet Under the Sink

6. Tips for Preventing a Leaky Kitchen Faucet Under the Sink


If your faucet is still leaking after following the steps to fix it, there may be an underlying issue that needs to be addressed. Check for any loose or damaged seals, and make sure all parts are properly installed. If the issue persists, it may be time to call a professional plumber for further assistance.7. Troubleshooting a Leaky Kitchen Faucet Under the Sink


7. Troubleshooting a Leaky Kitchen Faucet Under the Sink

If your faucet uses a cartridge, you may need to replace it to fix the leak. Start by turning off the water supply and removing the handle and any decorative caps. Then, use pliers to pull out the old cartridge and insert the new one. Reattach the handle and turn the water supply back on to test your fix.8. How to Replace a Cartridge in a Leaky Kitchen Faucet Under the Sink

8. How to Replace a Cartridge in a Leaky Kitchen Faucet Under the Sink


While fixing a leaky kitchen faucet under the sink is a task that can be done by yourself, some situations may require the expertise of a professional plumber. If you are unsure about the cause of the leak or are not confident in your DIY skills, it's best to call a professional to avoid causing further damage.9. Professional vs. DIY: Fixing a Leaky Kitchen Faucet Under the Sink


9. Professional vs. DIY: Fixing a Leaky Kitchen Faucet Under the Sink

One of the most common mistakes people make when fixing a leaky kitchen faucet under the sink is not taking their time and rushing through the process. This can lead to mistakes and may even cause more damage to the faucet. Another mistake is not properly identifying the cause of the leak, which can result in an inadequate fix. Make sure to follow all instructions carefully and take your time to avoid these mistakes.10. Common Mistakes to Avoid When Fixing a Leaky Kitchen Faucet Under the Sink


10. Common Mistakes to Avoid When Fixing a Leaky Kitchen Faucet Under the Sink


How to Fix a Leaky Kitchen Faucet Under Sink

Identify the Problem
 The first step in fixing a leaky kitchen faucet under the sink is to identify the source of the leak. This can be done by examining the faucet closely and checking for any visible cracks or holes. It is also important to turn off the water supply to the faucet before beginning any repairs.
Replace the O-Rings and Washers
 In most cases, a leaky faucet is caused by worn out or damaged
O-rings
or
washers
. These small rubber pieces are responsible for creating a watertight seal and can become worn over time due to constant use. To fix the leak, these parts will need to be replaced with new ones.
In most cases, a leaky faucet is caused by worn out or damaged
O-rings
or
washers
. These small rubber pieces are responsible for creating a watertight seal and can become worn over time due to constant use. To fix the leak, these parts will need to be replaced with new ones.
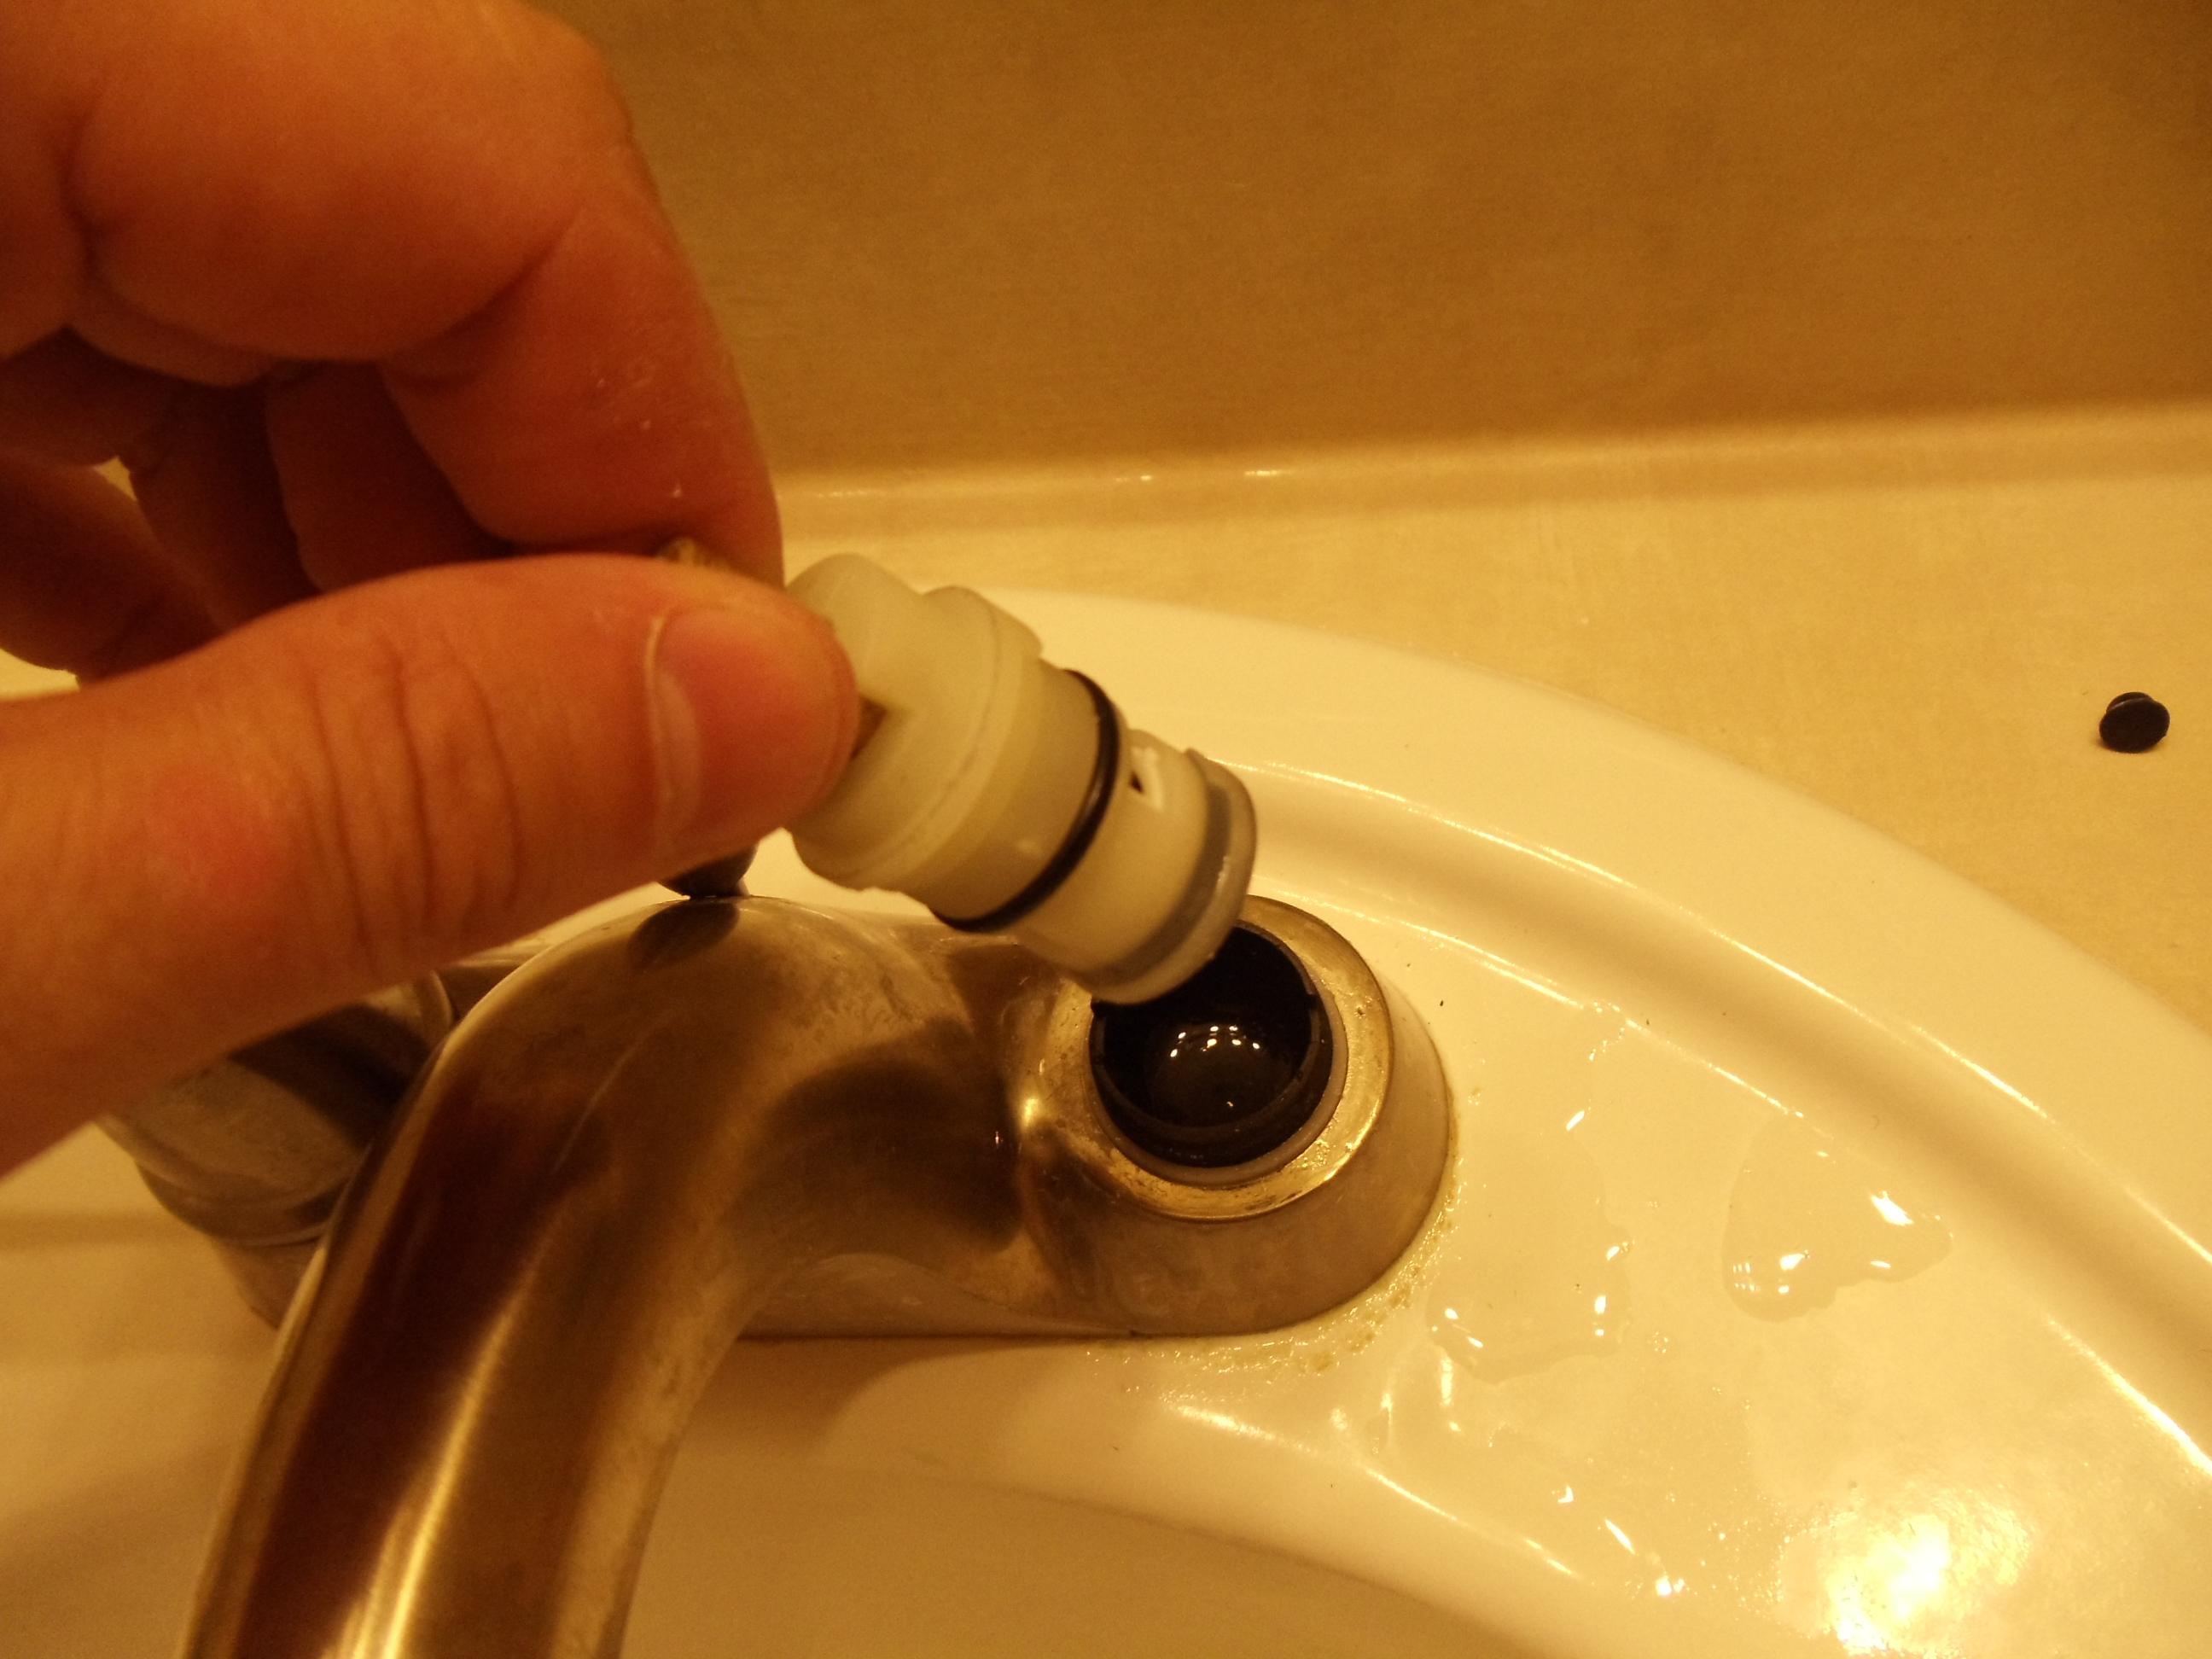
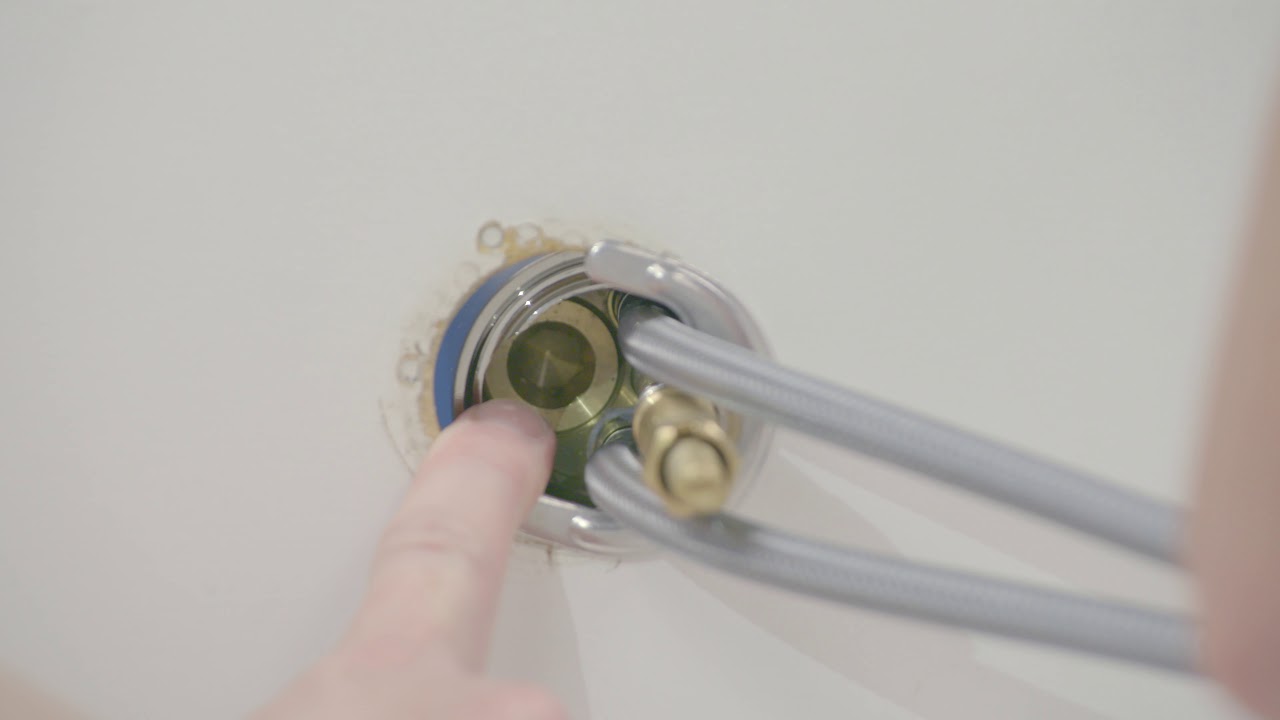
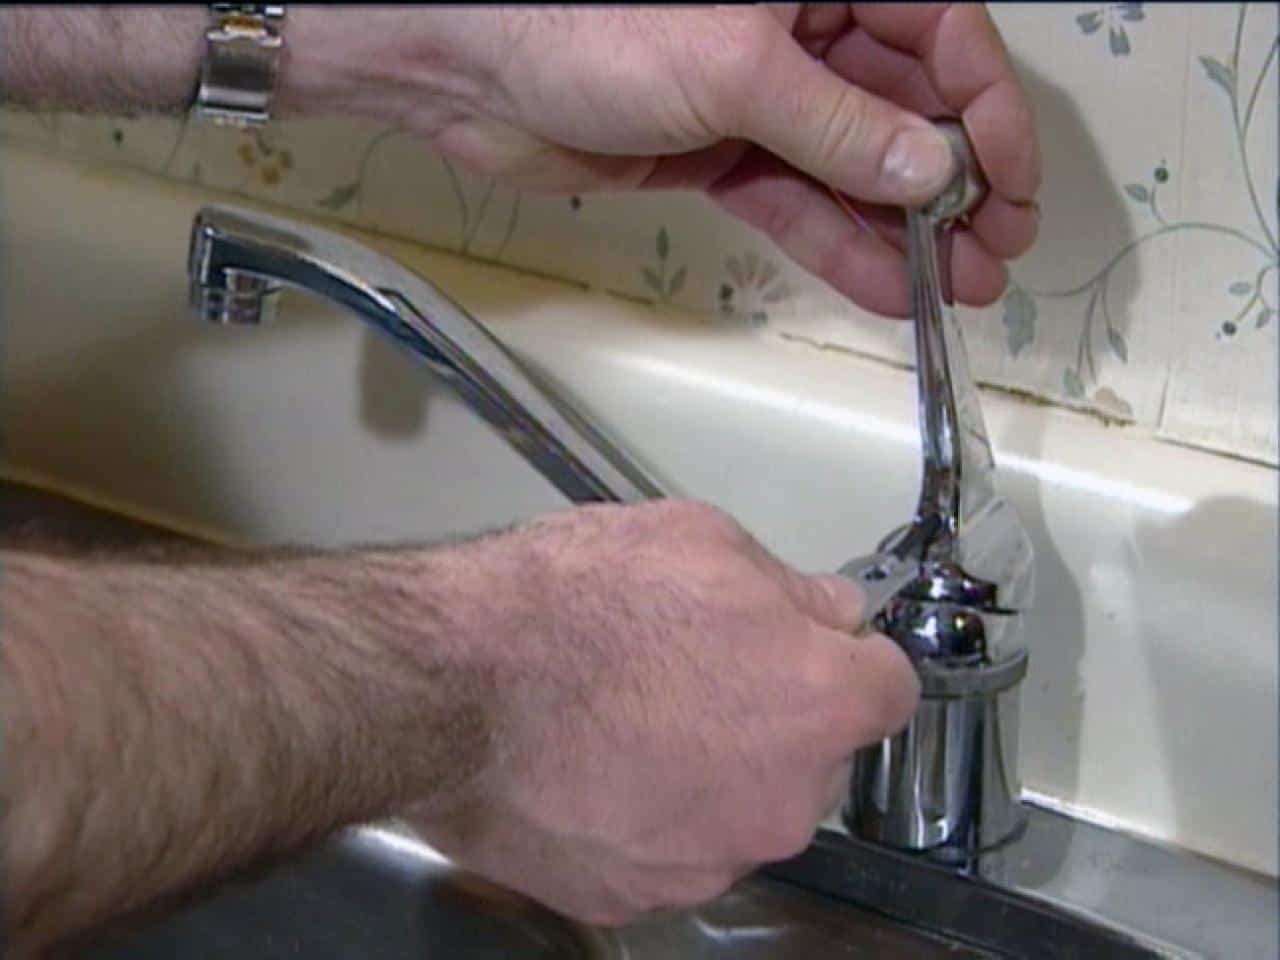
Disassemble the Faucet
 To access the O-rings and washers, the faucet will need to be disassembled. Start by removing the decorative cap on top of the faucet handle and then unscrewing the handle. Next, remove the retaining nut and pull out the entire valve assembly. This will expose the O-rings and washers that need to be replaced.
Install New Parts and Reassemble
 Once the old O-rings and washers have been removed, carefully install the new ones in their place. Make sure they are securely in place and then reassemble the faucet in the reverse order of how it was taken apart. Don't forget to turn the water supply back on before testing the faucet for any leaks.
Consider Hiring a Professional
 If you are not comfortable with DIY repairs or if the leak persists even after replacing the O-rings and washers, it may be time to call a professional plumber. They will have the necessary tools and expertise to fix the problem and ensure that your kitchen faucet is functioning properly.
Fixing a leaky kitchen faucet under the sink may seem like a daunting task, but with the right tools and knowledge, it can be easily fixed. By following these steps and identifying the source of the leak, you can save money on costly repairs and keep your kitchen running smoothly. Remember to regularly check for any leaks and address them promptly to avoid any further damage.
If you are not comfortable with DIY repairs or if the leak persists even after replacing the O-rings and washers, it may be time to call a professional plumber. They will have the necessary tools and expertise to fix the problem and ensure that your kitchen faucet is functioning properly.
Fixing a leaky kitchen faucet under the sink may seem like a daunting task, but with the right tools and knowledge, it can be easily fixed. By following these steps and identifying the source of the leak, you can save money on costly repairs and keep your kitchen running smoothly. Remember to regularly check for any leaks and address them promptly to avoid any further damage.