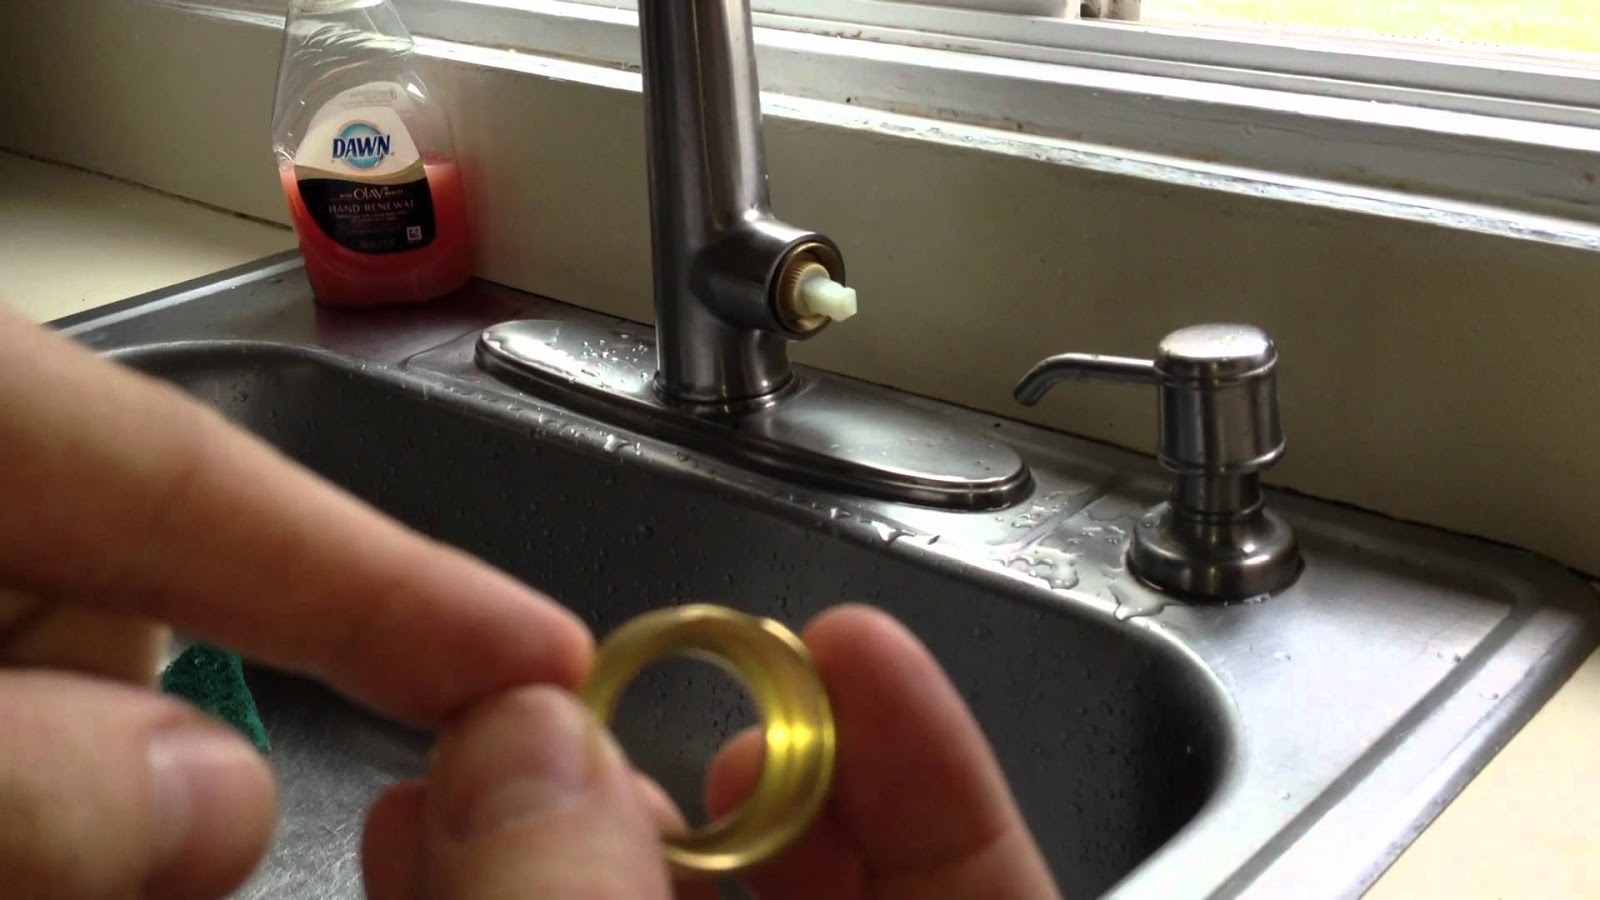
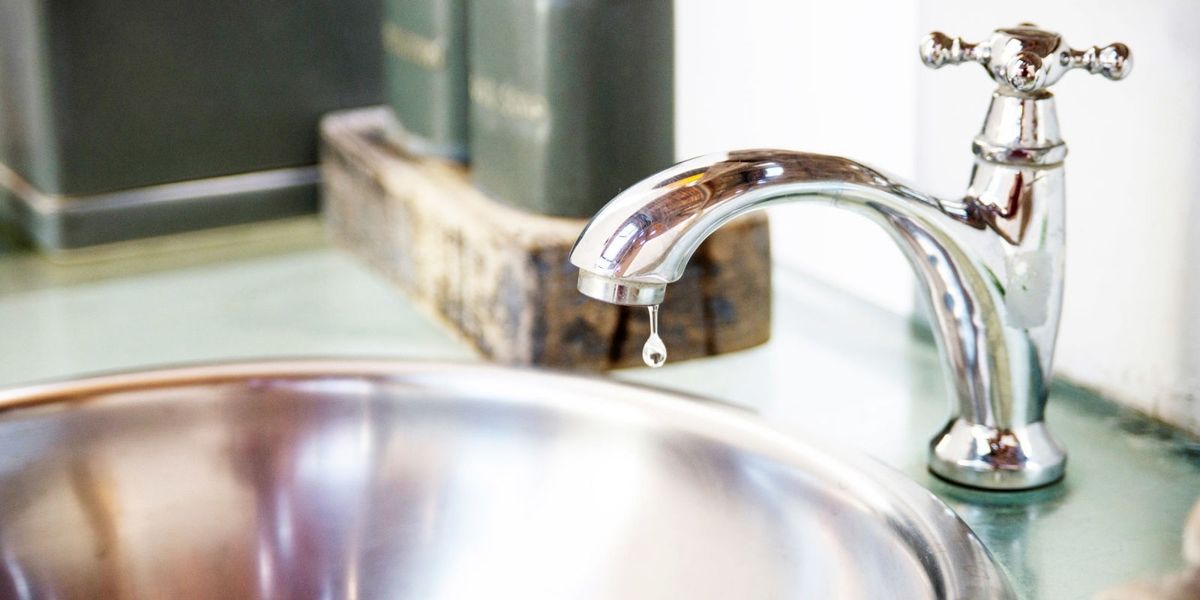
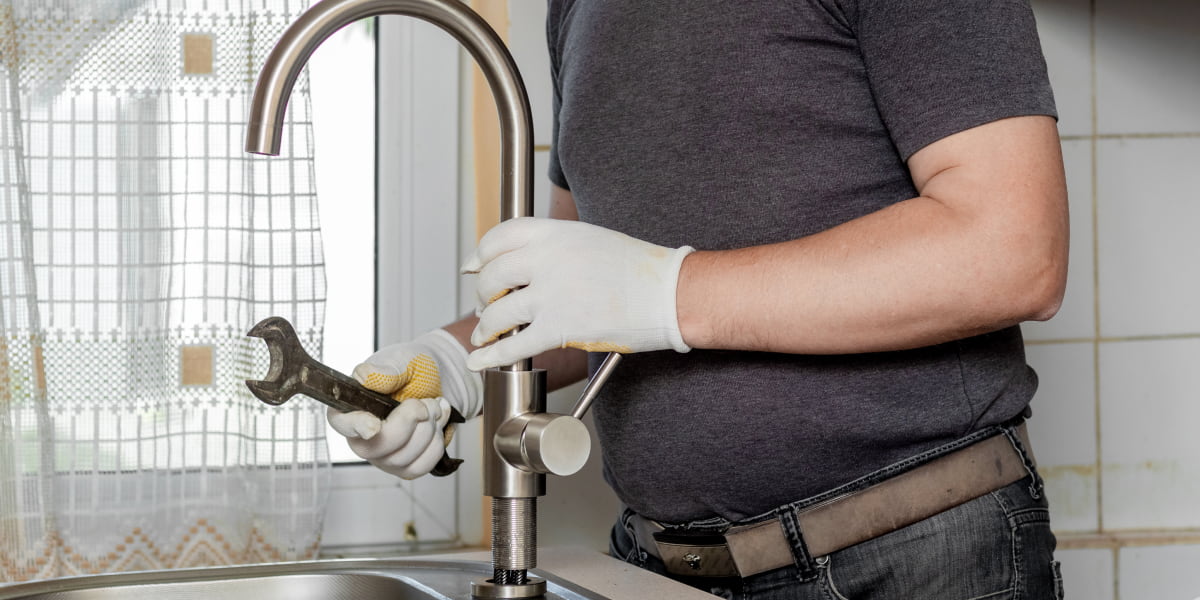
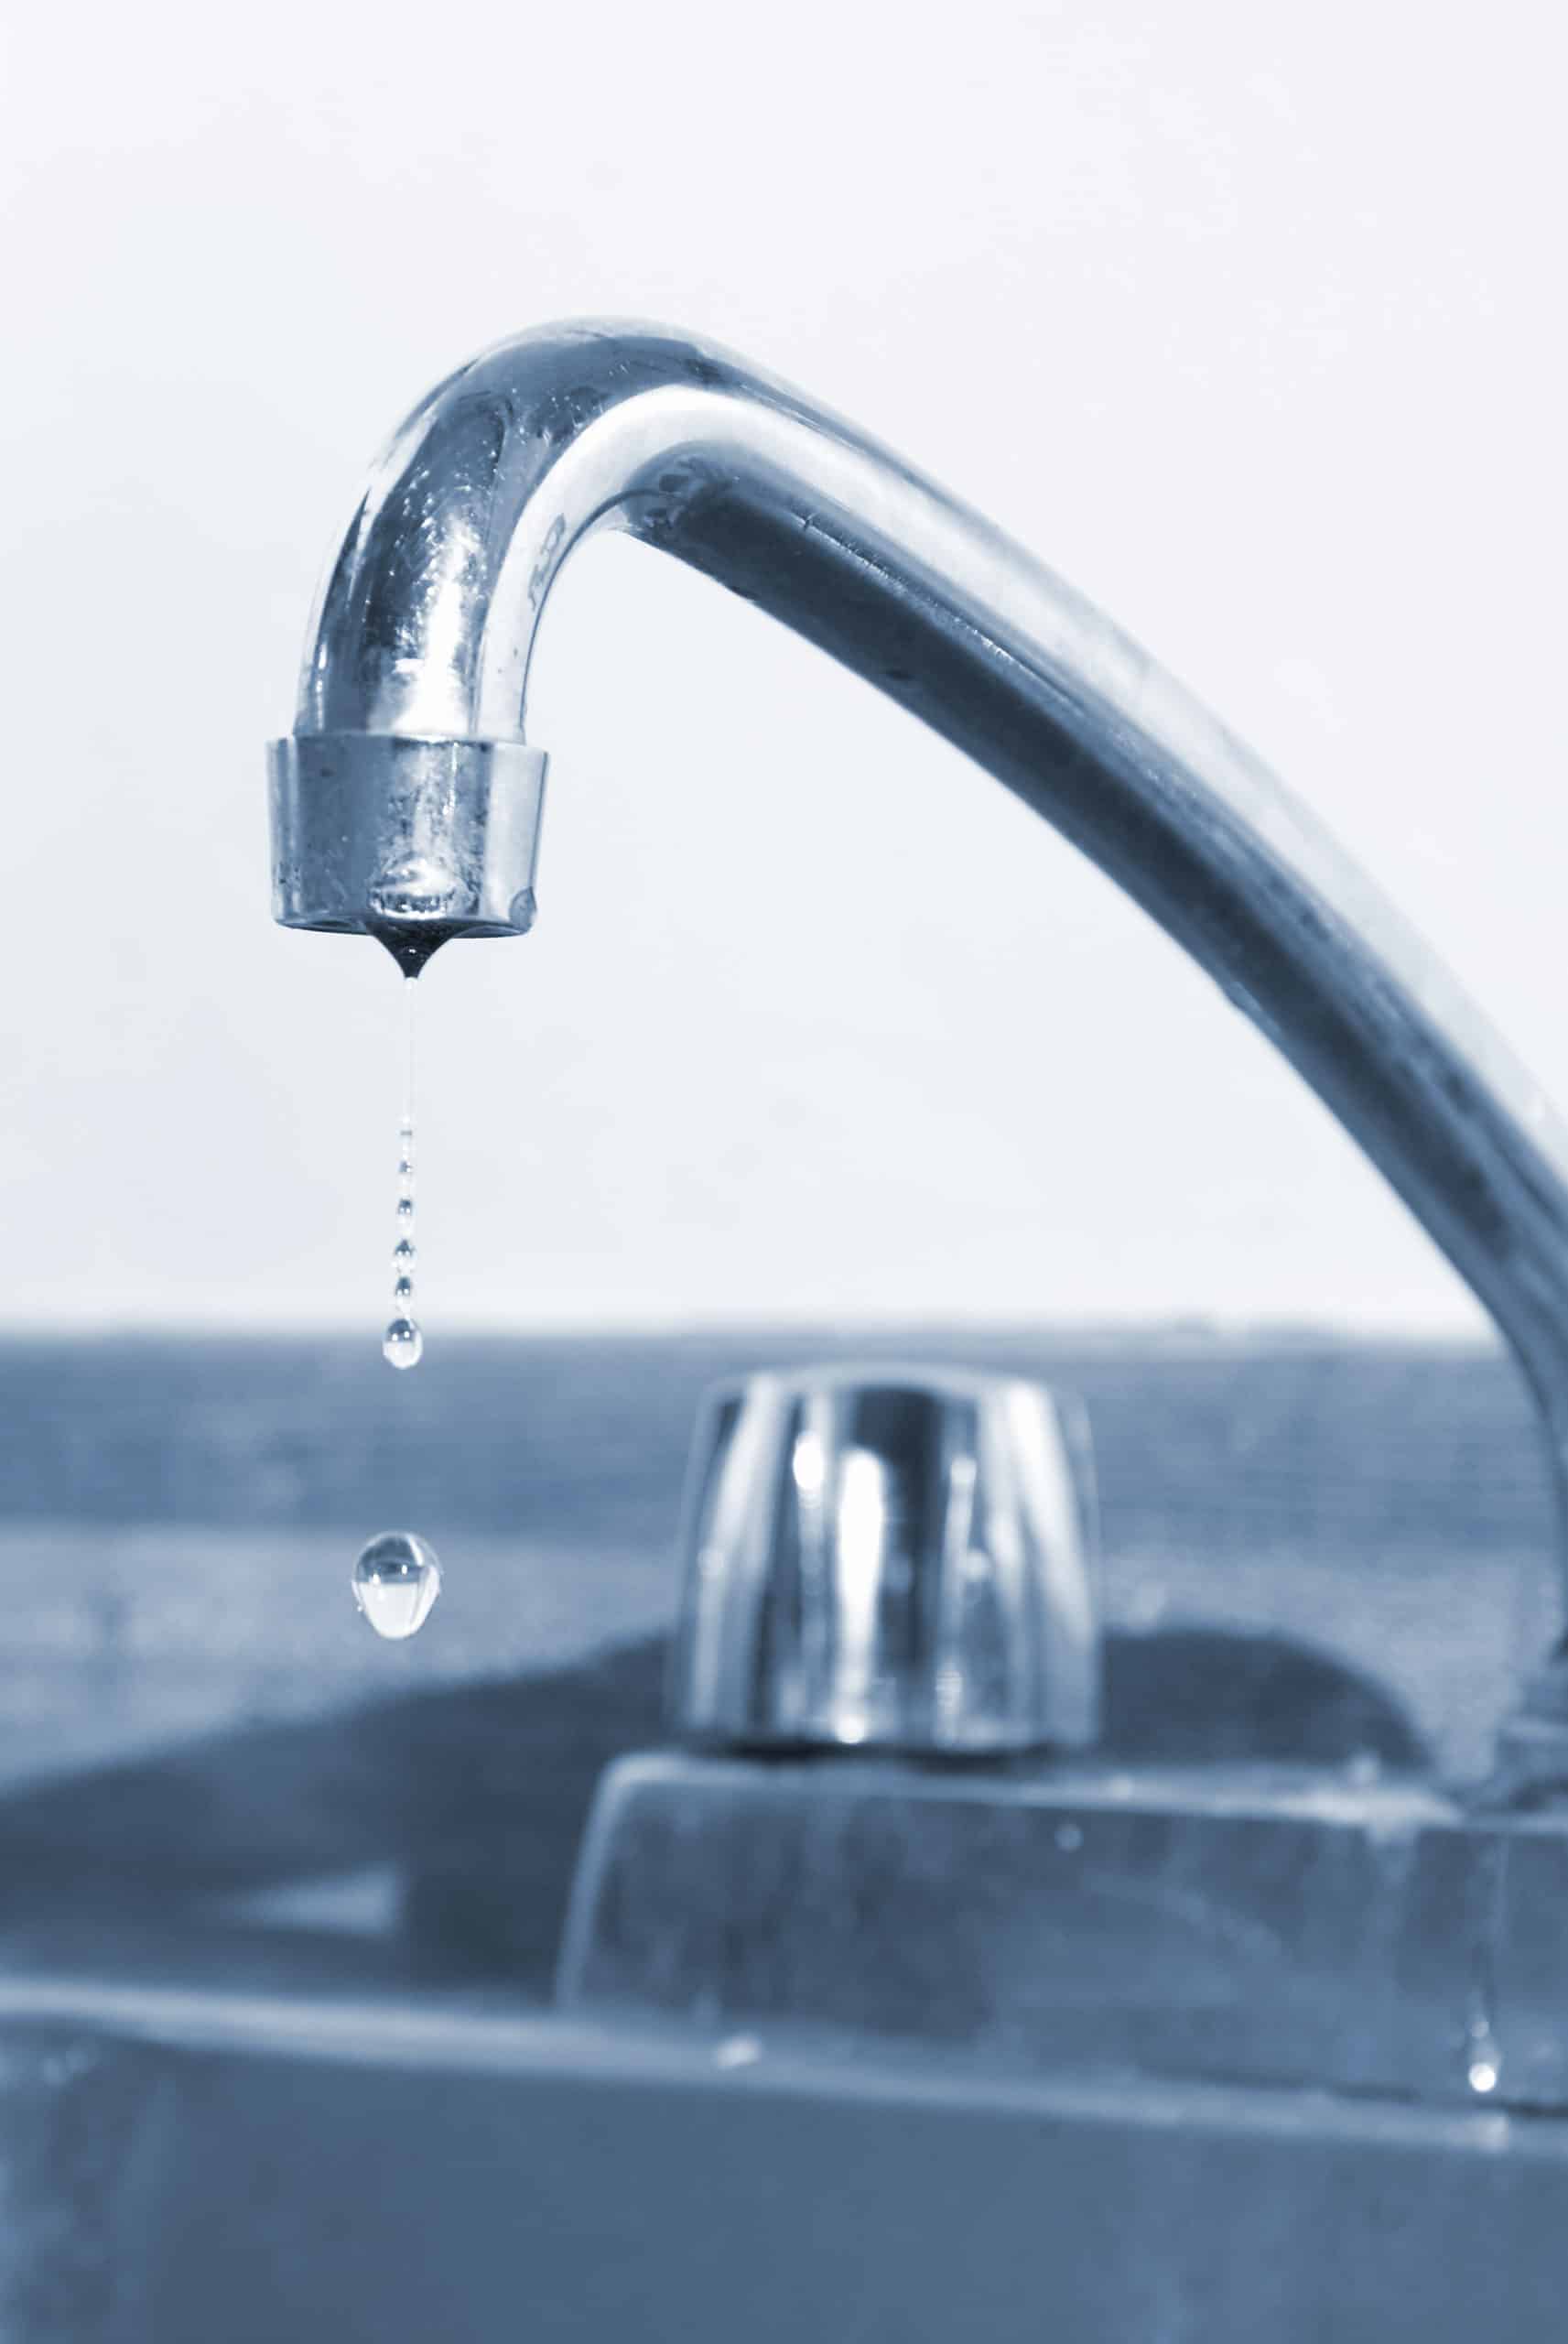
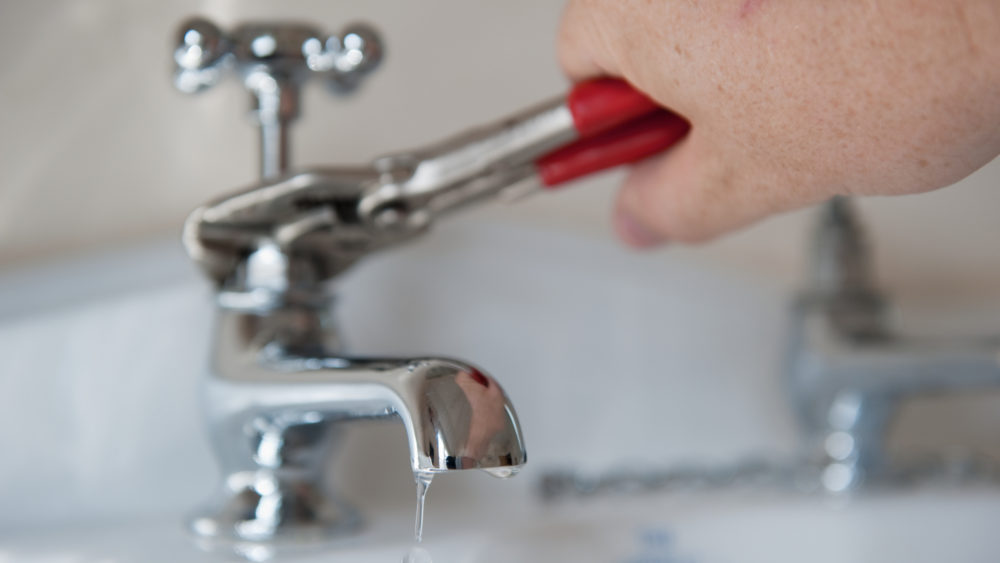
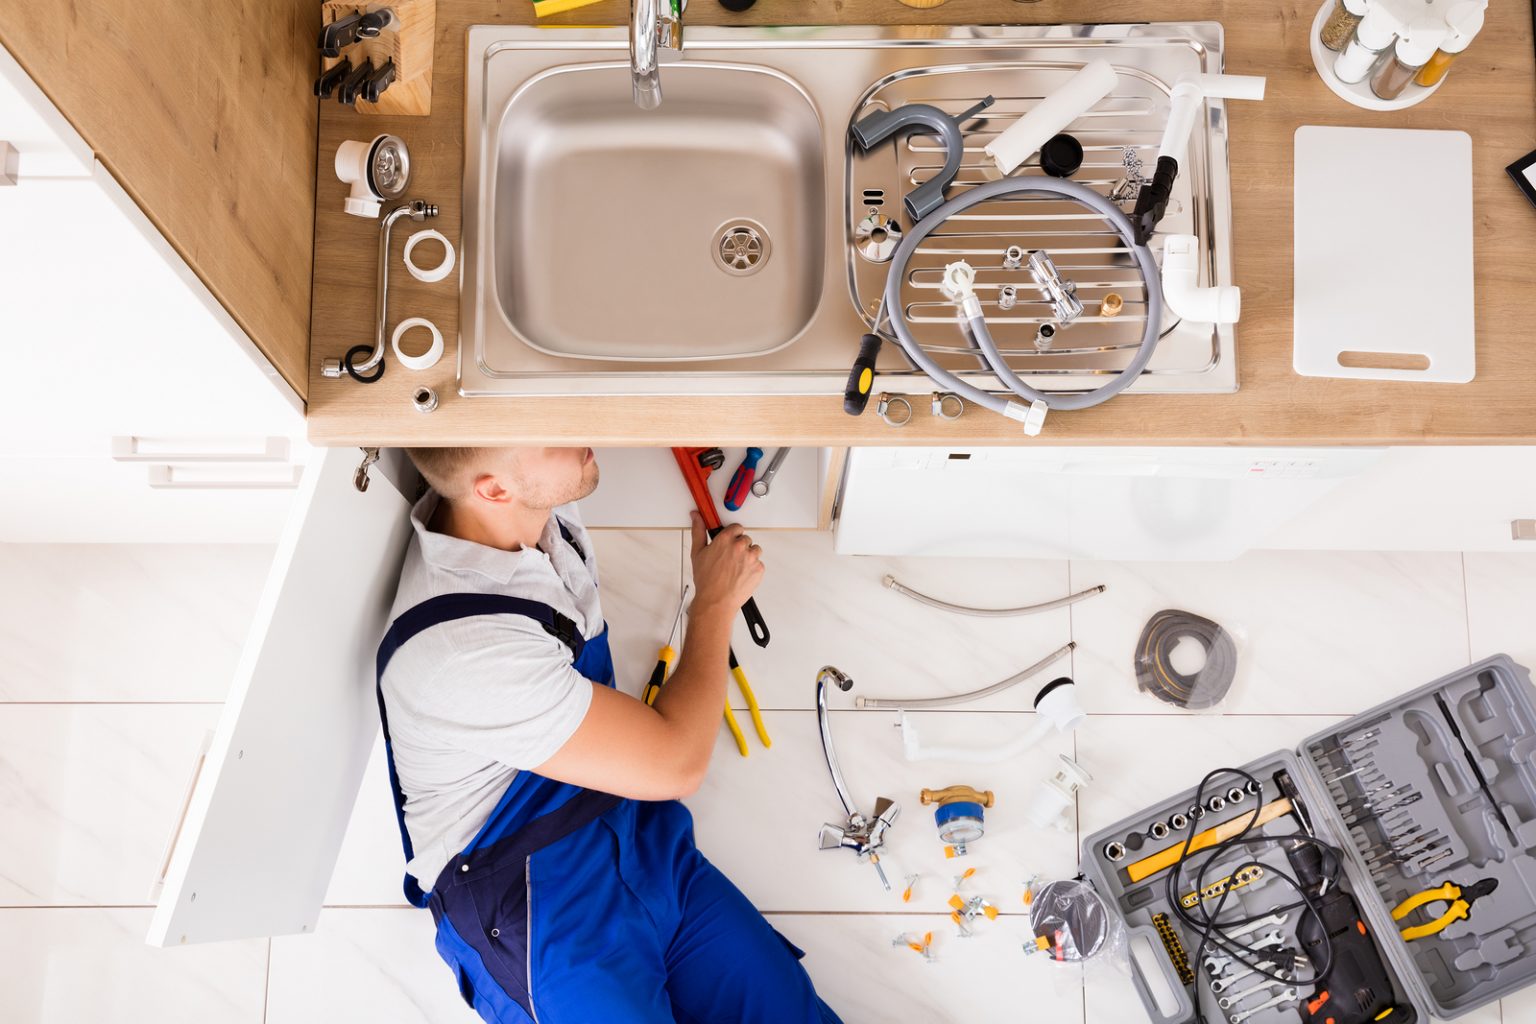
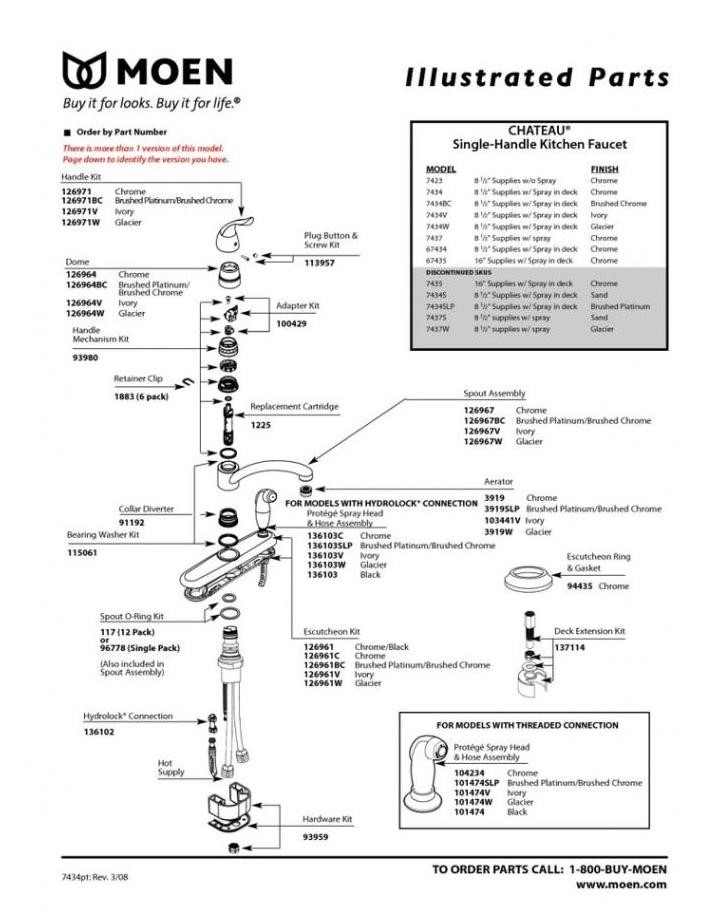
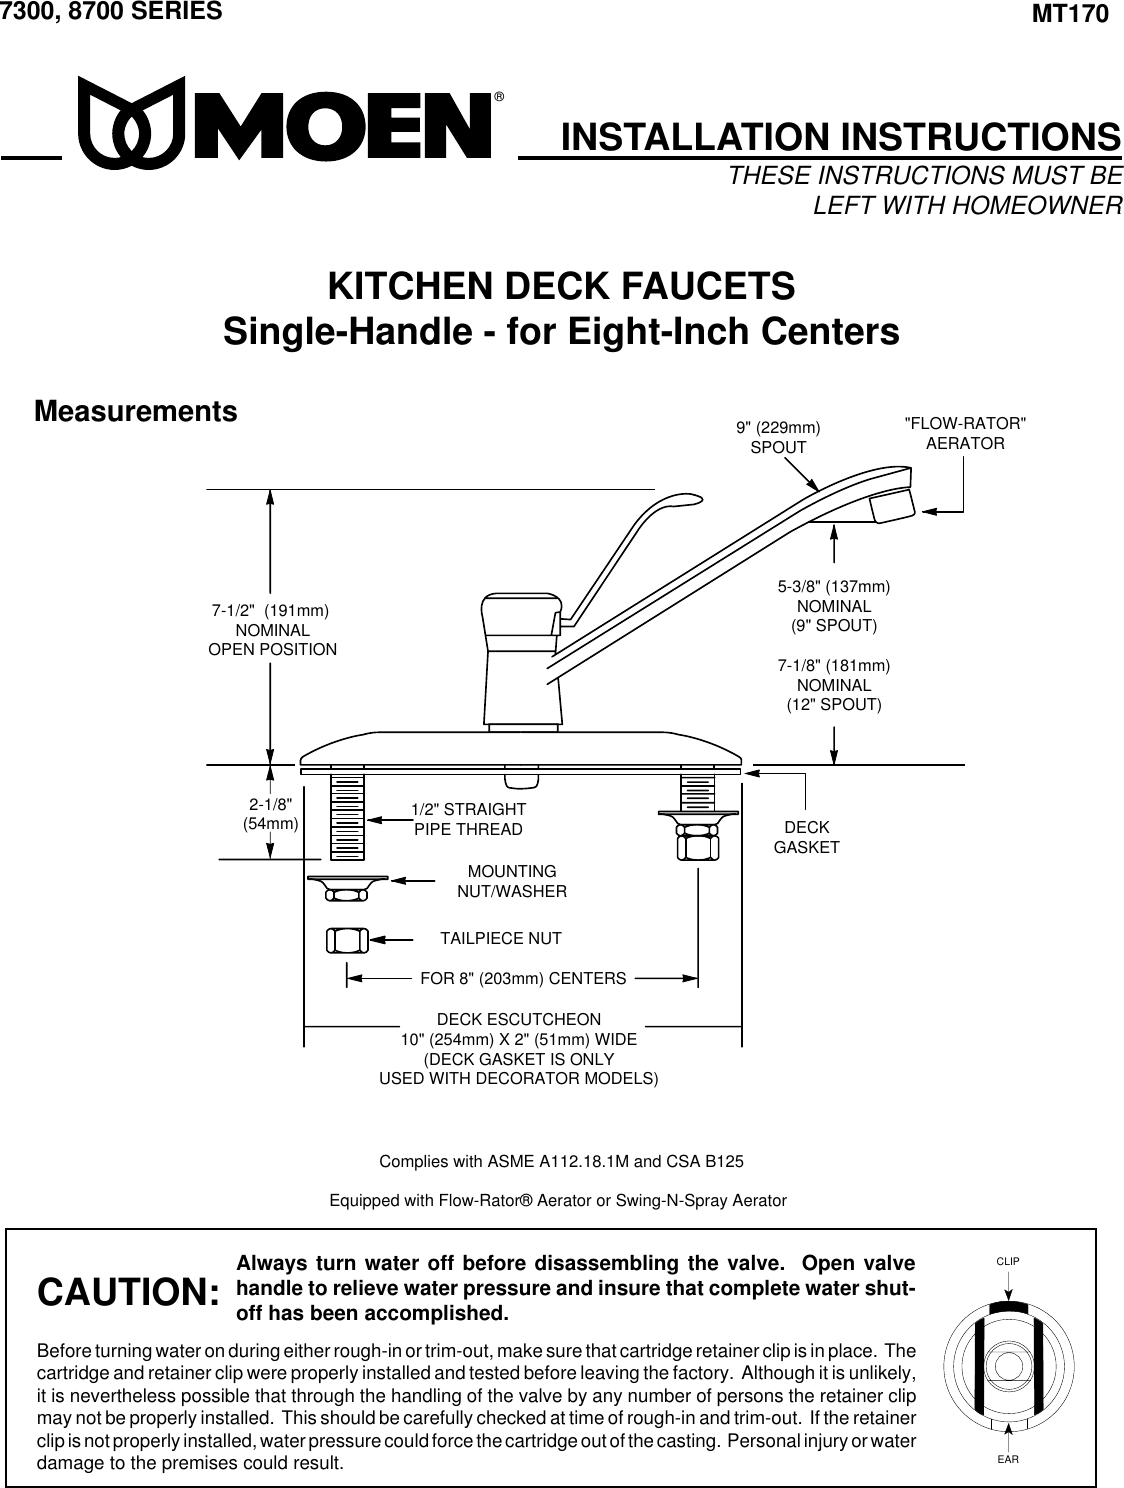
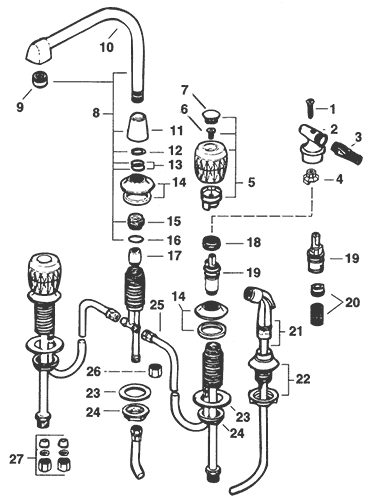
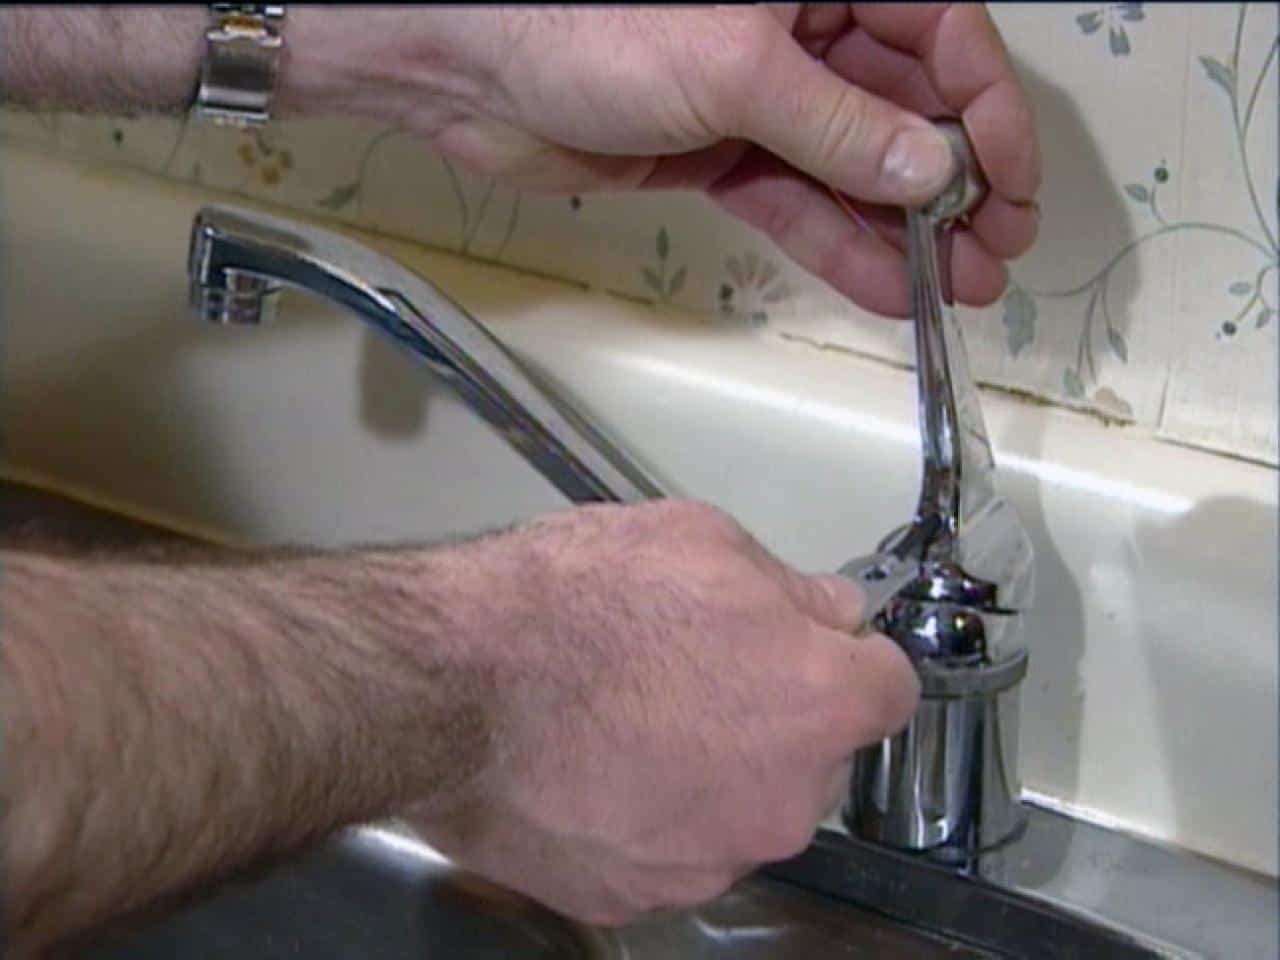
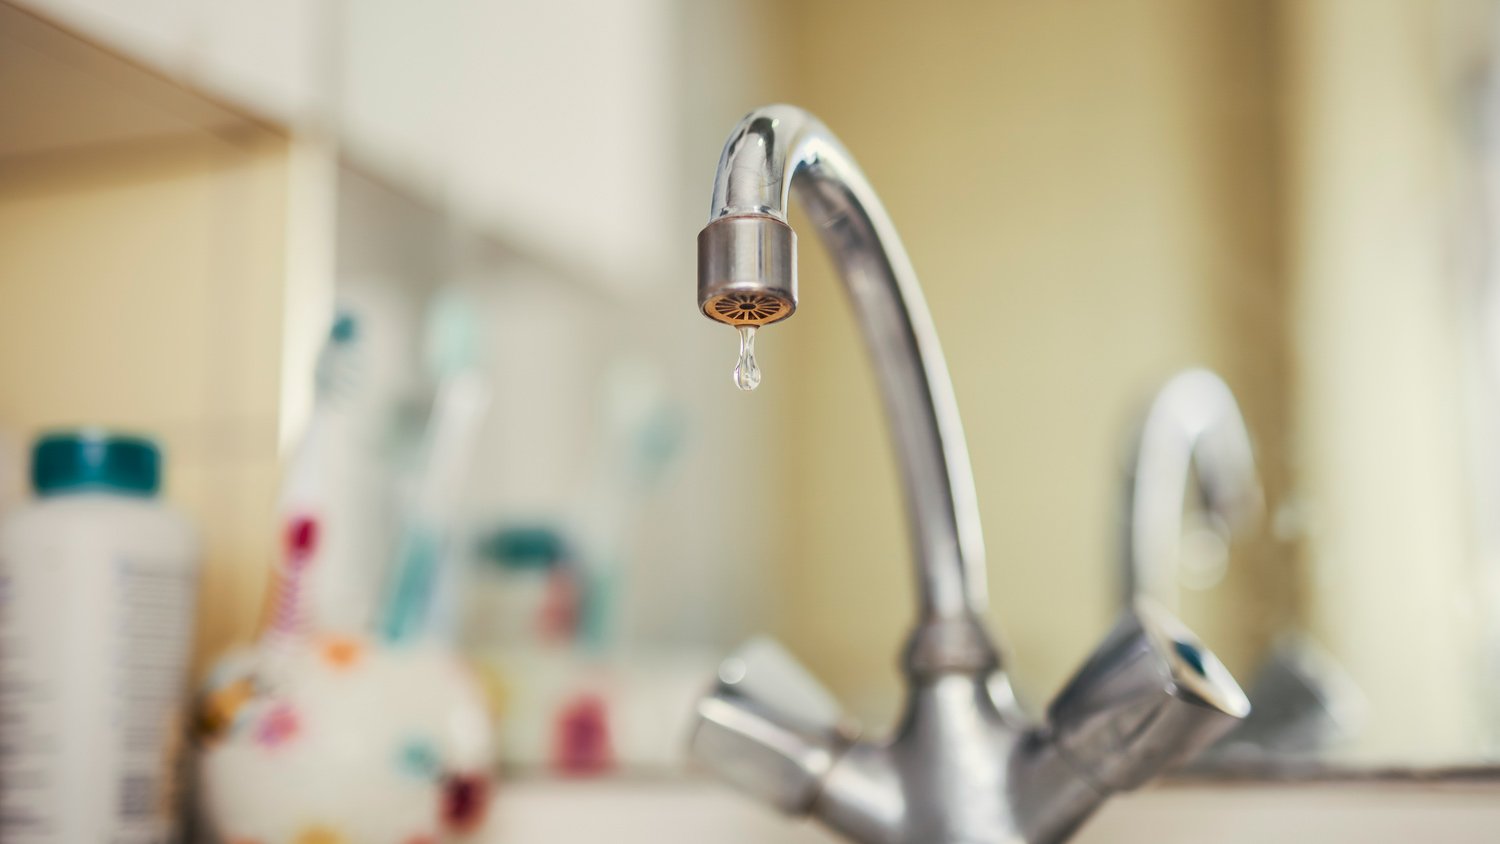
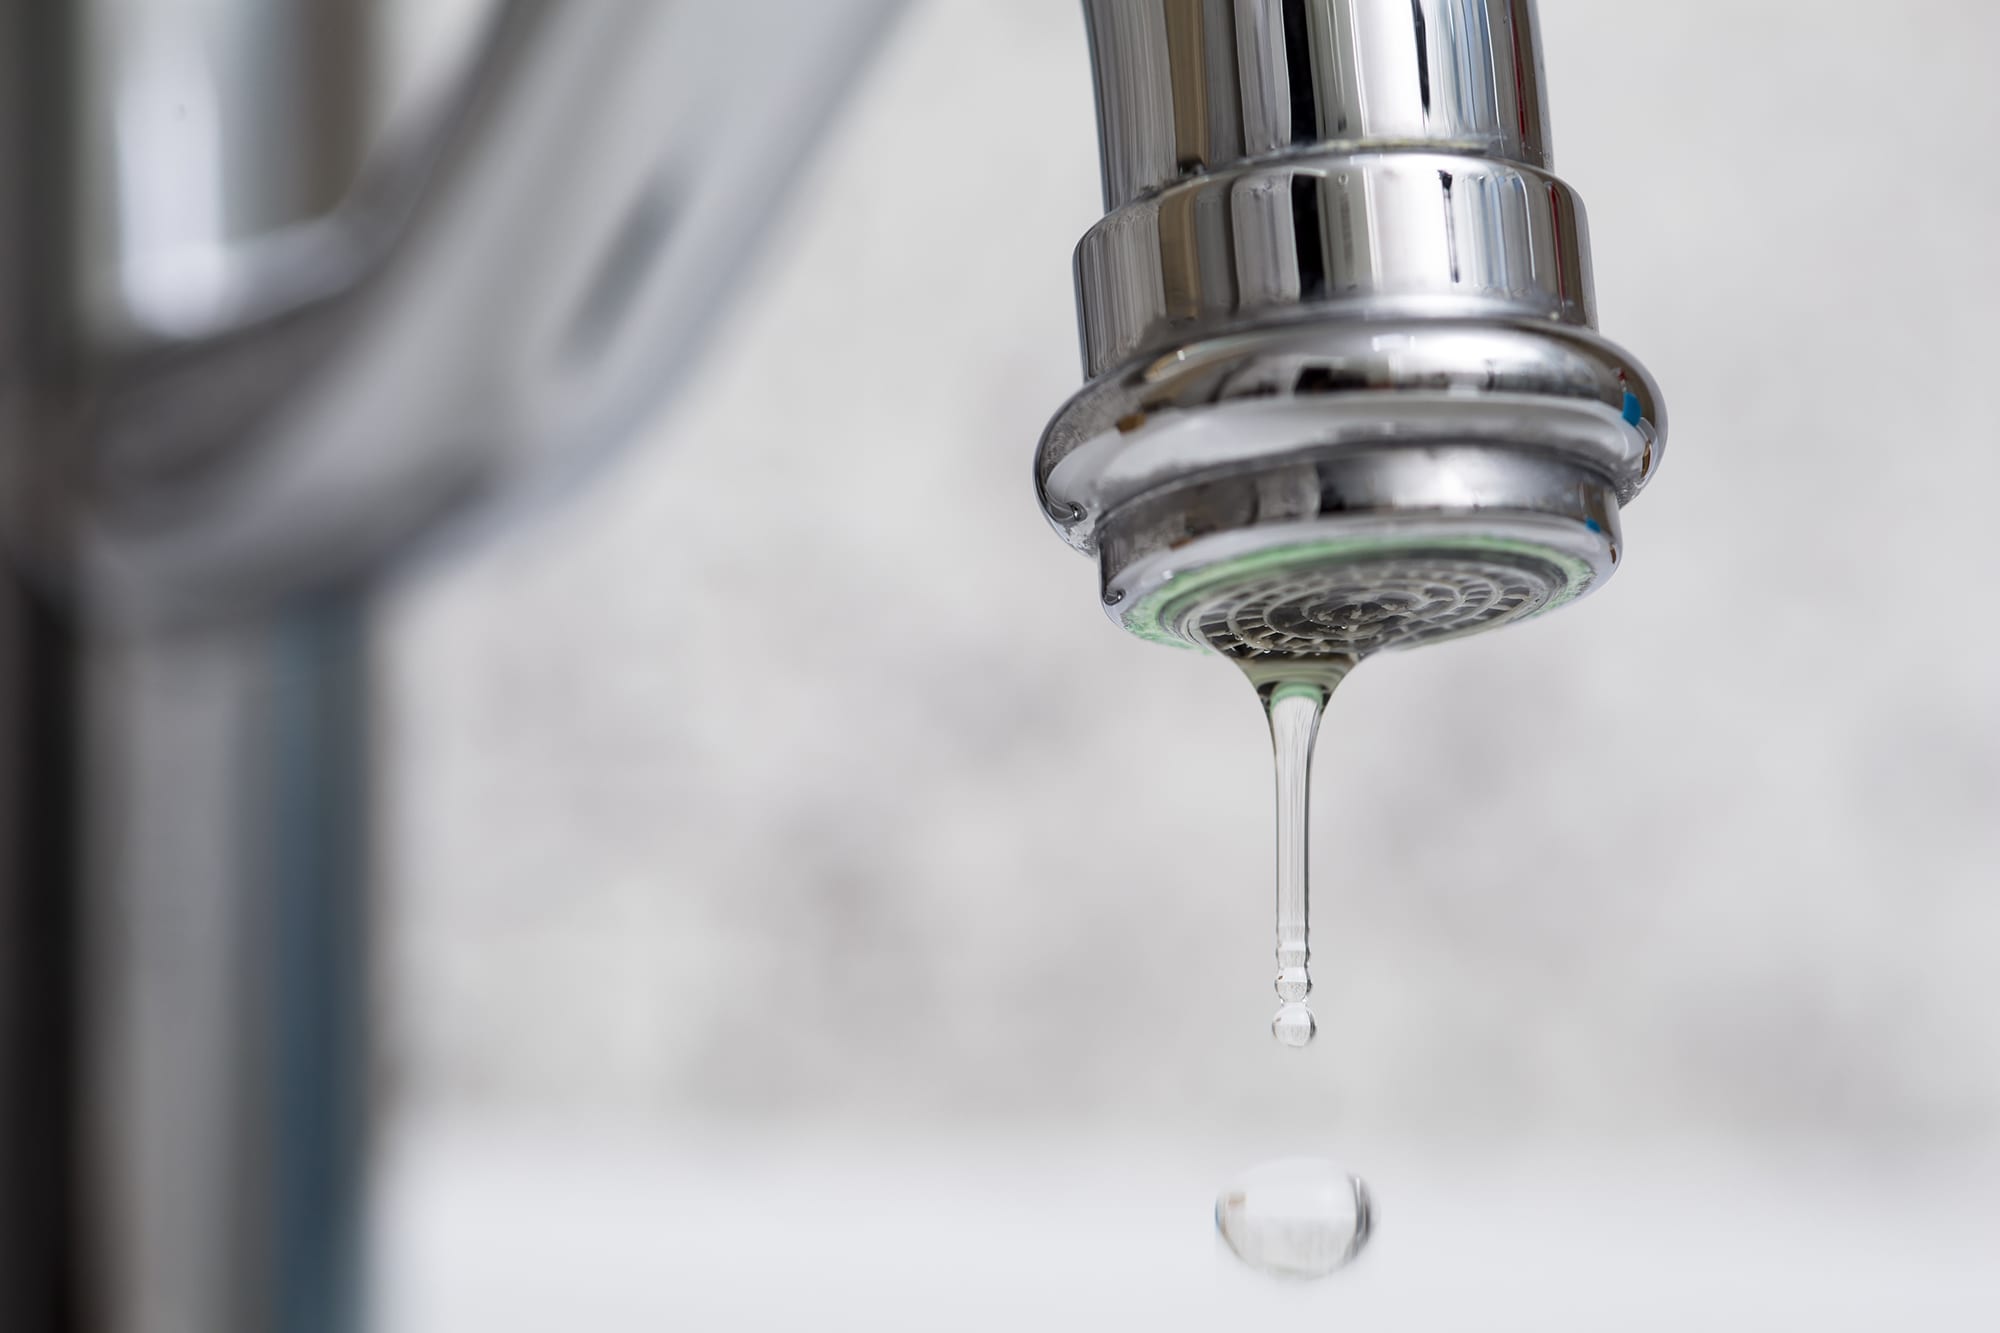
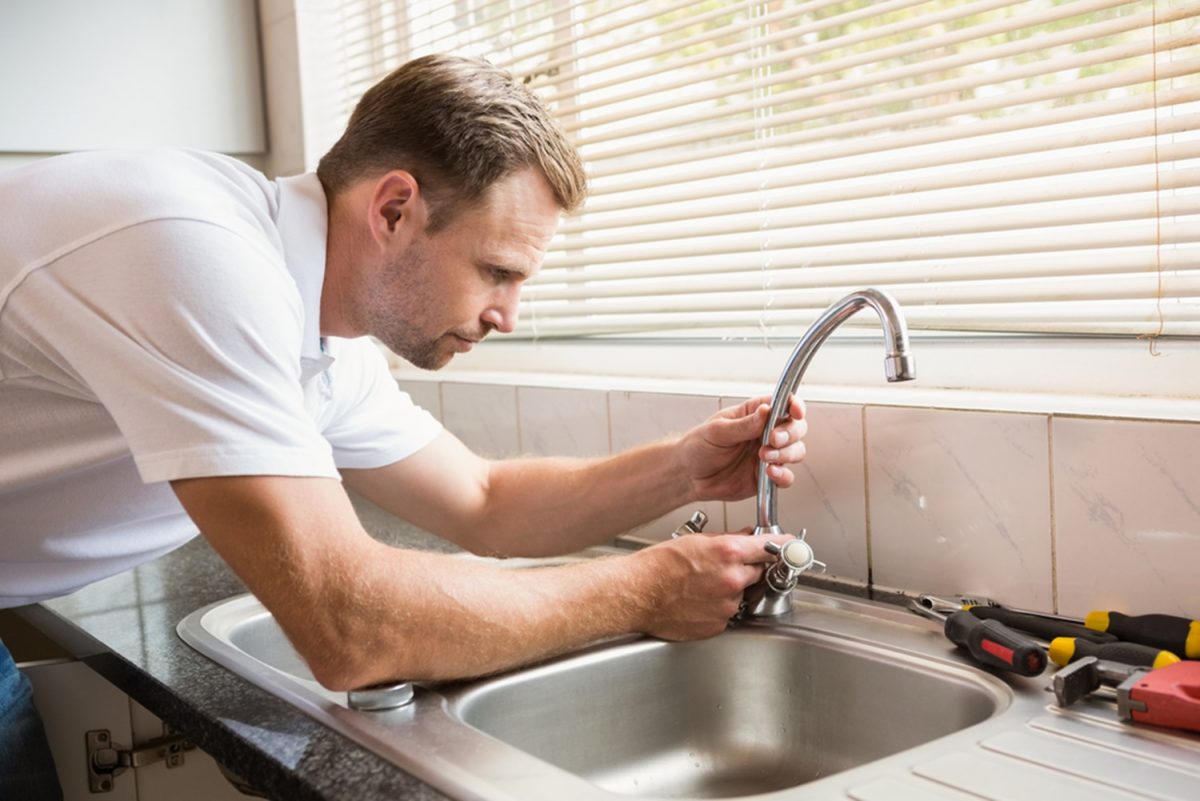
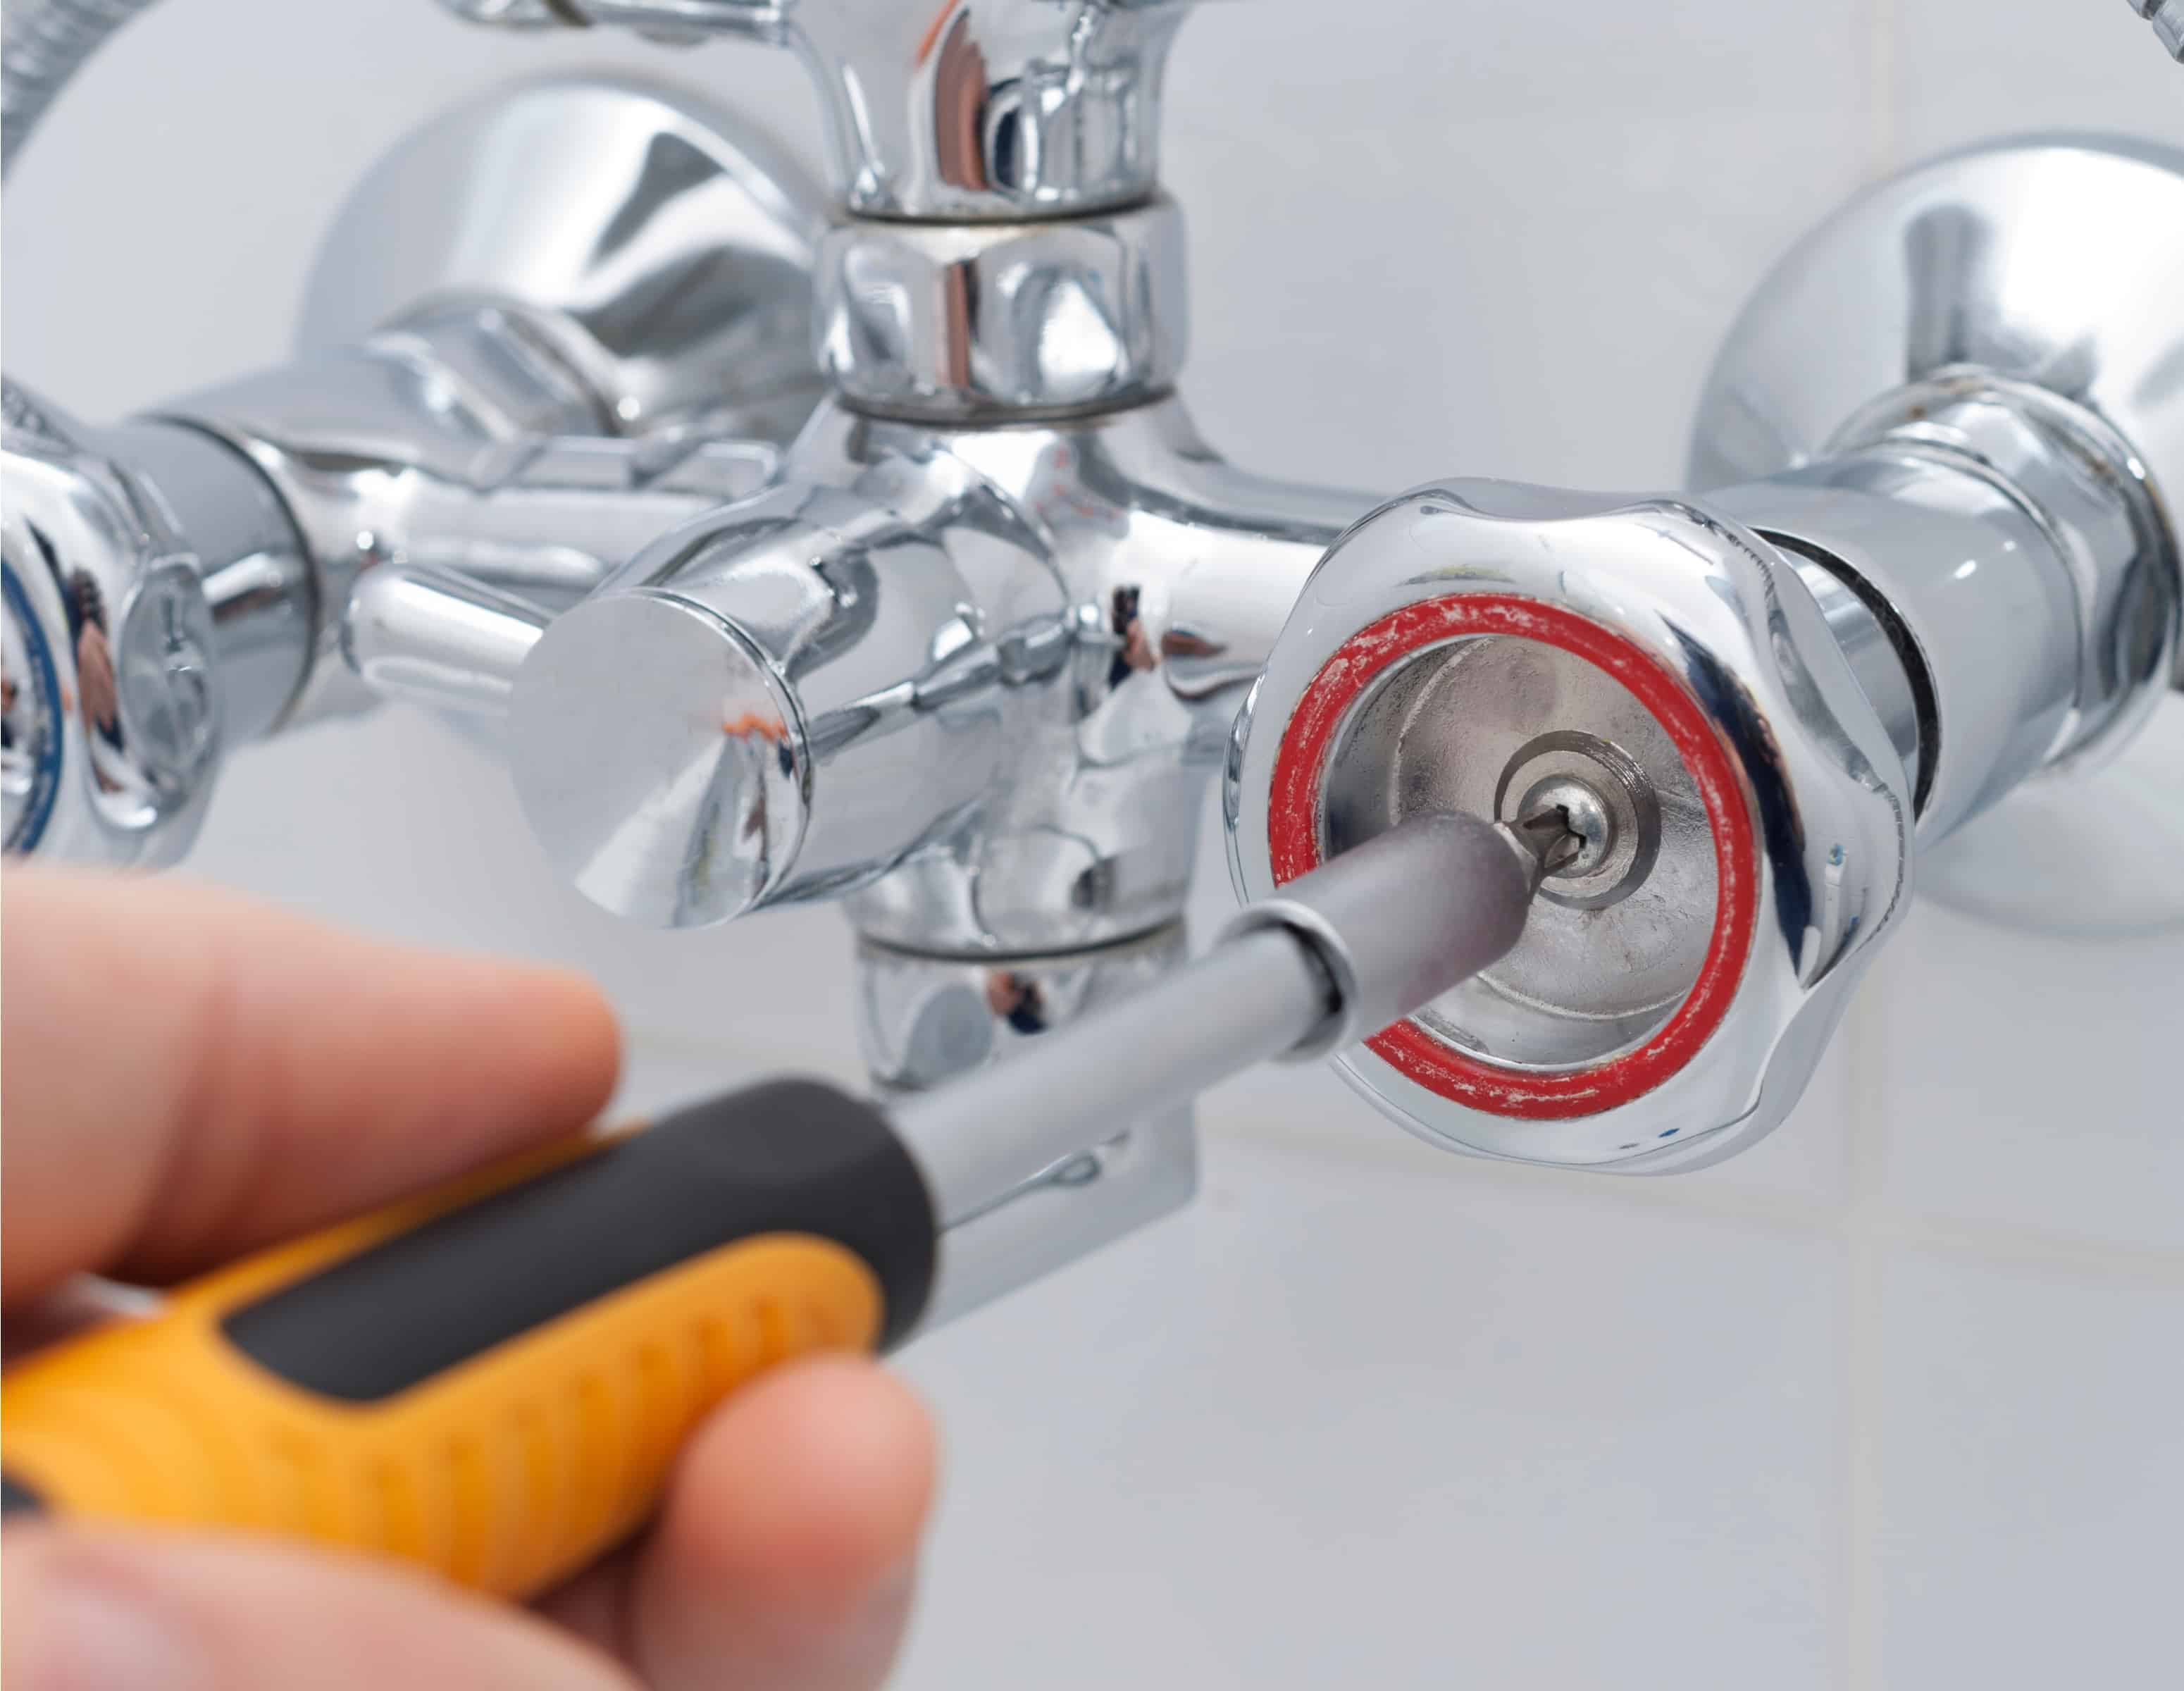
If you've noticed a constant dripping or pooling of water around your kitchen sink, chances are you have a leaky faucet. Not only is this an annoyance, but it can also lead to wasted water and a higher water bill. But fear not, fixing a leaky kitchen faucet is a relatively simple DIY task that can save you time, money, and frustration in the long run. First, turn off the water supply to your sink. This is typically located under the sink and can be turned off by twisting the valve clockwise. Next, turn on the faucet to release any remaining water in the pipes. This will also help to relieve any pressure and make the repair easier. Now it's time to identify the source of the leak. The most common cause of a leaky kitchen faucet is a worn out or damaged O-ring or washer. You'll need to disassemble the faucet to access these parts, so be sure to have a small bucket or towel handy to catch any excess water that may come out during the process. Once you have access to the internal parts of the faucet, use a wrench to remove the handle. From there, you can remove the O-ring or washer that is causing the leak. If these parts are visibly damaged, it's best to replace them with new ones before reassembling the faucet. After replacing the damaged parts, reassemble the faucet and turn the water supply back on. If the leak persists, you may need to replace the entire faucet. However, in most cases, a simple O-ring or washer replacement will do the trick.1. How to Fix a Leaky Kitchen Faucet
If you're the DIY type and want to save some money, fixing a leaking kitchen faucet is a project you can tackle on your own. With a few basic tools and some patience, you can have your faucet back in working order in no time. The first step is to gather your tools. You'll likely need a wrench, screwdriver, and pliers to disassemble the faucet. It's also helpful to have some plumber's tape on hand to seal any connections once you've completed the repair. Next, follow the same steps as outlined in the previous section to turn off the water supply, disassemble the faucet, and replace any damaged parts. Make sure to clean the internal parts of the faucet before reassembling to remove any debris or buildup that may have been contributing to the leak. If you're unsure about the specific parts you need to replace, take the old ones with you to the hardware store to ensure you get the right replacements. Once everything is reassembled, turn the water supply back on and test the faucet to ensure the leak has been fixed.2. DIY: How to Fix a Leaking Kitchen Faucet
If you're a visual learner or prefer step-by-step instructions, here's a breakdown of how to fix a leaky kitchen faucet: Step 1: Turn off the water supply to your sink. Step 2: Turn on the faucet to release any remaining water in the pipes. Step 3: Disassemble the faucet to access the internal parts. Step 4: Use a wrench to remove the handle and access the O-ring or washer. Step 5: Replace the damaged O-ring or washer with a new one. Step 6: Reassemble the faucet and turn the water supply back on. Step 7: Test the faucet to ensure the leak has been fixed. Remember to take your time and be careful when disassembling and reassembling the faucet to avoid causing any additional damage.3. Step-by-Step Guide to Fixing a Leaky Kitchen Faucet
There are several possible causes of a leaky kitchen sink faucet, but the most common ones include: - Worn out or damaged O-ring or washer - Loose or damaged connections - Corroded valve seat - Worn out cartridge or ball valve - Improper installation If you've recently had your faucet replaced or installed, it's possible that it was not done correctly, leading to a leak. In this case, it's best to contact the professional who installed it to fix the issue.4. Common Causes of a Leaky Kitchen Sink Faucet
If you've attempted to fix your leaky kitchen faucet and it's still leaking, there may be an underlying issue that requires further troubleshooting. Here are a few things to consider: - Are all the connections tightly secured? - Is the water supply valve fully open? - Is there any buildup or debris clogging the faucet? - Have you replaced the O-ring or washer with the correct size and type? If you've checked all of these and the leak still persists, it may be time to call in a professional plumber to assess the issue and provide a proper fix.5. Troubleshooting a Leaky Kitchen Faucet
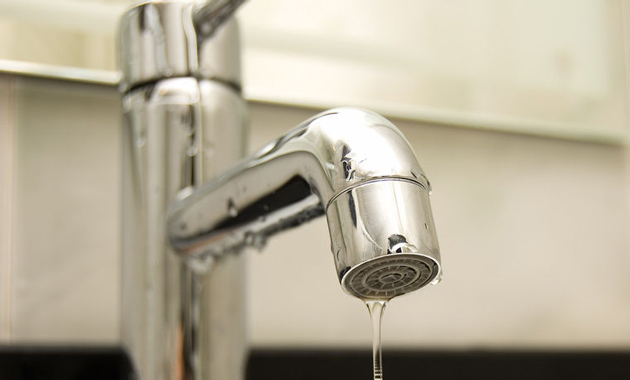
Another common issue with kitchen faucets is a dripping or constantly running faucet. This not only wastes water but can also be a frustrating sound to live with. Luckily, this is often a simple fix that can be done in a matter of minutes. The first step is to identify the type of faucet you have. There are four main types: ball, cartridge, ceramic disk, and compression. Each type requires a different repair method, so it's important to know what type you have before attempting to fix it. Once you know the type of faucet, you can follow the appropriate steps to replace any damaged parts and stop the dripping. In some cases, you may need to replace the entire faucet if the damage is too severe.6. How to Repair a Dripping Kitchen Faucet
If you're short on time or don't have the necessary tools to fix a leaky kitchen faucet, there is a quick and easy temporary fix that can stop the leak until you're able to properly repair it. Using some plumber's tape, wrap the tape around the damaged area of the faucet, making sure to cover any cracks or holes. This will create a temporary seal that can hold for a few days until you're able to fix the faucet properly. Just remember that this is not a permanent solution and should only be used as a temporary fix.7. Quick and Easy Fix for a Leaking Kitchen Faucet
Here are a few additional tips to keep in mind when fixing a leaky kitchen sink faucet: - Be gentle when disassembling and reassembling the faucet to avoid causing any further damage. - Take your time and follow the steps carefully to ensure the leak is properly fixed. - If you're unsure of what parts you need to replace, take the old ones with you to the hardware store for reference. - Regularly clean and maintain your faucet to prevent any future leaks.8. Tips for Fixing a Leaky Kitchen Sink Faucet
Having the right tools on hand is crucial when attempting to fix a leaky kitchen faucet. Some common tools you may need include: - Wrench - Screwdriver - Pliers - Plumber's tape - Replacement O-ring or washer - Bucket or towel - Penetrating oil (for loosening tight connections)9. Common Tools Needed to Fix a Leaky Kitchen Faucet
While it can be tempting to save money and try to fix a leaky kitchen faucet on your own, it's important to know when it's time to call in a professional plumber. If you're not confident in your DIY skills or the leak persists after attempting to fix it, it's best to leave it to the experts. A professional plumber has the knowledge, experience, and tools to properly diagnose and fix the issue, saving you time and frustration in the long run. Plus, they can also provide valuable tips and advice for maintaining your faucet to prevent future leaks.10. Professional vs. DIY: Fixing a Leaky Kitchen Faucet
Why Fixing a Leaking Kitchen Sink Faucet is Essential for a Well-Designed House

The Importance of a Functional Kitchen
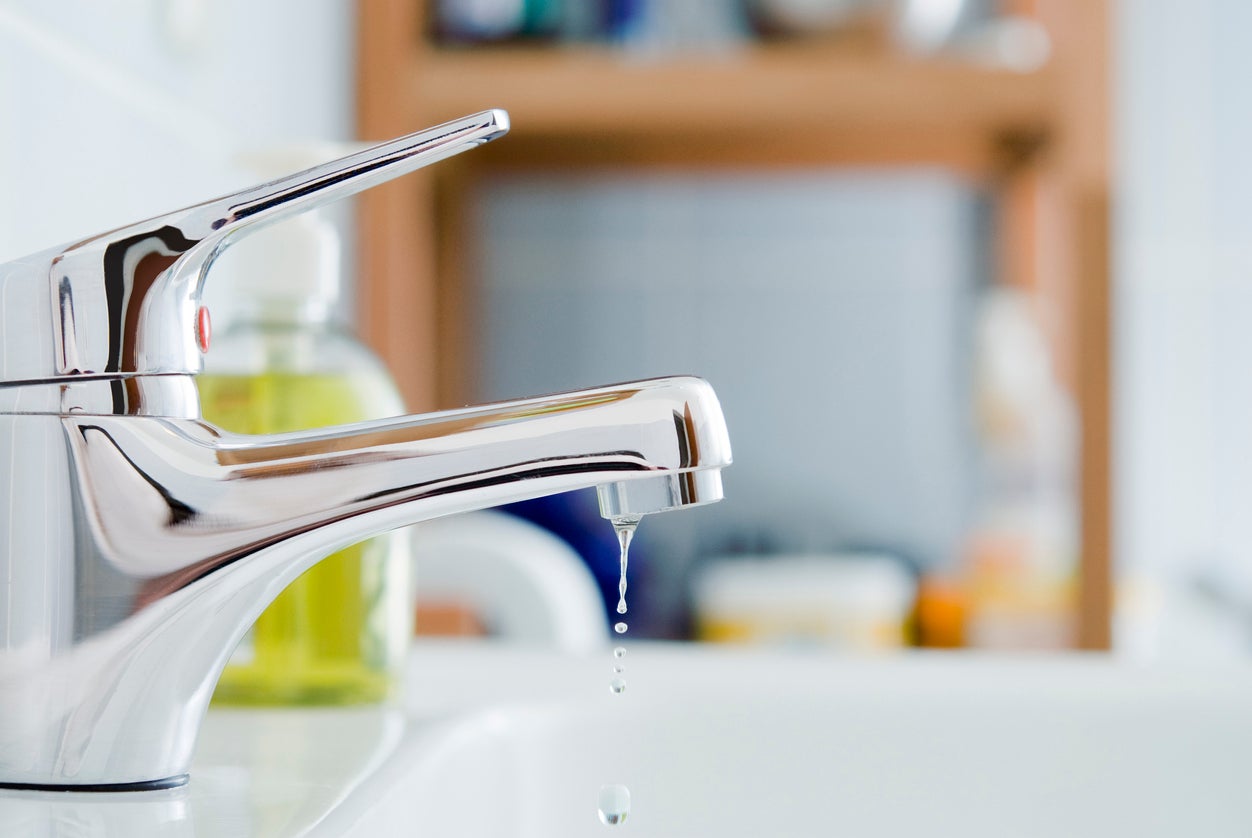 A kitchen is the heart of a home, where meals are prepared and memories are made. It is also a space where functionality is crucial. A leaking
kitchen sink faucet
may seem like a minor issue, but it can cause major disruptions to your daily routine. Not only that, but it can also lead to wasted water, higher utility bills, and potential damage to your kitchen cabinets and floors. In order to maintain a well-designed house, it is important to address any
water leaking
issues in your kitchen promptly.
The Dangers of Ignoring a Leaking Kitchen Sink Faucet
 Aside from the inconvenience and potential damage, a
leaking kitchen sink faucet
can also pose health risks. The constant presence of moisture can create the perfect breeding ground for mold and mildew, which can be harmful to your family's health. These contaminants can also cause unpleasant odors and compromise the air quality in your home. Furthermore, if the leak is coming from a
hot water
pipe, it can also increase the risk of burns and scalds, especially for young children.
The Benefits of Fixing the Issue
 By addressing a
leaking kitchen sink faucet
in a timely manner, you can avoid potential hazards and save on costly repairs in the future. It will also help maintain the functionality and aesthetic of your kitchen, which is an important aspect of a well-designed house. Additionally, fixing the issue can also save you money on your water bills and contribute to a more sustainable household. With a
well-maintained kitchen
, you can enjoy the comfort and peace of mind that comes with a functional and beautiful living space.
The Importance of Professional Help
 While some may attempt to fix a
leaking kitchen sink faucet
on their own, it is always best to seek professional help. A licensed plumber has the expertise and tools to properly diagnose and fix the issue, ensuring that it is resolved correctly and efficiently. They can also provide valuable advice on how to maintain your kitchen plumbing to prevent future leaks and damages. Investing in professional help is a small price to pay for the peace of mind and longevity of a well-designed house.
In conclusion, a
leaking kitchen sink faucet
may seem like a minor inconvenience, but it can have major consequences for a well-designed house. By addressing the issue promptly and seeking professional help, you can ensure the functionality and longevity of your kitchen, as well as the safety and well-being of your family. Don't let a small leak turn into a big problem - take care of it as soon as possible.


