Are you tired of constantly inflating your air mattress only to find it deflated by morning? The culprit could be a hole in the seam of your air mattress. Luckily, fixing a hole in an air mattress seam is a relatively simple task that can be done at home. Here’s how: Featured Keywords: fix hole, air mattress seam Before you get started, make sure you have all the necessary materials. You will need a patch kit specifically designed for air mattresses, a pair of scissors, and rubbing alcohol. Begin by cleaning the area around the hole with rubbing alcohol. This will remove any dirt or debris that could prevent the patch from adhering properly. Next, cut a circular patch from the patch kit that is at least 1 inch larger in diameter than the hole in your air mattress. Apply a small amount of glue from the patch kit to the edges of the patch. Carefully place the patch over the hole and press down firmly. Smooth out any wrinkles or air bubbles with your fingers. Allow the patch to dry for at least 24 hours before inflating your air mattress again.1. How to Fix a Hole in an Air Mattress Seam

1. How to Fix a Hole in an Air Mattress Seam


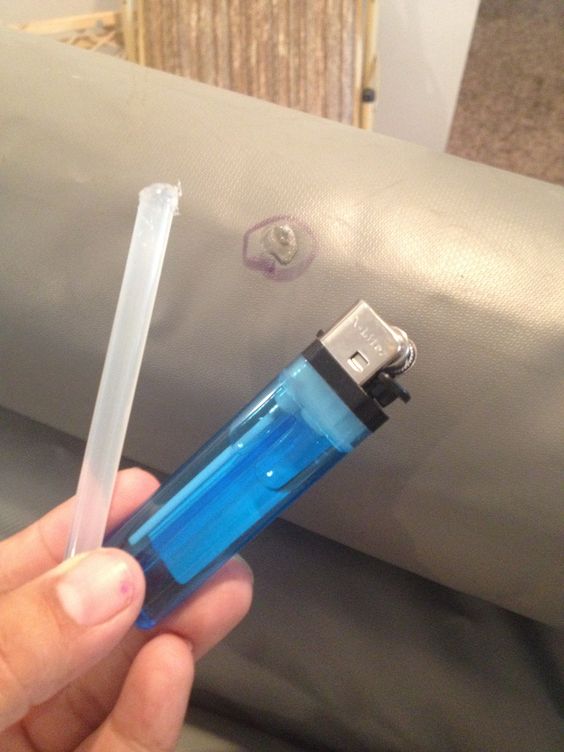
Discovering a hole in the seam of your air mattress can be frustrating, but fortunately, there are quick and easy ways to repair it. Here are a few methods you can try: Featured Keywords: repair seam, air mattress If you don’t have a patch kit on hand, you can use duct tape as a temporary fix. Clean the area around the hole with rubbing alcohol, then cut a piece of duct tape large enough to cover the hole and extend at least 1 inch beyond it. Press the tape firmly onto the hole, smoothing out any wrinkles or air bubbles. Another option is to use a hot glue gun to seal the hole. Apply a small amount of glue around the edges of the hole and smooth it out with your finger. Allow it to dry completely before inflating your air mattress. If you have a larger hole, you can use a bicycle tire patch kit to fix it. These kits contain a glue that is specifically designed to bond rubber, making it perfect for repairing air mattresses. Follow the instructions included in the kit for best results.2. Quick and Easy Ways to Repair a Seam on an Air Mattress


2. Quick and Easy Ways to Repair a Seam on an Air Mattress


Fixing a seam leak on an air mattress may seem daunting, but with the right tools and a bit of know-how, it can be a simple DIY project. Here’s a step-by-step guide to help you get your air mattress back in working order: Featured Keywords: DIY guide, seam leak, air mattress Step 1: Identify the leak. Inflate your air mattress and listen for the sound of air escaping. If you’re having trouble finding the leak, you can also spray the mattress with soapy water and look for bubbles. Step 2: Clean the area around the leak with rubbing alcohol to ensure proper adhesion of the patch. Step 3: Cut a circular patch from your patch kit that is at least 1 inch larger in diameter than the leak. Step 4: Apply a small amount of glue from the patch kit to the edges of the patch. Step 5: Carefully place the patch over the leak and press down firmly. Smooth out any wrinkles or air bubbles with your fingers. Step 6: Allow the patch to dry for at least 24 hours before inflating your air mattress again.3. DIY Guide: Fixing a Seam Leak on an Air Mattress


3. DIY Guide: Fixing a Seam Leak on an Air Mattress


Repairing a seam on an air mattress can be a simple process, but it’s important to follow a few tips to ensure a successful fix: Featured Keywords: repairing seam, air mattress Tip 1: Use a patch kit specifically designed for air mattresses. These kits often come with special glue that is formulated to bond with the material of your air mattress. Tip 2: Clean the area around the leak thoroughly with rubbing alcohol. This will remove any dirt or debris that could prevent the patch from sticking properly. Tip 3: Be patient when allowing the patch to dry. It’s important to give the glue enough time to fully bond with the air mattress. Tip 4: If you’re using a patch kit that requires heat to activate the glue, be careful not to overheat the patch. This could cause the glue to melt and make the patch ineffective.4. Tips for Repairing a Seam on an Air Mattress

4. Tips for Repairing a Seam on an Air Mattress


Fixing a seam on an air mattress is a simple process that can be done in just a few steps. Here’s a step-by-step guide to help you get started: Featured Keywords: fixing seam, air mattress Step 1: Deflate your air mattress completely. Step 2: Clean the area around the seam with rubbing alcohol. Step 3: Cut a circular patch from your patch kit that is at least 1 inch larger in diameter than the seam. Step 4: Apply a small amount of glue from the patch kit to the edges of the patch. Step 5: Carefully place the patch over the seam and press down firmly. Smooth out any wrinkles or air bubbles with your fingers. Step 6: Allow the patch to dry for at least 24 hours before inflating your air mattress again. If your air mattress has multiple seams, it’s important to repeat this process for each seam to prevent future leaks.5. Step-by-Step Guide to Fixing a Seam on an Air Mattress


5. Step-by-Step Guide to Fixing a Seam on an Air Mattress


Seam holes in air mattresses can be caused by a variety of factors. Understanding the common causes can help you prevent future leaks and know how to fix them when they do occur: Featured Keywords: seam holes, air mattresses, fix One of the most common causes of seam holes is over-inflation. When an air mattress is filled beyond its maximum capacity, the seams can stretch and eventually tear. To prevent this, make sure to follow the recommended inflation levels for your specific air mattress. Another cause of seam holes is sharp objects. If you’re using your air mattress outdoors, be careful to clear the area of any debris that could puncture the material. Additionally, normal wear and tear can weaken the seams over time, leading to holes. To prevent this, make sure to store your air mattress properly when not in use and avoid dragging it across rough surfaces.6. Common Causes of Seam Holes in Air Mattresses and How to Fix Them


6. Common Causes of Seam Holes in Air Mattresses and How to Fix Them


If you’ve found a hole in the seam of your air mattress, don’t worry – it can be easily patched. Here’s how: Featured Keywords: patch hole, seam, air mattress Step 1: Deflate your air mattress completely. Step 2: Clean the area around the hole with rubbing alcohol. Step 3: Cut a circular patch from your patch kit that is at least 1 inch larger in diameter than the hole. Step 4: Apply a small amount of glue from the patch kit to the edges of the patch. Step 5: Carefully place the patch over the hole and press down firmly. Smooth out any wrinkles or air bubbles with your fingers. Step 6: Allow the patch to dry for at least 24 hours before inflating your air mattress again.7. How to Patch a Hole in the Seam of an Air Mattress


7. How to Patch a Hole in the Seam of an Air Mattress


Discovering a seam leak on your air mattress can be frustrating, but knowing what to do can make the process much easier. Here’s what you need to know about fixing a seam leak: Featured Keywords: fixing seam leak, air mattress First, make sure you have all the necessary materials – a patch kit, scissors, and rubbing alcohol. Then, follow the steps outlined in the DIY guide above to repair the leak. It’s important to allow the patch to dry for at least 24 hours before using your air mattress again. This will ensure that the patch is secure and will prevent future leaks. If the seam leak is particularly large, you may need to use a bicycle tire patch kit to fix it. These kits contain a special glue that is designed to bond rubber, making it perfect for repairing air mattresses.8. Fixing a Seam Leak on an Air Mattress: What You Need to Know


8. Fixing a Seam Leak on an Air Mattress: What You Need to Know


Finding a hole in the seam of your air mattress can be a frustrating experience, but there are simple solutions that can help you fix it quickly and easily. Here are a few options to consider: Featured Keywords: fixing hole, seam, air mattress If you have a patch kit specifically designed for air mattresses, follow the instructions provided to repair the hole. If you don’t have a patch kit, you can use duct tape as a temporary solution. If the hole is particularly large, you may need to use a bicycle tire patch kit to fix it. These kits contain a special glue that is designed to bond rubber, making it perfect for repairing air mattresses.9. Simple Solutions for Fixing a Hole in the Seam of an Air Mattress


9. Simple Solutions for Fixing a Hole in the Seam of an Air Mattress


Fixing a seam leak on an air mattress may seem like a daunting task, but with a few troubleshooting tips, you can get your air mattress back in working order in no time. Here are some common issues that may arise and how to fix them: Featured Keywords: fixing seam leak, air mattress, troubleshooting If the patch is not sticking properly, make sure you have cleaned the area thoroughly with rubbing alcohol and allowed the glue to dry completely before inflating your air mattress. If air is still escaping after you have patched the seam, check for any additional leaks and repeat the patching process if necessary. If your air mattress is still deflating, make sure the patch is securely in place and that you have not over-inflated the mattress. If the problem persists, it may be time to invest in a new air mattress.10. Troubleshooting: How to Fix a Seam Leak on an Air Mattress

10. Troubleshooting: How to Fix a Seam Leak on an Air Mattress


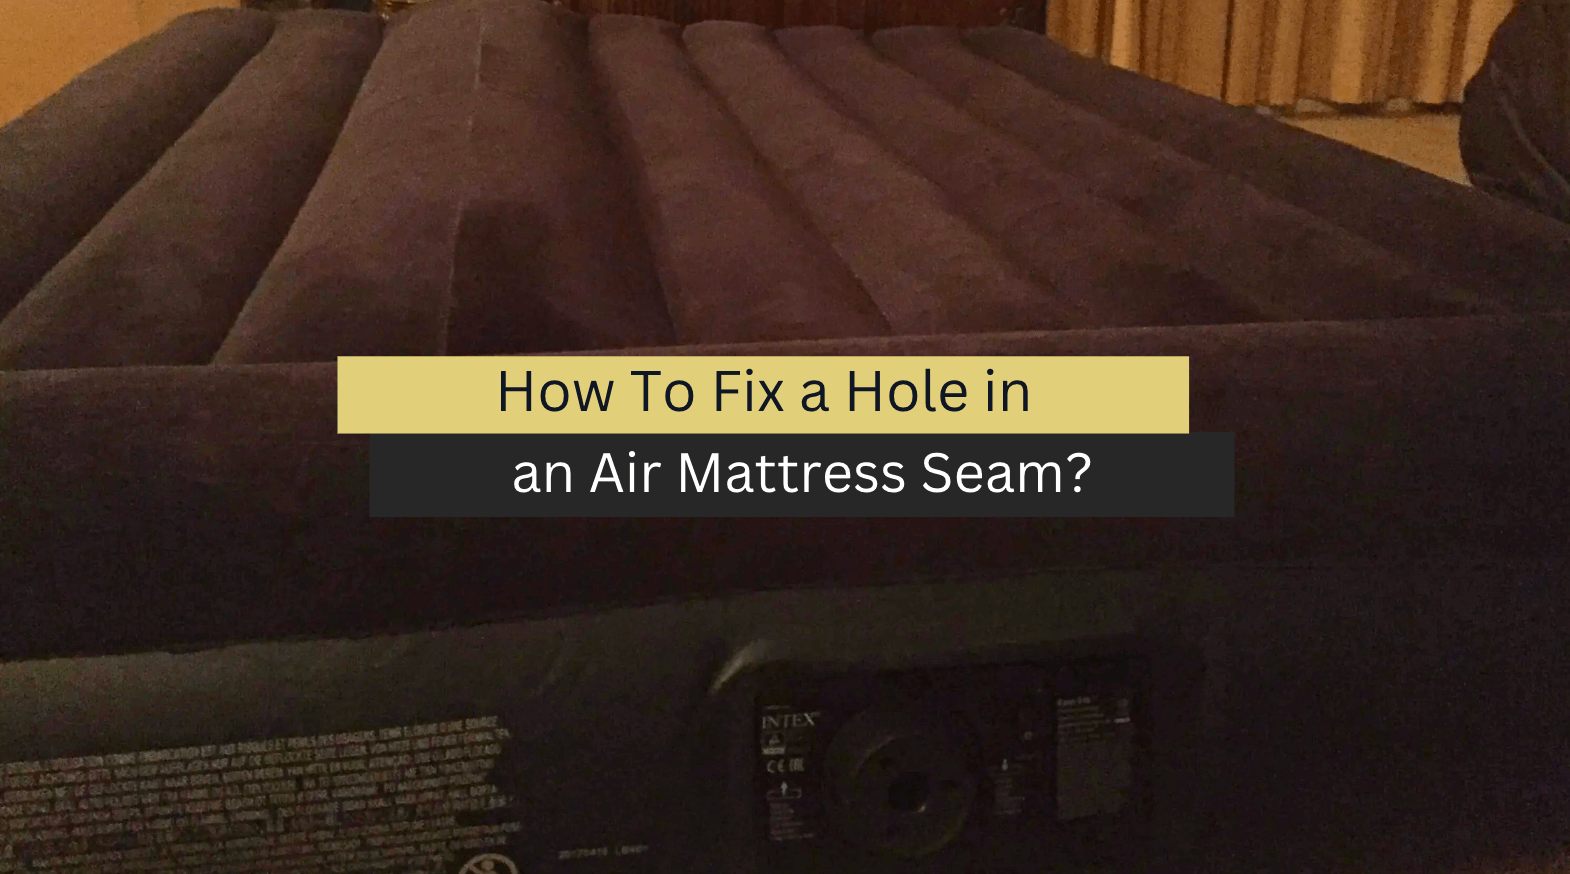
How to Fix a Hole in the Seam of an Air Mattress

Introduction
 Air mattresses are a convenient and comfortable solution for guests or for camping trips. However, just like any other inflatable product, they are prone to punctures and tears. One of the most common issues with air mattresses is a hole in the seam, which can cause air to leak out and make the mattress unusable. But don't worry, fixing a hole in the seam of an air mattress is a simple process that can be done at home with a few basic materials. In this article, we will guide you through the steps of repairing a hole in the seam of your air mattress.
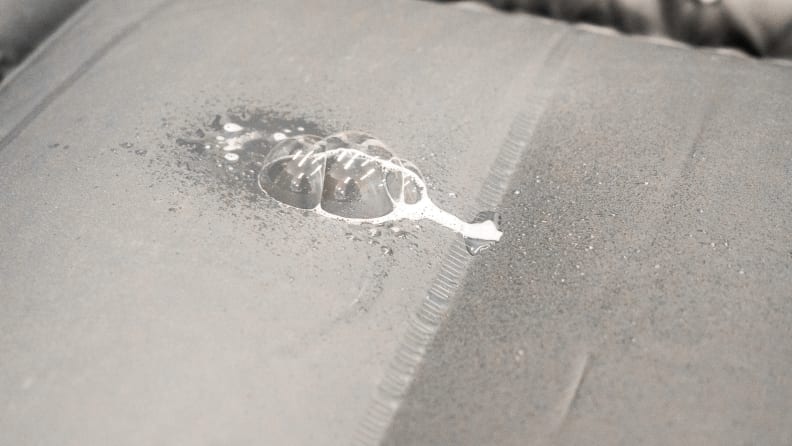
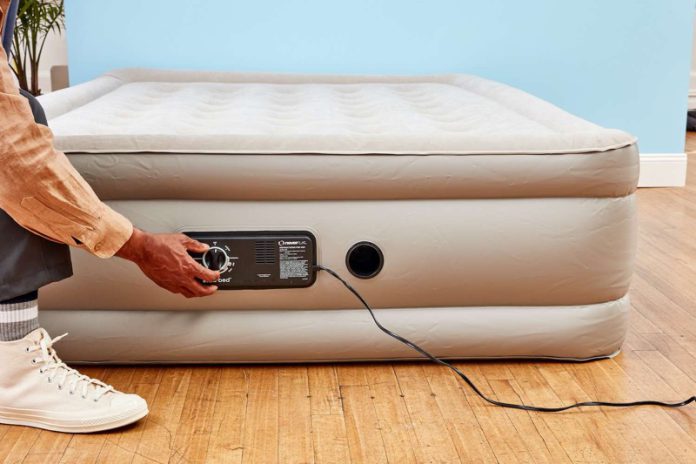
Step 1: Locate the Hole
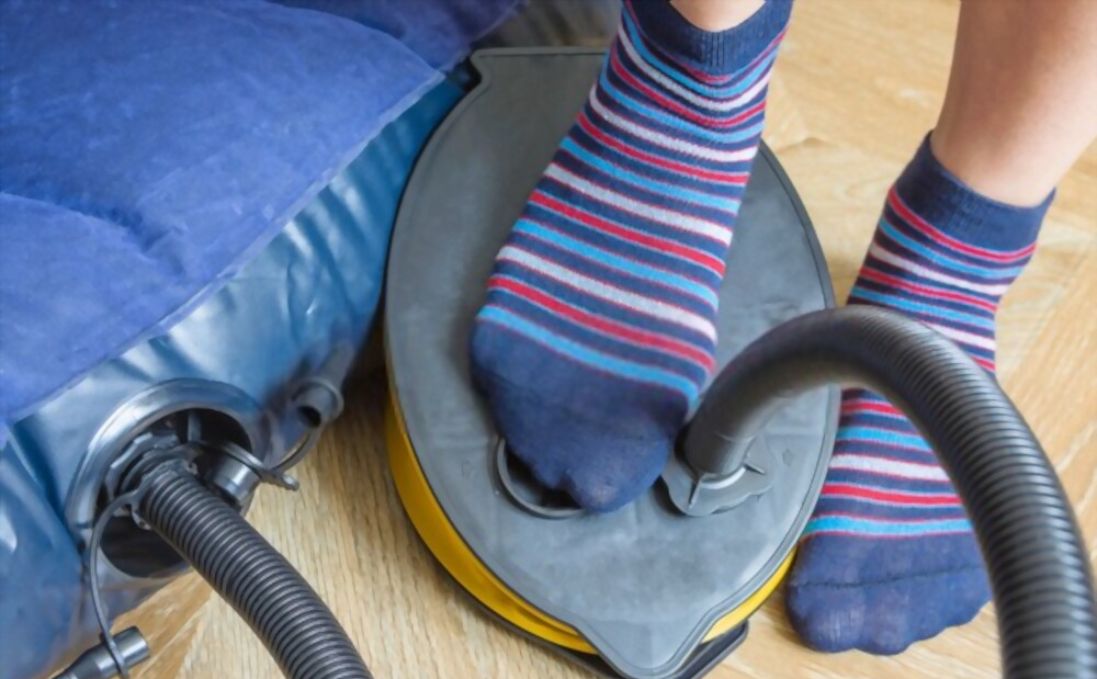
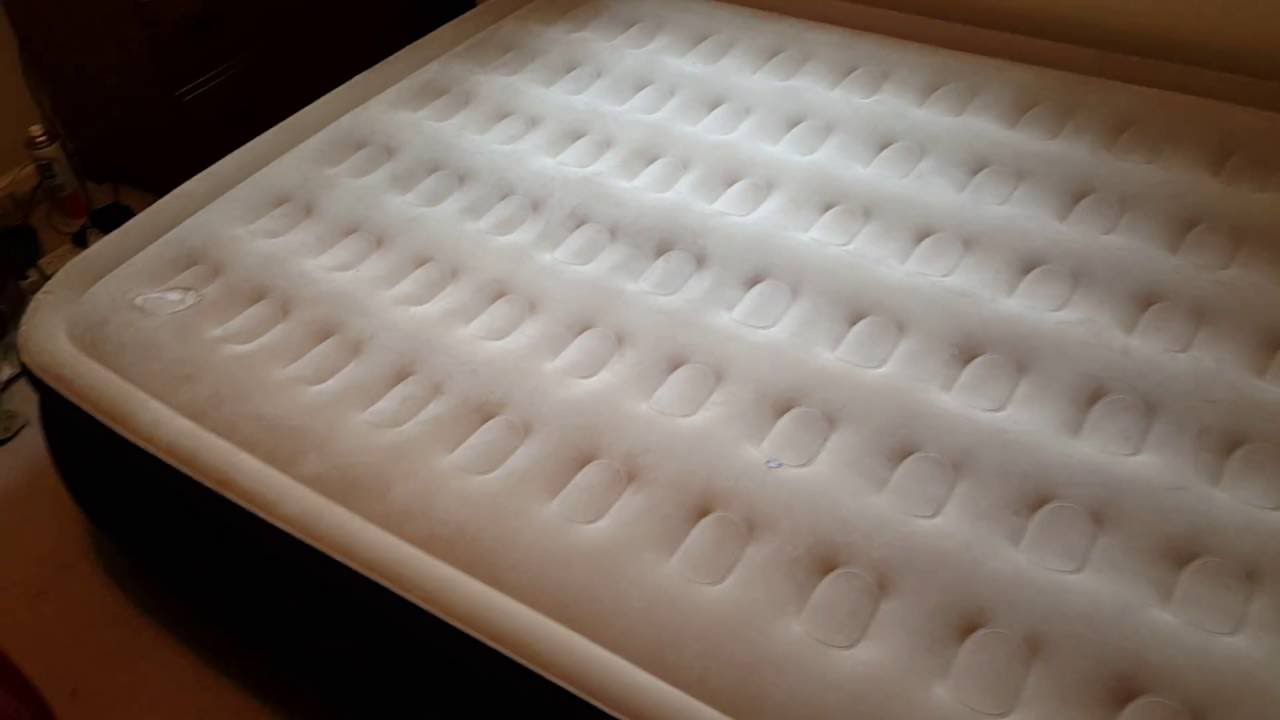
 The first step in fixing a hole in the seam of an air mattress is to locate the exact spot where the air is leaking from. To do this, inflate the mattress and listen for any hissing sounds or feel for any air escaping. Once you have located the hole, mark it with a pen or a piece of tape so that you can easily find it again.
Step 2: Prepare the Area
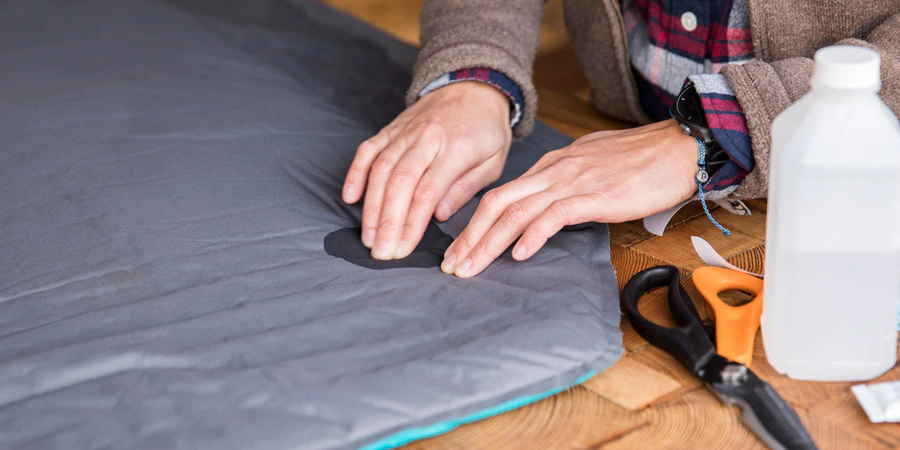
 Before you start repairing the hole, you need to make sure that the area is clean and dry. Use a damp cloth to clean the area around the hole and then dry it thoroughly with a towel. This will ensure that the patch adheres properly to the surface.
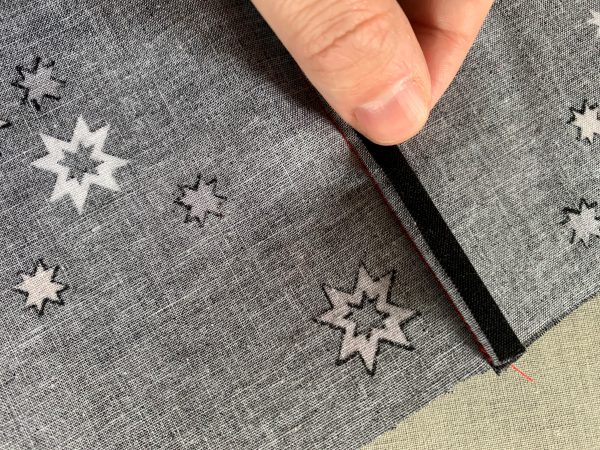
Step 3: Apply the Patch
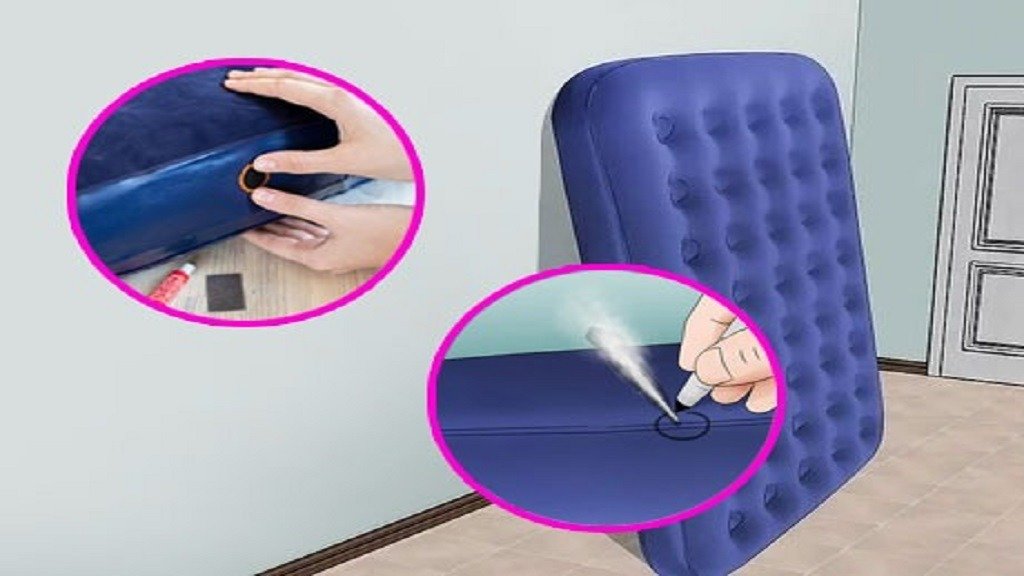
 Now it's time to patch up the hole in the seam. You can use a patch kit specifically designed for air mattresses, or you can use a piece of duct tape. If using a patch kit, follow the instructions on the package to apply the patch properly. If using duct tape, cut a piece of tape slightly larger than the hole and place it over the hole, pressing down firmly to ensure it sticks.
Step 4: Reinforce the Seam
 To ensure that the patch stays in place and the seam is reinforced, you can use some super glue or fabric glue around the edges of the patch. This will provide extra strength and prevent the patch from coming off.
Step 5: Let it Dry
 Once the patch is in place and reinforced, let it dry completely. This could take anywhere from a few hours to overnight, depending on the type of glue used. Once it's dry, you can deflate the mattress and test it out to make sure the hole is fully repaired.
Conclusion
 Fixing a hole in the seam of an air mattress may seem like a daunting task, but it is actually a simple and easy process. By following these steps, you can save yourself from having to buy a new air mattress and enjoy a comfortable night's sleep. Remember to always keep a patch kit or duct tape on hand for any future mishaps. Happy camping!