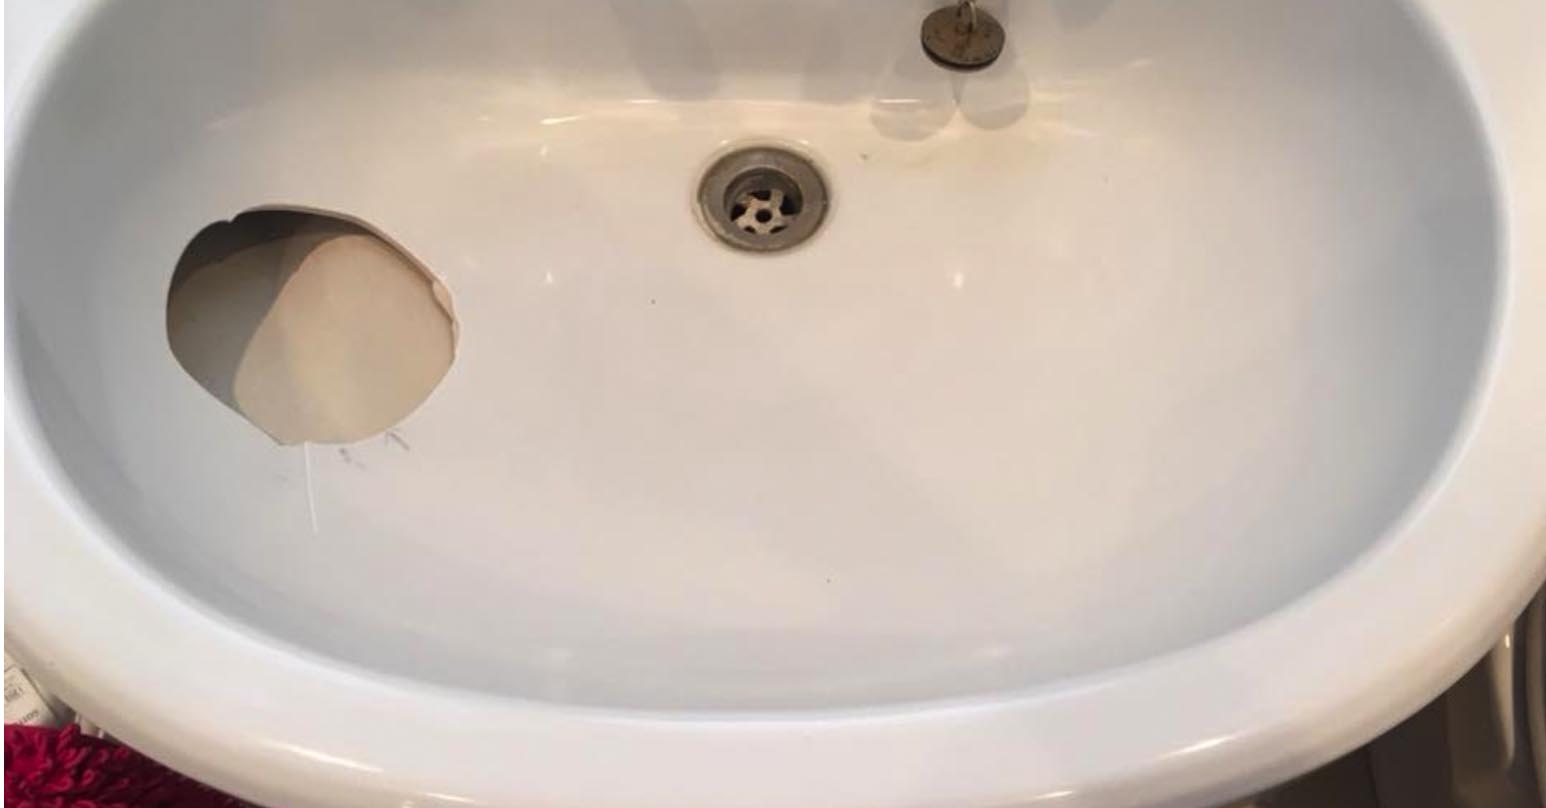
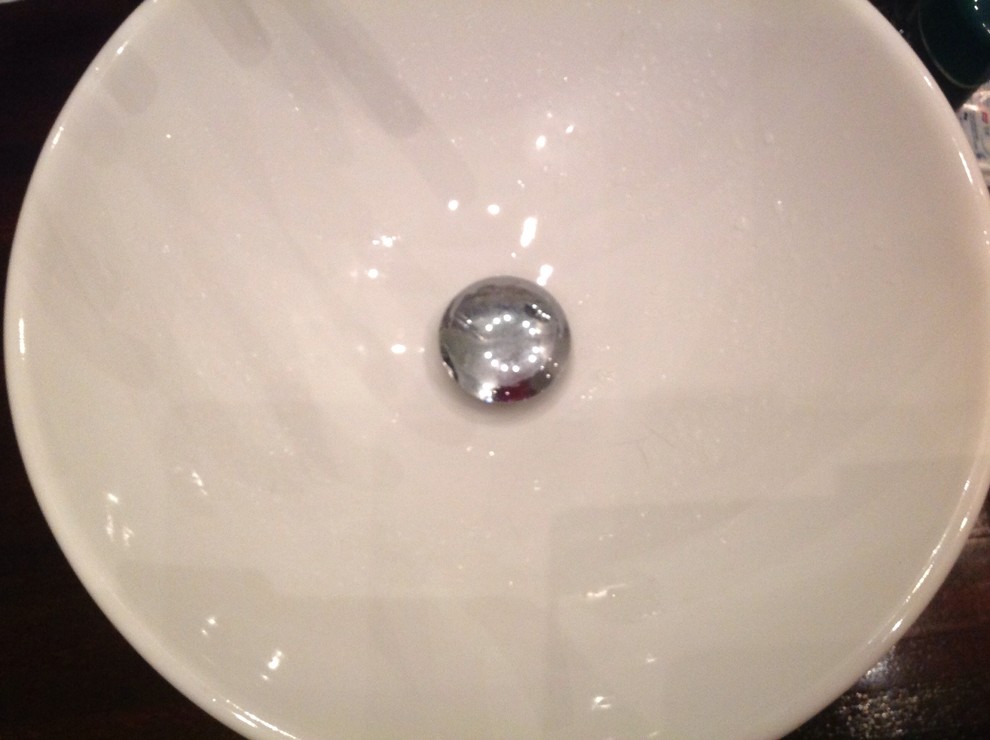
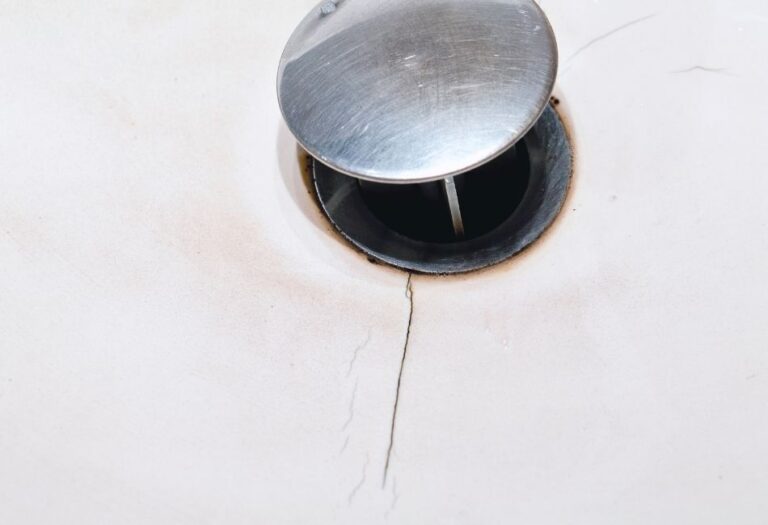
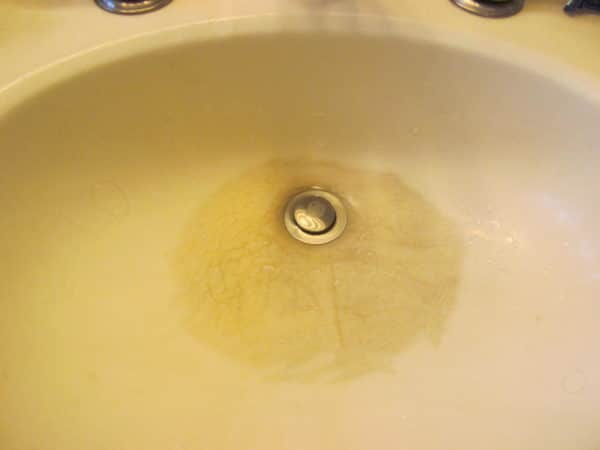
If you have noticed cracks in your bathroom plastic sink, don't panic. This is a common problem that can happen over time due to wear and tear or improper use. Luckily, fixing cracks in a plastic sink is a relatively easy task that you can do yourself. In this guide, we will walk you through the steps to repair your cracked plastic sink and have it looking as good as new.Fixing Cracks in a Plastic Sink


Fixing Cracks in a Plastic Sink


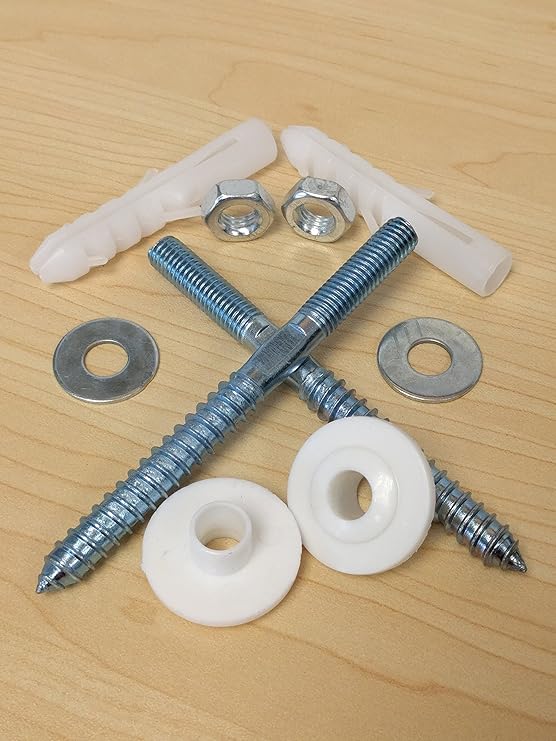
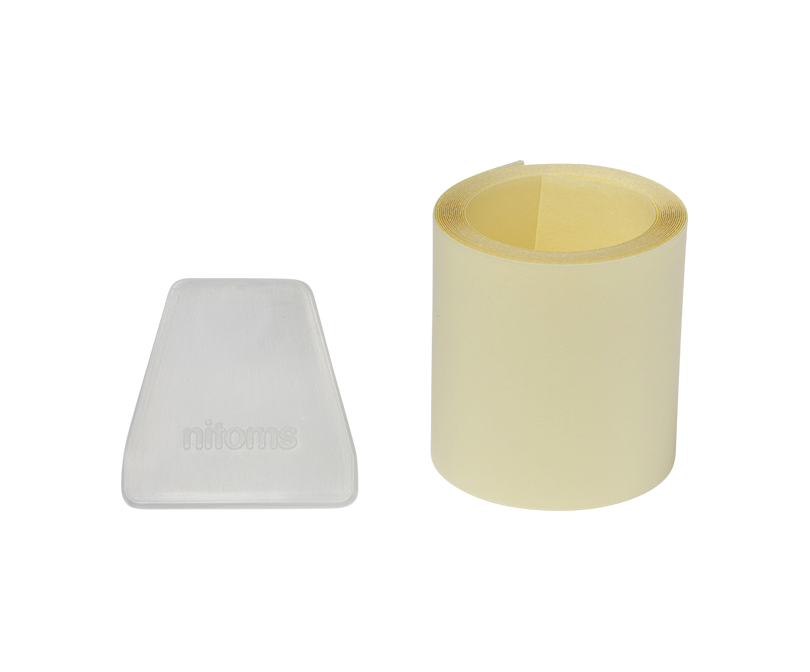
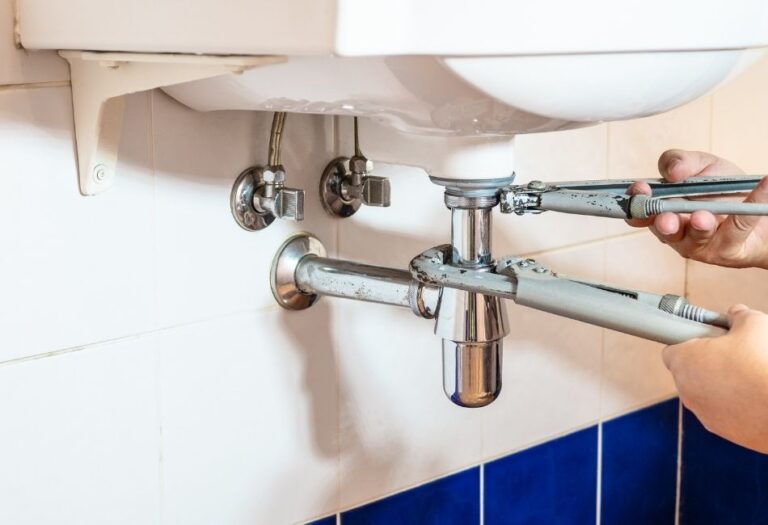
Before diving into the repair process, it's important to understand what type of plastic your sink is made of. Common types of plastic used in sinks include PVC, acrylic, and polyester resin. Each type requires a slightly different approach to repair, so make sure to identify the material before starting. Once you know the type of plastic, gather your materials. You will need a plastic repair kit, sandpaper, a putty knife, and a clean cloth.How to Repair a Cracked Plastic Sink

How to Repair a Cracked Plastic Sink


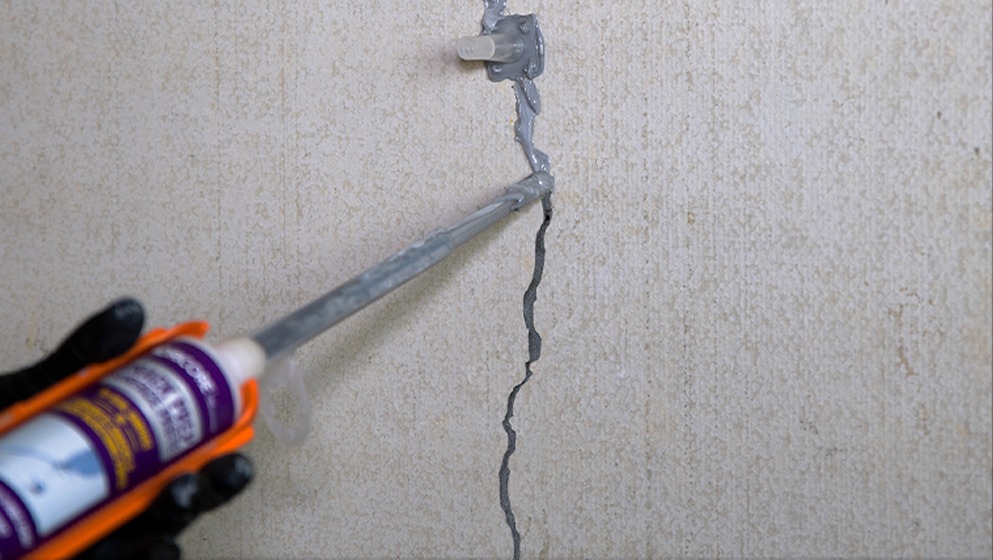
Step 1: Clean the area around the crack with a mild detergent and warm water. Pat dry with a clean cloth. Step 2: Use sandpaper to roughen the edges of the crack. This will help the repair adhesive adhere better. Step 3: Mix the repair adhesive according to the instructions on the kit. Apply the adhesive to the crack using a putty knife, making sure to fill the crack completely. Step 4: Use the putty knife to smooth out the adhesive and remove any excess. Let it dry according to the recommended time on the kit. Step 5: Once the adhesive is completely dry, use sandpaper to smooth out the surface of the repair. Wipe away any dust with a clean cloth. Step 6: Apply a layer of sealant over the repair to protect it from water and further damage. Let it dry completely before using the sink.DIY Guide for Fixing Cracks in a Bathroom Sink


DIY Guide for Fixing Cracks in a Bathroom Sink
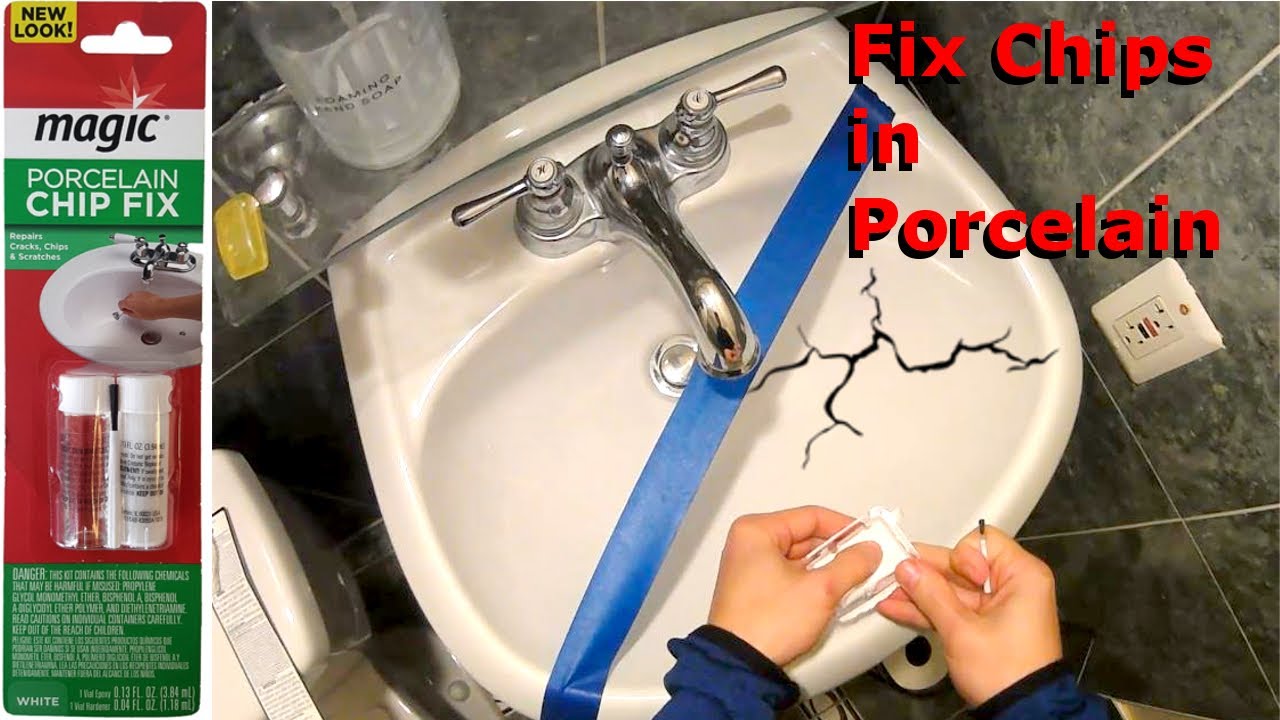


When it comes to choosing a plastic repair kit, look for one that is specifically designed for the type of plastic your sink is made of. Some popular options include Bondo Plastic Repair Kit, Plasti-Mend Plastic Repair Kit, and Devcon Plastic Welder. These kits usually come with everything you need for the repair, including a filler, adhesive, and sealant. They are also budget-friendly and readily available at most hardware stores.Best Products for Fixing Cracks in a Plastic Sink


Best Products for Fixing Cracks in a Plastic Sink
/cdn.vox-cdn.com/uploads/chorus_image/image/65892275/howto_fixplaster_01.0.jpg)


Still feeling unsure about the repair process? Here is a step-by-step tutorial to guide you through it: Step 1: Clean the area around the crack with a mild detergent and warm water. Pat dry with a clean cloth. Step 2: Use sandpaper to roughen the edges of the crack. This will help the repair adhesive adhere better. Step 3: Mix the repair adhesive according to the instructions on the kit. Apply the adhesive to the crack using a putty knife, making sure to fill the crack completely. Step 4: Use the putty knife to smooth out the adhesive and remove any excess. Let it dry according to the recommended time on the kit. Step 5: Once the adhesive is completely dry, use sandpaper to smooth out the surface of the repair. Wipe away any dust with a clean cloth. Step 6: Apply a layer of sealant over the repair to protect it from water and further damage. Let it dry completely before using the sink.Step-by-Step Tutorial for Fixing Cracks in a Bathroom Sink


Step-by-Step Tutorial for Fixing Cracks in a Bathroom Sink


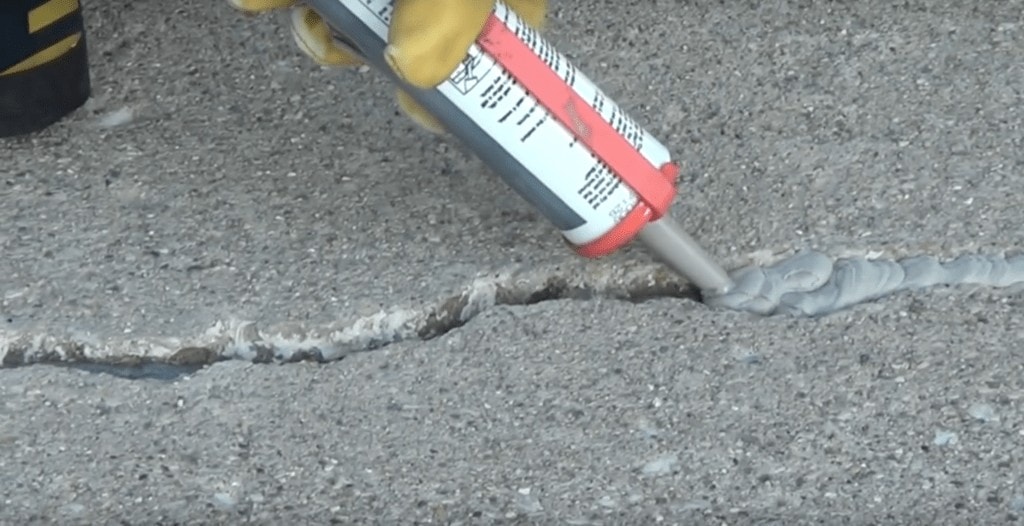
If you're looking for a quick and easy fix for your cracked plastic sink, you can try using a silicone adhesive. This type of adhesive is waterproof and can provide a temporary solution until you have time to properly repair the sink. Simply clean the area around the crack, apply the silicone adhesive, and let it dry completely before using the sink. Keep in mind that this is not a long-term solution and the crack may reappear over time.Quick and Easy Solutions for Repairing Cracks in a Plastic Sink


Quick and Easy Solutions for Repairing Cracks in a Plastic Sink


Here are some expert tips to keep in mind while repairing cracks in a plastic sink: - Always make sure to properly identify the type of plastic before starting the repair process. - Follow the instructions on the repair kit carefully. - Sand the area around the crack to help the adhesive adhere better. - Apply a sealant over the repair to protect it from water and further damage.Expert Tips for Fixing Cracks in a Bathroom Plastic Sink

Expert Tips for Fixing Cracks in a Bathroom Plastic Sink

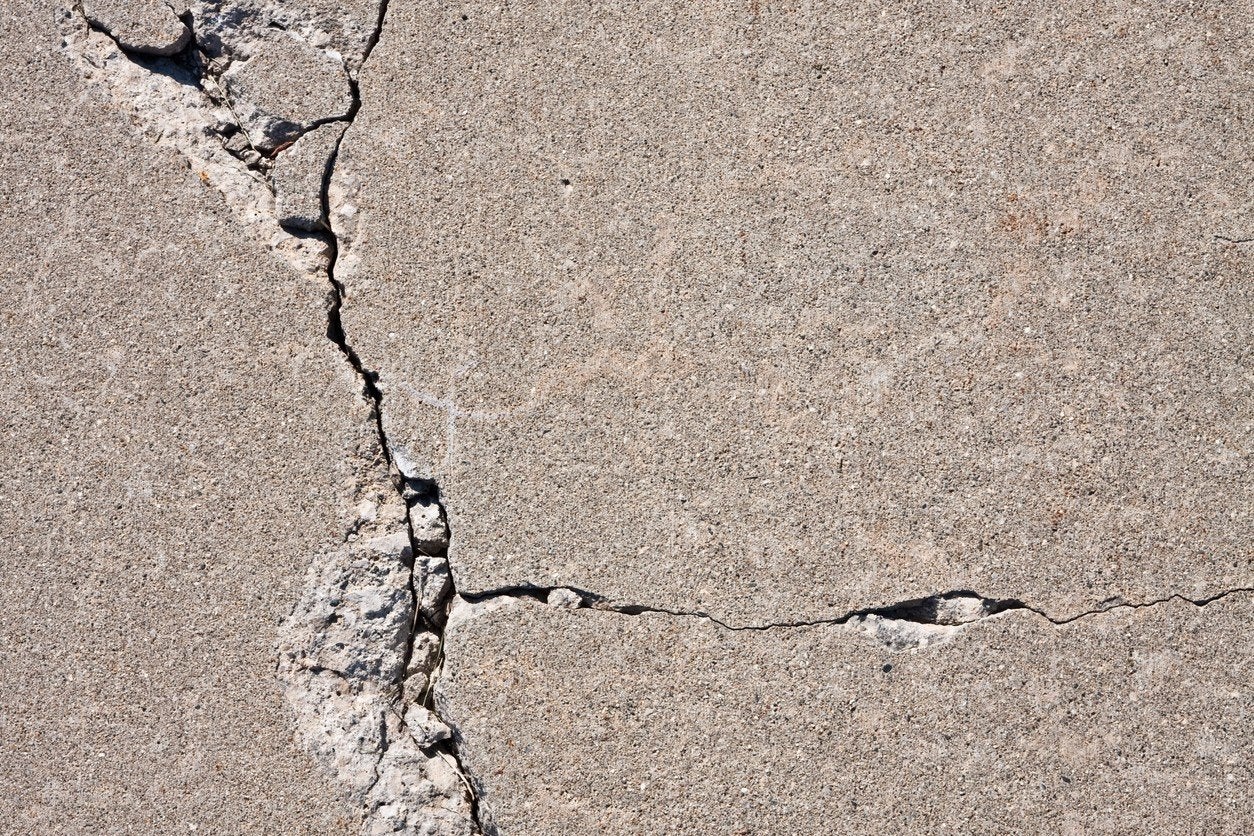
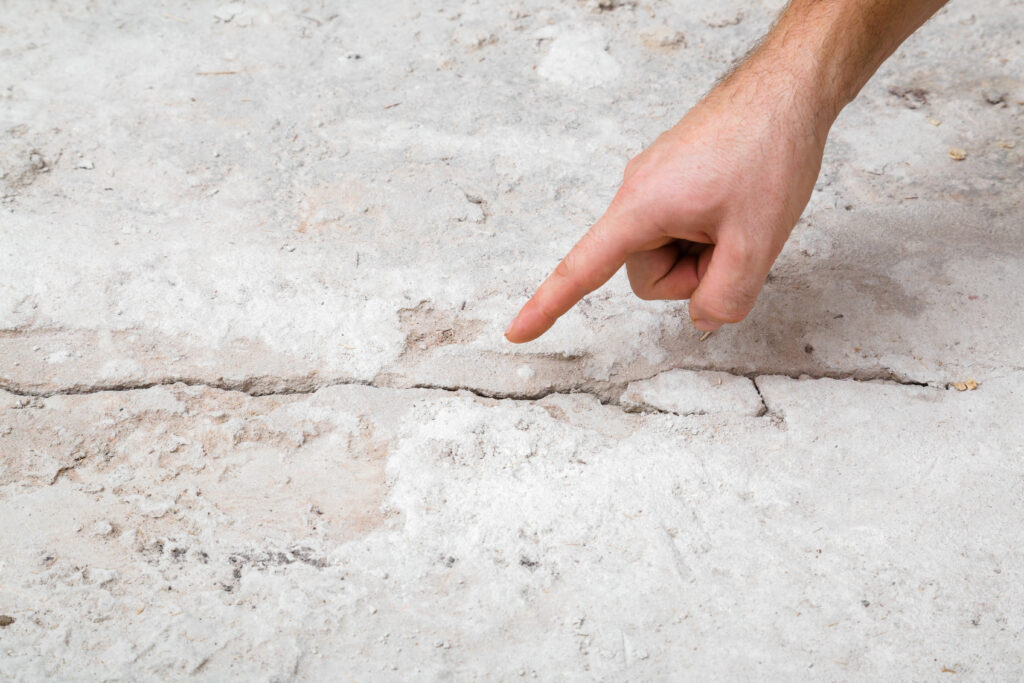
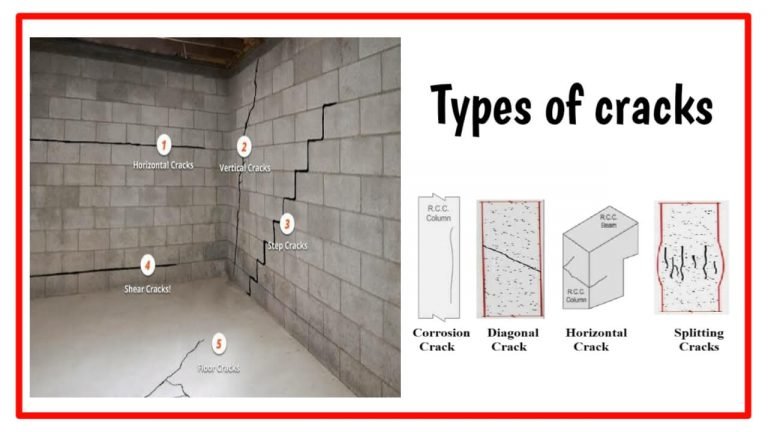
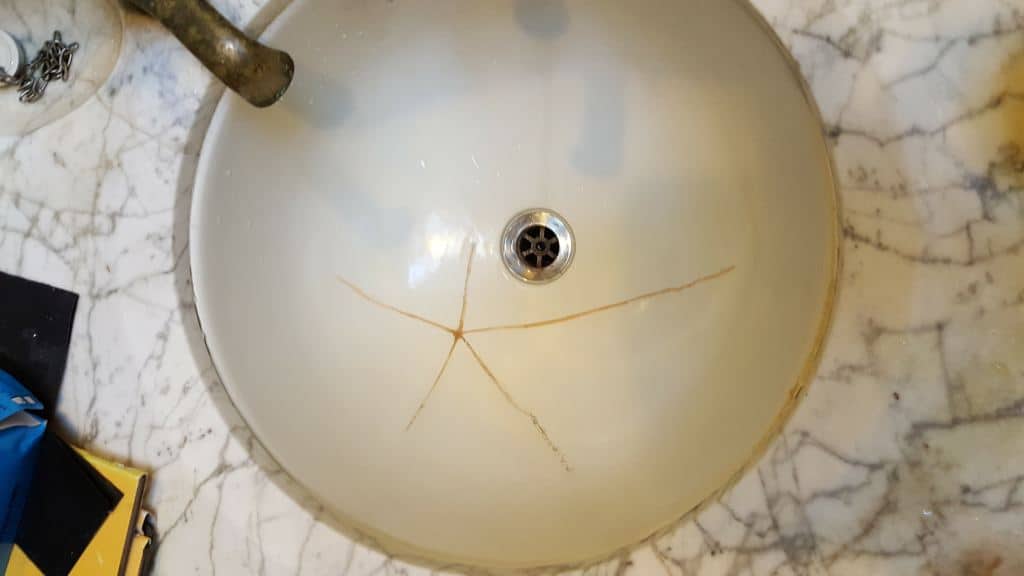
There are a few common causes of cracks in plastic sinks, such as heavy impact, extreme temperature changes, and improper use of harsh chemicals. To prevent these cracks from happening, make sure to handle your sink with care and avoid using harsh chemicals on it. If you do end up with a crack, follow the repair process outlined above to fix it. You may also want to consider investing in a sink mat or using a cutting board while using the sink to prevent future cracks.Common Causes of Cracks in Plastic Sinks and How to Fix Them


Common Causes of Cracks in Plastic Sinks and How to Fix Them


If you're on a tight budget, you can try using a DIY solution to fix the cracks in your plastic sink. Some popular options include using super glue or even toothpaste to fill the crack. While these may be quick fixes, keep in mind that they are not a long-term solution and the crack may reappear over time. It's always best to properly repair the sink using a plastic repair kit.Budget-Friendly Ways to Fix Cracks in a Bathroom Plastic Sink


Budget-Friendly Ways to Fix Cracks in a Bathroom Plastic Sink

To prevent cracks from occurring in your plastic sink, make sure to regularly clean and maintain it. Avoid using harsh chemicals and abrasive materials when cleaning, as they can damage the surface of the sink. Also, be mindful of heavy impact or extreme temperature changes, as these can also cause cracks. With proper care and maintenance, your plastic sink can last for years without any cracks or damage. Now that you know how to fix cracks in a plastic sink, you can confidently tackle any cracks that may appear. Remember to always handle your sink with care and use the appropriate repair materials to ensure a successful repair. With these tips, your bathroom sink will be looking as good as new in no time.Preventing Cracks in a Plastic Sink: Maintenance and Care Tips


Preventing Cracks in a Plastic Sink: Maintenance and Care Tips


Tips for Fixing Cracks in Your Bathroom Plastic Sink

Why Fixing Cracks is Important for Your Bathroom Design
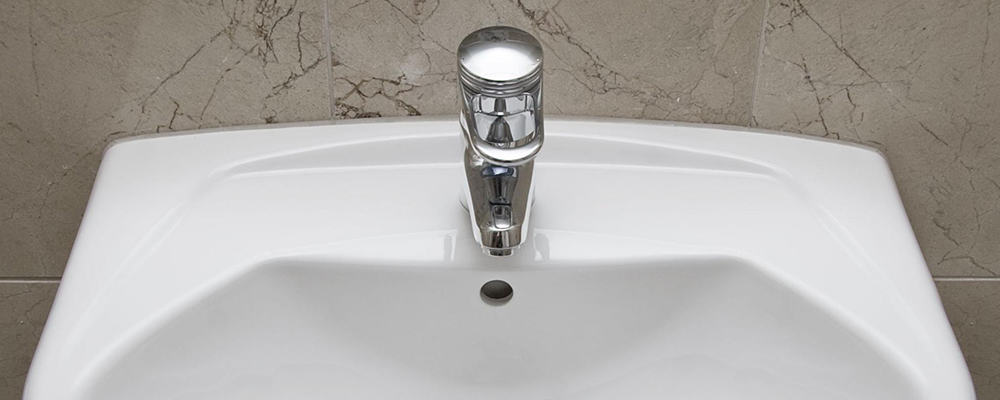
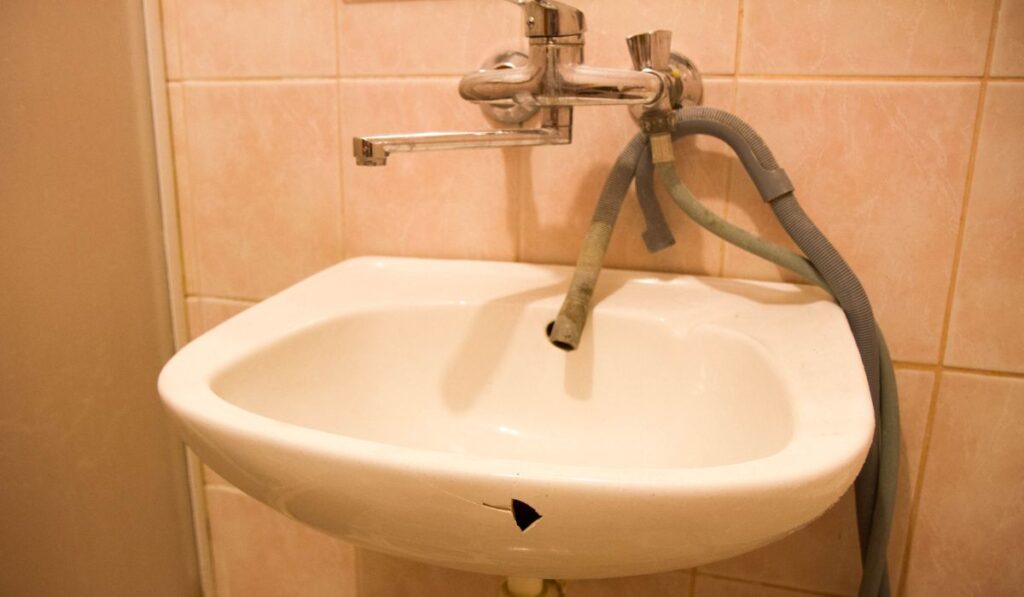
 When it comes to designing a beautiful and functional bathroom, every detail matters. This includes your bathroom sink, which is not only a necessary component for daily use but also a major design element in your space. If your plastic sink has cracks, it can not only be an eyesore but can also lead to further damage and a decrease in the overall value of your bathroom. Therefore, fixing cracks in your bathroom plastic sink is essential for maintaining the aesthetics and functionality of your bathroom design.
Identifying the Cause of Cracks in Your Plastic Sink
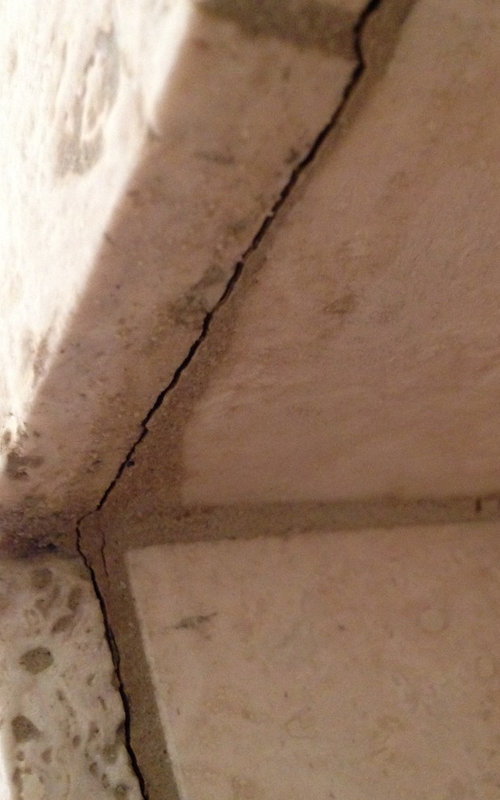
 Before attempting to fix the cracks in your plastic sink, it is important to understand what caused them in the first place. Common causes of cracks in plastic sinks include exposure to extreme temperatures, heavy impact, and chemical cleaners. Once you have identified the cause, you can take necessary precautions to prevent further damage in the future.
Gathering the Necessary Materials
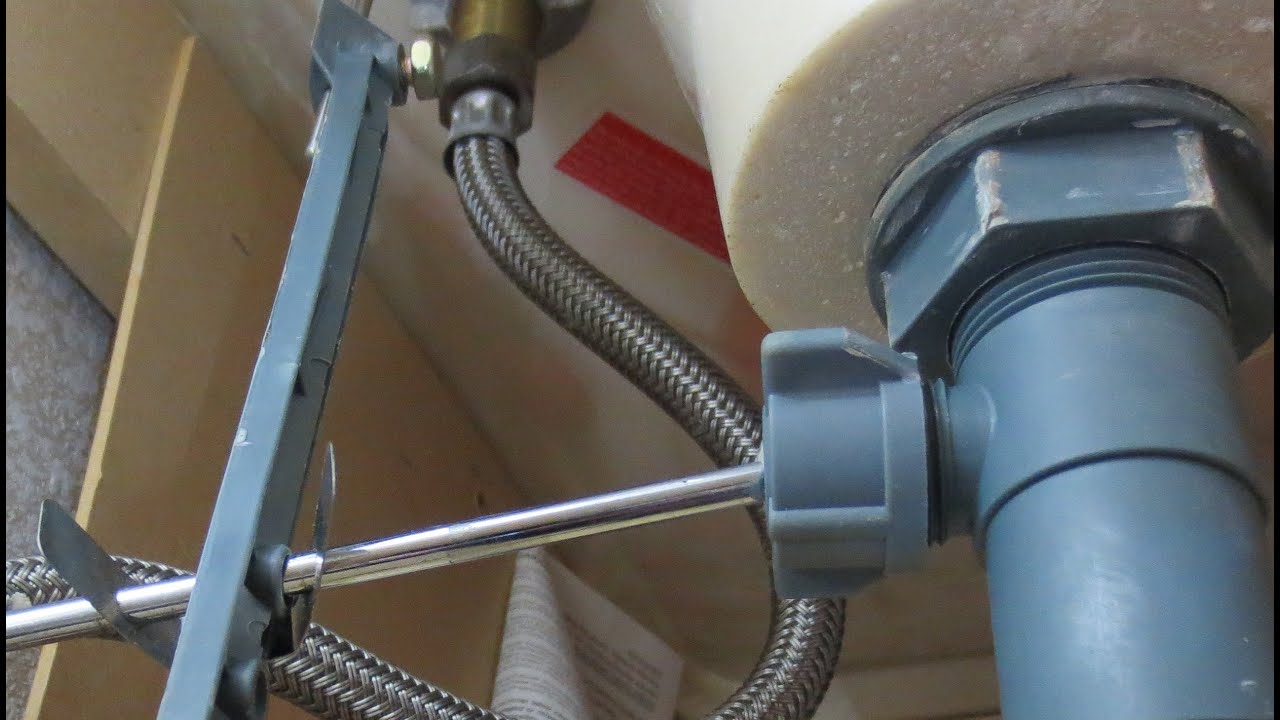
 To successfully fix the cracks in your bathroom plastic sink, you will need a few essential materials. These include a plastic epoxy, sandpaper, a putty knife, and a clean cloth. These materials can be easily found at your local hardware store or online.
Step-by-Step Guide for Fixing Cracks in Your Bathroom Plastic Sink
 Now that you have identified the cause and gathered the necessary materials, here is a step-by-step guide on how to fix cracks in your bathroom plastic sink:
Step 1:
Clean the sink thoroughly with a mild cleaner and dry it completely.
Step 2:
Use sandpaper to smooth out the edges of the cracks and remove any debris or rough edges.
Step 3:
Mix the plastic epoxy according to the instructions on the package.
Step 4:
Using a putty knife, apply the epoxy to the cracks, making sure to fill them completely.
Step 5:
Smooth out the epoxy with the putty knife and wipe away any excess with a clean cloth.
Step 6:
Allow the epoxy to dry completely, following the recommended drying time on the package.
Step 7:
Once dry, sand down any excess epoxy until it is smooth and level with the rest of the sink.
Now that you have identified the cause and gathered the necessary materials, here is a step-by-step guide on how to fix cracks in your bathroom plastic sink:
Step 1:
Clean the sink thoroughly with a mild cleaner and dry it completely.
Step 2:
Use sandpaper to smooth out the edges of the cracks and remove any debris or rough edges.
Step 3:
Mix the plastic epoxy according to the instructions on the package.
Step 4:
Using a putty knife, apply the epoxy to the cracks, making sure to fill them completely.
Step 5:
Smooth out the epoxy with the putty knife and wipe away any excess with a clean cloth.
Step 6:
Allow the epoxy to dry completely, following the recommended drying time on the package.
Step 7:
Once dry, sand down any excess epoxy until it is smooth and level with the rest of the sink.
Final Thoughts
 Fixing cracks in your bathroom plastic sink may seem like a daunting task, but with the right materials and a little bit of patience, it can be easily accomplished. By following these simple steps, you can restore the functionality and appearance of your plastic sink, ensuring your bathroom design remains beautiful and well-maintained for years to come. Remember to always take necessary precautions to prevent future damage and seek professional help if the cracks are too severe to fix on your own.