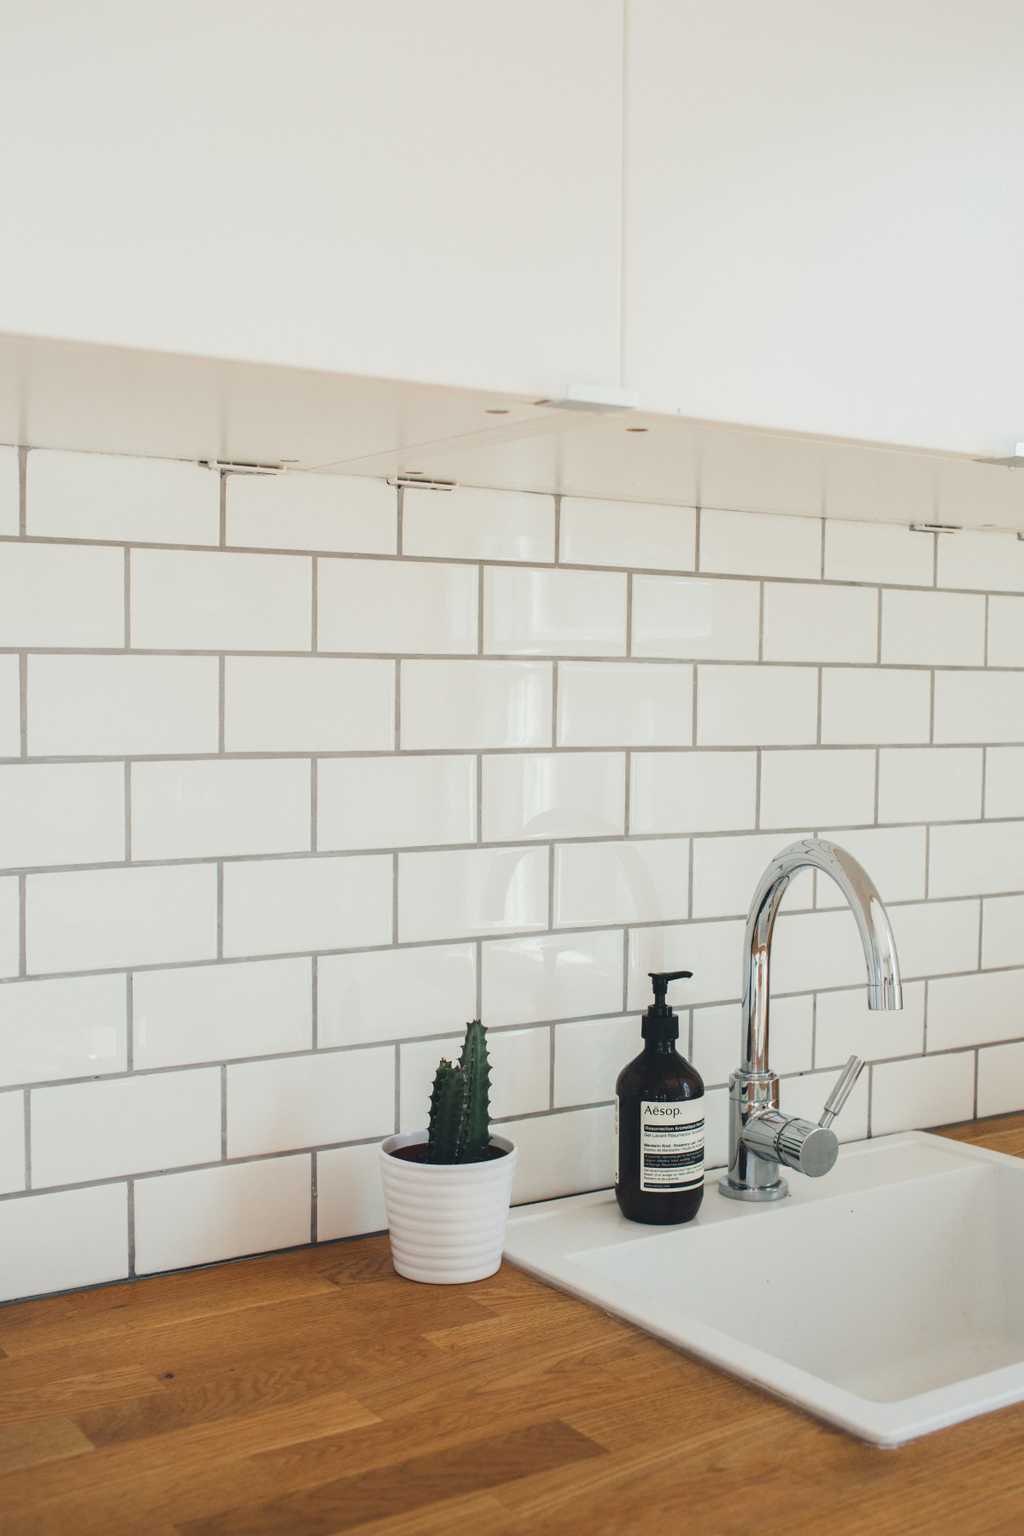
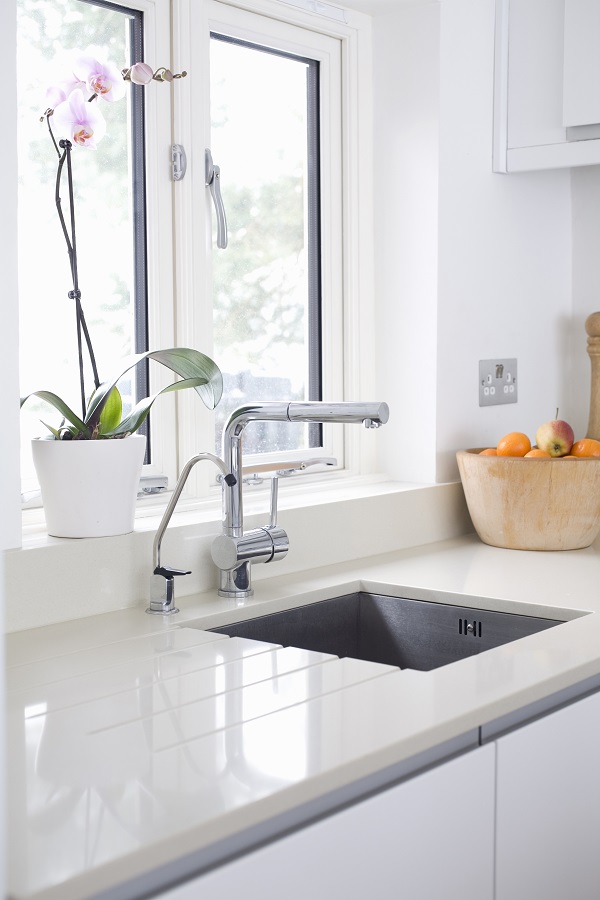
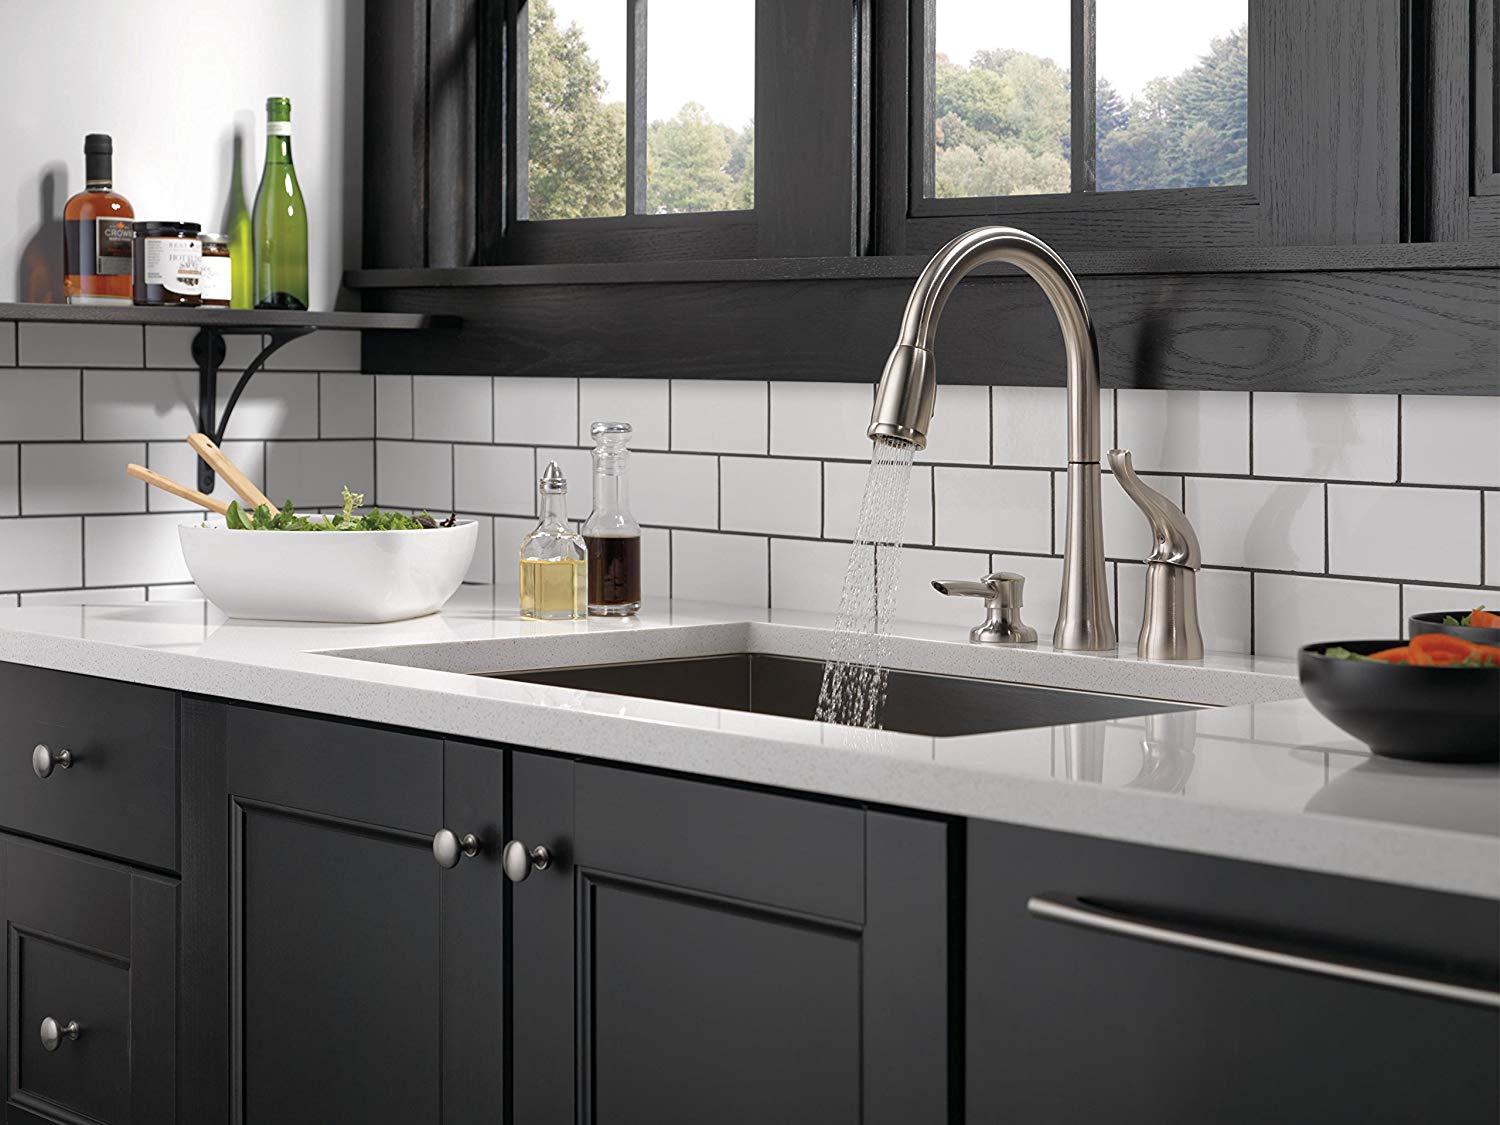
If you're looking to update your kitchen, one of the easiest and most impactful changes you can make is replacing your kitchen sink faucet. Not only can a new faucet improve the overall look of your kitchen, but it can also make everyday tasks like washing dishes and cooking easier and more efficient. Here's a step-by-step guide on how to install a kitchen sink faucet.How to Install a Kitchen Sink Faucet


How to Install a Kitchen Sink Faucet


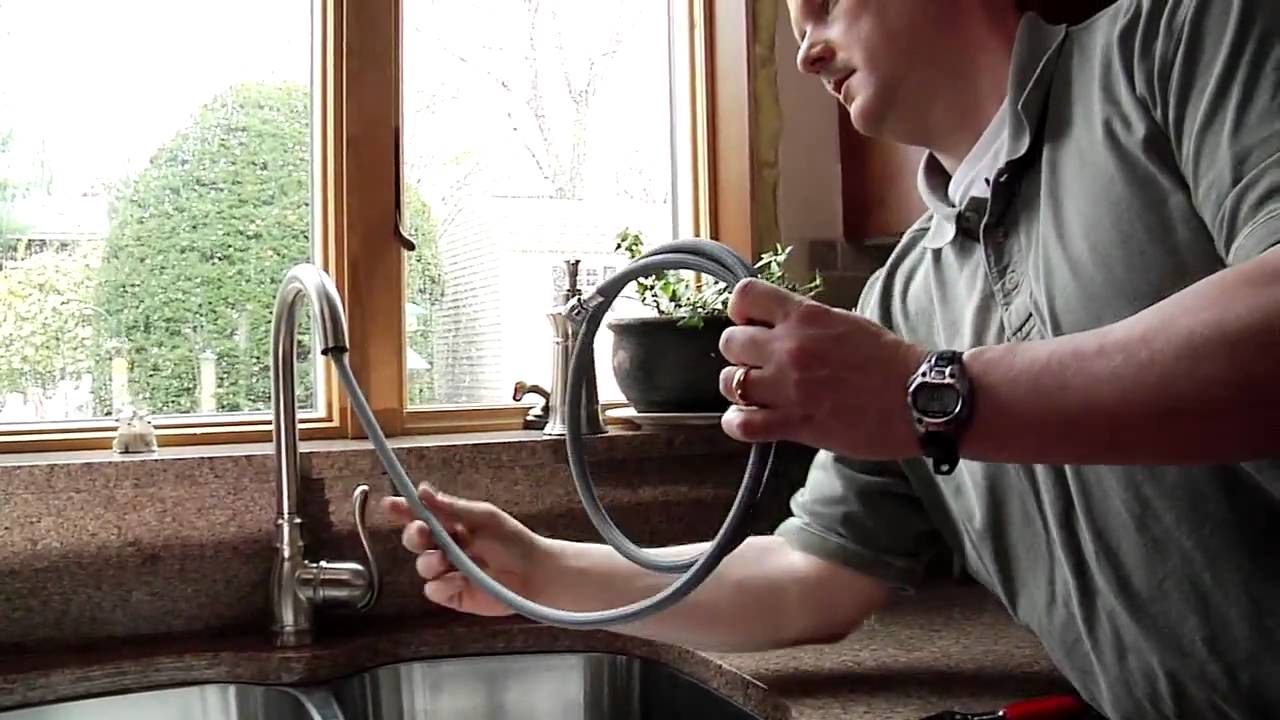
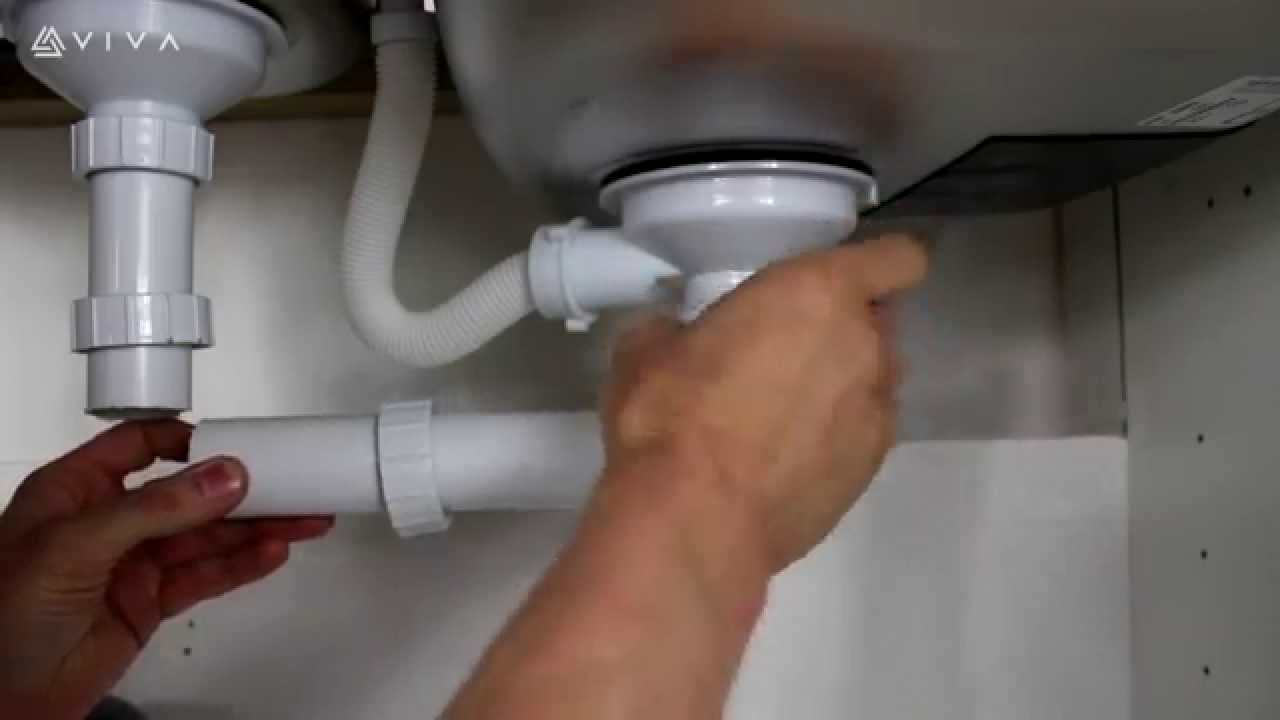
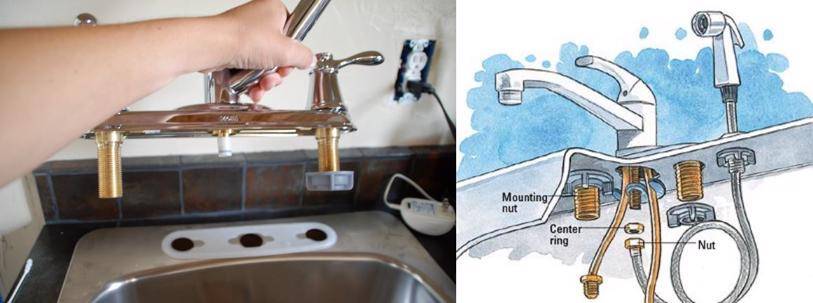
If you already have a kitchen sink faucet in place that needs to be replaced, the process is very similar to installing a new one. The first step is to turn off the water supply to your sink. Next, you'll need to disconnect the supply lines and remove the old faucet. Then, follow the same steps as outlined below for installing a new faucet.How to Replace a Kitchen Sink Faucet


How to Replace a Kitchen Sink Faucet


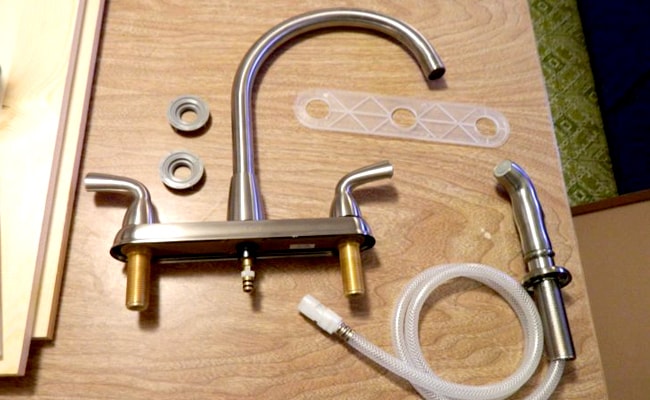


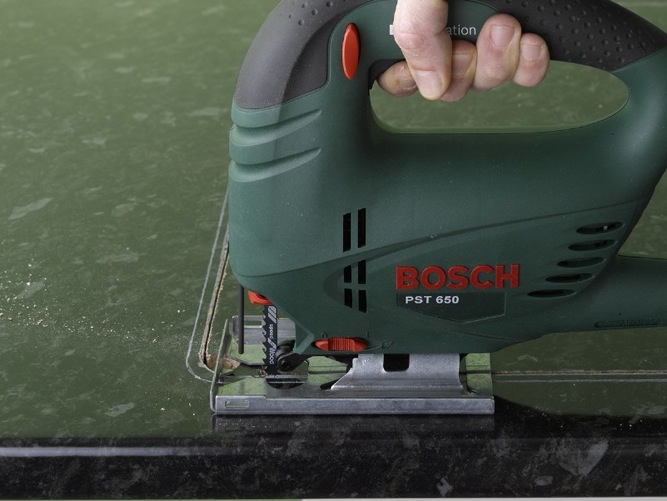
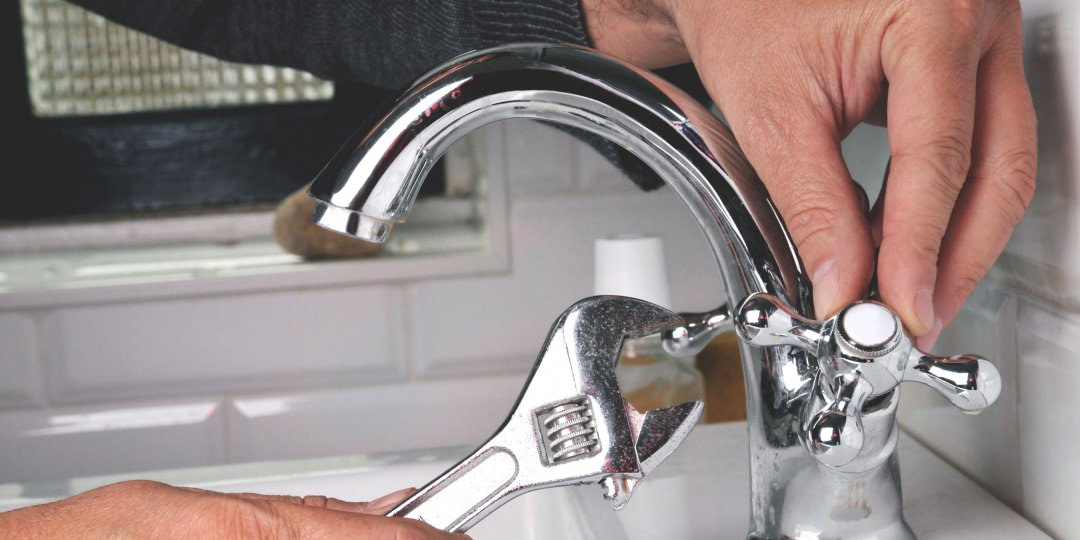
Installing a new kitchen sink faucet is a relatively simple DIY project that can be completed in just a few hours. To get started, you'll need a few tools, including an adjustable wrench, channel locks, and a basin wrench. You'll also need a new faucet, which can be purchased at your local hardware store or online.DIY Kitchen Sink Faucet Installation


DIY Kitchen Sink Faucet Installation


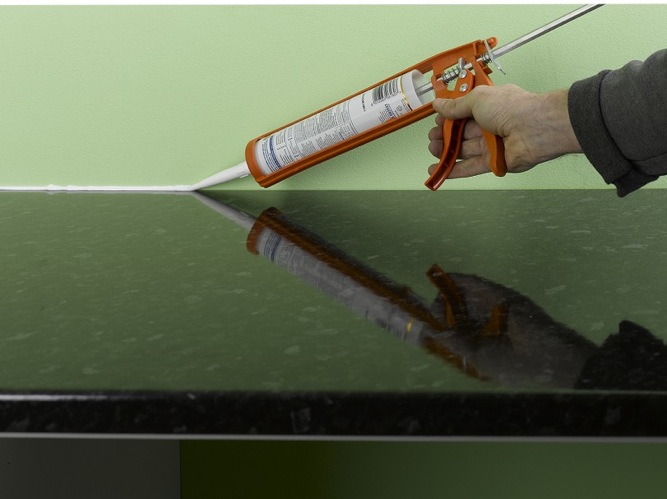
Step 1: Gather your tools and materials, including the new faucet, and turn off the water supply to your sink. Step 2: Disconnect the supply lines from the old faucet using an adjustable wrench. Step 3: Remove the old faucet from the sink, using a basin wrench if necessary. Step 4: Install any necessary hardware, such as a new mounting bracket, according to the manufacturer's instructions. Step 5: Place the new faucet onto the sink and secure it in place with the mounting bracket and any necessary nuts or screws. Step 6: Connect the supply lines to the new faucet, making sure they are tight and secure. Step 7: Turn the water supply back on and test the faucet to ensure it is working properly. Step 8: If everything is working correctly, seal around the base of the faucet with silicone caulk to prevent any water from leaking underneath.Step-by-Step Guide for Installing a Kitchen Sink Faucet


Step-by-Step Guide for Installing a Kitchen Sink Faucet
:no_upscale()/cdn.vox-cdn.com/uploads/chorus_asset/file/19495086/drain_0.jpg)


As mentioned above, you'll need a few tools to properly install a kitchen sink faucet. These include an adjustable wrench, channel locks, and a basin wrench. You may also need a screwdriver, depending on the type of faucet you are installing.Tools Needed for Fitting a Kitchen Sink Tap


Tools Needed for Fitting a Kitchen Sink Tap


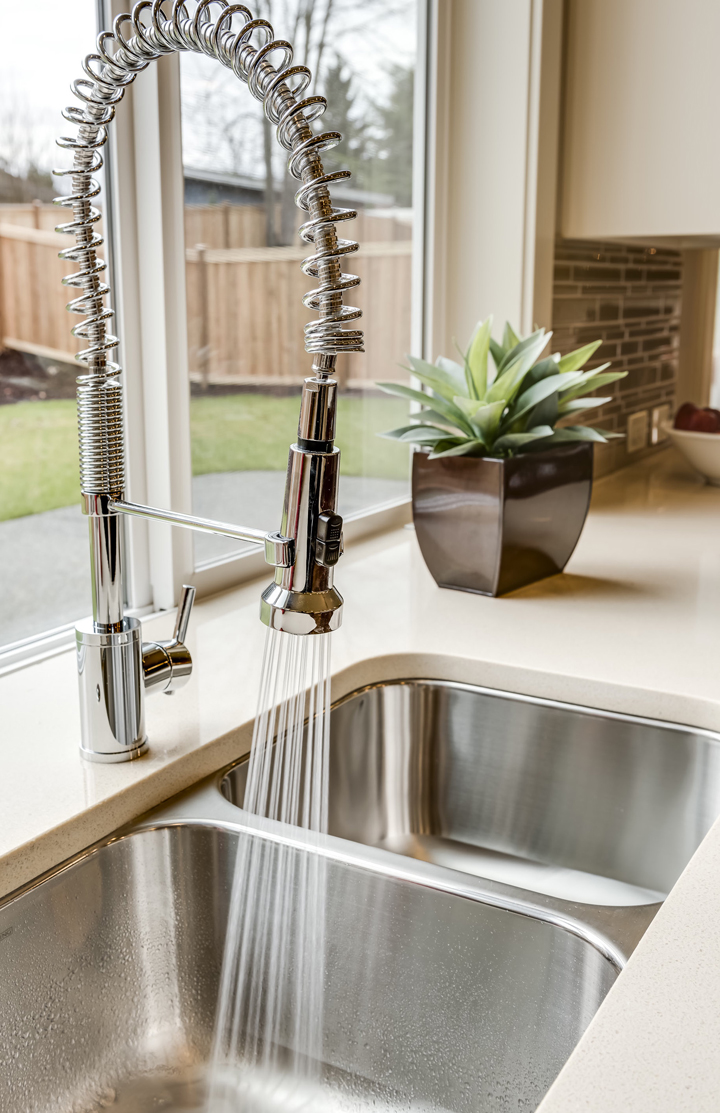
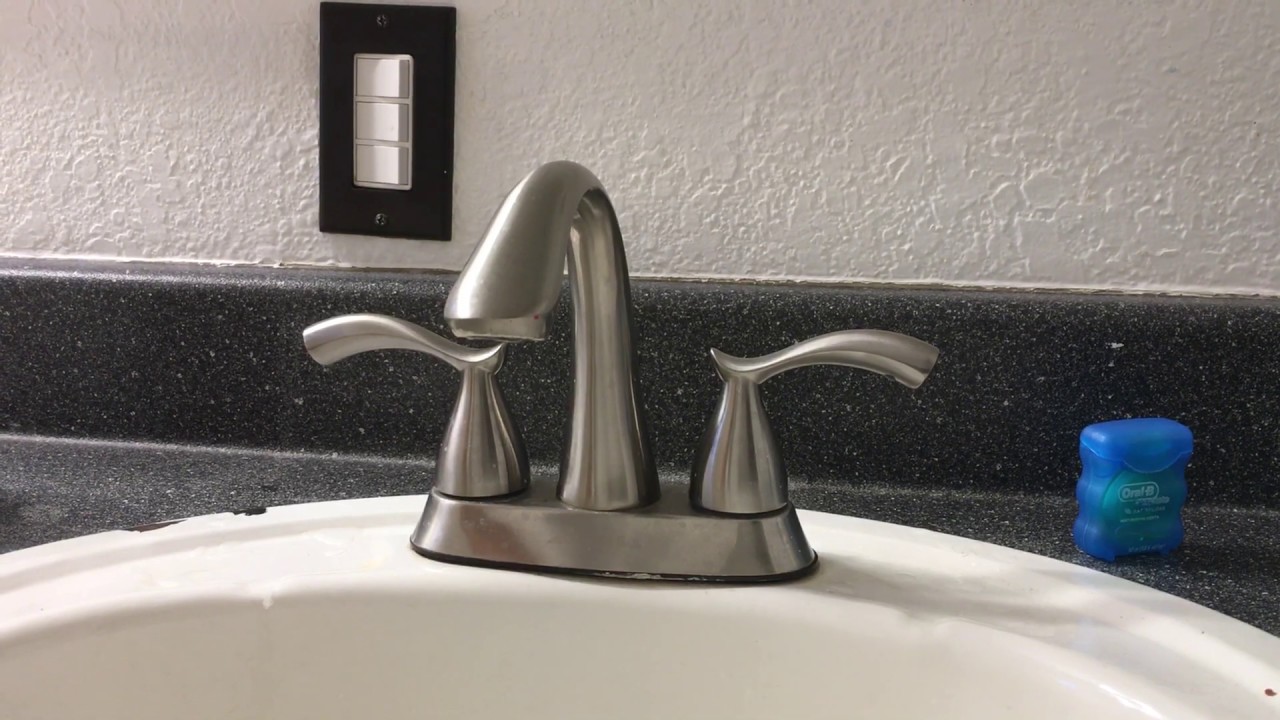
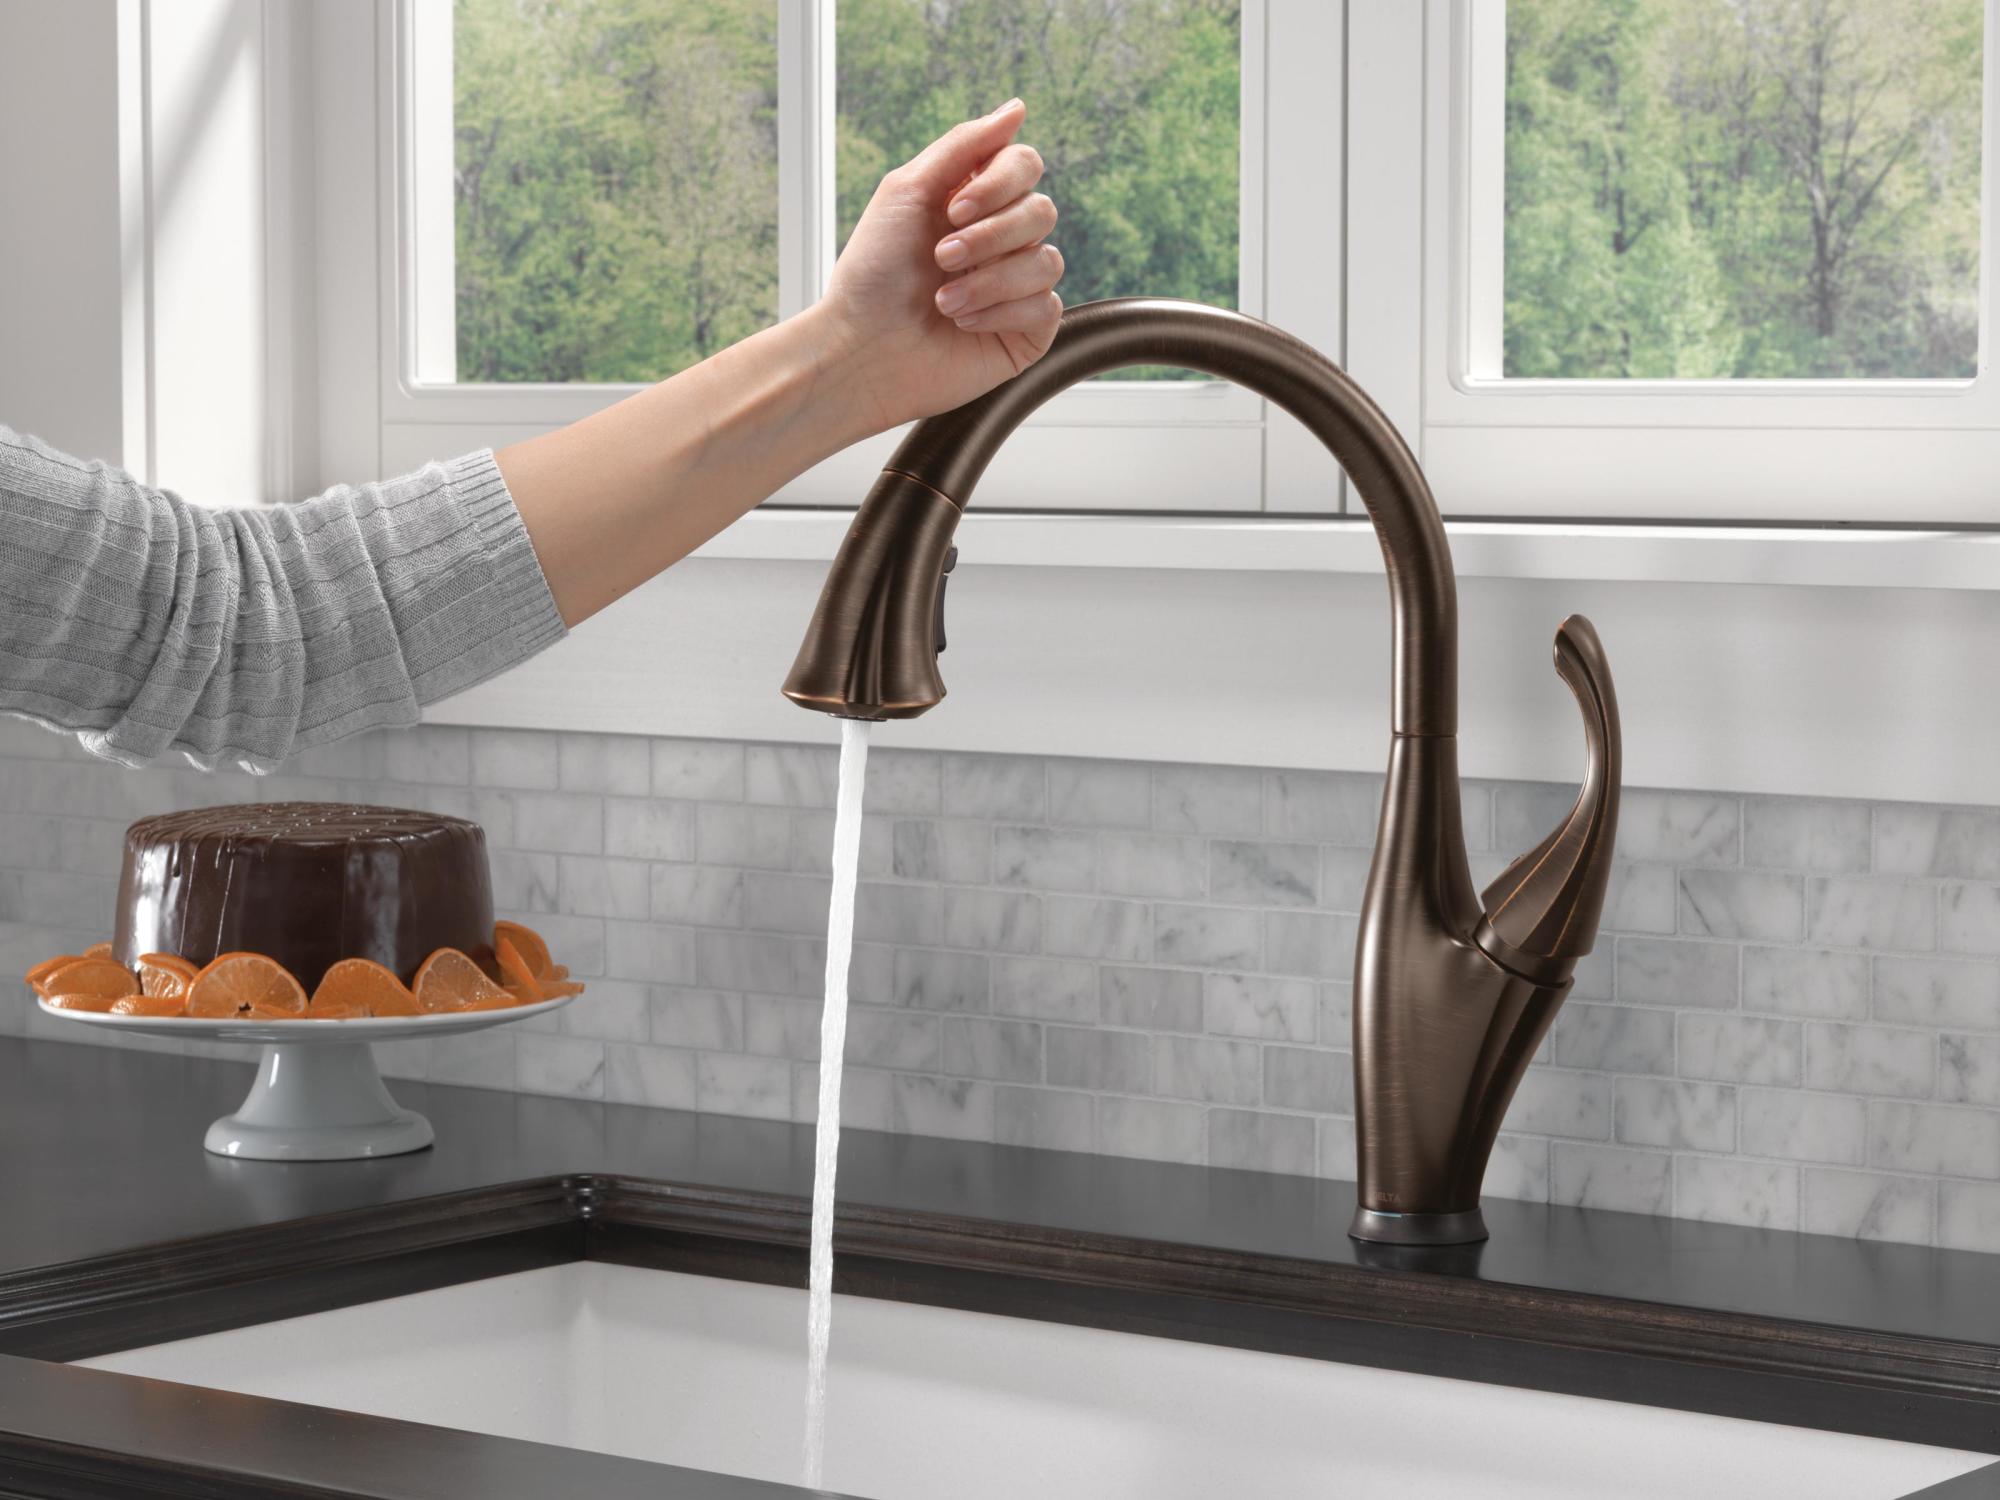
When choosing a new kitchen sink faucet, there are a few factors to consider. First, make sure the faucet is compatible with your sink and existing plumbing. You should also consider the style and finish of the faucet to ensure it matches the overall look of your kitchen. Additionally, look for features such as a pull-down or pull-out sprayer, touchless technology, and adjustable water flow and temperature.Tips for Choosing the Right Kitchen Sink Faucet
Tips for Choosing the Right Kitchen Sink Faucet


While installing a kitchen sink faucet is a relatively simple DIY project, there are a few common mistakes to avoid. These include using the wrong tools, not turning off the water supply, and not properly securing the faucet in place. It's also essential to carefully read the manufacturer's instructions and follow them closely to ensure proper installation.Common Mistakes to Avoid When Installing a Kitchen Sink Faucet


Common Mistakes to Avoid When Installing a Kitchen Sink Faucet


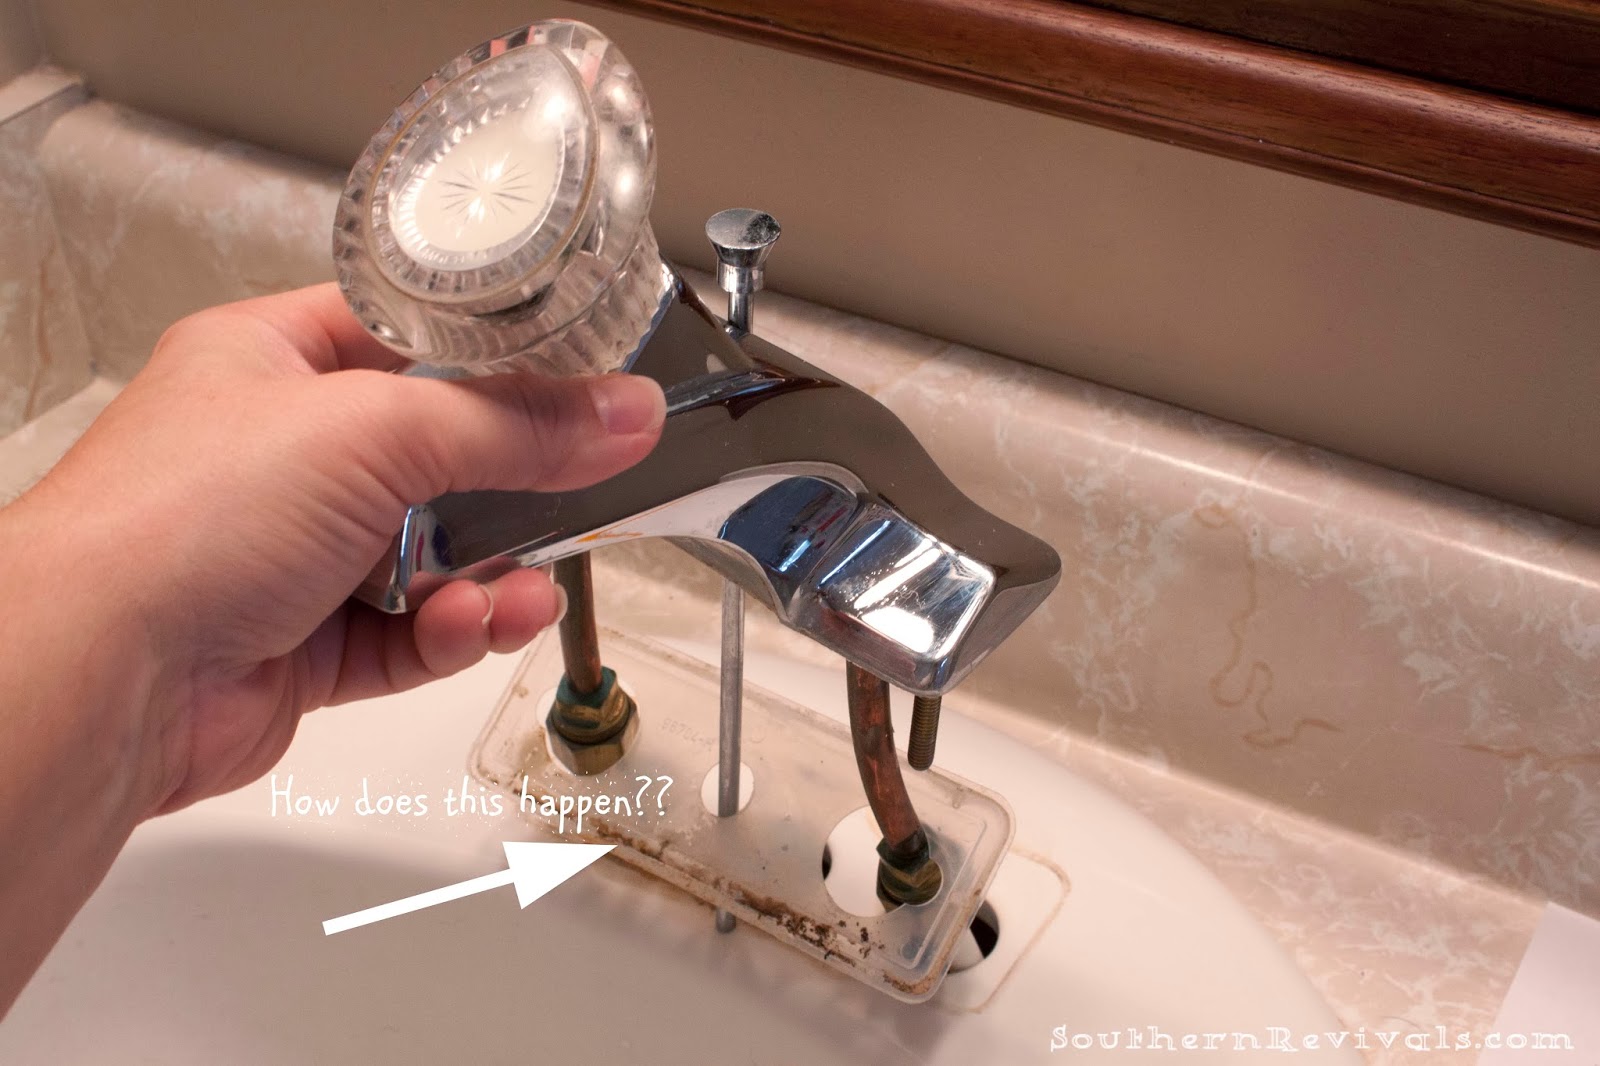
If you notice your kitchen sink faucet is leaking, it's important to fix it as soon as possible to prevent water damage and high water bills. To fix a leaky faucet, you'll need to locate the source of the leak, which could be a loose connection, a worn-out washer, or a damaged O-ring. Once the source is identified, you can replace the necessary parts or tighten any loose connections to stop the leak.How to Fix a Leaky Kitchen Sink Faucet


How to Fix a Leaky Kitchen Sink Faucet


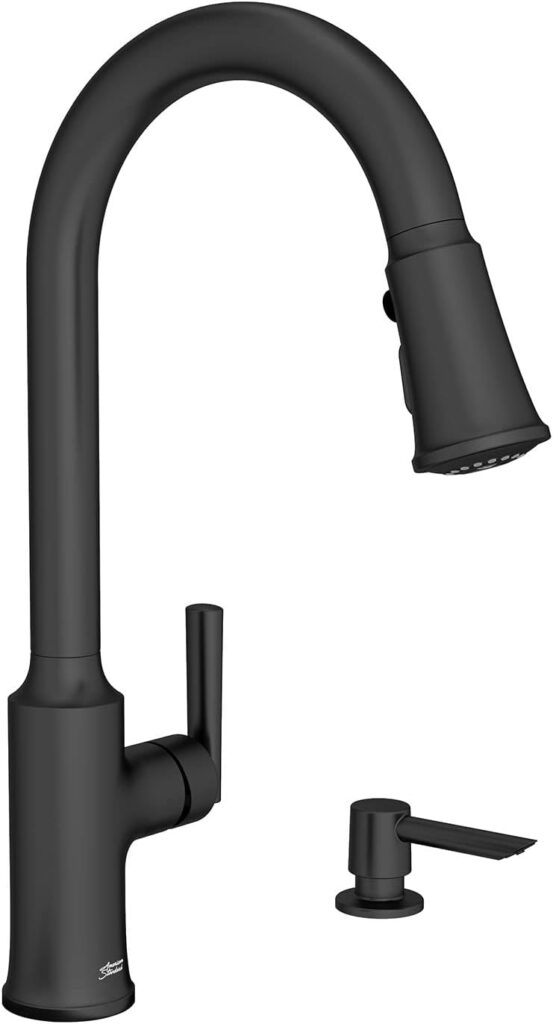
When it comes to kitchen sink faucets, there are many brands to choose from. Some of the best and most trusted brands include Delta, Moen, Kohler, and American Standard. These brands offer a wide range of styles, finishes, and features to suit any kitchen and budget.Best Brands for Kitchen Sink Faucets


Best Brands for Kitchen Sink Faucets


Sealing a kitchen sink faucet is an essential step in the installation process. The seal helps prevent water from leaking underneath the faucet and causing damage. To properly seal a kitchen sink faucet, you'll need silicone caulk and a caulk gun. Apply a thin bead of caulk around the base of the faucet, and use a damp cloth to smooth it out and remove any excess. Let the caulk dry completely before using the faucet.How to Properly Seal a Kitchen Sink Faucet

How to Properly Seal a Kitchen Sink Faucet


Fitting a Kitchen Sink Tap: A Simple Guide to Updating Your Kitchen Design
Why Replace Your Kitchen Sink Tap?
 If you're looking to update your kitchen design, one of the most impactful changes you can make is to replace your kitchen sink tap. Not only does a new tap add a touch of style to your kitchen, but it also serves as a functional upgrade. Over time, old taps can become worn and leaky, causing inconvenience and potential water damage. By installing a new tap, you can improve the look and functionality of your kitchen, making it a more enjoyable space to cook and clean in. But how do you go about fitting a new kitchen sink tap? Here's a simple guide to help you through the process.
Choosing the Right Tap
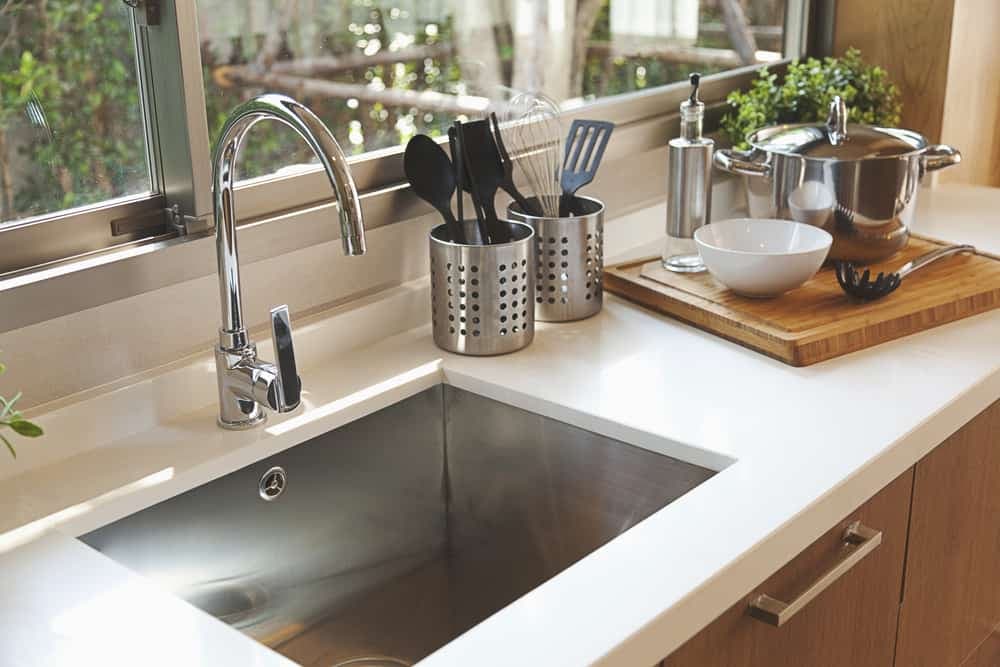
 Before you begin the installation process, it's important to choose the right tap for your kitchen sink. Consider the style and design of your kitchen, as well as the type of sink you have. There are a variety of tap styles to choose from, such as pull-out, bridge, and single-handle taps. Think about the functionality you need and the aesthetic you want to achieve when making your decision.
Tools and Materials
 Once you have your new tap, you'll need a few tools and materials to complete the installation. These may include a basin wrench, adjustable wrench, plumber's tape, and silicone sealant. It's important to have everything you need before starting the installation process to make it as smooth and efficient as possible.
Installation Process
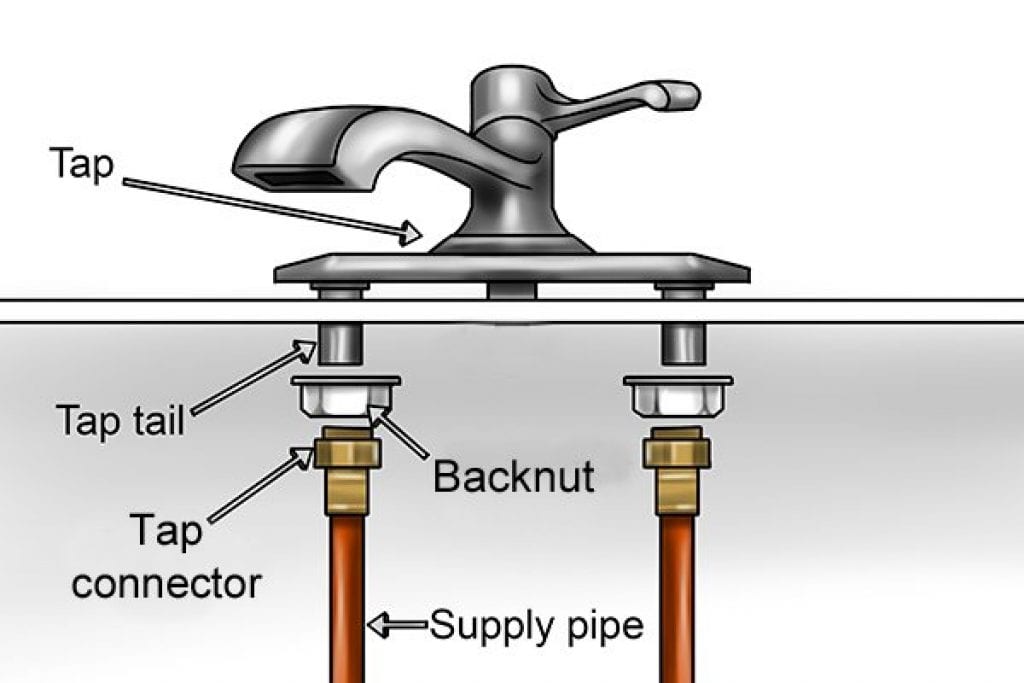
 First, turn off the water supply to your kitchen sink. Then, remove the old tap by loosening the mounting nuts with a basin wrench. Next, clean the area around the holes in your sink and add a layer of plumber's tape to the threads of the new tap. Place the tap into the holes, and secure it with the mounting nuts and a basin wrench. Make sure the tap is straight and level before tightening the nuts. Finally, add a layer of silicone sealant around the base of the tap to prevent any leaks.
Voila! You now have a new, stylish, and functional kitchen sink tap.
Remember to turn the water supply back on and test your new tap for any leaks. If you're not confident in your plumbing skills, it's always best to hire a professional to ensure the job is done correctly.
First, turn off the water supply to your kitchen sink. Then, remove the old tap by loosening the mounting nuts with a basin wrench. Next, clean the area around the holes in your sink and add a layer of plumber's tape to the threads of the new tap. Place the tap into the holes, and secure it with the mounting nuts and a basin wrench. Make sure the tap is straight and level before tightening the nuts. Finally, add a layer of silicone sealant around the base of the tap to prevent any leaks.
Voila! You now have a new, stylish, and functional kitchen sink tap.
Remember to turn the water supply back on and test your new tap for any leaks. If you're not confident in your plumbing skills, it's always best to hire a professional to ensure the job is done correctly.
Final Thoughts
 Fitting a new kitchen sink tap is a simple and affordable way to update your kitchen design. With the right tools and materials, and a little bit of DIY know-how, you can achieve a professional-looking installation in no time. So why wait? Enhance the look and functionality of your kitchen by
replacing your old tap with a new one today.
Fitting a new kitchen sink tap is a simple and affordable way to update your kitchen design. With the right tools and materials, and a little bit of DIY know-how, you can achieve a professional-looking installation in no time. So why wait? Enhance the look and functionality of your kitchen by
replacing your old tap with a new one today.