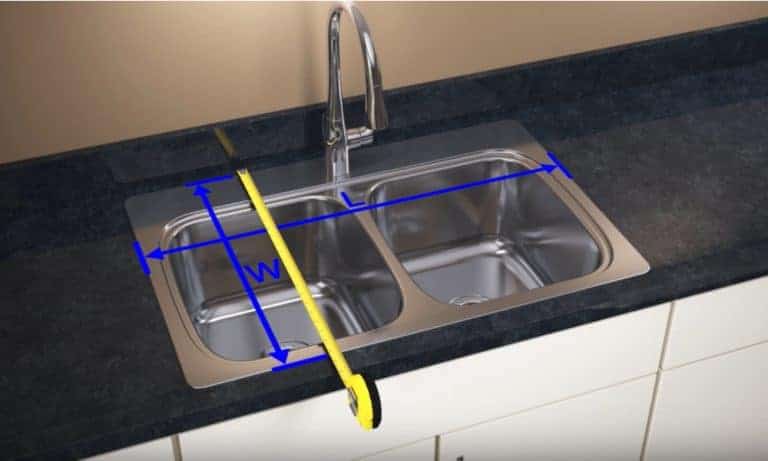
The first step in fitting a kitchen sink into a wooden worktop is to accurately measure the sink and the worktop. This will ensure that the sink fits perfectly into the designated area and that there are no gaps or overlapping edges. Measure the length, width, and depth of the sink, as well as the length and width of the sink cutout on the worktop.1. Measure the sink and worktop


1. Measure the sink and worktop


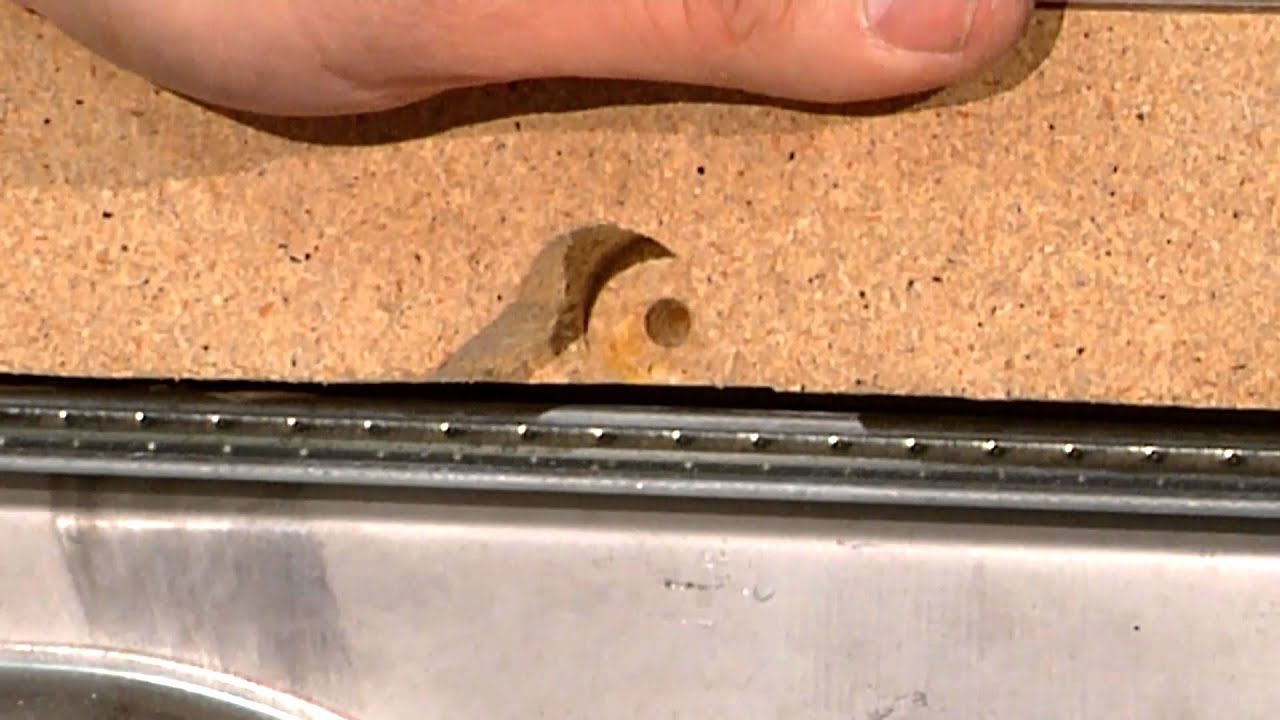
Using your measurements, mark the area where the sink will be placed on the worktop. Carefully cut out the designated area using a jigsaw or a router. Take your time and make sure the cutout is precise and fits the sink comfortably.2. Cut a hole in the worktop


2. Cut a hole in the worktop


Before securing the sink into place, it's important to test fit it first. Place the sink into the cutout and make sure it fits properly. If there are any gaps or uneven edges, use sandpaper to smooth them out. This will ensure a snug fit for the sink.3. Test fit the sink

3. Test fit the sink


Once the sink fits comfortably into the cutout, it's time to install the sink clips. These clips will secure the sink to the worktop. Place the clips under the edge of the sink and tighten them using a screwdriver. Make sure the sink is level and secure before moving on to the next step.4. Install the sink clips


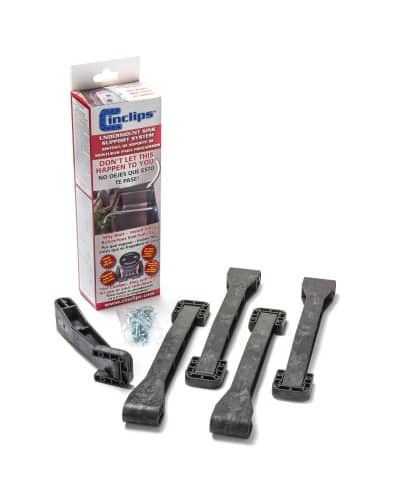
4. Install the sink clips


:max_bytes(150000):strip_icc()/replacing-existing-surface-mounted-sink-1824896-06-d8eb6b67fe4f451b90c415551f75ad0f.jpg)


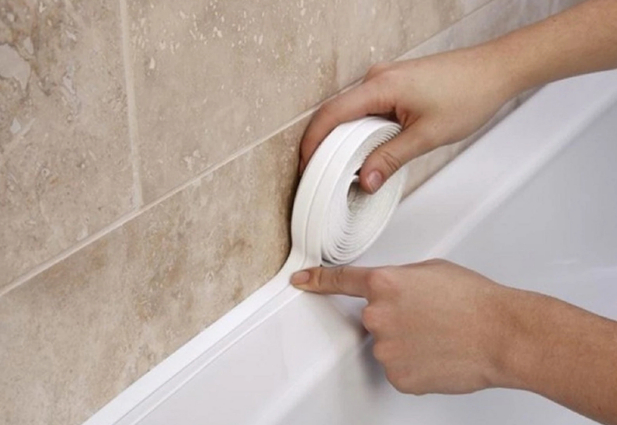
To prevent any water from leaking between the sink and the worktop, apply a bead of waterproof sealant around the edges of the sink. This will also help to keep the sink in place and prevent it from shifting over time. Use a damp cloth to wipe away any excess sealant.5. Apply sealant around the edges


5. Apply sealant around the edges


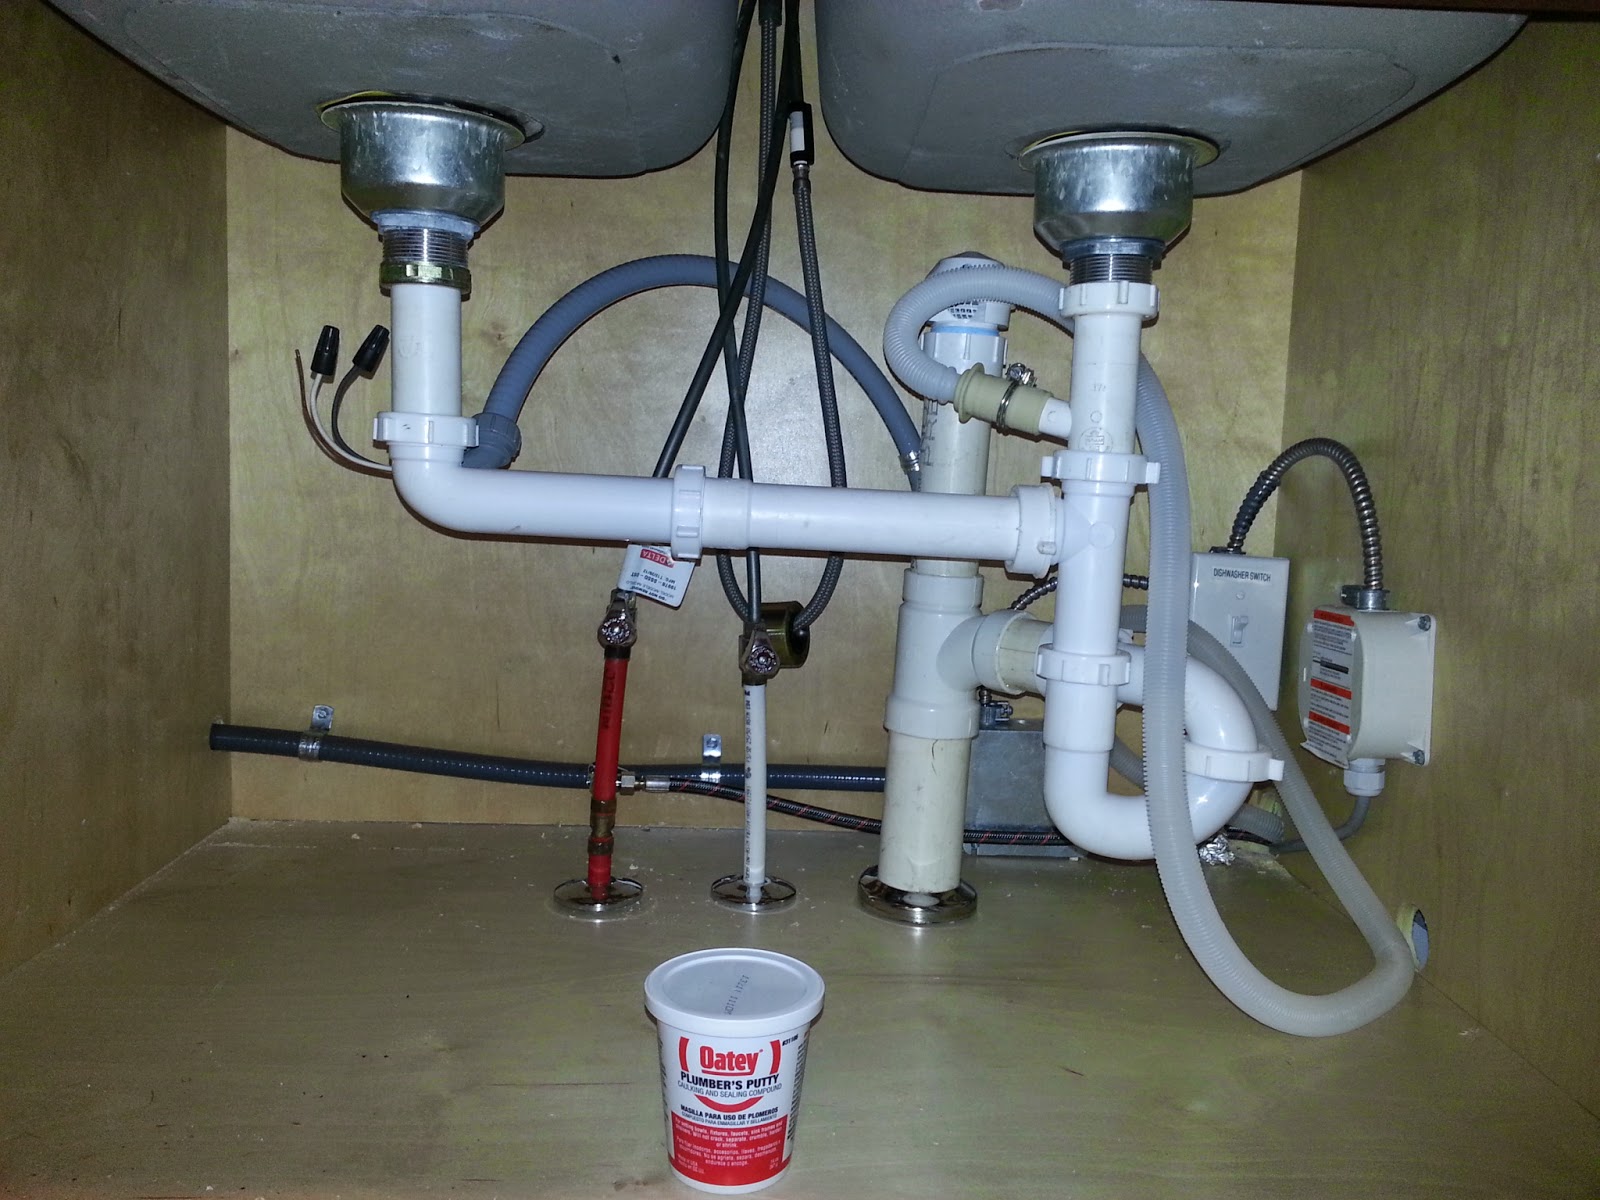
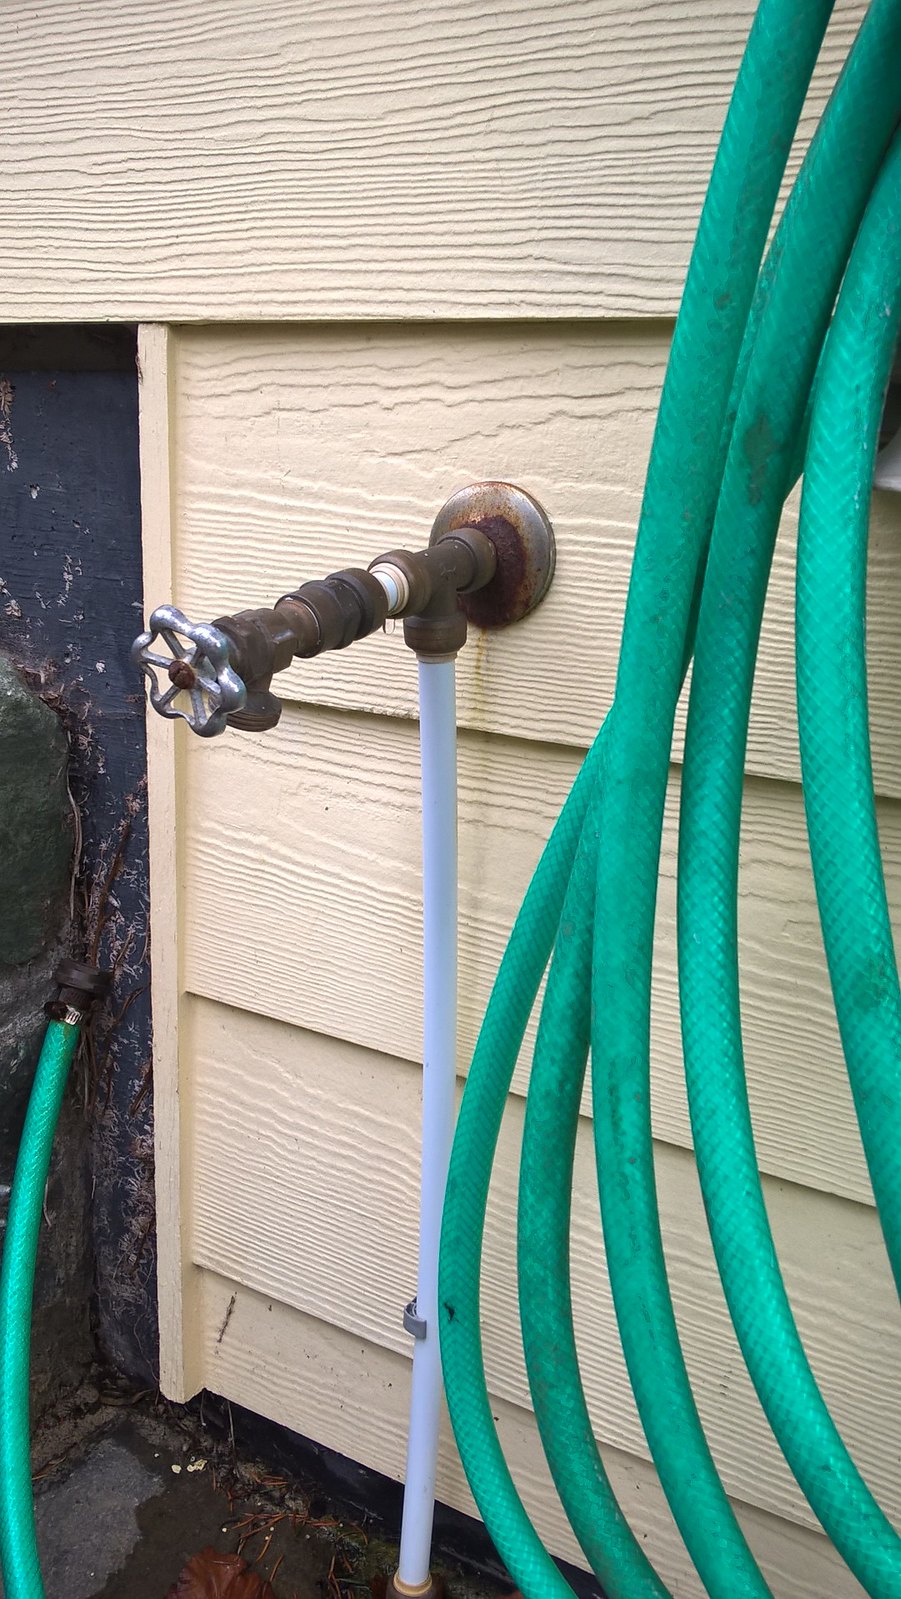
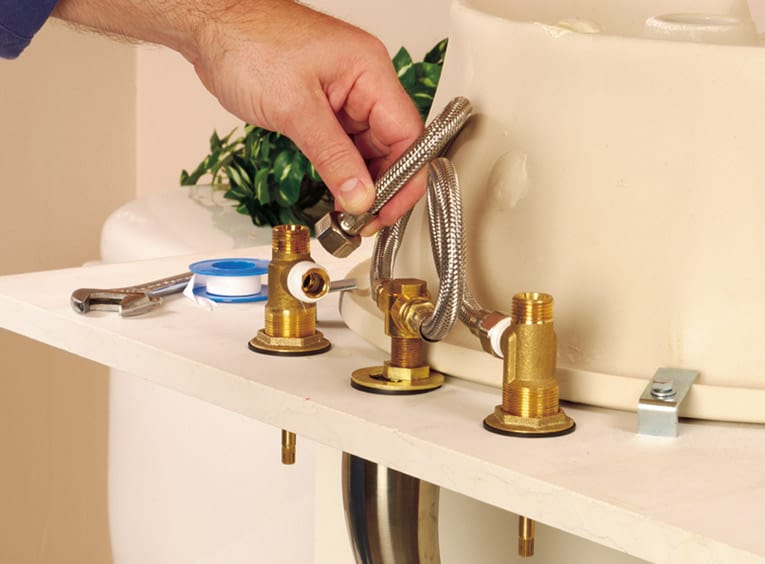
With the sink securely in place, it's time to connect the plumbing. Start by connecting the drain to the sink and then connect the water supply lines. Use plumber's tape to ensure a tight seal. Test the water flow and check for any leaks. If there are any leaks, tighten the connections until they stop.6. Connect the plumbing


6. Connect the plumbing


.PNG?format=1500w)

To further secure the sink to the worktop, use metal brackets or wood screws to attach the sink to the underside of the worktop. This will help to distribute the weight of the sink and prevent it from shifting or loosening over time.7. Secure the sink to the worktop


7. Secure the sink to the worktop


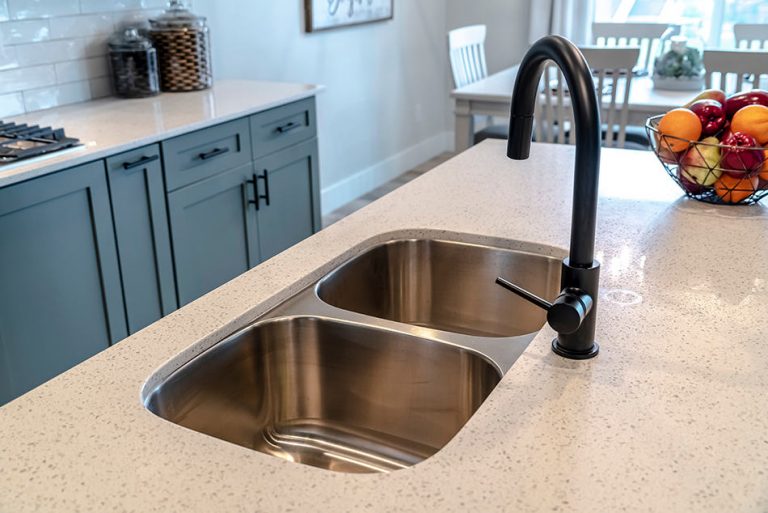


If your sink comes with a separate faucet, now is the time to install it. Follow the manufacturer's instructions to properly install the faucet onto the sink. Make sure all connections are tight and secure. Turn on the water supply and test the faucet for any leaks.8. Install the faucet

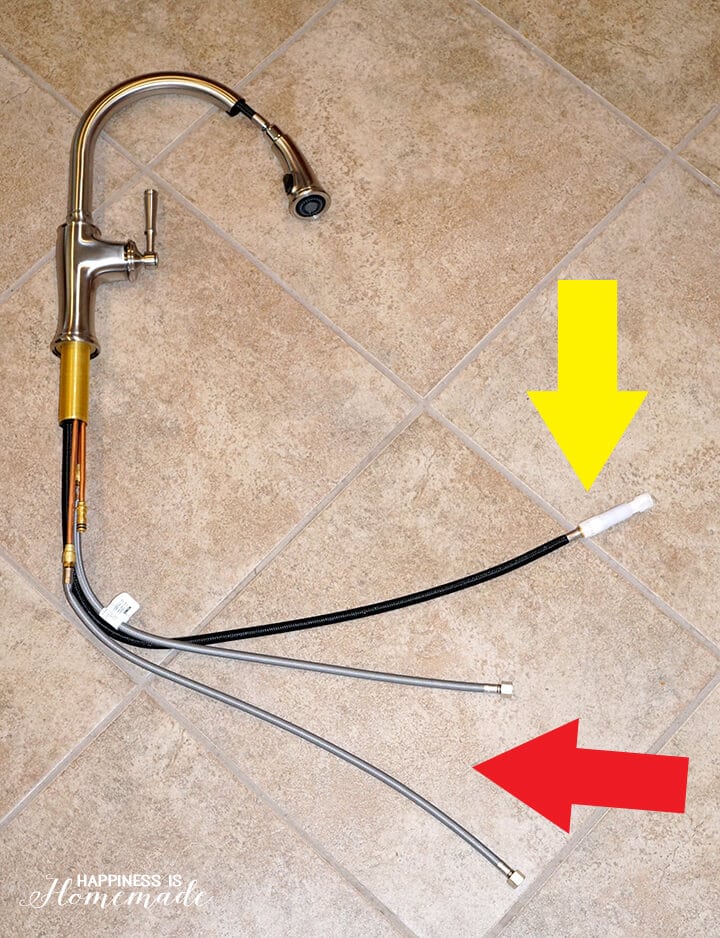
8. Install the faucet


/fixing-a-tap-459986221-5afc675431283400371f7872.jpg)

Once everything is installed and connected, turn on the water supply and test the sink for any leaks. Check the connections, drain, and faucet for any signs of water leakage. If there are any leaks, tighten the connections until they stop.9. Test for leaks


9. Test for leaks


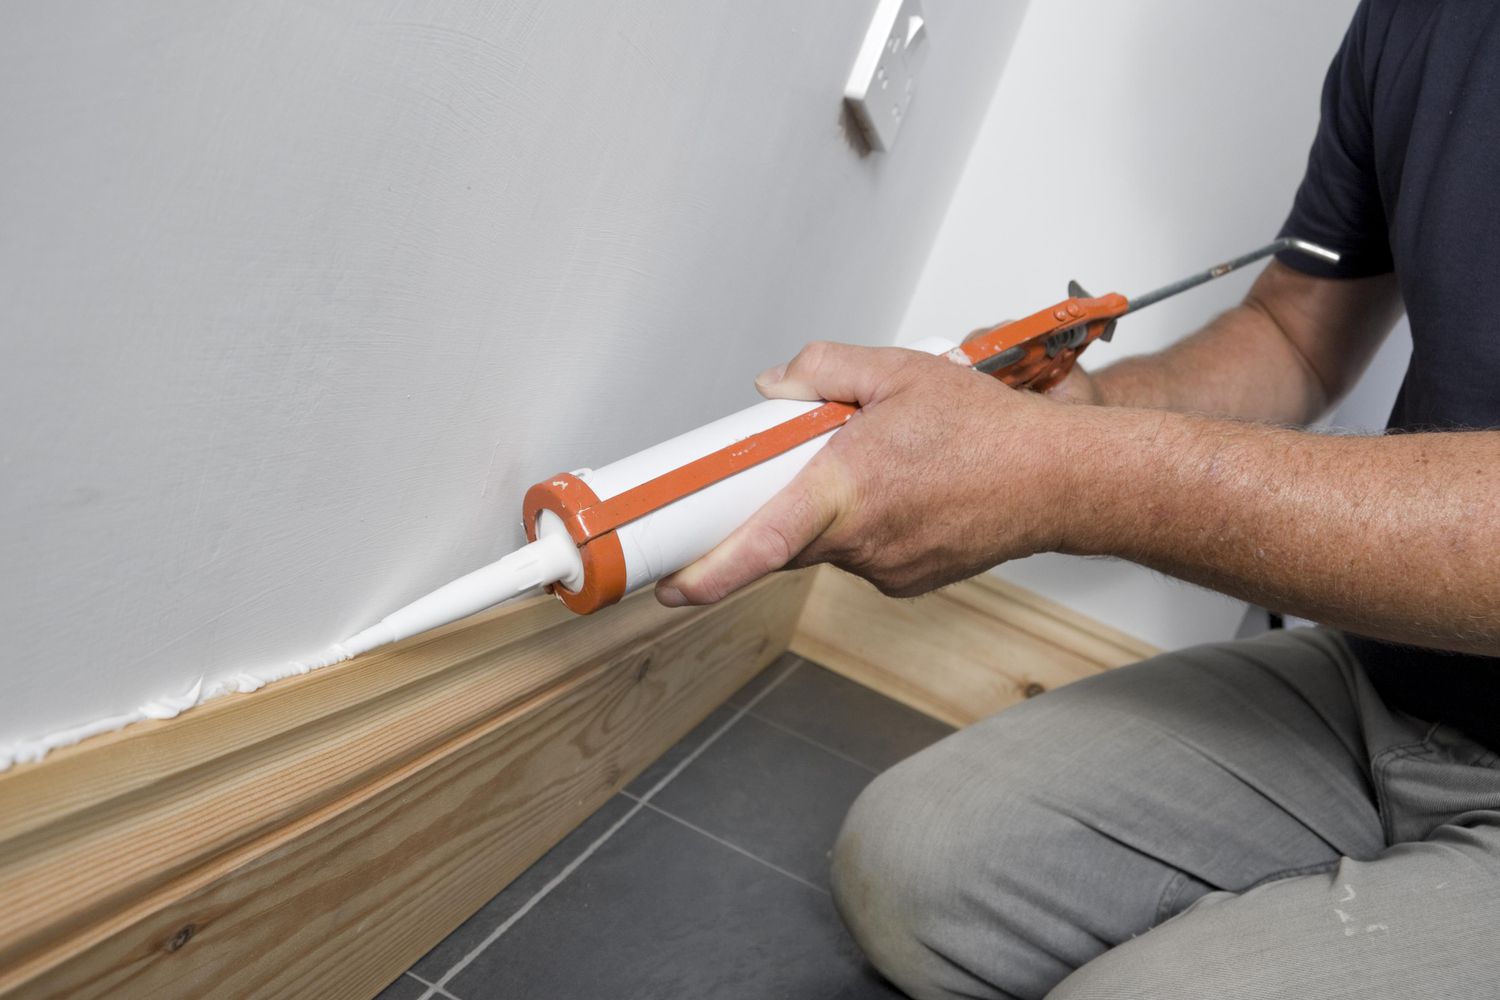
To give your sink a polished and finished look, apply a bead of caulk around the edges where the sink meets the worktop. This will also help to prevent any water from seeping between the sink and the worktop. Alternatively, you can use trim pieces to cover the edges for a more decorative look. With these steps, you can easily fit a kitchen sink into a wooden worktop. Just remember to measure carefully, secure the sink properly, and test for leaks before completing the final touches. Your new sink will not only be functional but also add a touch of style to your kitchen. 10. Finish with caulk or trim


10. Finish with caulk or trim


Fitting a Kitchen Sink into a Wooden Worktop: A Guide for Beautiful and Functional House Design

Introduction
 When it comes to designing a house, the kitchen is often considered the heart of the home. It is not only a place for cooking and preparing meals, but also a space for gathering and making memories. As such, every detail in the kitchen should be carefully chosen and thoughtfully designed. One important element in the kitchen is the sink, and fitting it into a wooden worktop can add both beauty and functionality to the overall design. In this article, we will discuss the process of fitting a kitchen sink into a wooden worktop, including the materials needed, the steps involved, and some tips for a successful installation.
Materials Needed
 Before starting the installation process, it is important to gather all the necessary materials. These include a wooden worktop, a kitchen sink, a jigsaw, a drill, screws, silicone sealant, and a waterproof varnish.
Wooden worktops
are a popular choice for kitchen counters as they add warmth and character to the space.
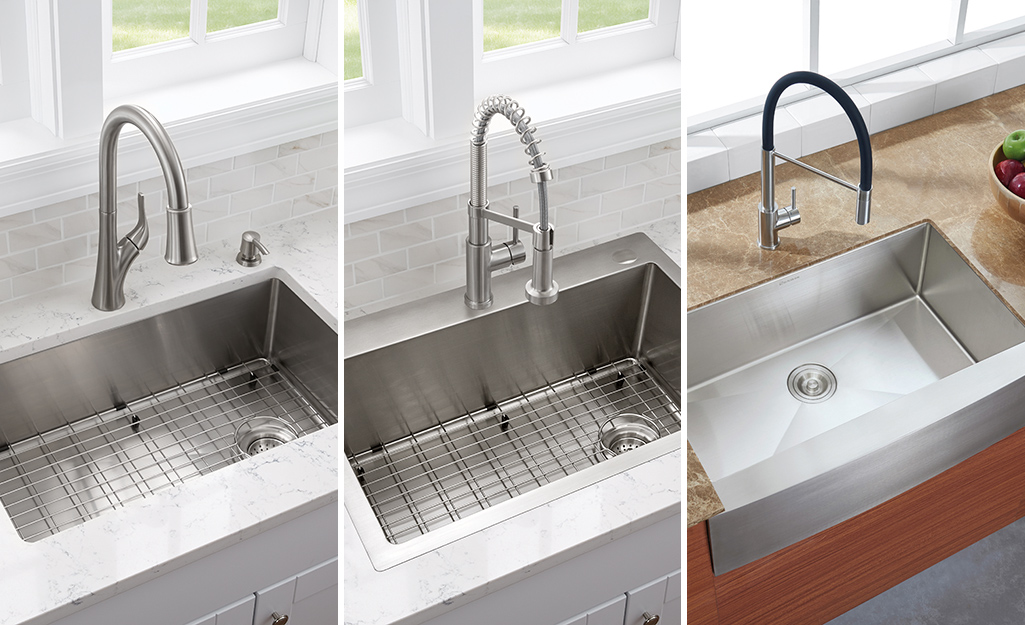
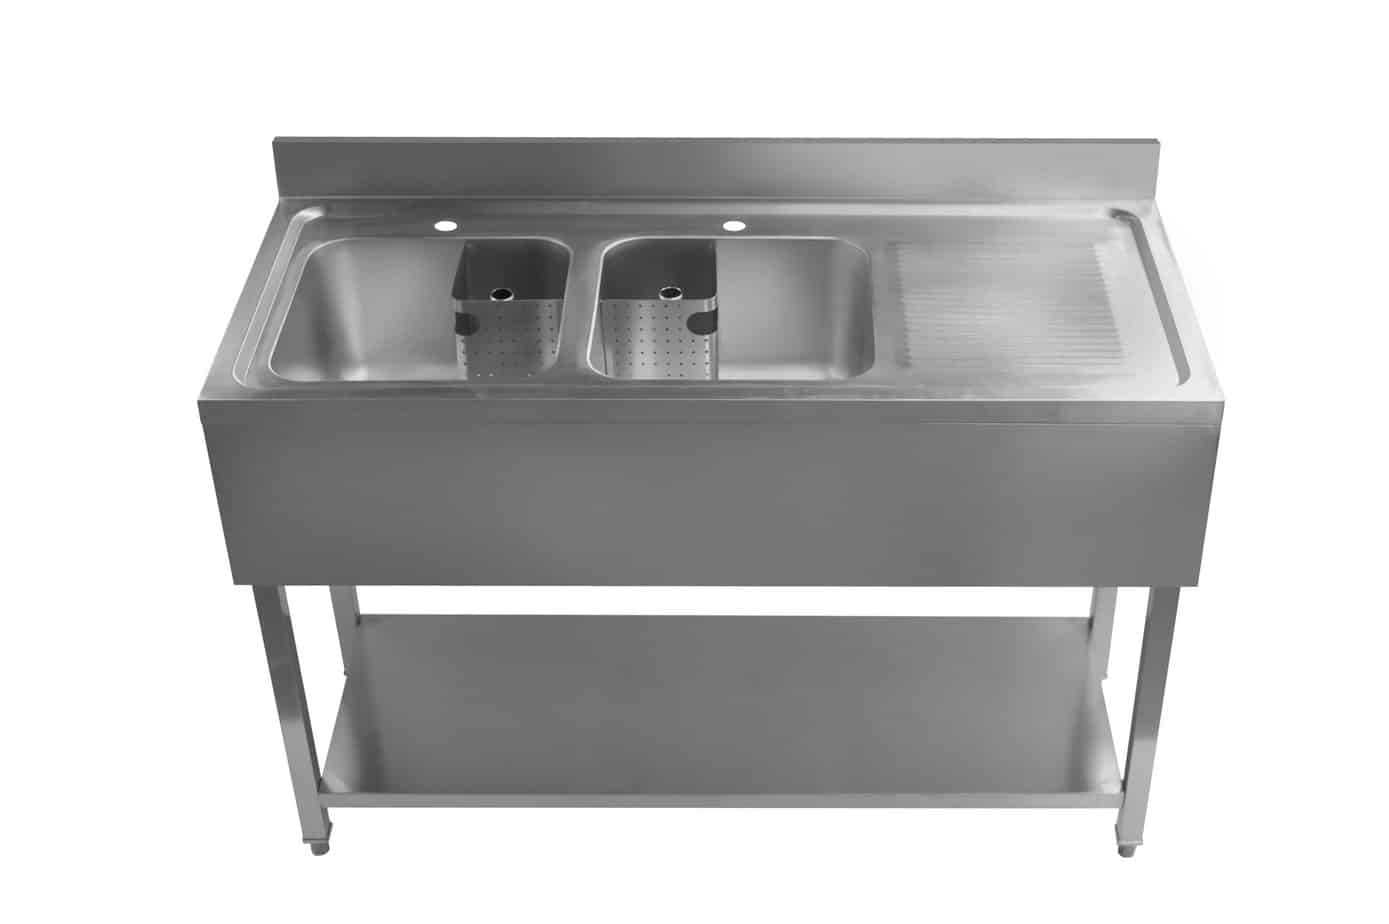
Kitchen sinks
are available in a variety of materials, such as stainless steel, ceramic, and composite granite, so choose one that best fits your style and needs. The jigsaw and drill will be used to cut the worktop and make holes for the sink and faucet. Screws will be used to secure the sink in place, while silicone sealant will ensure a watertight seal. Lastly, a waterproof varnish will protect the wood from water damage.
Before starting the installation process, it is important to gather all the necessary materials. These include a wooden worktop, a kitchen sink, a jigsaw, a drill, screws, silicone sealant, and a waterproof varnish.
Wooden worktops
are a popular choice for kitchen counters as they add warmth and character to the space.
Kitchen sinks
are available in a variety of materials, such as stainless steel, ceramic, and composite granite, so choose one that best fits your style and needs. The jigsaw and drill will be used to cut the worktop and make holes for the sink and faucet. Screws will be used to secure the sink in place, while silicone sealant will ensure a watertight seal. Lastly, a waterproof varnish will protect the wood from water damage.
Step-by-Step Process
 Now that you have all the necessary materials, it's time to start fitting the kitchen sink into the wooden worktop. Follow these steps for a successful installation:
1. Measure and mark the area where the sink will be placed on the worktop. Make sure to leave enough space for the sink and faucet, as well as a lip to support the sink.
2. Using a jigsaw, carefully cut out the marked area for the sink. Take your time and follow the lines precisely to ensure a clean and accurate cut.
3. Next, use a drill to make holes for the sink and faucet. Refer to the manufacturer's instructions for the size and placement of the holes.
4. Once the holes are made, sand the edges of the cut area to smooth out any rough edges.
5. Apply a waterproof varnish to the edges and bottom of the cut area to protect the wood from water damage.
6. Place the sink into the cutout and secure it in place using screws. Make sure the sink is level and use shims if needed.
7. Apply a bead of silicone sealant around the edges of the sink to create a watertight seal.
8. Connect the faucet to the sink according to the manufacturer's instructions.
Now that you have all the necessary materials, it's time to start fitting the kitchen sink into the wooden worktop. Follow these steps for a successful installation:
1. Measure and mark the area where the sink will be placed on the worktop. Make sure to leave enough space for the sink and faucet, as well as a lip to support the sink.
2. Using a jigsaw, carefully cut out the marked area for the sink. Take your time and follow the lines precisely to ensure a clean and accurate cut.
3. Next, use a drill to make holes for the sink and faucet. Refer to the manufacturer's instructions for the size and placement of the holes.
4. Once the holes are made, sand the edges of the cut area to smooth out any rough edges.
5. Apply a waterproof varnish to the edges and bottom of the cut area to protect the wood from water damage.
6. Place the sink into the cutout and secure it in place using screws. Make sure the sink is level and use shims if needed.
7. Apply a bead of silicone sealant around the edges of the sink to create a watertight seal.
8. Connect the faucet to the sink according to the manufacturer's instructions.
Tips for Success
 - Measure carefully and double-check your measurements before cutting the worktop.
- Use a sharp and clean jigsaw blade for a smooth cut.
- Sand the edges of the cutout to prevent any splinters.
- Test the fit of the sink before securing it in place.
- Use a bead of silicone sealant around the edges of the sink to prevent any leaks.
- Allow the sealant to dry completely before using the sink.
- Measure carefully and double-check your measurements before cutting the worktop.
- Use a sharp and clean jigsaw blade for a smooth cut.
- Sand the edges of the cutout to prevent any splinters.
- Test the fit of the sink before securing it in place.
- Use a bead of silicone sealant around the edges of the sink to prevent any leaks.
- Allow the sealant to dry completely before using the sink.
In Conclusion
 Fitting a kitchen sink into a wooden worktop can add both beauty and functionality to your kitchen design. With the right materials and careful execution, you can achieve a seamless and professional-looking installation. Follow these steps and tips for a successful outcome, and enjoy your newly installed kitchen sink in your beautifully designed kitchen.