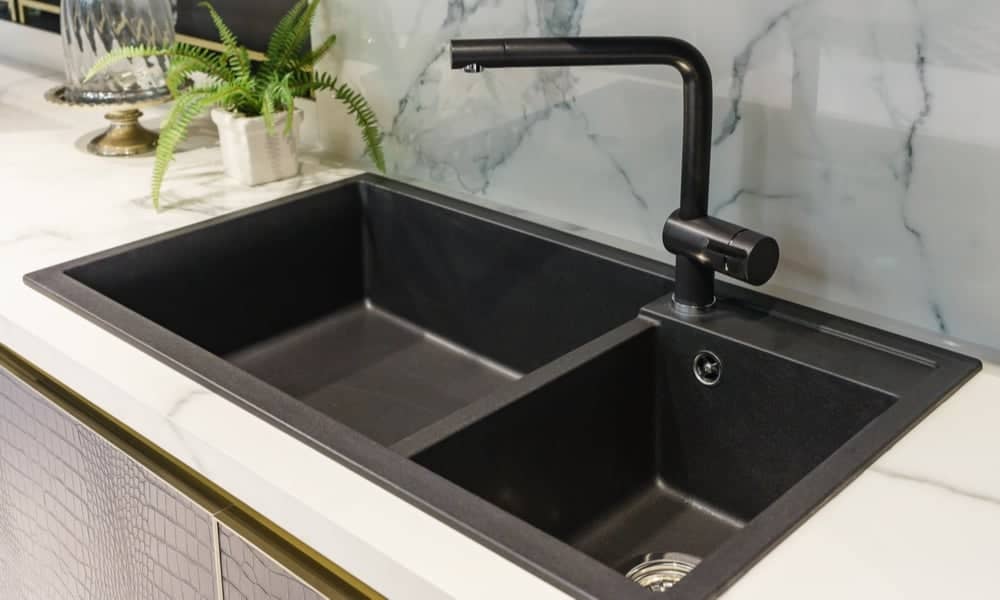
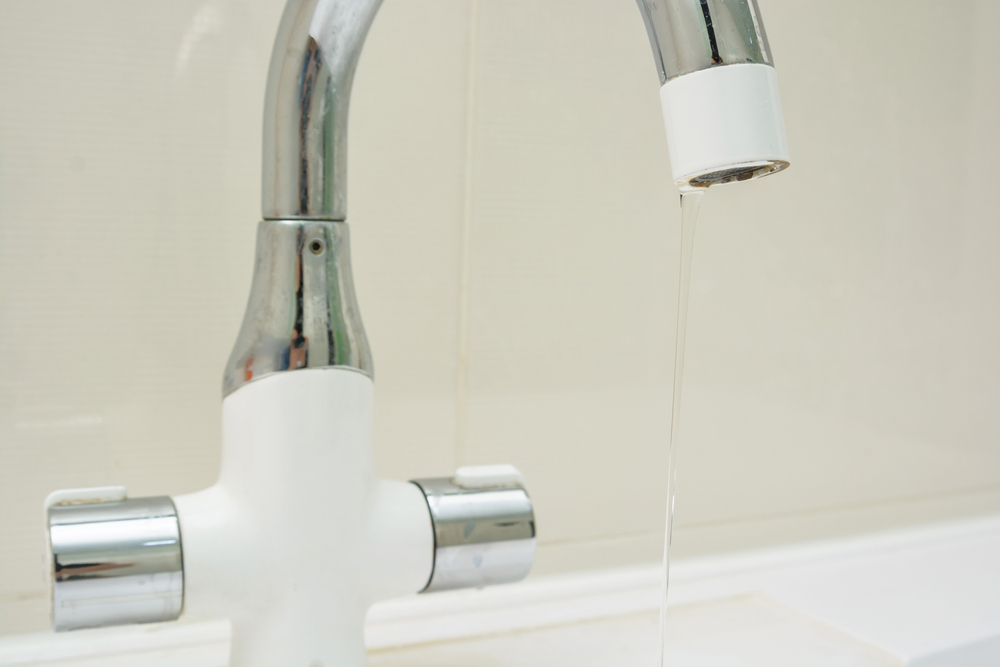
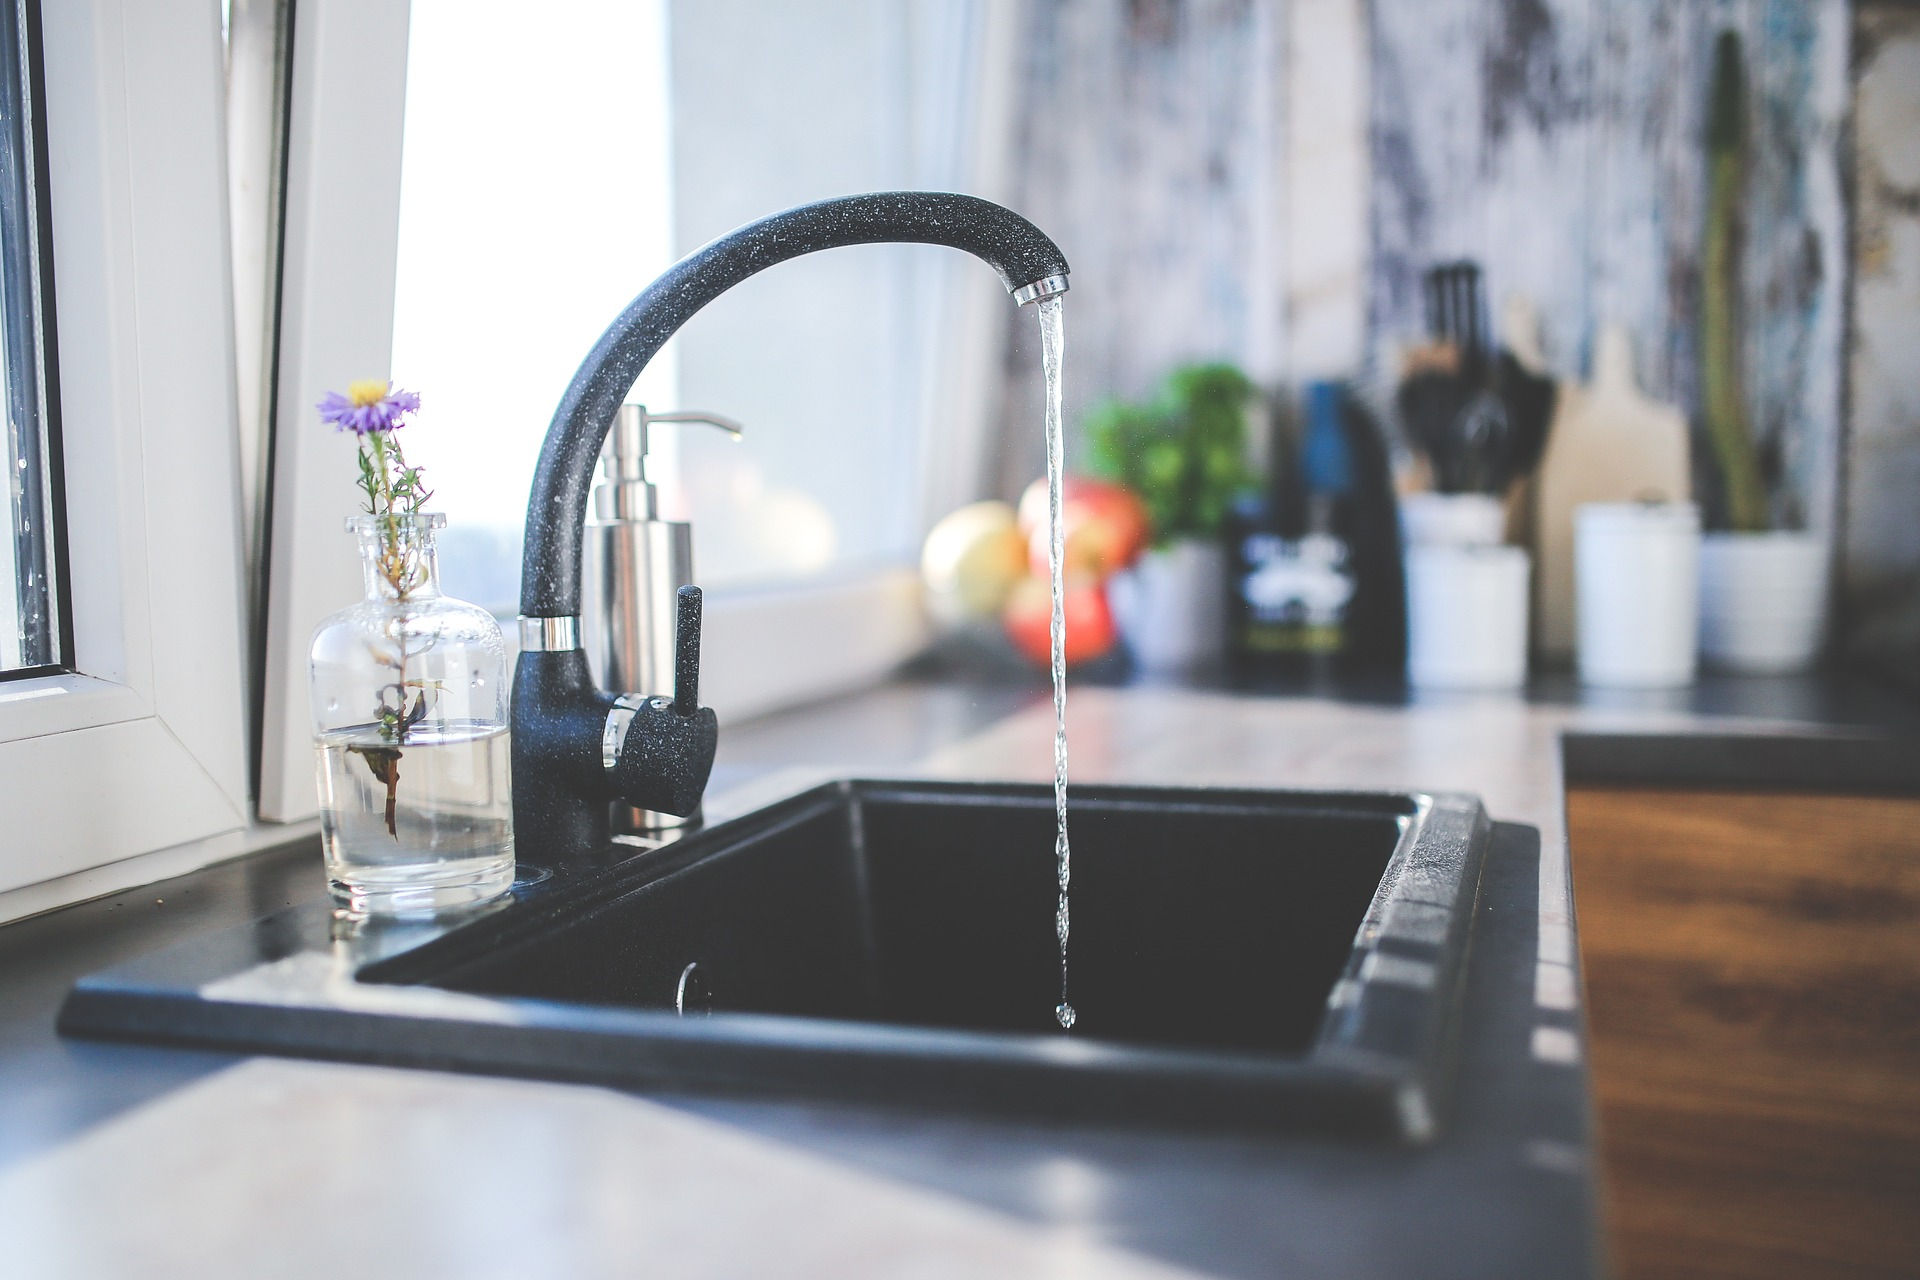
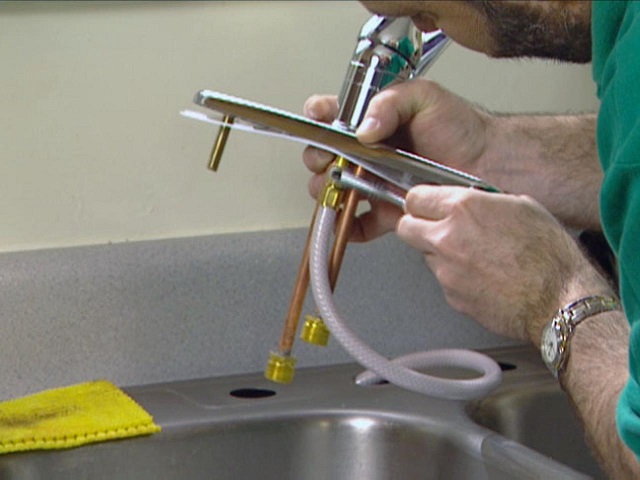
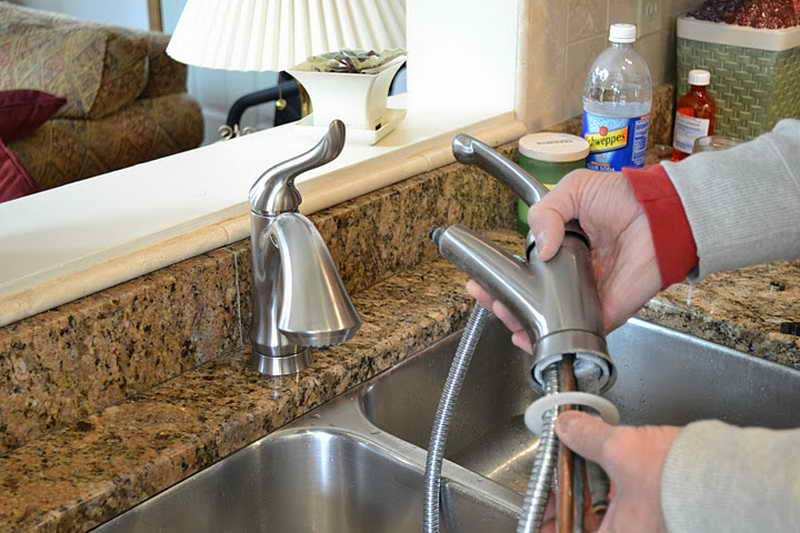
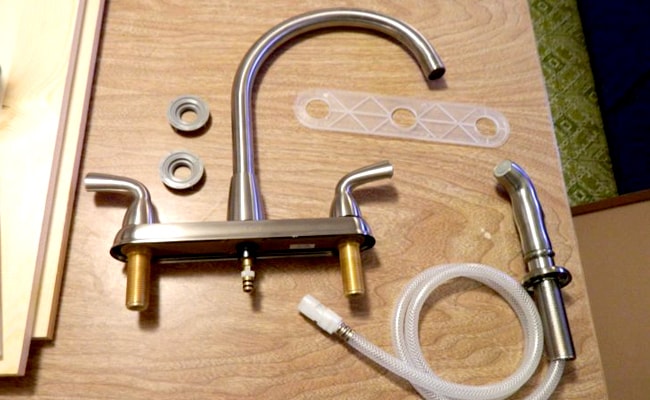
Installing a new kitchen faucet in your sink can be a great way to update the look and functionality of your kitchen. Whether you're replacing an old faucet or installing a new one, it's important to do it correctly to ensure a smooth and leak-free installation. Here's a step-by-step guide on how to install a kitchen faucet in a sink: Step 1: Gather Your Tools and Materials Before you begin, make sure you have all the necessary tools and materials on hand. You will need a basin wrench, adjustable wrench, plumber's putty, Teflon tape, and a new kitchen faucet. It's always a good idea to read the manufacturer's instructions that come with the faucet to ensure you have everything you need for installation. Step 2: Turn Off the Water Supply Before starting any plumbing project, it's important to turn off the water supply to the sink. This can usually be done by turning off the shut-off valves located under the sink. If your sink doesn't have shut-off valves, you will need to turn off the main water supply to your home. Step 3: Remove the Old Faucet Next, you will need to remove the old faucet from your sink. This can be done by disconnecting the water supply lines and unscrewing the mounting nuts that hold the faucet in place. Once the old faucet is removed, clean the area around the sink to prepare for the new faucet. Step 4: Prepare the New Faucet Before installing the new faucet, make sure to read the manufacturer's instructions and prepare the faucet according to their specifications. This may include applying plumber's putty to the base or using Teflon tape on the water supply connections. Step 5: Install the New Faucet With the new faucet prepared, you can now install it in your sink. Start by inserting the new faucet into the mounting holes and securing it with the mounting nuts. Use a basin wrench to tighten the nuts, making sure the faucet is securely in place. Step 6: Connect the Water Supply Lines Once the faucet is installed, you can connect the water supply lines. Make sure to follow the manufacturer's instructions for proper connections. Use an adjustable wrench to tighten the connections and ensure there are no leaks. Step 7: Turn On the Water Supply With the faucet installed and connected, you can now turn the water supply back on. Check for any leaks and tighten any connections if necessary. Step 8: Test the Faucet Before considering the installation complete, test the new faucet to make sure it is functioning properly. Check for any leaks and make any adjustments as needed. Following these steps will ensure a successful installation of your new kitchen faucet in your sink. If you're unsure about any step, it's always best to consult a professional plumber for assistance.How to Install a Kitchen Faucet in a Sink
Replacing a kitchen faucet in a sink is a simple and cost-effective way to upgrade your kitchen. Over time, faucets can become worn out or outdated, and replacing them can give your sink a fresh and updated look. Here's a step-by-step guide on how to replace a kitchen faucet in a sink: Step 1: Gather Your Tools and Materials Before you begin, make sure you have all the necessary tools and materials on hand. You will need a basin wrench, adjustable wrench, plumber's putty, Teflon tape, and a new kitchen faucet. It's always a good idea to read the manufacturer's instructions that come with the faucet to ensure you have everything you need for installation. Step 2: Turn Off the Water Supply Before starting any plumbing project, it's important to turn off the water supply to the sink. This can usually be done by turning off the shut-off valves located under the sink. If your sink doesn't have shut-off valves, you will need to turn off the main water supply to your home. Step 3: Remove the Old Faucet Next, you will need to remove the old faucet from your sink. This can be done by disconnecting the water supply lines and unscrewing the mounting nuts that hold the faucet in place. Once the old faucet is removed, clean the area around the sink to prepare for the new faucet. Step 4: Prepare the New Faucet Before installing the new faucet, make sure to read the manufacturer's instructions and prepare the faucet according to their specifications. This may include applying plumber's putty to the base or using Teflon tape on the water supply connections. Step 5: Install the New Faucet With the new faucet prepared, you can now install it in your sink. Start by inserting the new faucet into the mounting holes and securing it with the mounting nuts. Use a basin wrench to tighten the nuts, making sure the faucet is securely in place. Step 6: Connect the Water Supply Lines Once the faucet is installed, you can connect the water supply lines. Make sure to follow the manufacturer's instructions for proper connections. Use an adjustable wrench to tighten the connections and ensure there are no leaks. Step 7: Turn On the Water Supply With the faucet installed and connected, you can now turn the water supply back on. Check for any leaks and tighten any connections if necessary. Step 8: Test the Faucet Before considering the installation complete, test the new faucet to make sure it is functioning properly. Check for any leaks and make any adjustments as needed. Replacing a kitchen faucet in a sink is a straightforward process that can be done by following these steps. If you encounter any difficulties, it's best to seek the help of a professional plumber.How to Replace a Kitchen Faucet in a Sink
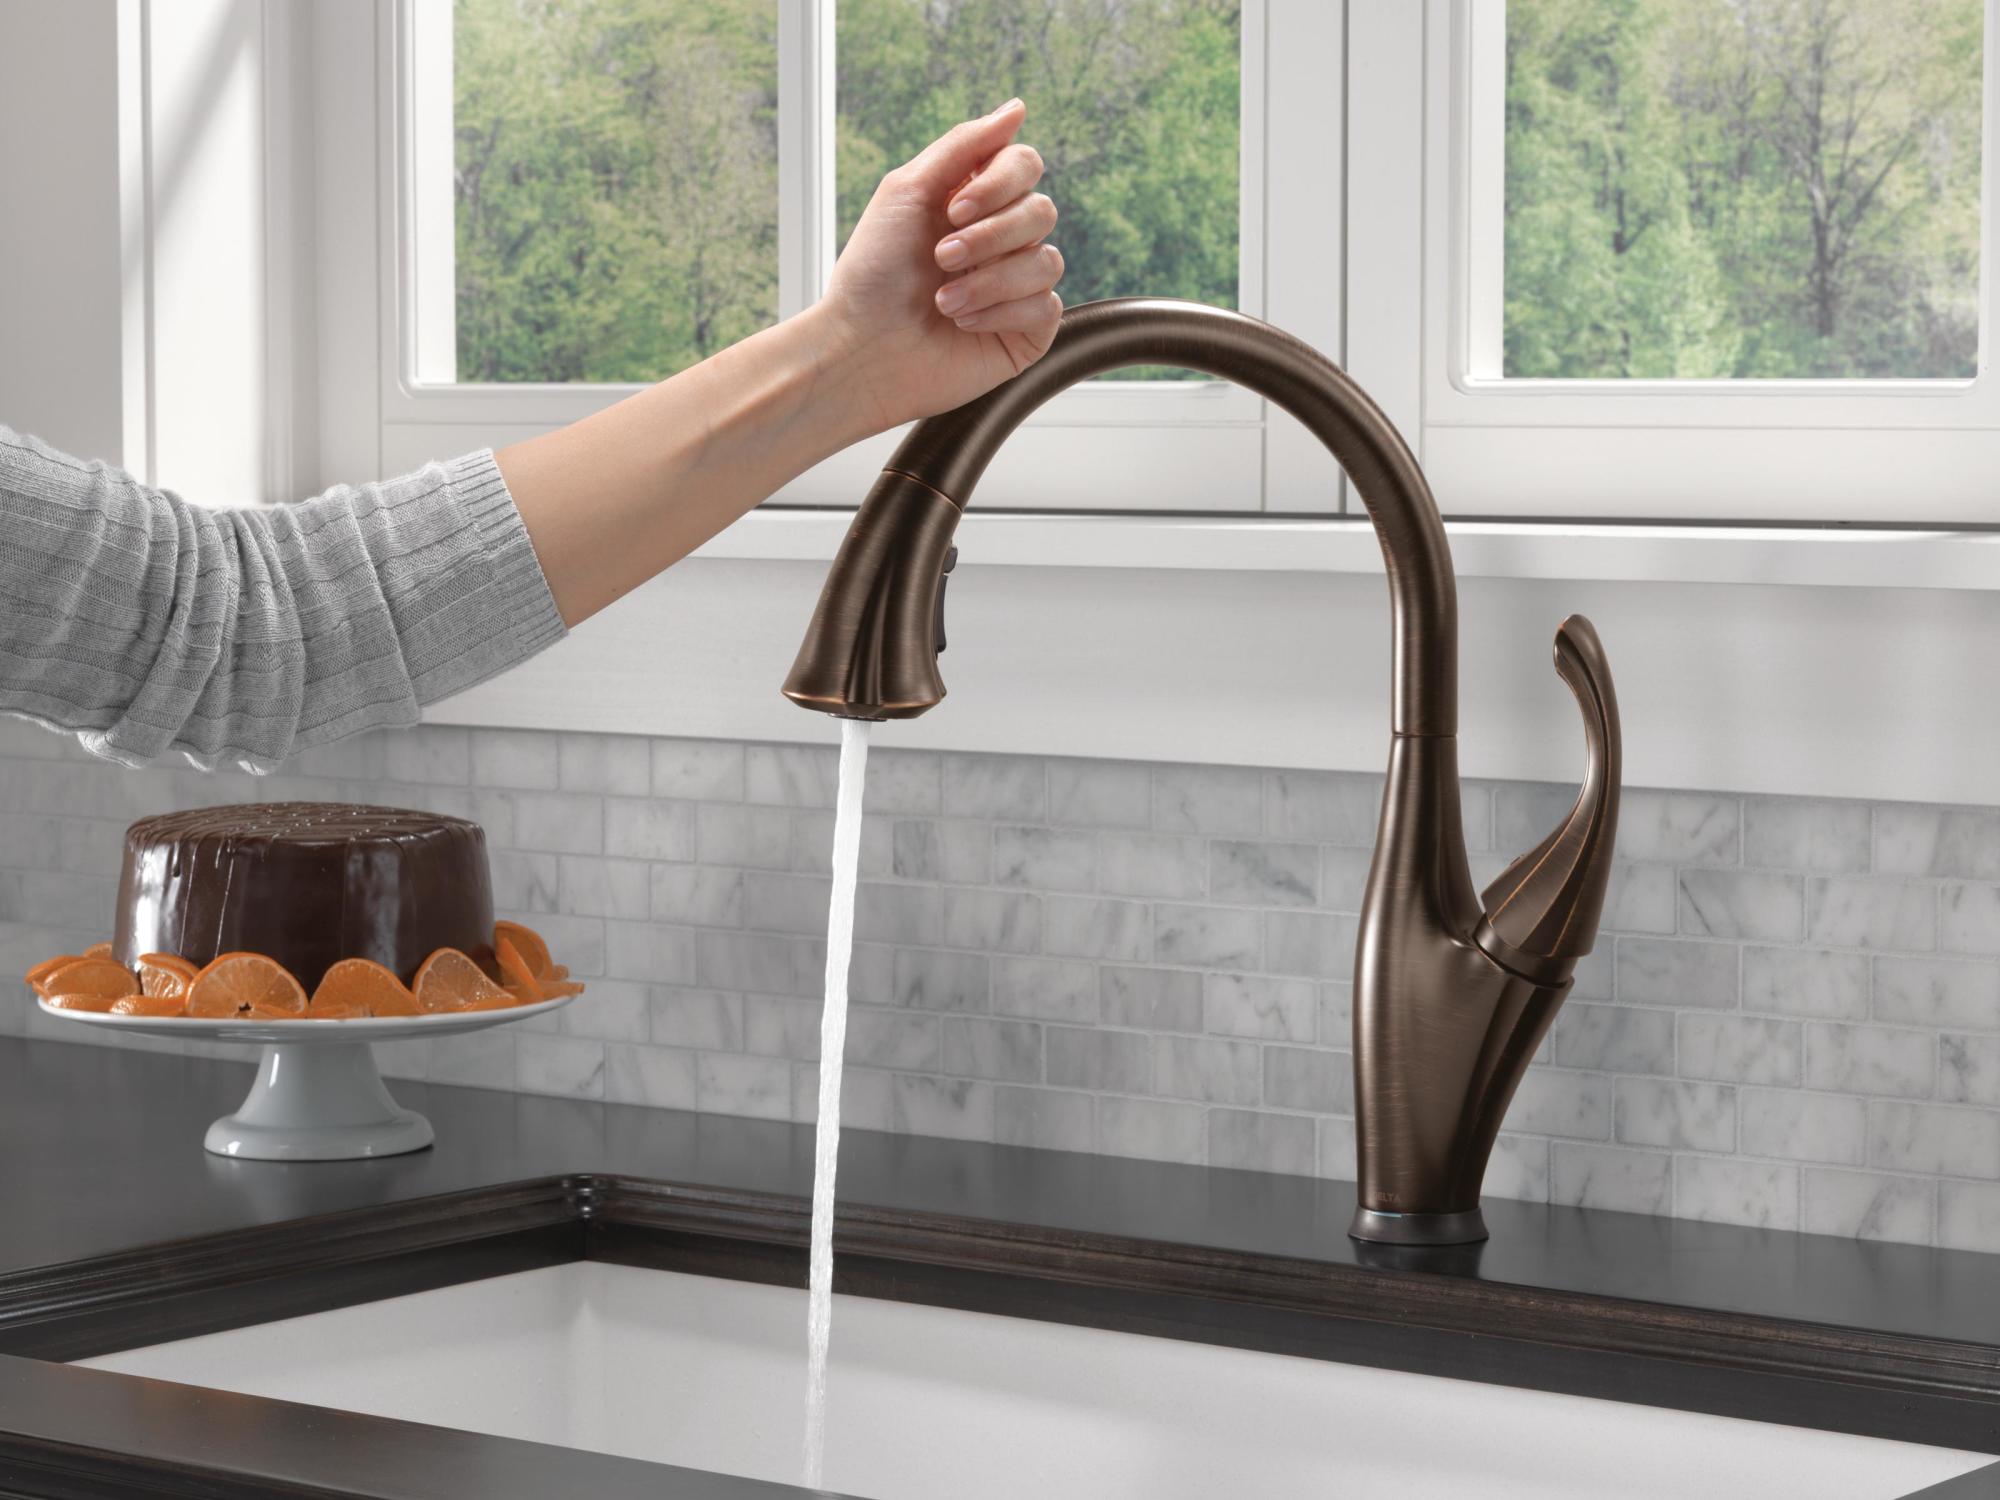
Choosing the right kitchen sink faucet is essential for the overall look and functionality of your kitchen. With so many options available, it can be overwhelming to find the best one for your needs. Here are some top-rated kitchen sink faucets to consider: 1. Moen Arbor Motionsense Two-Sensor Touchless Kitchen Faucet The Moen Arbor Motionsense faucet offers hands-free convenience with its two sensors that allow for touchless operation. It also has a high arc design, making it easy to fill large pots and pans. 2. Delta Faucet Essa Single-Handle Kitchen Sink Faucet This Delta faucet features a sleek and modern design with a single handle for easy temperature and flow control. It also has a powerful spray wand for efficient cleaning. 3. Kraus Oletto Single-Handle Kitchen Sink Faucet The Kraus Oletto faucet has a commercial-style design with a pull-down sprayer and a high arc spout for added convenience. It also has a precision ceramic cartridge for smooth and drip-free operation. 4. Kohler Simplice Single-Handle Kitchen Sink Faucet This Kohler faucet has a three-function pull-down sprayer and a single handle design for easy temperature and flow control. It also features a magnetic docking system to securely hold the spray head in place. 5. Pfister Pfirst Series 1-Handle Pull-Out Kitchen Faucet The Pfister Pfirst faucet has a pull-out spray head with two spray modes for versatile cleaning options. It also has a high arc design for easy filling of large pots and pans. Ultimately, the best kitchen sink faucet will depend on your personal preferences and the design of your kitchen. Consider the features and styles that best suit your needs to find the perfect faucet for your sink.Best Kitchen Sink Faucets
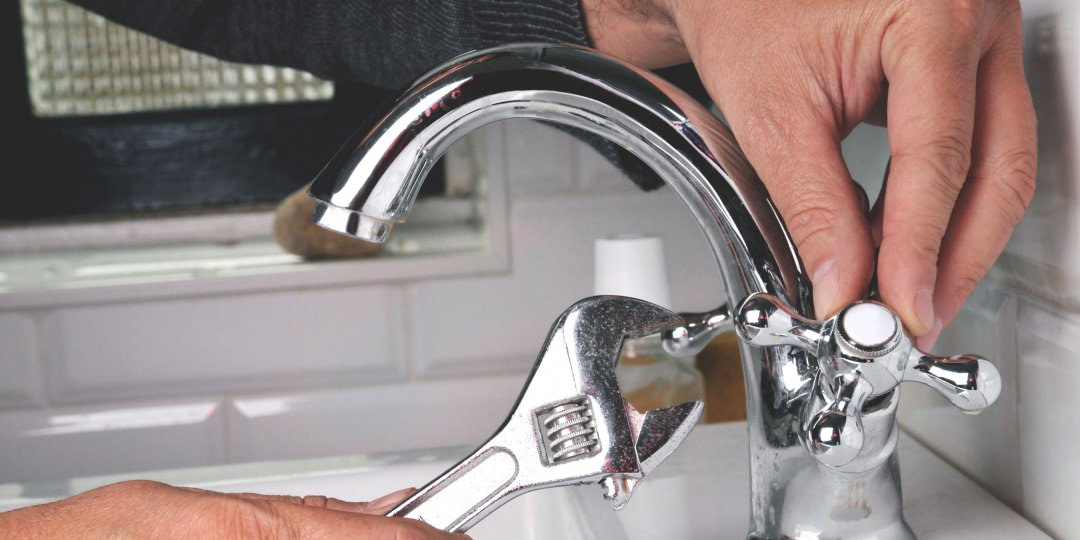
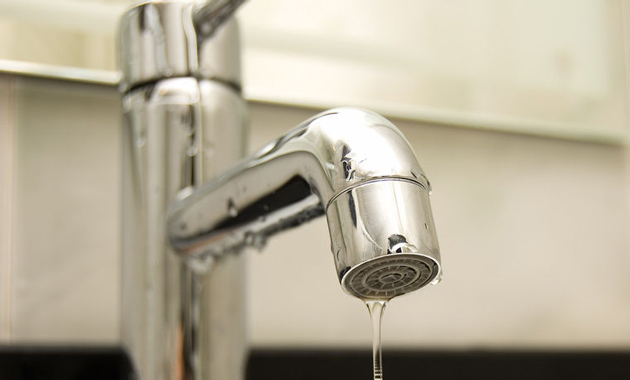
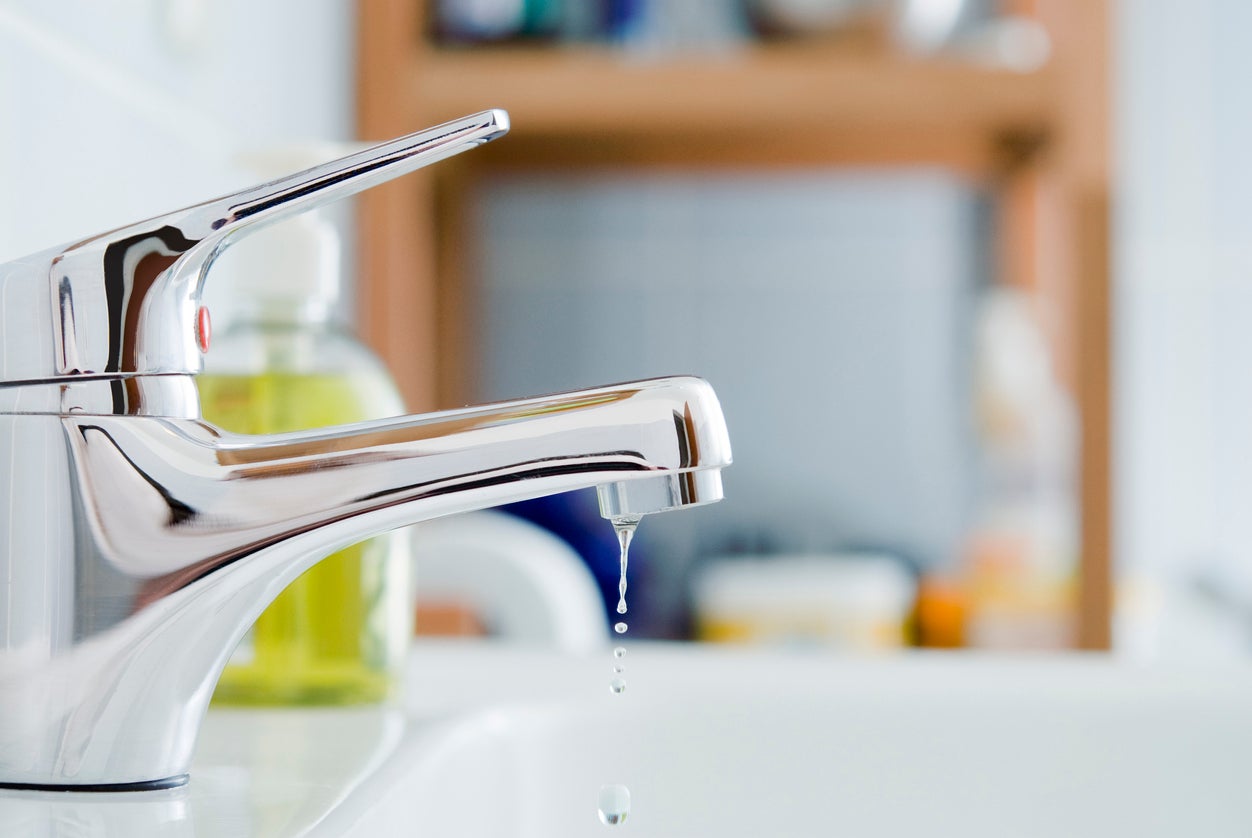
A leaky kitchen faucet can be a frustrating and wasteful problem. Not only does it waste water, but it can also cause damage to your sink and countertop. Here's how to fix a leaky kitchen faucet: Step 1: Shut Off the Water Supply Before attempting to fix a leaky faucet, make sure to turn off the water supply to the sink. This can usually be done by turning off the shut-off valves located under the sink. Step 2: Identify the Source of the Leak The first step to fixing a leaky faucet is to determine where the leak is coming from. It could be from the base of the faucet, the handles, or the spout. Step 3: Replace the O-Rings and Washers If the leak is coming from the handles, it's likely due to worn out O-rings or washers. These can be easily replaced with new ones from a hardware store. Step 4: Tighten Loose Connections If the leak is coming from the base of the faucet, it could be due to loose connections. Use an adjustable wrench to tighten any loose connections and check for leaks. Step 5: Replace the Cartridge or Valve If the leak is coming from the spout, it could be due to a damaged cartridge or valve. This may require replacing the entire faucet, depending on the extent of the damage. Step 6: Turn the Water Supply Back On After making any necessary repairs, turn the water supply back on and check for any leaks. If the problem persists, it's best to seek the help of a professional plumber. Fixing a leaky kitchen faucet can be a simple DIY project, but if you're unsure or uncomfortable with plumbing, it's always best to seek professional help.How to Fix a Leaky Kitchen Faucet
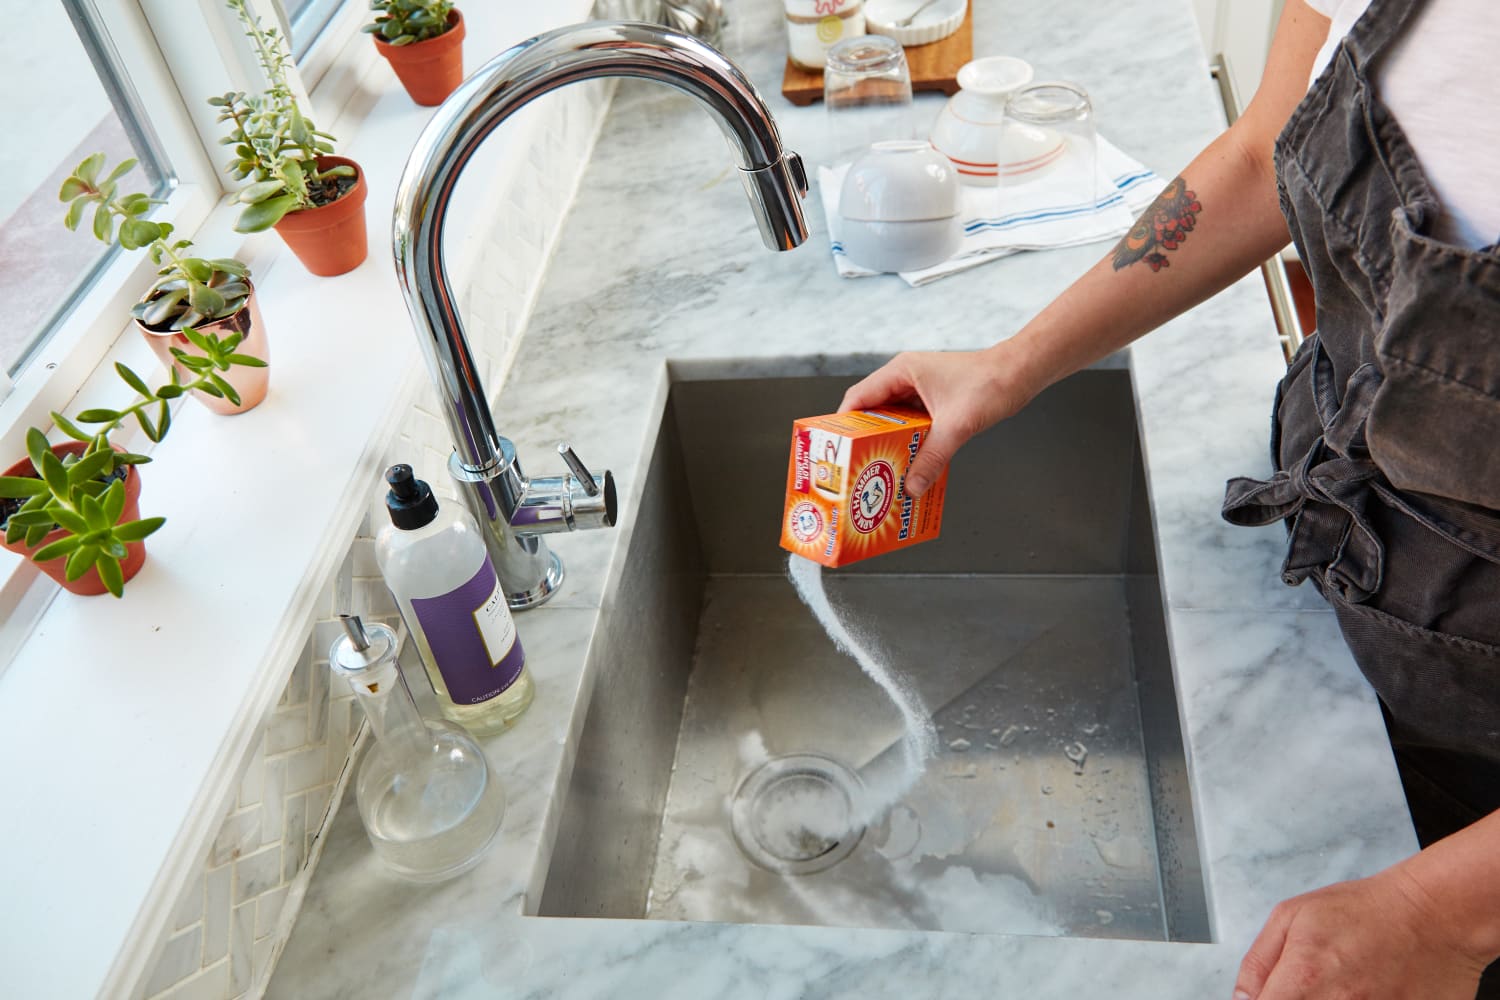
Cleaning your kitchen sink faucet regularly can help maintain its appearance and functionality. Here's how to clean a kitchen sink faucet: Step 1: Prepare a Cleaning Solution You can create a simple cleaning solution by mixing equal parts water and white vinegar in a spray bottle. You can also use a mild dish soap diluted in water. Step 2: Spray the Faucet Spray the cleaning solution onto the faucet, making sure to cover all areas, including the handle and spout. Step 3: Scrub with a Soft Cloth Using a soft cloth, gently scrub the faucet to remove any dirt, grime, or hard water deposits. Avoid using abrasive cleaners or scrubbers that can scratch the surface of the faucet. Step 4: Rinse and Dry Rinse the faucet with clean water and dry it with a soft cloth to prevent water spots and streaks. If your faucet has hard water deposits that are difficult to remove, you can use a mixture of water and baking soda to create a paste. Apply the paste to the faucet and let it sit for a few minutes before gently scrubbing and rinsing with clean water. Regularly cleaning your kitchen sink faucet can help keep it looking shiny and new, and prevent the buildup of grime and hard water deposits.How to Clean a Kitchen Sink Faucet
With so many options available, choosing the right kitchen faucet for your sink can be overwhelming. Here are some factors to consider when selecting a kitchen faucet: Type of Faucet There are three main types of kitchen faucets: single-handle, double-handle, and hands-free. Single-handle faucets are the most common and offer easy temperature and flow control. Double-handle faucets have separate handles for hot and cold water, and hands-free faucets use sensors for touchless operation. Mounting Style Kitchen faucets can be mounted on the sink or on the countertop. Sink-mounted faucets are attached to the sink itself, while countertop-mounted faucets are installed on the countertop behind the sink. Style and Finish Kitchen faucets come in a variety of styles and finishes to match your kitchen's décor. Some popular finishes include chrome, stainless steel, and matte black. Spout Height and ReachHow to Choose the Right Kitchen Faucet for Your Sink
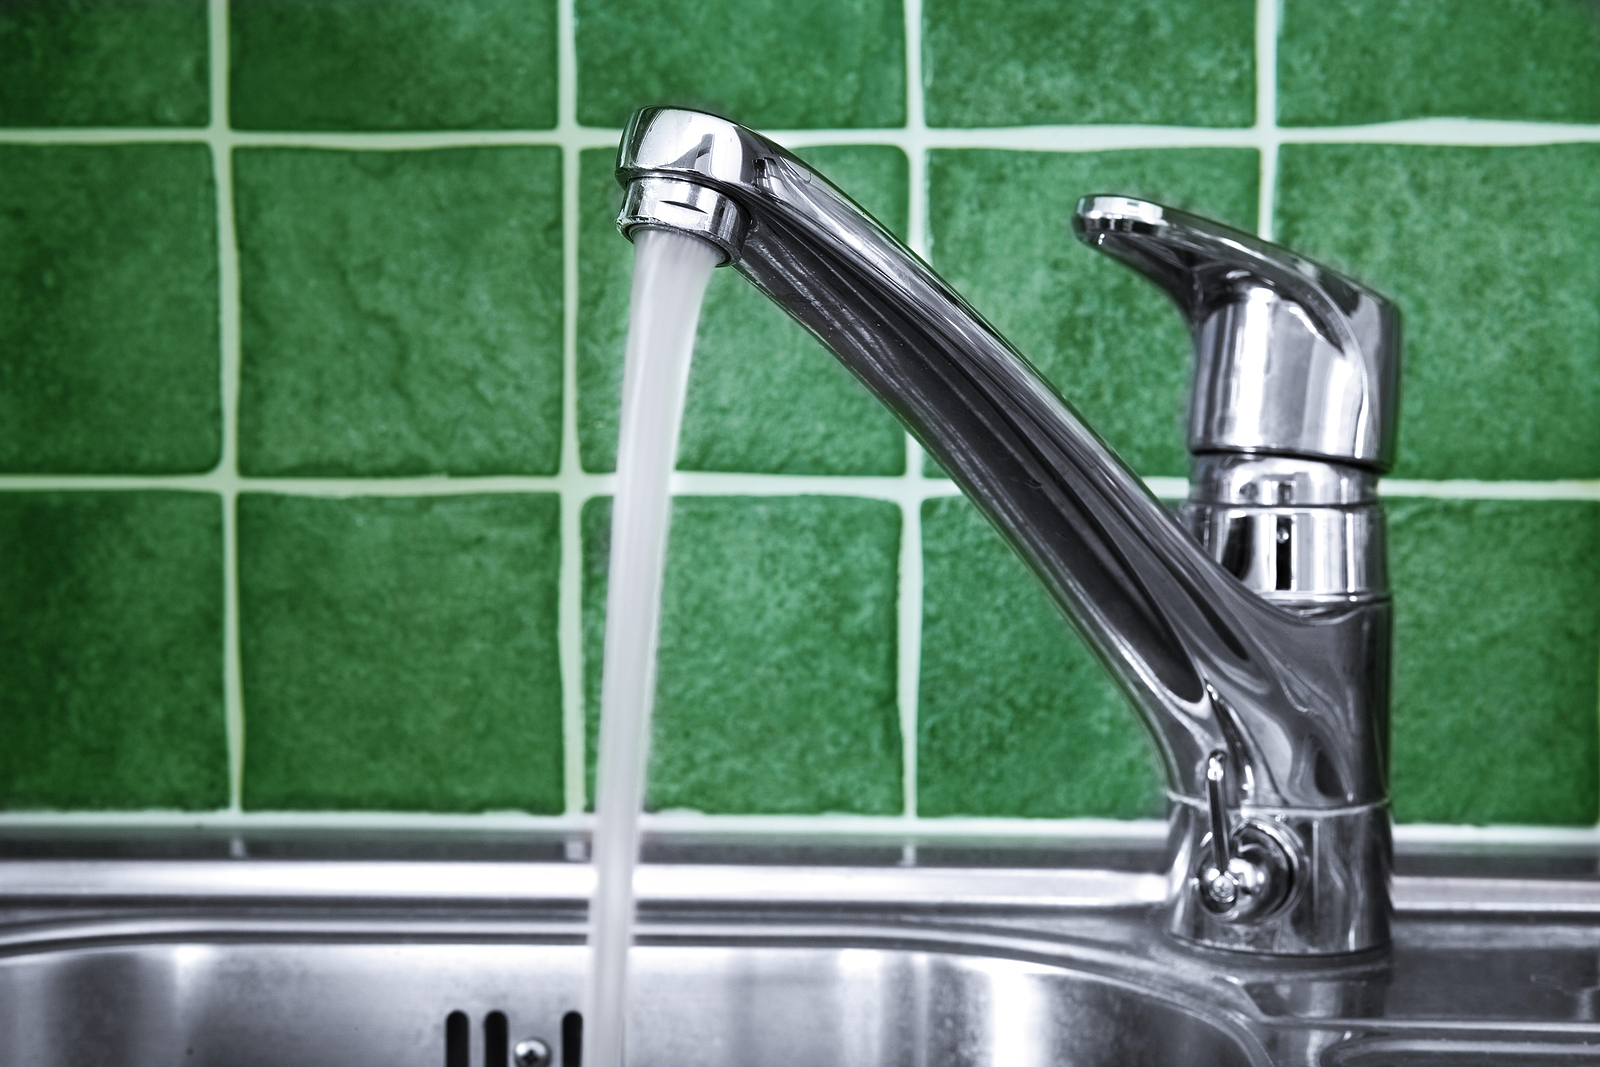
Faucet in Kitchen Sink: A Crucial Component of House Design

The Importance of a Faucet in Kitchen Sink
 When it comes to designing a house, the kitchen is often considered the heart of the home. It is the place where meals are prepared, conversations are had, and memories are made. And at the center of every kitchen is the sink, with its
faucet
being a crucial component. The
kitchen sink faucet
is not only responsible for providing water for cooking and cleaning, but it also plays a vital role in the overall aesthetic and functionality of the kitchen.
Types of Kitchen Sink Faucets
 There are many different types of
kitchen sink faucets
available on the market, each with its own unique design and features. The most common types include
single-handle
,
double-handle
,
pull-out
, and
commercial-style
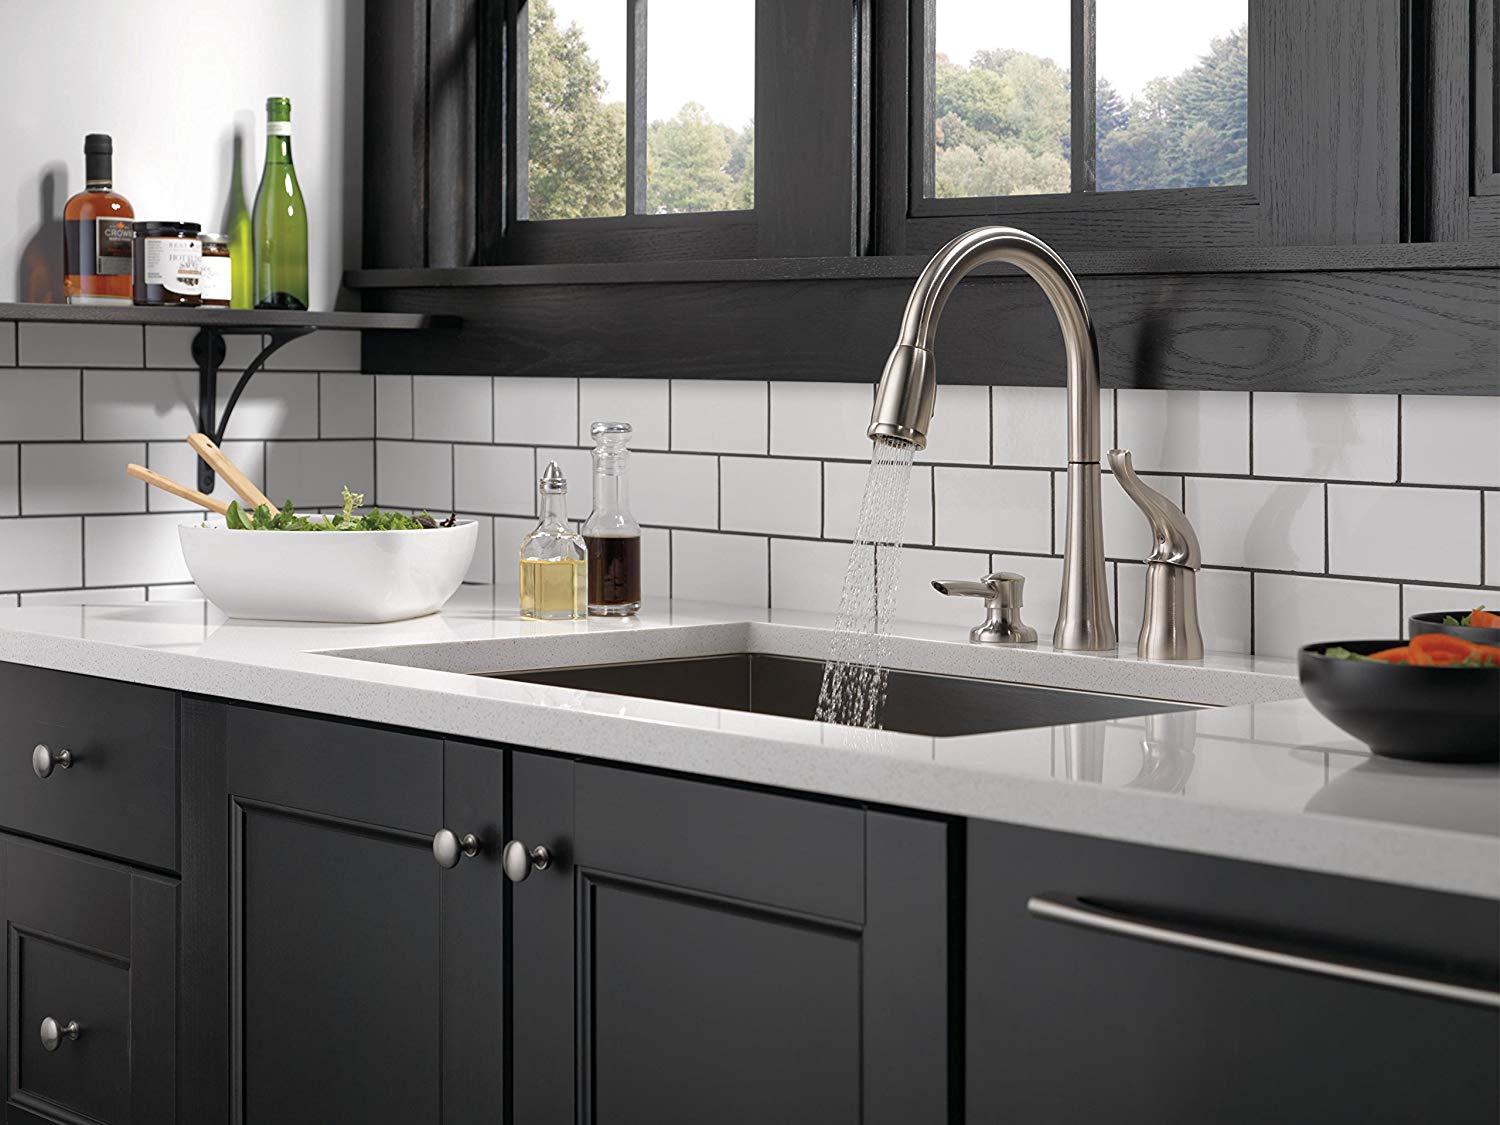
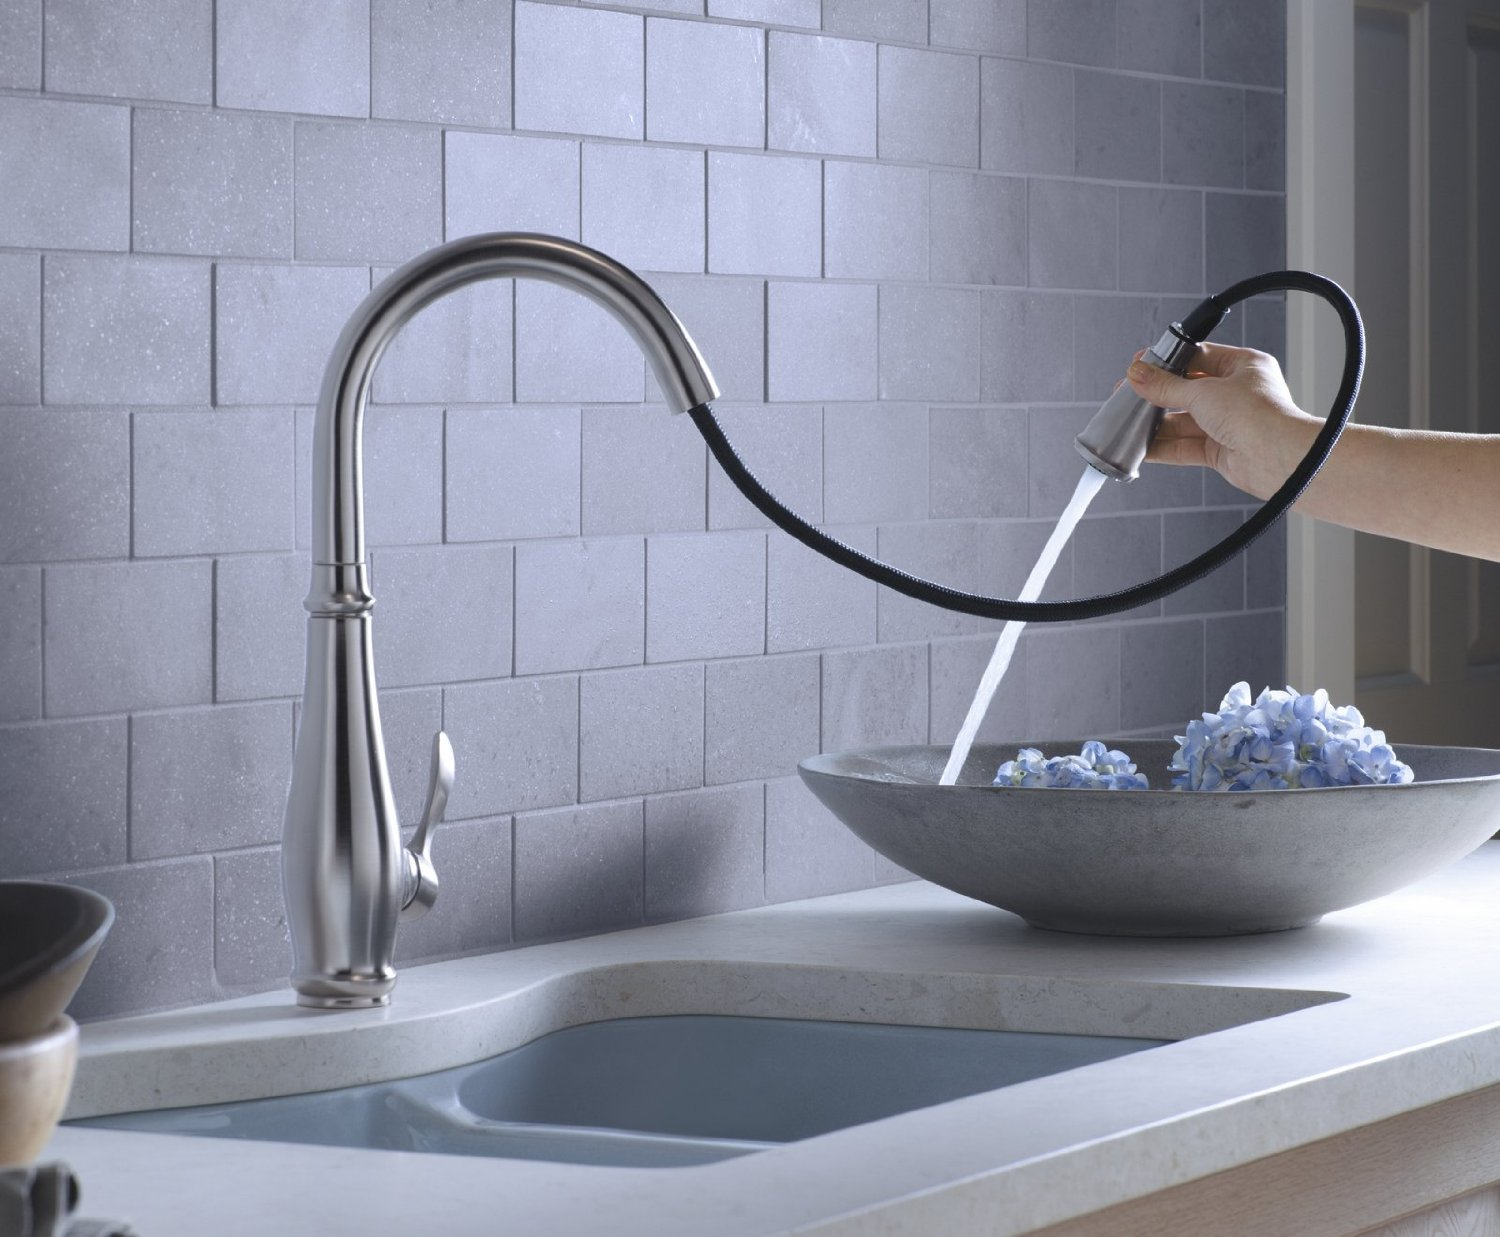
faucets. Single-handle faucets are the most popular, with a single lever that controls the water temperature and flow. Double-handle faucets have separate handles for hot and cold water, while pull-out faucets have a detachable spray head that can be pulled out for easier cleaning. Commercial-style faucets are larger and have a more industrial look, often used in professional kitchens.
Choosing the Right Faucet for Your Kitchen
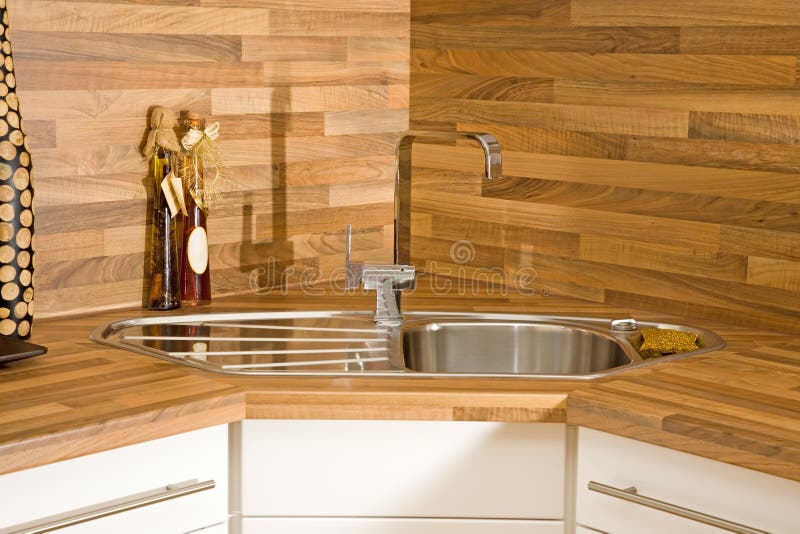 When selecting a
kitchen sink faucet
, it is important to consider both style and functionality. The faucet should complement the overall design of the kitchen and fit in with the existing fixtures and hardware. It should also be practical and convenient to use, with features such as a high spout for filling large pots and a pull-out spray head for easy cleaning. Additionally, the faucet should be made of durable and high-quality materials that will withstand daily use.
Maintenance and Care for Kitchen Sink Faucets
 To keep your
kitchen sink faucet
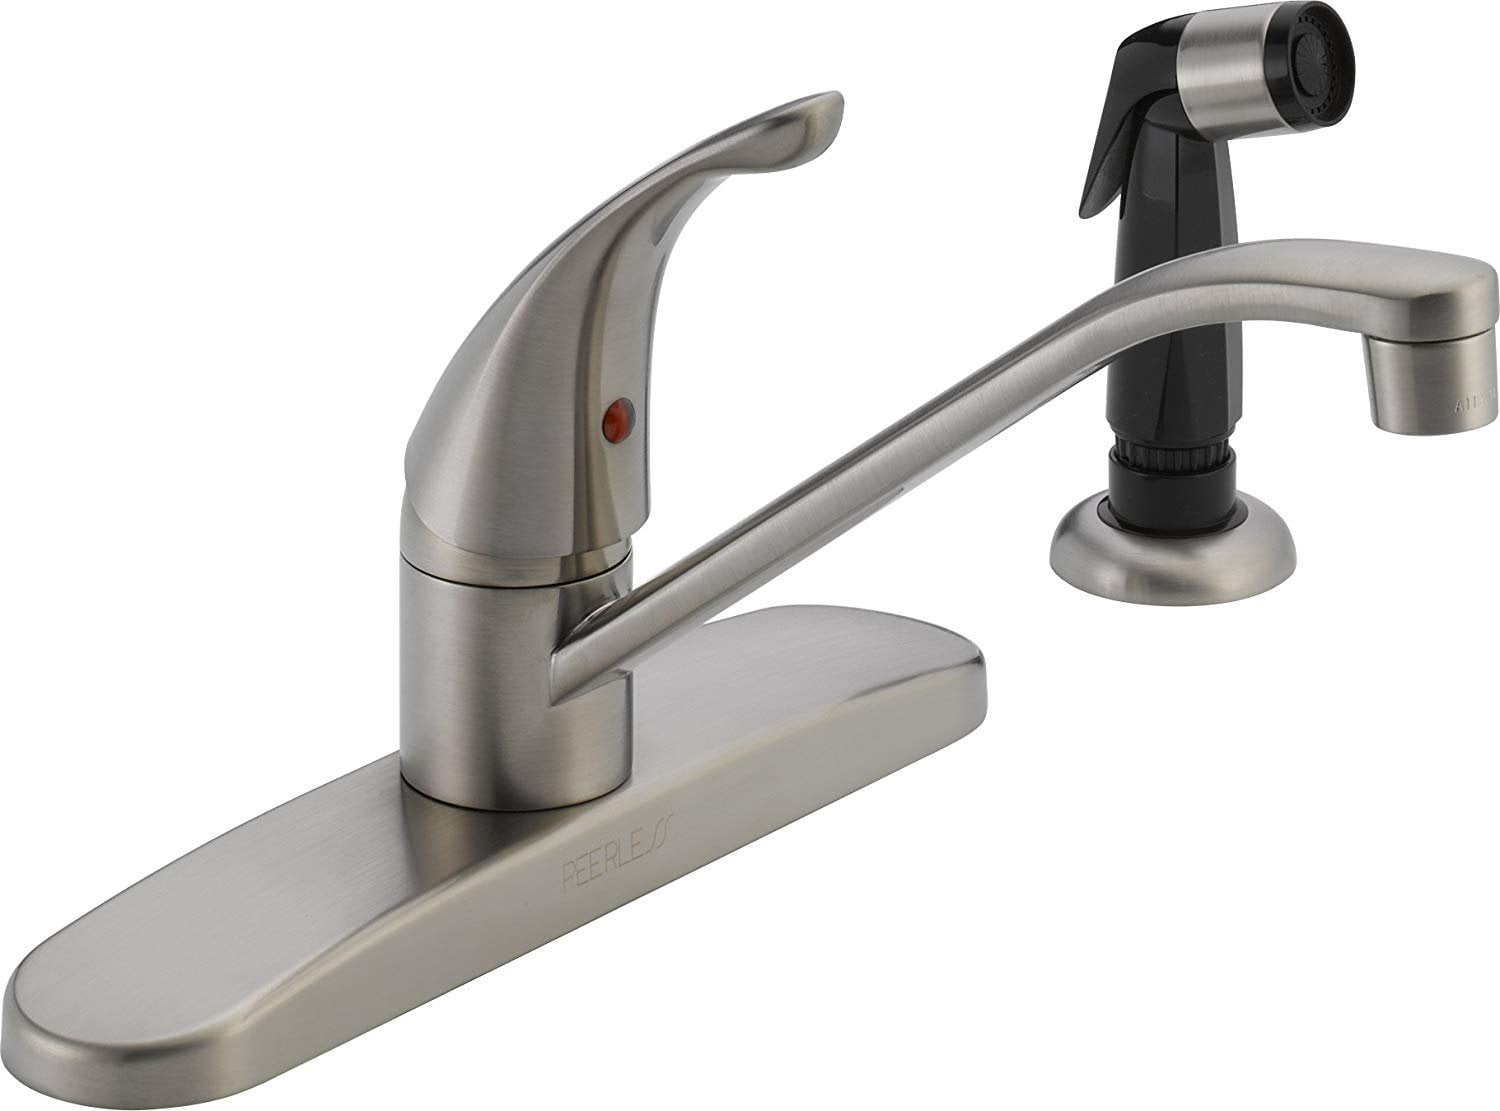
in top working condition, regular maintenance and care are essential. It is recommended to clean the faucet regularly with a mild soap and water, and to avoid using harsh chemicals that can damage the finish. If your faucet starts to leak or shows signs of wear and tear, it is important to address the issue promptly to prevent further damage. Regular maintenance will not only keep your faucet looking like new, but it will also prolong its lifespan.
In conclusion, a
faucet in kitchen sink
is a crucial component of house design. It not only provides water for daily tasks, but it also adds to the overall aesthetic and functionality of the kitchen. With the wide variety of
kitchen sink faucets
available, it is important to choose one that fits your style and meets your needs. Regular maintenance and care will ensure that your faucet continues to serve its purpose for years to come.


















/faucet-resized-56a4e8435f9b58b7d0d9d64f.jpg)
:max_bytes(150000):strip_icc()/how-to-clean-a-sink-faucet-1900294-02-40f1a01ad9bc4c44b829e64567ae3340.jpg)



/header-16x19-image-640w-853h.jpg)


