Are you looking to add a touch of elegance and charm to your dining room? Look no further than DIY shaker panel walls. With their clean lines and classic design, shaker panel walls are the perfect addition to any dining room. Plus, they are budget-friendly and easy to install, making them a great project for any DIY enthusiast. Follow our step-by-step guide to transform your dining room with shaker panel walls.DIY Shaker Panel Walls for Your Dining Room


DIY Shaker Panel Walls for Your Dining Room


The first step to creating a shaker panel wall is to gather all the necessary materials. You will need wood paneling, a saw, wood glue, nails, a level, and paint. Make sure to measure your wall beforehand to determine how many panels you will need to cover the entire surface. Next, begin by cutting the wood paneling into equal-sized rectangles. These will serve as the individual panels of the shaker wall. You can choose to paint or stain the panels before installing them, or leave them as is for a more rustic look. Once your panels are ready, it's time to start installing them on the wall. Begin at the bottom and work your way up, using a level to ensure the panels are straight. Apply wood glue to the back of each panel and then secure them in place with nails. Continue this process until the entire wall is covered, making sure to leave a small gap between each panel to create the shaker style. Once all the panels are in place, fill in any gaps with wood filler and sand down any rough edges.How to Create a Shaker Panel Wall in Your Dining Room


How to Create a Shaker Panel Wall in Your Dining Room


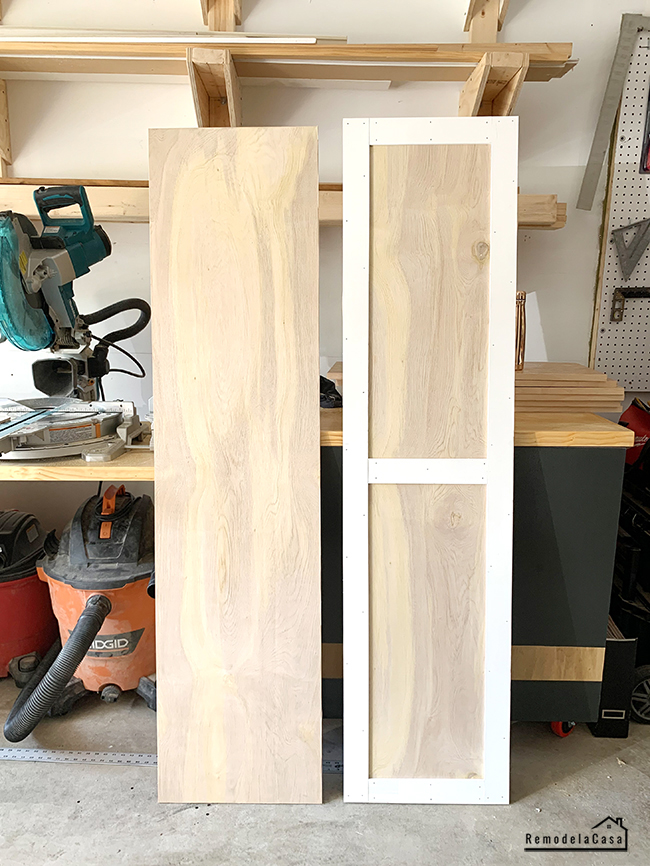
If you're a visual learner, here is a step-by-step guide to help you install shaker panel walls in your dining room:Step-by-Step Guide to Installing Shaker Panel Walls in Your Dining Room


Step-by-Step Guide to Installing Shaker Panel Walls in Your Dining Room


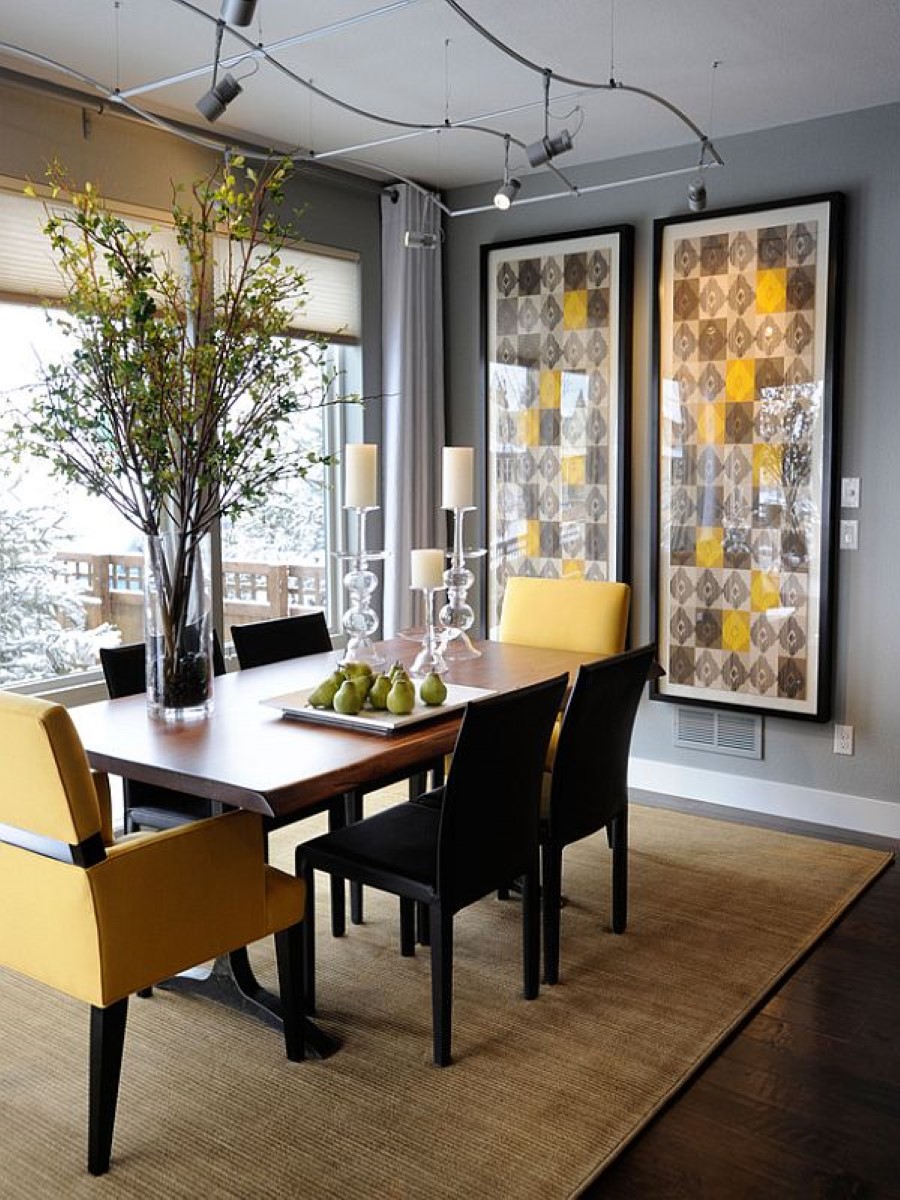
Now that your shaker panel walls are in place, step back and admire the transformation of your dining room. The clean lines and classic design of the shaker style add a touch of sophistication and character to any space. For an added touch, you can paint the walls above the shaker panels a different color or hang a statement piece of artwork. The options are endless when it comes to decorating your dining room with shaker panel walls.Transform Your Dining Room with DIY Shaker Panel Walls


Transform Your Dining Room with DIY Shaker Panel Walls


One of the best things about DIY shaker panel walls is that they are budget-friendly. With just a few materials and some elbow grease, you can transform your dining room without breaking the bank. For an even more budget-friendly option, consider using peel-and-stick wallpaper instead of wood paneling. This will give you the same shaker panel look without the hassle of cutting and installing individual panels.Budget-Friendly Shaker Panel Wall Ideas for Your Dining Room


Budget-Friendly Shaker Panel Wall Ideas for Your Dining Room


If you're new to DIY projects, don't worry! Installing shaker panel walls is a relatively easy project that can be completed in a weekend. Plus, the end result will make you feel like a pro. Follow our step-by-step guide and you'll have a beautiful shaker panel wall in no time. And don't be afraid to get creative with the design by experimenting with different paint colors or adding decorative trim to the panels.Easy DIY Shaker Panel Wall Tutorial for Your Dining Room

Easy DIY Shaker Panel Wall Tutorial for Your Dining Room
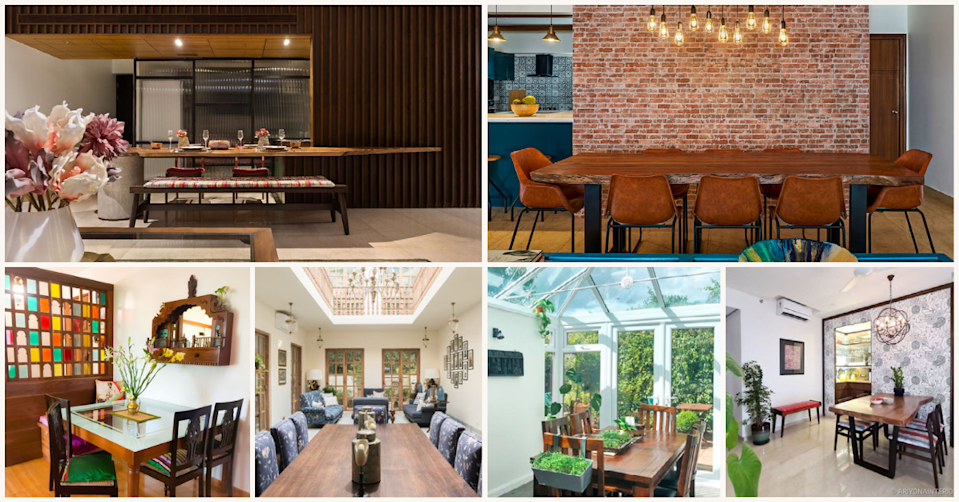
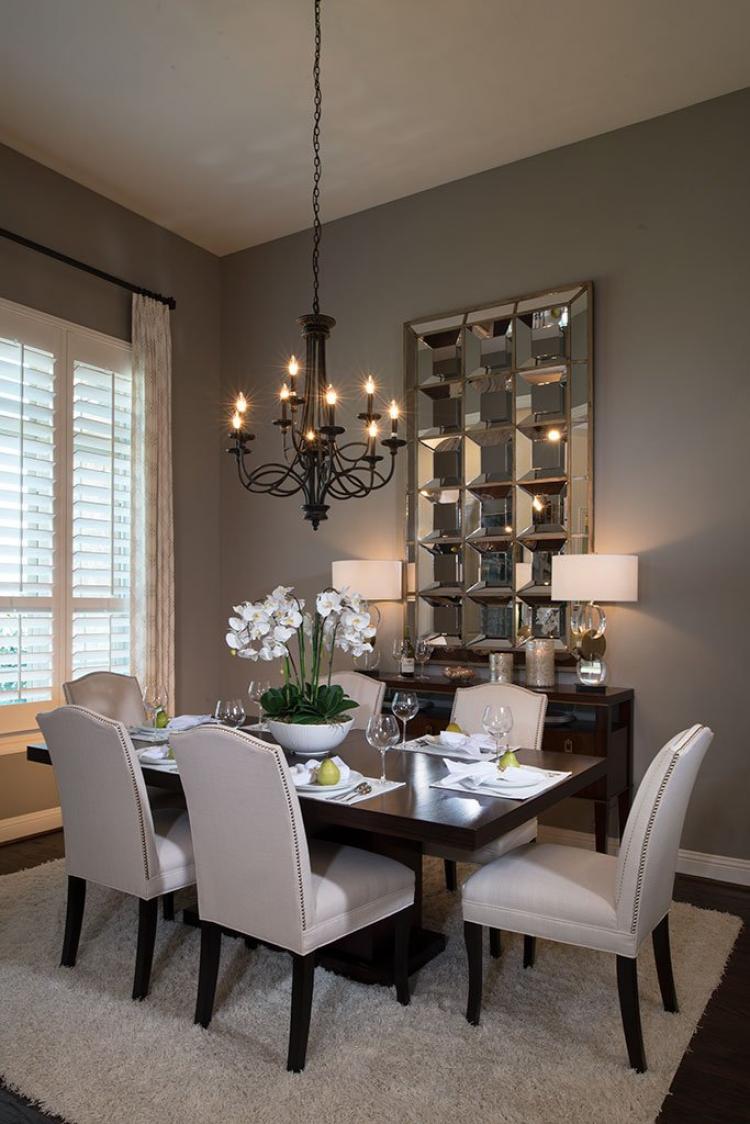
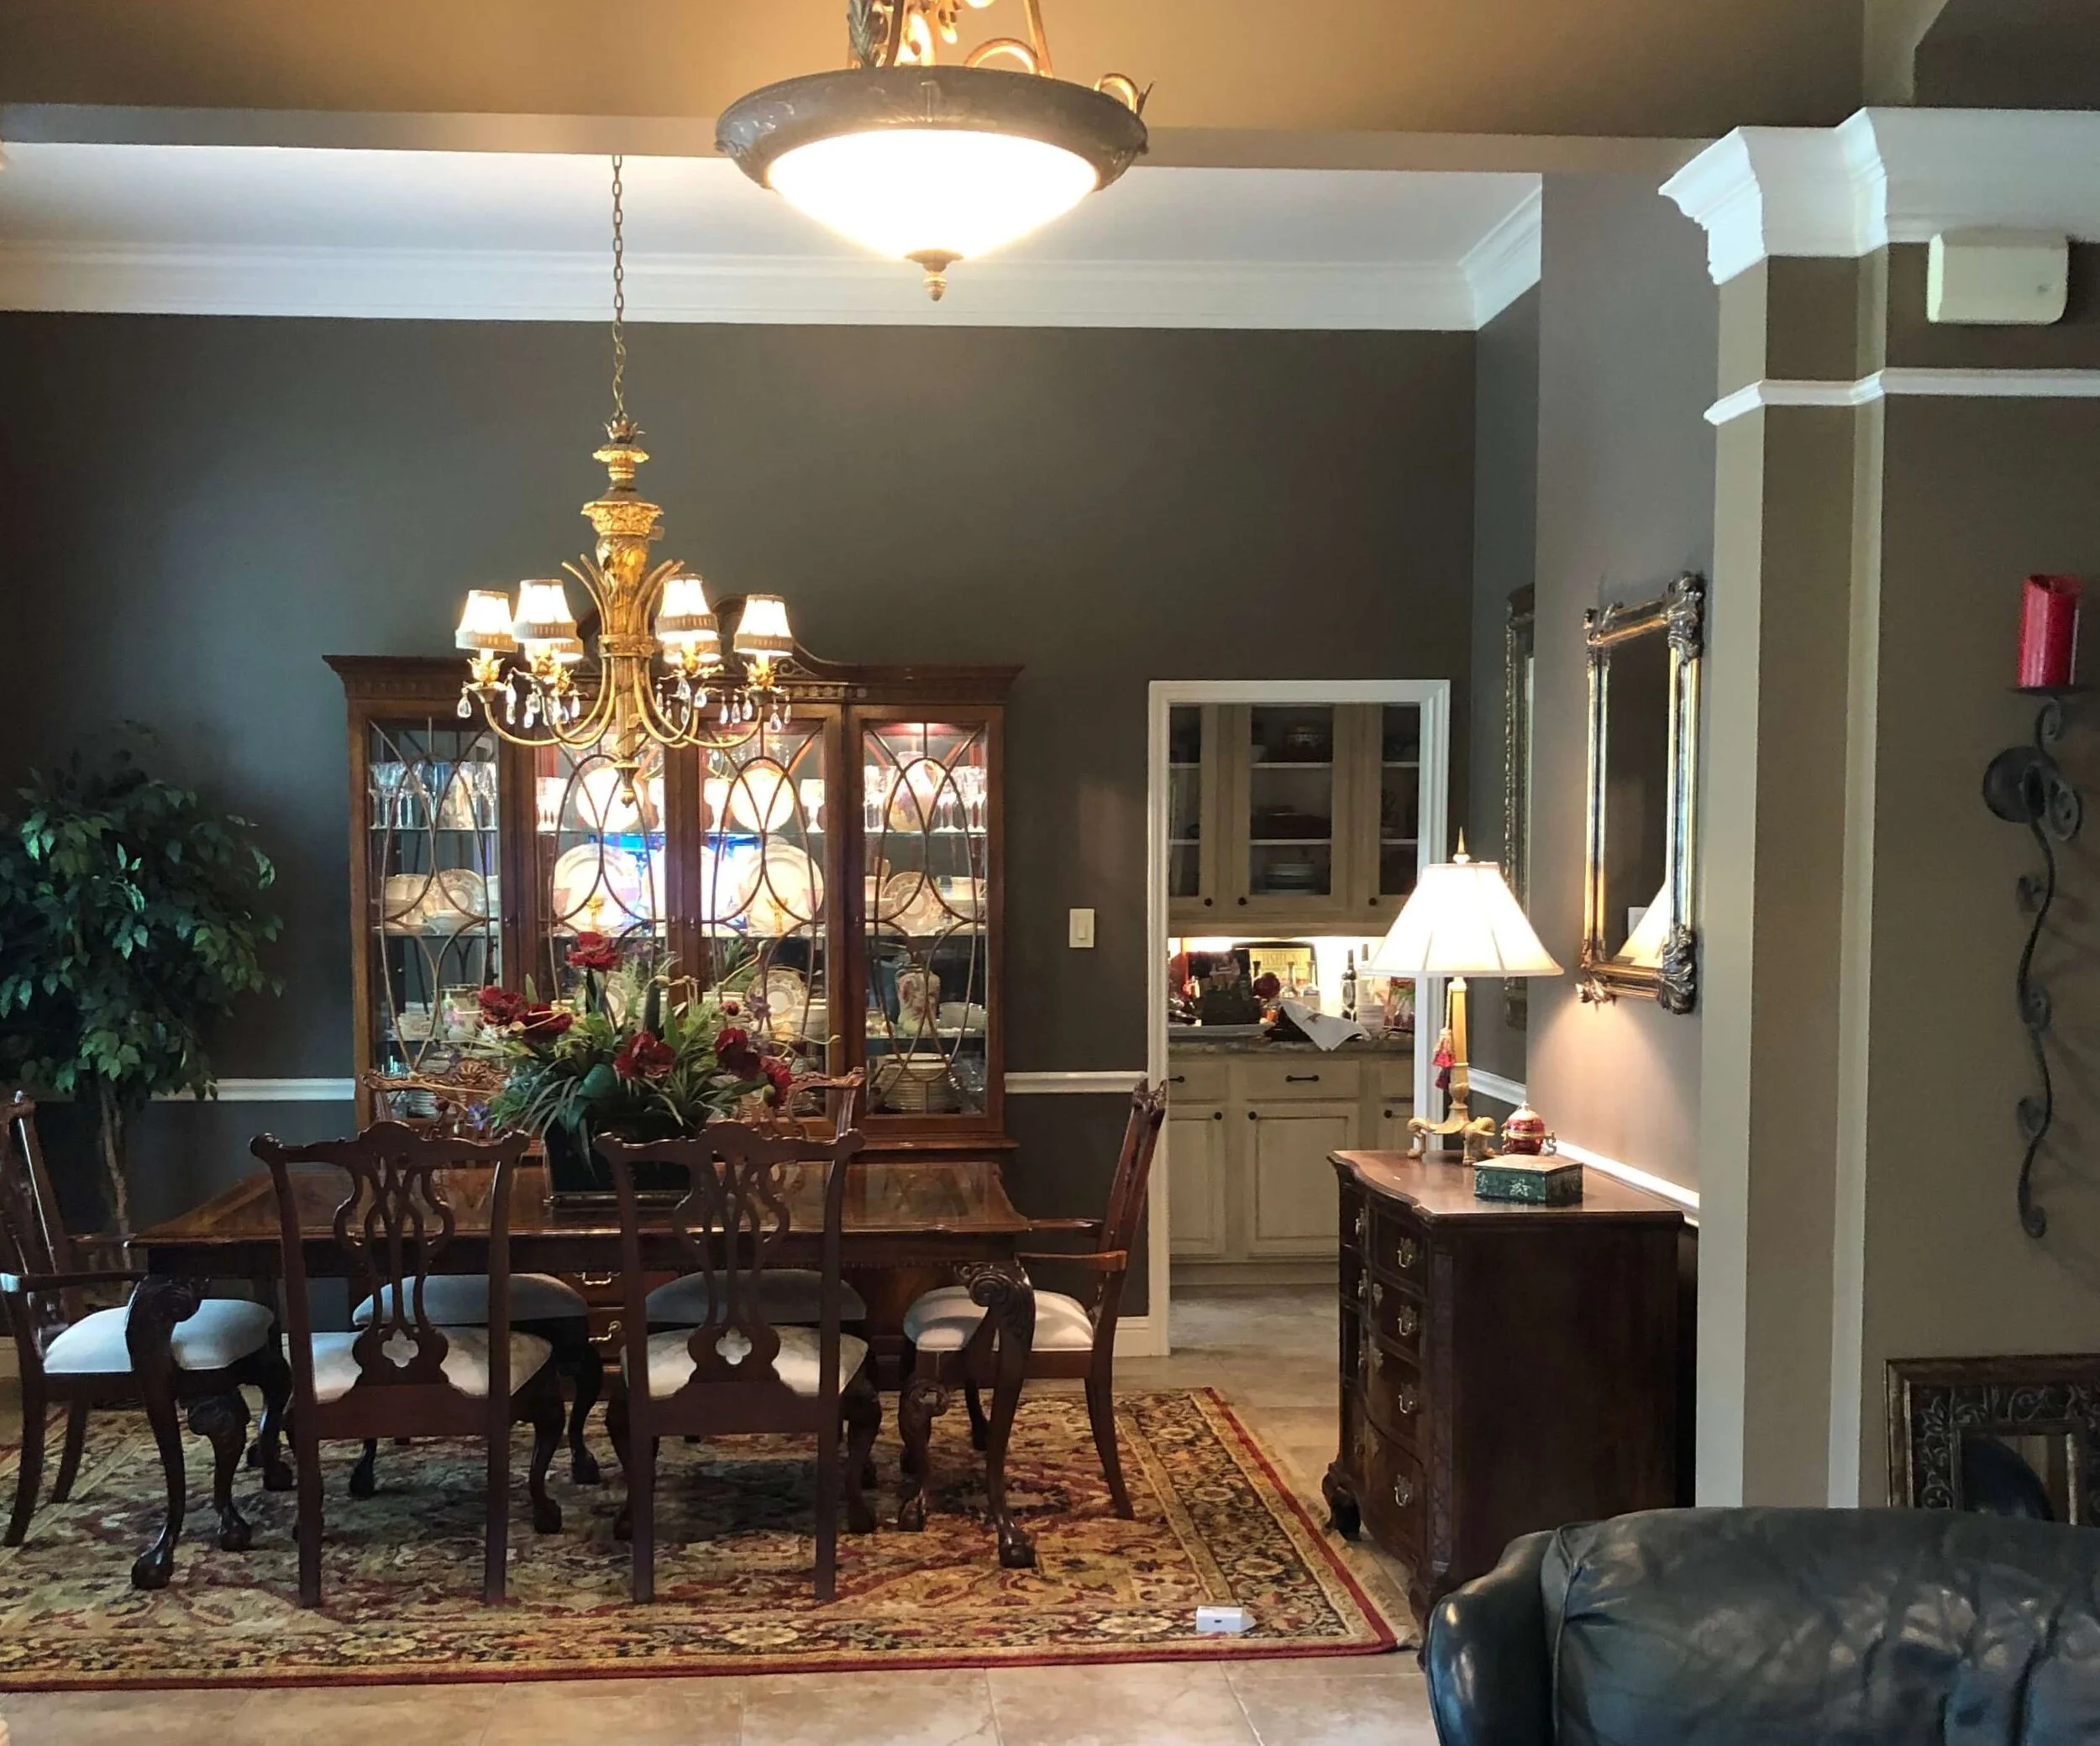
Still not convinced that shaker panel walls are the perfect fit for your dining room? Take a look at some of these stunning examples of shaker panel walls in dining rooms from interior design blogs and magazines. You'll see how versatile and timeless this design can be.Get the Look: Shaker Panel Walls in Your Dining Room


Get the Look: Shaker Panel Walls in Your Dining Room


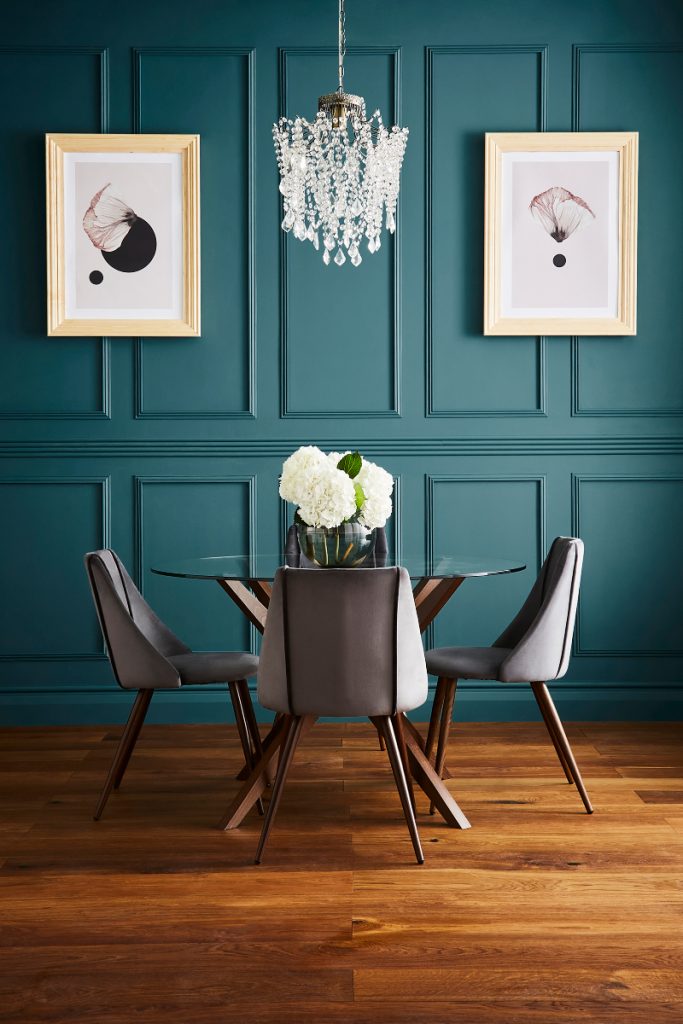
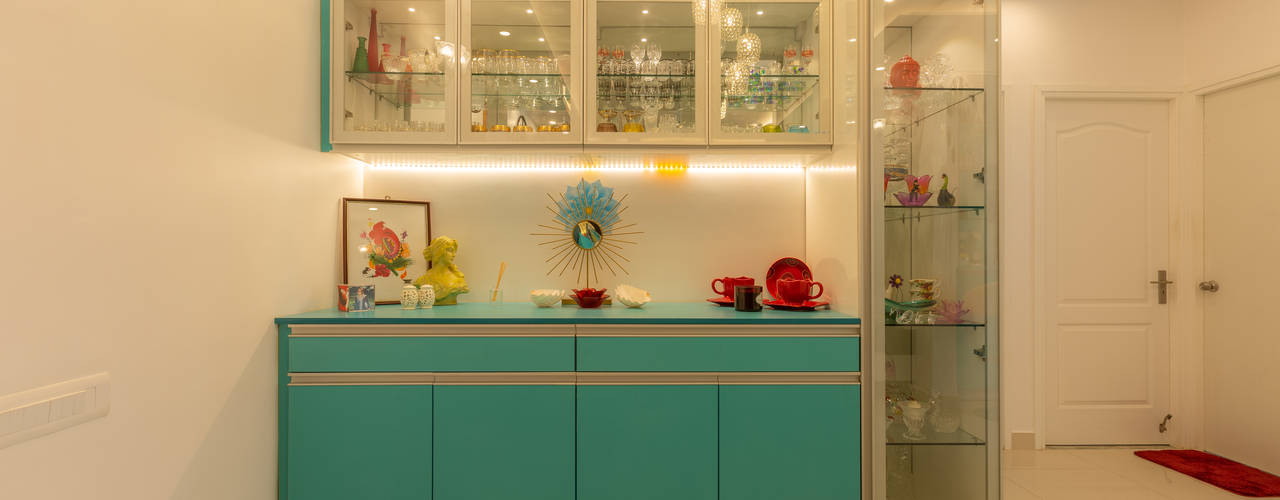
Looking for some inspiration for your own shaker panel wall project? Look no further than home decor blogs and Pinterest. You'll find endless ideas and beautiful images to help you create the perfect shaker panel wall for your dining room.DIY Shaker Panel Wall Inspiration for Your Dining Room


DIY Shaker Panel Wall Inspiration for Your Dining Room

Ready to take the plunge and upgrade your dining room with DIY shaker panel walls? Remember, the possibilities are endless when it comes to this classic and timeless design. Don't be afraid to get creative and make it your own. Whether you choose to paint or stain the panels, add decorative trim, or use peel-and-stick wallpaper, your dining room will be transformed into a stylish and inviting space that you'll be proud to show off to your family and friends.Upgrade Your Dining Room with These DIY Shaker Panel Wall Ideas


Upgrade Your Dining Room with These DIY Shaker Panel Wall Ideas
In conclusion, shaker panel walls are a fantastic way to add a touch of elegance and charm to your dining room. With their clean lines and classic design, they are sure to make a statement and impress anyone who enters the room. Follow our step-by-step guide, get creative with the design, and enjoy the satisfaction of completing a DIY project that will upgrade your dining room to a whole new level. Happy decorating!Create a Classic Look with Shaker Panel Walls in Your Dining Room

Create a Classic Look with Shaker Panel Walls in Your Dining Room

Revamp Your Dining Room with DIY Shaker Panel Walls
 If you're looking to add a touch of elegance and charm to your dining room, look no further than DIY shaker panel walls. This classic design originated in the 18th century and has stood the test of time, making it the perfect addition to any modern home. With a few simple tools and materials, you can easily transform your dining room into a sophisticated and inviting space.
Why Shaker Panel Walls?
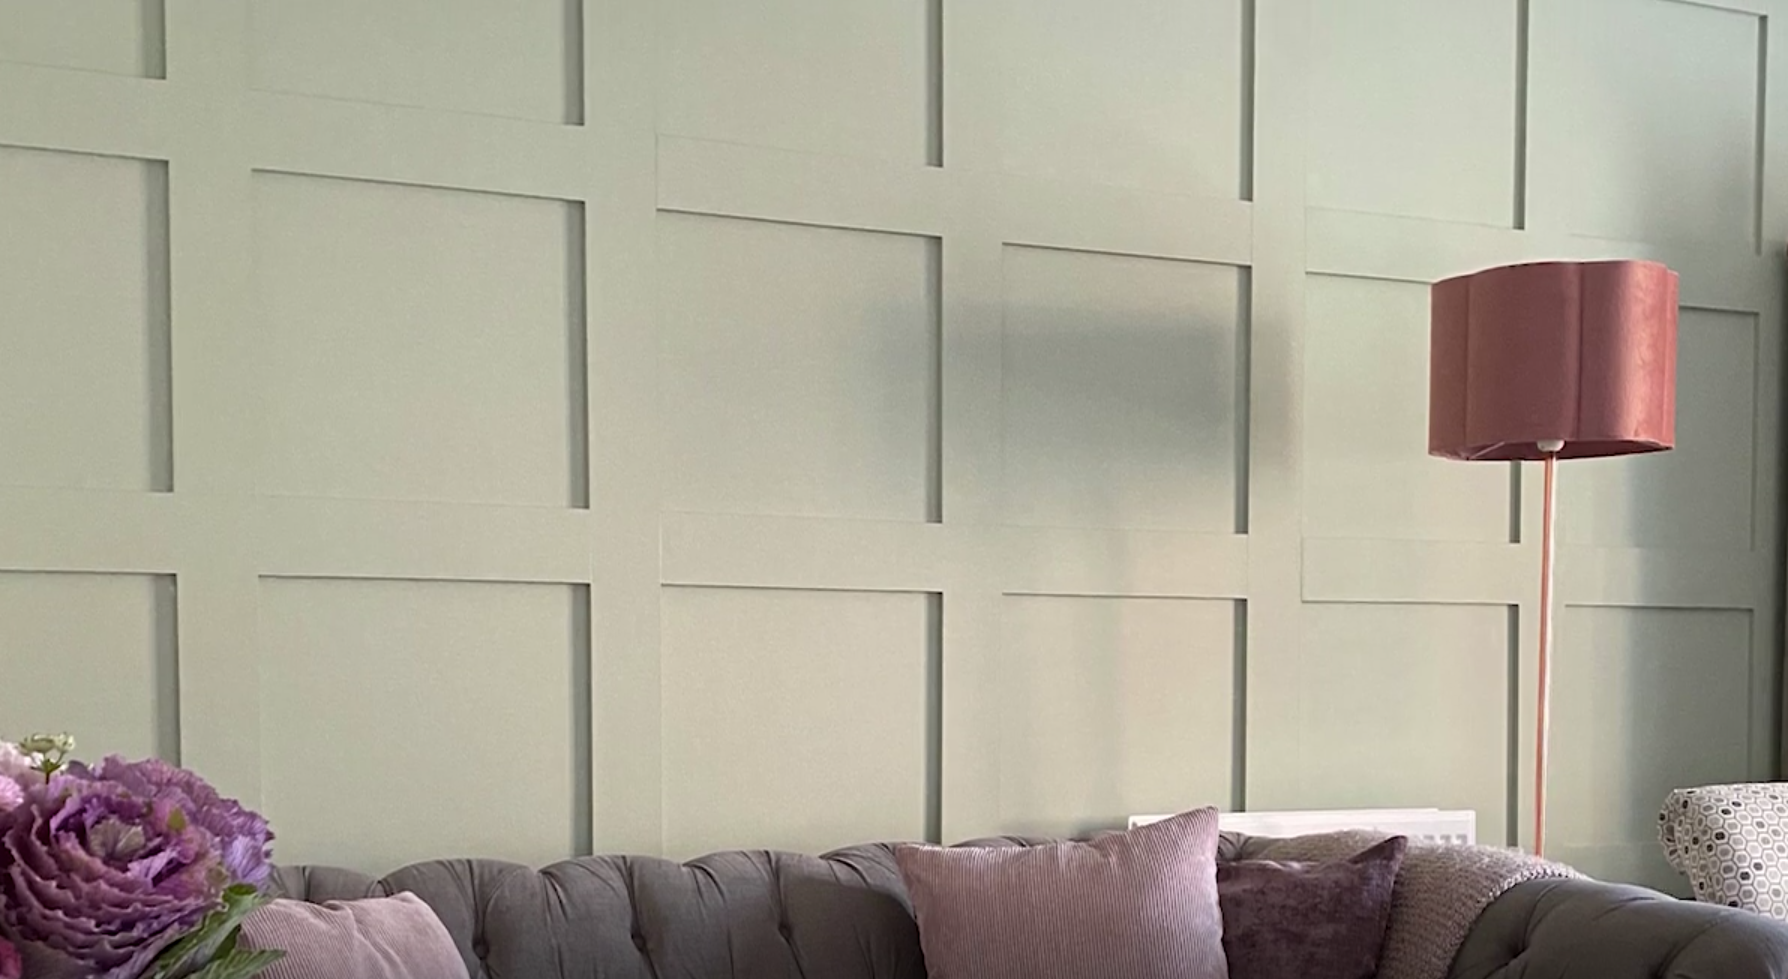
 The beauty of shaker panel walls lies in their simplicity. The clean lines and minimalistic design create a timeless look that complements any style of home decor. The panels can be customized to fit any size or shape of wall, making them a versatile choice for any room. They also add texture and interest to an otherwise plain wall, giving your dining room a touch of character.
Materials and Tools
 To create your own shaker panel walls, you'll need the following materials and tools:
- Wooden panels: These can be purchased at your local hardware store or cut to size from a sheet of MDF (medium-density fiberboard).
- Trim: Choose a trim that matches the style of your home, whether it be traditional or modern.
- Nails and hammer: These will be used to secure the panels to the wall.
- Wood glue: This will help to reinforce the panels and ensure they stay in place.
- Sanding paper: Use fine-grit sandpaper to smooth out any rough edges on the panels.
- Paint or stain: Choose a color that complements your dining room decor.
- Paintbrush or roller: Use these to apply the paint or stain to the panels.
- Saw: You'll need a saw to cut the panels and trim to size.
- Measuring tape and level: These will help to ensure your panels are installed evenly and straight.
Installation Process
 Before starting the installation process, it's important to measure your wall and plan out the placement of your panels. Once you have your panels and trim cut to size, follow these steps to install your shaker panel walls:
- Start by attaching the panels to the wall using wood glue and nails. Make sure to use a level to ensure they are straight.
- Next, attach the trim around the edges of the panels, again using wood glue and nails.
- Fill in any gaps or nail holes with wood filler and sand down any rough spots.
- Once the panels are securely attached, it's time to paint or stain them. You can choose to paint the panels and trim the same color or create contrast by using different colors.
- Allow the paint or stain to dry completely before hanging any decor or furniture on the walls.
Final Thoughts
 Shaker panel walls are a simple and affordable way to add a touch of elegance to your dining room. With a little bit of planning and some basic tools, you can create a stunning feature wall that will impress your guests and elevate the overall look of your home. So why not give this DIY project a try and see the transformation for yourself?