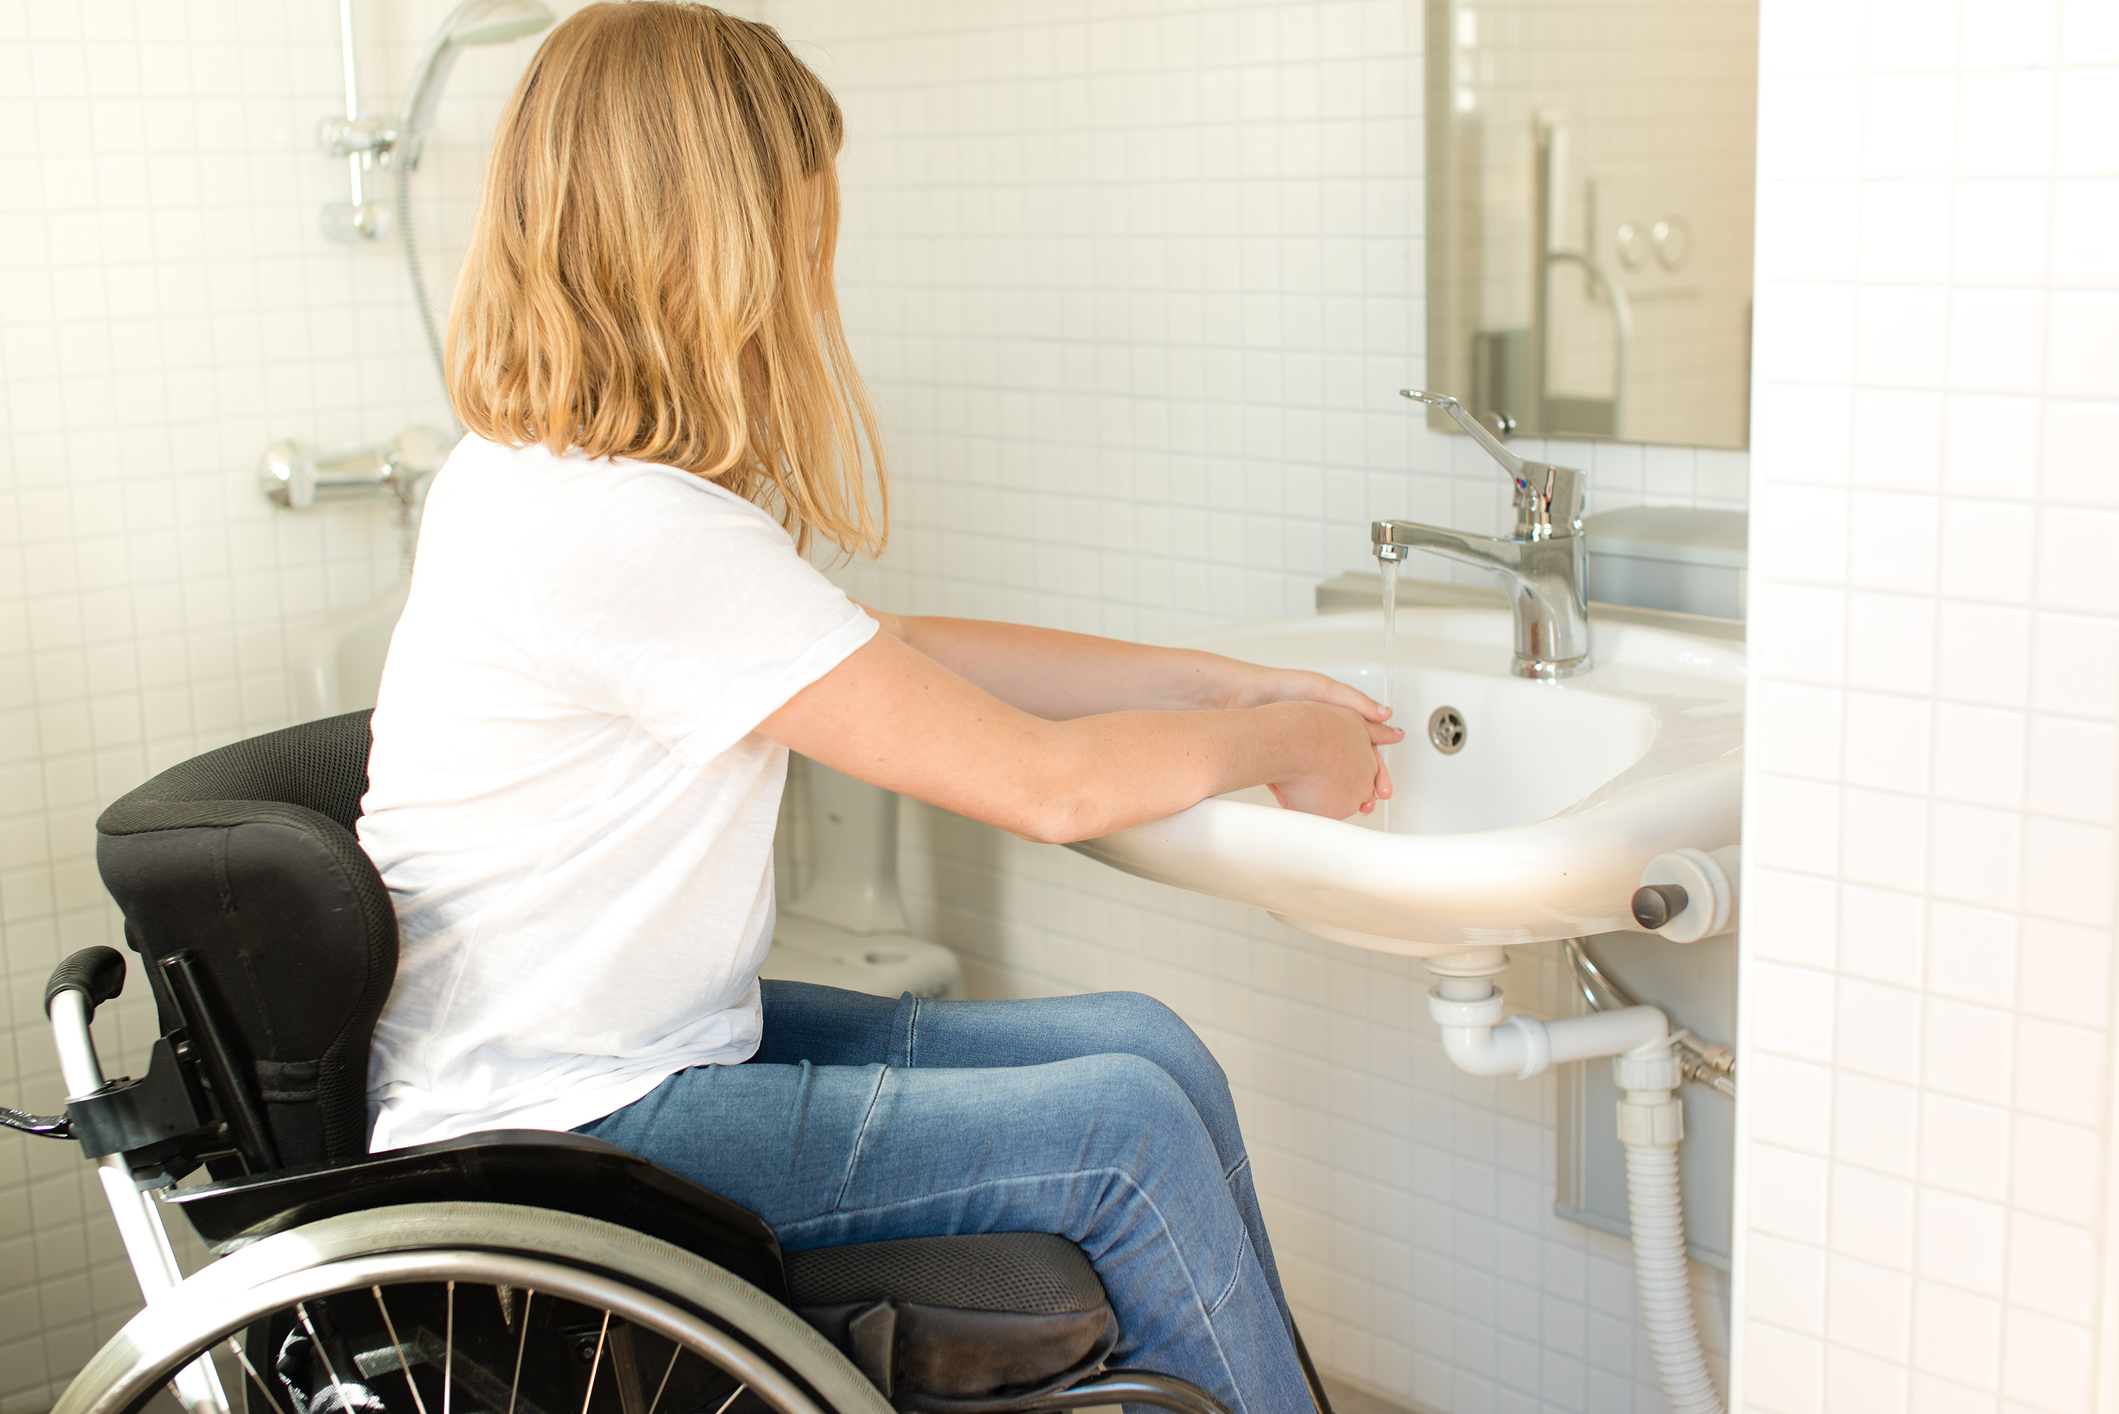
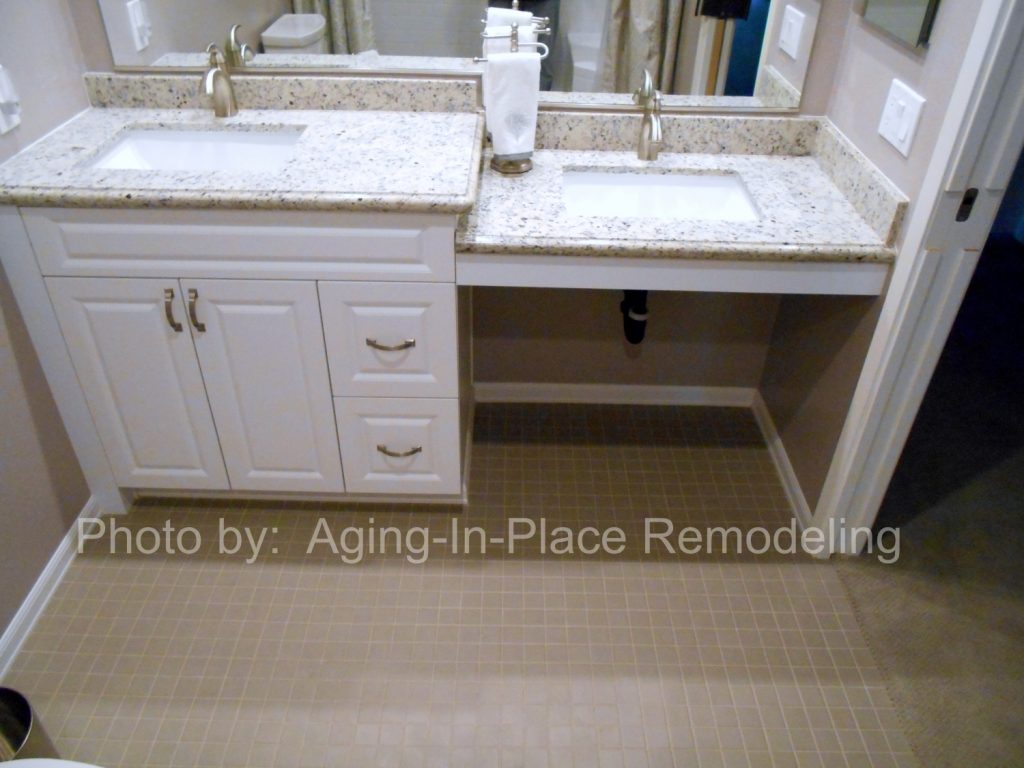
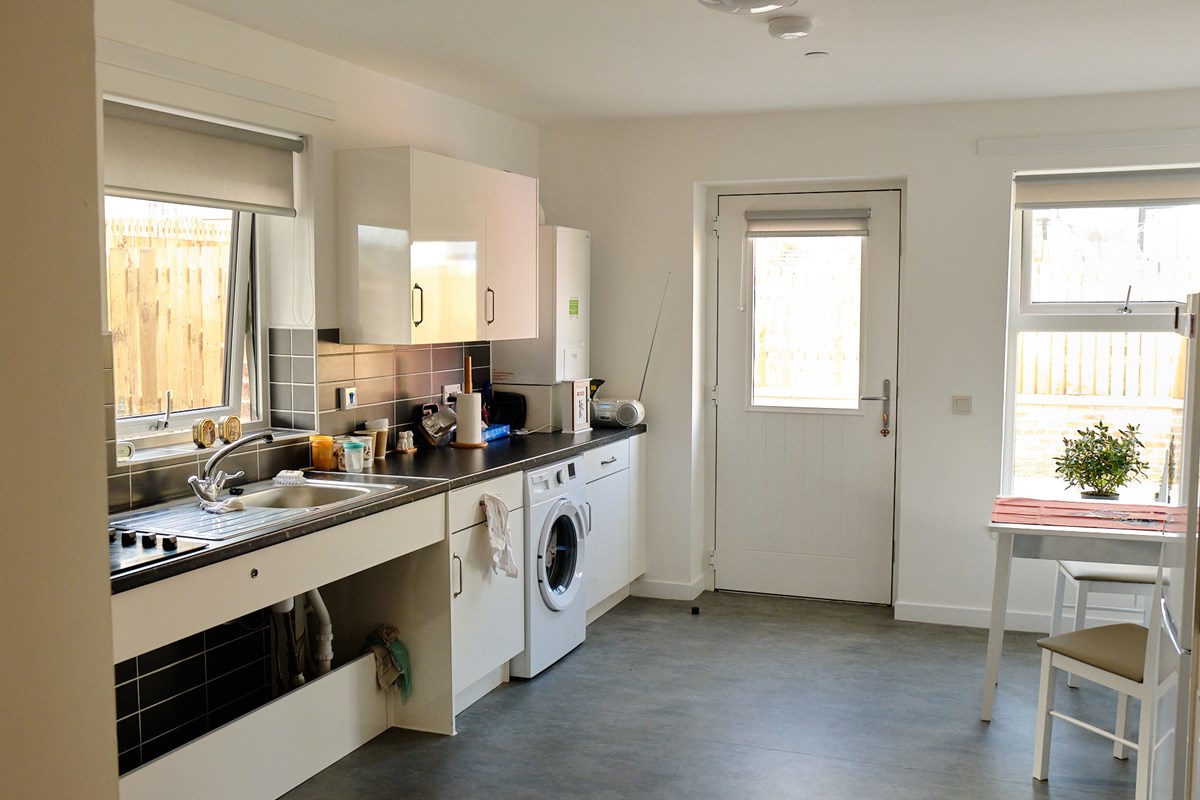
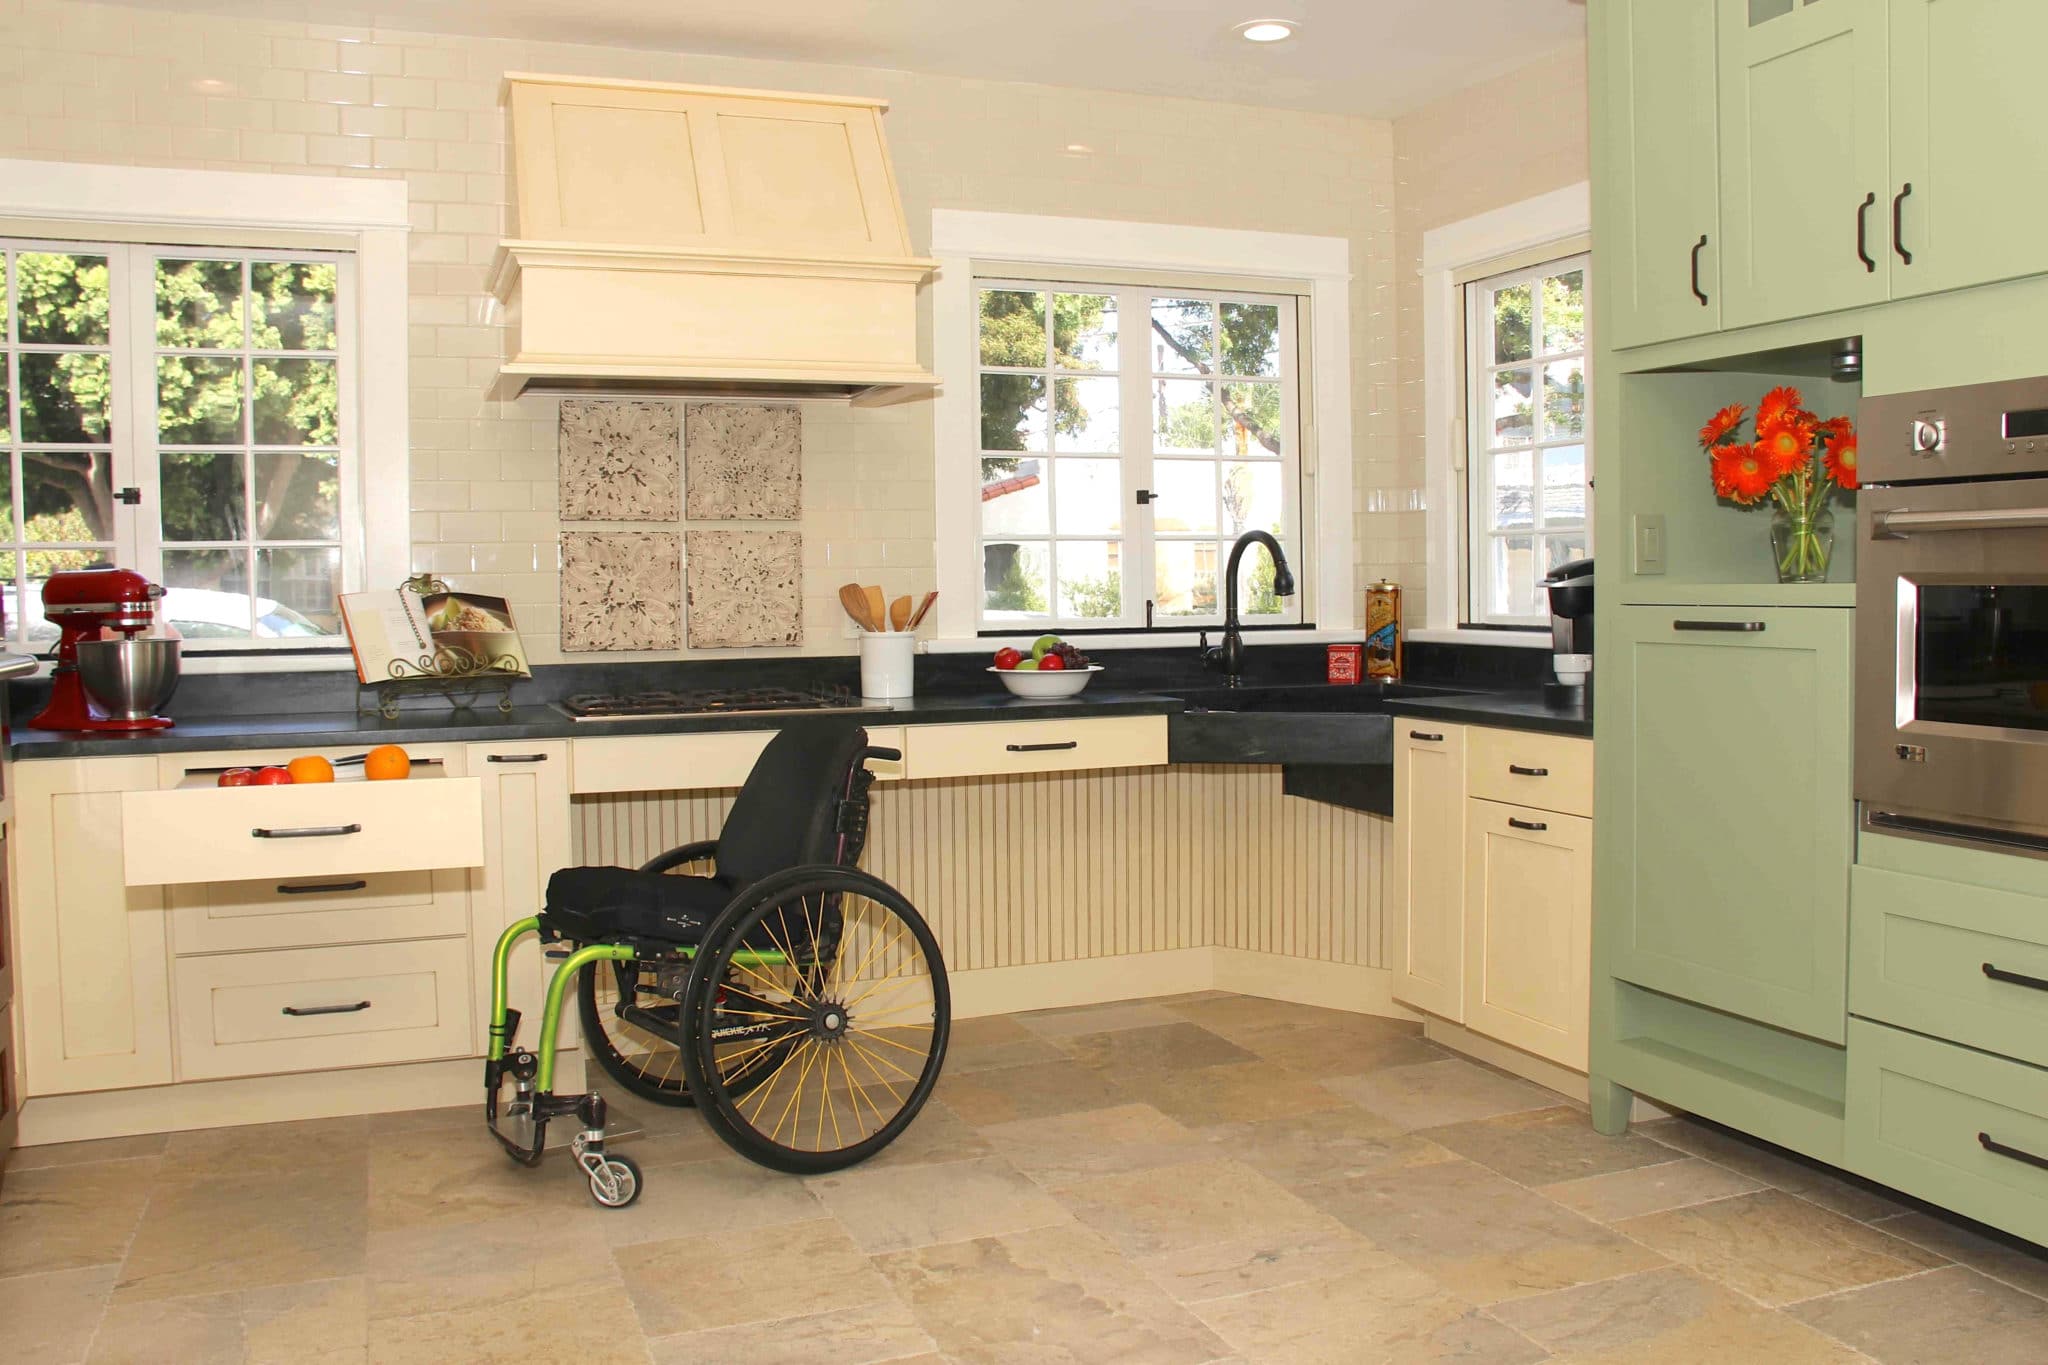
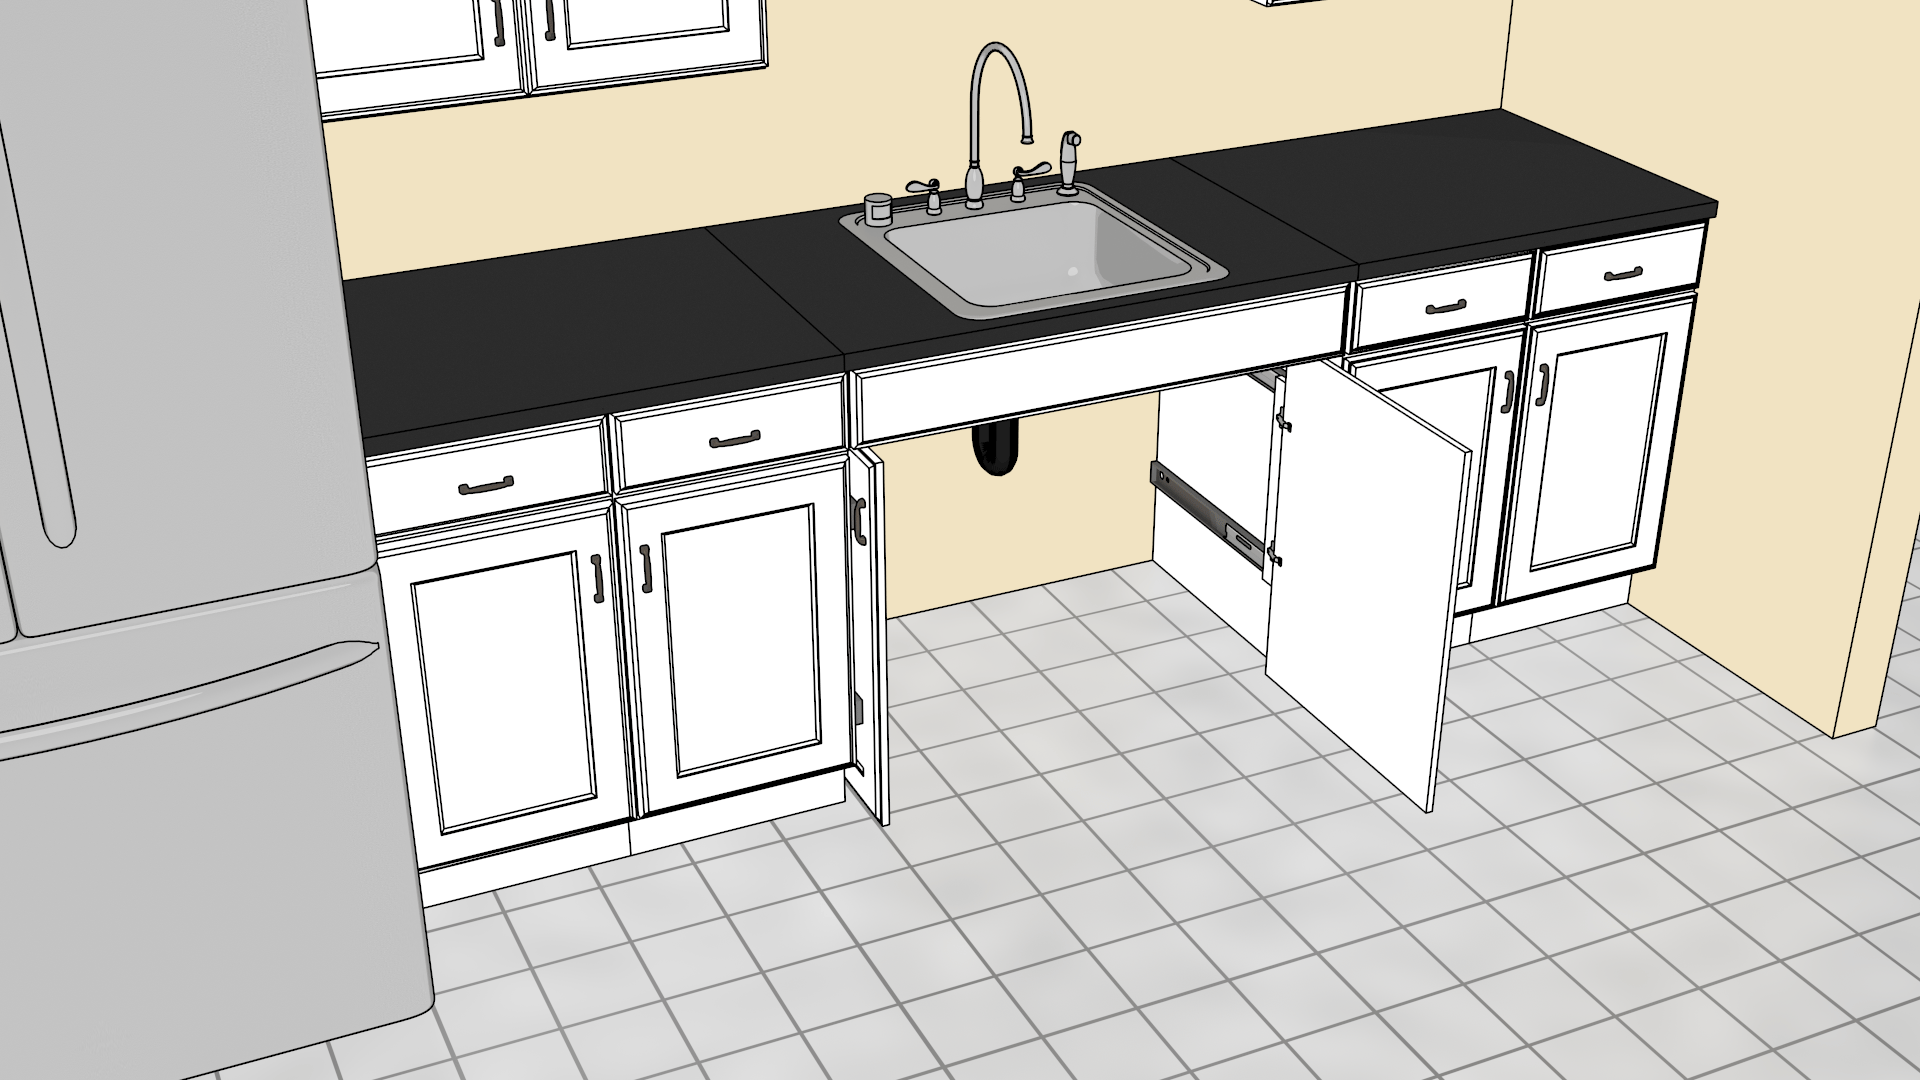
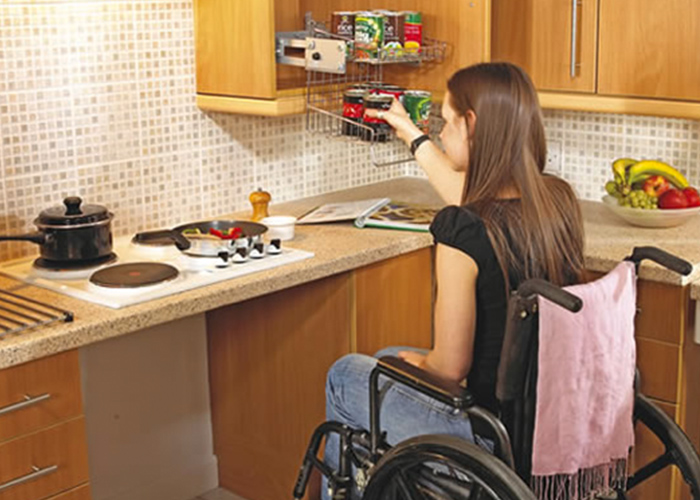
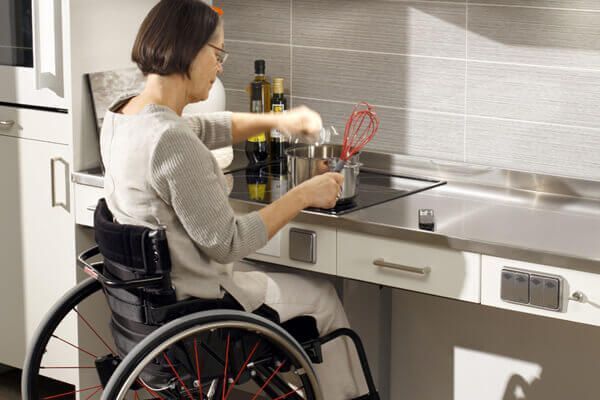
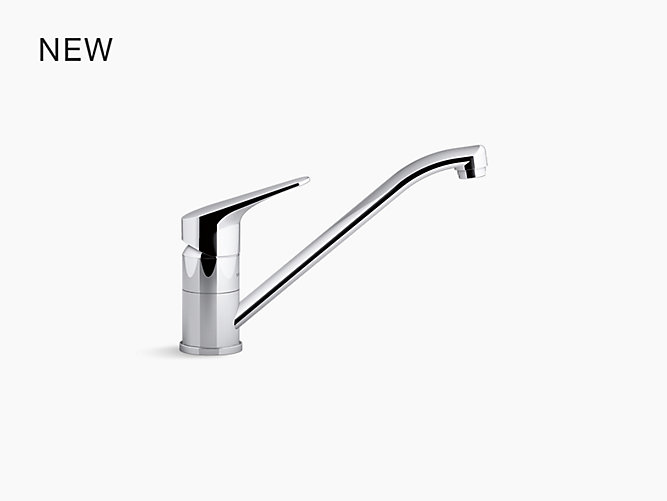
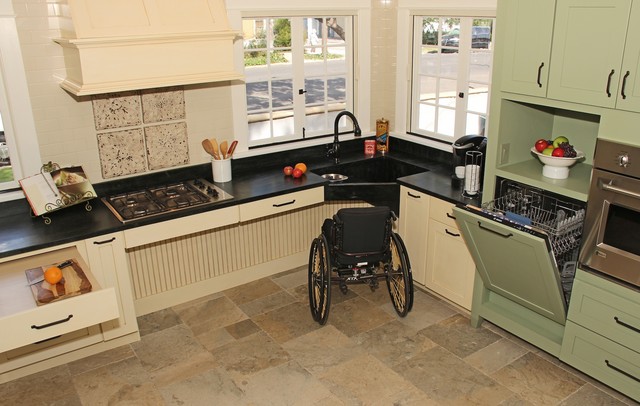
Having a wheelchair accessible kitchen sink is crucial for wheelchair users to be able to carry out daily tasks independently. However, many standard kitchen sinks are not designed with wheelchair accessibility in mind. The good news is that with some simple DIY modifications, you can make your kitchen sink more wheelchair friendly. If you're unsure of where to start, here are some steps to help you make your own DIY wheelchair accessible kitchen sink: Step 1: Lower the Sink The first step is to lower your kitchen sink to a more accessible height for wheelchair users. The ideal height would be 29 inches from the floor. You can do this by removing your old sink and cutting the cabinet to the desired height. If you have a fixed sink, you can create a platform for your wheelchair to slide under. Step 2: Install a Roll-Under Sink Another option is to install a roll-under sink, which is specifically designed for wheelchair accessibility. These sinks have a cutout in the front to allow a wheelchair to roll under, giving the user more space to reach the faucet and sink. You can find roll-under sinks at your local home improvement store or online. Step 3: Modify the Faucet Most standard faucets have knobs that can be difficult for wheelchair users to turn. To make it easier, you can replace the knobs with lever handles. These can be found at any hardware store and are easy to install. Alternatively, you can also install a touchless faucet to eliminate the need for turning knobs altogether. Step 4: Add a Cutting Board For wheelchair users who enjoy cooking, having a cutting board that fits over the sink can be a game changer. This allows for easy food preparation without having to transfer to a separate counter. You can purchase a cutting board that fits your sink or create your own with a piece of wood and some non-slip material.1. How to Make a Wheelchair Accessible Kitchen Sink
Creating a wheelchair accessible kitchen sink doesn't have to be an expensive project. With some DIY skills and a little creativity, you can make your own kitchen sink modifications to suit your needs. Here are some more ideas for a DIY kitchen sink for wheelchair users: Step 1: Add a Pull-Out Spray Installing a pull-out spray faucet is another way to make your sink more wheelchair friendly. This allows for easier rinsing and filling of pots and pans without having to maneuver around the faucet. You can purchase a pull-out spray attachment or replace your entire faucet with one that has this feature. Step 2: Install a Mirror Above the Sink For wheelchair users who may have difficulty seeing into the sink, installing a mirror above the sink can be helpful. This allows for easier visibility and can also serve as a decorative element in your kitchen. You can find mirrors at your local home improvement store or repurpose an old one. Step 3: Use a Flexible Drain Hose Having a flexible drain hose can make washing dishes in a wheelchair much easier. This allows for the hose to be moved around to reach different areas of the sink. You can find flexible drain hoses at your local hardware store and they are simple to install. Step 4: Create More Counter Space For wheelchair users who may have limited counter space, installing a pull-out cutting board or adding a small shelf above the sink can provide more space for food preparation. You can also install a roll-out tray under the sink for easy access to cleaning supplies.2. DIY Kitchen Sink for Wheelchair Users
If you're not confident in your DIY skills or don't have the time to make modifications yourself, there are adapted kitchen sinks available for wheelchair accessibility. These sinks are specifically designed with features such as lower height, a roll-under design, and lever handles. They may be more expensive than DIY options, but they can provide the added convenience and accessibility for wheelchair users. Some features to look for in an adapted kitchen sink include:3. Adapted Kitchen Sink for Wheelchair Accessibility
There are many simple and affordable modifications you can make to your kitchen sink to make it more wheelchair friendly. Here are a few more ideas: Step 1: Install a Soap Dispenser Having a soap dispenser mounted on the sink can eliminate the need to reach for a soap bottle, making it easier for wheelchair users to wash their hands. You can purchase a soap dispenser that matches your faucet or create your own with a mason jar and a pump attachment. Step 2: Use Non-Slip Mats Placing non-slip mats in your sink can help prevent dishes and other items from sliding around while washing. This can be especially helpful for wheelchair users who may not have the same stability as standing users. You can find non-slip mats at most home goods stores or online. Step 3: Create a Multi-Level Sink For wheelchair users who may have difficulty reaching the bottom of the sink, creating a multi-level sink can be a useful modification. This involves adding a second, smaller sink on top of the original sink. The smaller sink can be used for tasks that require less depth, such as hand washing or vegetable prep.4. Easy DIY Kitchen Sink Modifications for Wheelchair Users
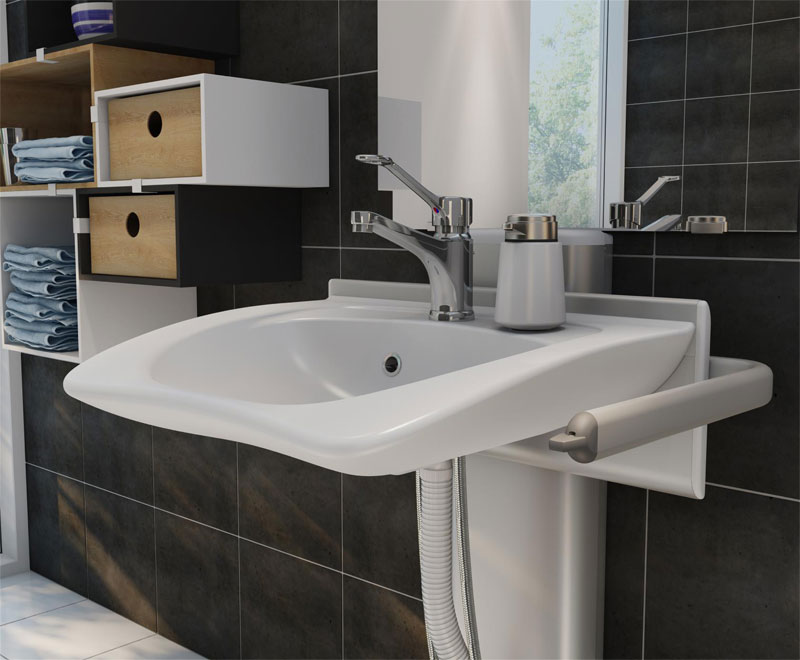
There are many creative and innovative ideas for making your kitchen sink more wheelchair friendly. Here are some more ideas to consider: Step 1: Use a Pedestal Sink Pedestal sinks are a great option for wheelchair users as they allow for easy access underneath the sink. This can also create more space in the bathroom for maneuvering a wheelchair. You can find pedestal sinks in a variety of styles and sizes to fit your space. Step 2: Install a Hands-Free Faucet Replacing your traditional faucet with a hands-free one can make using the sink much easier for wheelchair users. These faucets have sensors that detect movement, allowing for hands-free operation. You can find hands-free faucets at most home improvement stores or online. Step 3: Consider a Wall-Mounted Sink Wall-mounted sinks are another option for wheelchair users as they provide ample space for a wheelchair to roll under. They also have the added bonus of creating more floor space in the bathroom. You can find wall-mounted sinks in a variety of styles and sizes.5. Wheelchair Friendly Kitchen Sink Ideas
Adjusting the height of your kitchen sink is one of the most important modifications you can make for wheelchair accessibility. Here are some more tips for adjusting the sink height: Step 1: Measure the Height Using a measuring tape, determine the ideal height for your sink. The standard height for a wheelchair accessible sink is 29 inches from the floor. Step 2: Adjust the Sink Cabinet If you have a fixed sink, you can adjust the height by cutting the cabinet to the desired height. This may require the help of a professional if you're not comfortable using power tools. Step 3: Create a Platform If you have a fixed sink and don't want to make permanent changes, you can create a platform for your wheelchair to slide under. This can be made with wood or other materials and should be sturdy enough to support the weight of a wheelchair.6. DIY Kitchen Sink Height Adjustment for Wheelchair Accessibility
You don't have to break the bank to make your kitchen sink more wheelchair friendly. Here are some more inexpensive DIY adaptations to consider: Step 1: Use PVC Pipes Using PVC pipes, you can create a sink extension to make reaching the sink easier for wheelchair users. Simply cut the pipes to the desired length and attach them to the sink with adhesive or zip ties. Step 2: Create a Cutting Board As mentioned earlier, creating a cutting board that fits over the sink can be a game changer for wheelchair users. You can make your own using a piece of wood and some non-slip material, or purchase one that fits your sink. Step 3: Use a Dish Drying Rack Placing a dish drying rack next to the sink can make washing dishes easier for wheelchair users. This eliminates the need to reach up to a cabinet to grab dishes. You can find dish drying racks at most home goods stores or online.7. Inexpensive DIY Kitchen Sink Adaptations for Wheelchair Users
Installing a roll-under sink is a great way to make your kitchen more wheelchair friendly. Here are some steps to follow when installing a roll-under sink: Step 1: Remove the Old Sink The first step is to remove your old sink. This may require the help of a professional if you're not comfortable with plumbing and power tools. Step 2: Measure and Cut the Cabinet Measure the dimensions of your new roll-under sink and cut the cabinet to fit. Make sure to leave enough space for the sink to fit properly. Step 3: Install the Sink Once the cabinet is cut, you can install the sink according to the manufacturer's instructions. This may include attaching brackets or screws to secure the sink in place.8. How to Install a Roll-Under Kitchen Sink for Wheelchair Accessibility
Replacing your traditional faucet knobs with lever handles is an easy and inexpensive modification you can make to your kitchen sink. Here's how to make your own DIY kitchen sink faucet lever: Step 1: Gather Materials You'll need a lever handle faucet, a wrench, and plumber's tape to complete this project. You can find all of these materials at your local hardware store. Step 2: Remove the Old Faucet Using a wrench, remove the old faucet knobs and set them aside. Make sure to turn off the water supply before removing the knobs. Step 3: Install the Lever Handle Follow the manufacturer's instructions to install the new lever handle faucet. This may include using plumber's tape to secure the connections.9. DIY Kitchen Sink Faucet Lever for Wheelchair Users
There are many creative and innovative solutions you can use to make your kitchen sink more wheelchair friendly. Here are some more ideas to consider: Step 1: Use a Lazy Susan A lazy susan can be a great addition to your kitchen sink, allowing for easy access to cleaning supplies and dish soap. You can find lazy susans in a variety of sizes and styles to fit your sink space. Step 2: Install a Counter-Height Sink For wheelchair users who may have difficulty reaching into a low sink, installing a counter-height sink can be a helpful modification. This involves raising the sink to counter height and creating a space for a wheelchair to slide under. Step 3: Use Slide-Out Shelves Installing slide-out shelves under the sink can make accessing cleaning supplies and other items much easier for wheelchair users. You can find slide-out shelves at most home improvement stores or online.10. Creative DIY Solutions for Wheelchair Accessible Kitchen Sinks
A DIY Guide to Building a Wheelchair-Accessible Kitchen Sink

Introduction
 Creating a functional and accessible kitchen is essential for any household. However, for those with mobility challenges, it can be a daunting task to design a space that meets their specific needs. One crucial element of a wheelchair-friendly kitchen is the sink. A traditional kitchen sink can be difficult to use for someone in a wheelchair, making simple tasks like washing dishes or filling up a glass of water a challenging feat. In this article, we will guide you through the process of building a
DIY wheelchair kitchen sink
that is both functional and aesthetically pleasing.
Why a DIY Approach?
 While there are many options available for purchasing pre-made wheelchair-accessible kitchen sinks, they can often be expensive and may not fit the specific layout and design of your kitchen. By taking a
DIY approach
, you have control over the design and materials used, ensuring that your sink is tailored to your needs and preferences.
Gather Your Materials
 Before you start building, it's essential to gather all the necessary materials. Some basic tools you will need include a drill, saw, measuring tape, and screws. You will also need a sink basin, faucet, and plumbing supplies. When choosing a sink, make sure to look for one with a lower depth, as it will be easier to reach from a wheelchair. You can also opt for a wall-mounted or pedestal sink to create more legroom.
Design Considerations
 When designing your wheelchair-accessible kitchen sink, there are a few factors to keep in mind. First, the height of the sink should be no more than 34 inches from the floor to the top of the basin. This will allow someone in a wheelchair to comfortably reach and use the sink. Additionally, make sure to leave enough space underneath the sink for knee clearance. The sink should also be placed close to other kitchen amenities, such as the stove and refrigerator, for convenience.
The Building Process
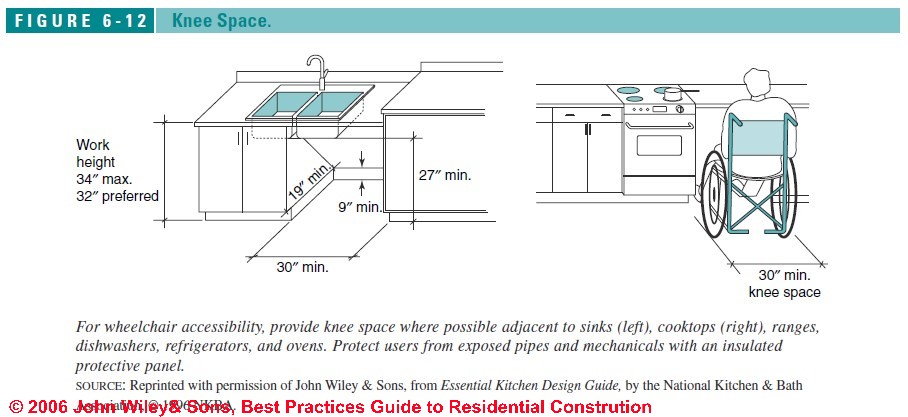 Start by measuring and marking the spot on the wall where the sink will be mounted. Use a level to ensure the sink will be installed straight. Next, use a saw to cut out the designated area for the sink basin. Install the faucet and plumbing according to the manufacturer's instructions. Once the sink is securely mounted, test the water flow and check for any leaks.
Final Touches
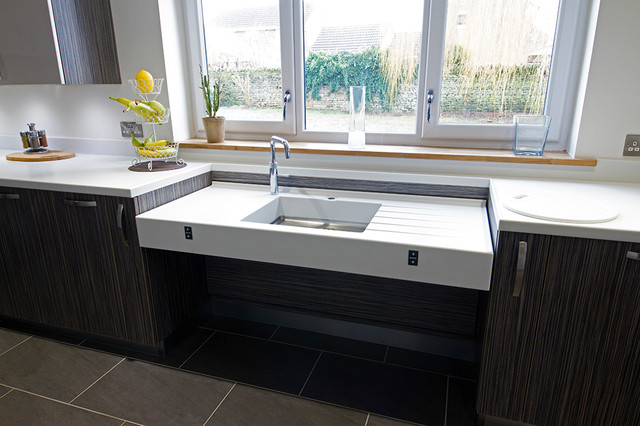 Now that your
DIY wheelchair kitchen sink
is installed, it's time to add some finishing touches. Consider adding a pull-out or extendable faucet for easier reach and a soap dispenser for convenience. You can also install shelves or organizers under the sink for storage. And don't forget to add some personal touches, such as decorative tiles or backsplash, to make your sink a stylish addition to your kitchen.
In conclusion, building a
DIY wheelchair kitchen sink
may seem like a daunting task, but with the right tools and guidance, it can be a fulfilling and rewarding experience. By following these steps and incorporating your unique design ideas, you can create a sink that not only meets your accessibility needs but also adds to the overall functionality and beauty of your kitchen.


