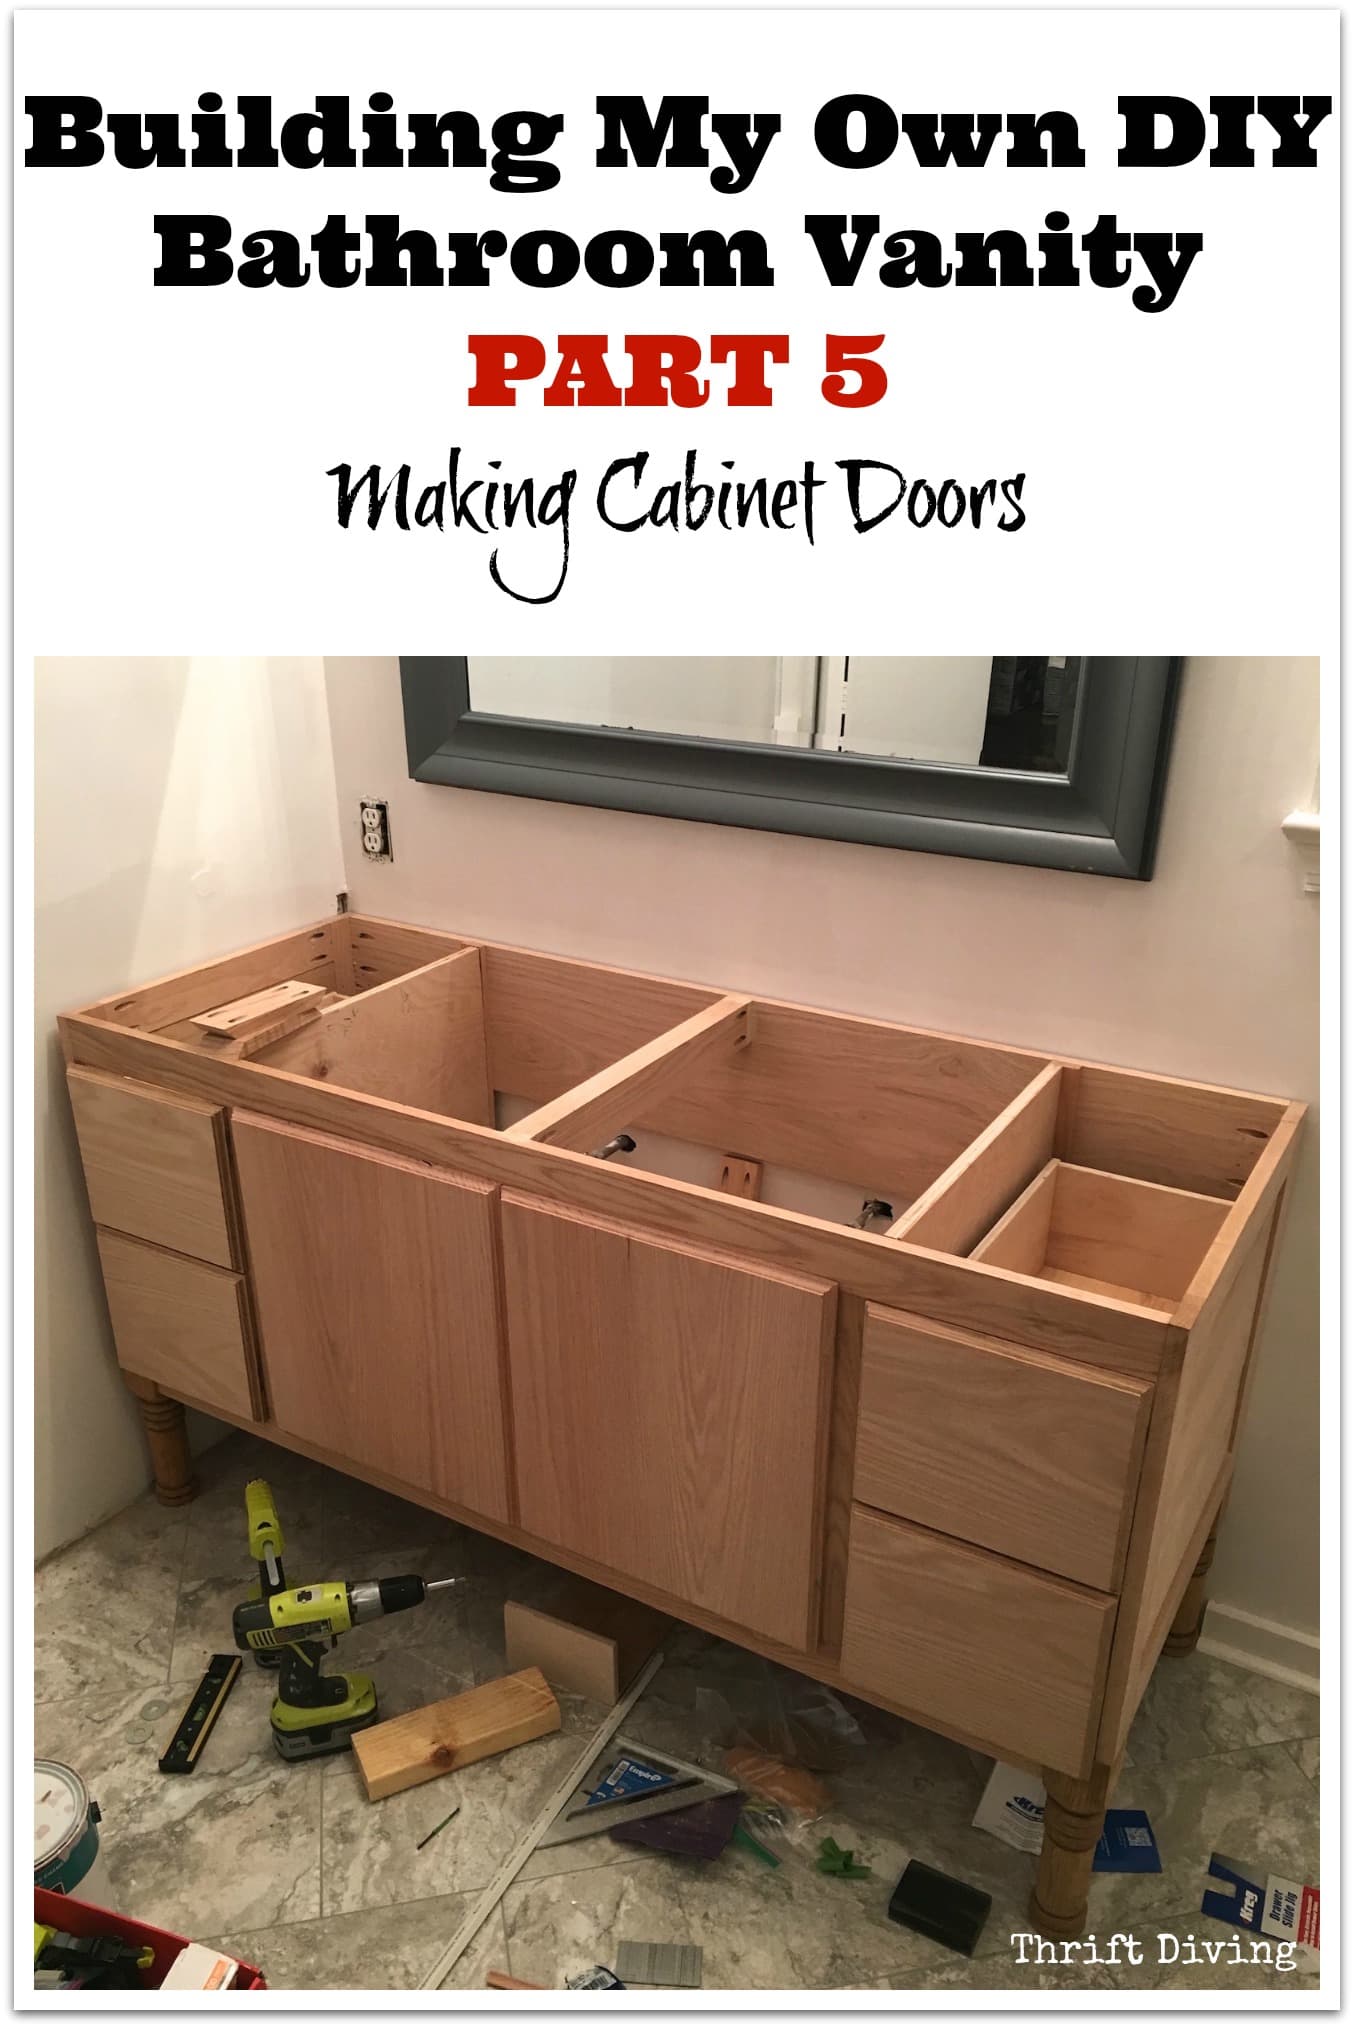
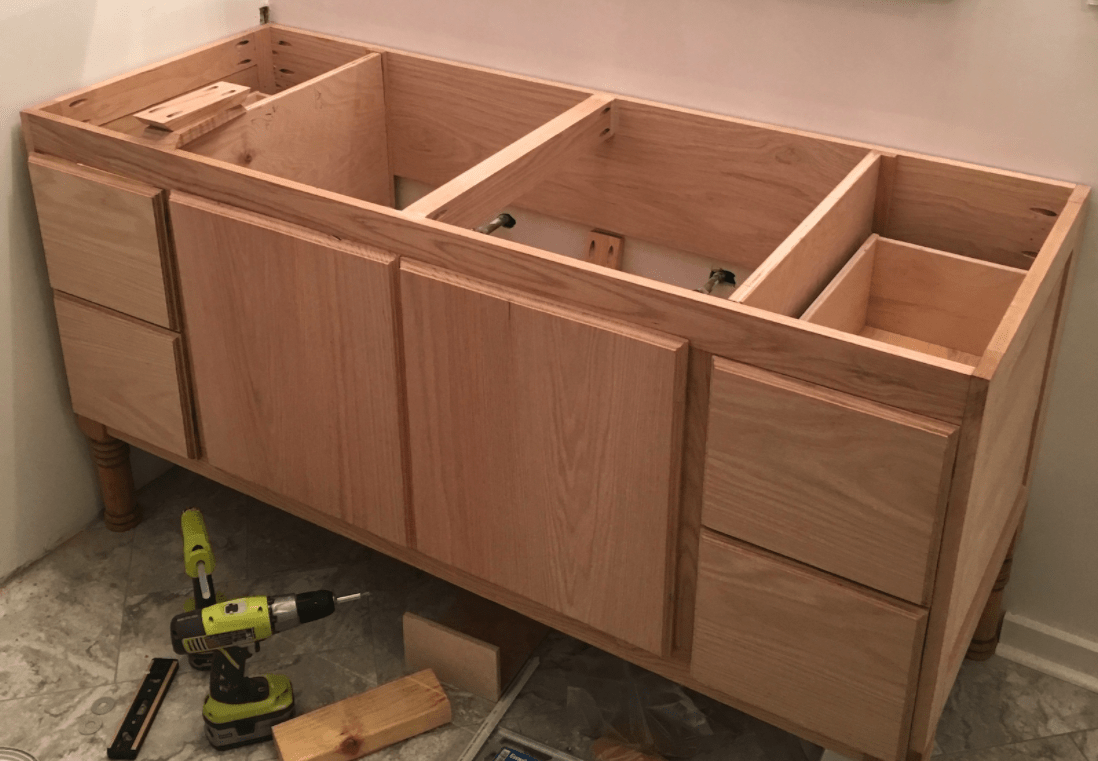
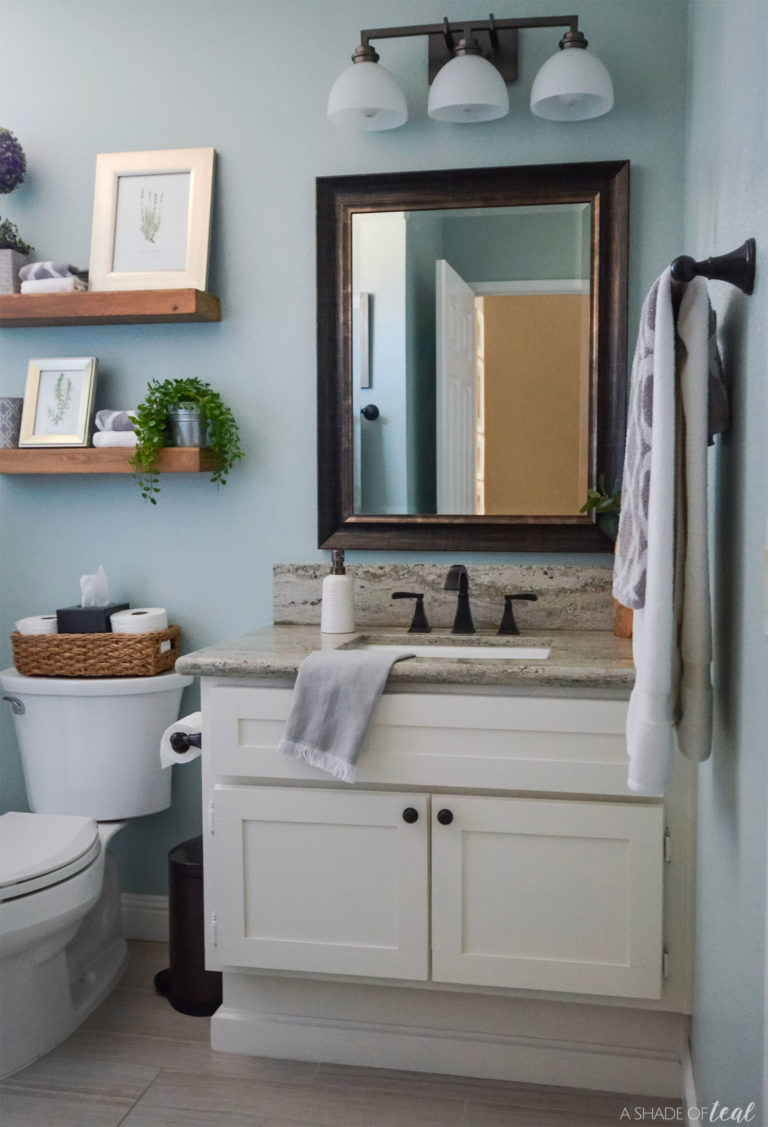
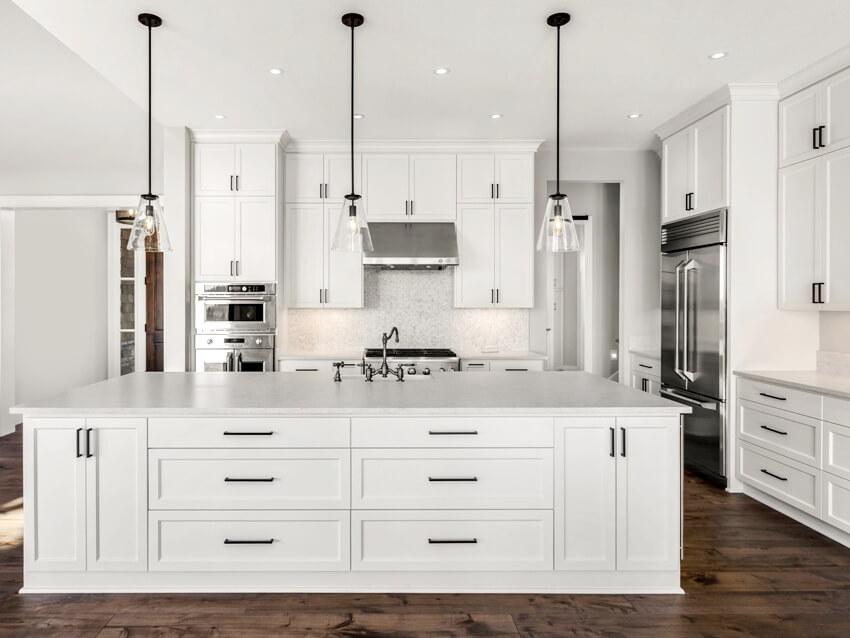
Are you looking to give your bathroom a fresh new look? One of the easiest and most cost-effective ways to do so is by updating your vanity doors. And what better way to do it than by building your own DIY shaker style vanity doors? Not only is it a fun and rewarding project, but it also allows you to customize your doors to perfectly match your bathroom's style and decor. In this article, we'll guide you through the process of building your very own shaker bathroom vanity doors in 10 simple steps. So let's get started!DIY Shaker Bathroom Vanity Doors: Transforming Your Bathroom in 10 Steps

DIY Shaker Bathroom Vanity Doors


Before we dive into the step-by-step guide, let's take a look at what materials you'll need to complete this project:How to Build Shaker Style Bathroom Vanity Doors: The Materials You'll Need


How to Build Shaker Style Bathroom Vanity Doors

Now that you have all the materials you need, let's go through the steps of building your shaker style bathroom vanity doors:Step-by-Step Guide to Making Shaker Bathroom Vanity Doors


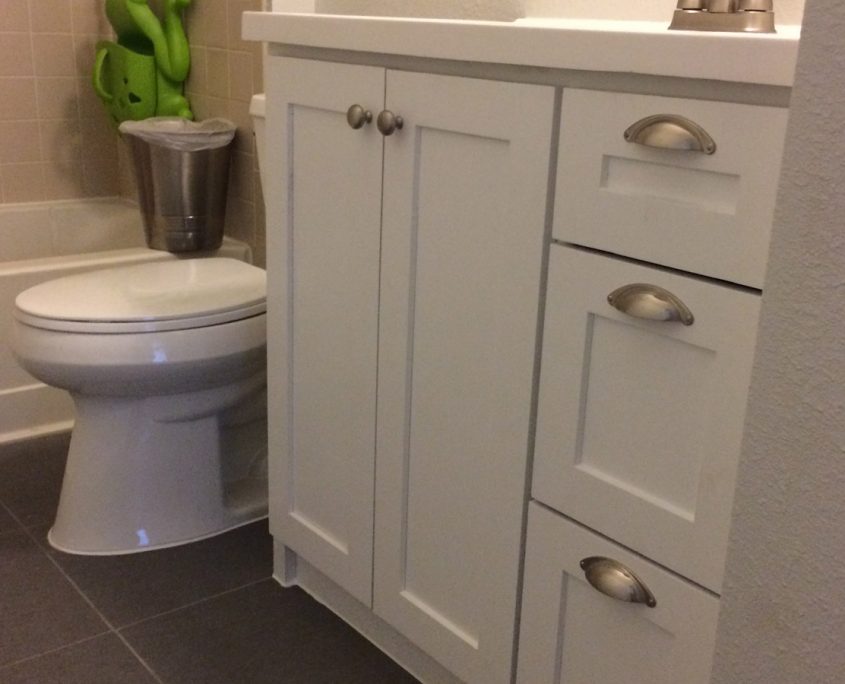
DIY Shaker Cabinet Doors for Bathroom Vanity


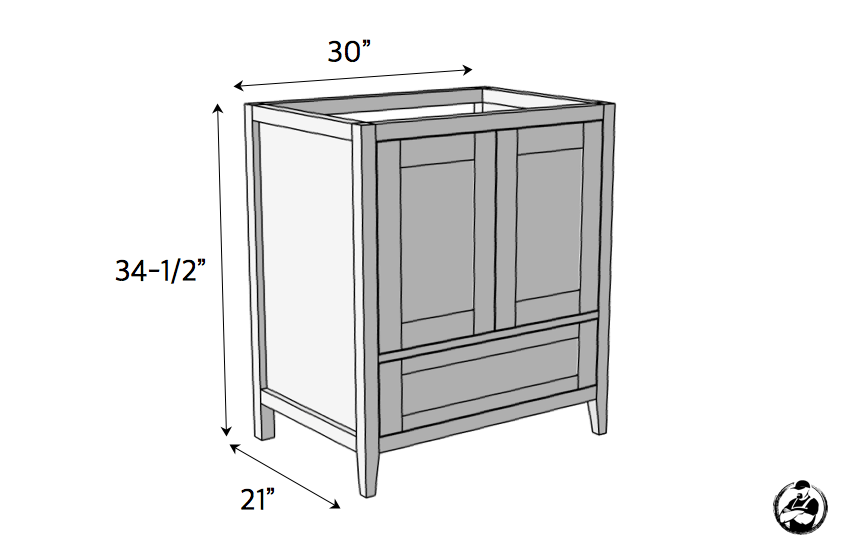
Start by measuring the dimensions of your old vanity doors or the opening where your new doors will go. Add an extra 1/4 inch to the width and height to allow for a 1/8 inch overlay on all sides. Then, use a saw to cut your wood to the desired size.Step 1: Measure and Cut Your Wood


Step-by-Step Guide to Making Shaker Bathroom Vanity Doors


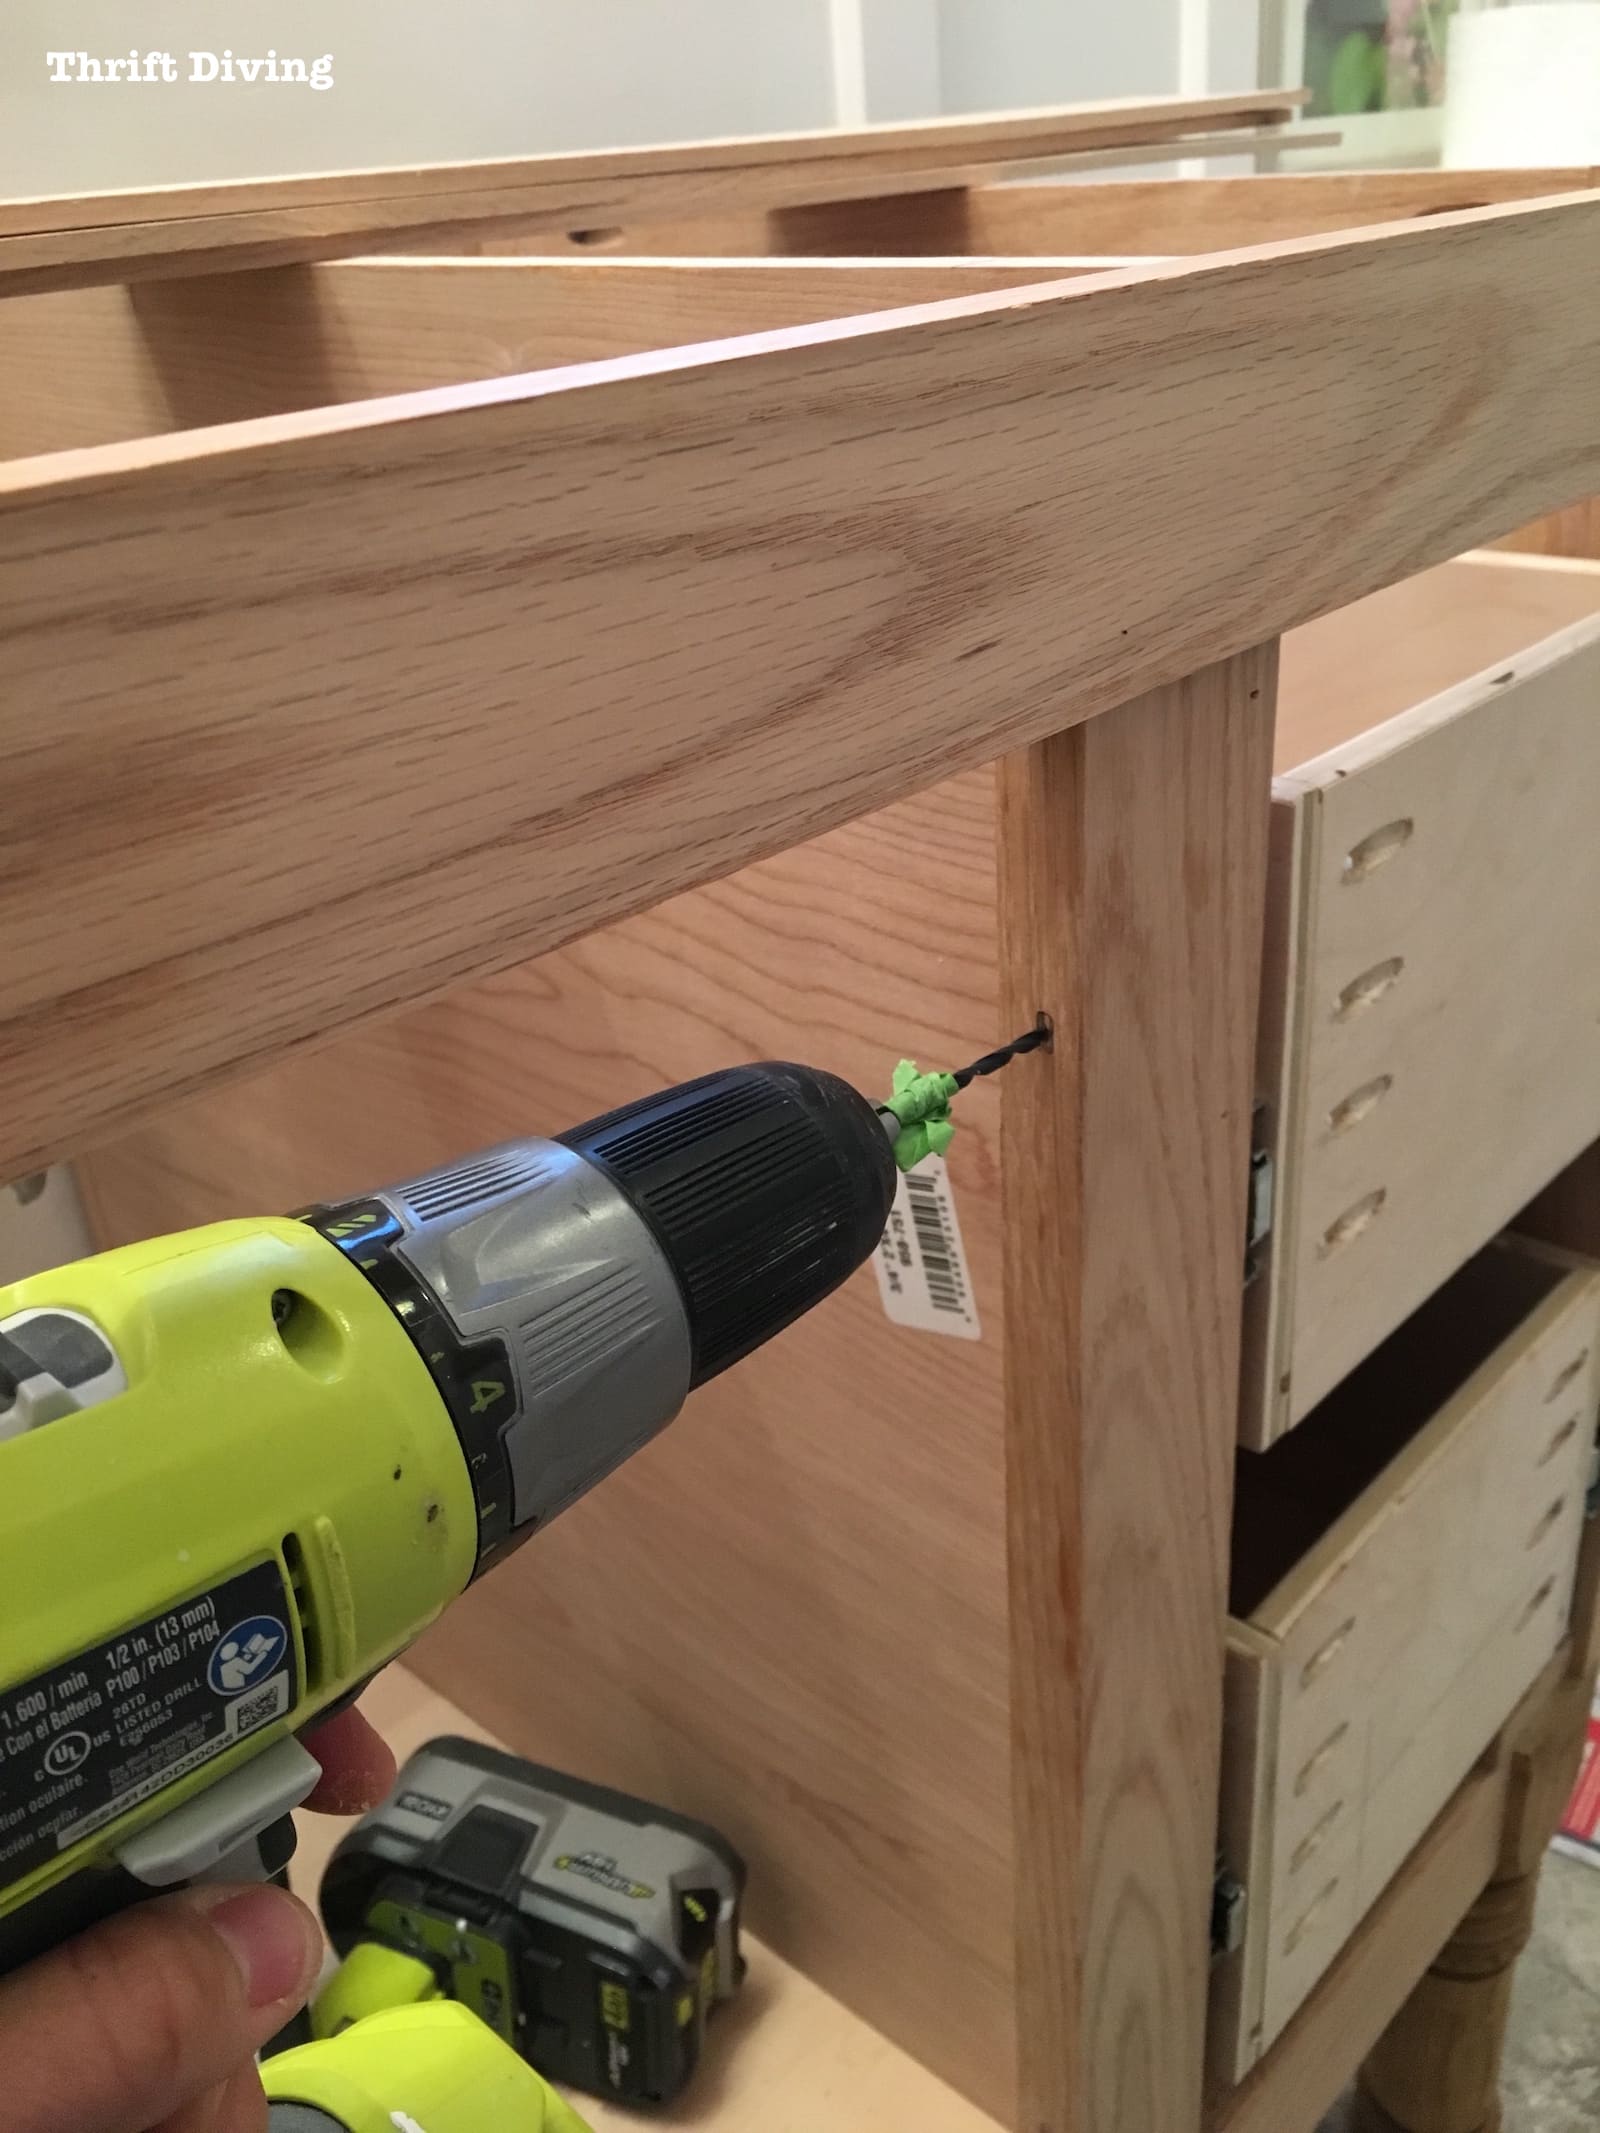
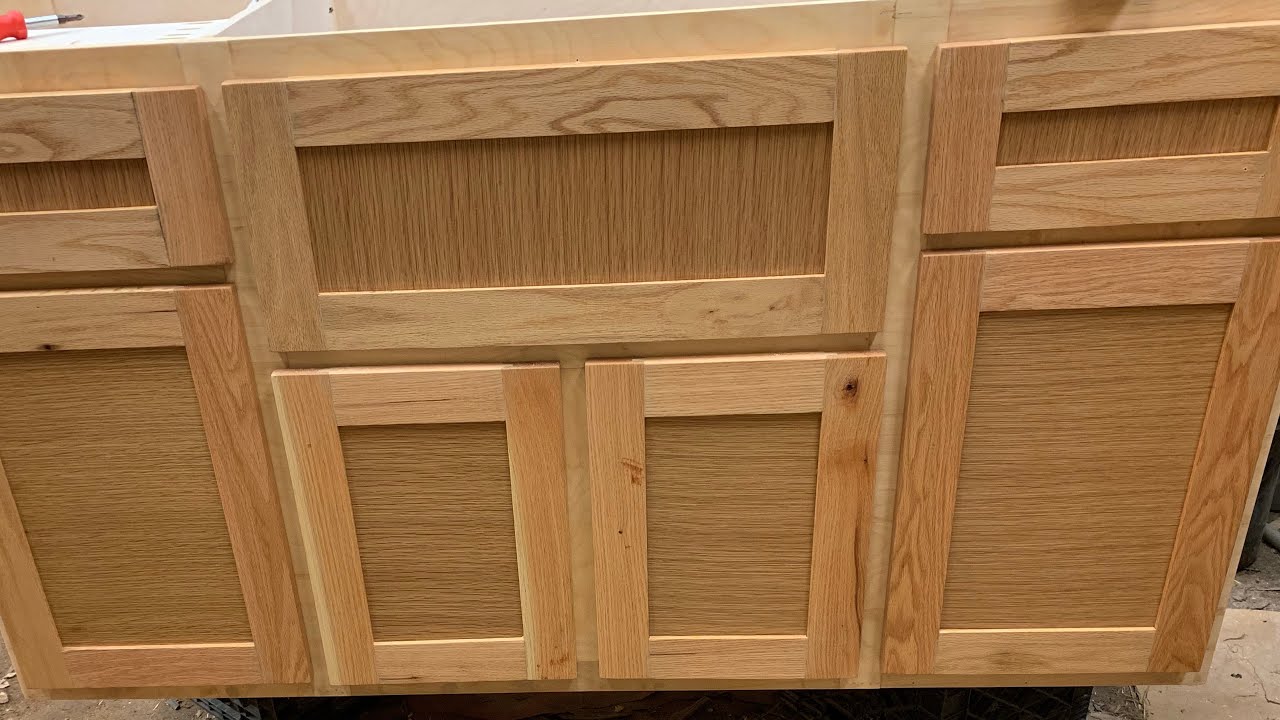
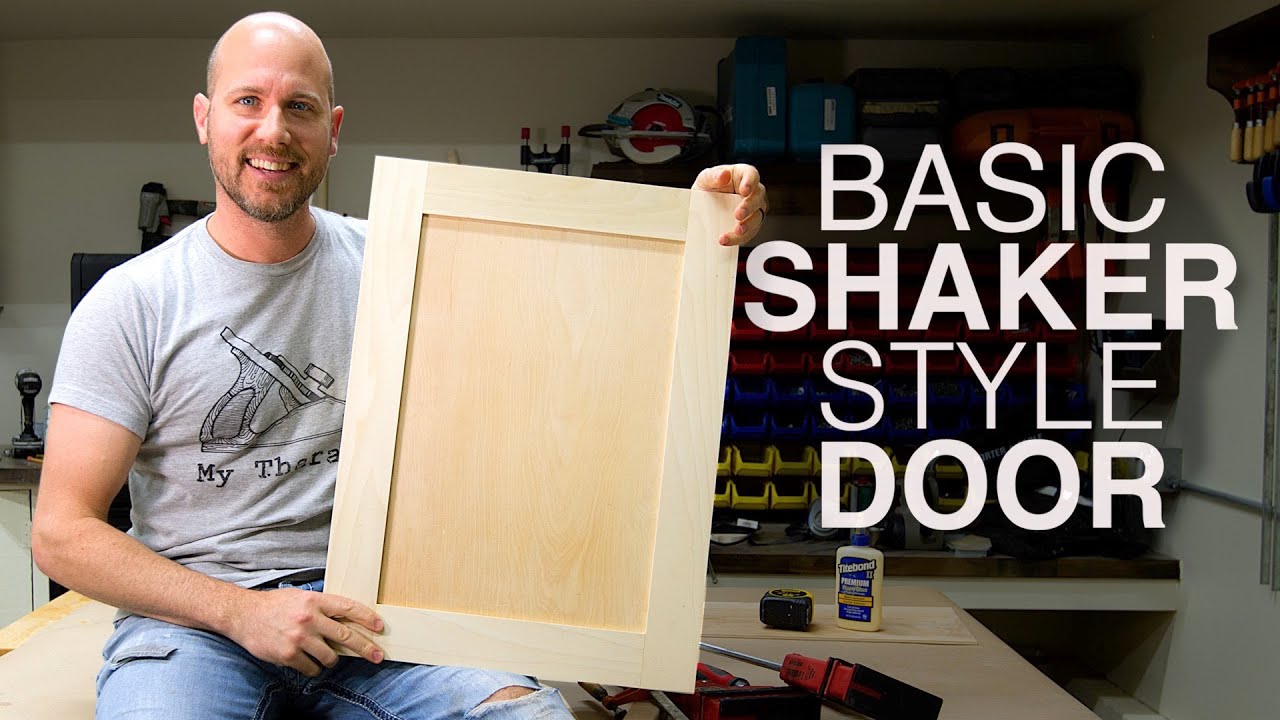
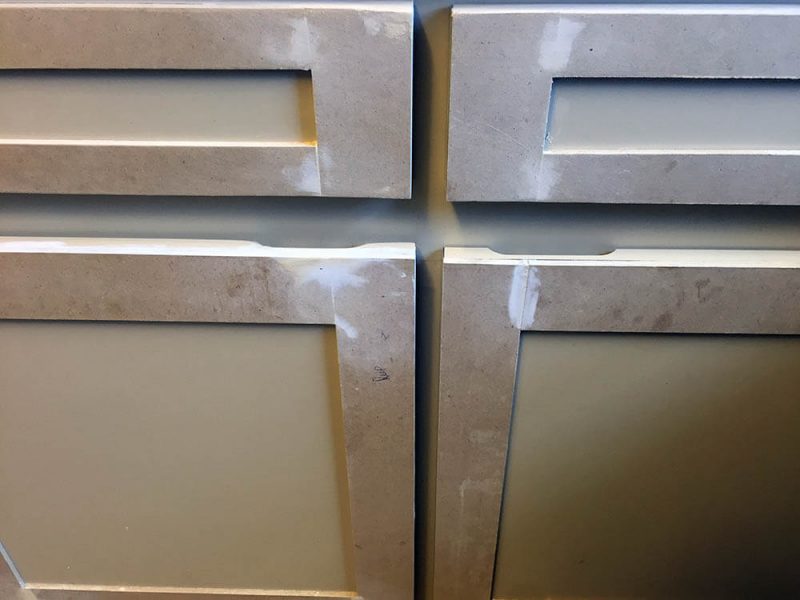
Take the stiles and rails and lay them out to form a rectangular frame. Use wood glue to attach the corners of the frame and secure them with clamps. Make sure the corners are perfectly square before leaving the frame to dry.Step 2: Create the Door Frame

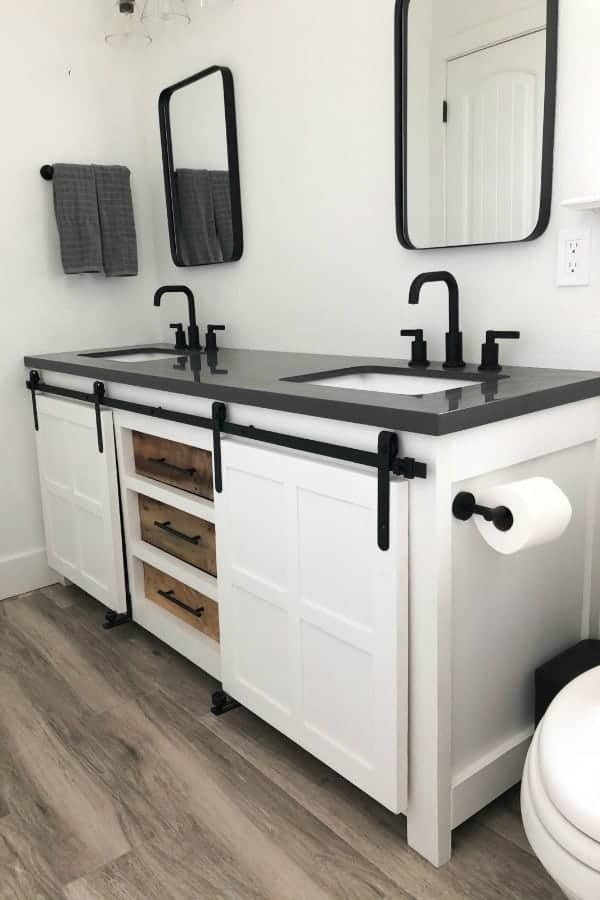
DIY Shaker Bathroom Vanity Door Plans
:max_bytes(150000):strip_icc()/build-something-diy-vanity-594402125f9b58d58ae21158.jpg)


Once the glue has dried, use sandpaper to smooth out any rough edges on the frame.Step 3: Sand the Door Frame

Easy DIY Shaker Bathroom Vanity Door Tutorial


Measure and cut the panel to fit inside the door frame. The panel should be slightly smaller than the frame to allow for expansion and contraction of the wood.Step 4: Cut the Panel


-600x750.jpg)
DIY Shaker Style Bathroom Vanity Door Makeover


Place the panel inside the door frame and secure it with wood glue. Use clamps to hold it in place while the glue dries.Step 5: Insert the Panel


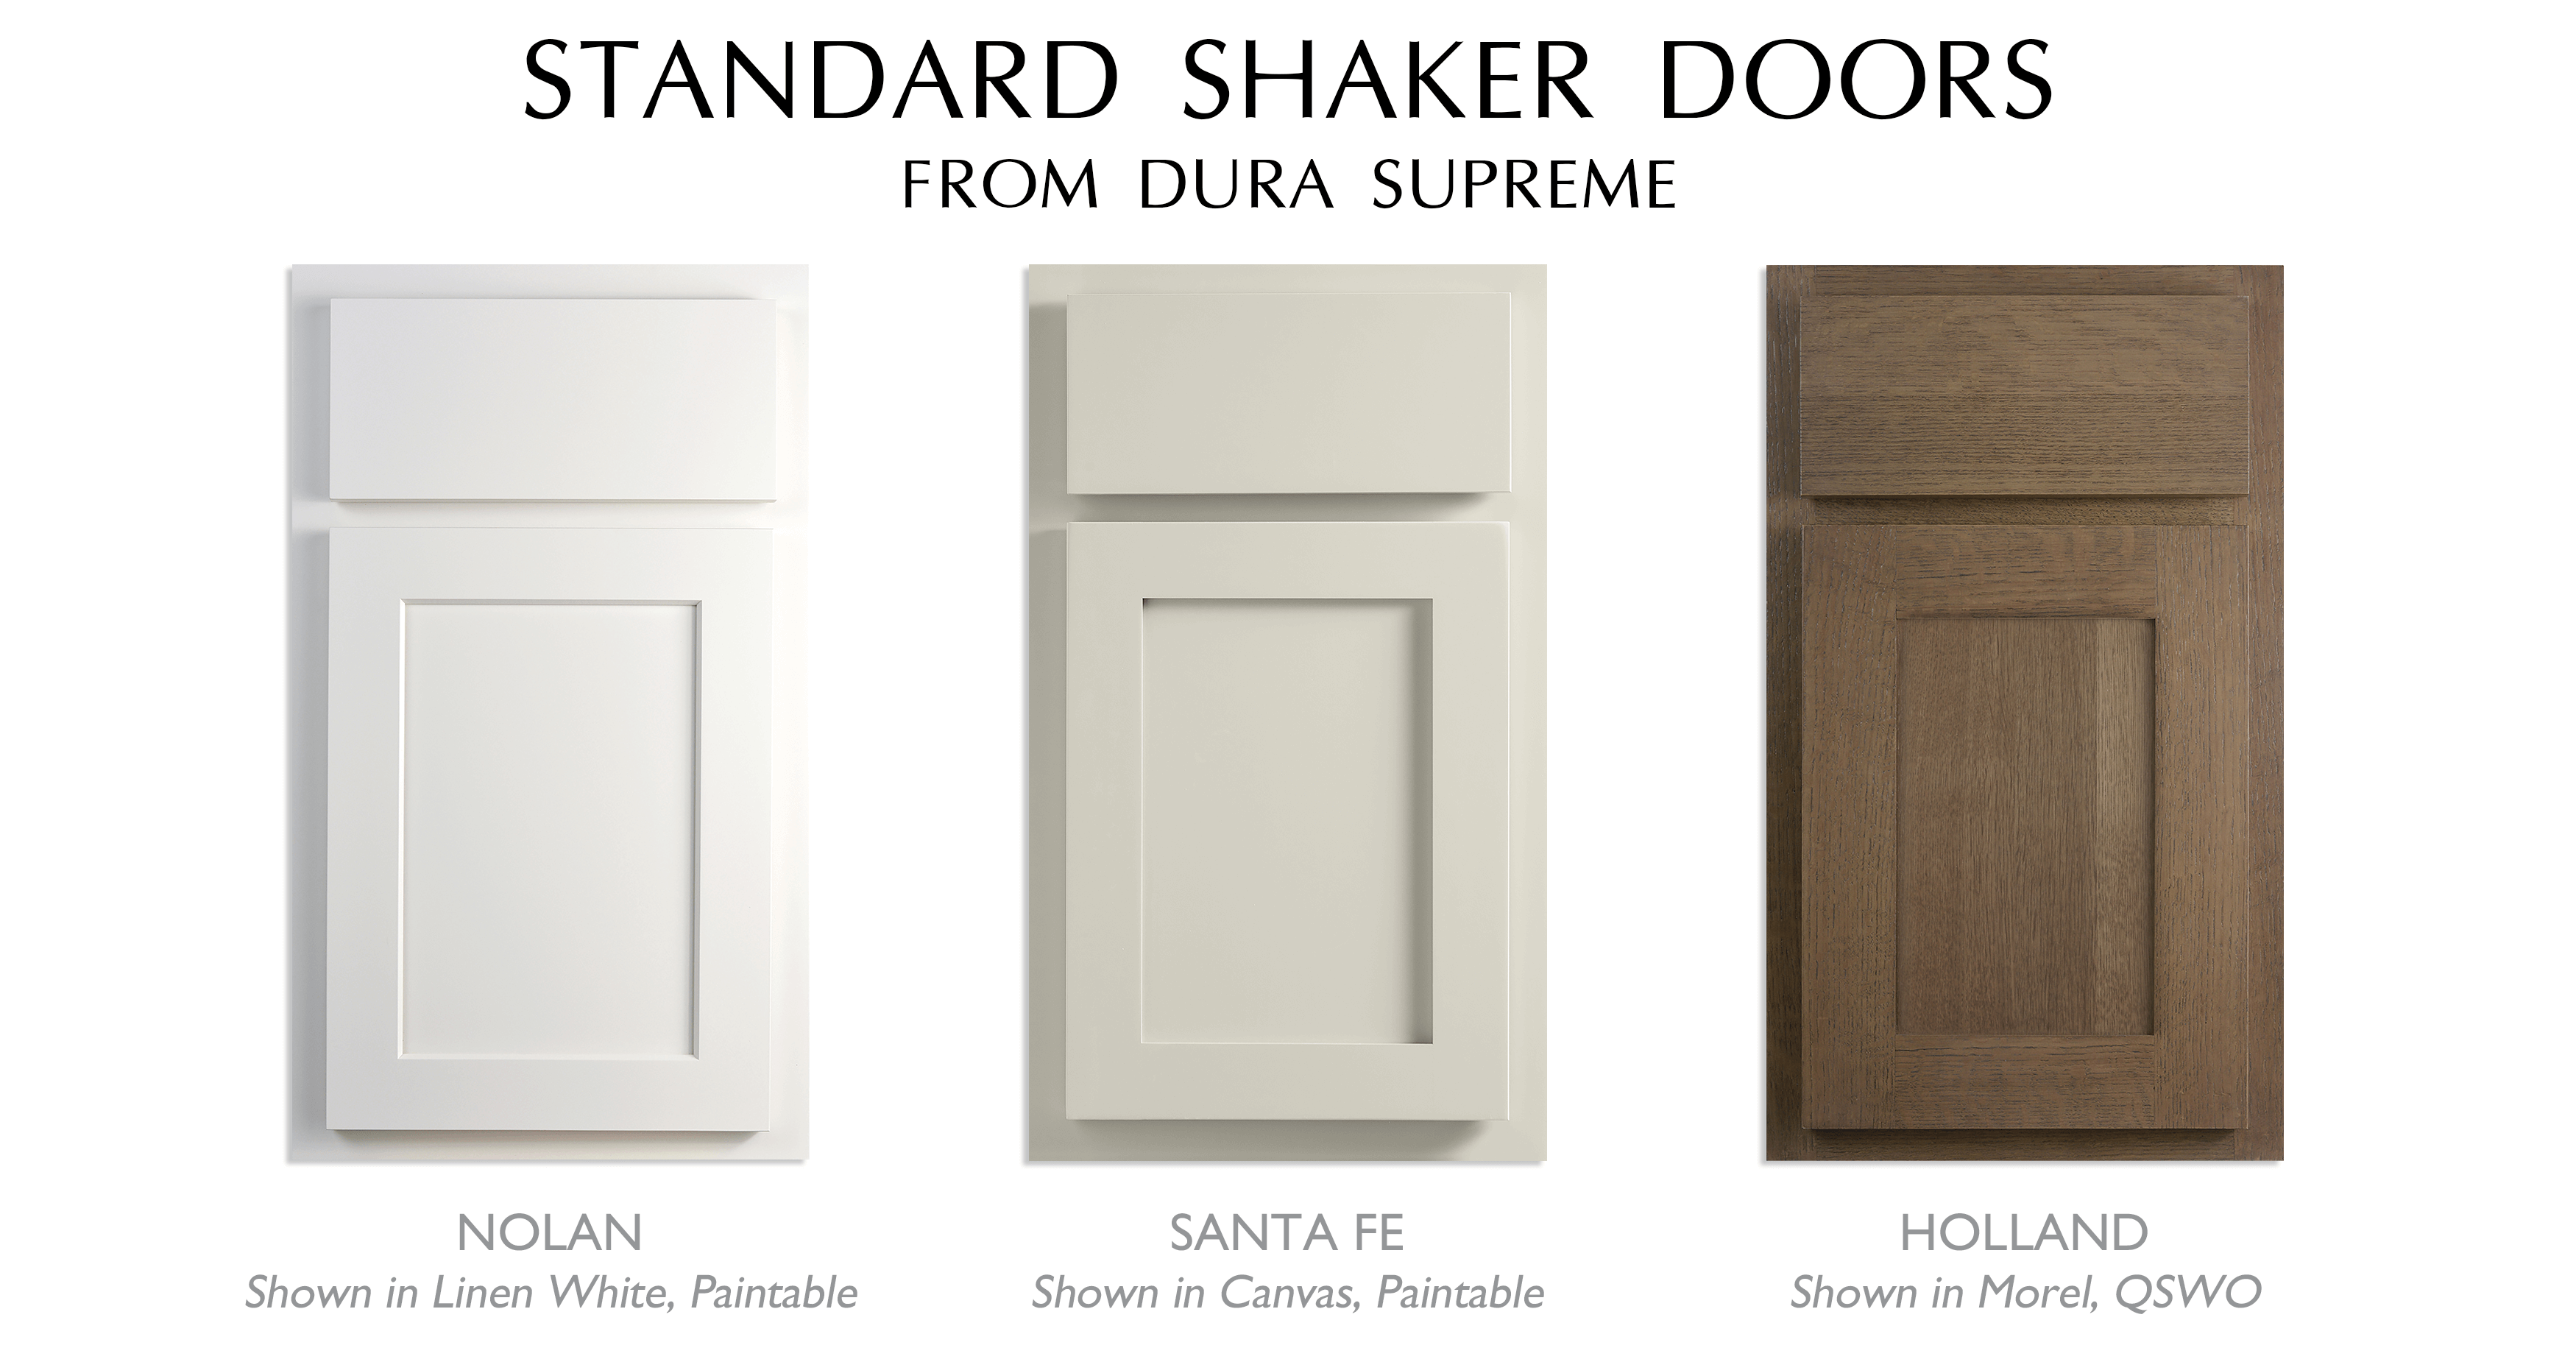
Best Wood for DIY Shaker Bathroom Vanity Doors


Once the glue has dried, use sandpaper to smooth out any rough edges on the surface of the door.Step 6: Sand the Door Surface


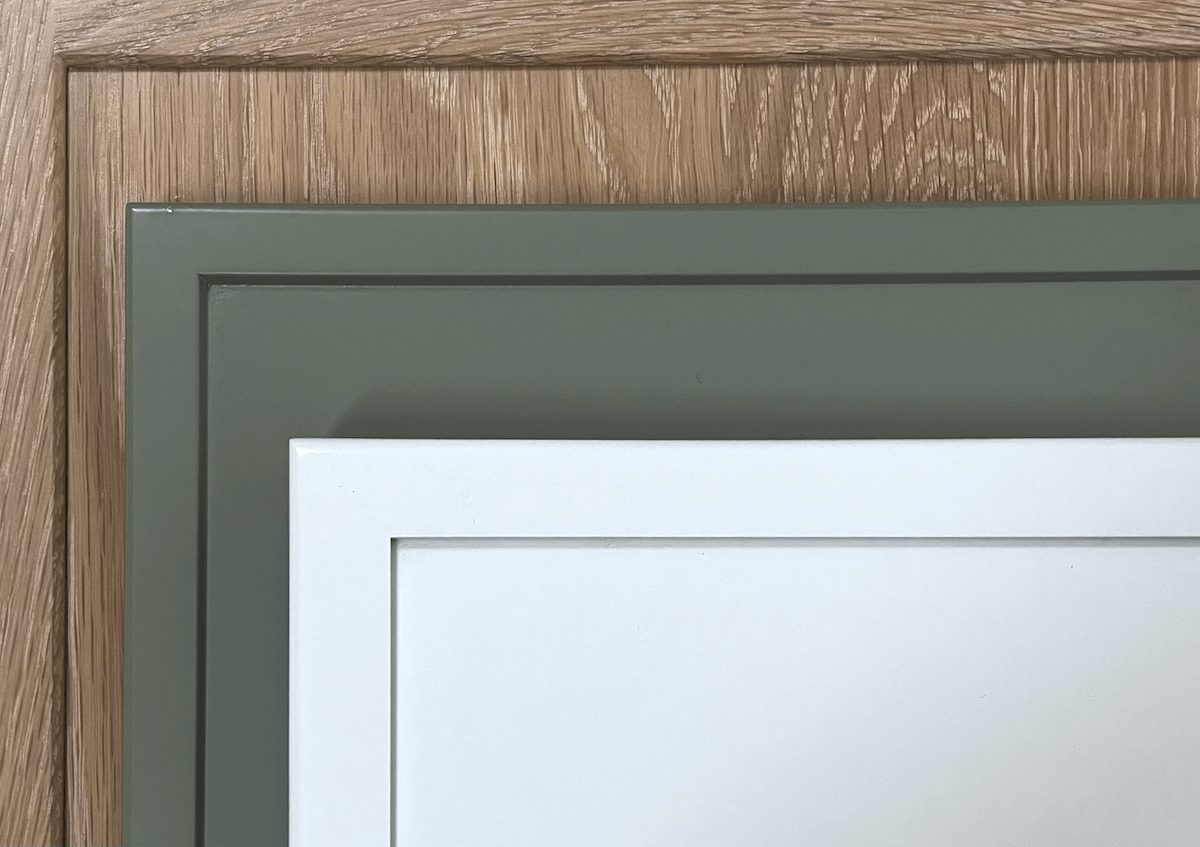
DIY Shaker Bathroom Vanity Door Hardware Options
Now it's time to add some color or finish to your door. You can paint or stain it to match the style of your bathroom. Be sure to let it dry completely before moving on to the next step.Step 7: Paint or Stain the Door

Budget-Friendly DIY Shaker Bathroom Vanity Door Ideas


Elevate Your Bathroom with a DIY Shaker Vanity Door
Transform Your Bathroom into a Stylish and Functional Space
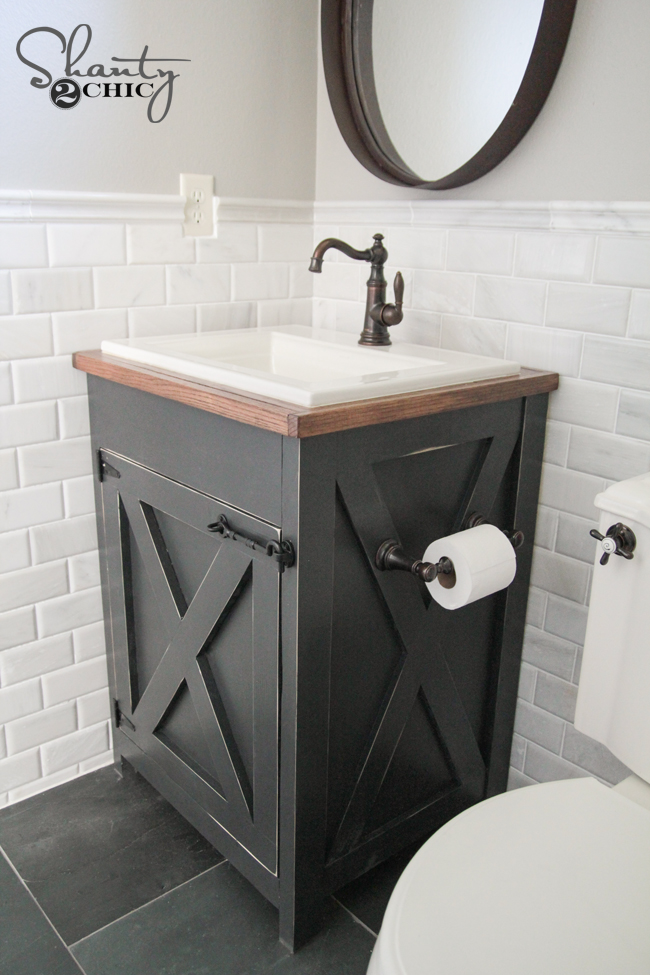
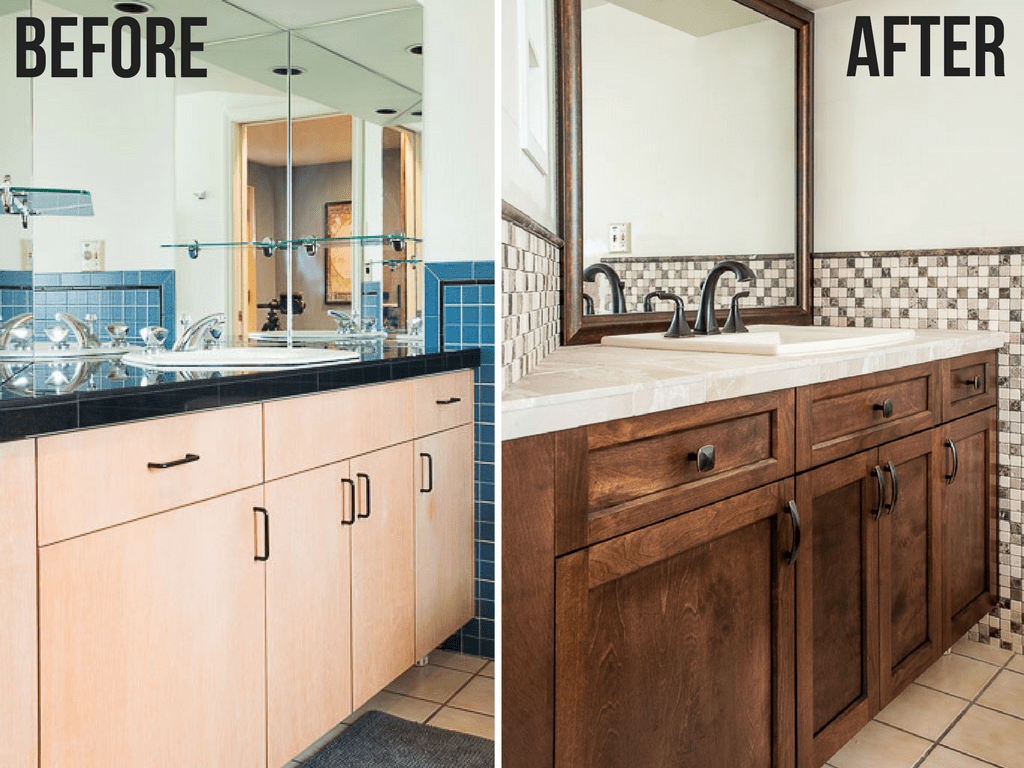
:max_bytes(150000):strip_icc()/cherry-diy-bathroom-vanity-594414da5f9b58d58a099a36.jpg) If you're looking to update your bathroom design, one of the easiest and most impactful changes you can make is to upgrade your vanity doors. And what better way to do so than with a DIY project? With a little bit of creativity and some basic tools, you can create a stunning and functional shaker vanity door that will add a touch of elegance and sophistication to your bathroom.
If you're looking to update your bathroom design, one of the easiest and most impactful changes you can make is to upgrade your vanity doors. And what better way to do so than with a DIY project? With a little bit of creativity and some basic tools, you can create a stunning and functional shaker vanity door that will add a touch of elegance and sophistication to your bathroom.
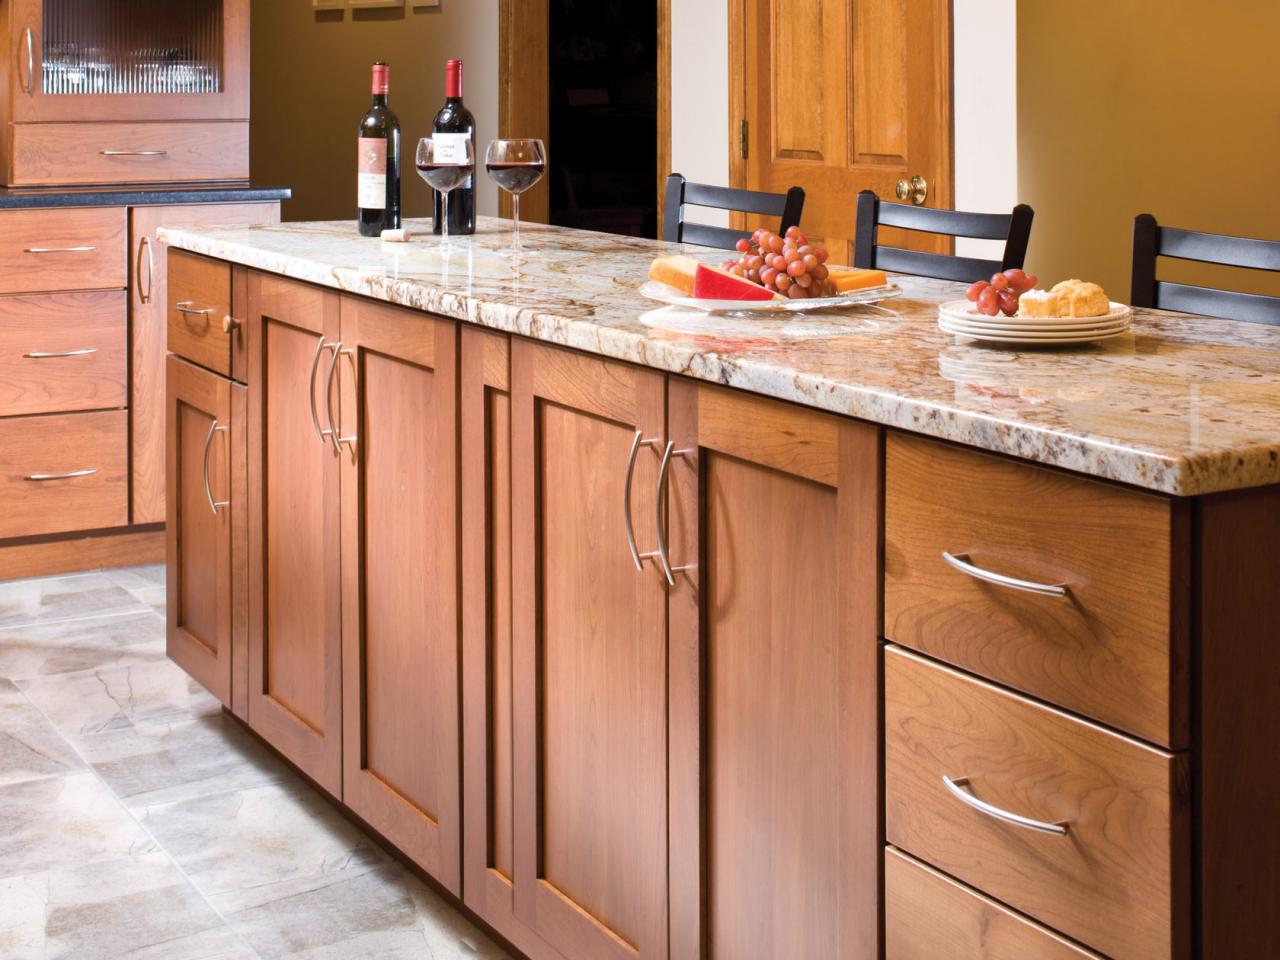
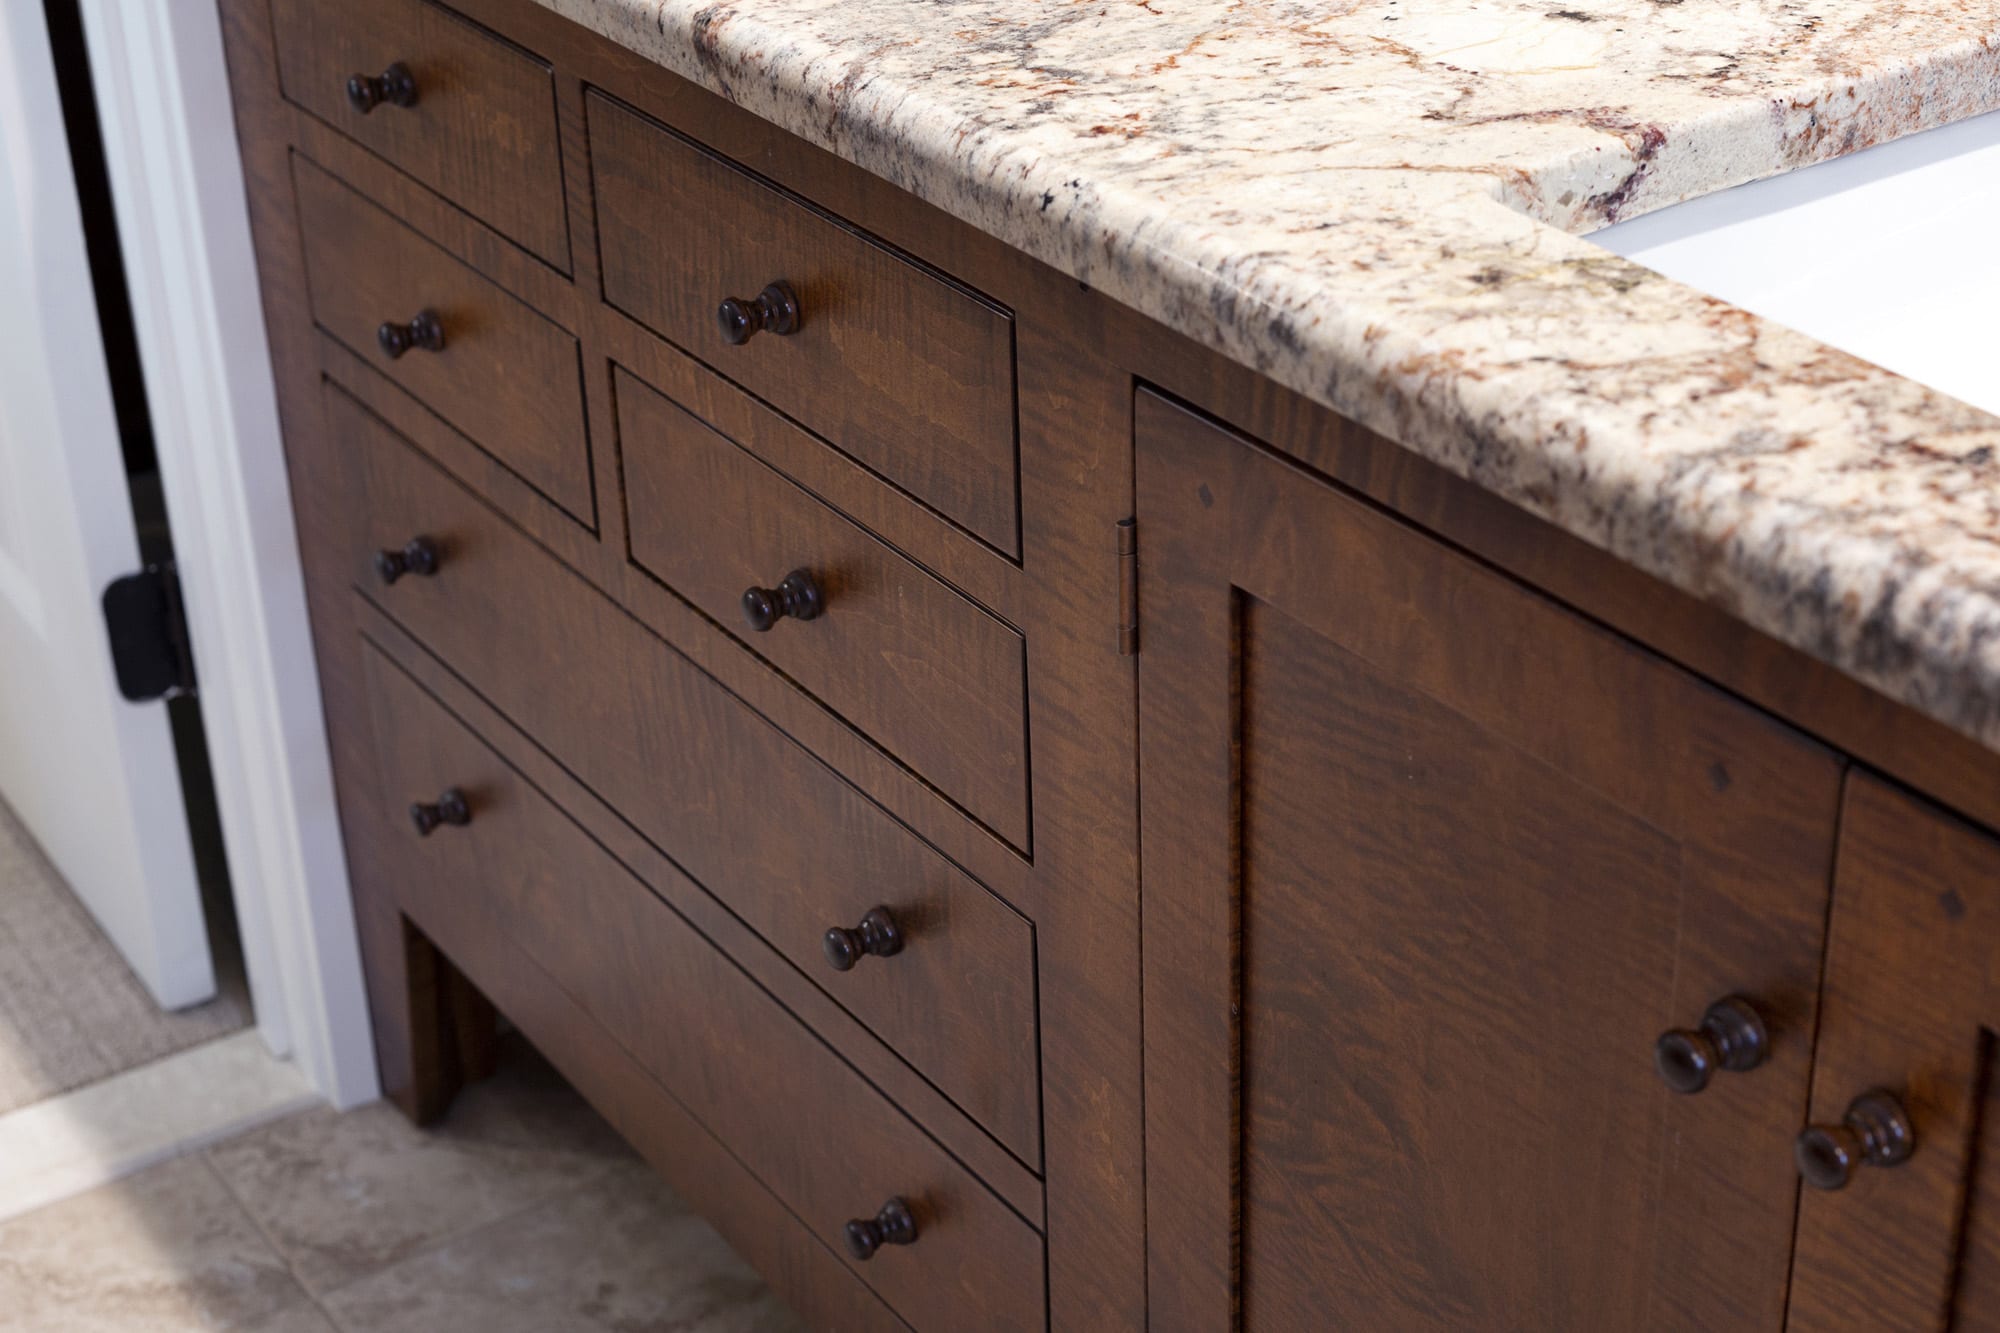
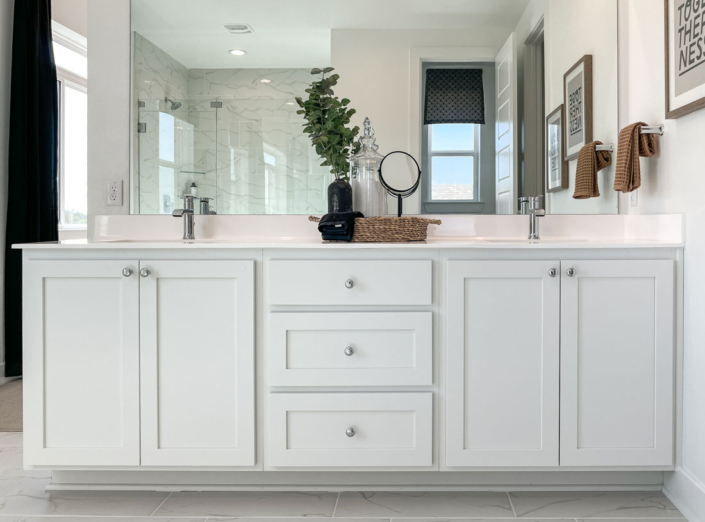
The Beauty of Shaker Style
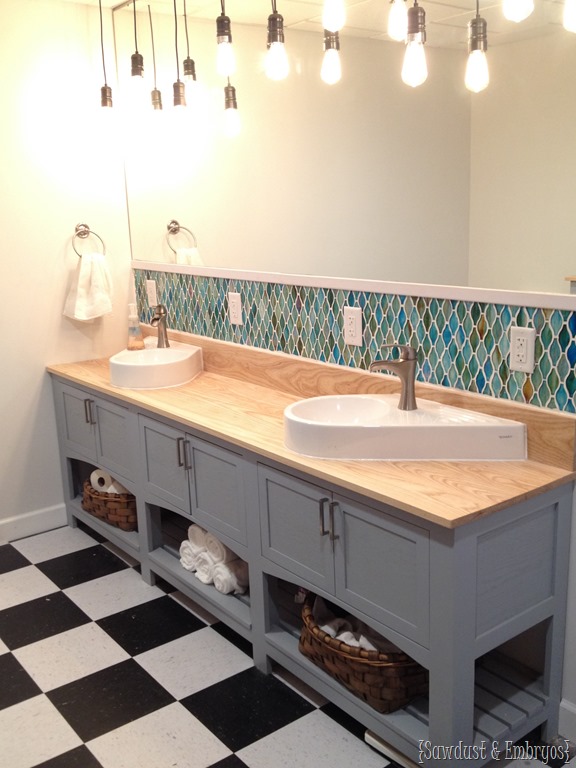
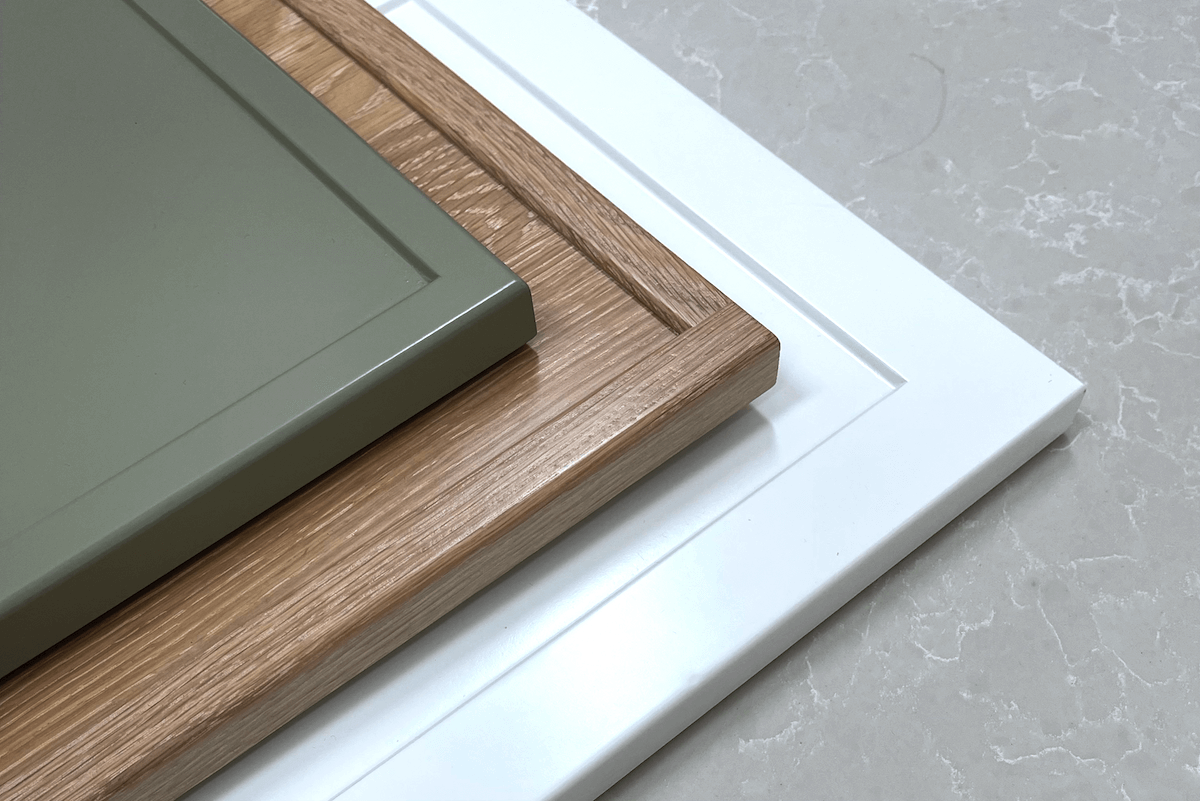
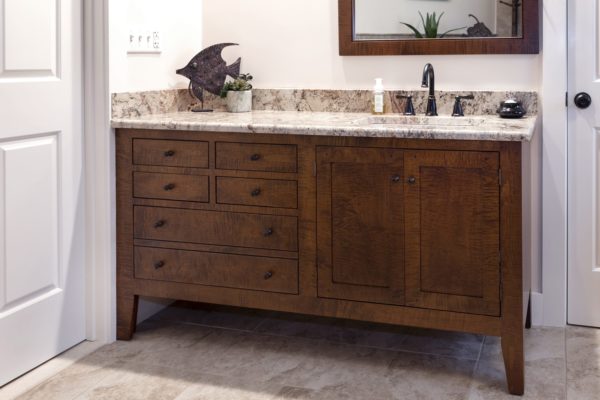
 The shaker style has been around for centuries and is known for its clean and simple lines, making it a popular choice for both traditional and modern home designs. The shaker style is characterized by its five-piece door design, with a flat center panel surrounded by a frame. This classic and timeless design is not only aesthetically pleasing but also functional as it allows for easy customization and durability.
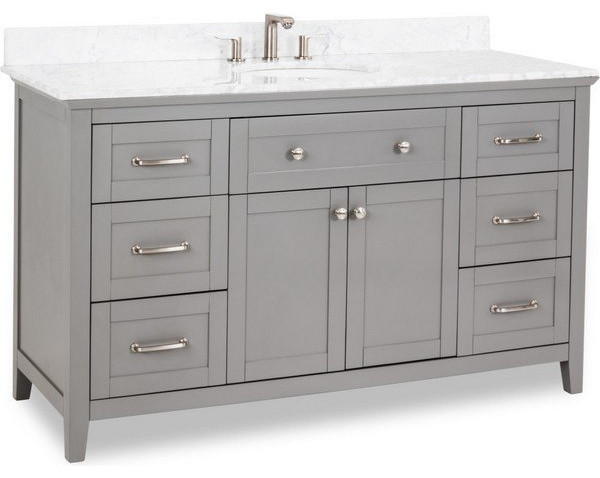
Affordable and Customizable
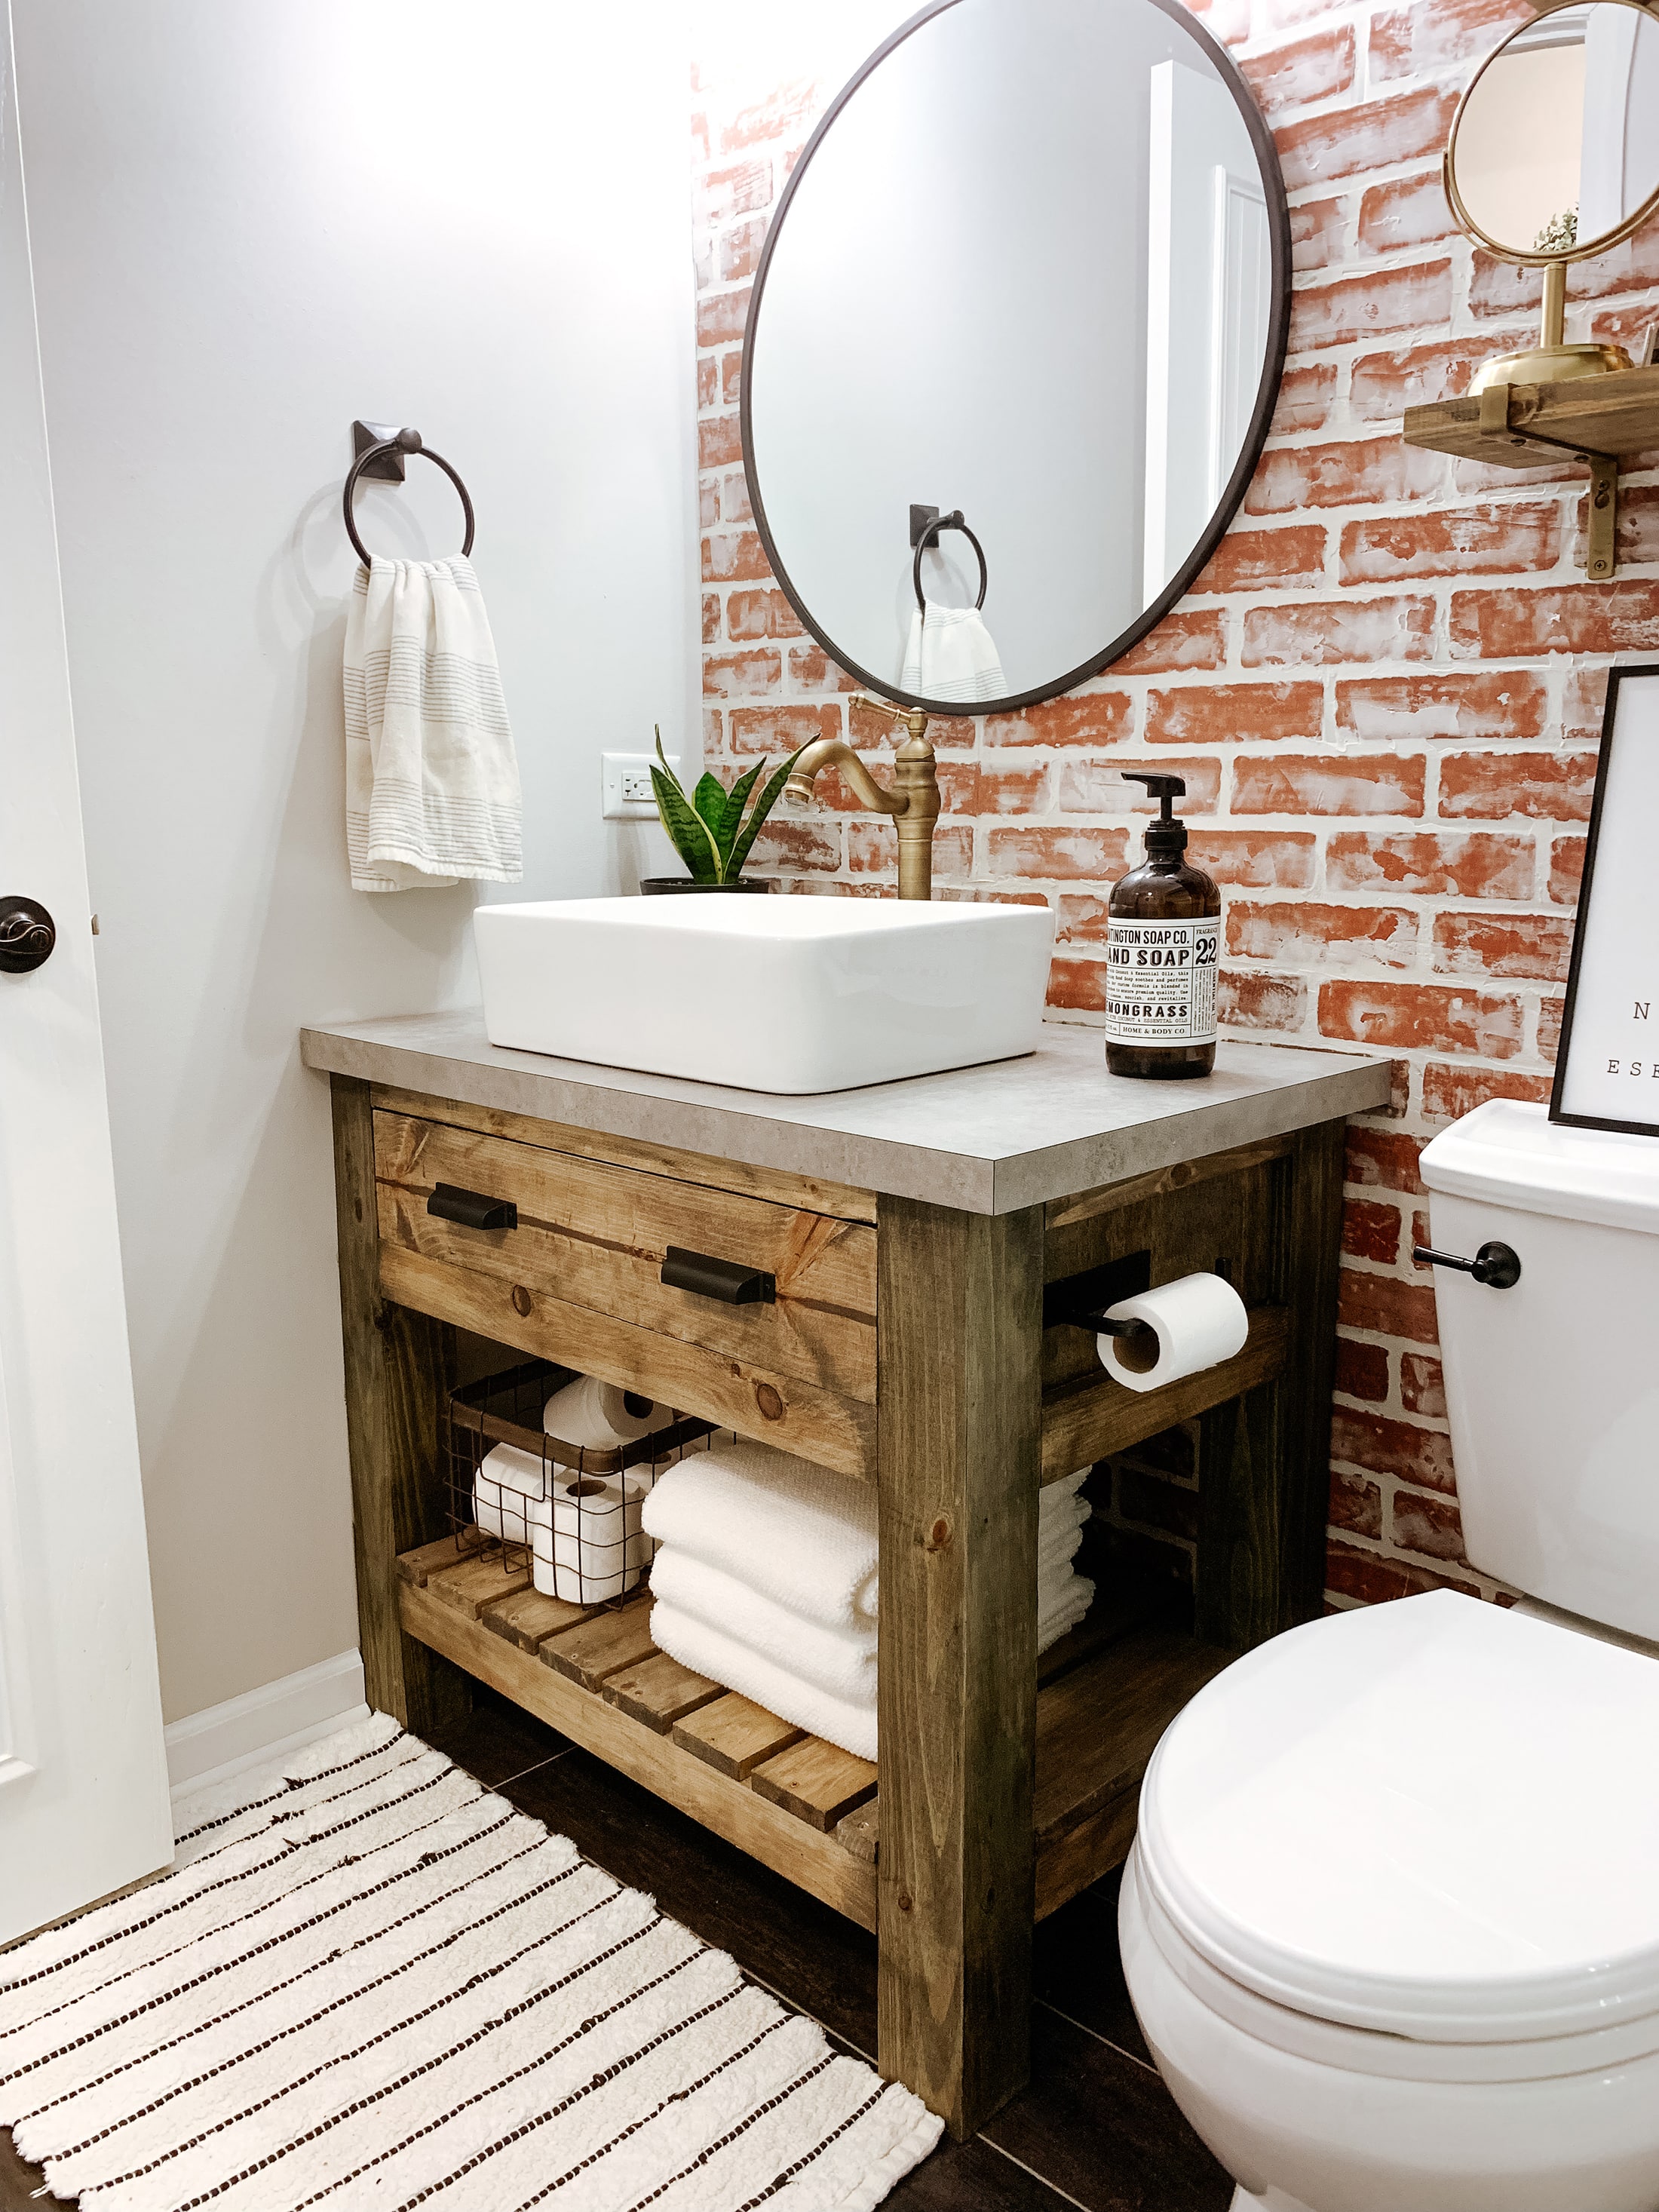
 One of the biggest advantages of creating your own shaker vanity doors is the cost savings. Instead of spending hundreds of dollars on pre-made doors, you can easily make your own for a fraction of the cost. Plus, by making it yourself, you have the freedom to customize the size, color, and finish of your doors to perfectly fit your bathroom design and personal style.
Tools and Materials You'll Need
 To get started, you'll need some basic tools such as a table saw, miter saw, drill, and sander. You'll also need materials like wood (such as pine or oak), wood glue, screws, and a finish of your choice. It's important to measure your existing vanity doors before purchasing materials to ensure a perfect fit.
Step-by-Step Guide
 Once you have all your materials, it's time to get to work. Start by cutting the frame pieces for your door using your table saw. Then, use a miter saw to cut the corners at a 45-degree angle for a seamless fit. Next, cut the center panel and attach it to the frame using wood glue and screws. Sand down any rough edges and finish off with your desired stain or paint.
With just a few tools and some creativity, you can easily create a stunning shaker vanity door that will elevate the look of your bathroom.
Not only will it add a touch of elegance, but it will also increase the functionality of your space. So why wait? Get started on your DIY project today and transform your bathroom into a stylish and functional oasis.
Once you have all your materials, it's time to get to work. Start by cutting the frame pieces for your door using your table saw. Then, use a miter saw to cut the corners at a 45-degree angle for a seamless fit. Next, cut the center panel and attach it to the frame using wood glue and screws. Sand down any rough edges and finish off with your desired stain or paint.
With just a few tools and some creativity, you can easily create a stunning shaker vanity door that will elevate the look of your bathroom.
Not only will it add a touch of elegance, but it will also increase the functionality of your space. So why wait? Get started on your DIY project today and transform your bathroom into a stylish and functional oasis.


/15027875487_3c8f741fc6_o-583f6c9c3df78c0230d86eb2.jpg)

