Replacing an undermount kitchen sink may seem like a daunting task, but with the right tools and knowledge, it can be a simple DIY project. Whether you're looking to upgrade your kitchen or your old sink is damaged, replacing an undermount kitchen sink can give your kitchen a fresh new look. Follow this step-by-step guide for a successful DIY undermount kitchen sink replacement.How to Replace an Undermount Kitchen Sink


How to Replace an Undermount Kitchen Sink


If you're a DIY enthusiast, replacing your undermount kitchen sink can be a rewarding project. It not only saves you money on hiring a professional, but it also allows you to customize your kitchen to your liking. With the right tools and materials, you can easily replace your old undermount kitchen sink and have a brand new one installed in no time.DIY Kitchen Sink Replacement


DIY Kitchen Sink Replacement


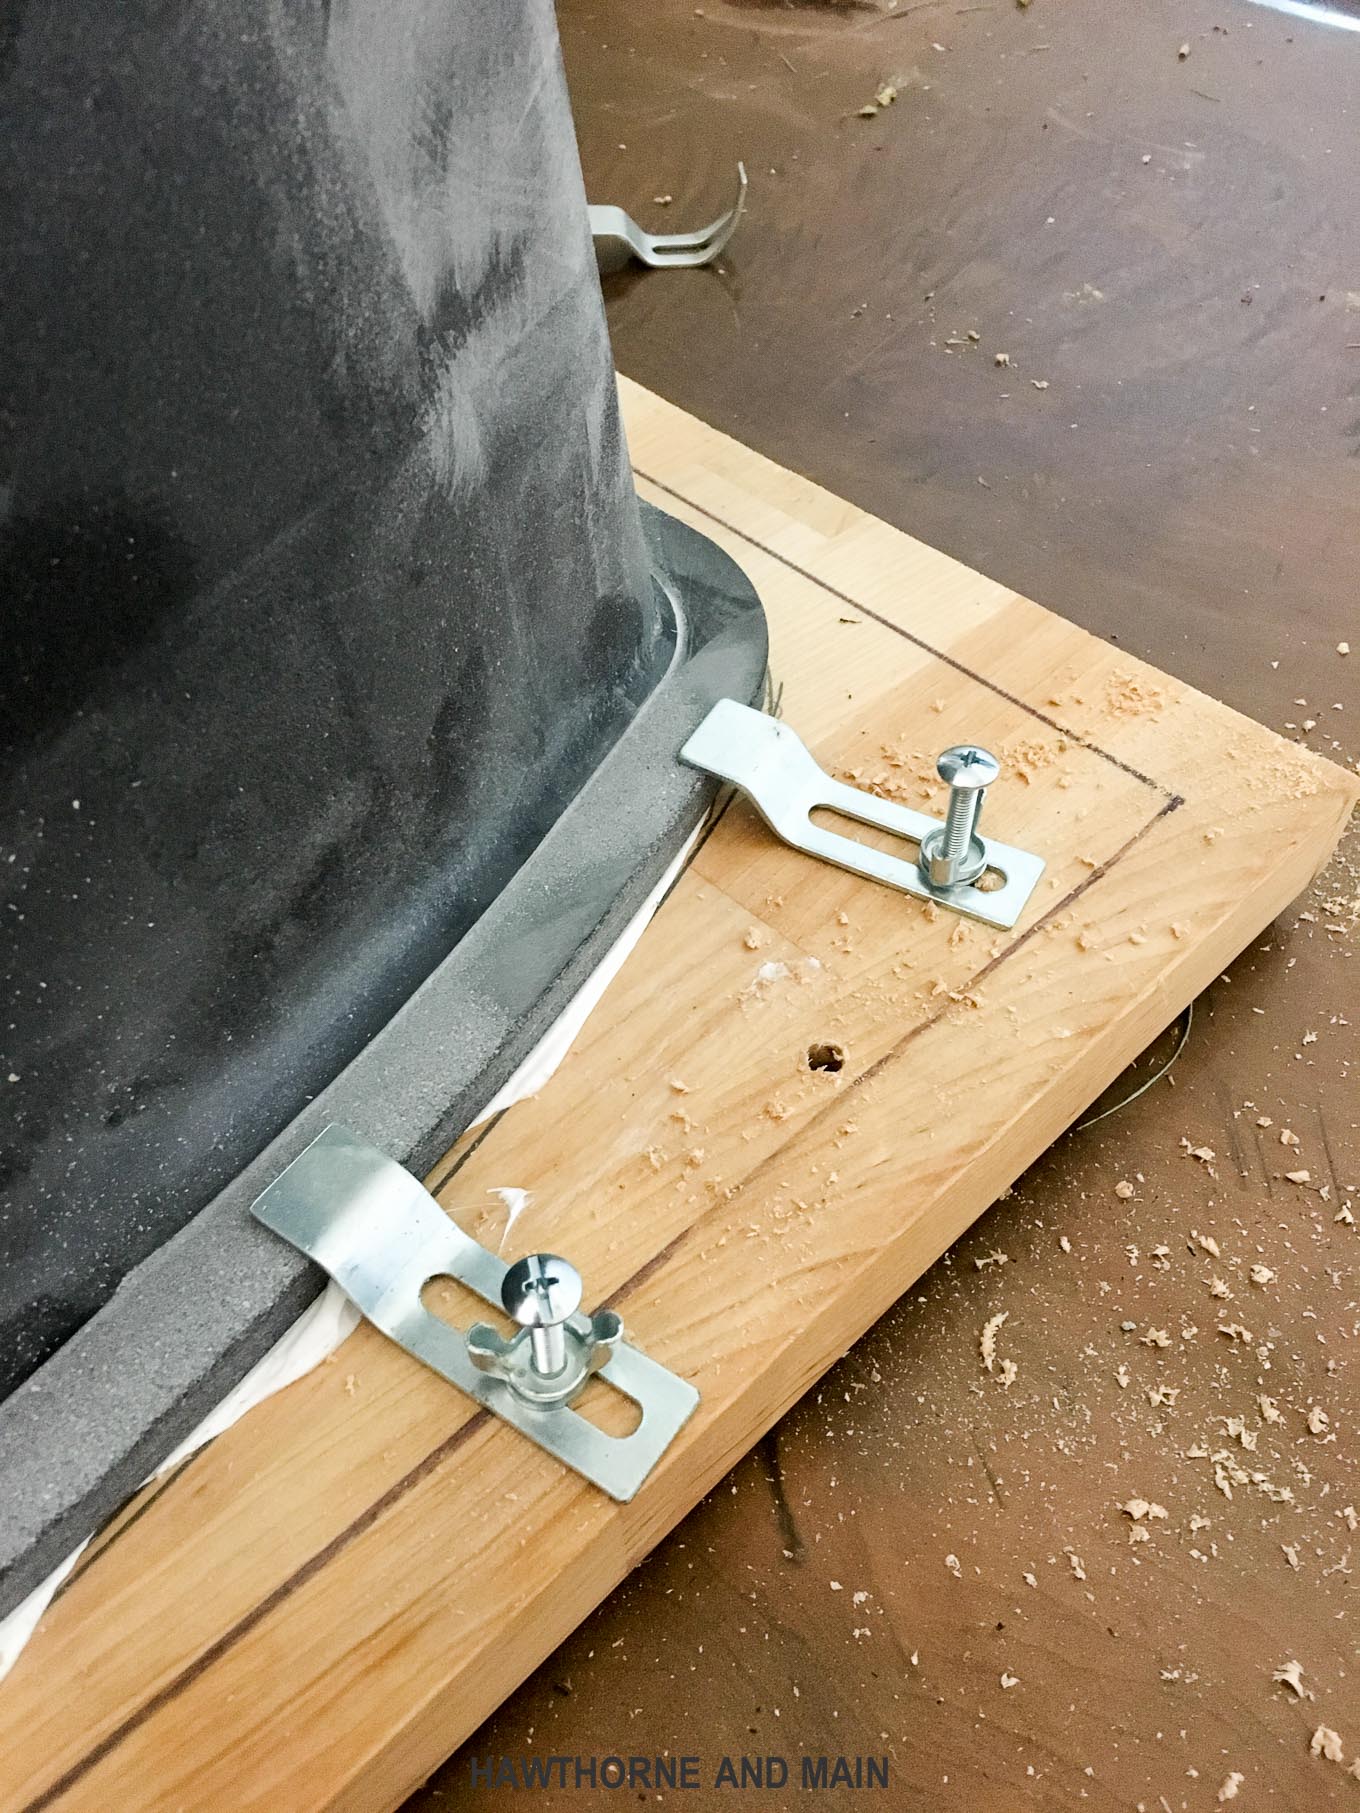
Before starting the replacement process, make sure to turn off the water supply to your kitchen sink. This will prevent any accidents or leaks. Next, disconnect the plumbing pipes and remove any caulk or adhesive holding the sink in place. Once the sink is free, carefully lift it out and set it aside. Now, it's time to install your new undermount kitchen sink. Apply a thin layer of silicone adhesive around the edges of the sink cutout and carefully place the new sink in. Secure the sink in place with clips and allow the adhesive to dry before reconnecting the plumbing.Step-by-Step Guide for Replacing an Undermount Kitchen Sink


Step-by-Step Guide for Replacing an Undermount Kitchen Sink


Replacing an undermount kitchen sink can be a fun and fulfilling DIY project. Not only do you get to add a personal touch to your kitchen, but you also save money and learn new skills. With the right tools, materials, and knowledge, you can easily replace your old undermount kitchen sink and give your kitchen a fresh new look.Replacing an Undermount Kitchen Sink: A DIY Project


Replacing an Undermount Kitchen Sink: A DIY Project


With the right tools and materials, replacing an undermount kitchen sink can be a smooth and hassle-free process. Make sure to choose a sink that fits the dimensions of your current cutout and invest in a good quality silicone adhesive. With proper installation, your new undermount kitchen sink will last for years to come.DIY Undermount Kitchen Sink Replacement Made Easy


DIY Undermount Kitchen Sink Replacement Made Easy


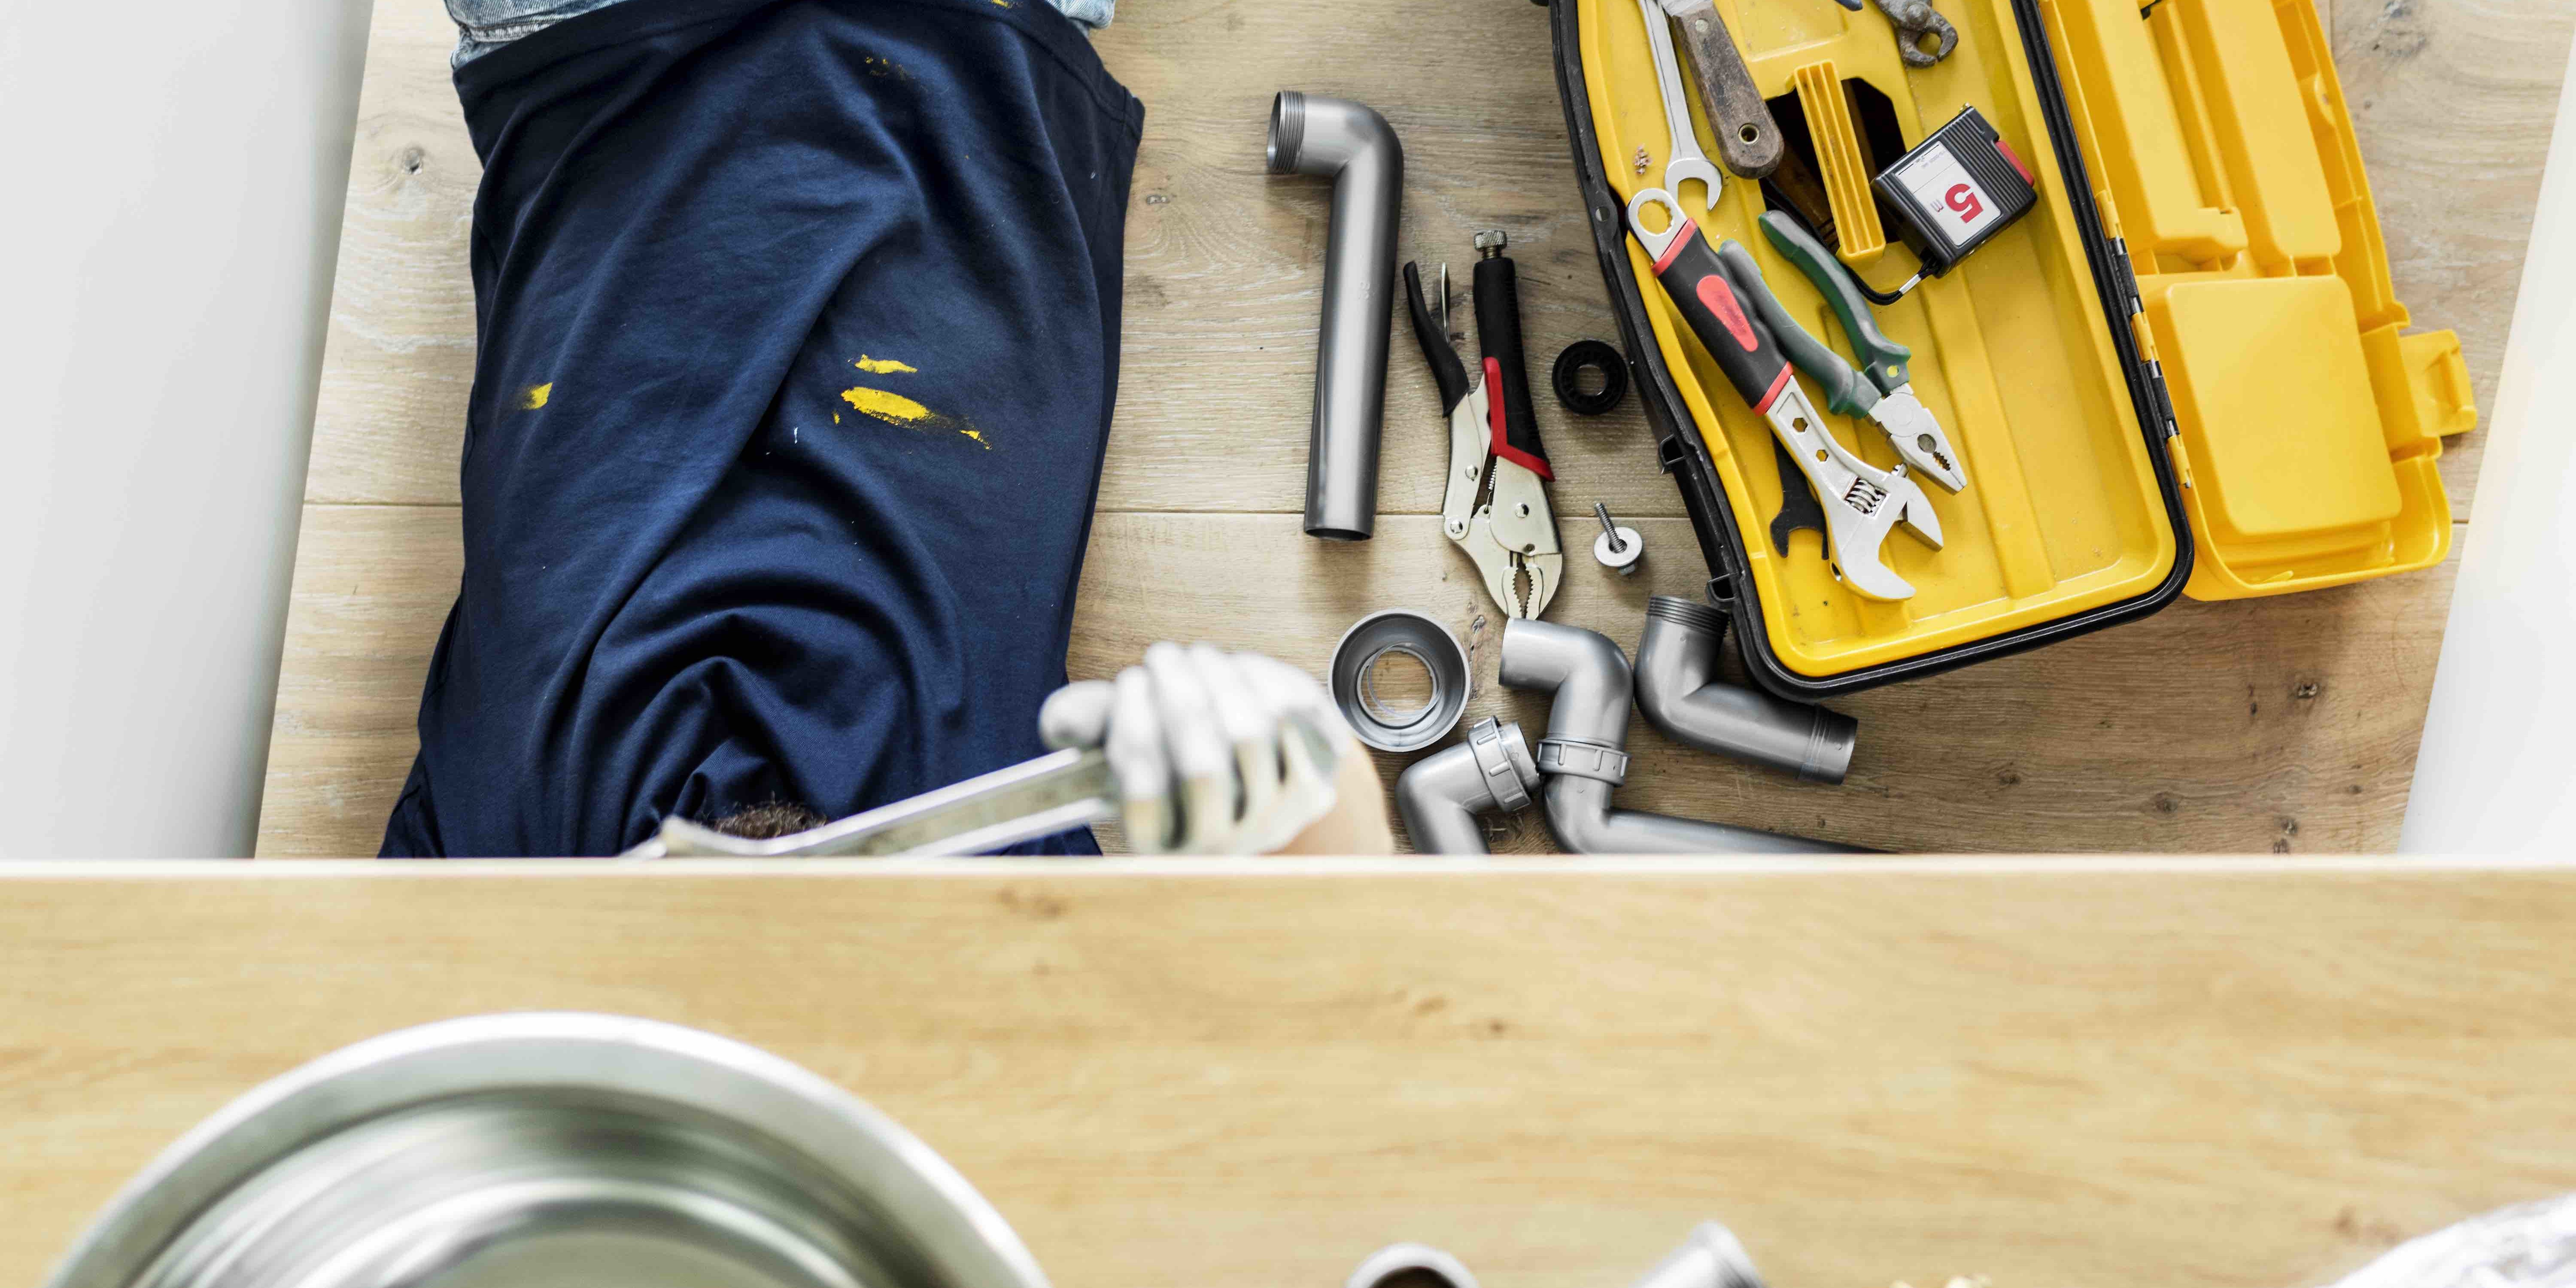

Before starting the replacement process, make sure you have all the necessary tools and materials. This includes a screwdriver, adjustable wrench, silicone adhesive, plumber's putty, and sink clips. It's also a good idea to have a bucket and towels on hand to catch any excess water or debris.Tools and Materials Needed for Replacing an Undermount Kitchen Sink


Tools and Materials Needed for Replacing an Undermount Kitchen Sink

Replacing an undermount kitchen sink may seem intimidating, but with a few tips and tricks, you can make the process easier. Make sure to measure your sink cutout accurately before purchasing a new sink to avoid any issues. Additionally, use a good quality silicone adhesive and allow it to dry completely before reconnecting the plumbing.Tips and Tricks for a Successful DIY Undermount Kitchen Sink Replacement


Tips and Tricks for a Successful DIY Undermount Kitchen Sink Replacement

Replacing an undermount kitchen sink may seem like a straightforward task, but there are a few common mistakes that can lead to problems. One of the most common mistakes is not using enough adhesive, which can result in a loose and unstable sink. It's also important to make sure the sink is level before securing it in place to avoid any water pooling or drainage issues.Common Mistakes to Avoid When Replacing an Undermount Kitchen Sink


Common Mistakes to Avoid When Replacing an Undermount Kitchen Sink


If you're replacing an old undermount kitchen sink, the first step is to remove the old one. Start by disconnecting the plumbing and removing any caulk or adhesive holding the sink in place. Next, carefully lift the sink out and set it aside. You can then proceed with installing your new undermount kitchen sink following the steps above.How to Remove an Old Undermount Kitchen Sink for Replacement


How to Remove an Old Undermount Kitchen Sink for Replacement


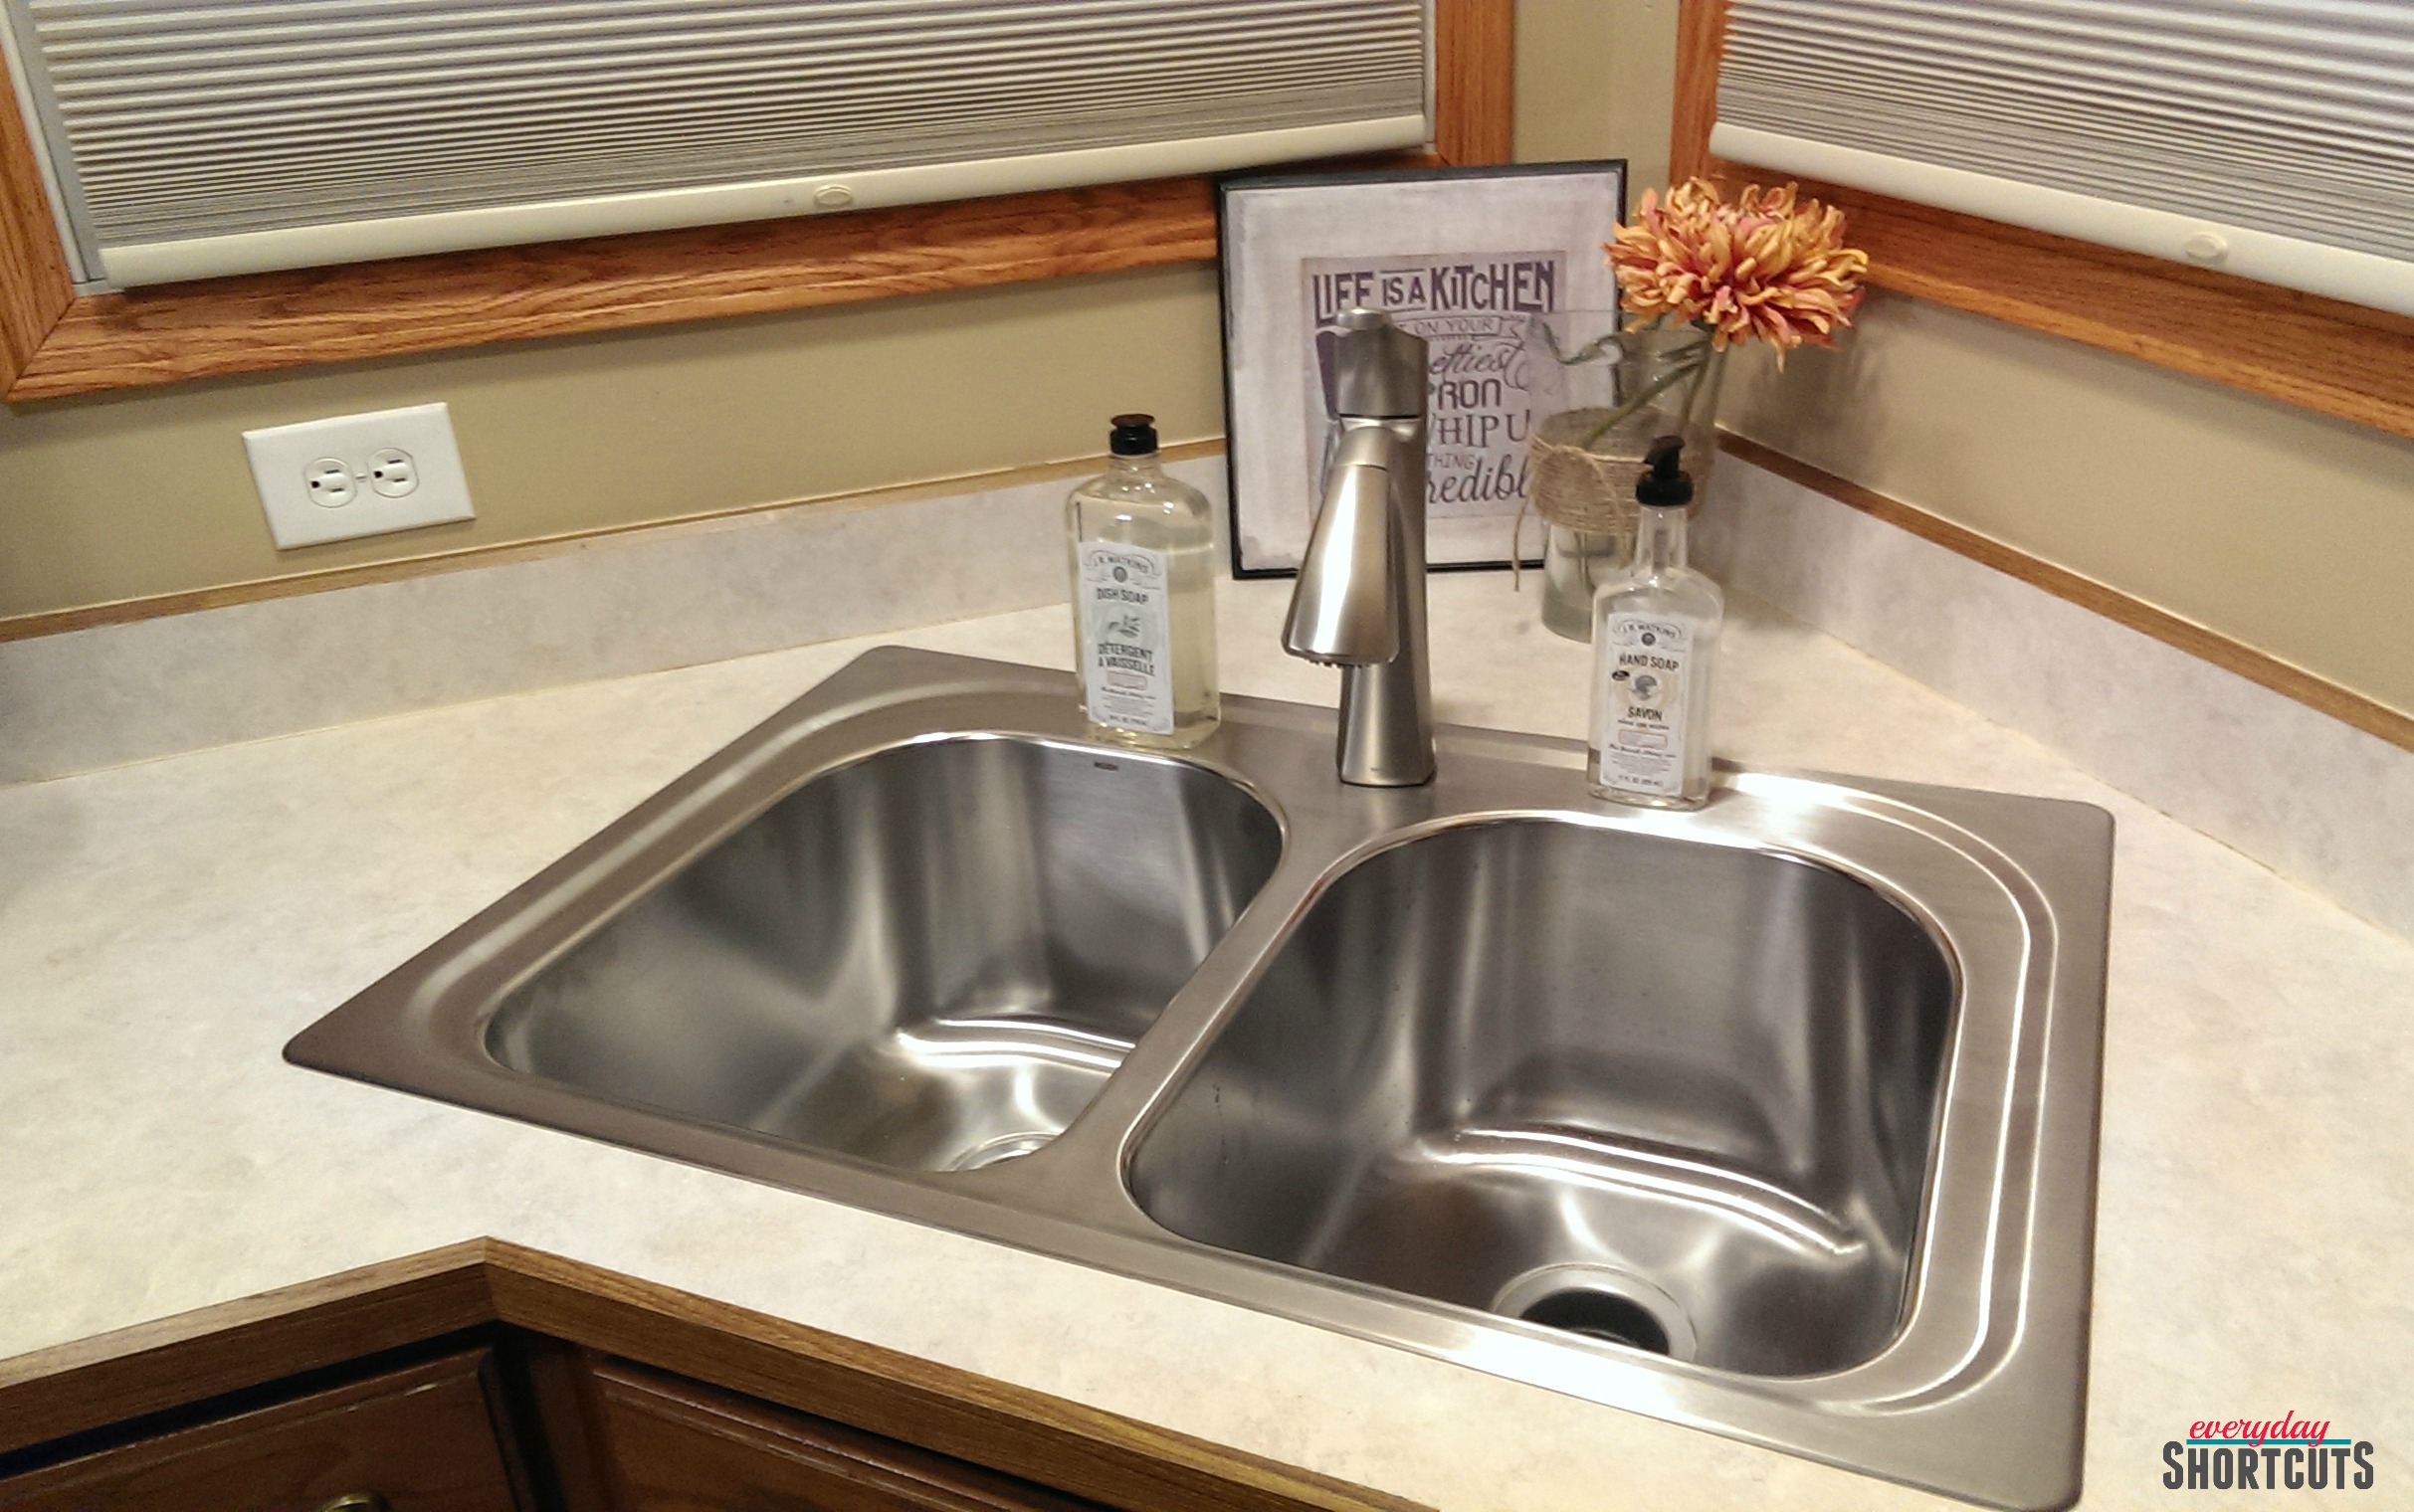
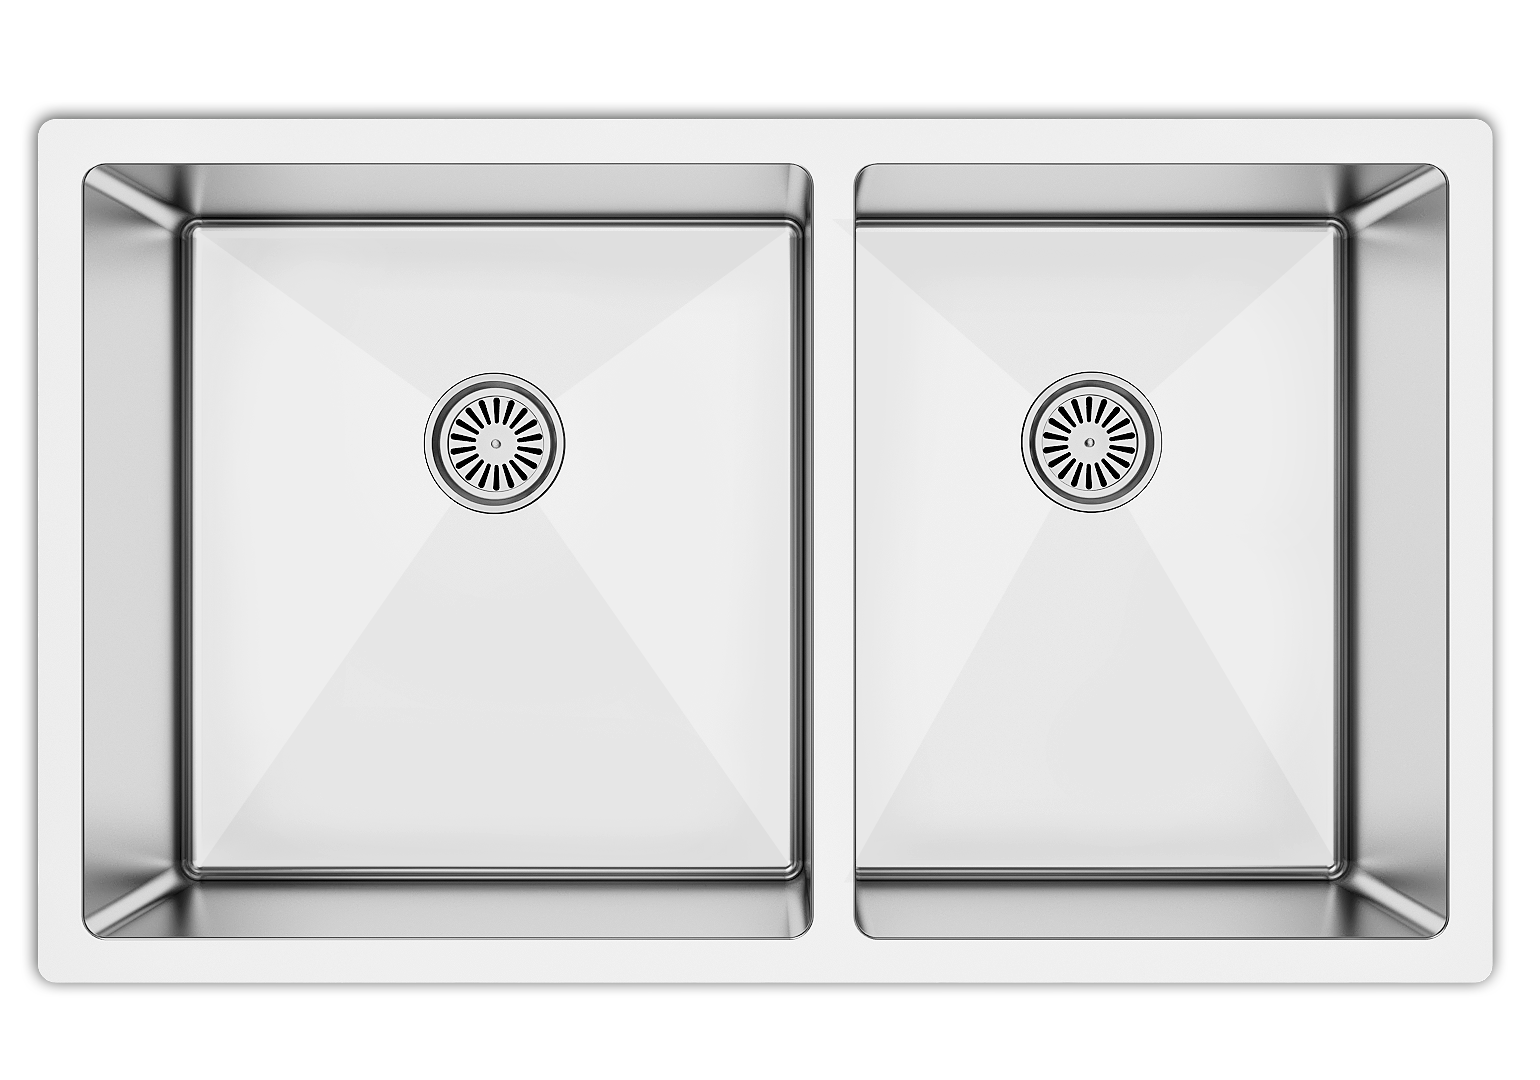
When choosing a replacement undermount kitchen sink, make sure to consider the size and style of your current sink. This will ensure a proper fit and cohesive look in your kitchen. You should also consider the material of the sink, such as stainless steel or porcelain, to suit your needs and preferences.Choosing the Right Replacement Undermount Kitchen Sink for Your DIY Project


Choosing the Right Replacement Undermount Kitchen Sink for Your DIY Project


Why Undermount Kitchen Sinks are a Popular Choice for DIY Home Renovations

The Advantages of Undermount Kitchen Sinks
 Undermount kitchen sinks have become increasingly popular in recent years, especially among homeowners who enjoy DIY home renovations. These types of sinks are installed underneath the countertop, creating a seamless and sleek look in the kitchen. Unlike traditional top-mount sinks, undermount sinks do not have a rim or lip that sits on top of the countertop, which makes it easier to clean and maintain. This type of sink also allows for more counter space, as there is no interruption from the sink. But why are undermount kitchen sinks a top choice for DIY home renovations? Let's explore the reasons.
Easy Installation
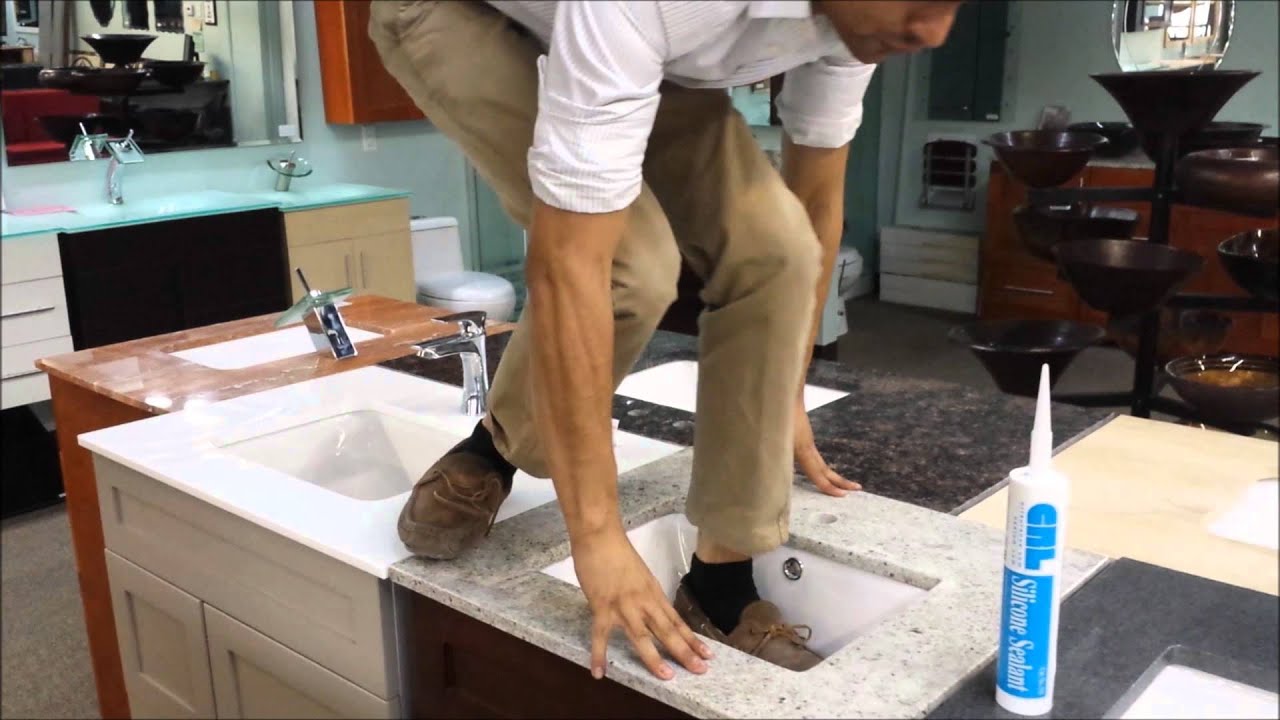
 One of the main reasons why undermount kitchen sinks are a popular choice for DIY home renovations is because they are relatively easy to install. With the right tools and a bit of patience, even novice DIYers can successfully install an undermount sink. The process involves cutting a hole in the countertop, placing the sink in the hole, and securing it with brackets. Many undermount sinks also come with a template to help with the installation process. This ease of installation makes it an attractive option for those looking to update their kitchen on their own.
Modern and Versatile Design
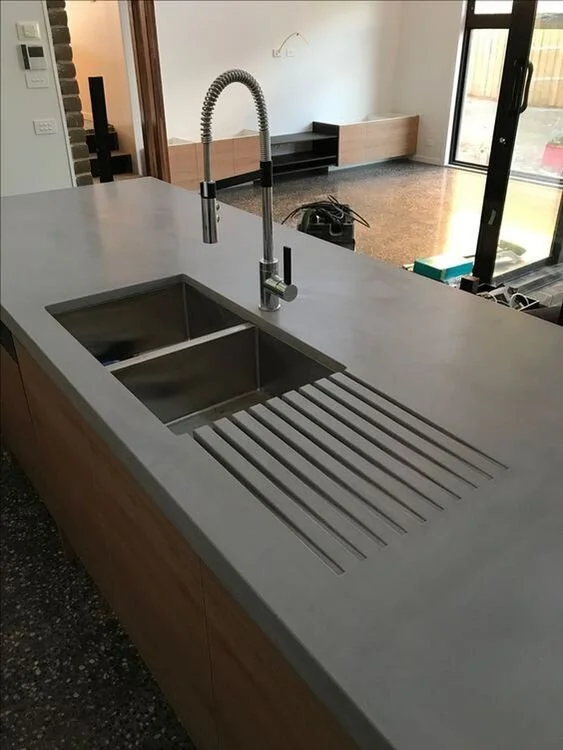
 Undermount kitchen sinks come in a variety of materials, such as stainless steel, granite, and porcelain, making them versatile and suitable for any kitchen design. They also offer a modern and sleek look, making them a popular choice among homeowners looking to update their kitchen. The lack of a rim or lip also allows for more flexibility in terms of the placement of the sink, making it easier to customize and design the kitchen according to personal preferences.
Seamless and Easy to Clean
 Another advantage of undermount kitchen sinks is their seamless design, which makes them easier to clean and maintain. With no rim or lip to catch food and debris, cleaning becomes a breeze. This also prevents the growth of bacteria and mold, promoting a healthier and more hygienic kitchen environment. Additionally, the lack of a rim also means no more grime buildup, making it easier to keep the sink looking sparkling clean.
Final Thoughts
 Undermount kitchen sinks are a popular choice for DIY home renovations due to their easy installation process, modern and versatile design, and seamless and easy-to-clean features. Not only do they add a stylish touch to the kitchen, but they also offer practical benefits that make them a top choice for homeowners looking to update their space. With the right tools and a bit of know-how, installing an undermount kitchen sink can be a rewarding and budget-friendly DIY project for any homeowner.