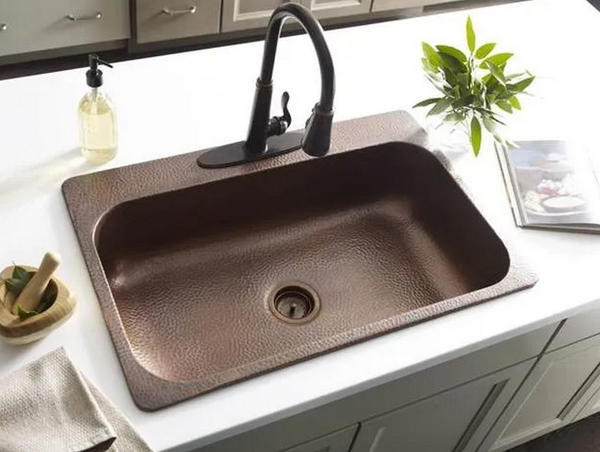
If you're tired of your old, stained, or dated kitchen sink, it may be time for a replacement. Don't worry, you don't have to be a professional plumber to tackle this project. With a little bit of preparation and some basic tools, you can easily replace your kitchen sink yourself. In this guide, we'll walk you through the process step-by-step, so you can have a beautiful new sink in no time.Replacing a Kitchen Sink: A Beginner's Guide


How to Replace a Kitchen Sink


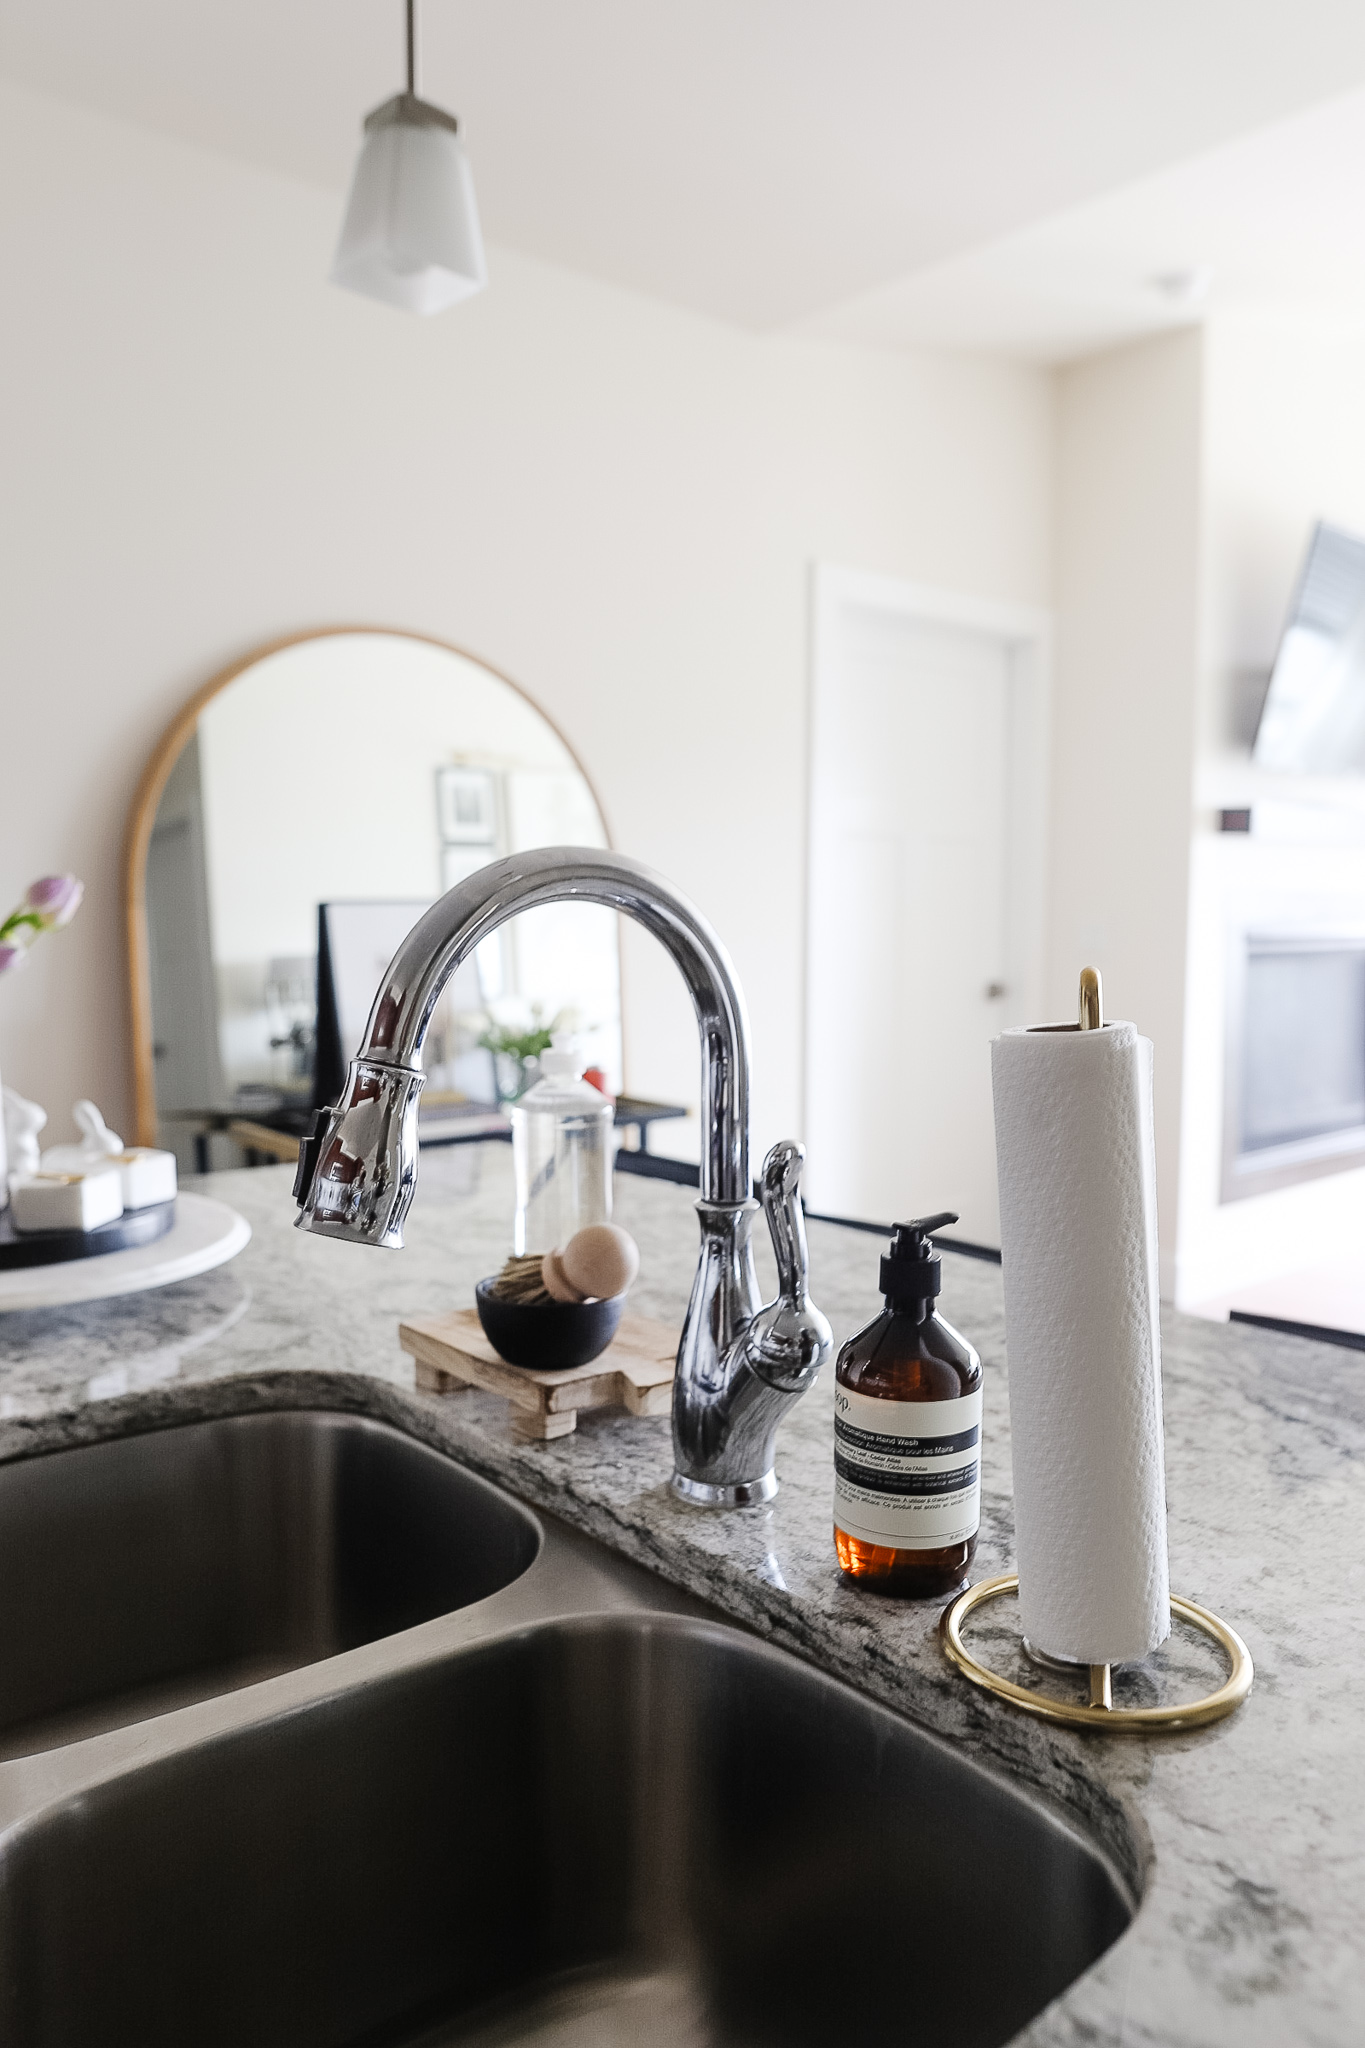
Replacing a kitchen sink may seem like a daunting task, but with the right tools and techniques, it can be a simple and satisfying DIY project. The key is to take your time and carefully follow each step. Before you begin, make sure you have all the necessary tools and materials, including a new sink, plumber's putty, silicone caulk, a wrench, and a screwdriver.DIY Kitchen Sink Installation


DIY Kitchen Sink Replacement


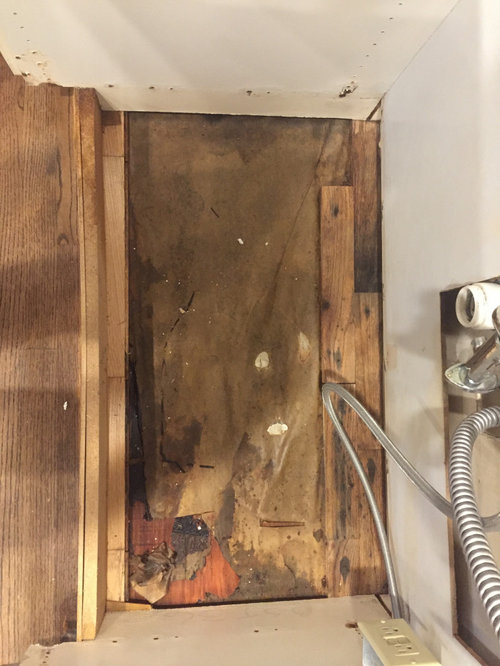
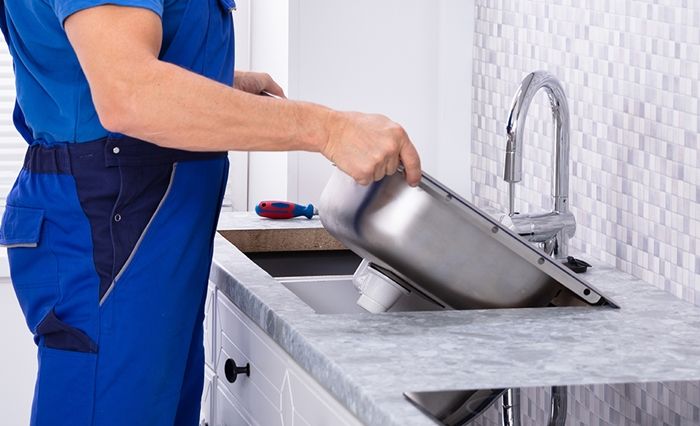
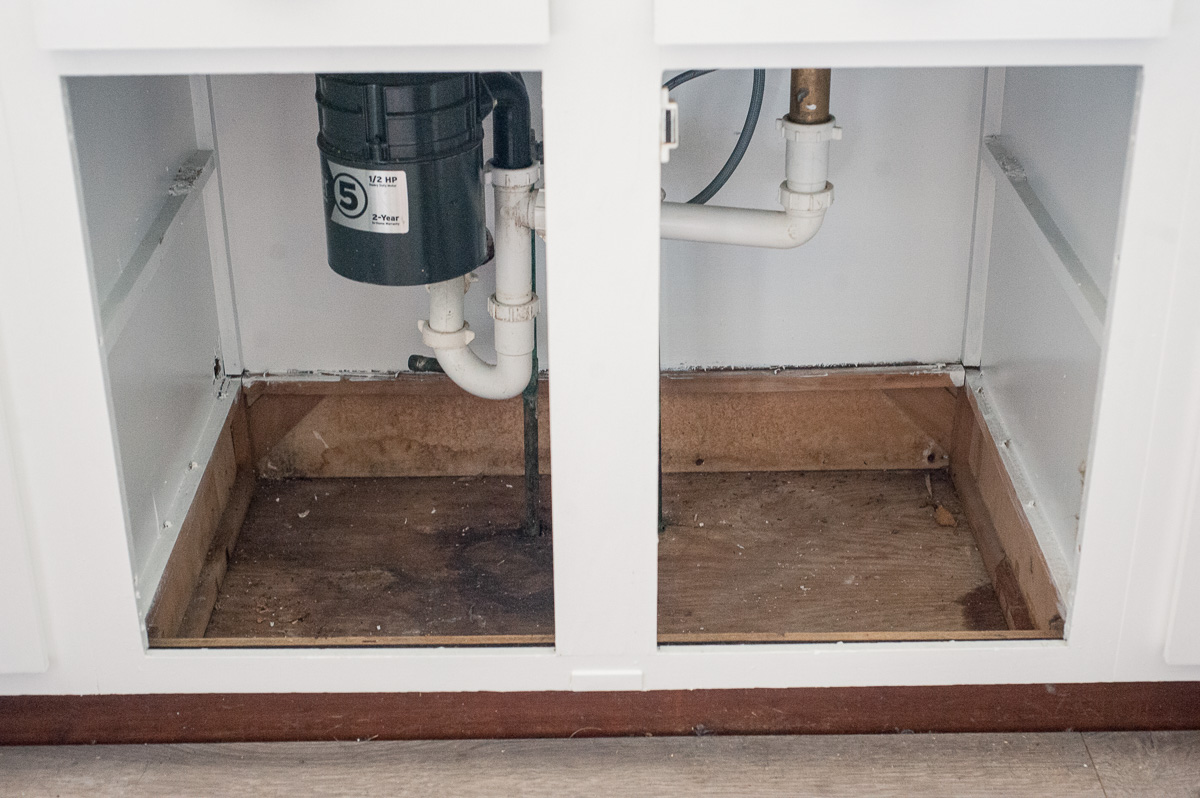
1. Turn off the water supply: Before you begin, make sure to turn off the water supply to your sink. This can usually be done by turning off the shut-off valves located under your sink or by turning off the main water supply to your house. 2. Disconnect the plumbing: Using a wrench, loosen the nuts that hold the drain and water supply lines to the bottom of the sink. Once they are loose, remove the lines and set them aside. 3. Remove the old sink: Using a screwdriver, remove any screws or clips that hold the old sink in place. Carefully lift the sink out of the countertop and set it aside. 4. Clean the area: Use a putty knife to remove any old caulk or adhesive from the countertop. This will ensure a clean and smooth surface for the new sink to be installed. 5. Install the new sink: Place the new sink into the opening in the countertop, making sure it is centered and level. Use clips or screws to secure the sink in place. 6. Connect the plumbing: Attach the drain and water supply lines to the new sink, making sure they are tight and secure. Use plumber's putty to seal any gaps around the drain. 7. Apply caulk: Run a bead of silicone caulk around the edges of the sink where it meets the countertop. This will create a watertight seal and prevent any leaks. 8. Reconnect the water supply: Turn the water supply back on and check for any leaks. If everything looks good, you're all set!Step-by-Step Guide for Replacing a Kitchen Sink


Step-by-Step Guide for Replacing a Kitchen Sink


- Before starting the project, make sure to measure your new sink and the opening in your countertop to ensure they are a perfect fit. - If you're replacing an old sink with a new one, consider upgrading to a deeper or larger sink for more functionality. - Always use plumber's putty or silicone caulk to seal any gaps and prevent leaks. - If you're unsure about anything, don't hesitate to consult a professional plumber for assistance.Replacing a Kitchen Sink: Tips and Tricks


Replacing a Kitchen Sink: A Beginner's Guide


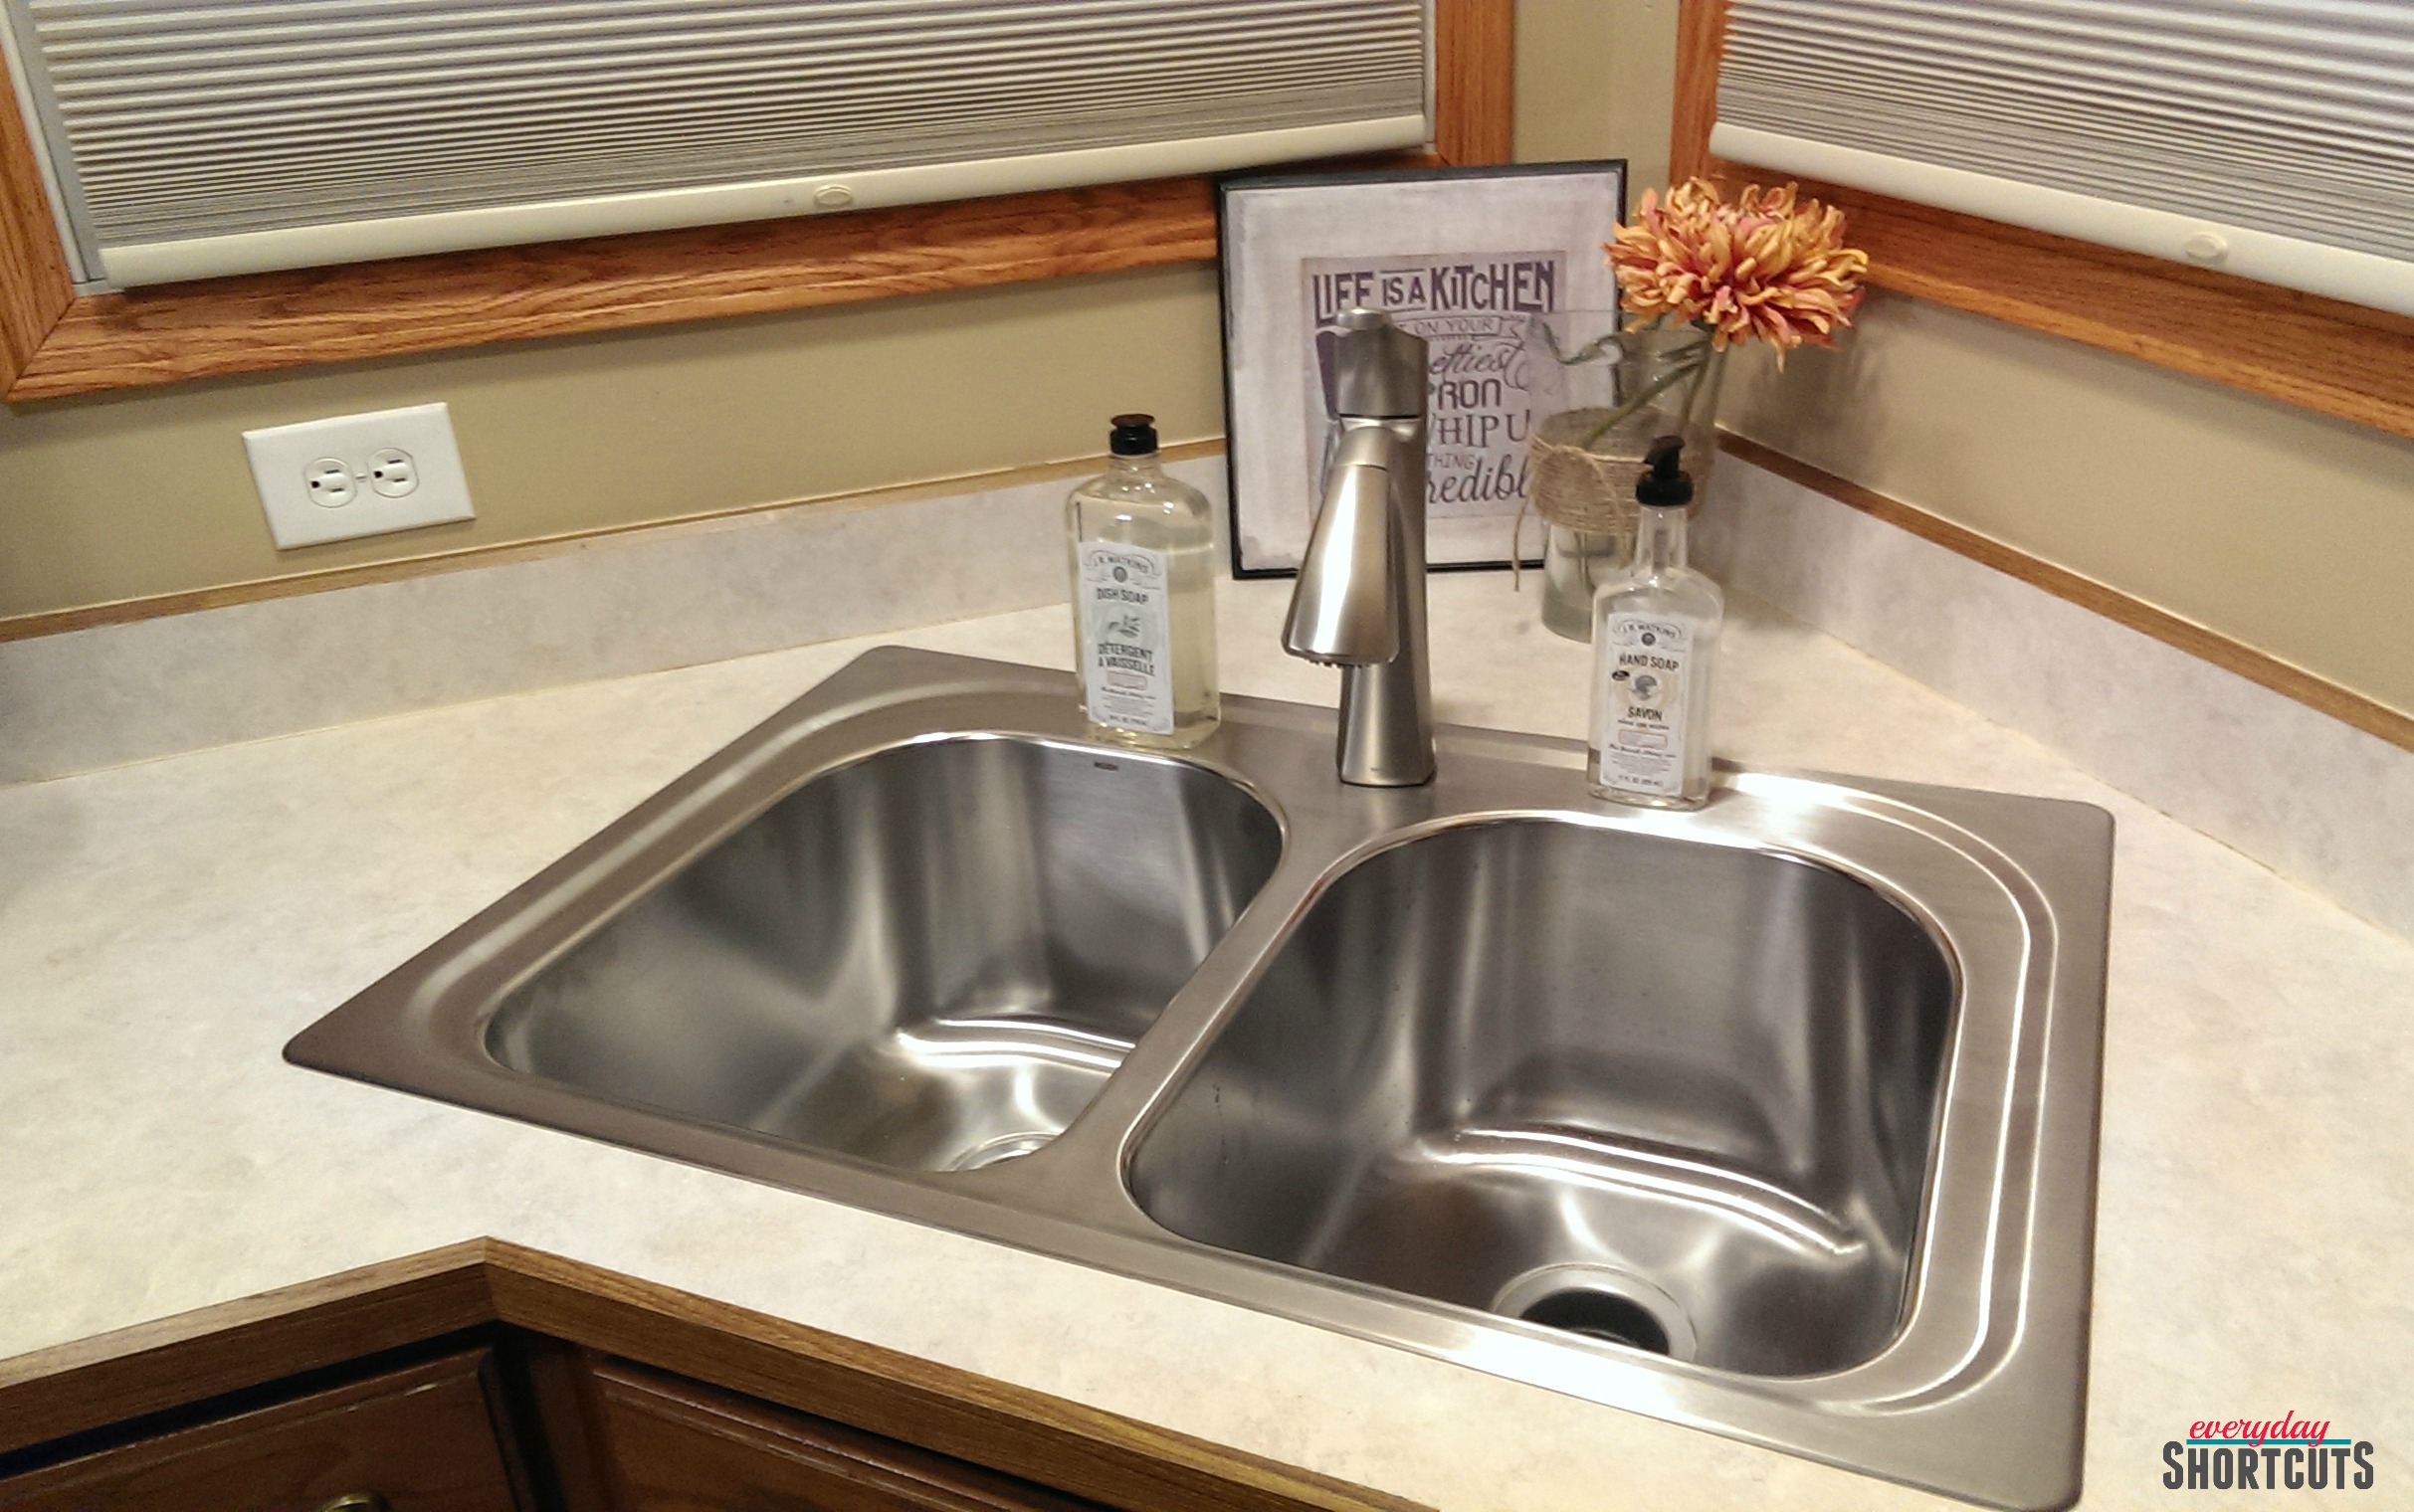
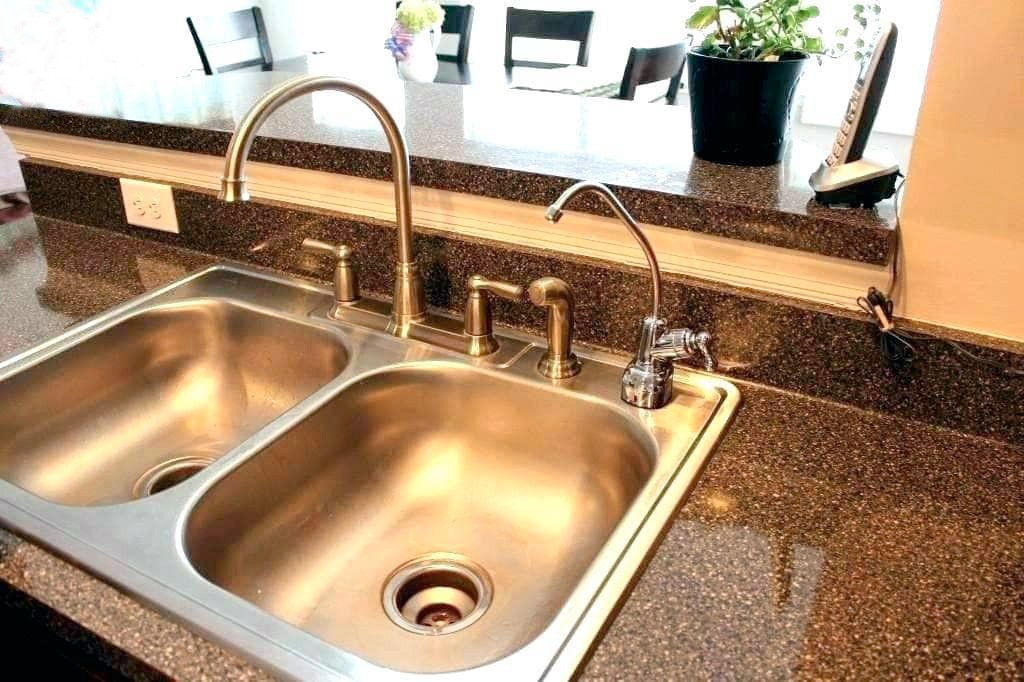
Replacing a kitchen sink can be a messy task, so be prepared to clean up any spills or debris along the way. It's also a good idea to have a bucket or towel handy to catch any water that may come out of the plumbing lines. Additionally, make sure to choose a sink that fits your needs and complements your kitchen's style. There are a variety of materials, sizes, and styles to choose from, so do your research before making a purchase.DIY Kitchen Sink Replacement: What You Need to Know


DIY Kitchen Sink Installation


:no_upscale()/cdn.vox-cdn.com/uploads/chorus_asset/file/19495086/drain_0.jpg)


- Not turning off the water supply before starting the project. - Not measuring properly and ending up with a sink that doesn't fit the opening in the countertop. - Forgetting to seal gaps with plumber's putty or caulk, leading to leaks and water damage. - Rushing through the project and not following each step carefully, resulting in mistakes and potential damage to the new sink.Replacing a Kitchen Sink: Common Mistakes to Avoid

Replacing a Kitchen Sink: Tips and Tricks
- New sink - Plumber's putty - Silicone caulk - Wrench - Screwdriver - Bucket or towelDIY Kitchen Sink Replacement: Tools and Materials


DIY Kitchen Sink Replacement: What You Need to Know


Replacing a kitchen sink can seem like a daunting task, but with the right tools and knowledge, it can be a simple and rewarding DIY project. By following our step-by-step guide and avoiding common mistakes, you'll have a beautiful new sink in your kitchen in no time. Remember to take your time, measure properly, and seal any gaps to prevent leaks. Happy DIYing!How to Replace a Kitchen Sink: A Comprehensive Guide

Replacing a Kitchen Sink: Common Mistakes to Avoid


Benefits of Replacing Your Kitchen Sink

Improve Functionality
 Replacing your kitchen sink can greatly improve the functionality of your kitchen. Over time, sinks can become stained, scratched, and chipped, making it difficult to properly clean and prepare food. By installing a new sink, you can make your daily tasks in the kitchen much easier and more efficient.
Enhance Aesthetics
 In addition to improving functionality, replacing your kitchen sink can also enhance the overall aesthetic of your kitchen. A new sink can instantly update the look of your kitchen and add a touch of modernity or elegance, depending on the style you choose. With a wide variety of materials, colors, and designs available, you can easily find a sink that complements your kitchen's design and enhances its overall appearance.
Increase Home Value
 Replacing your kitchen sink is also a wise investment in your home. A modern and attractive sink can increase the value of your home, making it more appealing to potential buyers. This is especially important if you are planning to sell your home in the future. A new kitchen sink is often seen as a desirable feature and can help your home stand out in a competitive market.
Save Money on Repairs
 If your current sink is old and worn out, it may be costing you money in constant repairs. By replacing it with a new sink, you can prevent future repair costs and save money in the long run. Additionally, newer sinks are often more durable and resistant to wear and tear, meaning you won't have to worry about frequent repairs or replacements.
Upgrade to Modern Features
 Older sinks may not have the modern features that newer sinks offer. By replacing your kitchen sink, you can upgrade to a model with features such as a deep basin, sprayer attachment, or touchless faucet. These features can make your kitchen tasks easier and more enjoyable, and can also add a touch of luxury to your space.
Conclusion
 Replacing your kitchen sink may seem like a daunting task, but the benefits far outweigh the effort. By improving functionality, enhancing aesthetics, increasing home value, saving money on repairs, and upgrading to modern features, a new kitchen sink can greatly improve your overall kitchen experience. So why wait? Take the first step towards a better kitchen by considering a DIY replacement of your kitchen sink.