Are you looking to add a personal touch to your kitchen without breaking the bank? Building a DIY kitchen table with a handsaw is a fun and budget-friendly project that can add character to your space. Plus, you'll have the satisfaction of knowing you created a piece of furniture with your own hands. Here's everything you need to know to get started.How to Build a DIY Kitchen Table with a Handsaw


How to Build a DIY Kitchen Table with a Handsaw


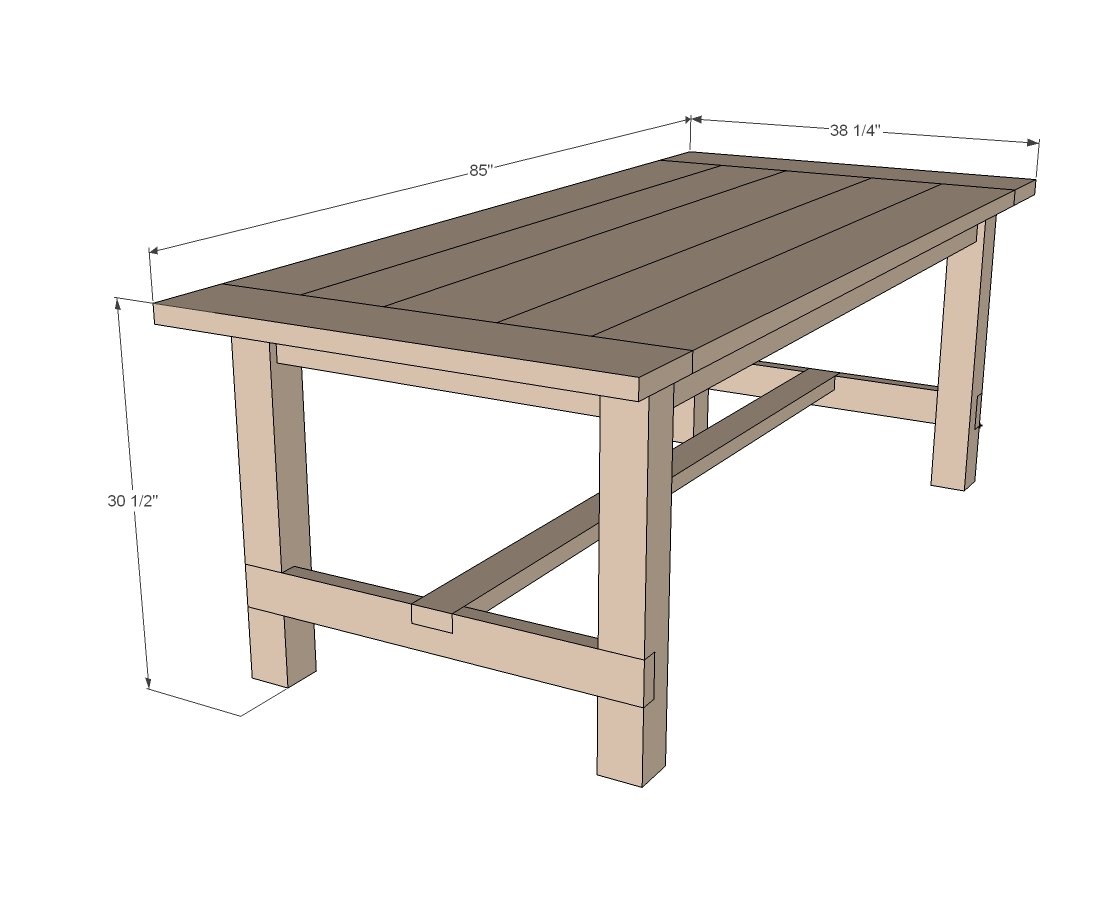
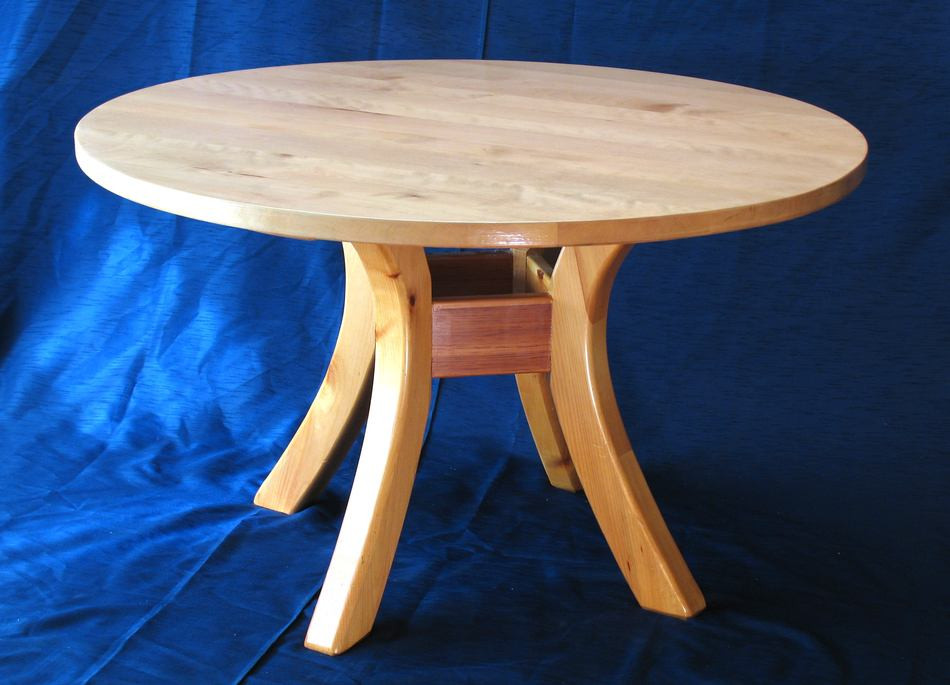
Before starting any DIY project, it's important to have a plan in place. This will help you stay organized and ensure that your final product turns out just the way you want it. When it comes to building a kitchen table with a handsaw, there are plenty of free plans available online. You can also create your own plan based on your desired size and design.DIY Kitchen Table Plans with a Handsaw


DIY Kitchen Table Plans with a Handsaw
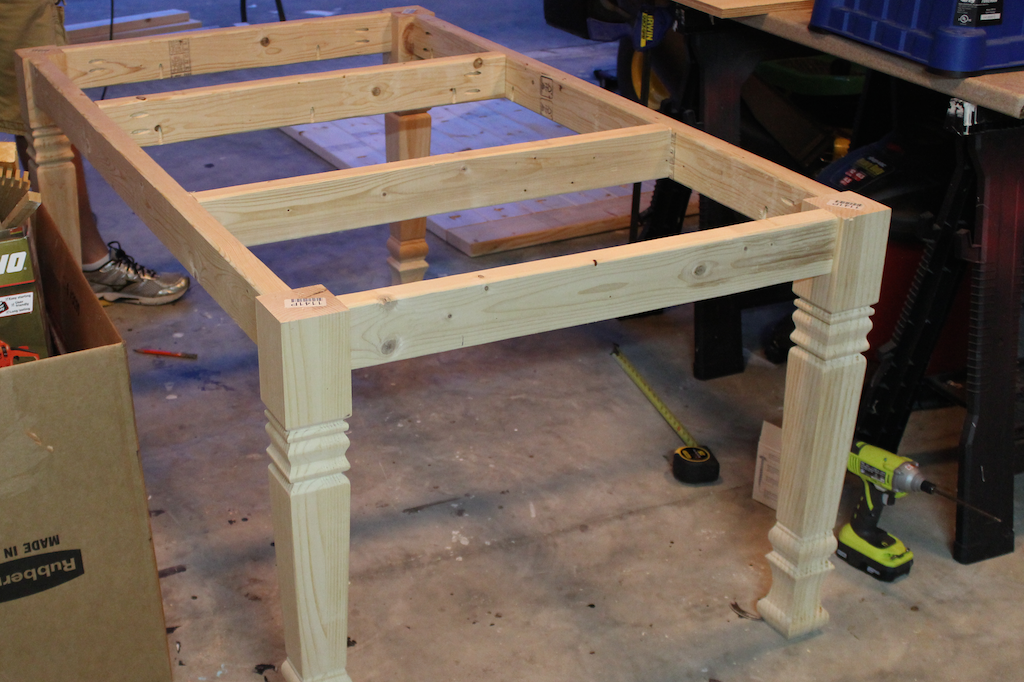
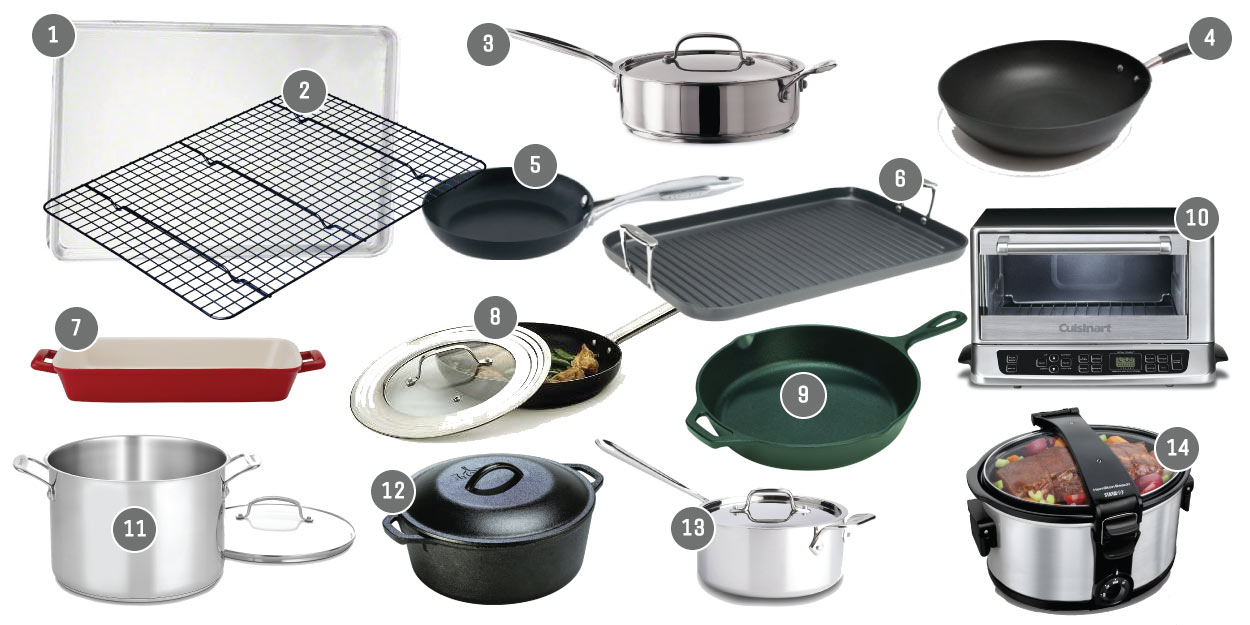
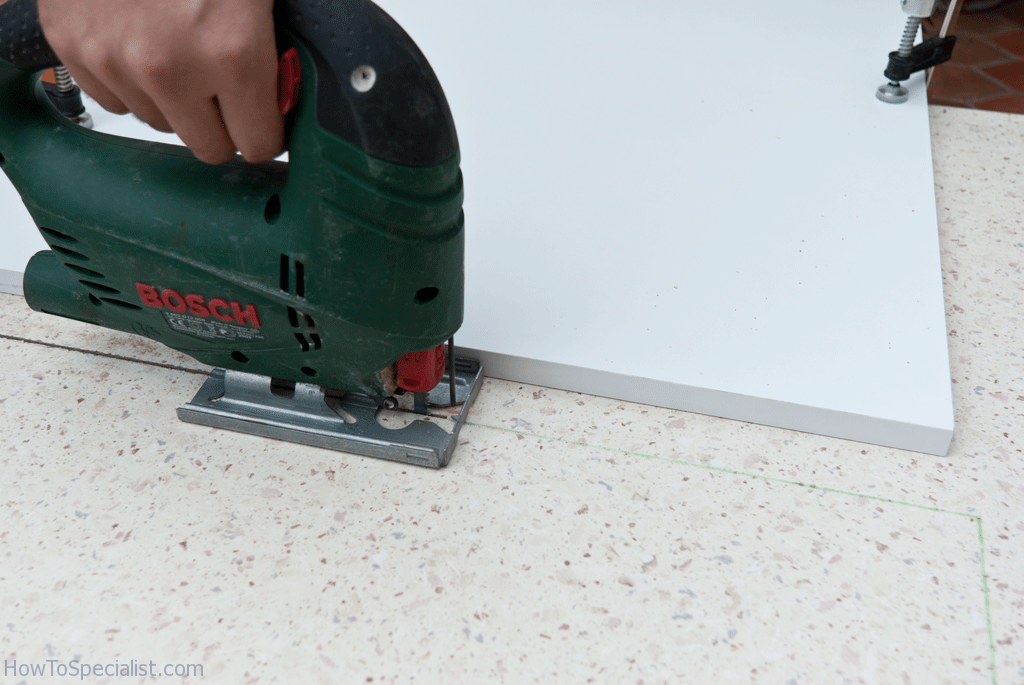
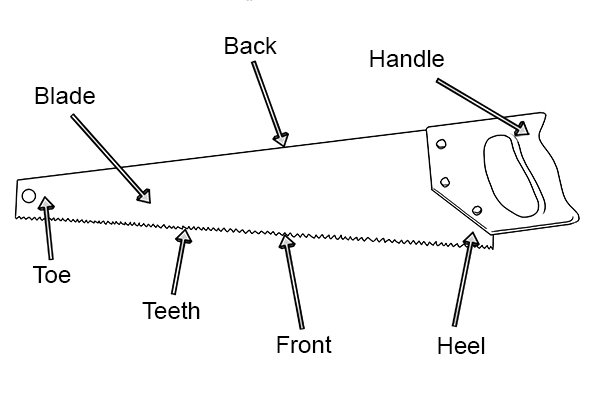
Now that you have your plan in place, it's time to get to work. Here's a step-by-step guide for building a kitchen table with a handsaw: Step 1: Gather your materials Before you begin, make sure you have all the necessary materials on hand. This includes a handsaw, wood for the tabletop and legs, screws, a drill, and sandpaper. Step 2: Cut the wood Using your handsaw, cut the wood according to your plan. Make sure to measure and mark the wood accurately before making any cuts. Step 3: Assemble the tabletop Once you have all the pieces cut, it's time to assemble the tabletop. Lay out the pieces on a flat surface and use screws to attach them together. Make sure to pre-drill the holes to prevent the wood from splitting. Step 4: Build the legs Next, it's time to build the legs of your kitchen table. This can be done by cutting four equal-sized pieces of wood and attaching them to the corners of the tabletop. Again, make sure to pre-drill the holes and use screws to secure the legs in place. Step 5: Sand and finish Once your kitchen table is fully assembled, use sandpaper to smooth out any rough edges. You can also add a coat of paint or stain to give your table a finished look.Step-by-Step Guide for Building a Kitchen Table with a Handsaw


Step-by-Step Guide for Building a Kitchen Table with a Handsaw


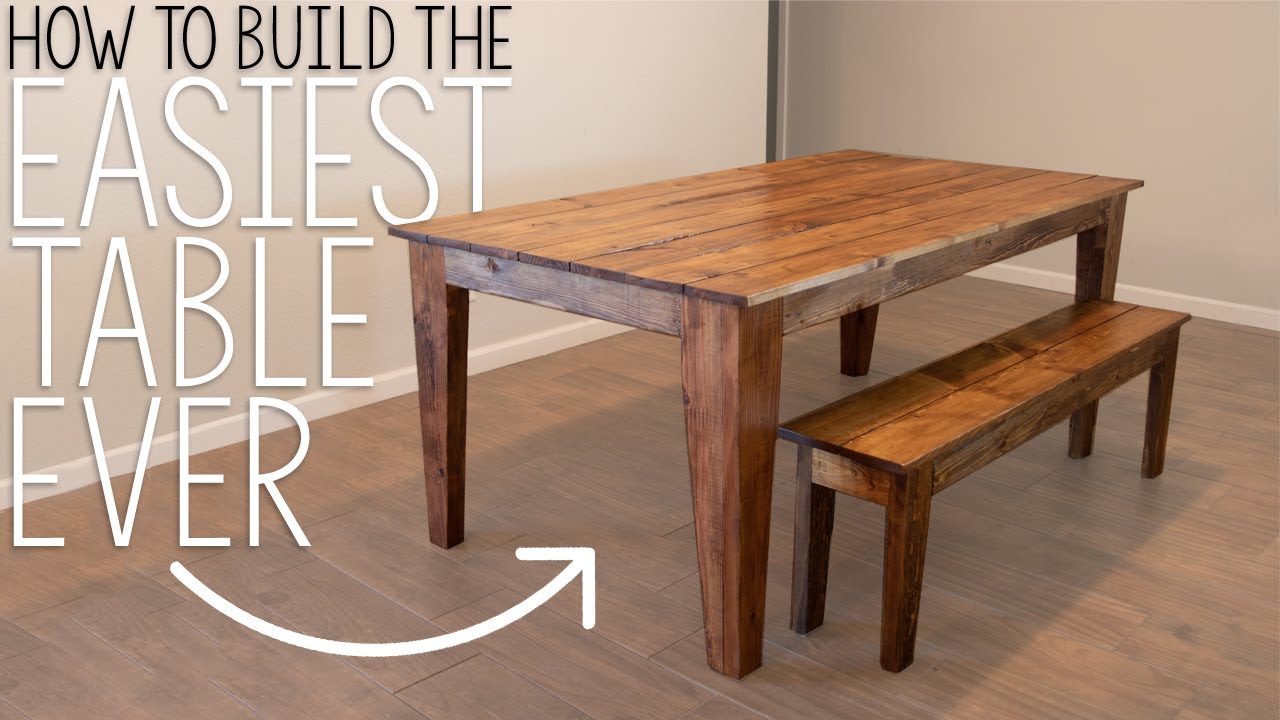
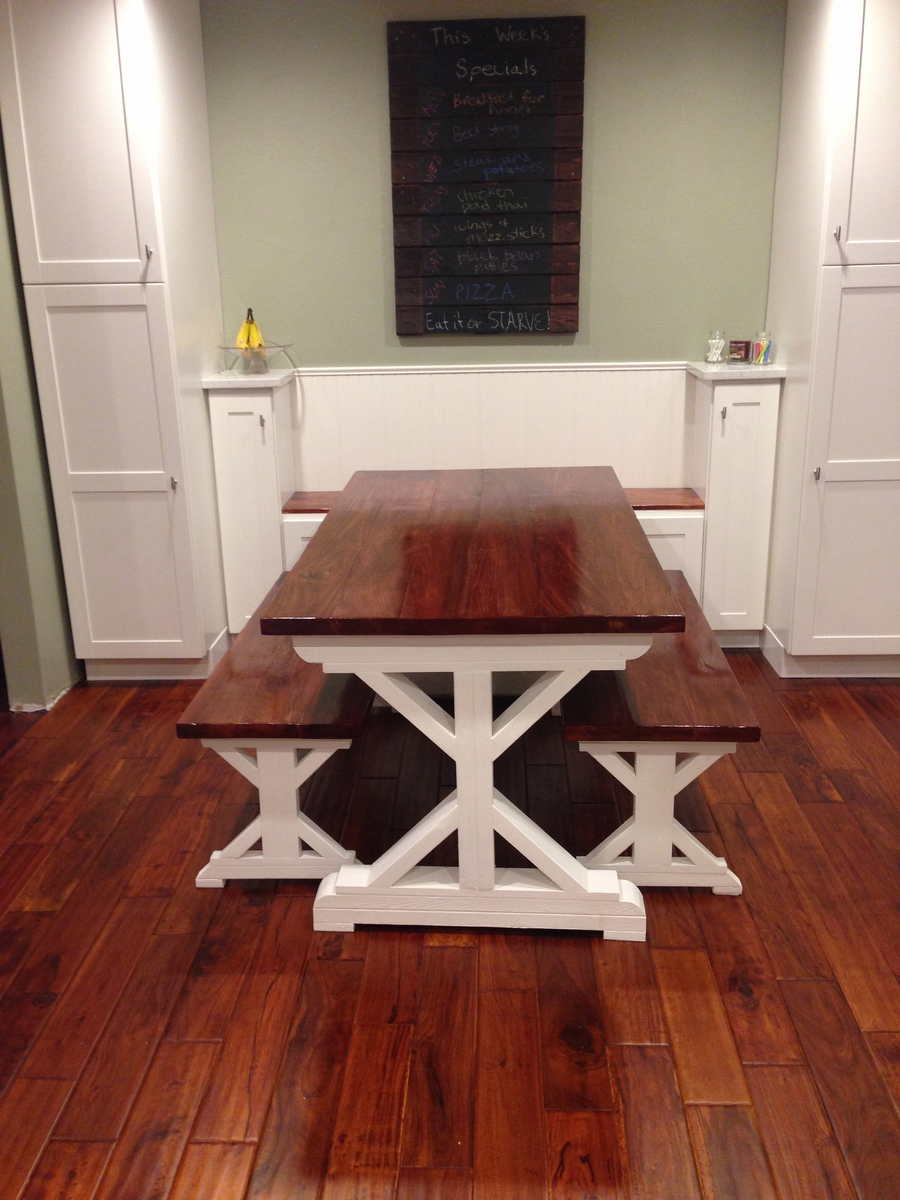
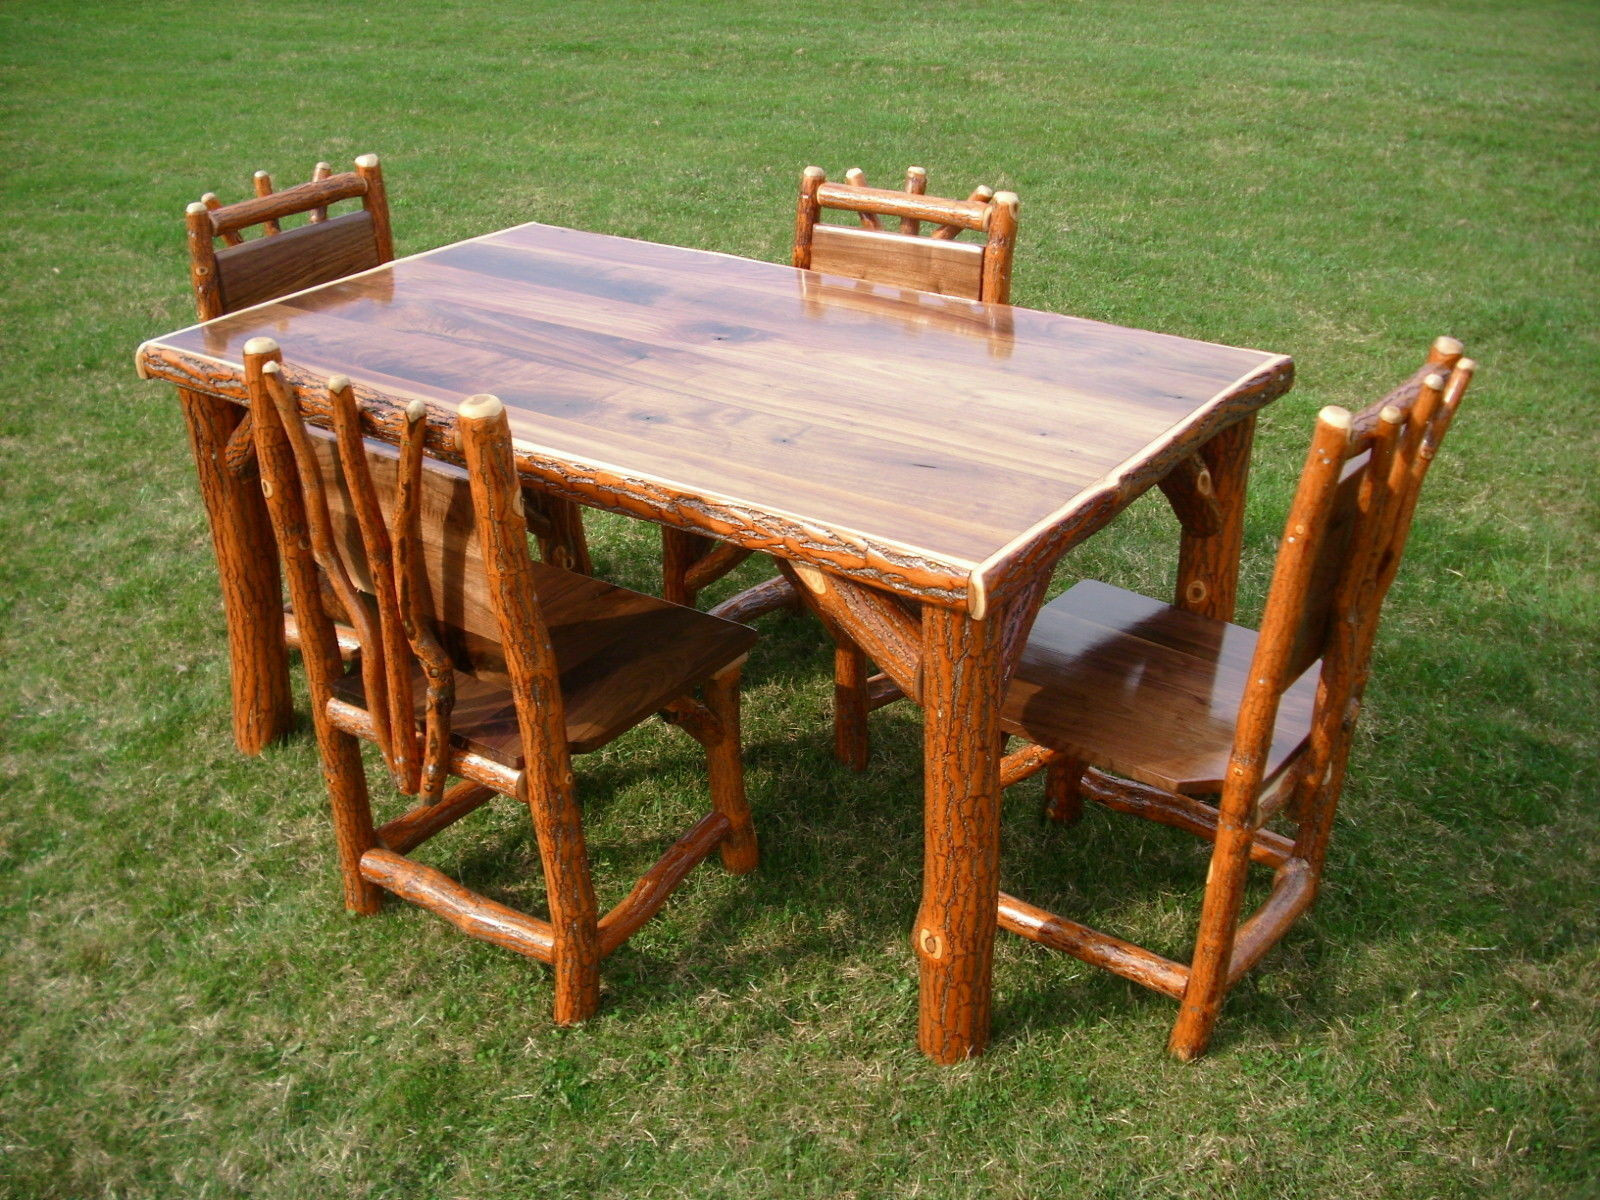
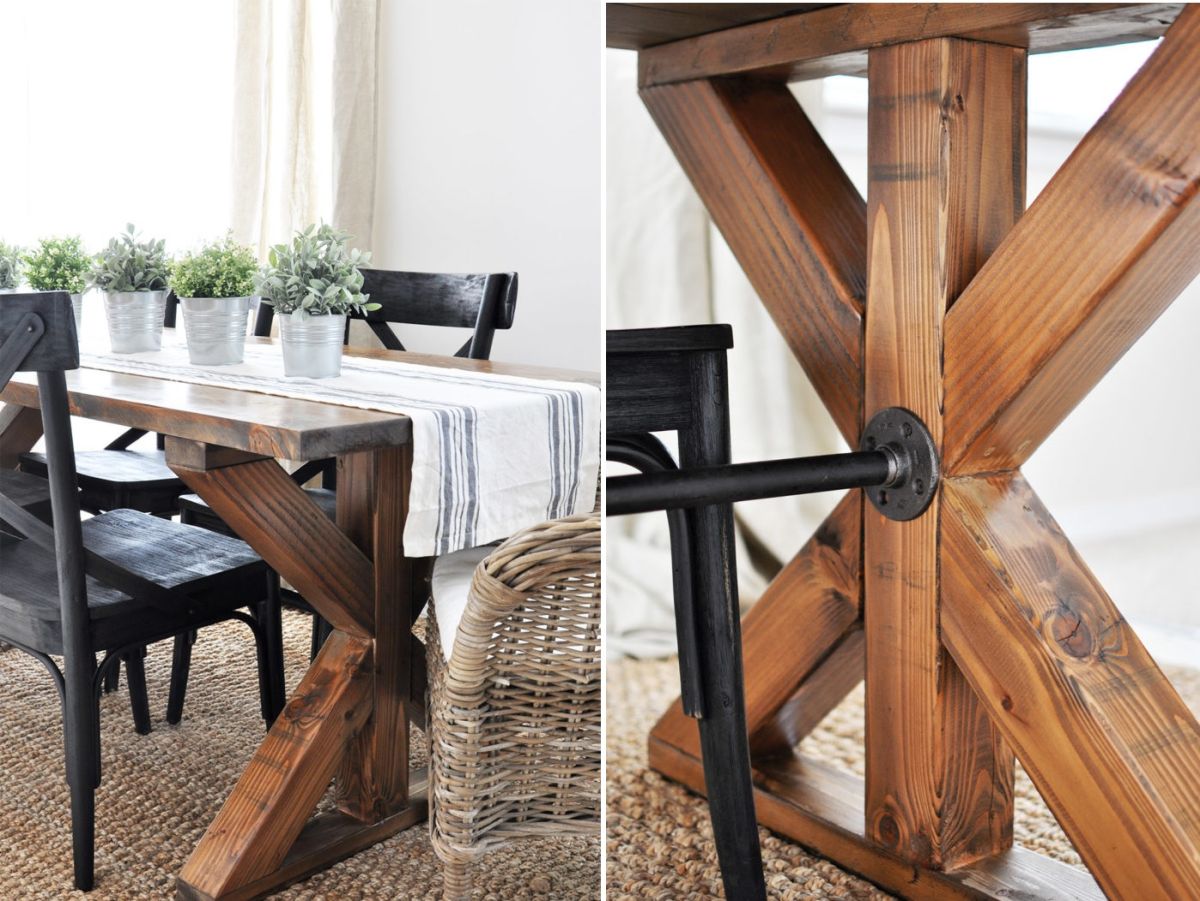
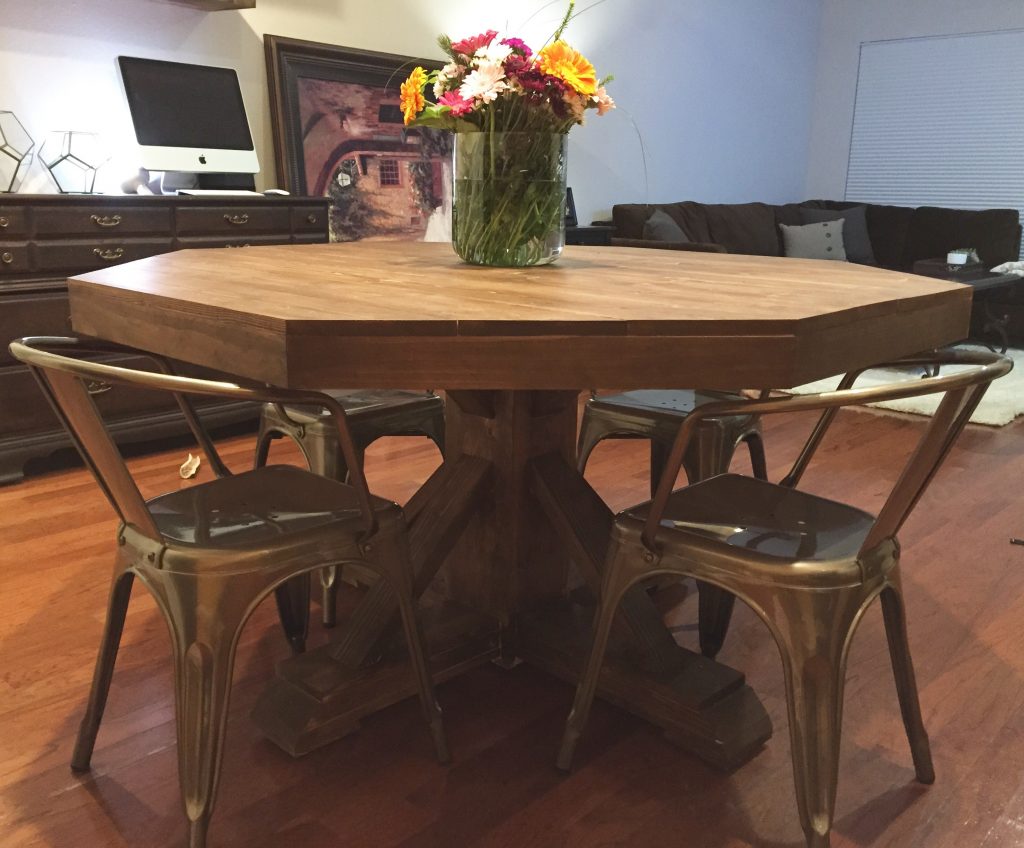
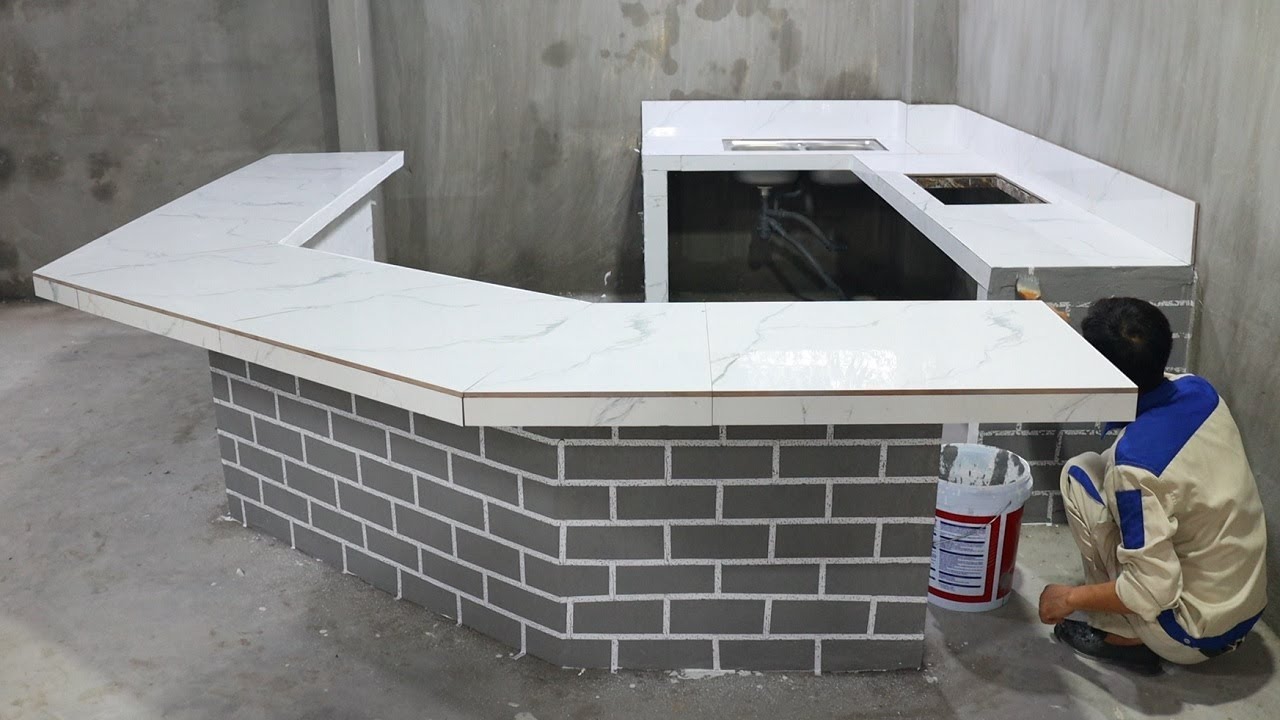
The possibilities are endless when it comes to DIY kitchen tables with a handsaw. You can choose to build a simple and modern table or get creative and add unique details, such as a tiled top or a built-in bench. Don't be afraid to let your imagination run wild and make your kitchen table truly one-of-a-kind.DIY Kitchen Table Ideas Using a Handsaw

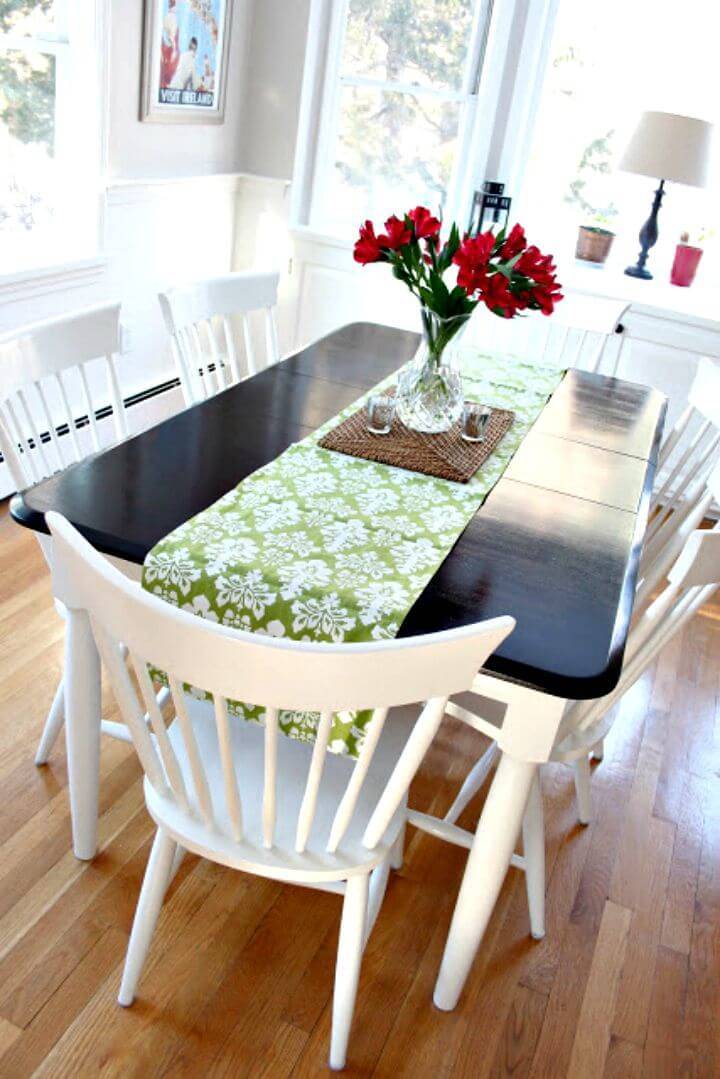

DIY Kitchen Table Ideas Using a Handsaw


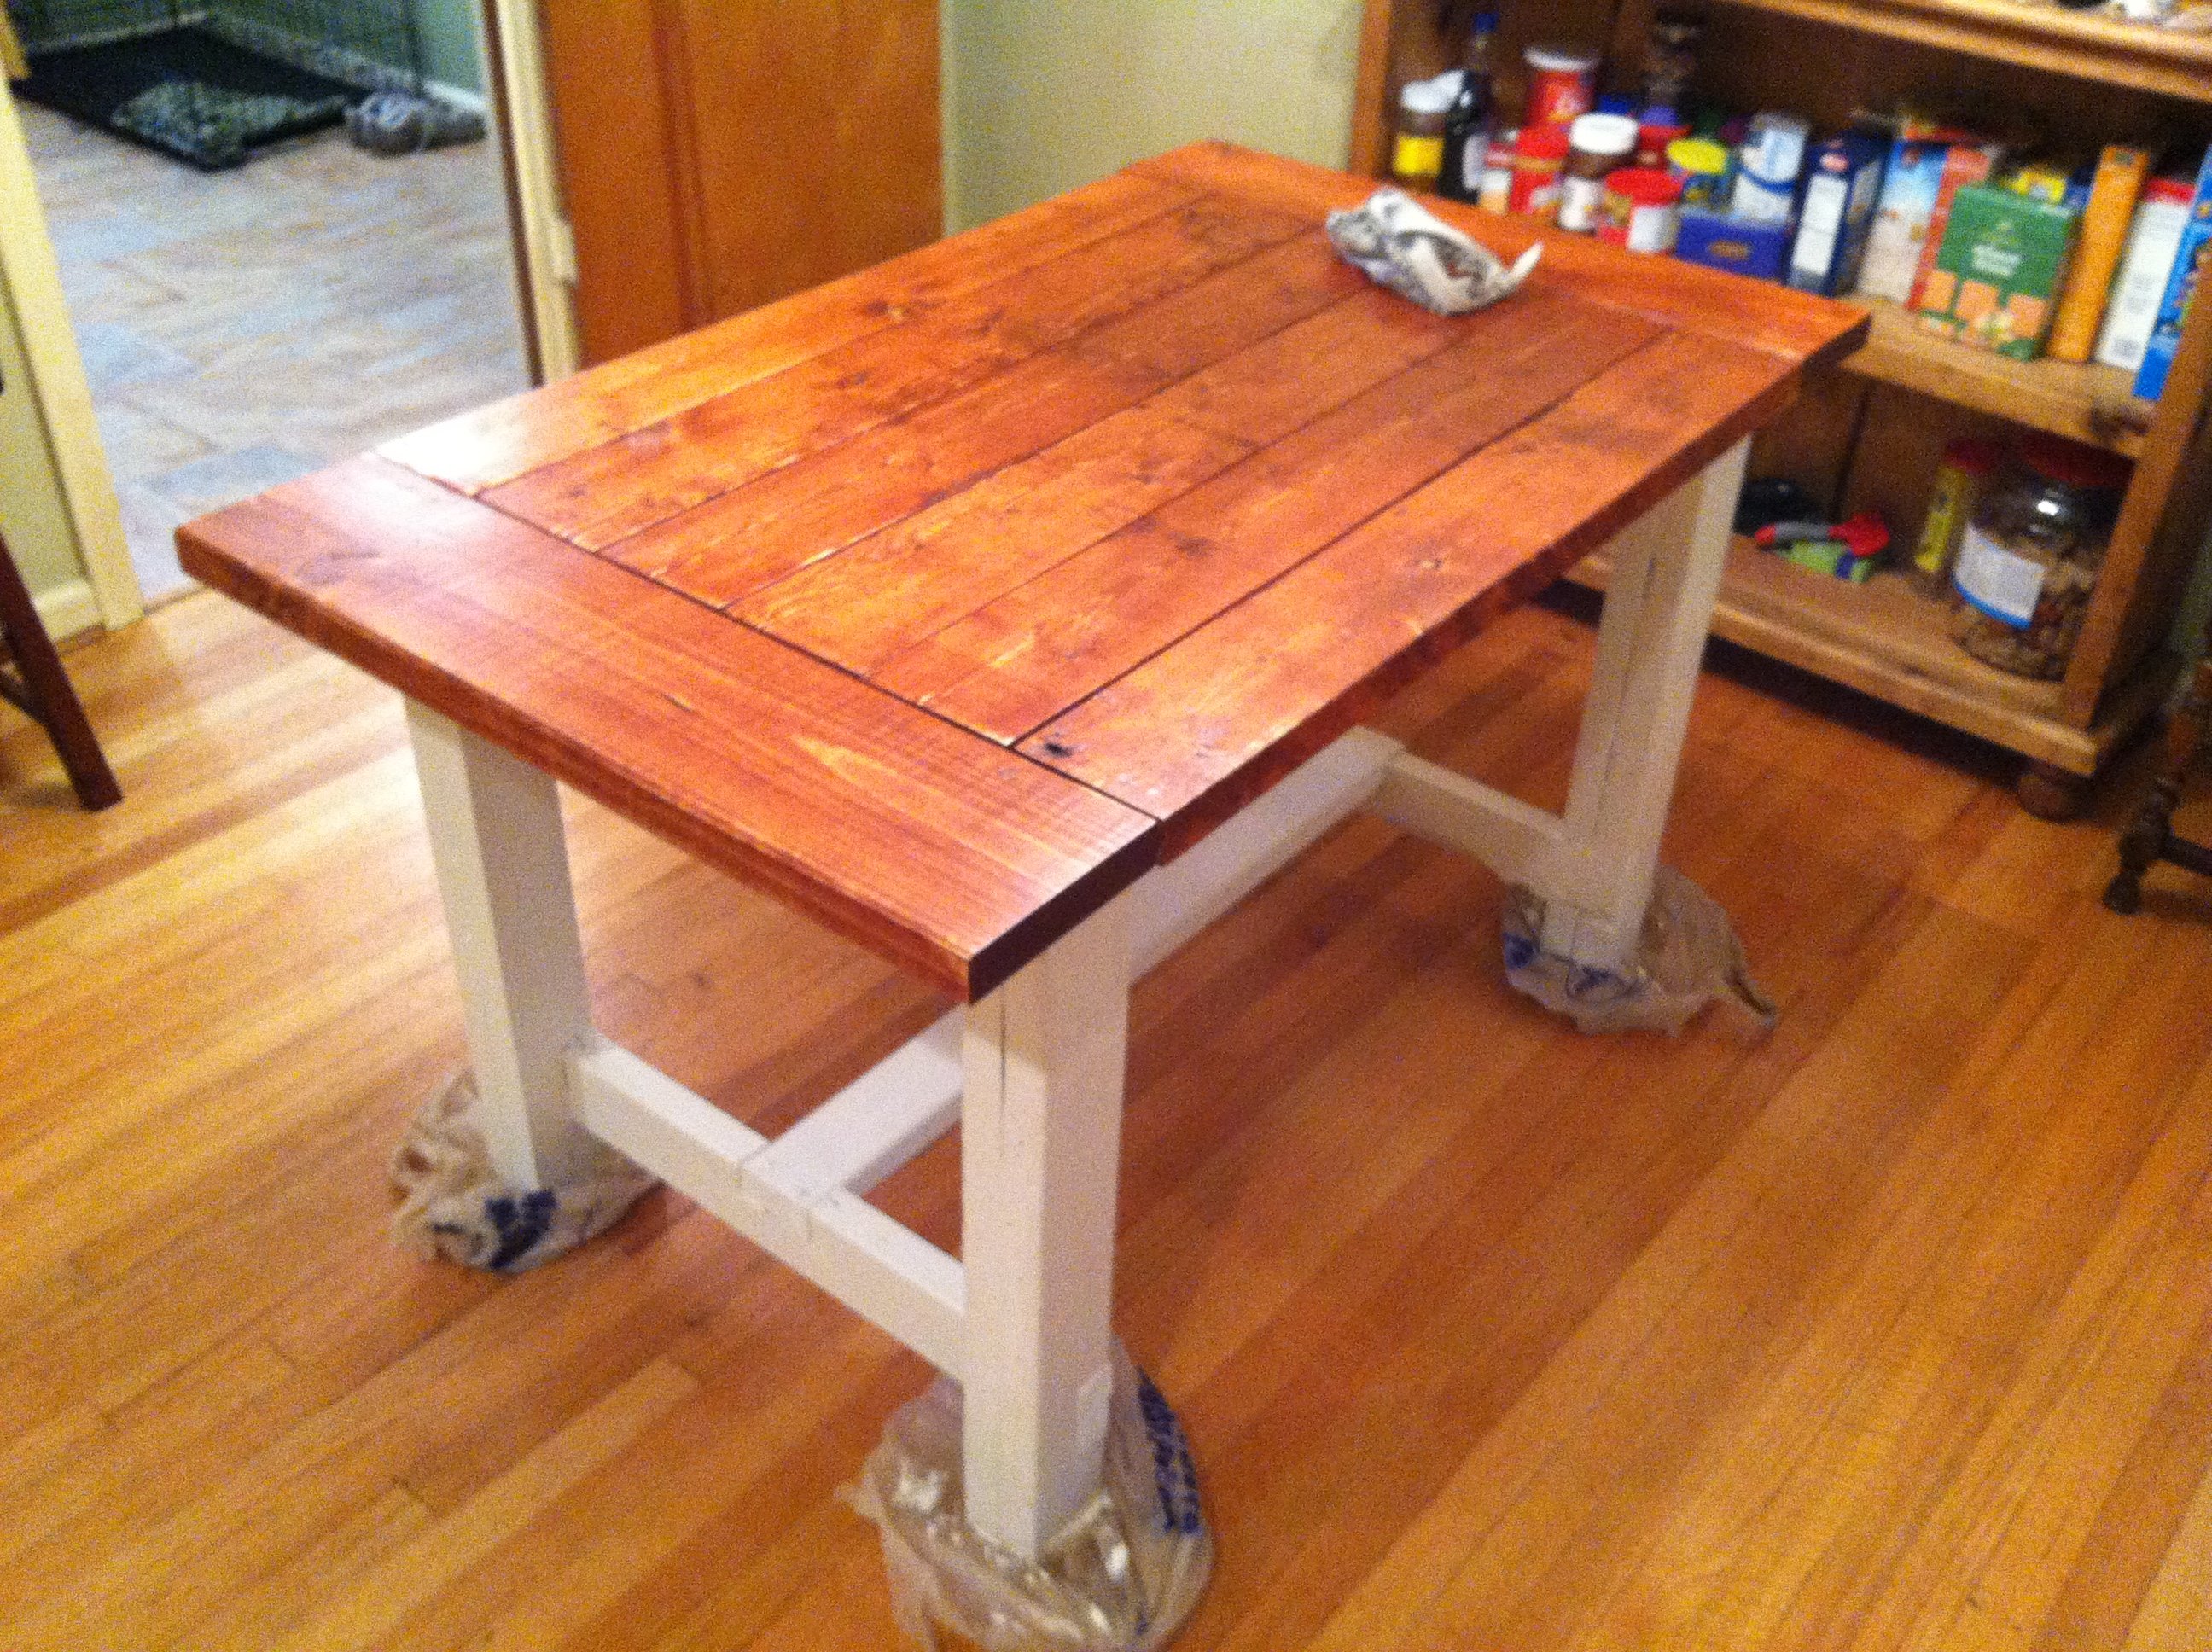
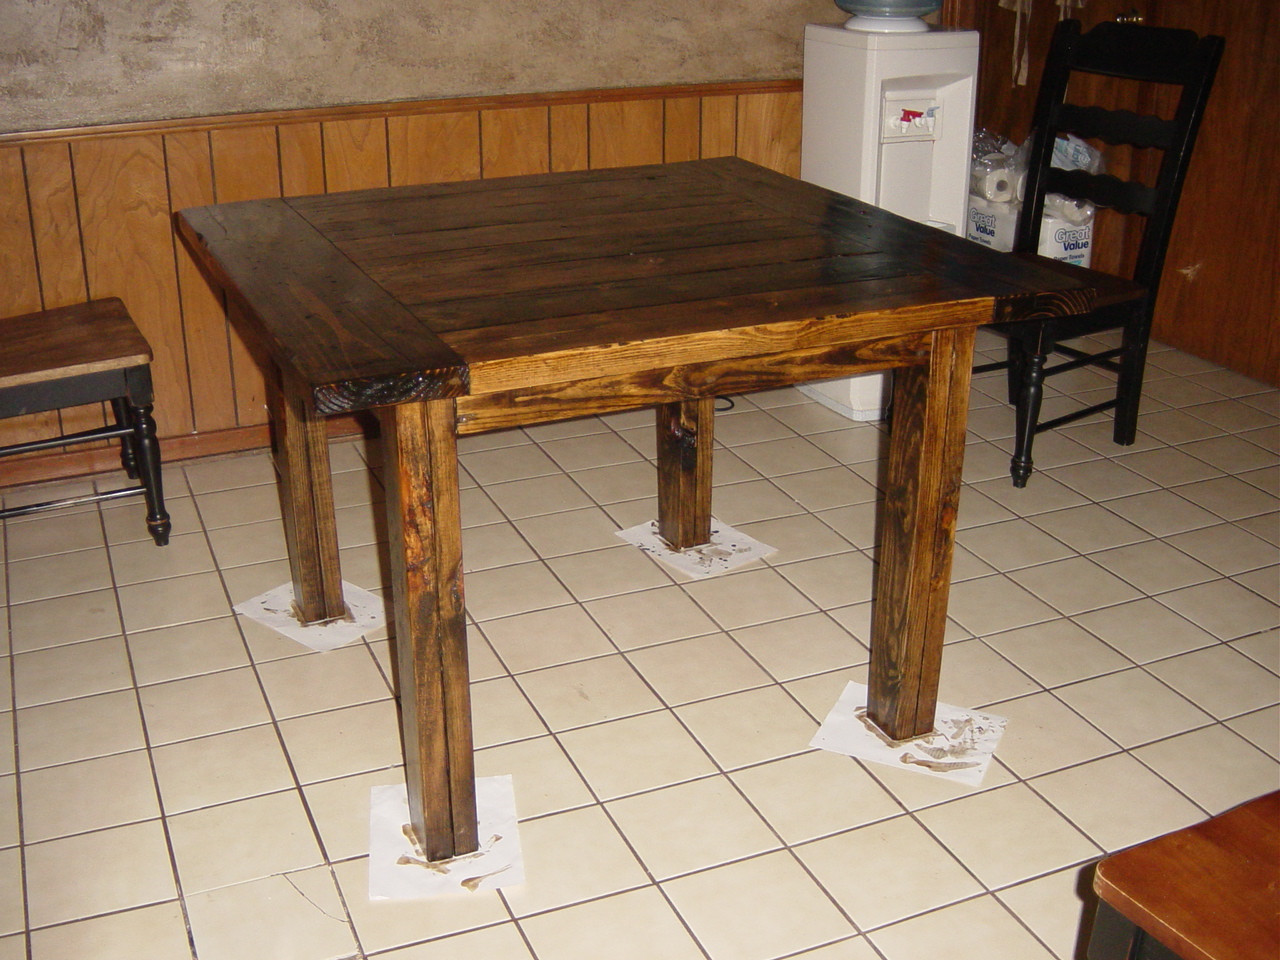
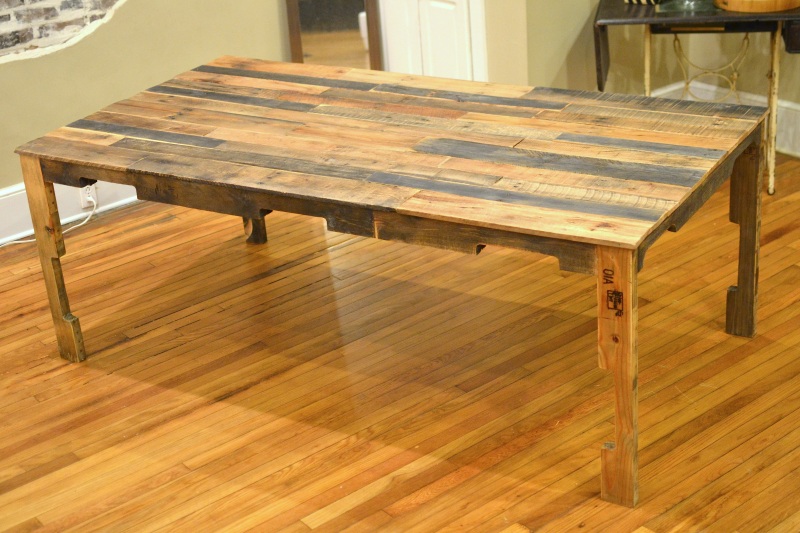
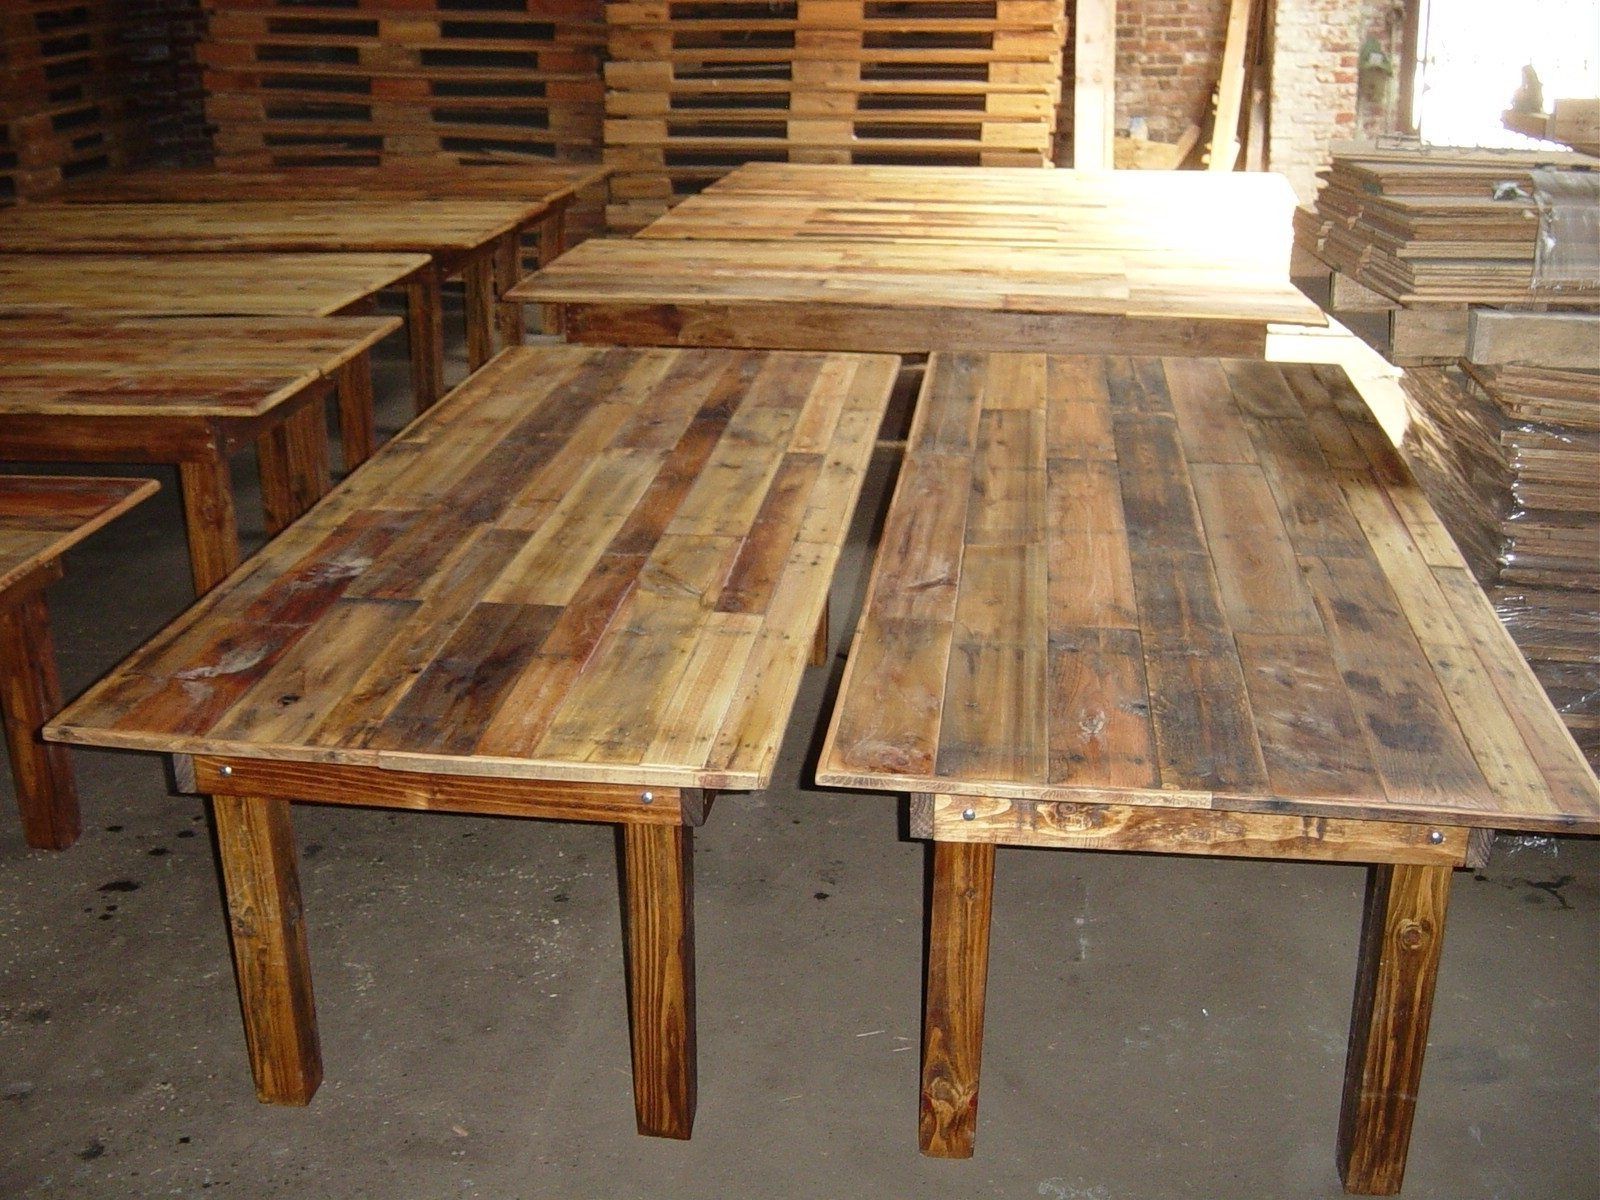
If you're looking to add a touch of warmth and charm to your kitchen, consider building a rustic kitchen table with a handsaw. This style is perfect for a farmhouse or country-inspired kitchen and can be achieved by using reclaimed wood or distressing new wood for a weathered look.Building a Rustic Kitchen Table with a Handsaw
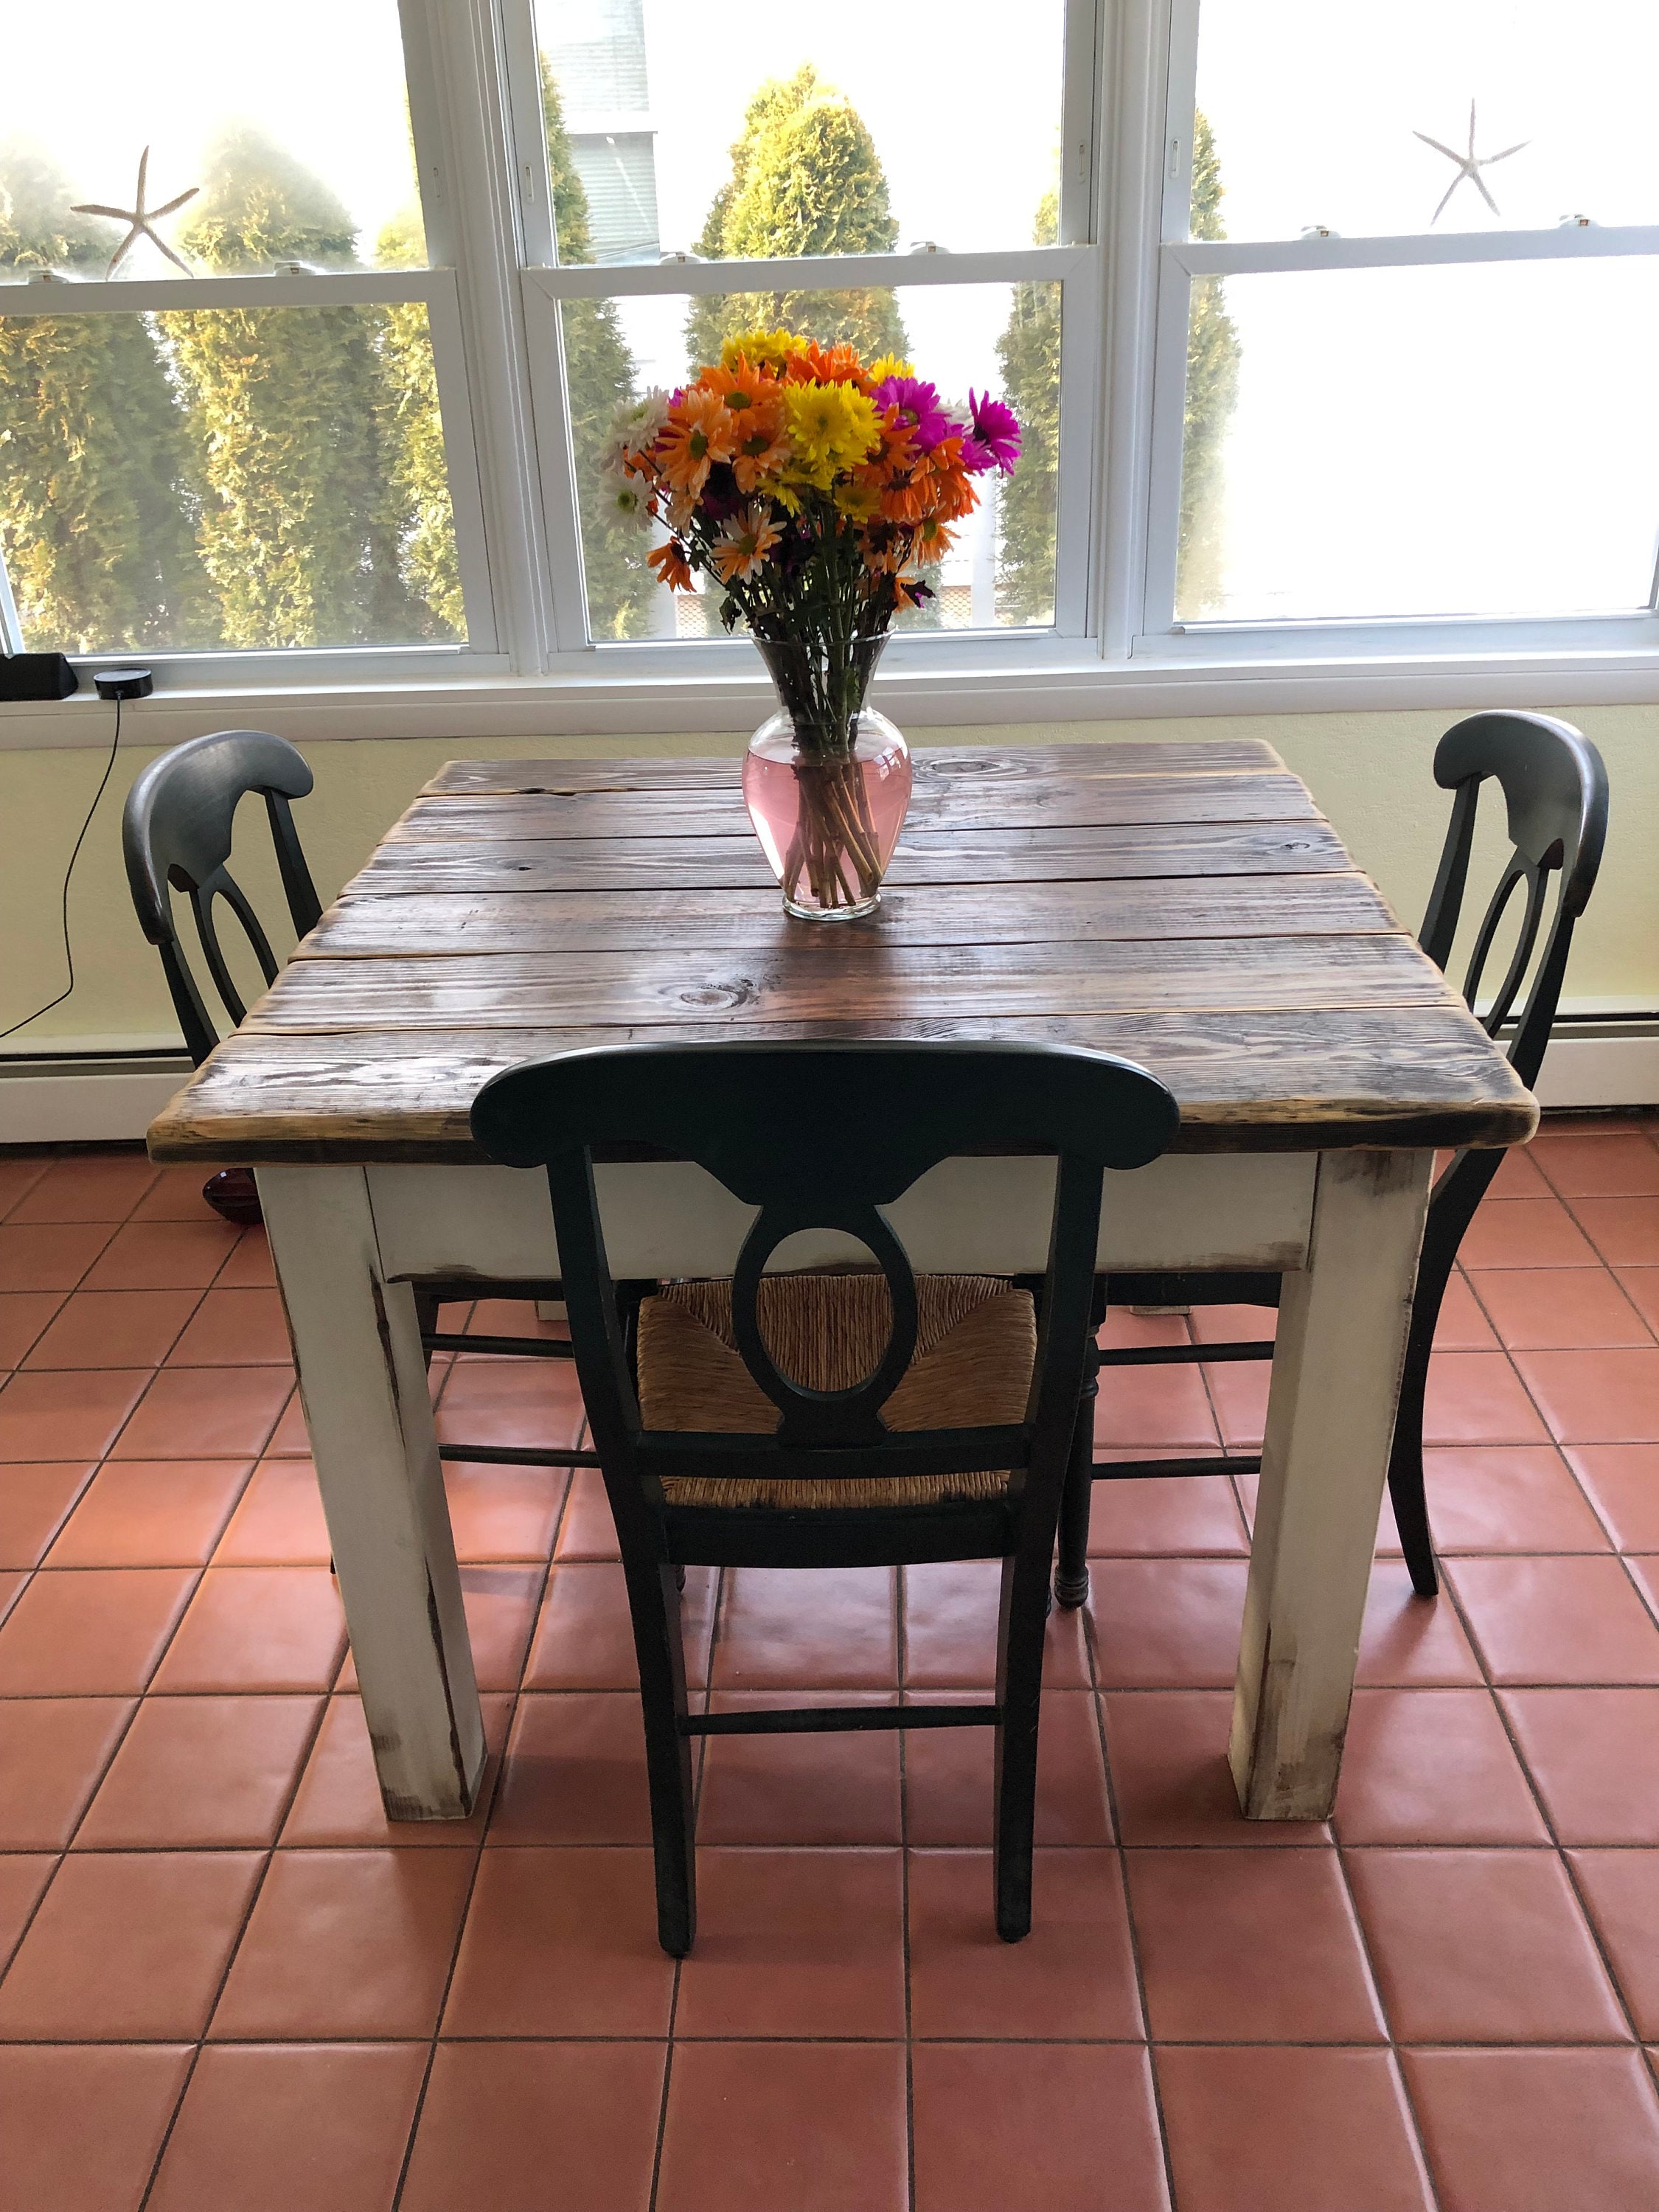


Building a Rustic Kitchen Table with a Handsaw


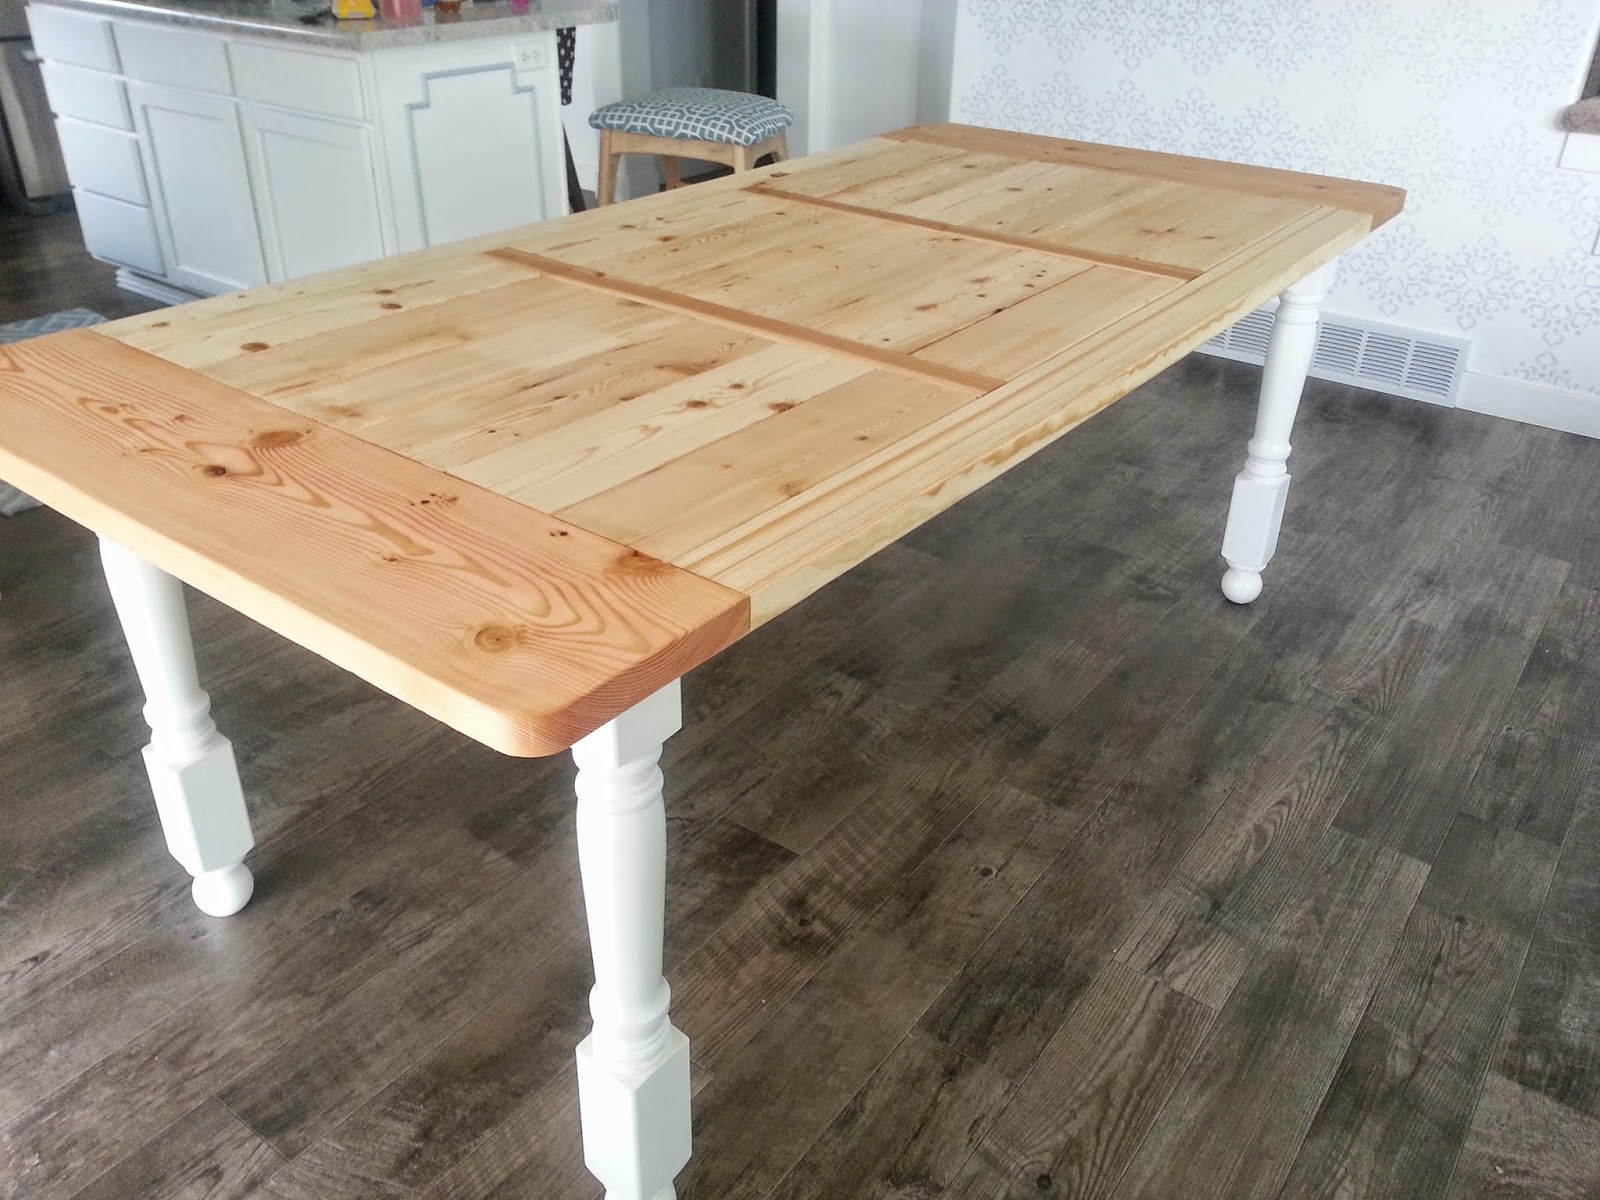
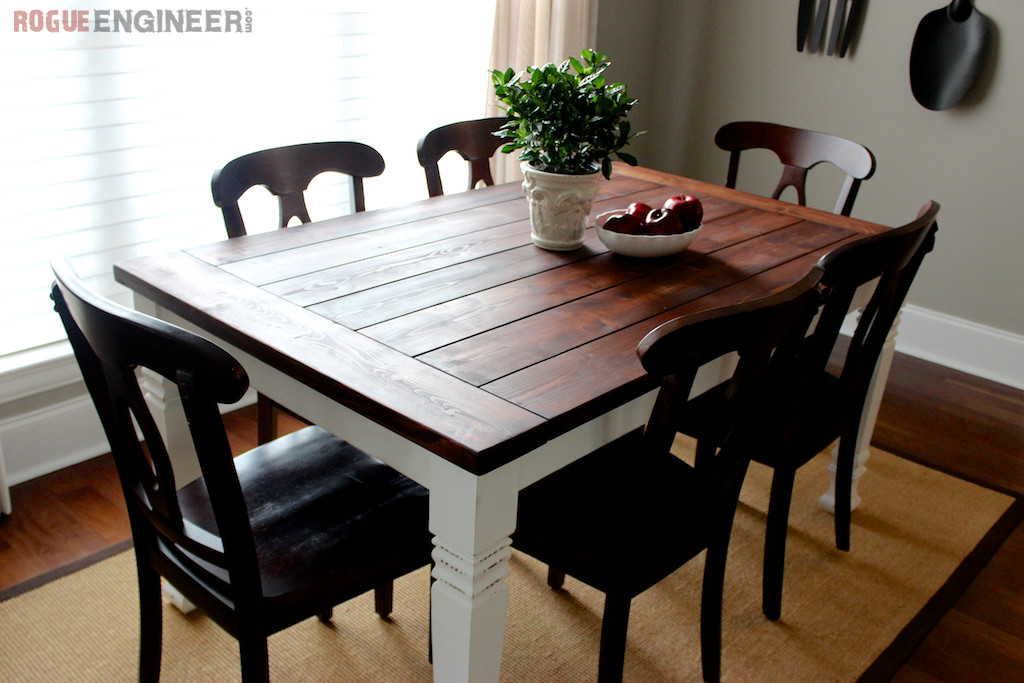
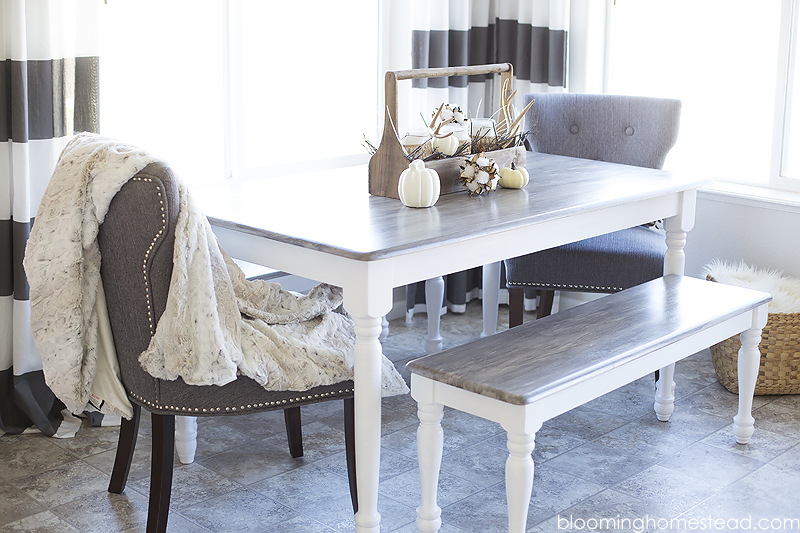
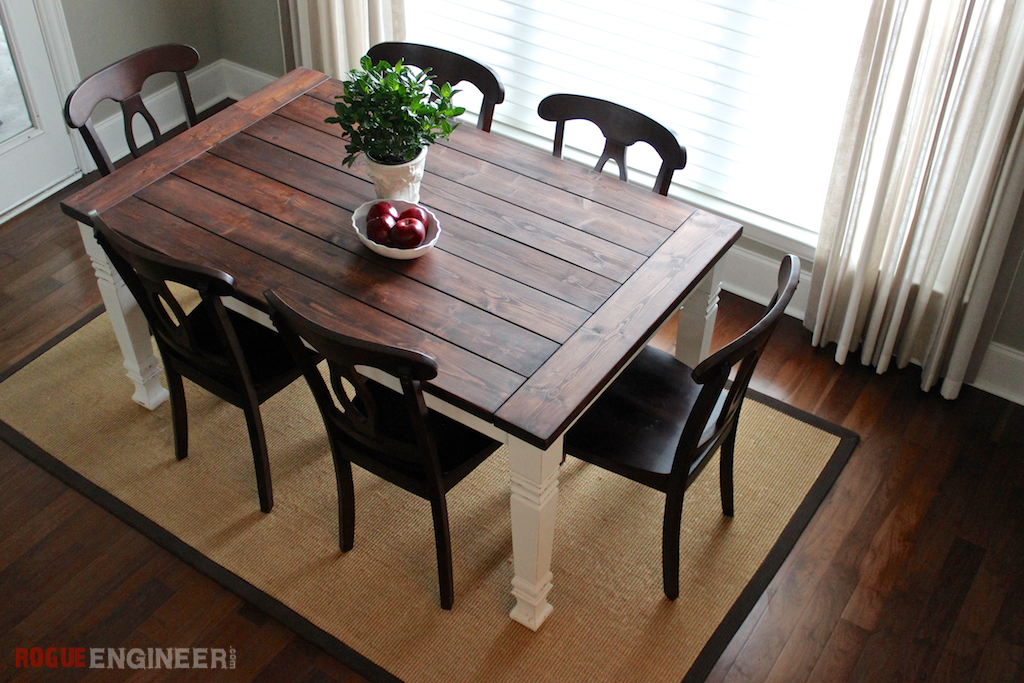
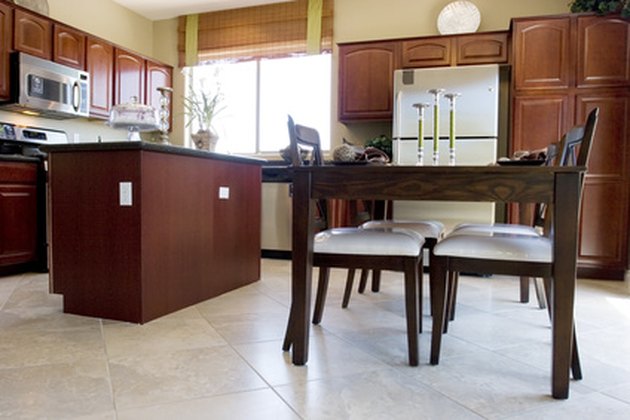
The farmhouse style has become increasingly popular in recent years, and a DIY farmhouse kitchen table is a great way to incorporate this trend into your home. With its simple and sturdy design, a farmhouse table built with a handsaw is not only functional but also adds a cozy and inviting feel to your kitchen.DIY Farmhouse Kitchen Table with a Handsaw
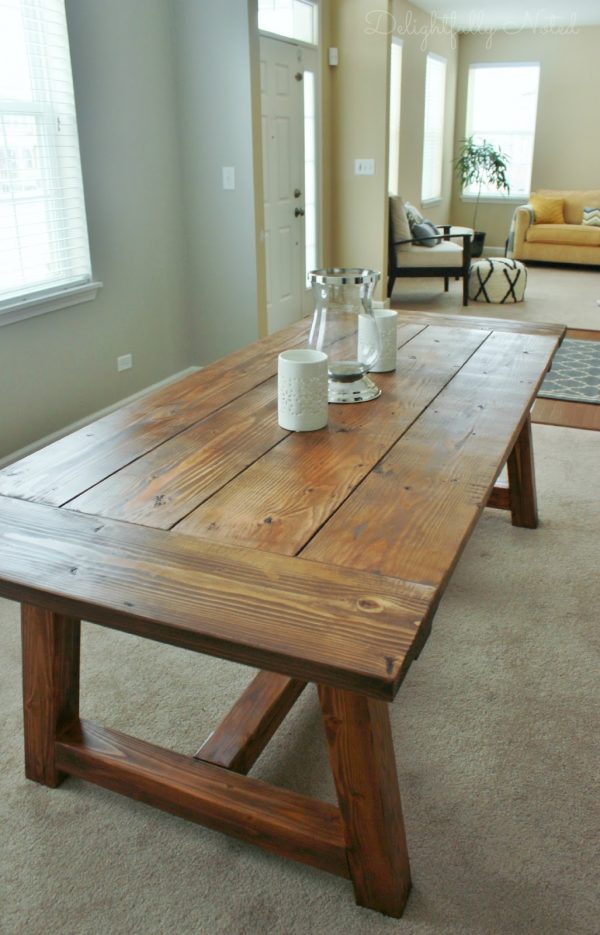

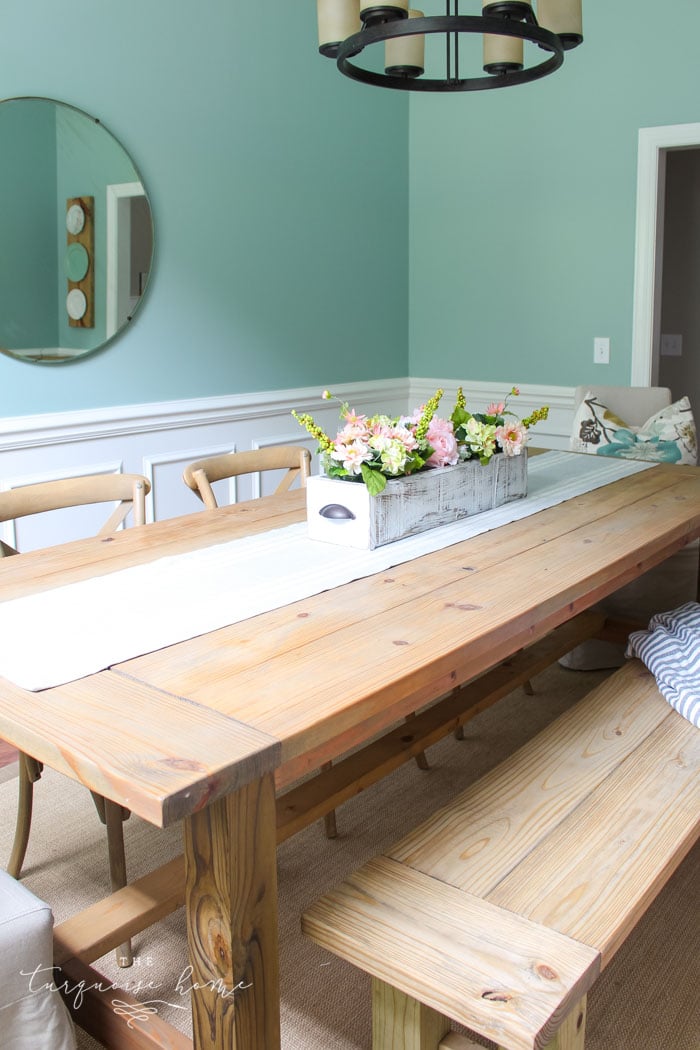
DIY Farmhouse Kitchen Table with a Handsaw


Building a kitchen table with a handsaw may seem daunting, but with the right tips and tricks, it can be a smooth and enjoyable process. Here are some tips to keep in mind: Measure twice, cut once: This old saying rings especially true when it comes to woodworking. Double-check your measurements before making any cuts to avoid any mistakes. Use a guide: A handsaw can be tricky to use, especially for making straight cuts. Consider using a guide or a straight edge to help keep your cuts precise. Be patient: Building a kitchen table with a handsaw may take some time, but the end result will be worth it. Take your time and don't rush the process.Tips for Building a Kitchen Table with a Handsaw


Tips for Building a Kitchen Table with a Handsaw


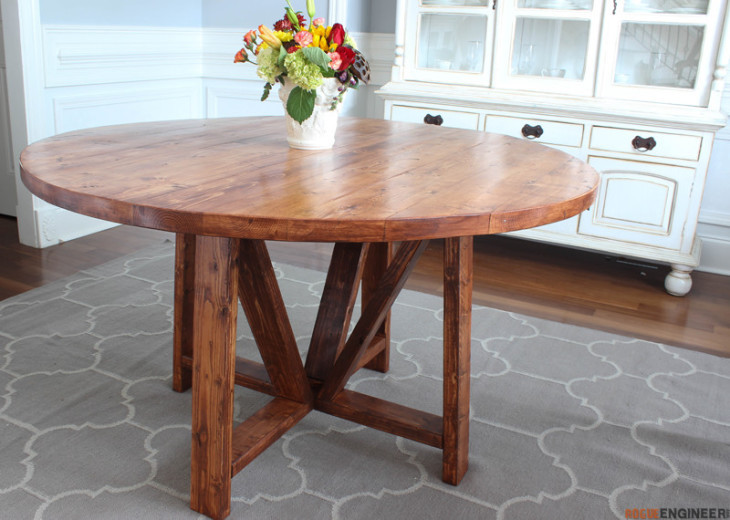
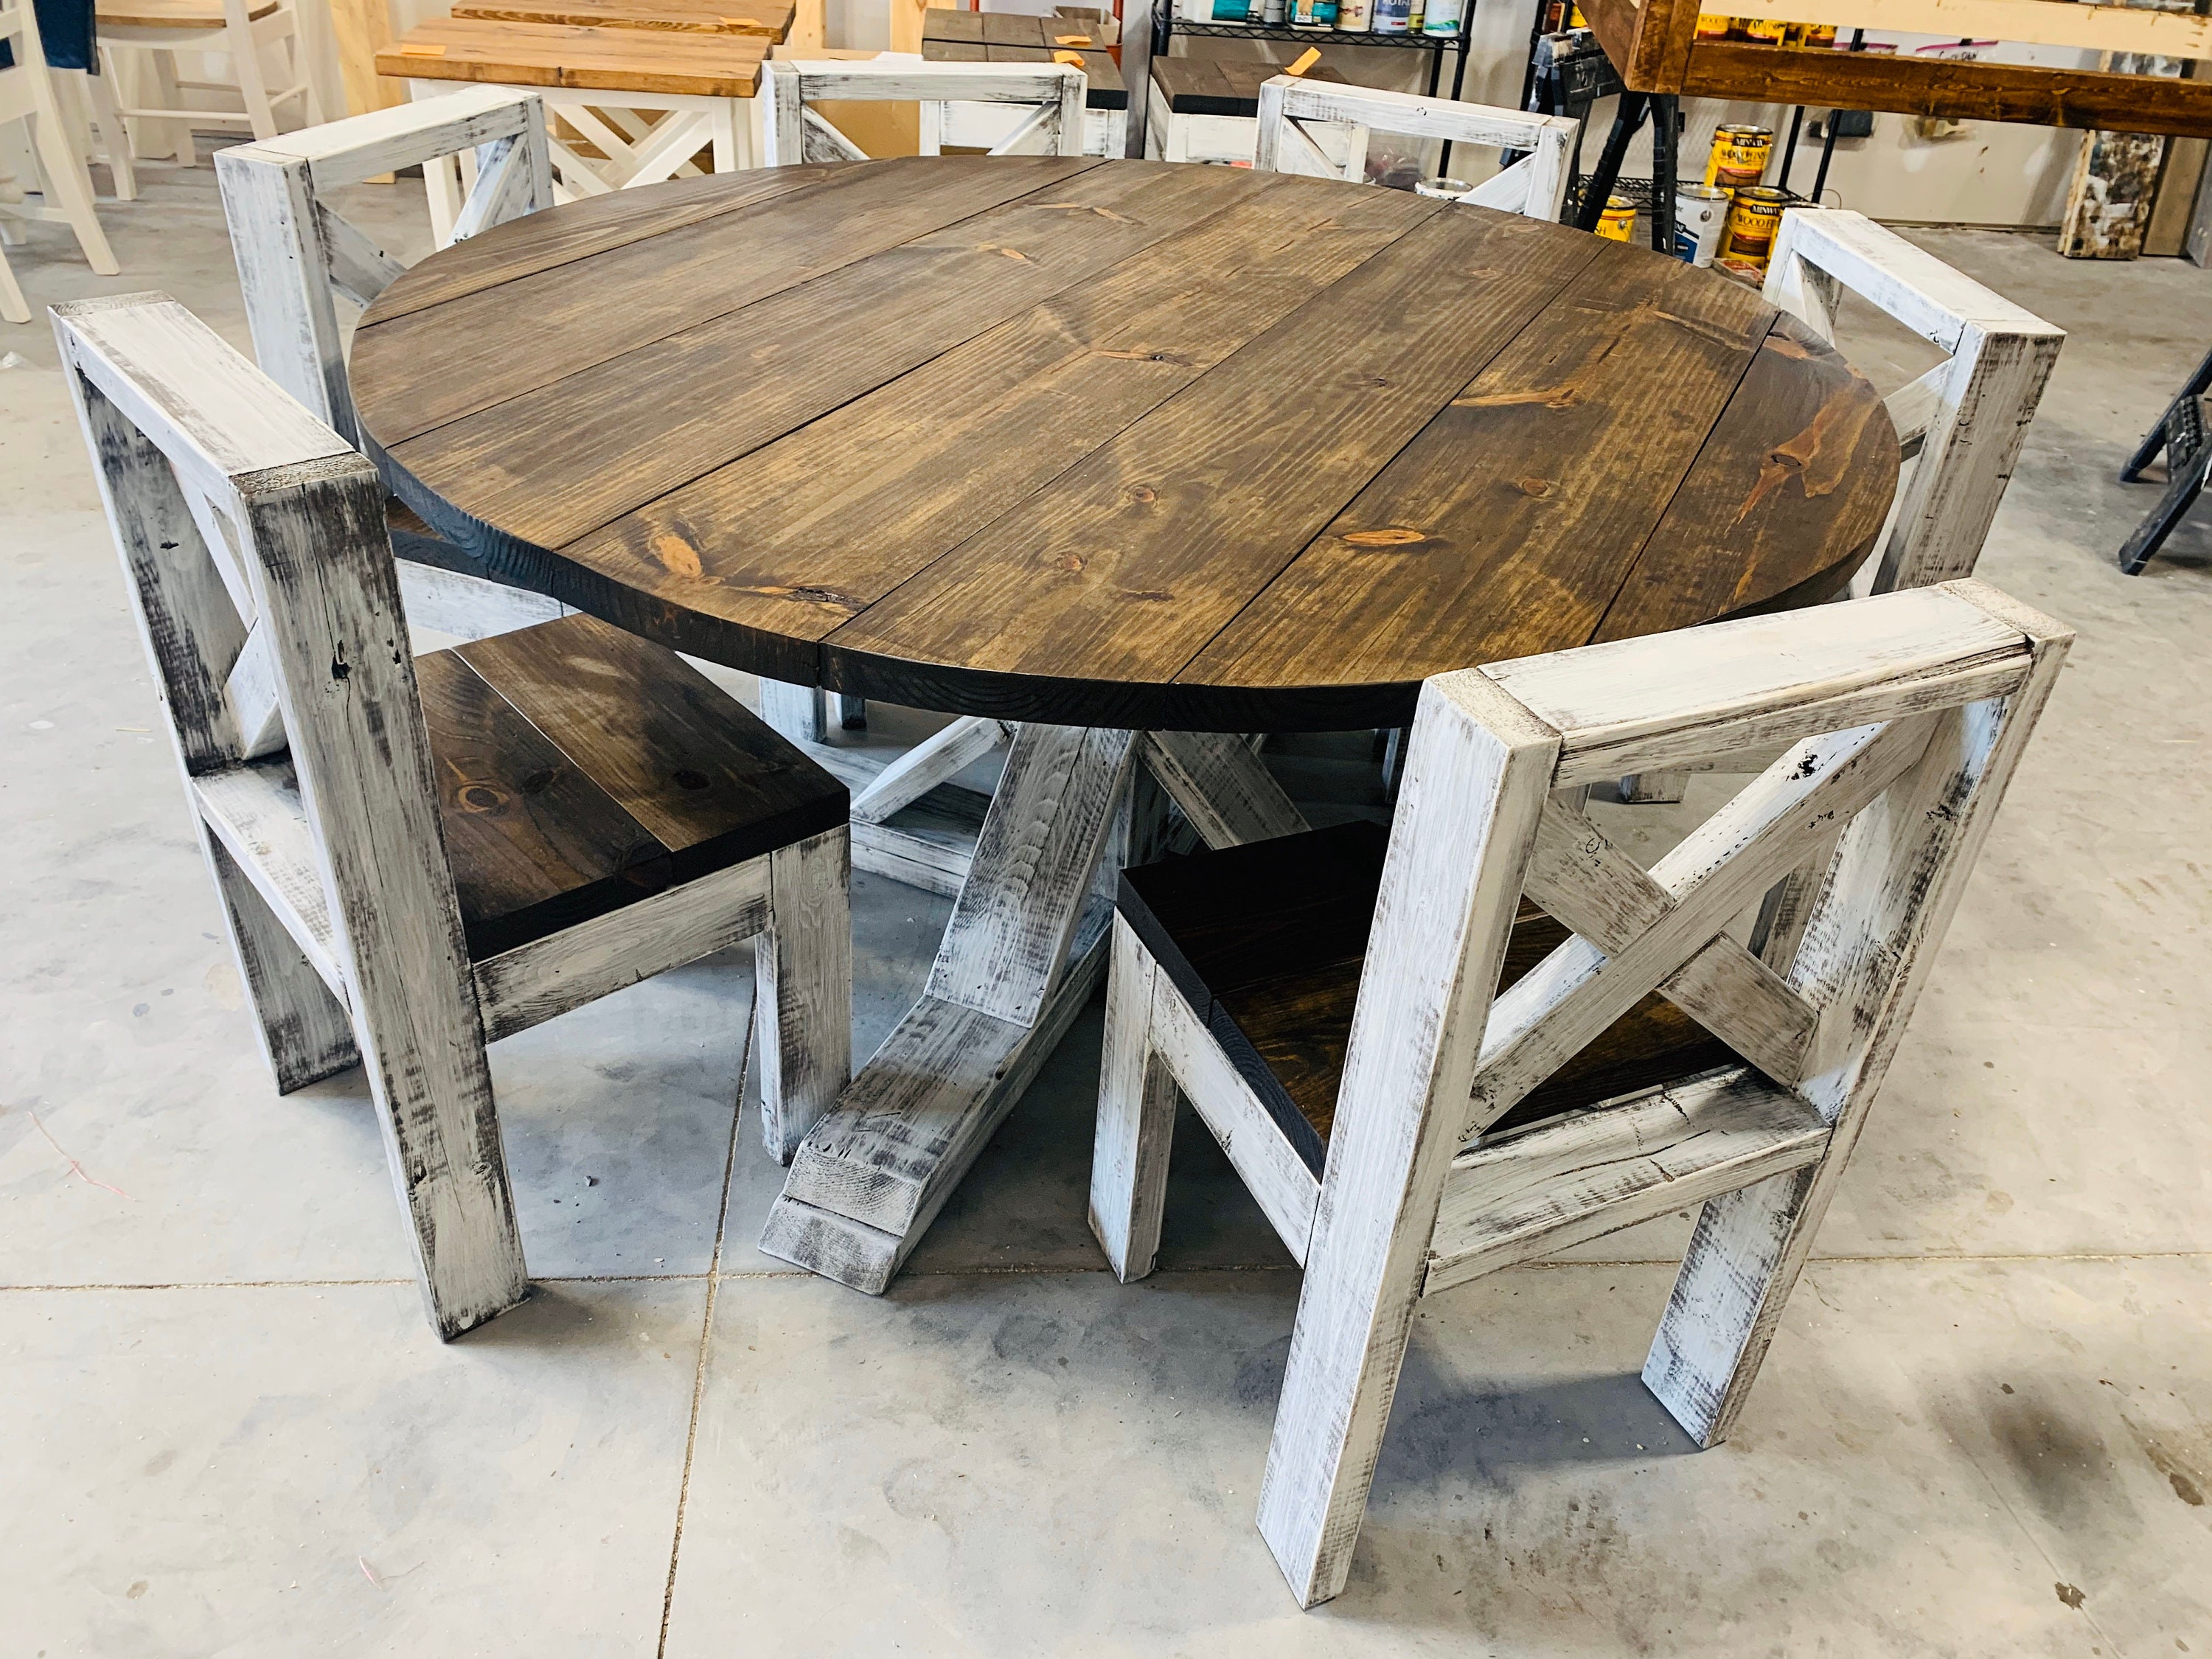
When it comes to DIY kitchen tables, the design possibilities are endless. Whether you prefer a simple and modern look or a more intricate and detailed style, you can achieve it with a handsaw. Look for inspiration online or create your own unique design.DIY Kitchen Table Designs Using a Handsaw

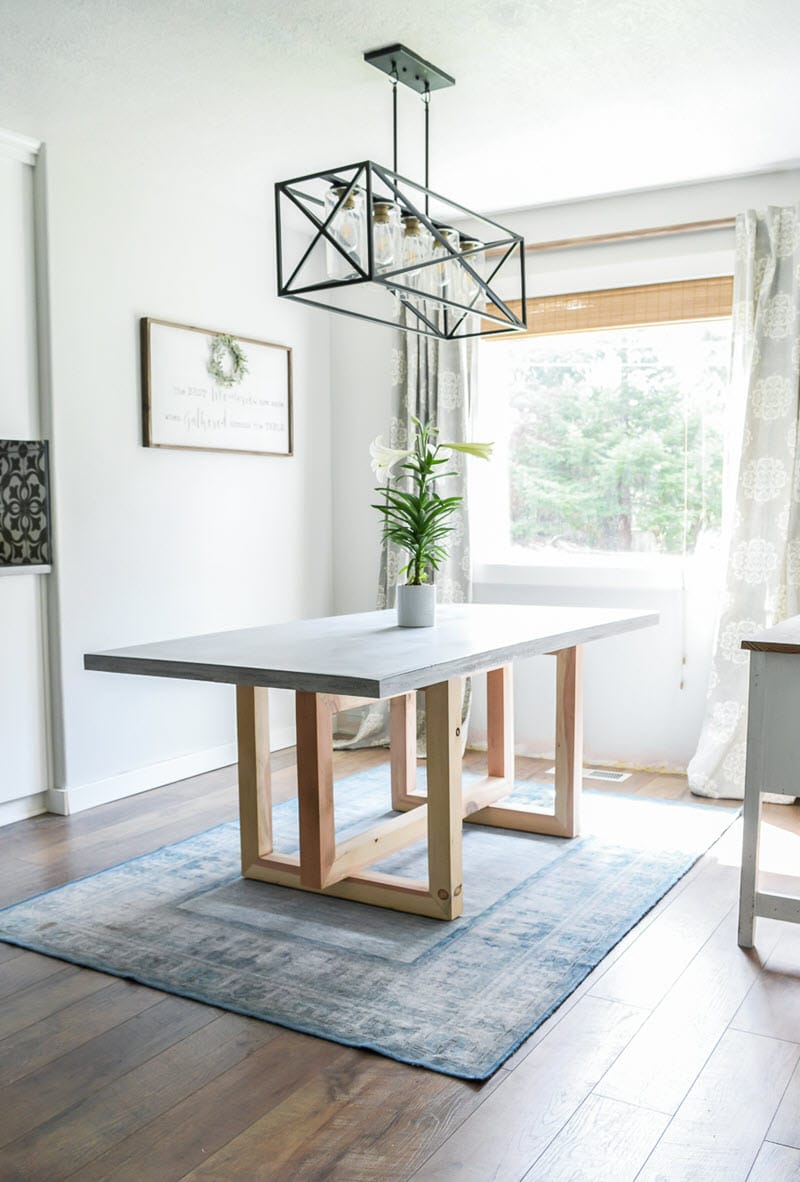

DIY Kitchen Table Designs Using a Handsaw


Not everyone has access to fancy power tools, but that shouldn't stop you from building a kitchen table with a handsaw. With some basic tools like a handsaw, drill, and screws, you can create a beautiful and functional kitchen table. Don't be afraid to get creative and use what you have on hand.How to Make a Kitchen Table with a Handsaw and Basic Tools


How to Make a Kitchen Table with a Handsaw and Basic Tools


If you already have a kitchen table that needs some sprucing up, consider giving it a DIY makeover with a handsaw. You can add new legs, a new tabletop, or even just sand and repaint the existing table. This is a great way to update your kitchen without breaking the bank. Building a DIY kitchen table with a handsaw is a fun and rewarding project that can add character and style to your kitchen. With some careful planning and a little bit of elbow grease, you can create a beautiful and functional piece of furniture that you can be proud of. So why not grab your handsaw and get started today?DIY Kitchen Table Makeover with a Handsaw


DIY Kitchen Table Makeover with a Handsaw


How to Create a DIY Kitchen Table with a Handsaw

Bring Your Kitchen to Life with a Custom-Made Table
 When it comes to designing your dream kitchen, every detail matters. From the color of the walls to the hardware on your cabinets, each element plays a role in creating the perfect space. But one often overlooked aspect is the kitchen table. A well-crafted table can tie the whole room together and make it truly feel like the heart of your home. And what better way to achieve this than by building your very own
DIY kitchen table
with just a handsaw?
When it comes to designing your dream kitchen, every detail matters. From the color of the walls to the hardware on your cabinets, each element plays a role in creating the perfect space. But one often overlooked aspect is the kitchen table. A well-crafted table can tie the whole room together and make it truly feel like the heart of your home. And what better way to achieve this than by building your very own
DIY kitchen table
with just a handsaw?
The Benefits of Building Your Own Kitchen Table
 While it may seem daunting to take on a project like building your own kitchen table, the benefits make it all worthwhile. First and foremost, creating your own table allows you to customize it to fit your specific needs and style. You can choose the size, shape, and design that best fits your space. Not to mention, building your own table can also save you money compared to buying a pre-made one.
Gather Your Materials and Tools
 Before you begin, it's important to gather all the necessary materials and tools for this project. You will need a handsaw, a measuring tape, wood glue, screws, a drill, a level, and of course, the wood for your table. You can choose from a variety of wood types, but
oak, pine, and maple
are popular choices for their durability and affordability.
Before you begin, it's important to gather all the necessary materials and tools for this project. You will need a handsaw, a measuring tape, wood glue, screws, a drill, a level, and of course, the wood for your table. You can choose from a variety of wood types, but
oak, pine, and maple
are popular choices for their durability and affordability.
Step-by-Step Guide to Building Your Table
 Now that you have all your materials and tools, it's time to get building! Follow these steps to create your own
DIY kitchen table with a handsaw
:
1. Measure and cut your wood to the desired size and shape.
2. Use wood glue to attach the pieces together to create the tabletop.
3. Use a drill and screws to reinforce the joints and ensure stability.
4. Cut and attach the legs to the tabletop using the same method.
5. Use a level to make sure the table is even and adjust as needed.
6. Let the table dry and cure for at least 24 hours before using it.
Now that you have all your materials and tools, it's time to get building! Follow these steps to create your own
DIY kitchen table with a handsaw
:
1. Measure and cut your wood to the desired size and shape.
2. Use wood glue to attach the pieces together to create the tabletop.
3. Use a drill and screws to reinforce the joints and ensure stability.
4. Cut and attach the legs to the tabletop using the same method.
5. Use a level to make sure the table is even and adjust as needed.
6. Let the table dry and cure for at least 24 hours before using it.
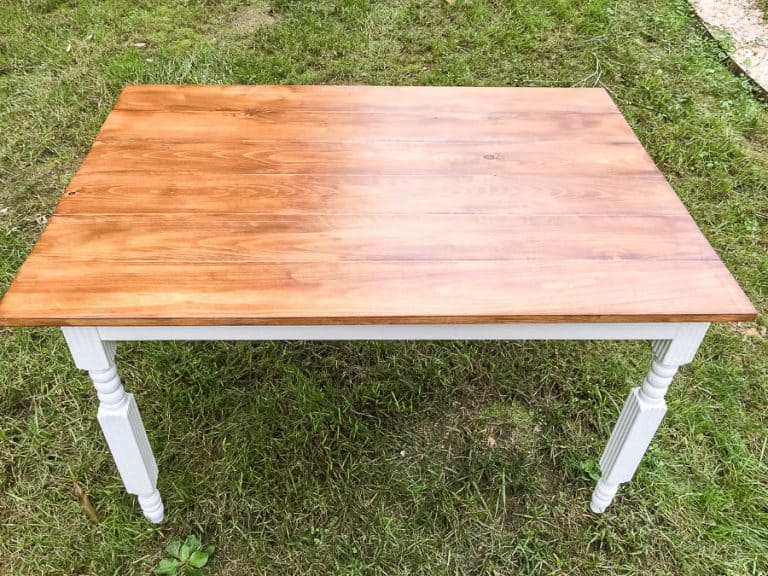
Finish Your Table with a Personal Touch
 Once your table is built, you can add your own personal touch to make it truly unique. You can stain or paint the wood to match your kitchen's aesthetic, or add
decorative elements
such as stenciling or distressing. You can also add a protective coating to the wood to ensure its longevity and resistance to spills and stains.
Once your table is built, you can add your own personal touch to make it truly unique. You can stain or paint the wood to match your kitchen's aesthetic, or add
decorative elements
such as stenciling or distressing. You can also add a protective coating to the wood to ensure its longevity and resistance to spills and stains.
In Conclusion
 Building your own
DIY kitchen table with a handsaw
is not only a fun and rewarding project, but it also allows you to create a one-of-a-kind piece for your kitchen. With the right materials, tools, and a little creativity, you can bring your kitchen to life with a custom-made table. So why not give it a try and see the difference it can make in your home?
Building your own
DIY kitchen table with a handsaw
is not only a fun and rewarding project, but it also allows you to create a one-of-a-kind piece for your kitchen. With the right materials, tools, and a little creativity, you can bring your kitchen to life with a custom-made table. So why not give it a try and see the difference it can make in your home?


/169789002-58a723d63df78c345b930ec6.jpg)


