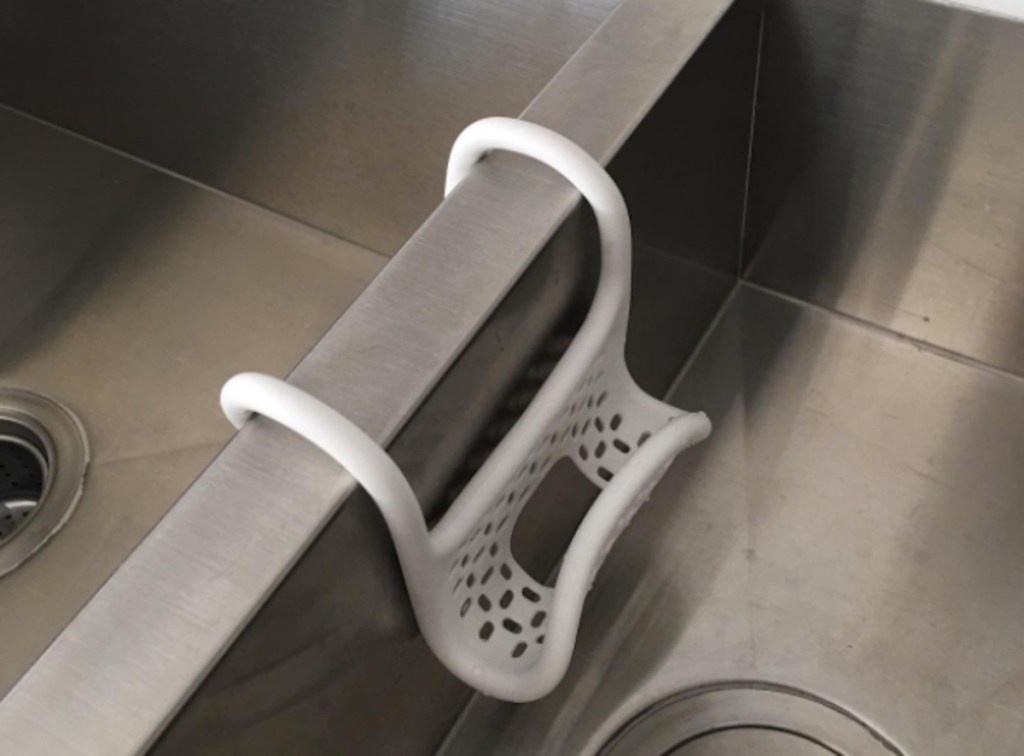
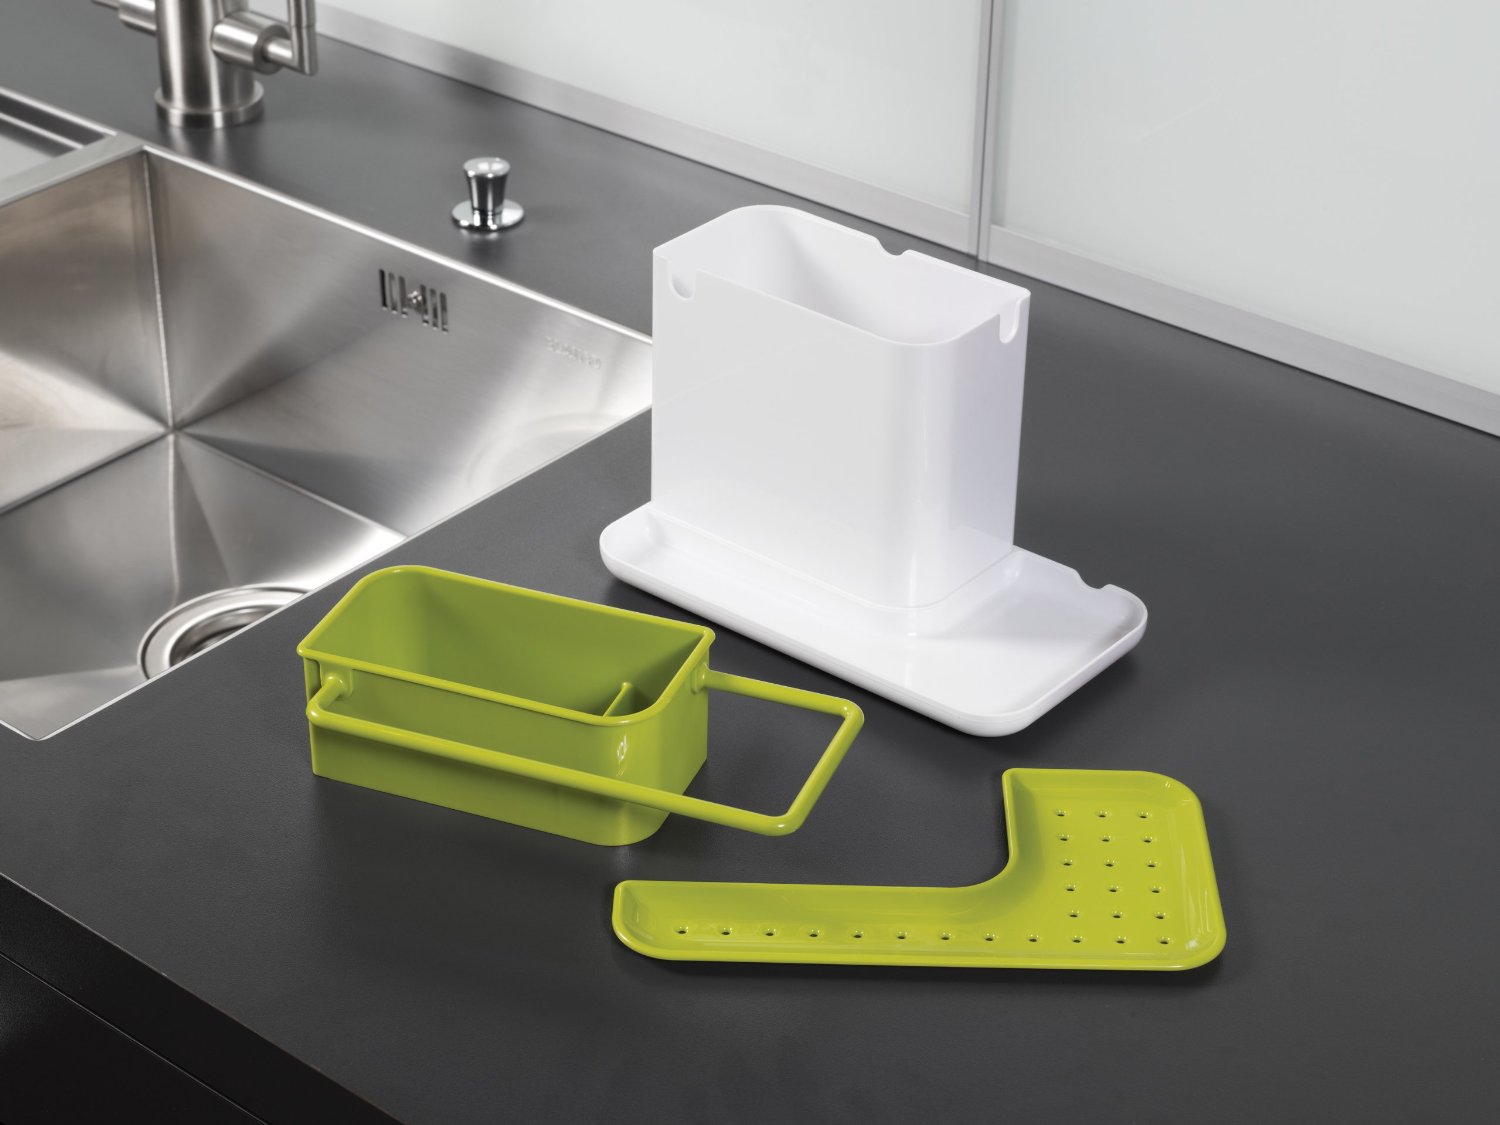
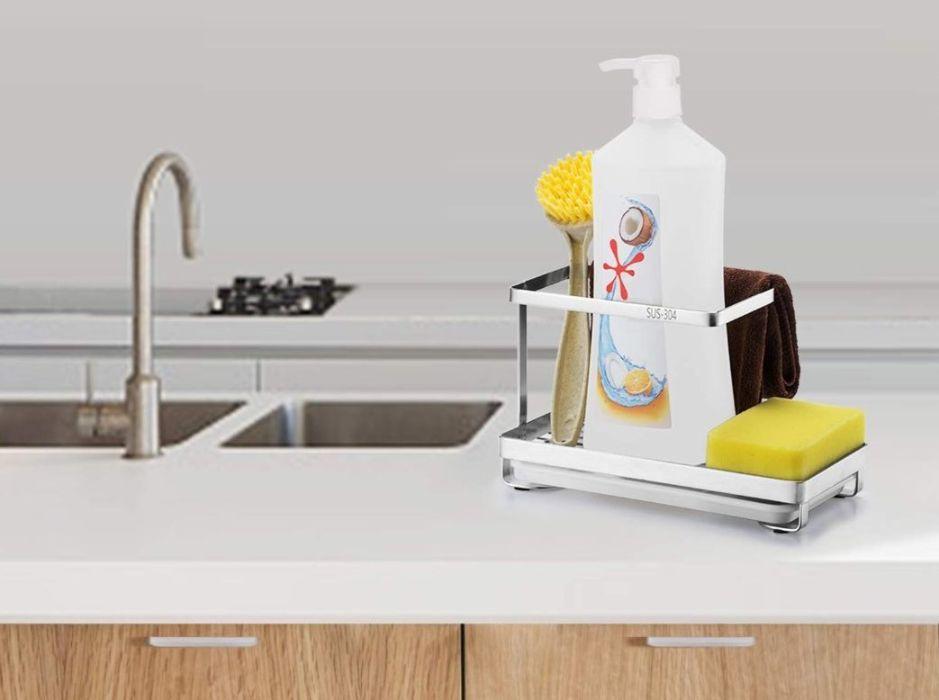
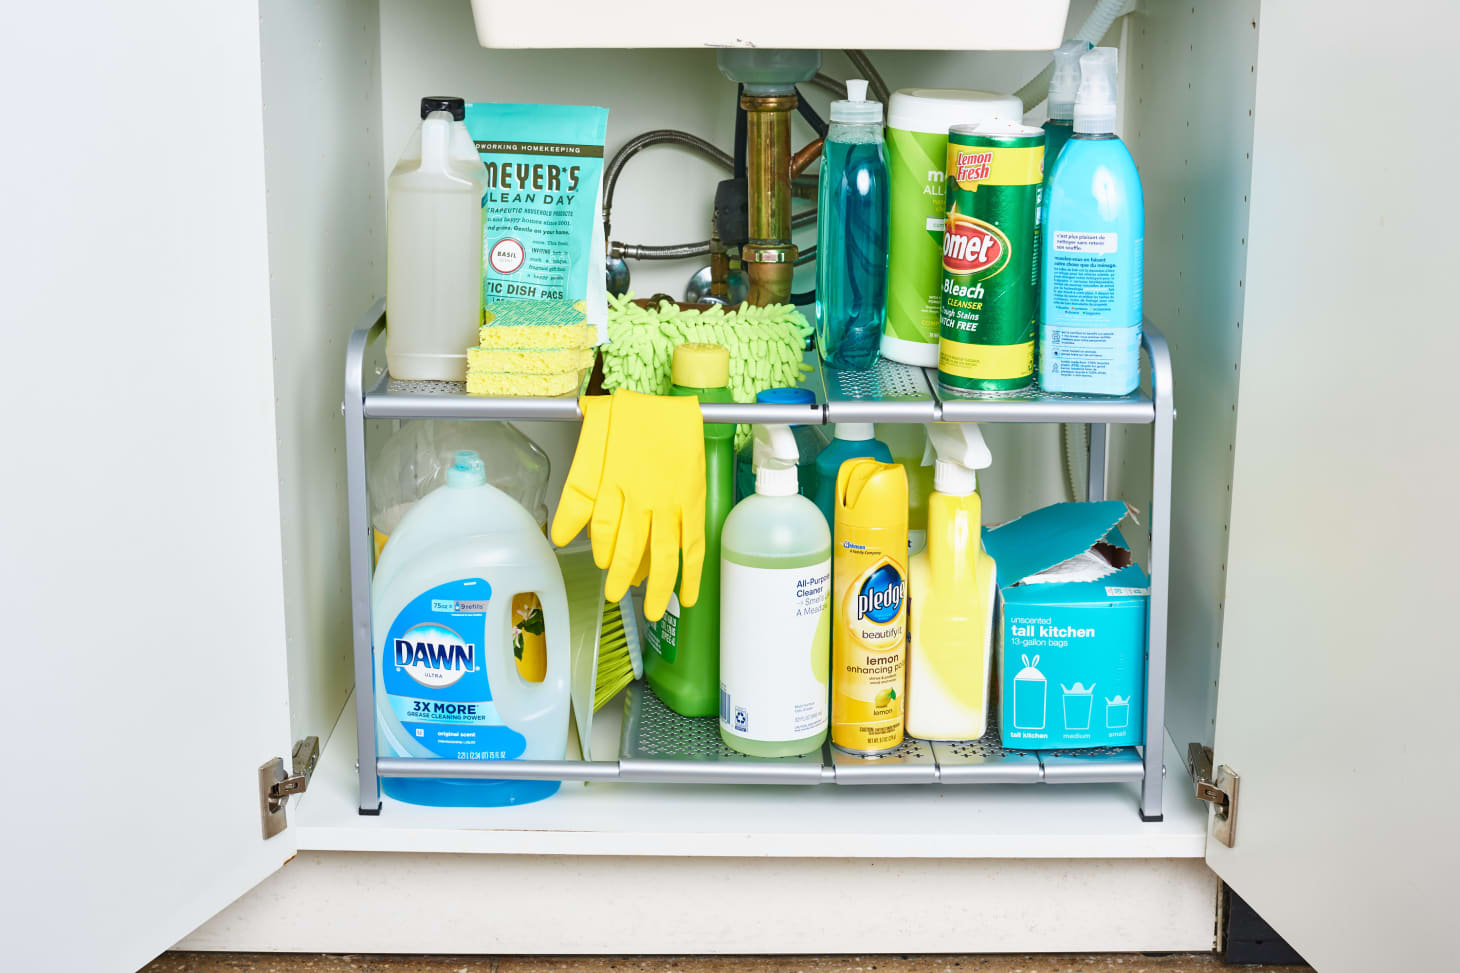
If you're tired of constantly reaching for your dish sponge and finding it soaked in a pool of dirty water, it's time to get organized. This simple DIY kitchen sink organizer made from PVC pipes is the perfect solution for keeping your sponges and scrubbers in one place and free from water buildup. Materials: PVC pipes, measuring tape, hacksaw, sandpaper, PVC glue, waterproof paint (optional) Instructions: 1. Measure the length and width of your sink to determine the size of your organizer. 2. Using a hacksaw, cut the PVC pipes into the appropriate lengths. You will need one long piece for the base of the organizer and several shorter pieces for the dividers. 3. Use sandpaper to smooth out any rough edges on the pipes. 4. Assemble the pieces by gluing the dividers onto the base using PVC glue. 5. Optional: Paint the organizer with waterproof paint to add a pop of color and protect it from moisture. Not only is this DIY kitchen sink organizer functional, but it also adds a unique touch to your kitchen decor. Plus, it's a great way to repurpose old PVC pipes and reduce waste.1. DIY Kitchen Sink Organizer for Sponges using PVC Pipes
Don't have any PVC pipes lying around? No problem! You can create a simple and stylish sponge holder for your kitchen sink using just a few household items. Materials: Empty tin can, decorative paper, scissors, glue, clear contact paper (optional) Instructions: 1. Clean and dry an empty tin can. 2. Measure and cut a piece of decorative paper to fit around the can. 3. Apply glue to the back of the paper and wrap it around the can, pressing firmly to secure it. 4. Optional: Cover the paper with clear contact paper for added durability. 5. Place your sponge inside the can and voila, you have a cute and functional sponge holder for your kitchen sink. This DIY sponge holder is not only practical, but it also adds a touch of personality to your sink area. You can also use this method to create holders for other kitchen items, such as dish soap or hand soap.2. How to Make a Sponge Holder for Your Kitchen Sink
If you're looking for a more versatile and customizable solution for organizing your kitchen sink, this DIY caddy is the perfect project for you. Materials: Wooden tray, paint, paintbrush, drill, screws, small buckets or containers Instructions: 1. Start by painting the wooden tray in your desired color. You can also leave it unpainted for a rustic look. 2. Once the paint is dry, use a drill to attach small buckets or containers to the tray. These will act as the holders for your sponges and scrubbers. 3. You can arrange the buckets in any way you like, depending on the size and shape of your tray. 4. Finally, hang the tray on the wall near your sink using screws. Not only does this DIY kitchen sink caddy keep your sponges and scrubbers organized, but it also frees up valuable counter space. You can also add hooks to the tray to hang dish towels or other kitchen tools.3. Easy DIY Kitchen Sink Caddy for Sponges and Scrubbers
If you're feeling extra crafty and want to try something unique, here are a few more creative DIY kitchen sink organizer ideas to inspire you. 1. Hanging Basket Organizer: Use a tension rod and hanging baskets to create a simple yet effective organizer for your sink area. 2. Over-the-Sink Shelf: Install a small shelf over your sink to hold sponges, soap, and other essentials. 3. Repurposed Utensil Holder: Give new life to an old utensil holder by using it to hold your sponges and scrubbers. 4. Magnetic Strip Organizer: Attach a magnetic strip to the side of your sink and use it to hold metal scrubbers. 5. Hanging Mason Jar Organizer: Hang mason jars using twine or rope and use them to hold sponges, brushes, and dish soap. Get creative and see what works best for your kitchen sink and personal style. You may even come up with your own unique organizer idea!4. Creative DIY Kitchen Sink Organizer Ideas
If you have a small sink or limited counter space, this DIY sponge and brush holder is the perfect solution. It's compact, functional, and can be made using items you probably already have at home. Materials: Empty tin can, wooden skewers, glue, decorative paper (optional) Instructions: 1. Clean and dry an empty tin can. 2. Cut the wooden skewers to the desired length (about 1 inch longer than the height of the can). 3. Glue the skewers to one side of the can, spacing them evenly apart. These will act as the holders for your sponges and brushes. 4. Optional: Decorate the can with decorative paper for a more polished look. 5. Place your sponges and brushes inside the can and use the skewers to keep them upright. This DIY holder is not only functional, but it also adds a touch of rustic charm to your sink area. You can also use this method to create holders for other items, such as utensils or pens and pencils.5. DIY Kitchen Sink Sponge and Brush Holder
If you're always struggling to find a place to put your dish soap and sponge, this simple DIY organizer is the solution you've been looking for. Materials: Wooden tray, small plastic tub, waterproof paint, paintbrush Instructions: 1. Start by painting the wooden tray with waterproof paint. 2. Once the paint is dry, place a small plastic tub on one side of the tray. This will hold your dish soap. 3. Use the remaining space on the tray to place your sponge. 4. Optional: You can add hooks to the tray to hang dish towels or other kitchen tools. This simple DIY organizer keeps all your sink essentials in one place and adds a touch of style to your kitchen. You can also use this method to create organizers for other areas of your home, such as your bathroom or desk.6. Homemade Kitchen Sink Organizer for Sponges and Dish Soap
If you're on a budget or enjoy repurposing old items, this DIY kitchen sink organizer is the perfect project for you. Materials: Wooden wine crate, small buckets or containers, paint, paintbrush, screws, drill Instructions: 1. Start by painting the wooden wine crate in your desired color. 2. Once the paint is dry, use a drill to attach small buckets or containers to the inside of the crate. These will act as the holders for your sponges and scrubbers. 3. You can arrange the buckets in any way you like, depending on the size and shape of your crate. 4. Finally, hang the crate on the wall near your sink using screws. This DIY organizer not only adds a rustic and charming touch to your kitchen, but it also helps you keep your sink area clutter-free.7. DIY Kitchen Sink Organizer with Repurposed Materials
If you're short on time but still want to organize your kitchen sink, this simple DIY caddy is the perfect solution. Materials: Plastic basket, suction cups, glue Instructions: 1. Start by gluing suction cups to the back of a plastic basket. 2. Let the glue dry completely. 3. Place your sponges and brushes in the basket and hang it on the side of your sink using the suction cups. This simple and quick DIY caddy is perfect for small sinks or for those who don't want to drill holes into their walls. You can also use this method to create holders for other items, such as hand soap or lotion.8. Simple DIY Kitchen Sink Caddy for Sponges and Brushes
If you have a collection of mason jars lying around, put them to good use with this creative DIY kitchen sink organizer. Materials: Mason jars, twine or rope, drill, suction cups (optional) Instructions: 1. Clean and dry your mason jars. 2. Tie twine or rope around the mouth of each jar, making sure it is secure. 3. Optional: Use a drill to attach suction cups to the back of each jar. This will allow you to hang them on the wall near your sink. 4. Place your sponges and scrubbers inside the jars and hang them on the wall or place them on the counter near your sink. This upcycled mason jar organizer adds a rustic and charming touch to your kitchen and keeps your sink area clutter-free. You can also use different sized jars to hold other items, such as dish soap or utensils.9. Upcycled Mason Jar Kitchen Sink Organizer for Sponges
If you have a tension rod lying around and are looking for a unique way to organize your sink area, this DIY organizer is the perfect project for you. Materials: Tension rod, baskets, hooks (optional) Instructions: 1. Start by determining the length of your tension rod and adjusting it to fit your sink area. 2. Hang the tension rod above your sink. 3. Use hooks to hang baskets from the tension rod. These can hold your sponges, brushes, and other sink essentials. This simple and versatile DIY organizer is perfect for any size sink and allows you to easily access your kitchen items. You can also use this method to create organizers for other areas of your home, such as your closet or pantry.10. DIY Kitchen Sink Organizer with Tension Rod and Baskets
Revamp Your Kitchen with a DIY Sink Organizer for Sponges

Efficient and Stylish Kitchen Design
 When it comes to kitchen organization, every inch of space counts. With limited counter space and a plethora of utensils and cleaning supplies, it can be a challenge to keep your kitchen looking neat and functional. This is especially true for your sink area, where sponges and dish soap can quickly become cluttered and unsightly. However, with a simple DIY project, you can not only declutter your sink area, but also add a touch of style to your kitchen design.
The Importance of a Sink Organizer
 Sponges are an essential tool in every kitchen, but they can also be a breeding ground for bacteria if not stored properly. A sink organizer not only keeps your sponges in one designated spot, but it also allows them to dry out after use, preventing the growth of harmful bacteria. Additionally, a sink organizer can free up valuable counter space and make your sink area look more organized and put-together.
Creating Your Own DIY Sink Organizer
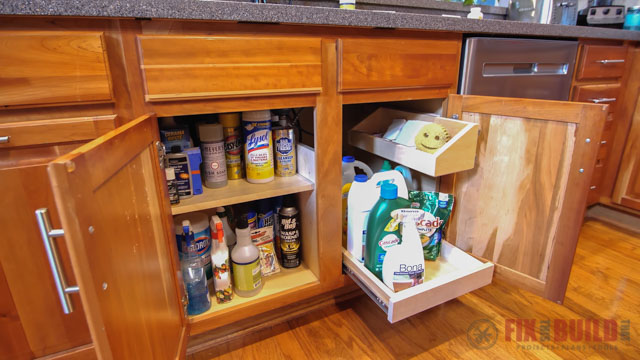
 Creating your own sink organizer for sponges is a simple and cost-effective project that can be completed in just a few easy steps. All you need is a small basket or container, some adhesive hooks, and a few minutes of your time. First, attach the adhesive hooks to the inside of your cabinet door, making sure they are evenly spaced. Then, attach the basket or container to the hooks, creating a space to store your sponges. You can also add additional hooks for hanging dish towels or other cleaning supplies. This DIY sink organizer is not only functional, but it also adds a touch of style to your kitchen design.
Personalization and Creativity
 One of the best things about creating your own sink organizer is the ability to personalize and get creative with the design. You can choose a basket or container that matches your kitchen decor, or even paint it to add a pop of color. You can also add labels or decals to the organizer to make it even more visually appealing. The possibilities are endless, allowing you to customize your sink organizer to fit your unique style and kitchen design.
In conclusion,
a DIY sink organizer for sponges is a simple and effective way to declutter and add style to your kitchen design. With just a few materials and some creativity, you can create a functional and visually appealing organizer that will make your sink area look neat and organized. So why not give it a try and revamp your kitchen today?




:max_bytes(150000):strip_icc()/Web_1500-20220215-sink-caddy-vicky-wasik-simple-human-spruce-eats-12-066143e8c46f4904b471bec837a432e7.jpg)
