Installing a new kitchen sink can be a daunting task, but don't let the thought of dealing with the plumbing scare you away. With the right tools and a little know-how, installing a kitchen sink drain can be a DIY project that will save you time and money. In this article, we will guide you through the steps of installing a kitchen sink drain, from start to finish.
How to Install a Kitchen Sink Drain


How to Install a Kitchen Sink Drain

/how-to-install-a-sink-drain-2718789-hero-b5b99f72b5a24bb2ae8364e60539cece.jpg)


:max_bytes(150000):strip_icc()/how-to-install-a-sink-drain-2718789-hero-24e898006ed94c9593a2a268b57989a3.jpg)

If you're replacing an old kitchen sink drain, you may also need to install a new drain basket. This is the removable strainer that sits inside the drain opening and catches food scraps. To install a new drain basket, you will need to remove the old one and then follow these steps:
1. Apply plumber's putty around the bottom edge of the drain basket.
2. Insert the drain basket into the drain opening and press down firmly.
3. From under the sink, place the rubber gasket and then the cardboard washer onto the drain basket.
4. Screw on the locknut and tighten it with pliers.
How to Install a Kitchen Sink Drain Basket


How to Install a Kitchen Sink Drain Basket


Plumbing may seem like a job for a professional, but with a little DIY knowledge, you can tackle most kitchen sink plumbing tasks yourself. Here are some tips to keep in mind when working on your kitchen sink plumbing:
1. Always turn off the water supply before starting any plumbing project.
2. Use the right tools for the job, such as a basin wrench for tight spaces.
3. Don't be afraid to ask for help or consult online tutorials for guidance.
4. Take your time and be patient, rushing can lead to mistakes and potentially costly repairs.
DIY Kitchen Sink Plumbing


DIY Kitchen Sink Plumbing


/how-to-install-a-sink-drain-2718789-hero-24e898006ed94c9593a2a268b57989a3.jpg)
If your kitchen sink drain is old or damaged, it may need to be replaced. Here's how to do it:
1. Turn off the water supply and disconnect the plumbing under the sink.
2. Loosen the locknut on the drain basket and remove it from the sink.
3. Clean the area around the drain opening and apply plumber's putty.
4. Insert the new drain basket and tighten the locknut.
5. Reconnect the plumbing and turn the water supply back on.
How to Replace a Kitchen Sink Drain


How to Replace a Kitchen Sink Drain


A clogged or leaking kitchen sink drain can be a frustrating problem. But with a few tools and some DIY know-how, you can tackle the repair yourself. Here's what to do:
1. Clear out any debris from the drain using a plunger or drain snake.
2. Check the pipes under the sink for any leaks and tighten connections if needed.
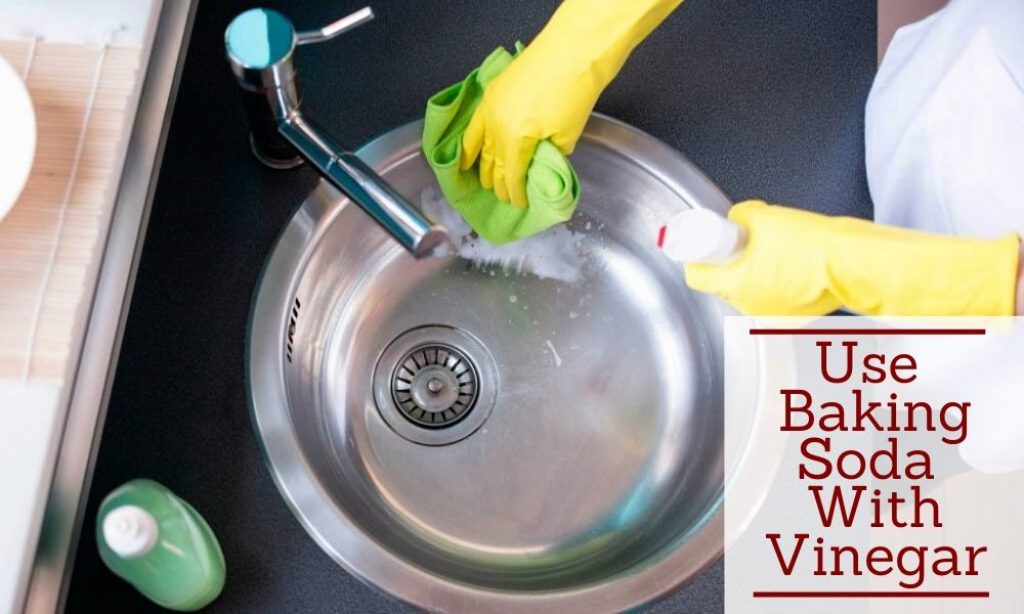
3. If the drain is still clogged, try using a mixture of baking soda and vinegar followed by boiling water to break up the blockage.
DIY Kitchen Sink Drain Repair


DIY Kitchen Sink Drain Repair


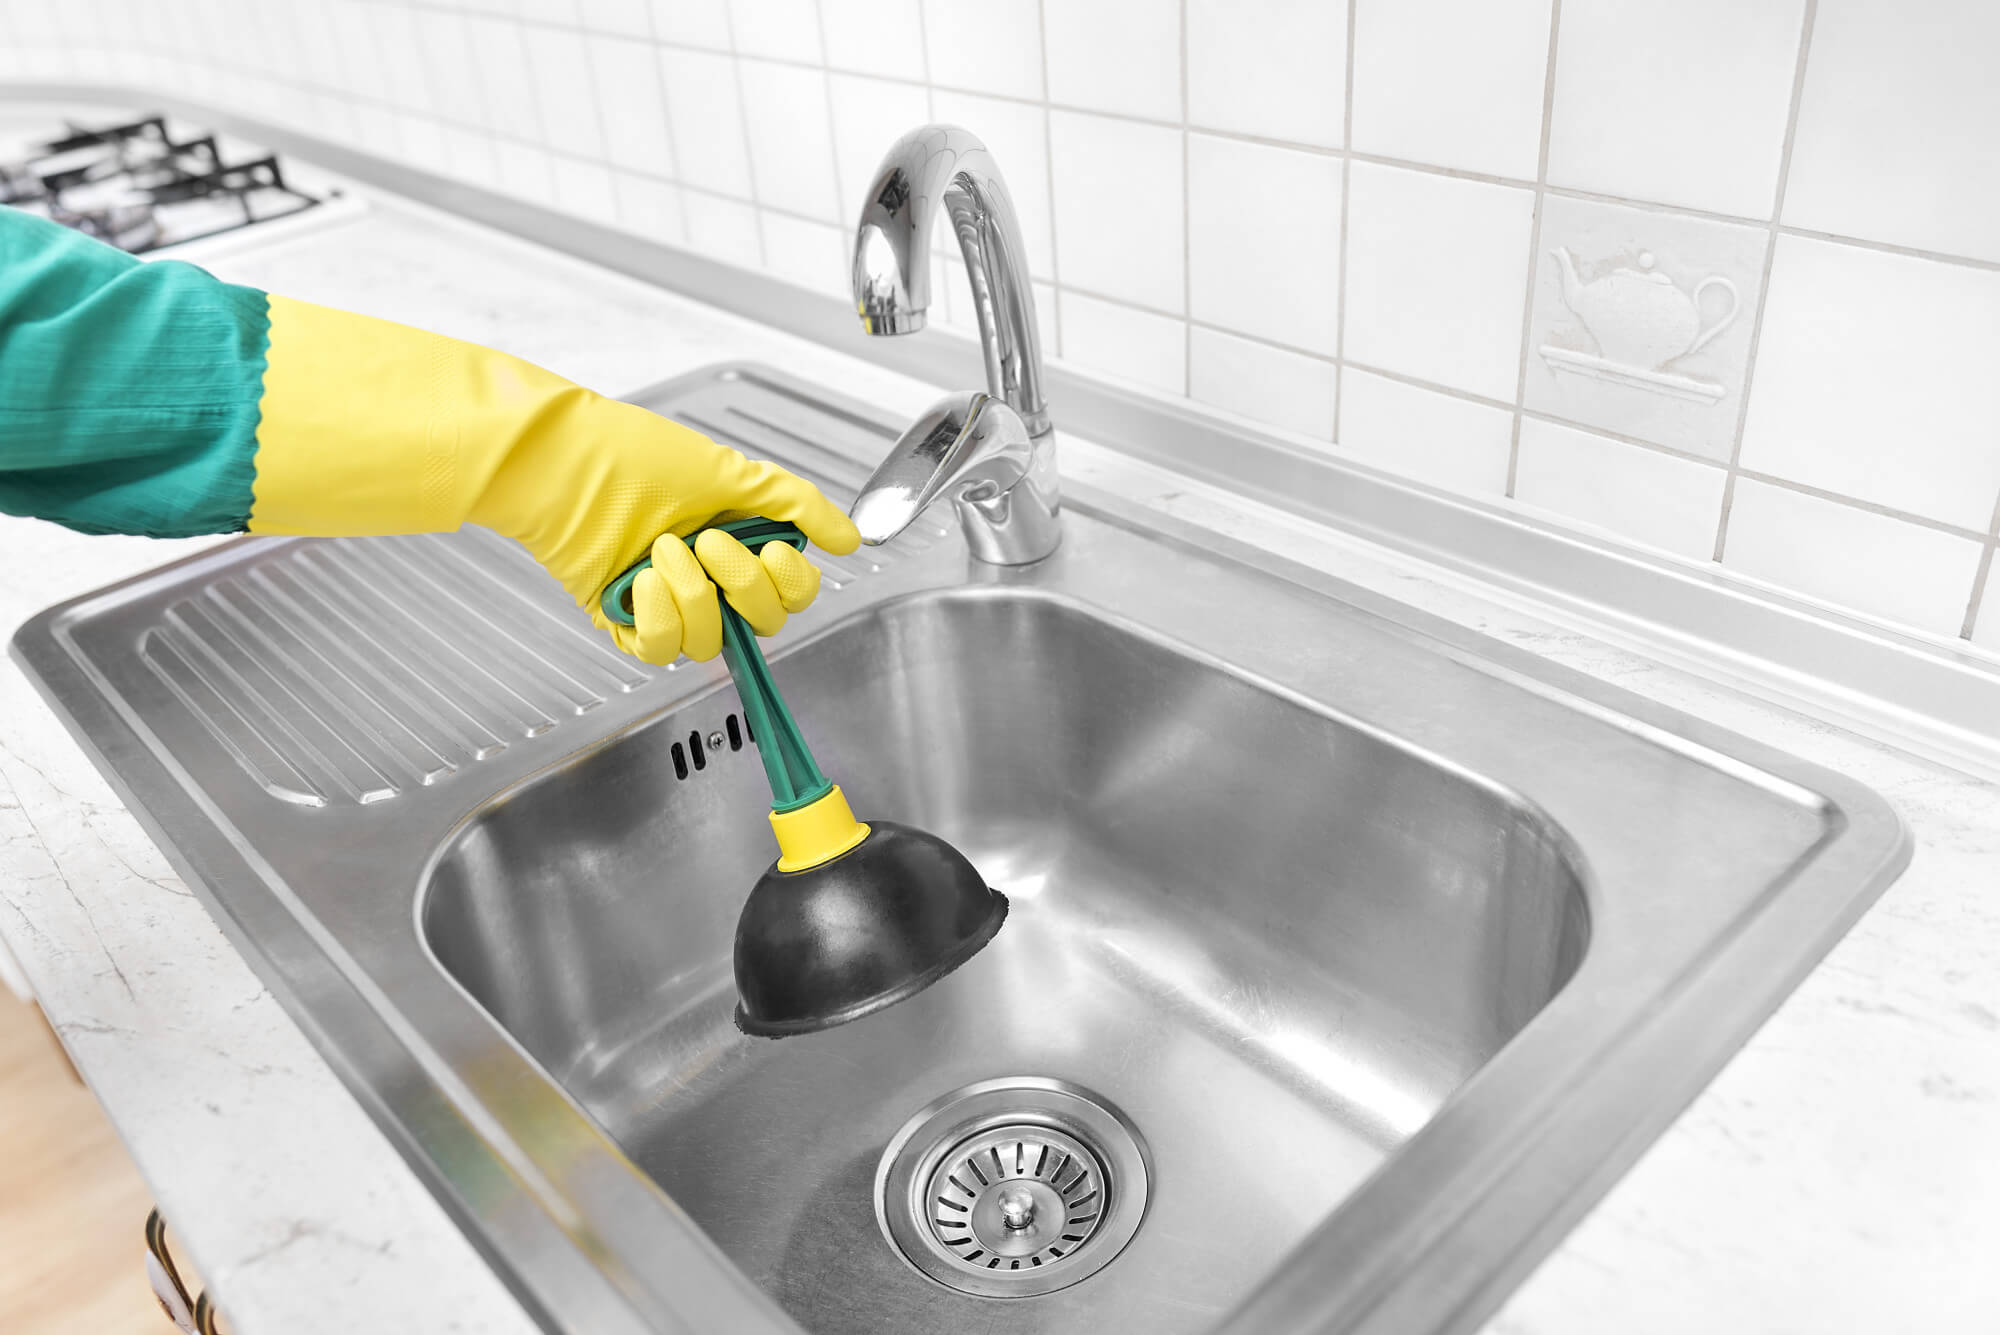
A clogged kitchen sink drain is a common problem that can be easily fixed with a plunger or drain snake. Here's how to do it:
1. Place the plunger over the drain and push down firmly.
2. Use a back-and-forth motion to create suction and loosen the blockage.
3. If the plunger doesn't work, use a drain snake to remove the clog.
4. Once the blockage is cleared, run hot water down the drain to flush out any remaining debris.
How to Unclog a Kitchen Sink Drain


How to Unclog a Kitchen Sink Drain

:max_bytes(150000):strip_icc()/freshen-and-unclog-drain-with-baking-soda-1900466-22-bbf940b70afa4d5abef0c54da23b1d3f.jpg)
:max_bytes(150000):strip_icc()/how-to-unclog-a-kitchen-sink-2718799_sketch_FINAL-8c5caa805a69493ab22dfb537c72a1b7.png)


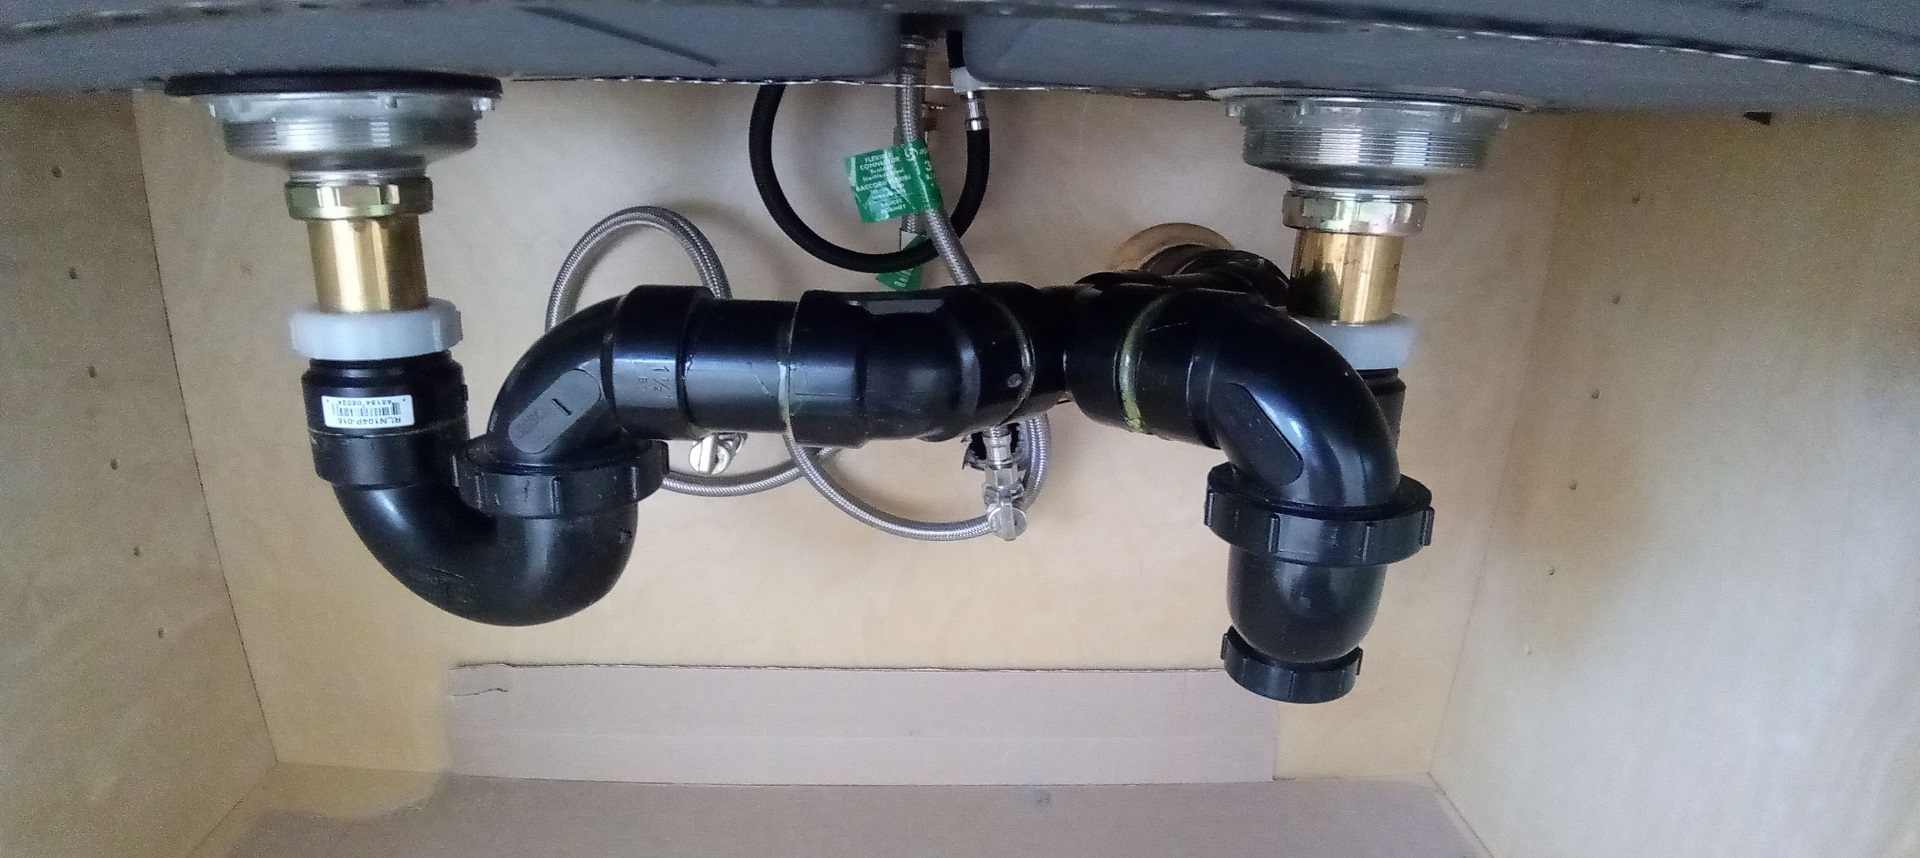
If you're installing a new kitchen sink, you will also need to install a new drain. Here's what you'll need to do:
1. Measure and cut the PVC pipes to fit the new sink's drain opening.
2. Connect the pipes using PVC primer and glue.
3. Apply plumber's putty around the drain opening and insert the new drain basket.
4. Tighten the locknut and reconnect the plumbing.
DIY Kitchen Sink Drain Installation


DIY Kitchen Sink Drain Installation
A leaky kitchen sink drain can lead to water damage and costly repairs if left untreated. Here's how to fix it:
1. Tighten the connections between the pipes under the sink.
2. If the leak persists, replace the rubber gasket and cardboard washer on the drain basket.
3. If the leak is coming from the drain itself, remove the drain basket and apply new plumber's putty before reinstalling it.
How to Fix a Leaky Kitchen Sink Drain


How to Fix a Leaky Kitchen Sink Drain


If your kitchen sink drain is old or damaged beyond repair, it may need to be replaced. Here's how to do it:
1. Turn off the water supply and disconnect the plumbing under the sink.
2. Remove the old drain basket and clean the area around the drain opening.
3. Apply plumber's putty and insert the new drain basket, tightening the locknut.
4. Reconnect the plumbing and turn the water supply back on.
DIY Kitchen Sink Drain Replacement


DIY Kitchen Sink Drain Replacement


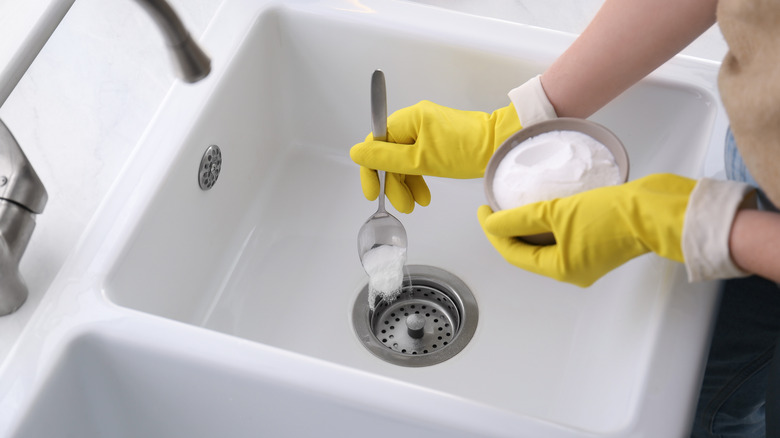
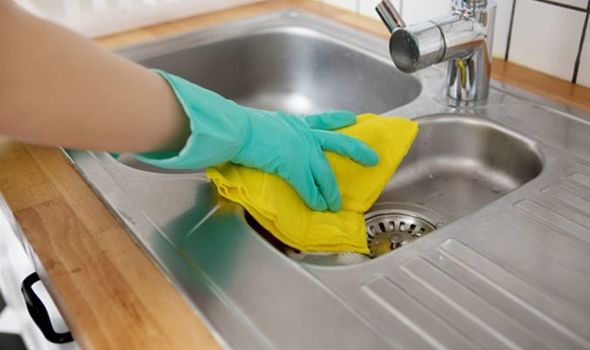
Regularly cleaning your kitchen sink drain is important to prevent clogs and keep it functioning properly. Here's how to do it:
1. Use a mixture of baking soda and vinegar to eliminate any odors coming from the drain.
2. Once a month, pour boiling water down the drain to break up any buildup.
3. Use a drain snake to remove any debris or hair that may be causing a clog.
With these tips and techniques, you can confidently tackle any kitchen sink drain plumbing project. Remember to take your time and always turn off the water supply before starting any work. Happy DIY-ing!
How to Clean a Kitchen Sink Drain


How to Clean a Kitchen Sink Drain


:max_bytes(150000):strip_icc()/how-to-clean-a-kitchen-sink-and-drain-01-5660035-a1d8afe3894346f9a579e66c55e64b7d.jpg)
DIY Kitchen Sink Drain Plumbing: A Beginner's Guide to Proper Installation and Maintenance

Introduction
 When it comes to house design, the kitchen is often considered the heart of the home. It's where delicious meals are prepared, and memories are made with family and friends. However, a poorly functioning kitchen can quickly turn this space into a nightmare. One of the most common plumbing issues in the kitchen is a clogged or leaky sink drain. Not only is it inconvenient, but it can also cause major damage if left unattended. That's why it's essential to understand the basics of kitchen sink drain plumbing and learn how to properly install and maintain it. In this article, we will guide you through the process of DIY kitchen sink drain plumbing and provide you with useful tips to keep your drain in top condition.
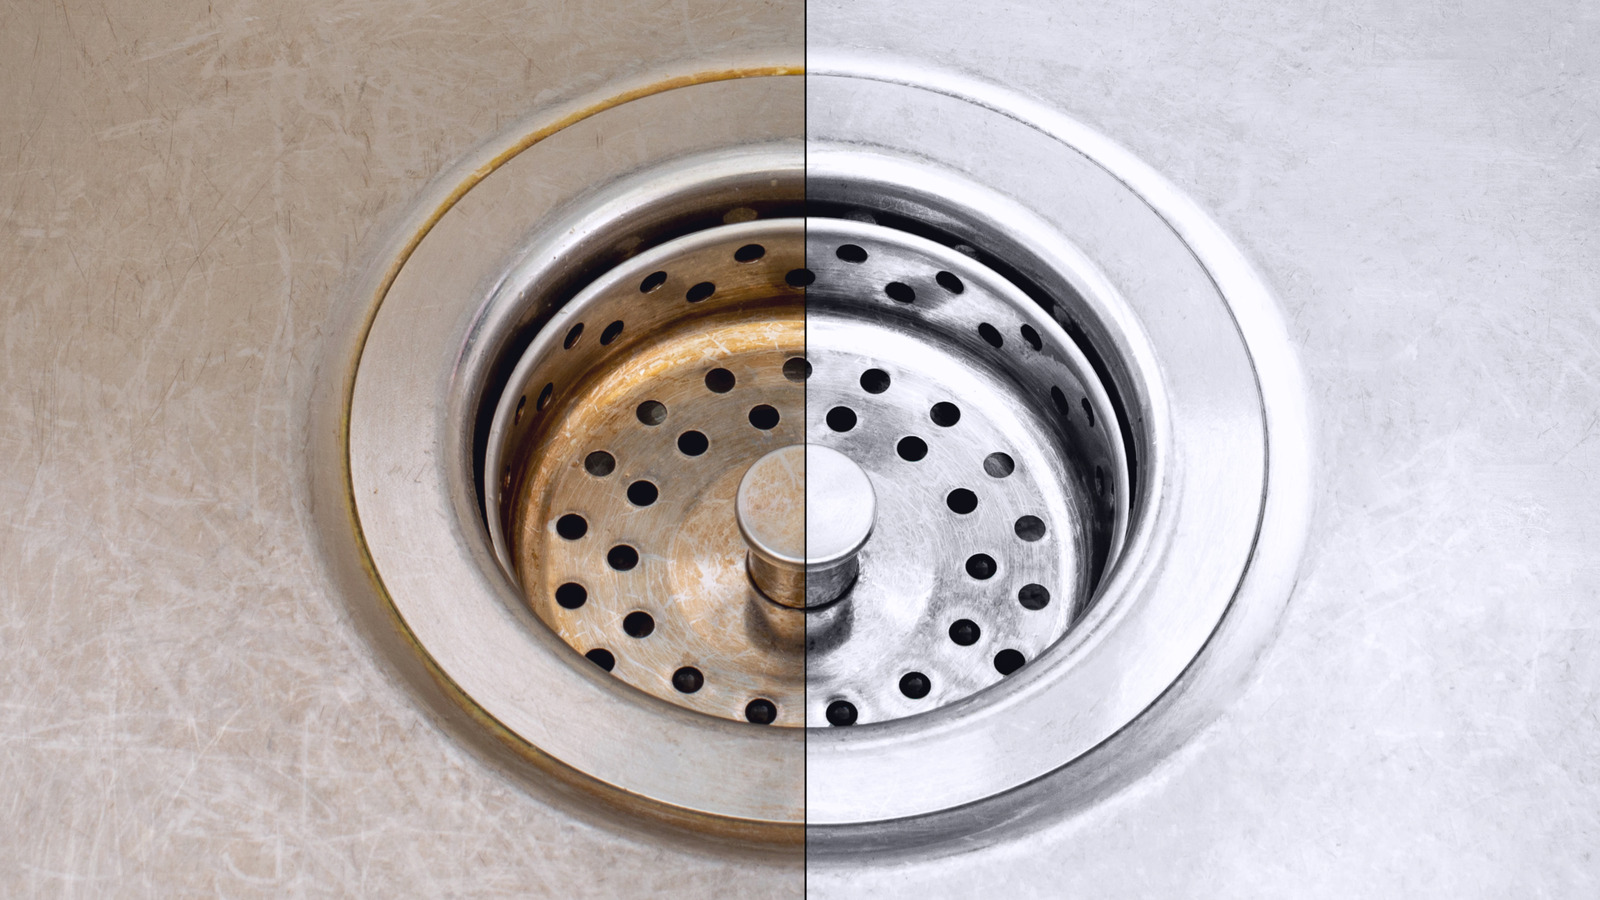
The Importance of Proper Kitchen Sink Drain Plumbing
 A kitchen sink drain is responsible for carrying all the waste water from your sink into the main sewer line. It consists of several components, including the drain basket, strainer, and tailpiece, which work together to keep your sink and pipes free from debris and clogs. If not installed correctly, or if not properly maintained, these components can become clogged, causing water to back up and potentially damaging your sink and surrounding cabinets. Additionally, a faulty kitchen sink drain can lead to foul odors and create an unsanitary environment in your kitchen. That's why it's crucial to ensure your kitchen sink drain is installed correctly and functioning properly.
DIY Kitchen Sink Drain Plumbing: Step-by-Step Guide
 Now that you understand the importance of proper kitchen sink drain plumbing, let's dive into the step-by-step process of DIY installation.
Step 1: Gather Your Tools and Materials
Before starting the installation process, make sure you have all the necessary tools and materials. These may include a wrench, pliers, putty knife, plumber's tape, and a new drain kit. It's also a good idea to have a bucket and towels handy to catch any water that may spill during the process.
Step 2: Remove the Old Drain
Start by turning off the water supply to your sink. Then, using a wrench or pliers, loosen the nuts connecting the drain pipe to the sink and the main drain line. Once the nuts are loosened, you can remove the old drain basket and clean any remaining putty or debris from the sink.
Step 3: Prepare the New Drain
Apply a thin layer of plumber's putty around the bottom of the new drain basket. Then, insert the drain into the sink from the top and secure it in place by tightening the nut underneath. Make sure the drain is centered and level before moving on to the next step.
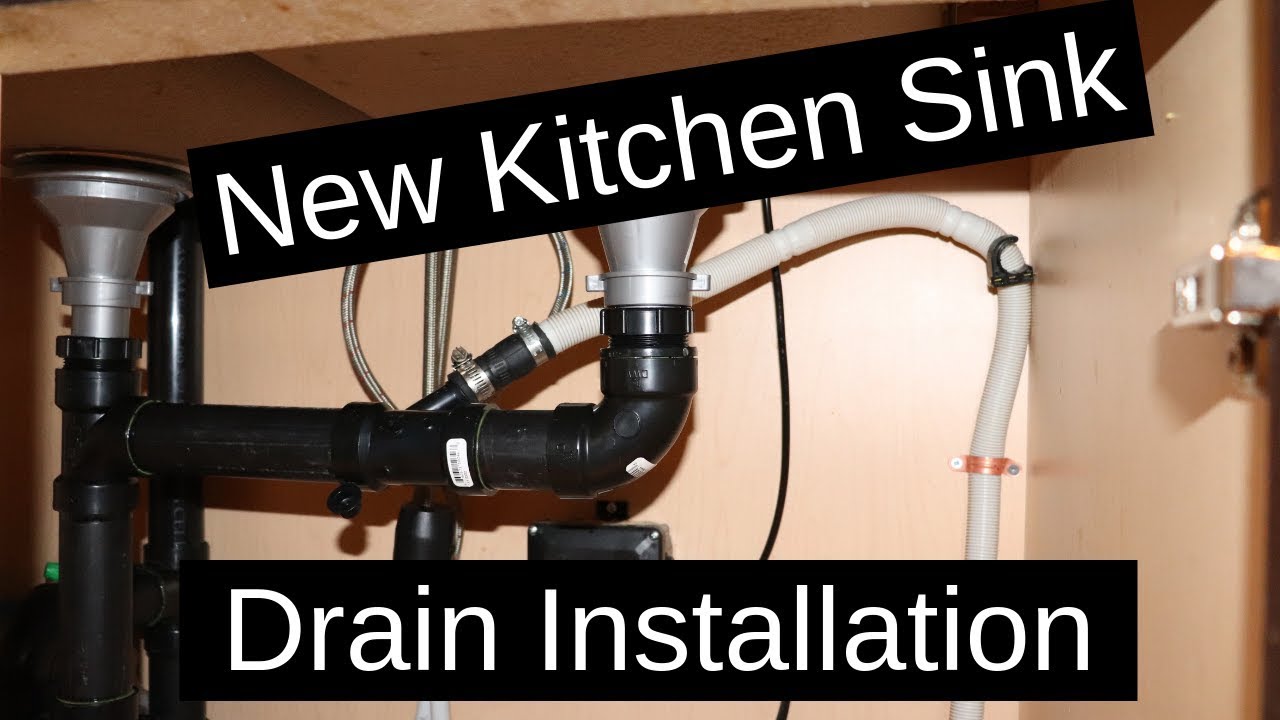
Step 4: Connect the Drain Pipe
Next, attach the tailpiece to the bottom of the drain basket, followed by the P-trap and the main drain line. Use plumber's tape to ensure a tight and leak-free connection.
Step 5: Test and Adjust
Once all the components are connected, turn the water supply back on and test the drain by running water through it. If there are any leaks, tighten the connections until they stop. If the drain is working properly, you can adjust the P-trap and tailpiece for a better fit.
Now that you understand the importance of proper kitchen sink drain plumbing, let's dive into the step-by-step process of DIY installation.
Step 1: Gather Your Tools and Materials
Before starting the installation process, make sure you have all the necessary tools and materials. These may include a wrench, pliers, putty knife, plumber's tape, and a new drain kit. It's also a good idea to have a bucket and towels handy to catch any water that may spill during the process.
Step 2: Remove the Old Drain
Start by turning off the water supply to your sink. Then, using a wrench or pliers, loosen the nuts connecting the drain pipe to the sink and the main drain line. Once the nuts are loosened, you can remove the old drain basket and clean any remaining putty or debris from the sink.
Step 3: Prepare the New Drain
Apply a thin layer of plumber's putty around the bottom of the new drain basket. Then, insert the drain into the sink from the top and secure it in place by tightening the nut underneath. Make sure the drain is centered and level before moving on to the next step.
Step 4: Connect the Drain Pipe
Next, attach the tailpiece to the bottom of the drain basket, followed by the P-trap and the main drain line. Use plumber's tape to ensure a tight and leak-free connection.
Step 5: Test and Adjust
Once all the components are connected, turn the water supply back on and test the drain by running water through it. If there are any leaks, tighten the connections until they stop. If the drain is working properly, you can adjust the P-trap and tailpiece for a better fit.
Maintenance Tips for Your Kitchen Sink Drain
 Proper maintenance is crucial for keeping your kitchen sink drain in good working condition. Here are some tips to help you keep your drain clog-free:
- Regularly clean your sink and drain with a mixture of hot water and vinegar to prevent buildup of debris and grease.
- Use a sink strainer to catch food scraps and other debris before they go down the drain.
- Avoid pouring grease or oil down your sink, as they can solidify and cause clogs.
- If you notice slow draining, use a plunger or a homemade drain cleaner to remove any minor clogs.
Proper maintenance is crucial for keeping your kitchen sink drain in good working condition. Here are some tips to help you keep your drain clog-free:
- Regularly clean your sink and drain with a mixture of hot water and vinegar to prevent buildup of debris and grease.
- Use a sink strainer to catch food scraps and other debris before they go down the drain.
- Avoid pouring grease or oil down your sink, as they can solidify and cause clogs.
- If you notice slow draining, use a plunger or a homemade drain cleaner to remove any minor clogs.
Conclusion
 Installing and maintaining your kitchen sink drain may seem like a daunting task, but with the right tools and knowledge, it can be easily done as a DIY project. By following the steps outlined in this article, you can ensure that your kitchen sink drain is properly installed and functioning correctly. Remember to regularly clean and maintain your drain to prevent any major issues. With these tips, you can keep your kitchen sink drain in top condition and enjoy a hassle-free cooking experience.