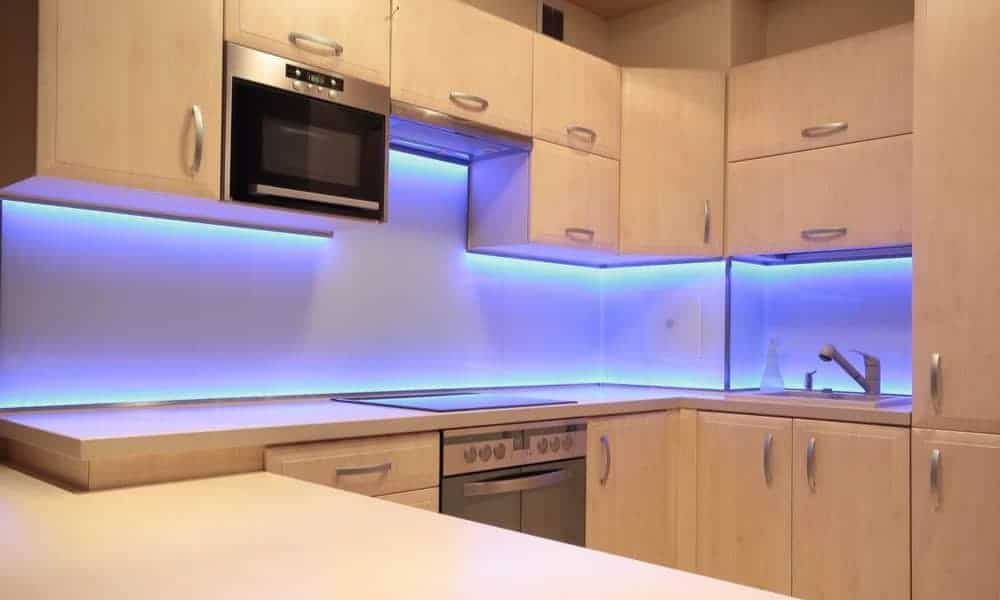
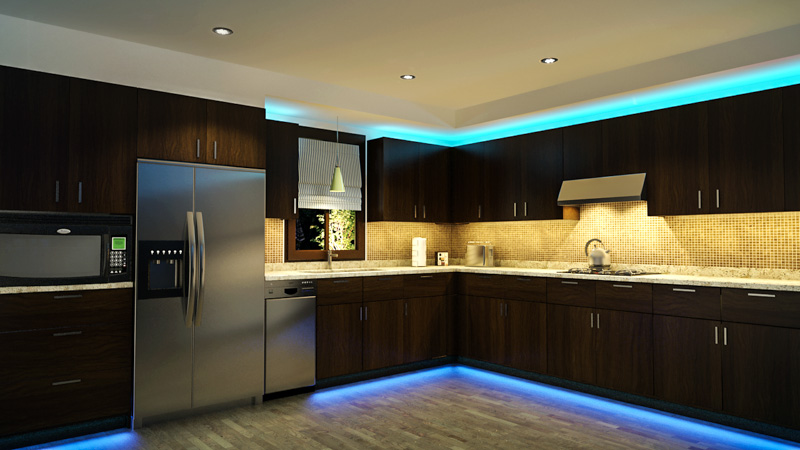
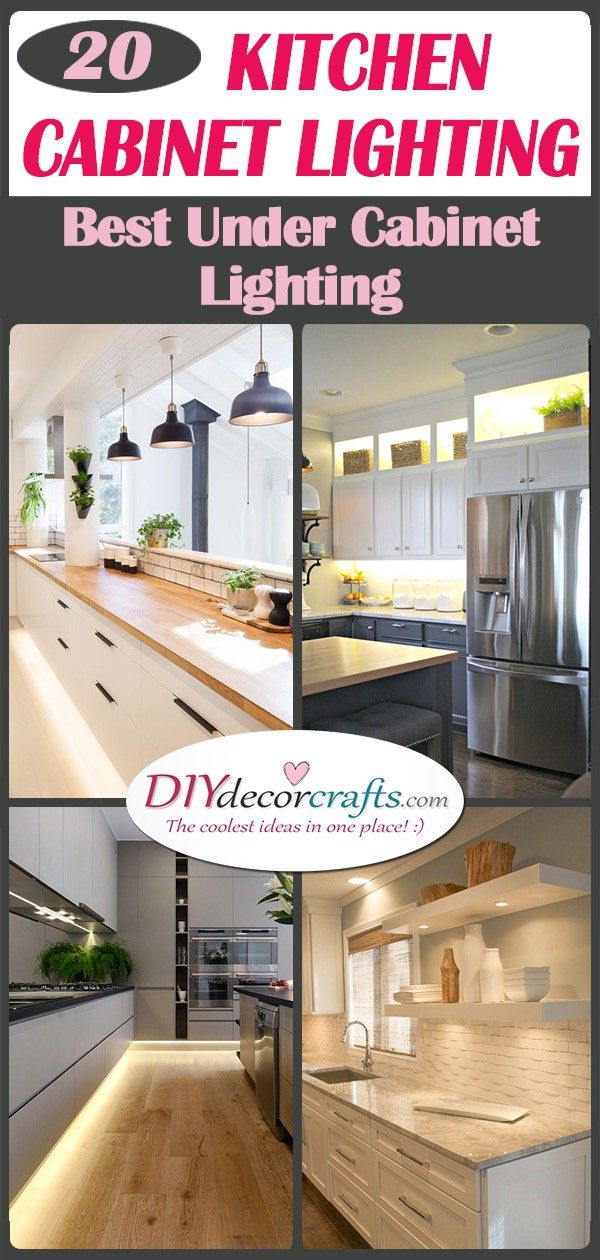
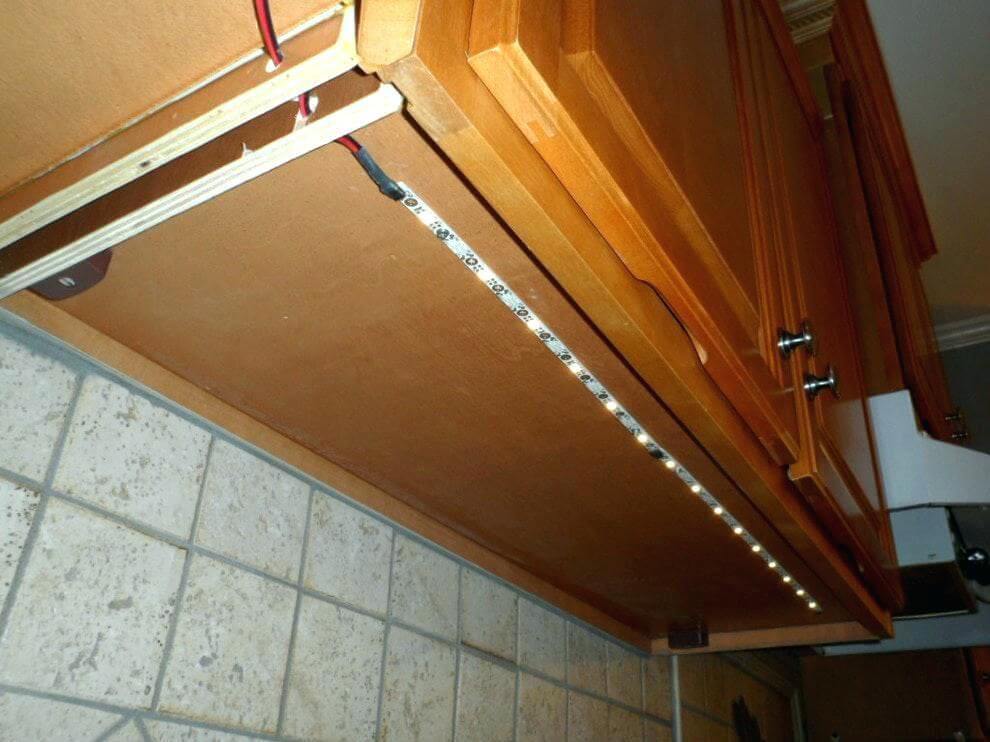
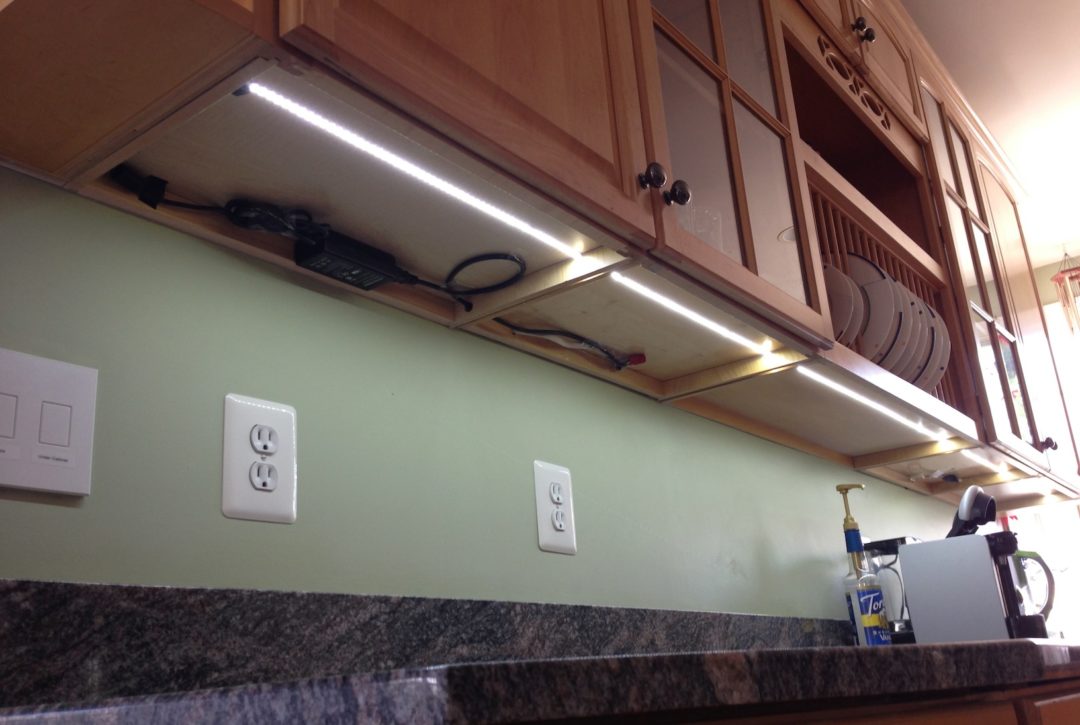
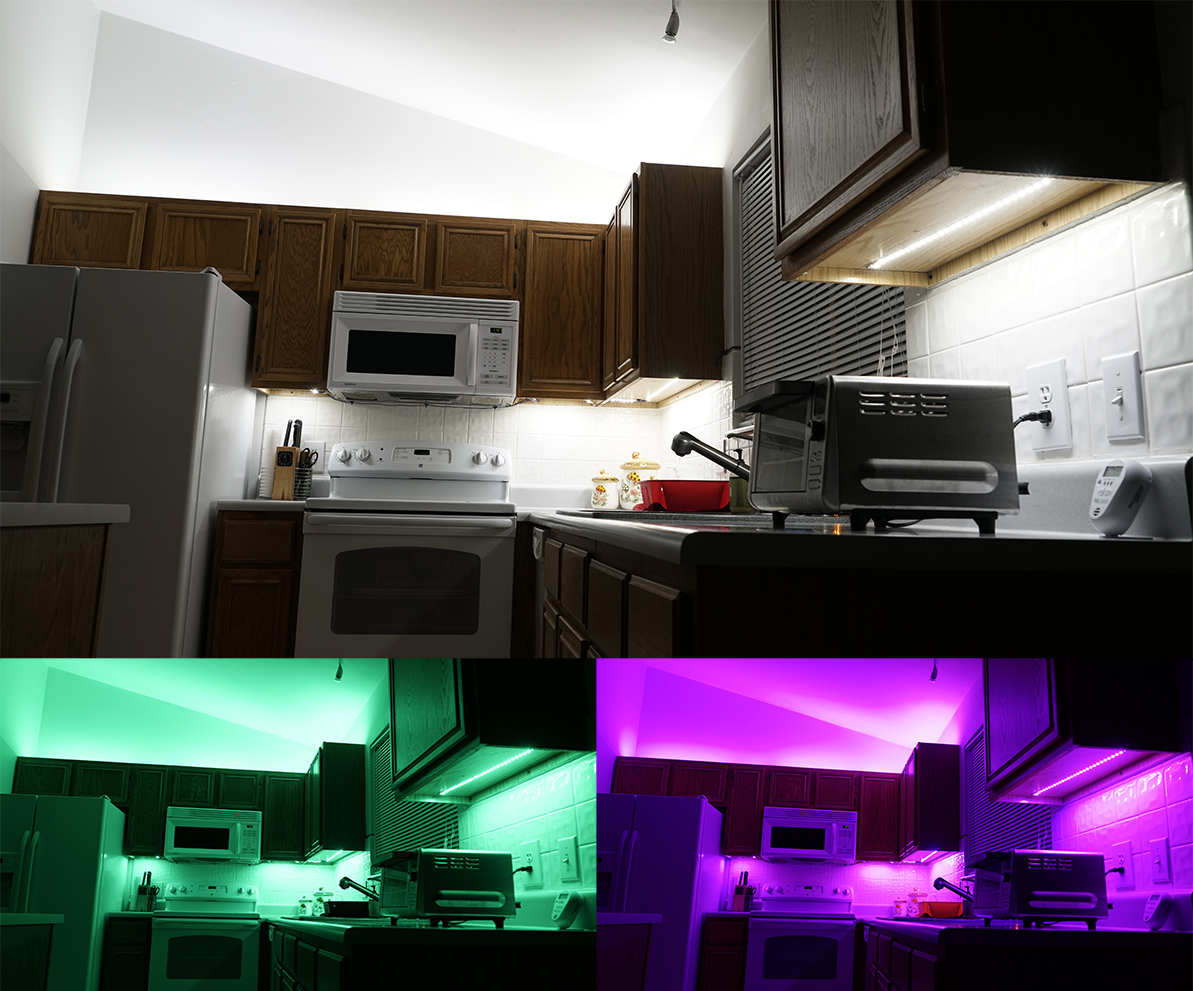
Looking for a budget-friendly and efficient way to light up your kitchen cabinets? Look no further than DIY LED strip lights! These versatile lights are easy to install and can add a touch of modern style to your kitchen. Plus, with the option to customize the color and brightness, you can create the perfect ambiance for your space. To get started, you'll need LED strip lights, adhesive tape, power supply, and connectors. You can find all of these materials at your local hardware store or online. Once you have your supplies, follow these simple steps to install your DIY LED strip lights: Step 1: Measure and cut the LED strip lights to fit the length of your kitchen cabinets. Use a pair of scissors to cut the strip lights at the designated cut marks. Make sure to measure carefully to avoid any mistakes. Step 2: Clean the surface where you'll be attaching the lights. Use a damp cloth to wipe away any dust or debris. This will ensure that the adhesive tape sticks properly. Step 3: Attach the adhesive tape to the back of the LED strip lights. Carefully peel off the backing and press the tape onto the back of the lights. Make sure the tape is evenly distributed along the entire strip. Step 4: Stick the lights to the bottom of your cabinets. Start from one end and slowly press the lights onto the cabinet. Make sure they are straight and evenly spaced. Step 5: Connect the power supply to the lights. Use the connectors to join the power supply to the strip lights. Make sure all the connections are secure. Step 6: Test the lights. Plug in the power supply and turn on the lights to make sure they are working properly. If not, check all the connections and make sure they are secure. And there you have it – your very own DIY LED strip lights for your kitchen cabinets! Not only will these lights brighten up your space, but they can also be controlled with a remote to change the color and brightness to suit your mood.1. DIY LED Strip Lights for Kitchen Cabinets
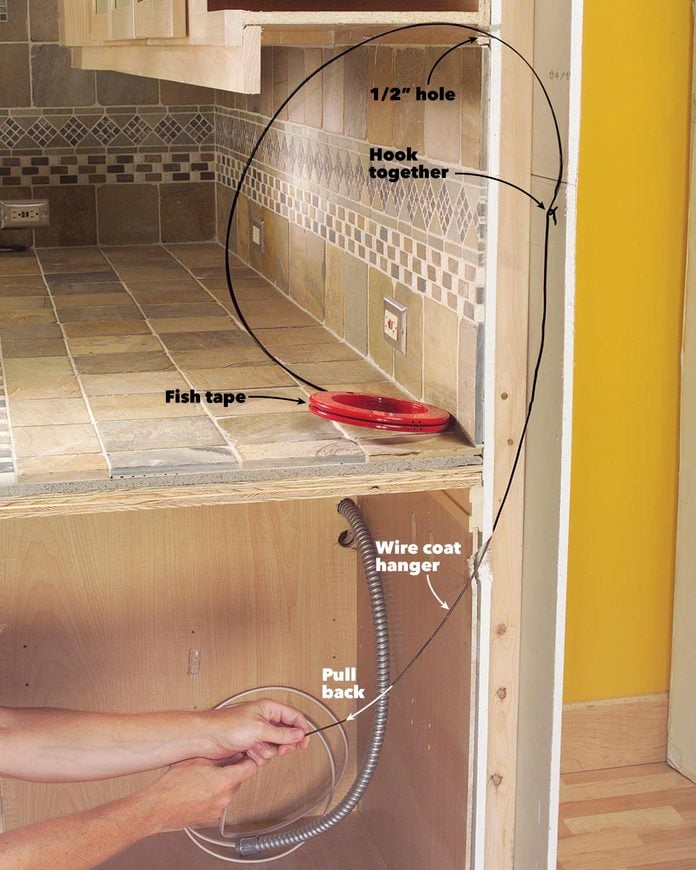
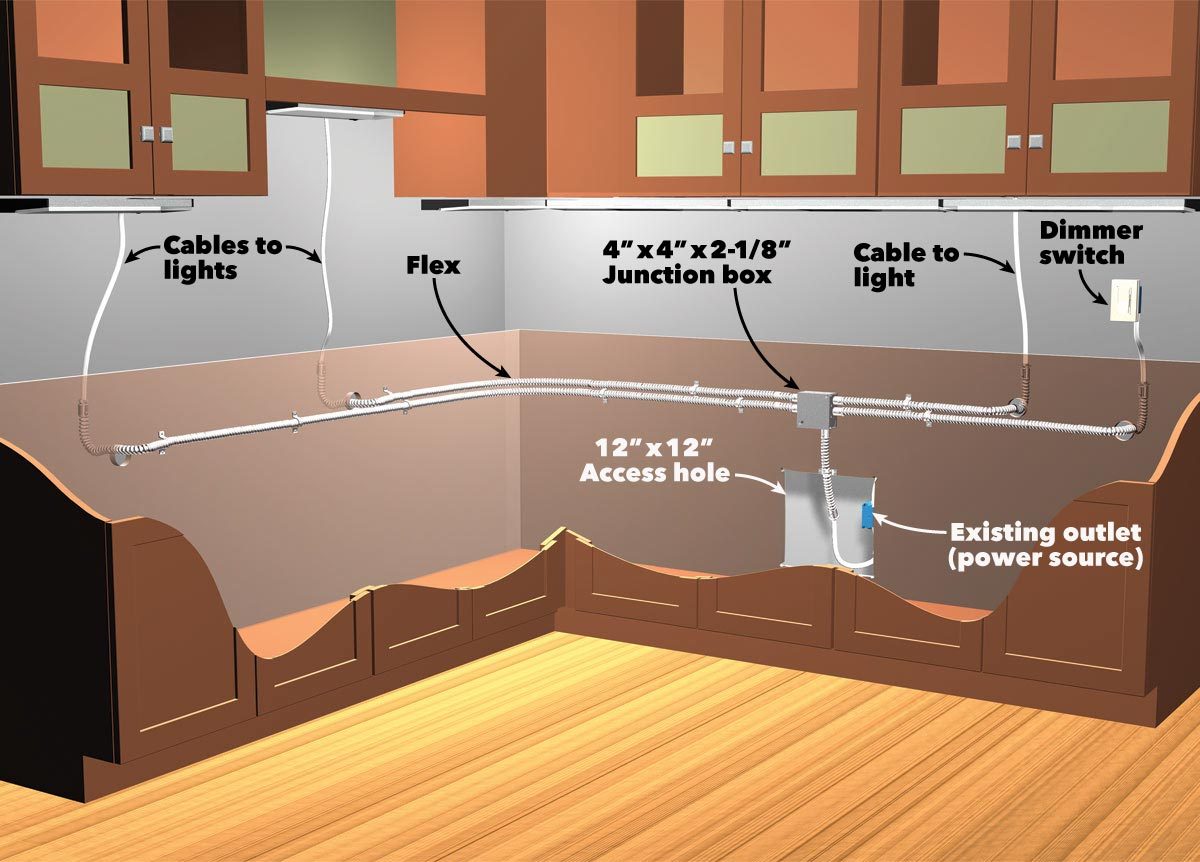
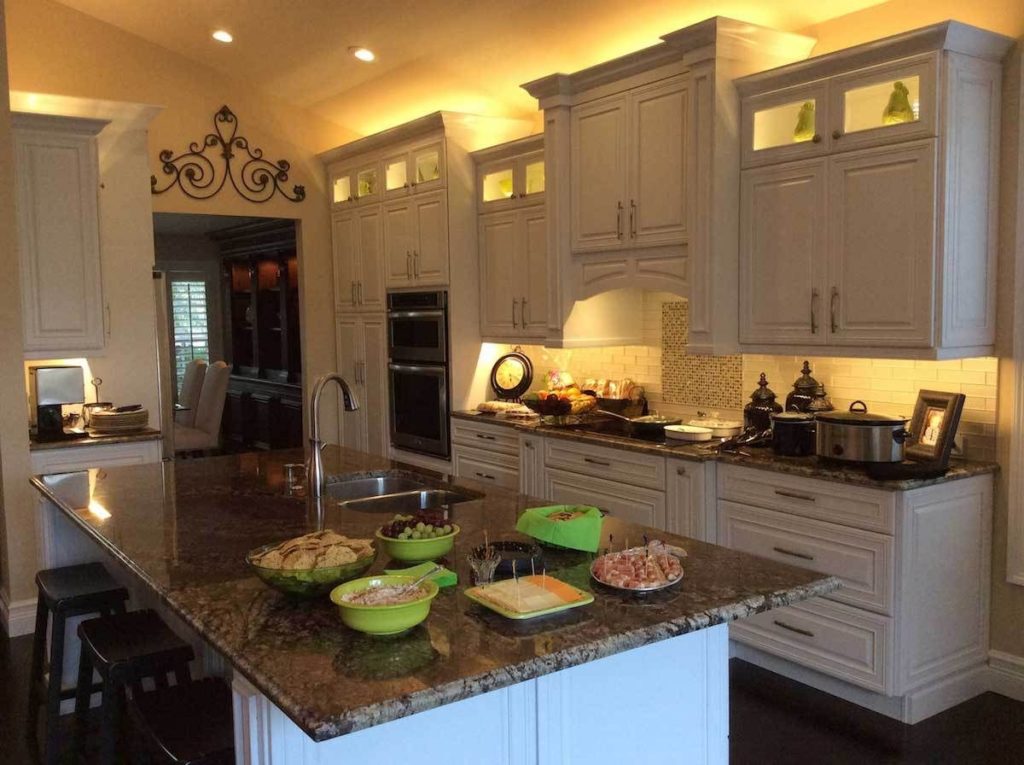
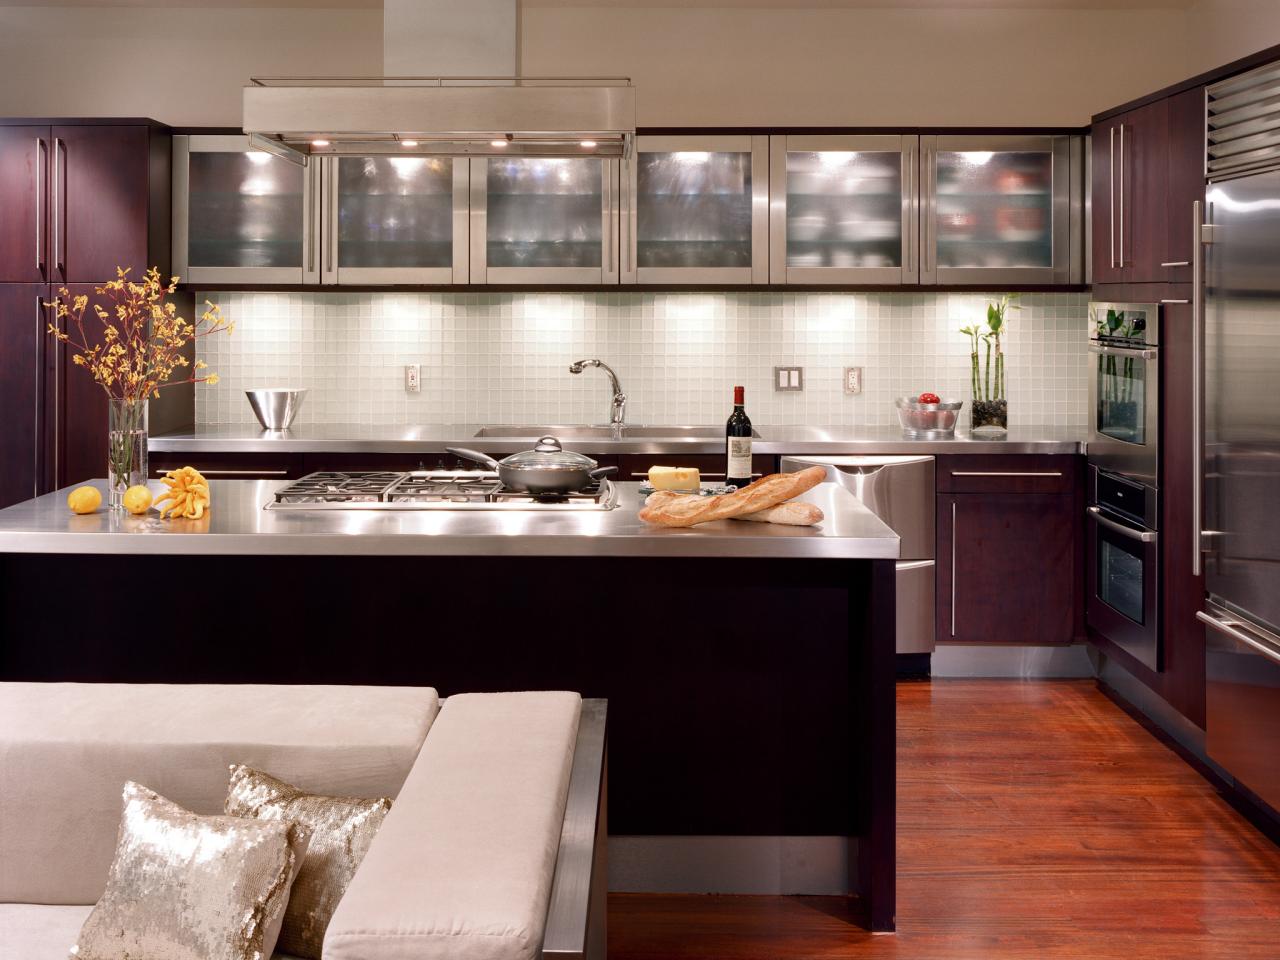
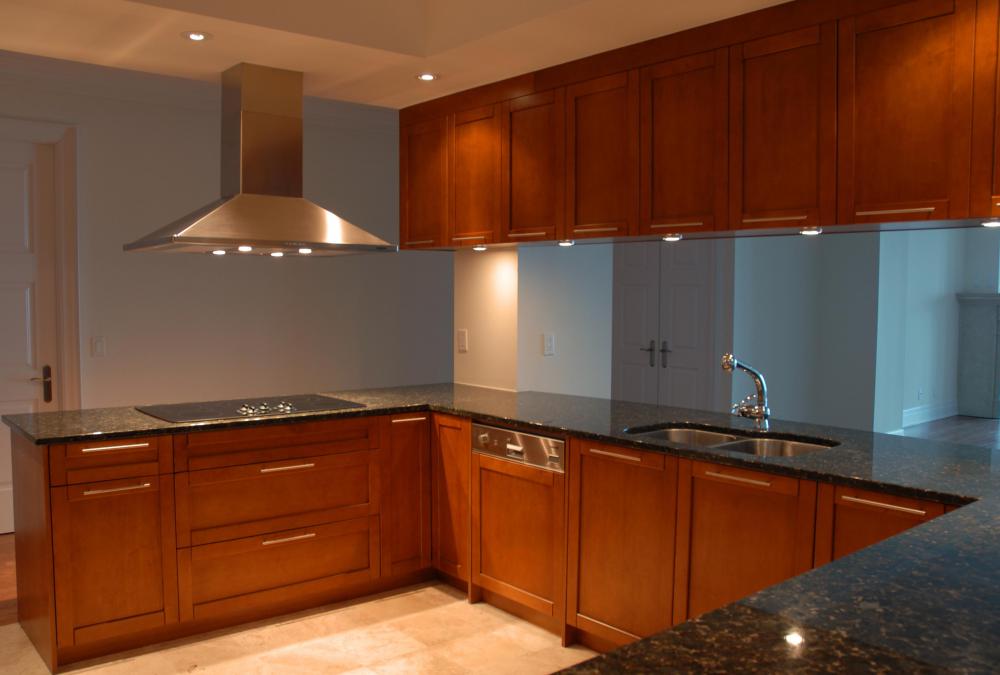
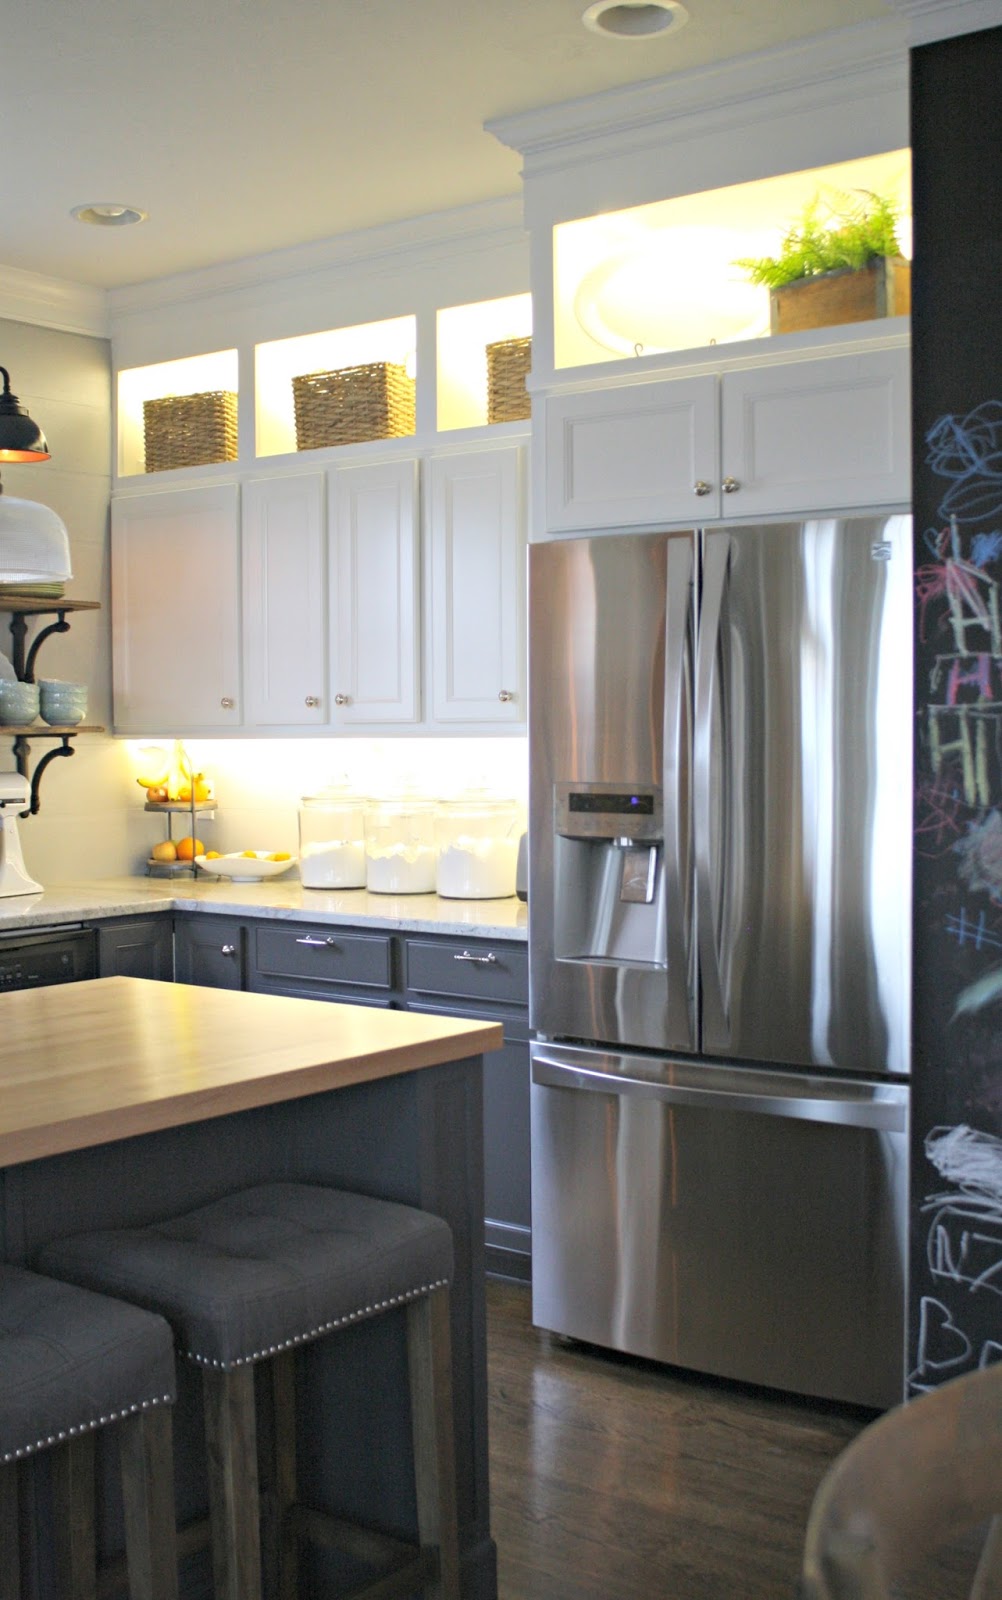
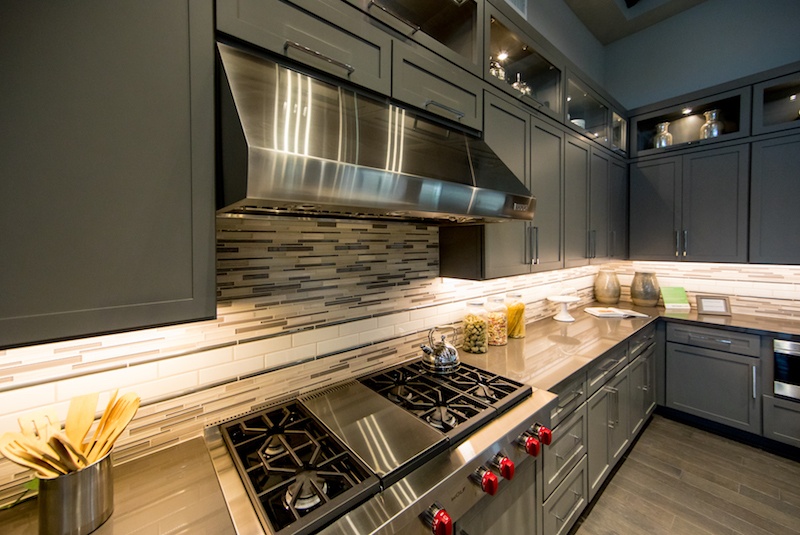
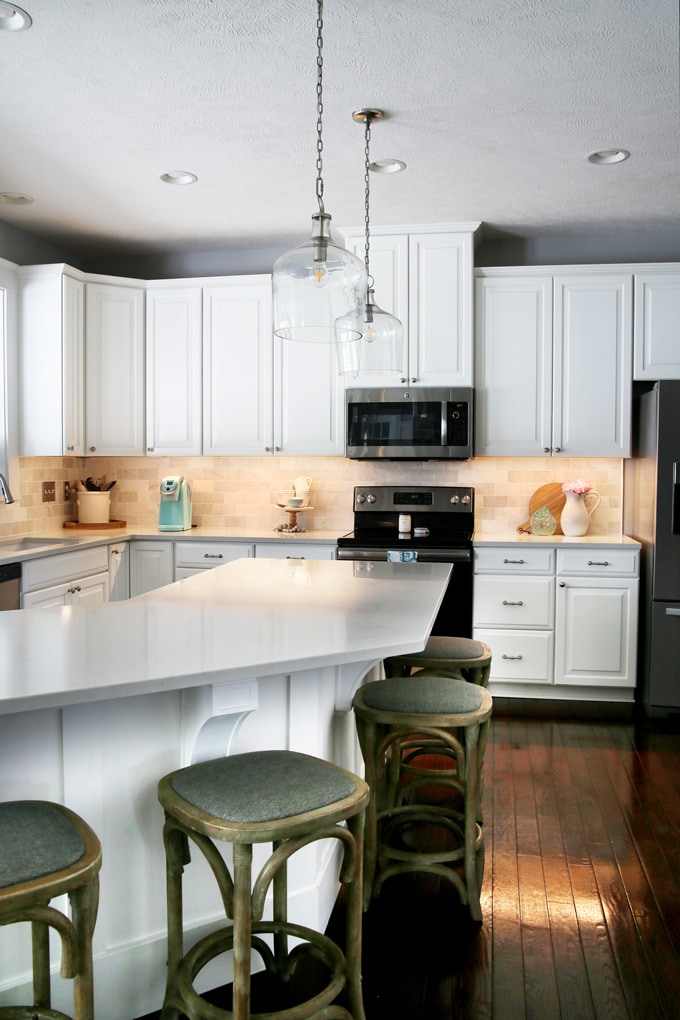
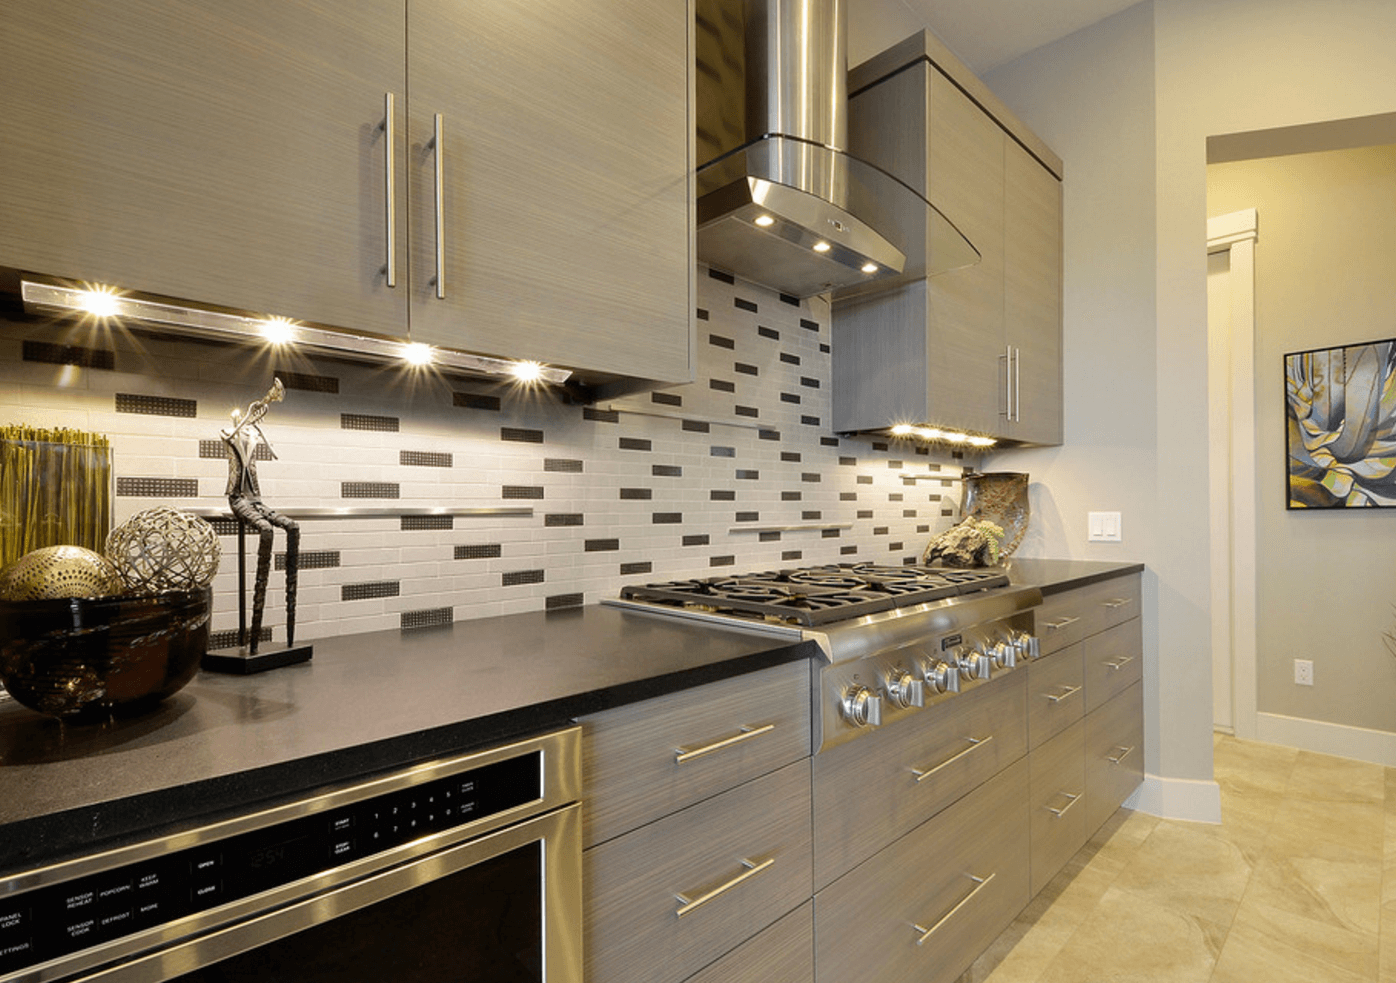
Another popular option for lighting up your kitchen cabinets is installing LED lights underneath them. This creates a beautiful and functional effect, as the lights will illuminate your countertops and create a warm ambiance in your kitchen. To install LED lights under your kitchen cabinets, you'll need LED light strips, adhesive clips, power supply, and connectors. You can find all of these materials at your local hardware store or online. Here's how to install them: Step 1: Measure and cut the LED light strips to fit the length of your cabinets. Just like with the DIY strip lights, use a pair of scissors to cut the strips at the designated cut marks. Make sure to measure accurately. Step 2: Clean the surface where you'll be attaching the lights. Use a damp cloth to wipe away any dust or debris. This will ensure that the adhesive clips stick properly. Step 3: Attach the adhesive clips to the back of the LED light strips. Peel off the backing and press the clips onto the back of the lights. Make sure they are evenly distributed along the strip. Step 4: Stick the lights to the underside of your cabinets. Start from one end and slowly press the lights onto the underside of the cabinet. Make sure they are straight and evenly spaced. Step 5: Connect the power supply to the lights. Use the connectors to join the power supply to the light strips. Make sure all the connections are secure. Step 6: Test the lights. Plug in the power supply and turn on the lights to make sure they are working properly. If not, check all the connections and make sure they are secure. With the simple installation process and the added functionality of being able to light up your countertops, LED lights under your kitchen cabinets are a popular choice for many homeowners.2. How to Install LED Lights Under Kitchen Cabinets
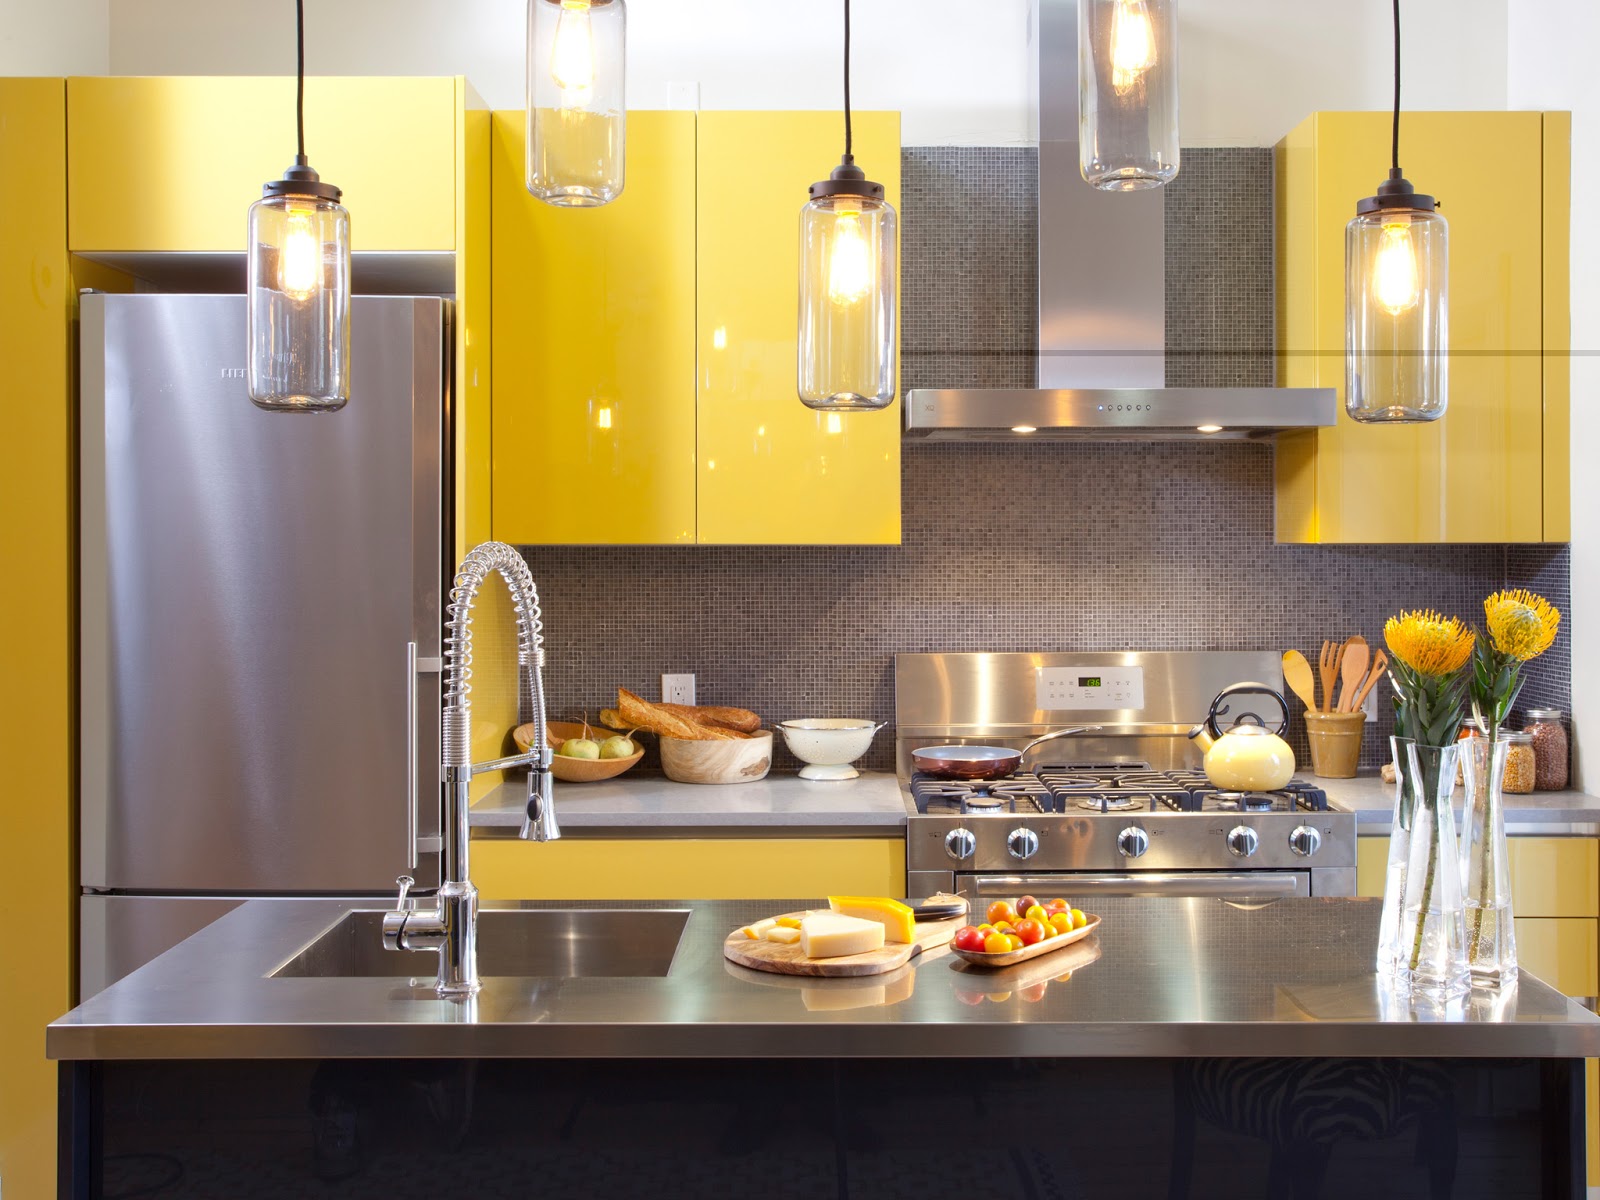
If you're feeling creative and want to add a unique touch to your kitchen cabinets, why not try some DIY lighting ideas? From mason jar lights to wine bottle lights, there are endless possibilities when it comes to adding your own personal touch to your kitchen cabinets. One idea is to use mason jars as pendant lights above your kitchen cabinets. Simply drill a hole in the lid of the jar, thread a pendant light cord through it, and hang the jar from the ceiling above your cabinets. This will create a cozy and rustic atmosphere in your kitchen. Another idea is to use wine bottles as light fixtures. Simply cut off the bottom of the bottle, insert a string of LED lights, and hang the bottle upside down from the top of your cabinets. This will add a touch of elegance and sophistication to your kitchen. Get creative and think outside the box when it comes to DIY kitchen cabinet lighting. You'll be surprised at the unique and stylish options you can come up with!3. DIY Kitchen Cabinet Lighting Ideas
When it comes to choosing LED lights for your kitchen cabinets, there are a few options to consider: Color temperature: LED lights come in a variety of color temperatures, ranging from warm white to cool white. Consider the overall style and color scheme of your kitchen when choosing the color temperature for your cabinet lights. Dimmable vs. non-dimmable: Some LED lights come with the option to dim the brightness, while others do not. If you want the ability to adjust the brightness of your cabinet lights, make sure to choose dimmable ones. Smart vs. regular: With the rise of smart homes, there are now LED lights available that can be controlled with a smartphone or voice commands. If you want the convenience and added features of smart lights, consider this option for your kitchen cabinets. Consider your personal preferences and the functionality you want when choosing the right LED lights for your kitchen cabinets.4. LED Lighting Options for Kitchen Cabinets
If you already have existing lighting in your kitchen cabinets but want to upgrade to LED lights, it's a simple DIY project that can make a big difference. By switching to LED lights, you'll save energy and have longer-lasting, more efficient lighting in your kitchen. Step 1: Remove the old lighting. Carefully unscrew and remove any existing lights in your cabinets. Step 2: Measure and cut the LED lights to fit the length of your cabinets. Use a pair of scissors to cut the strip lights at the designated cut marks. Make sure to measure accurately. Step 3: Clean the surface where you'll be attaching the lights. Use a damp cloth to wipe away any dust or debris. Step 4: Attach the adhesive tape to the back of the LED lights. Peel off the backing and press the tape onto the back of the lights. Make sure the tape is evenly distributed along the entire strip. Step 5: Stick the lights to the bottom of your cabinets. Start from one end and slowly press the lights onto the cabinet. Make sure they are straight and evenly spaced. Step 6: Connect the power supply to the lights. Use the connectors to join the power supply to the strip lights. Make sure all the connections are secure. Step 7: Test the lights. Plug in the power supply and turn on the lights to make sure they are working properly. If not, check all the connections and make sure they are secure. With this simple DIY upgrade, you can transform the look and functionality of your kitchen cabinets.5. DIY Kitchen Cabinet Lighting Upgrade
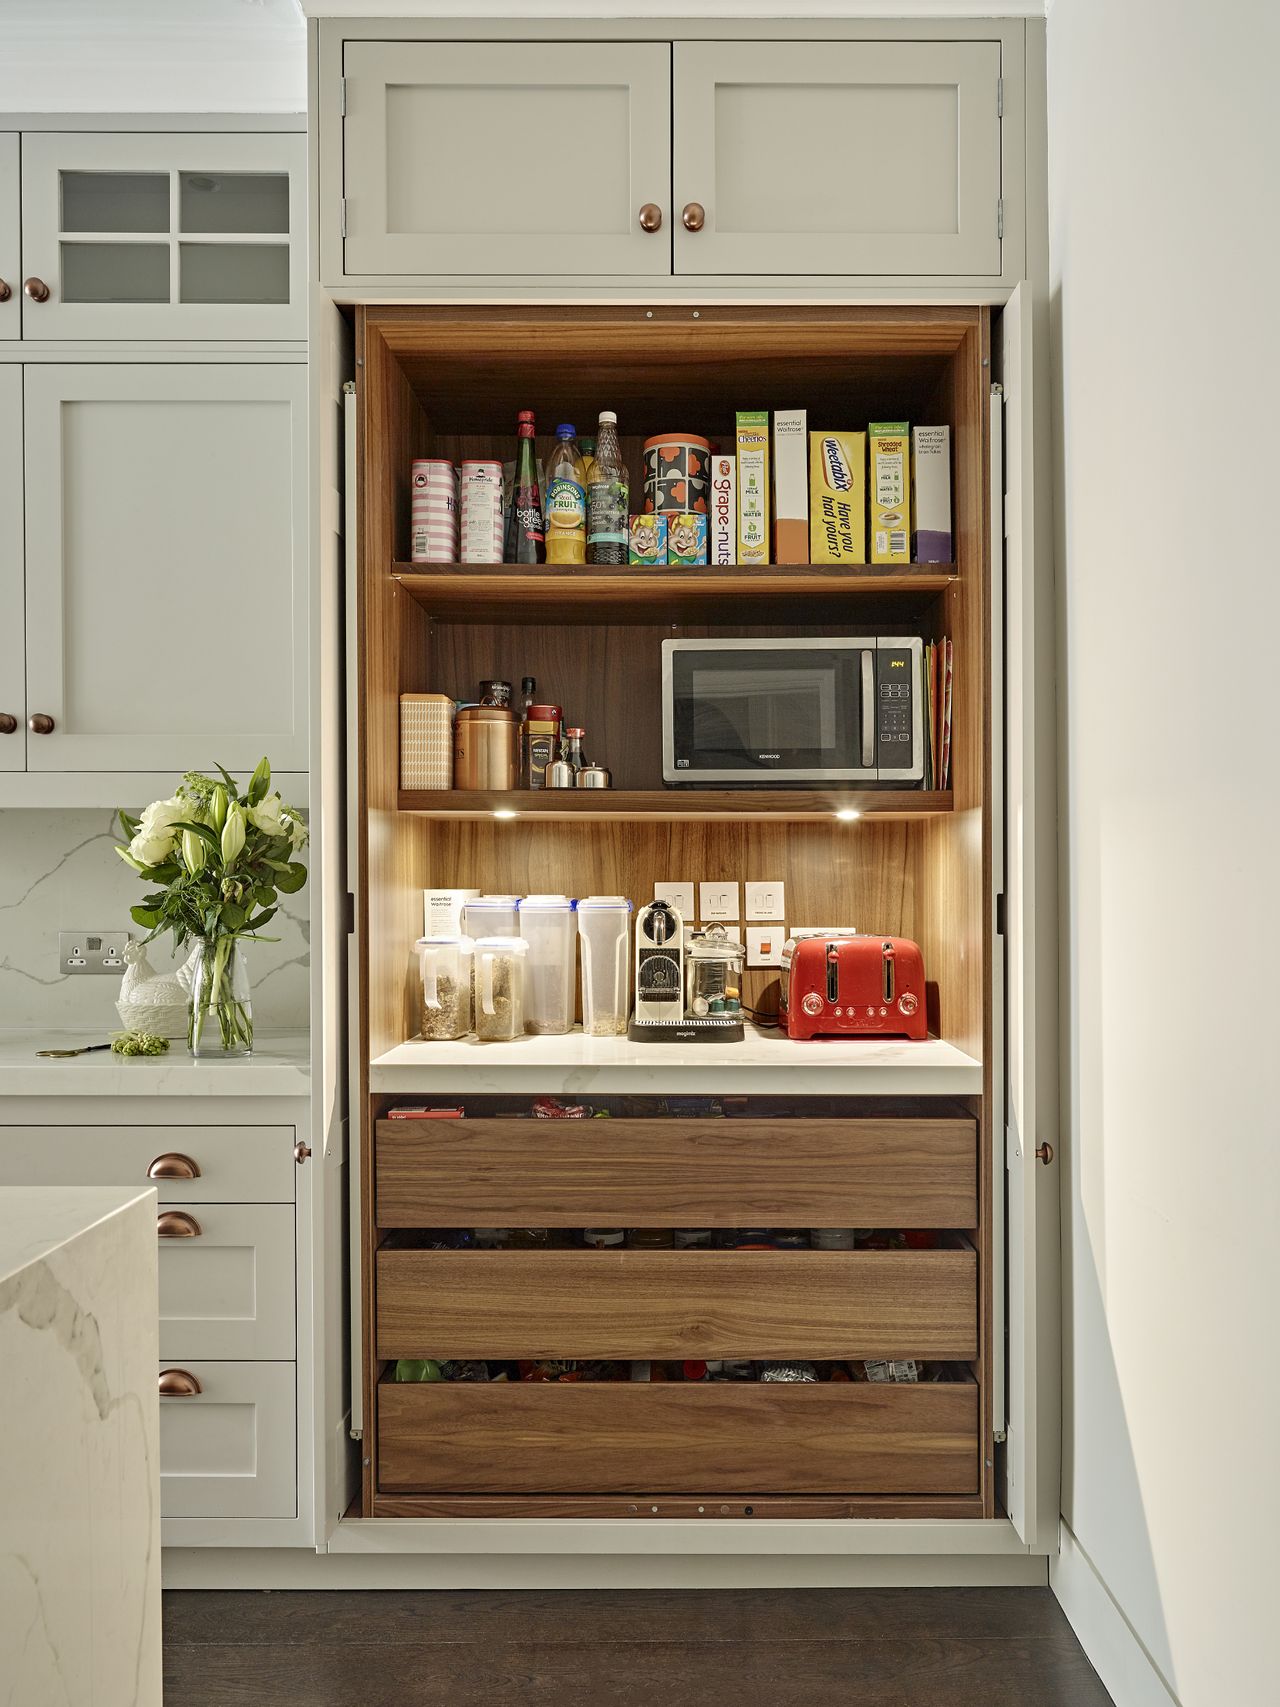
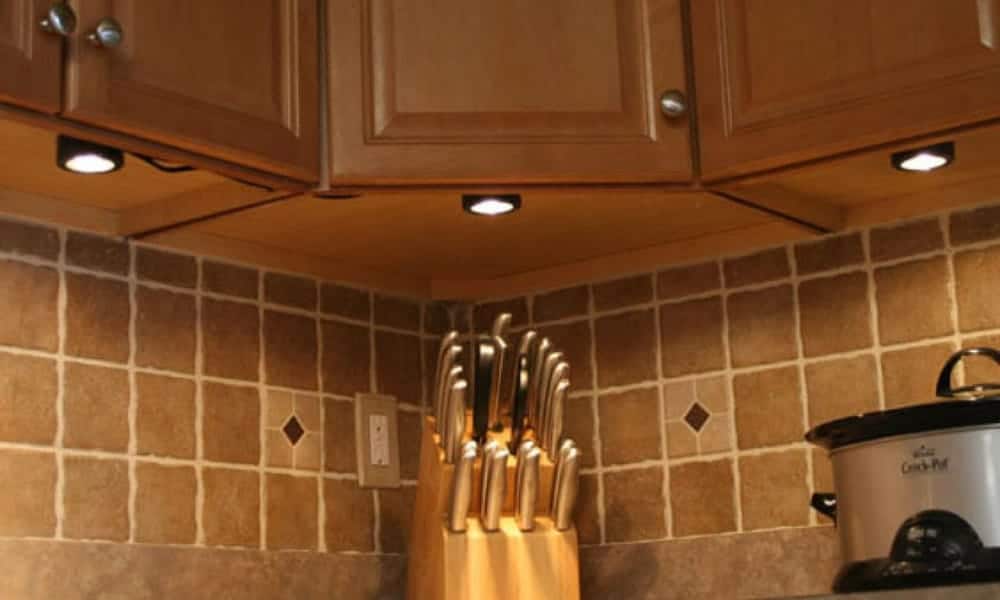
If you prefer a more discreet and minimalist look for your kitchen cabinets, LED puck lights are a great option. These small, round lights can be installed inside your cabinets, providing a soft and subtle glow. To install LED puck lights, you'll need puck light kit, drill, and screws. Follow these steps: Step 1: Measure and mark where you want the lights to be installed. Make sure to evenly space out the lights for a balanced look. Step 2: Drill holes for the lights. Use a drill to create small holes where you marked for the lights to be installed. Step 3: Insert the lights into the holes. Gently push the lights into the holes and make sure they are secure. Step 4: Connect the lights to the power supply. Use the connectors to join the lights to the power supply. Make sure all connections are secure. Step 5: Test the lights. Plug in the power supply and turn on the lights to make sure they are working properly. If not, check all the connections and make sure they are secure. LED puck lights are a great option for those who want a sleek and subtle lighting solution for their kitchen cabinets.6. Installing LED Puck Lights in Kitchen Cabinets
Another option for adding LED lights to your kitchen cabinets is using LED strip lighting. This method is similar to installing the DIY strip lights mentioned earlier, but with a few key differences. Step 1: Measure and cut the LED strip lights to fit the length of your cabinets. Use a pair of scissors to cut the strip lights at the designated cut marks. Make sure to measure accurately. Step 2: Clean the surface where you'll be attaching the lights. Use a damp cloth to wipe away any dust or debris. This will ensure that the adhesive tape sticks properly. Step 3: Attach the strip lights to the bottom of your cabinets. Start from one end and slowly press the lights onto the cabinet. Make sure they are straight and evenly spaced. Step 4: Connect the power supply to the lights. Use the connectors to join the power supply to the strip lights. Make sure all the connections are secure. Step 5: Test the lights. Plug in the power supply and turn on the lights to make sure they are working properly. If not, check all the connections and make sure they are secure. With this DIY method, you can easily add LED strip lighting to your kitchen cabinets for a modern and stylish look.7. DIY Kitchen Cabinet LED Strip Lighting
When it comes to choosing the right LED lights for your kitchen cabinets, there are a few key factors to consider: Color temperature: As mentioned earlier, LED lights come in a variety of color temperatures. Consider the overall style and color scheme of your kitchen when choosing the color temperature for your cabinet lights. Brightness: The brightness of LED lights is measured in lumens. Consider how much light you want in your kitchen and choose a brightness level that suits your needs. Efficiency: LED lights are known for their energy efficiency. Look for lights with a high energy efficiency rating to save on your electricity bill. Dimmable vs. non-dimmable: If you want the option to adjust the brightness of your cabinet lights, make sure to choose dimmable ones. Smart vs. regular: As mentioned earlier, there are now LED lights available that can be controlled with a smartphone or voice commands. If you want the convenience and added features of smart lights, consider this option for your kitchen cabinets. Consider your personal preferences and the functionality you want when choosing the right LED lights for your kitchen cabinets.8. Choosing the Right LED Lights for Kitchen Cabinets
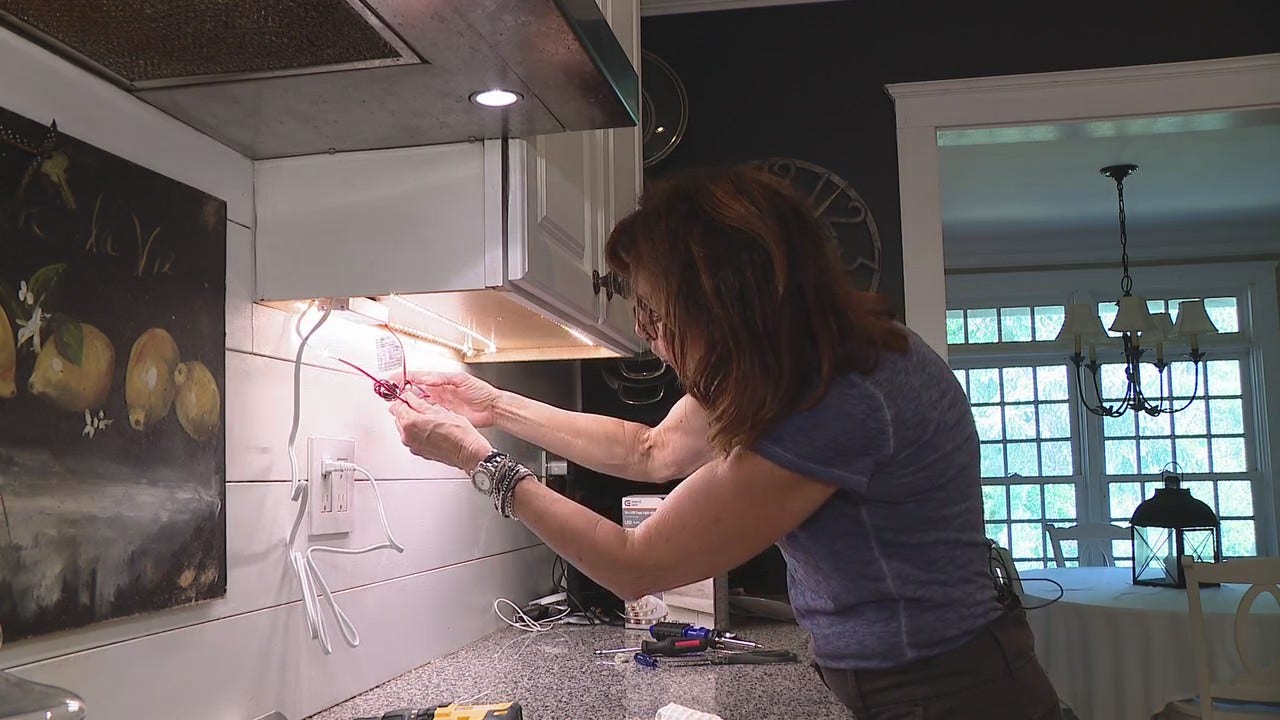
Ready to install your own LED lights for your kitchen cabinets? Follow these simple steps: Step 1: Gather your supplies. Depending on the method you choose, you'll need LED lights, adhesive tape or clips, power supply, and connectors. Step 2: Measure and cut the lights to fit the length of your cabinets. Use a pair of scissors to cut the lights at the designated cut marks. Step 3: Clean the surface where you'll be attaching the lights. Use a damp cloth to wipe away any dust or debris. Step 4: Attach the lights to your cabinets. Follow the specific instructions for the method you've chosen – whether it's sticking them on with adhesive tape, drilling holes for puck lights, or using connectors for strip lights. Step 5: Connect the power supply to the lights. Use the connectors to join the power supply to the lights. Make sure all connections are secure.9. DIY Kitchen Cabinet LED Lighting Installation
Why You Should Consider DIY Kitchen Cabinet LED Lighting for Your Home

Illuminate Your Space
 When it comes to house design, lighting is often an overlooked element. However, it can make a huge impact on the overall look and feel of your home. That's why it's important to carefully consider your lighting options, especially in areas such as the kitchen where functionality is key. This is where
DIY kitchen cabinet LED lighting
comes in.
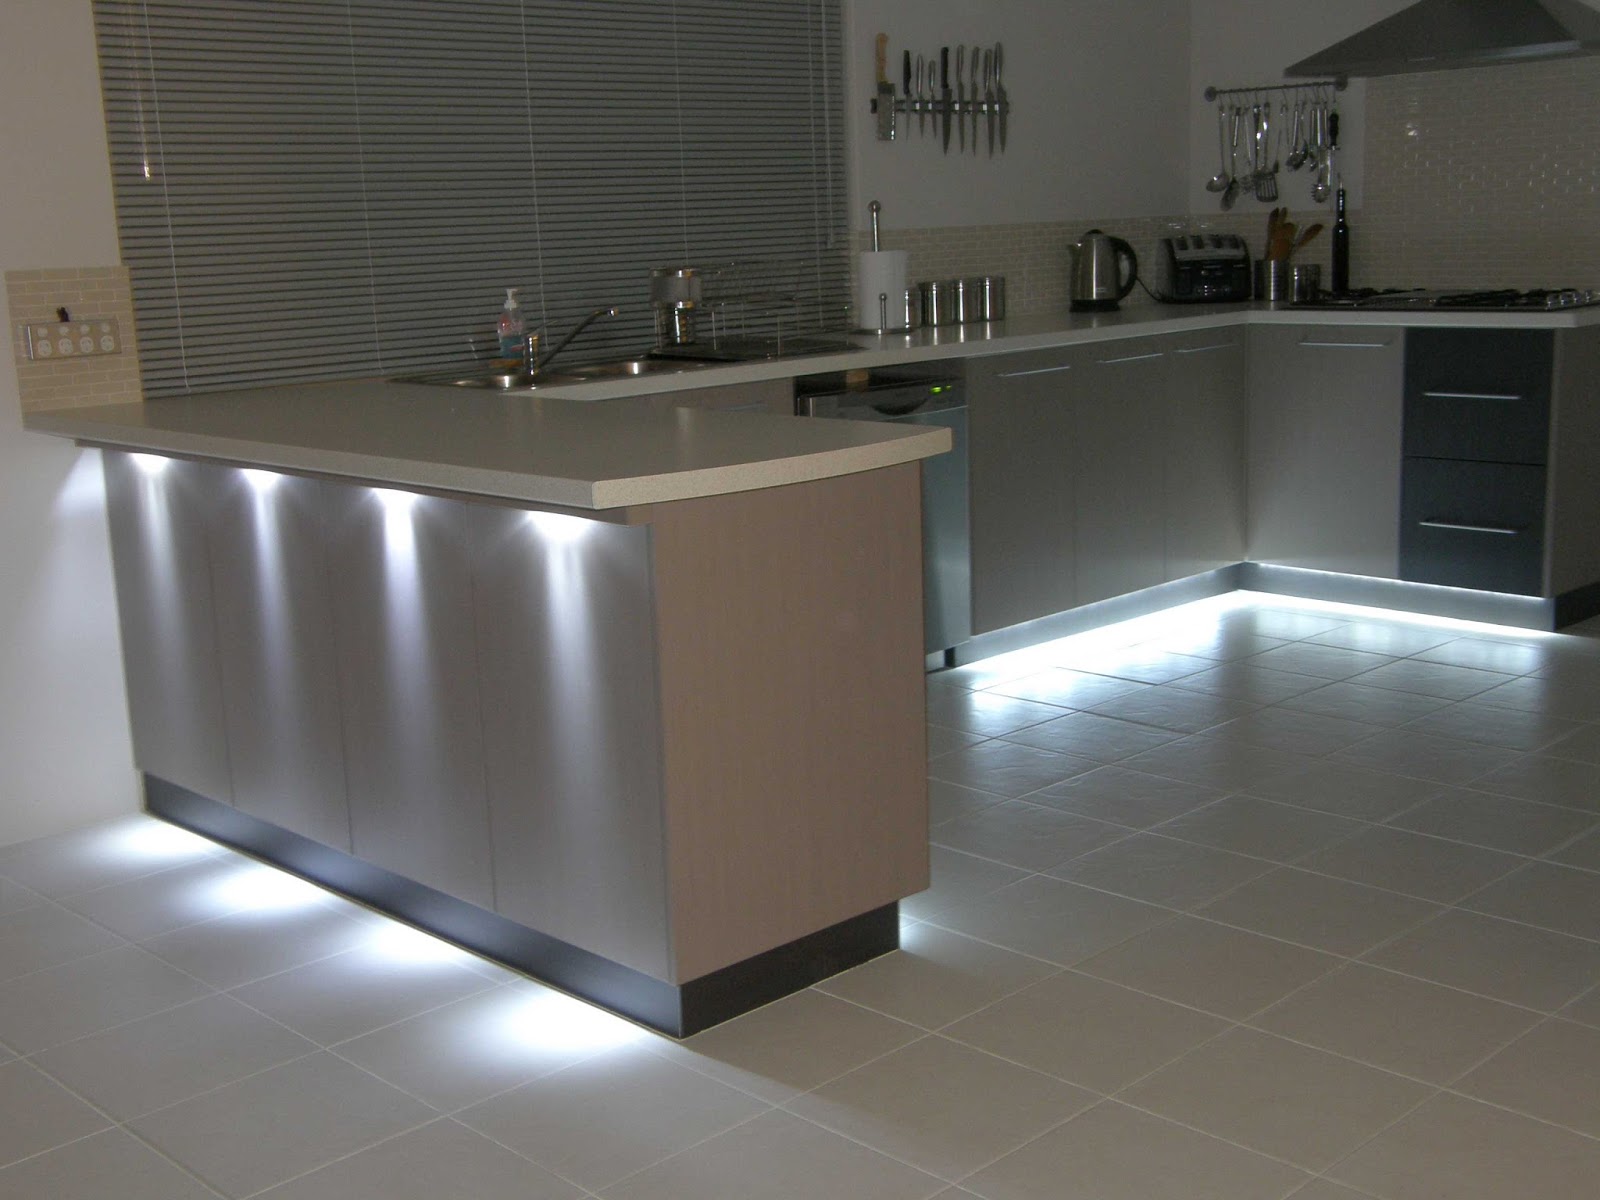
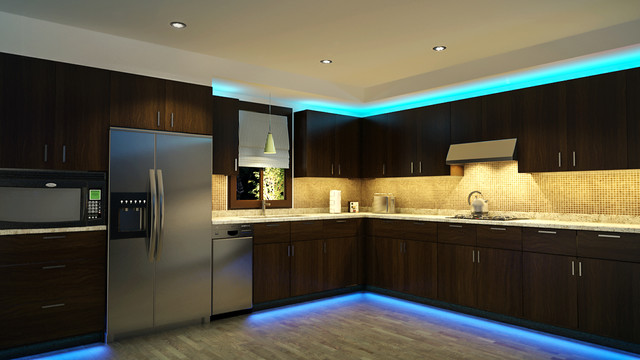
LED lights are a popular choice for many homeowners due to their energy efficiency and long lifespan. They also offer a bright and uniform light, making them perfect for task lighting in the kitchen. By installing LED lights under your kitchen cabinets, you'll not only provide additional light to your workspace, but you'll also create a warm and inviting atmosphere in your kitchen.
Customize Your Lighting
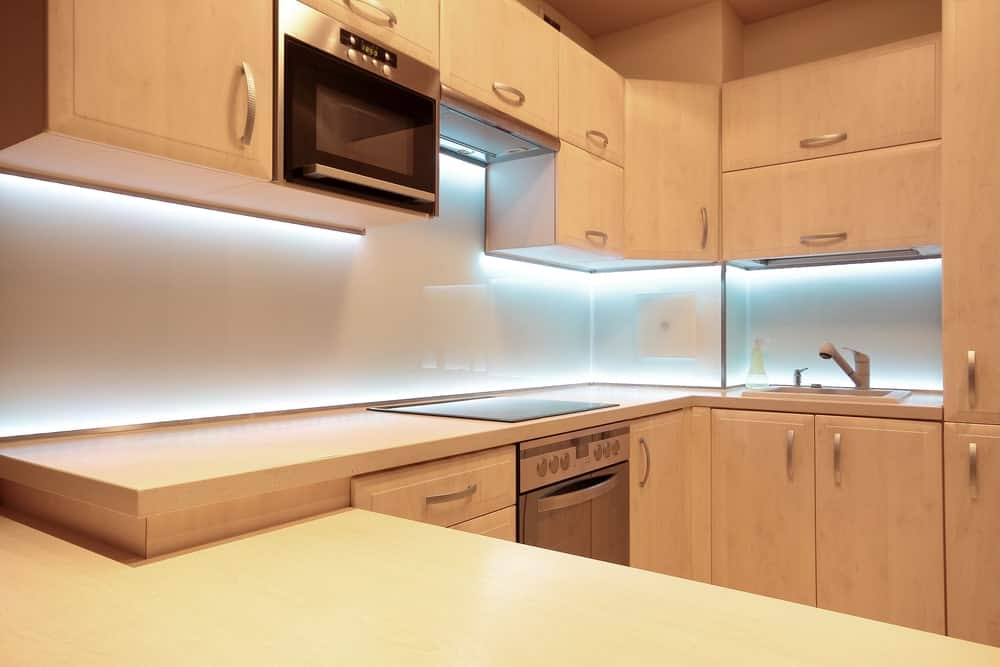 One of the biggest advantages of DIY kitchen cabinet LED lighting is the ability to customize it to fit your specific needs and preferences. LED lights come in a variety of colors, making it easy to match them to your existing décor. You can also choose between different types of LED lights, such as strip lights or puck lights, depending on your desired level of brightness and coverage.
Additionally, LED lights can be dimmable, giving you control over the amount of light in your kitchen. This is especially useful for creating ambiance during meals or gatherings, or for when you want a softer light while unwinding at the end of the day.
Save Money and Energy
 As mentioned earlier, LED lights are known for their energy efficiency. Compared to traditional incandescent bulbs, LED lights use up to 80% less energy, which can result in significant savings on your electricity bill. They also have a longer lifespan, lasting up to 25 times longer than incandescent bulbs. This means less frequent bulb replacements, saving you time and money in the long run.
DIY kitchen cabinet LED lighting is not only a cost-effective option, but it's also a sustainable one. By reducing your energy consumption, you'll be doing your part in protecting the environment and reducing your carbon footprint.
Conclusion
 Incorporating
DIY kitchen cabinet LED lighting
into your home design is a smart and practical choice. Not only does it provide functional and customizable lighting, but it also helps save money and energy in the long run. So if you're looking to brighten up your kitchen and elevate its design, consider adding LED lights to your kitchen cabinets. Your eyes, wallet, and the environment will thank you.


