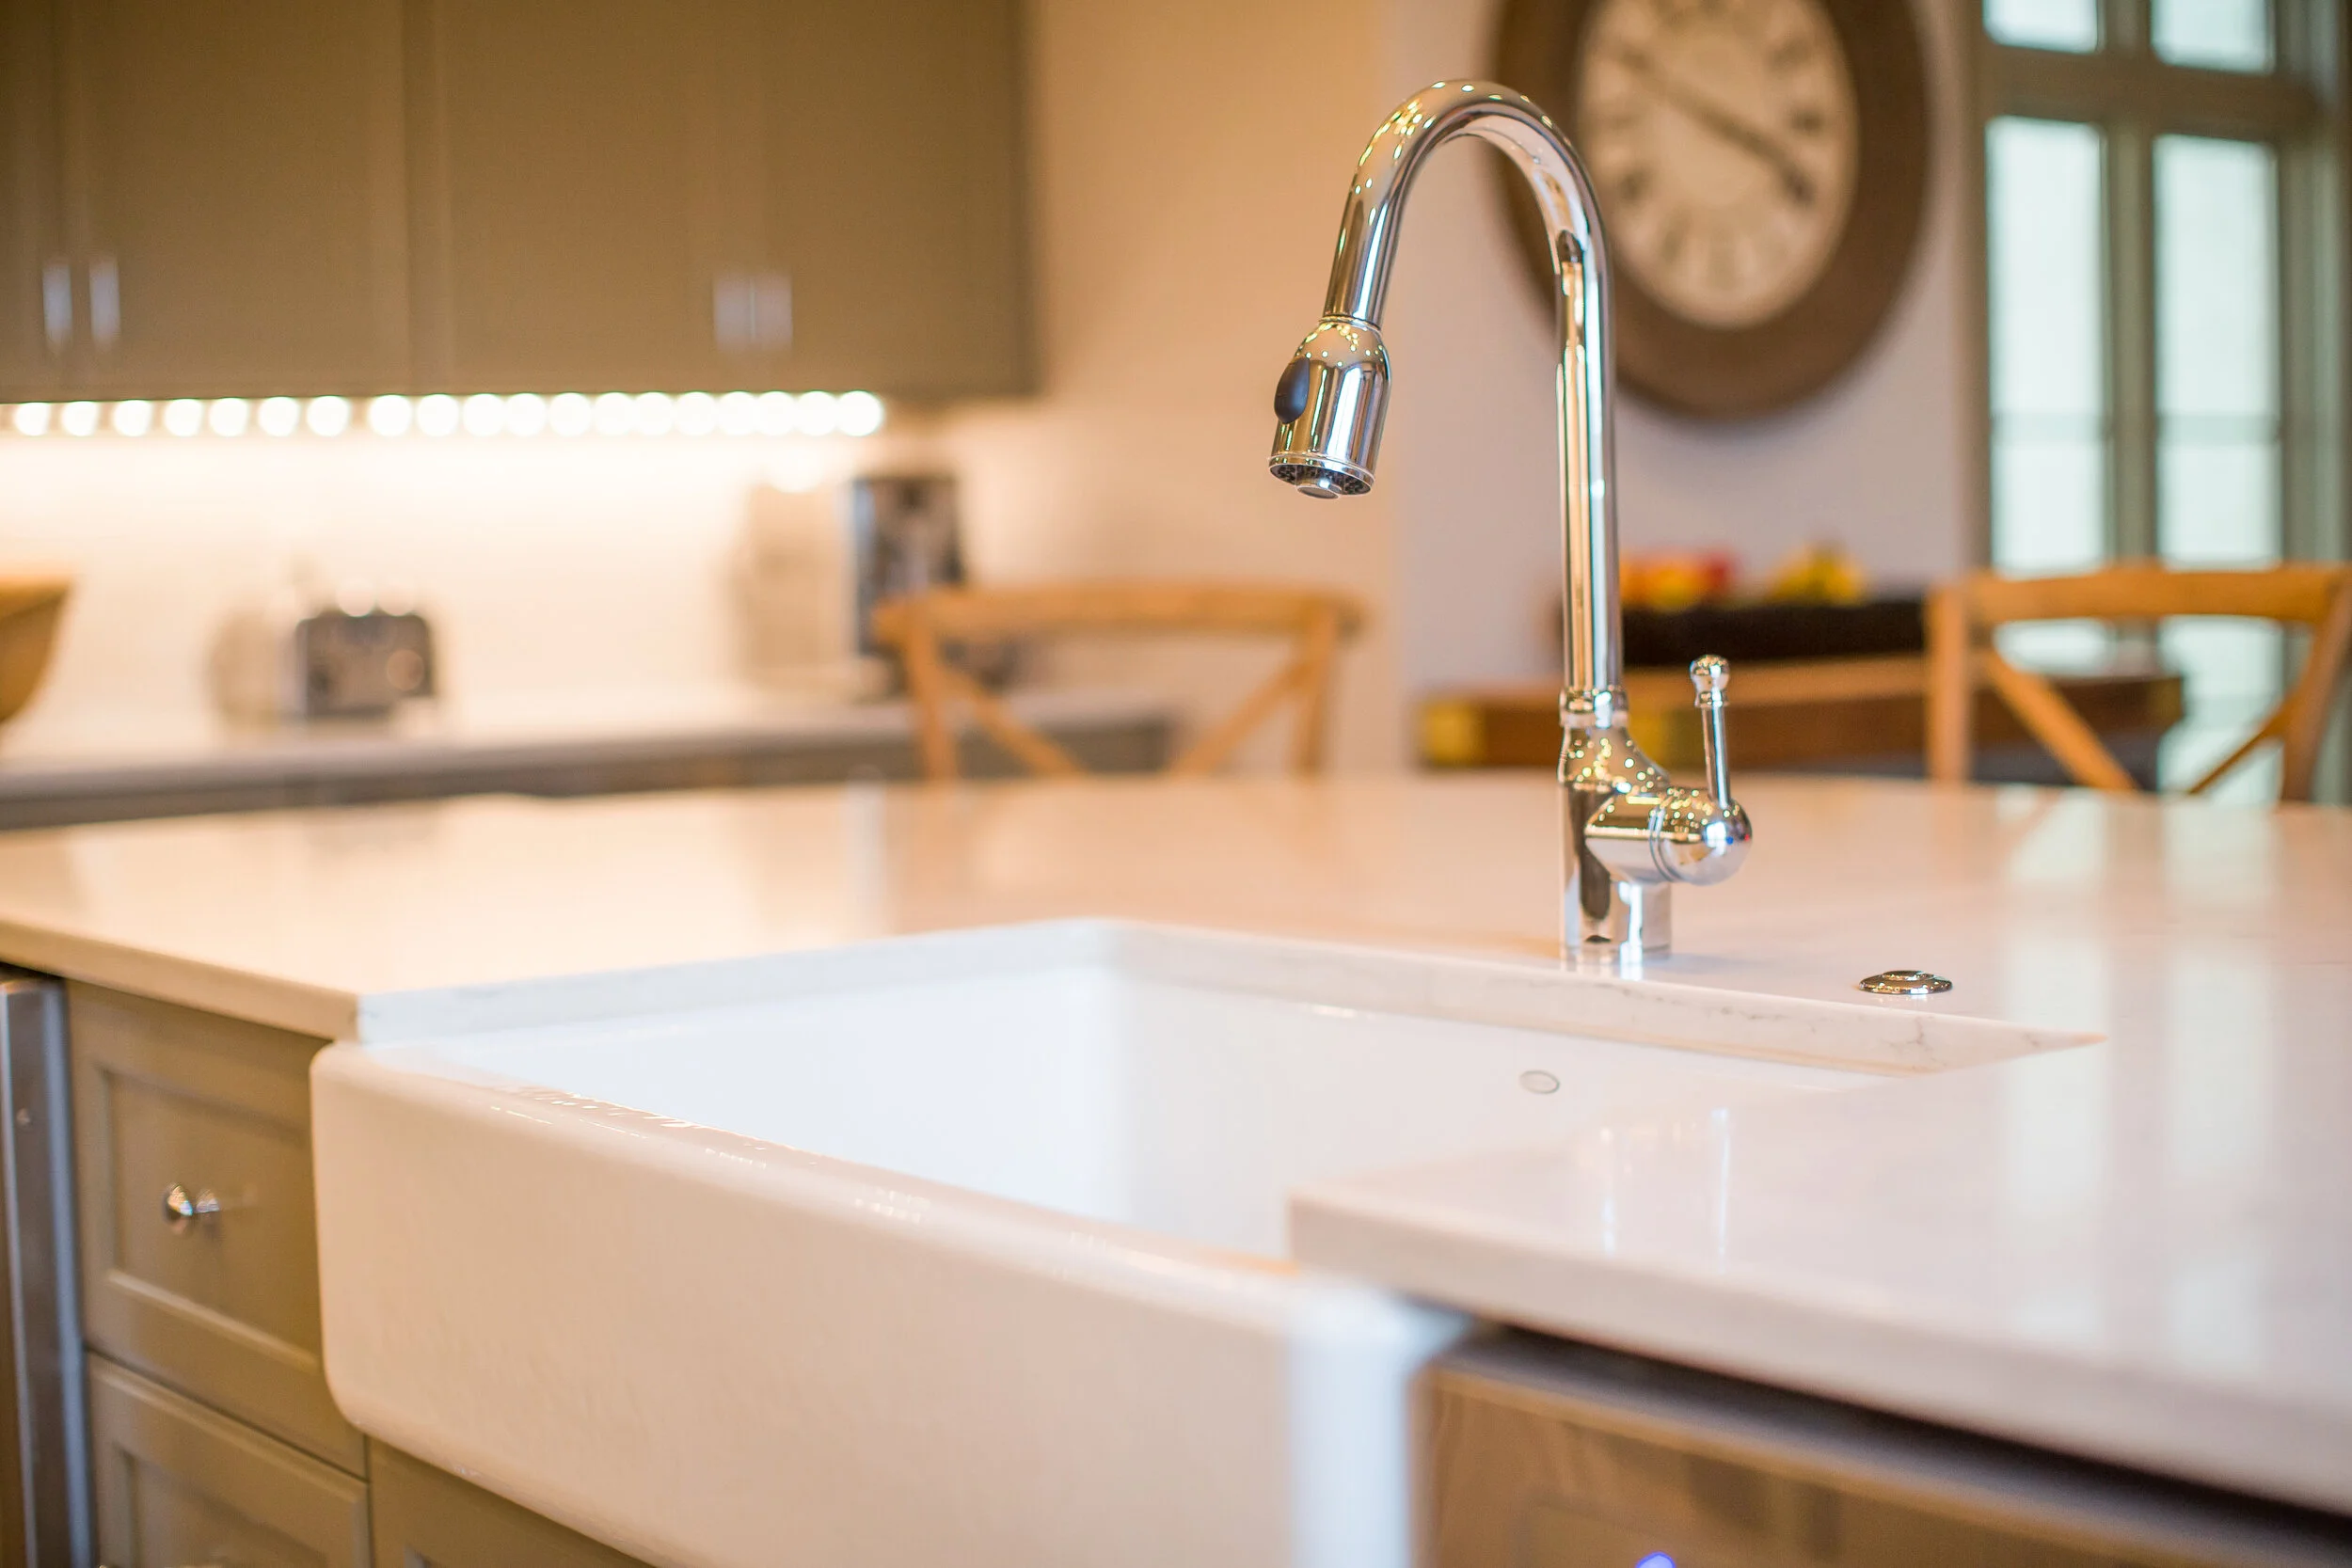
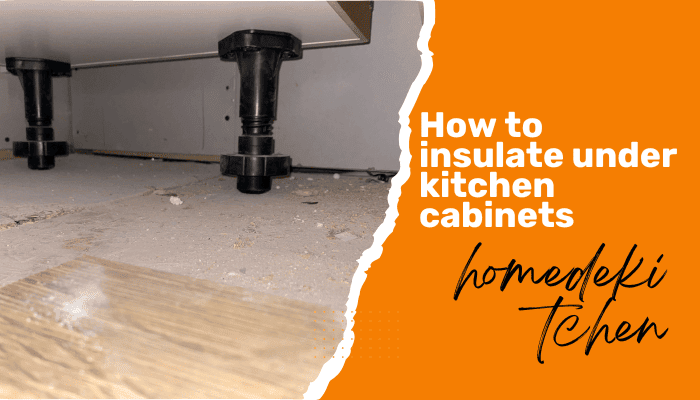
1. How to Insulate the Bottom of a Kitchen Sink
Are you tired of your kitchen sink constantly making loud noises when you use it? Or maybe you're tired of your dishes breaking because of the hard surface of your sink? Whatever the reason may be, insulating the bottom of your kitchen sink is a simple and effective solution. Not only will it reduce noise and prevent breakage, but it can also help with maintaining the temperature of your sink water. In this guide, we'll show you how to easily insulate the bottom of your kitchen sink with some DIY methods.


1. How to Insulate the Bottom of a Kitchen Sink


2. DIY Kitchen Sink Insulation
Insulating the bottom of your kitchen sink doesn't always require professional help or expensive materials. With some basic tools and materials, you can easily do it yourself and save some money in the process. Plus, you'll have the satisfaction of completing a DIY project and improving your kitchen space. Let's take a look at some easy DIY methods for insulating your kitchen sink.


2. DIY Kitchen Sink Insulation


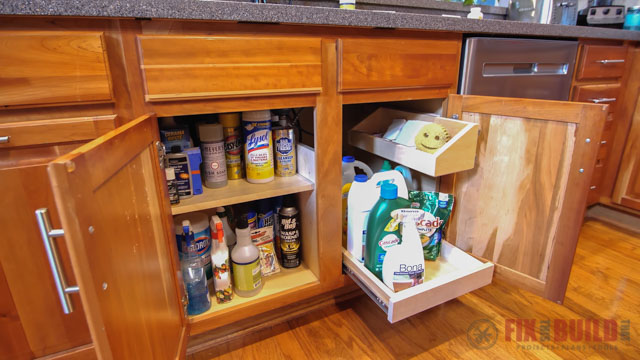


3. Insulating the Bottom of Your Kitchen Sink: A Step-by-Step Guide
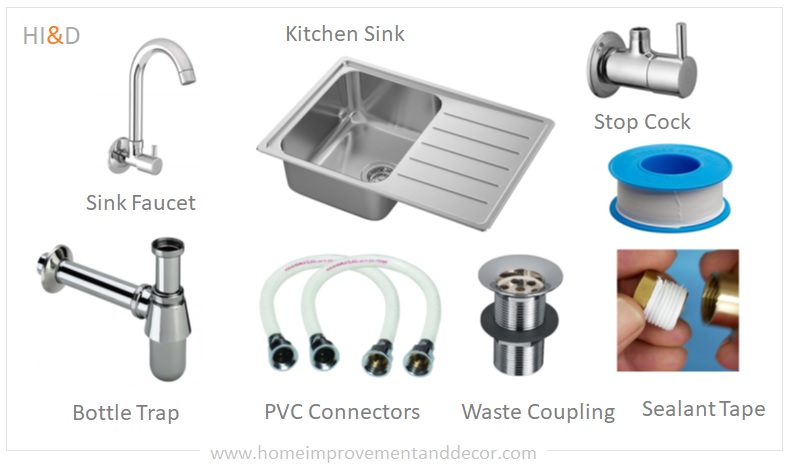
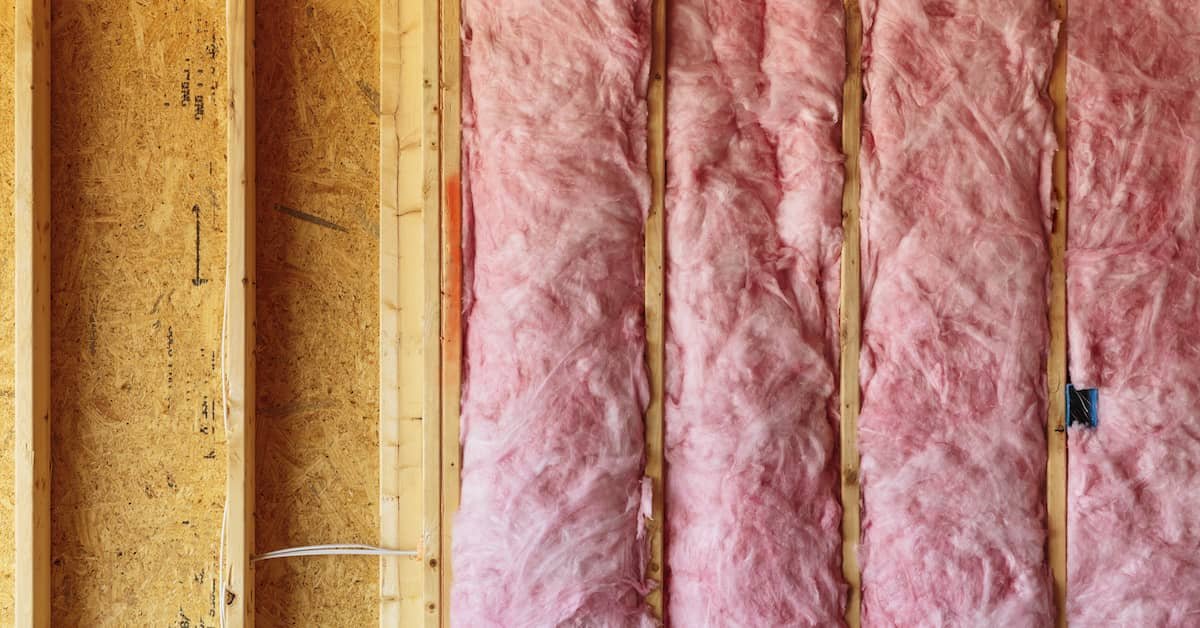
Before starting the insulation process, make sure you have all the necessary tools and materials. You will need some adhesive, a utility knife, a measuring tape, and some insulation materials such as foam boards or fiberglass. Once you have everything ready, follow these steps:
Step 1: Measure the dimensions of the bottom of your sink and cut the insulation material accordingly.
Step 2: Apply adhesive to the bottom of your sink and carefully place the insulation material on top.
Step 3: Use a utility knife to cut out holes for the drain and any other fixtures on the bottom of the sink.
Step 4: Apply adhesive to the sides of the sink and carefully place insulation material on them as well.
Step 5: Allow the adhesive to dry completely before using the sink again.


3. Insulating the Bottom of Your Kitchen Sink: A Step-by-Step Guide


4. Easy DIY Kitchen Sink Insulation Tips
If you're looking for a quick and easy solution for insulating your kitchen sink, here are some tips to consider:
Tip 1: Use self-adhesive foam tape to insulate the bottom of your sink instead of using adhesive and insulation material separately.
Tip 2: Use a spray foam insulation kit for a more thorough and efficient insulation process.
Tip 3: Consider using a sound-deadening mat for extra noise reduction.


4. Easy DIY Kitchen Sink Insulation Tips


5. The Benefits of Insulating Your Kitchen Sink
Insulating the bottom of your kitchen sink may seem like a small and insignificant task, but it can bring about many benefits. Some of the main advantages include:
Benefit 1: Reduced noise levels when using the sink.
Benefit 2: Better temperature control for your sink water.
Benefit 3: Prevention of breakage for fragile dishes and glassware.
Benefit 4: Improved energy efficiency as the insulation helps to retain heat in the sink water.


5. The Benefits of Insulating Your Kitchen Sink


6. Materials Needed for DIY Kitchen Sink Insulation
As mentioned before, you don't need fancy or expensive materials to insulate the bottom of your kitchen sink. Here are some commonly used materials for DIY kitchen sink insulation:
Material 1: Foam boards
Material 2: Fiberglass insulation
Material 3: Self-adhesive foam tape
Material 4: Spray foam insulation kit
Material 5: Sound-deadening mat


6. Materials Needed for DIY Kitchen Sink Insulation


7. How to Save Money by Insulating Your Kitchen Sink
Insulating the bottom of your kitchen sink not only has its own benefits, but it can also help you save money in the long run. By retaining heat in your sink water, you'll have to use less hot water, which can lead to cost savings on your energy bill. Additionally, insulating your sink can prevent breakage of dishes, saving you money on replacements. So not only is it a cost-effective solution, but it also adds value to your kitchen space.


7. How to Save Money by Insulating Your Kitchen Sink


8. DIY Kitchen Sink Insulation: A Budget-Friendly Solution
As mentioned before, insulating the bottom of your kitchen sink doesn't have to be an expensive project. With some DIY methods and materials, you can easily complete the insulation process without breaking the bank. Plus, you'll have the satisfaction of completing a project yourself and improving your kitchen space on a budget.


8. DIY Kitchen Sink Insulation: A Budget-Friendly Solution

9. The Importance of Insulating Your Kitchen Sink
Insulating the bottom of your kitchen sink may not seem like a crucial task, but it can make a significant difference in your daily kitchen activities. Not only does it provide practical benefits such as noise reduction and temperature control, but it also helps to maintain the integrity of your sink and dishes. So don't overlook the importance of insulating your kitchen sink.


9. The Importance of Insulating Your Kitchen Sink

10. Step-by-Step Guide to Insulating the Bottom of Your Kitchen Sink
To recap, here is a step-by-step guide for insulating the bottom of your kitchen sink:
Step 1: Gather all necessary tools and materials.
Step 2: Measure and cut the insulation material to fit the dimensions of your sink.
Step 3: Apply adhesive to the bottom and sides of the sink and carefully place the insulation material.
Step 4: Use a utility knife to cut out holes for fixtures on the bottom of the sink.
Step 5: Allow the adhesive to dry completely before using the sink again.
With these simple steps, you can easily and effectively insulate the bottom of your kitchen sink without any professional help. Say goodbye to noisy sinks and broken dishes, and hello to a more efficient and functional kitchen space.


10. Step-by-Step Guide to Insulating the Bottom of Your Kitchen Sink
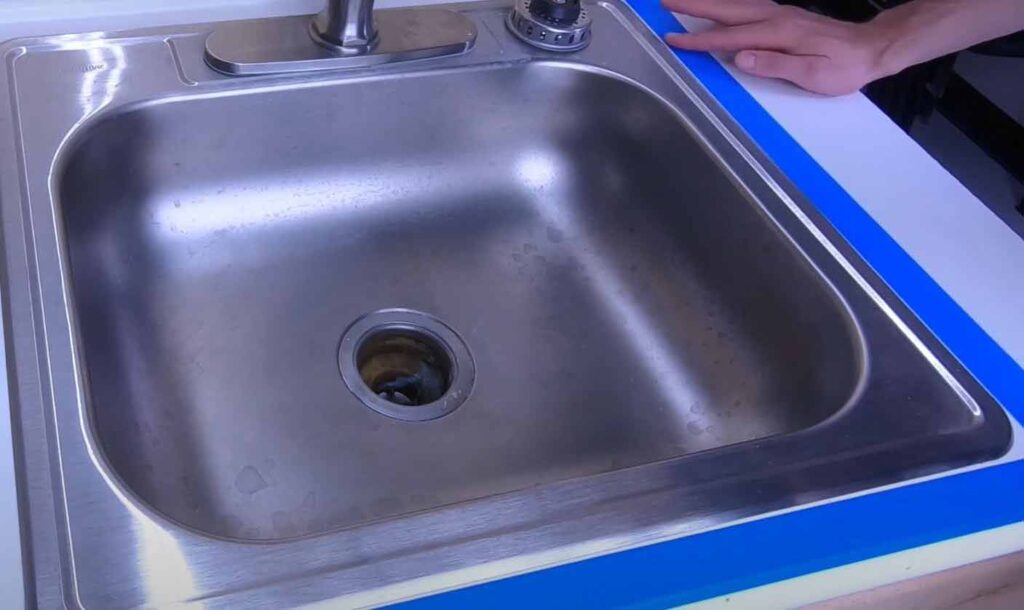
:no_upscale()/cdn.vox-cdn.com/uploads/chorus_asset/file/19495086/drain_0.jpg)


Why You Should Consider Insulating the Bottom of Your Kitchen Sink

Increased Energy Efficiency
 One of the main reasons to consider insulating the bottom of your kitchen sink is to increase energy efficiency in your home. Without proper insulation, the hot water from your sink can quickly lose heat as it travels through the pipes, resulting in wasted energy and higher utility bills. By adding insulation to the bottom of your sink, you can prevent heat loss and keep your water hotter for longer periods of time. This can also save you money in the long run as you will be using less energy to heat your water.
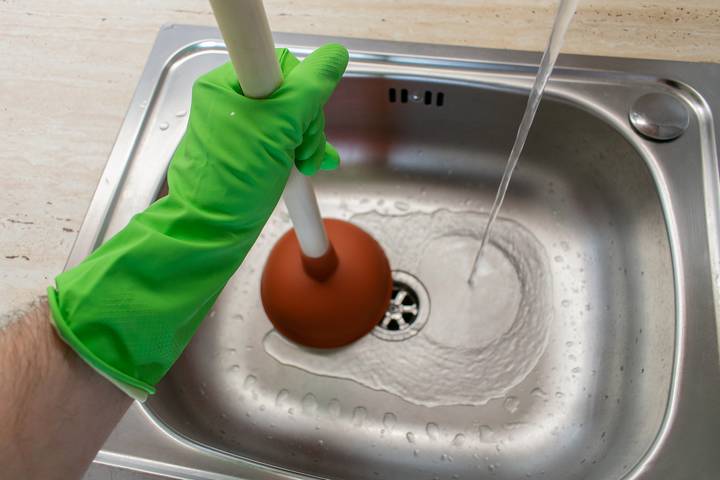
Reduced Noise and Vibration
 Another benefit of insulating the bottom of your kitchen sink is the reduction of noise and vibration. When water and dishes are being washed in the sink, it can create a loud and disruptive noise that can be heard throughout the house. This can be especially bothersome if you have a open-concept kitchen or if the sink is located near living spaces. Insulation acts as a sound barrier, absorbing the noise and preventing it from traveling throughout the house. It also helps to reduce the vibrations caused by running water, creating a quieter and more peaceful environment in your home.
Prevent Damage to Your Sink
 Insulating the bottom of your kitchen sink can also help prevent damage to your sink. Without proper insulation, the constant exposure to hot water and moisture can cause the sink to deteriorate over time. This can lead to cracks, leaks, and other issues that may require costly repairs or even replacement. Insulation acts as a protective barrier, preventing the sink from being damaged by hot water and moisture. It can also help to extend the lifespan of your sink, saving you money in the long run.
Easy and Affordable DIY Project
 Insulating the bottom of your kitchen sink is a simple and affordable DIY project that can be done by anyone. All you need is some insulation material, such as foam or fiberglass, and some basic tools. There are also many tutorials and guides available online to help you through the process. By taking on this DIY project, you can save money on hiring a professional and also have the satisfaction of completing the project yourself.
In conclusion,
insulating the bottom of your kitchen sink is a beneficial and practical home improvement project that can improve energy efficiency, reduce noise and vibrations, prevent damage to your sink, and be easily done on your own. So why not consider adding insulation to your kitchen sink and reap the many benefits it has to offer? Your wallet and your ears will thank you.
Insulating the bottom of your kitchen sink is a simple and affordable DIY project that can be done by anyone. All you need is some insulation material, such as foam or fiberglass, and some basic tools. There are also many tutorials and guides available online to help you through the process. By taking on this DIY project, you can save money on hiring a professional and also have the satisfaction of completing the project yourself.
In conclusion,
insulating the bottom of your kitchen sink is a beneficial and practical home improvement project that can improve energy efficiency, reduce noise and vibrations, prevent damage to your sink, and be easily done on your own. So why not consider adding insulation to your kitchen sink and reap the many benefits it has to offer? Your wallet and your ears will thank you.