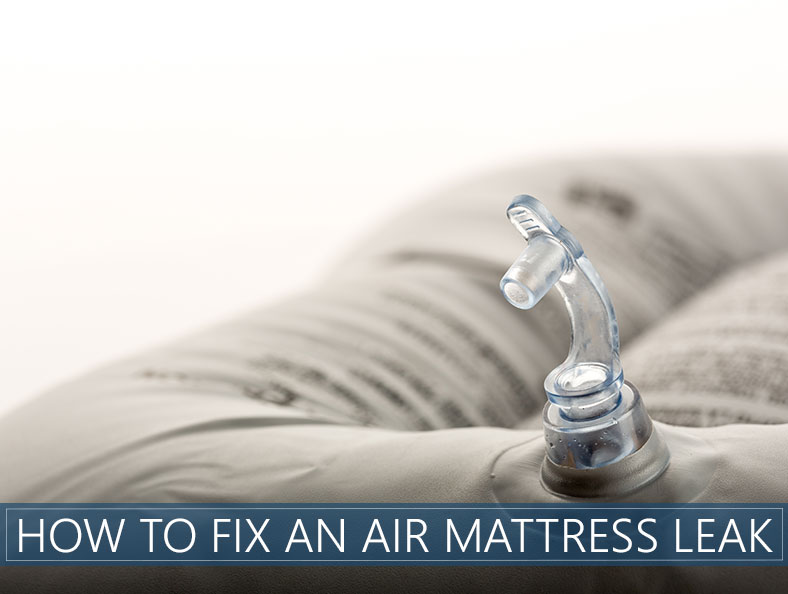
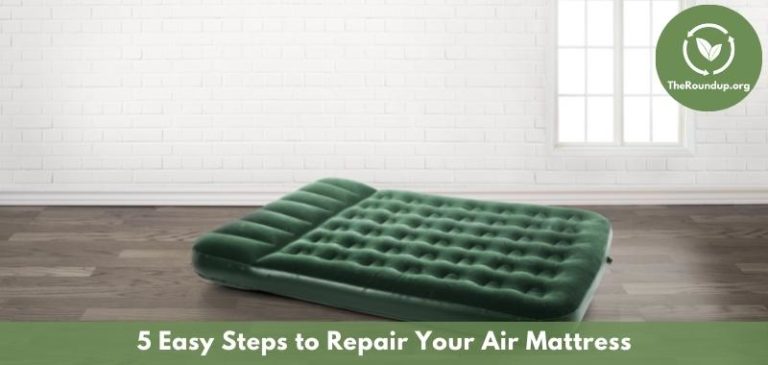
Discovering a leak in your air mattress can be frustrating, especially if you have guests coming over or are in the middle of a camping trip. But don't worry, with a few simple DIY steps, you can fix the leak and get your air mattress back to its fully inflated state. Here's how:How to Fix a Leak in an Air Mattress
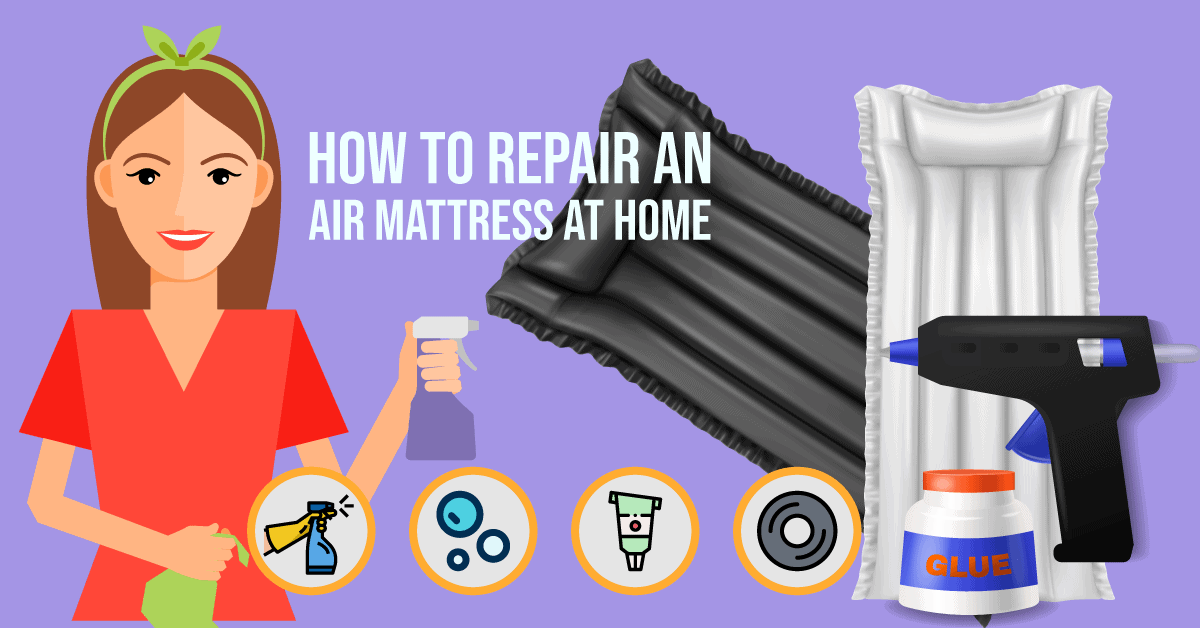
Fixing a leak in an air mattress may seem daunting, but it's actually a quick and easy process. Follow these four simple steps to repair your air mattress: Step 1: Locate the leak. Inflate the air mattress and listen for any escaping air or feel for any escaping air with your hand. If you can't locate the leak, you can also try using a spray bottle filled with soapy water. Spray the soapy water onto the mattress and look for any bubbles forming, indicating a leak. Step 2: Clean the area around the leak. Use a cloth or paper towel to dry the area around the leak. This will ensure that the patch or sealant will adhere properly to the surface. Step 3: Apply a patch or sealant. Depending on the size of the leak, you can either use a patch specifically made for air mattresses or a sealant such as silicone or rubber cement. Apply the patch or sealant following the manufacturer's instructions. Step 4: Let it dry. Allow the patch or sealant to dry completely before inflating the air mattress again. This can take anywhere from a few hours to overnight, so plan accordingly.DIY Air Mattress Repair: 4 Easy Steps
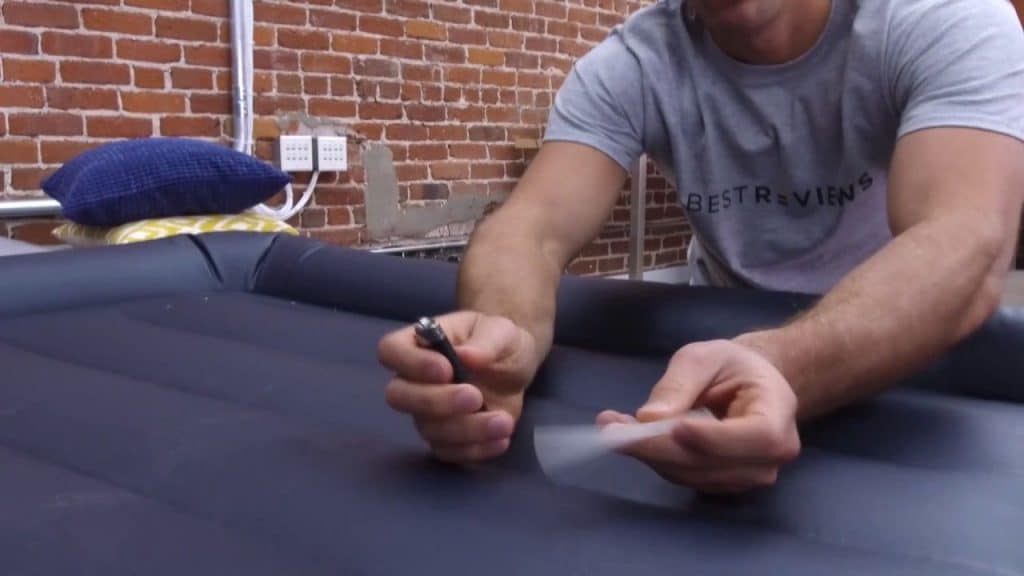
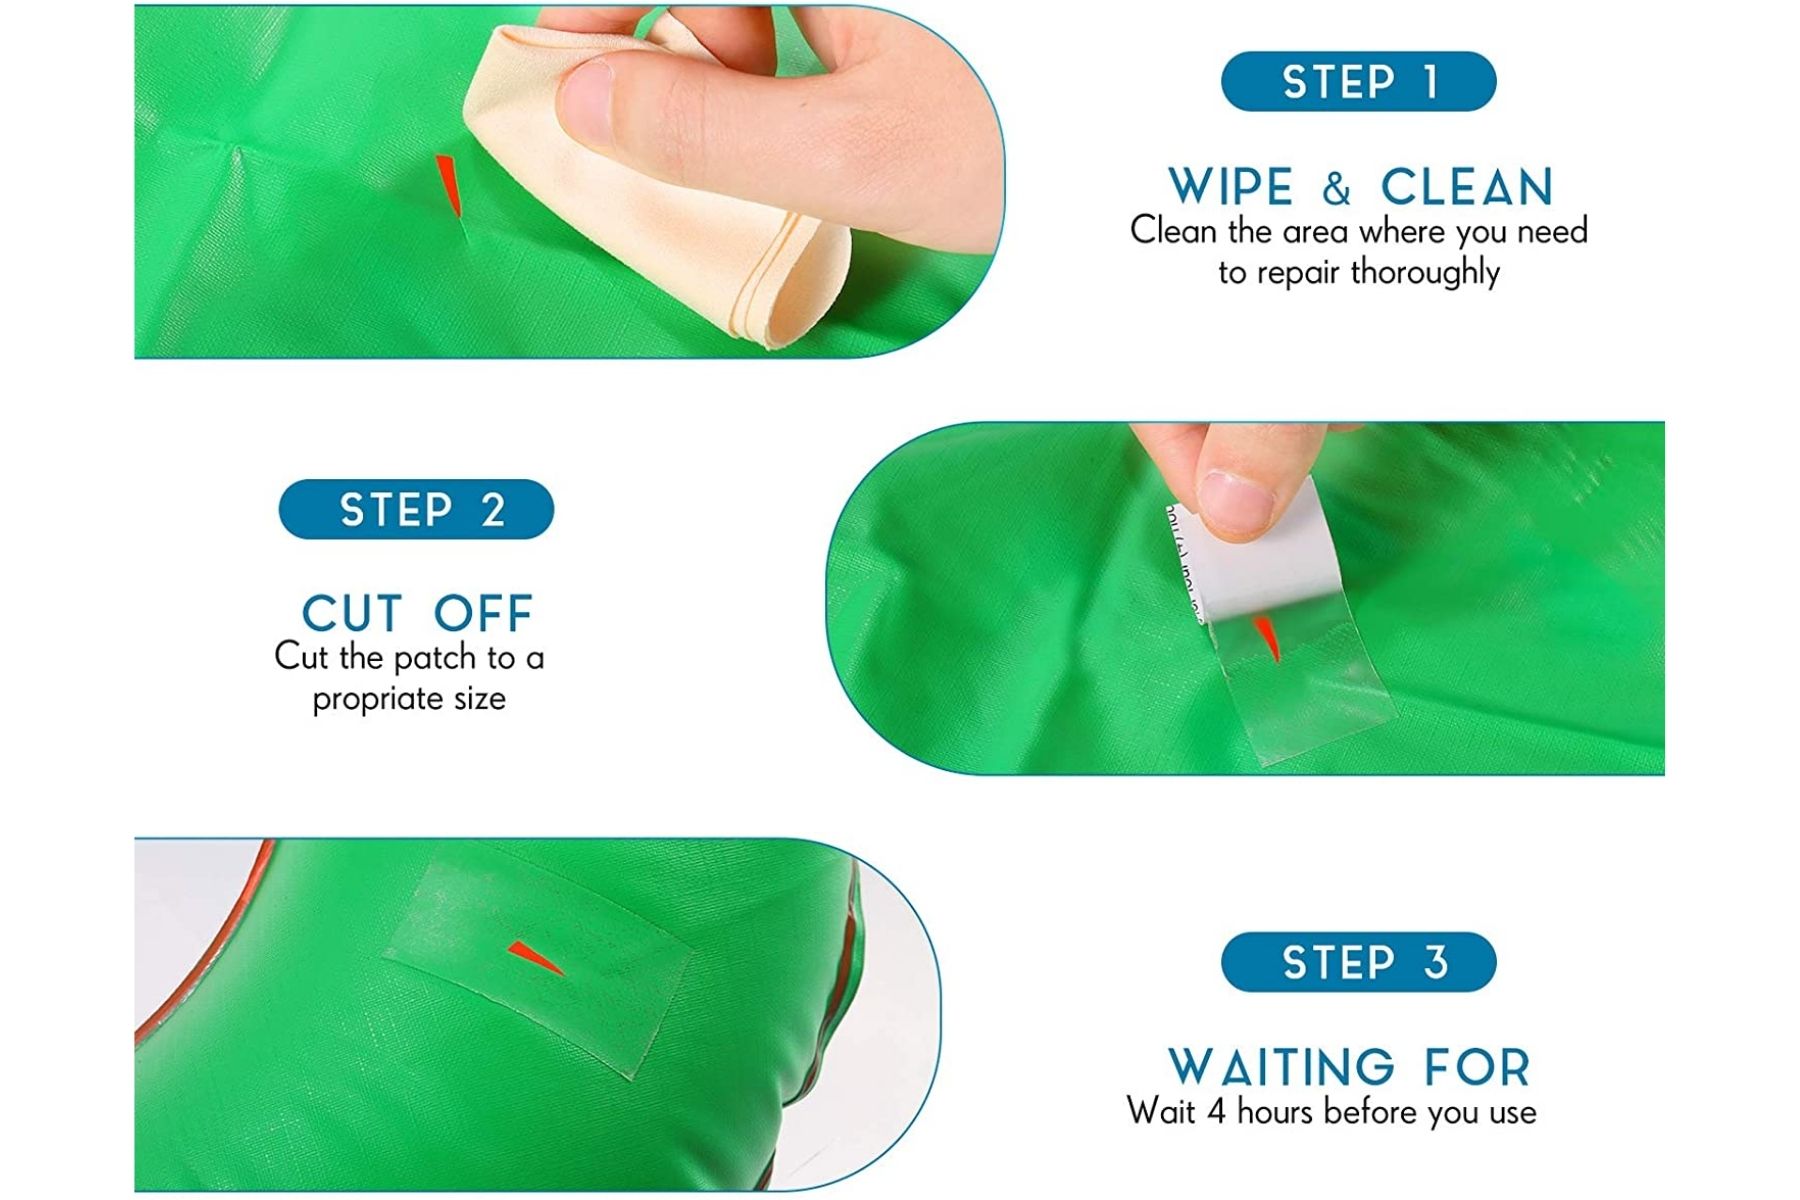
If you have an air mattress patch kit on hand, here's how you can use it to fix a leak in your air mattress: Step 1: Locate the leak. Inflate the air mattress and listen for any escaping air or feel for any escaping air with your hand. If you can't locate the leak, you can also try using a spray bottle filled with soapy water. Spray the soapy water onto the mattress and look for any bubbles forming, indicating a leak. Step 2: Clean the area around the leak. Use a cloth or paper towel to dry the area around the leak. This will ensure that the patch will adhere properly to the surface. Step 3: Cut a patch from the patch kit. The patch should be slightly larger than the size of the leak. Step 4: Apply the patch. Peel off the backing from the patch and press it firmly onto the leak, making sure to smooth out any air bubbles. Step 5: Let it dry. Allow the patch to dry completely before inflating the air mattress again. This can take anywhere from a few hours to overnight, so plan accordingly. Step 6: Reinforce the patch. If the patch doesn't seem to be holding, you can reinforce it with a second patch on top.How to Patch an Air Mattress in 6 Easy Steps
If you don't have a patch kit on hand, you can easily make your own with some household items. Here's what you'll need: Materials:DIY Air Mattress Patch Kit: How to Make Your Own
If you have a small hole or tear in your air mattress, you can easily fix it with duct tape. Here's how: Step 1: Locate the hole. Inflate the air mattress and listen for any escaping air or feel for any escaping air with your hand. If you can't locate the hole, you can also try using a spray bottle filled with soapy water. Spray the soapy water onto the mattress and look for any bubbles forming, indicating a leak. Step 2: Clean the area around the hole. Use a cloth or paper towel to dry the area around the hole. This will ensure that the duct tape will adhere properly to the surface. Step 3: Cut a piece of duct tape larger than the size of the hole. Step 4: Cover the hole with duct tape. Place the piece of duct tape over the hole and press firmly, making sure to smooth out any air bubbles. Step 5: Let it dry. Allow the duct tape to dry completely before inflating the air mattress again. This can take anywhere from a few hours to overnight, so plan accordingly. Step 6: Reinforce the duct tape. If the duct tape doesn't seem to be holding, you can reinforce it with a second layer of duct tape on top.How to Fix a Hole in an Air Mattress with Duct Tape
Here are a few additional tips and tricks to keep in mind when repairing your air mattress:DIY Air Mattress Repair: Tips and Tricks
If you notice that the seam of your air mattress is leaking, don't panic. Here's how you can fix it: Step 1: Locate the leak. Inflate the air mattress and listen for any escaping air or feel for any escaping air with your hand. If you can't locate the leak, you can also try using a spray bottle filled with soapy water. Spray the soapy water onto the mattress and look for any bubbles forming, indicating a leak. Step 2: Clean the area around the leak. Use a cloth or paper towel to dry the area around the leak. This will ensure that the patch or sealant will adhere properly to the surface. Step 3: Apply a patch or sealant. Depending on the size of the leak, you can either use a patch specifically made for air mattresses or a sealant such as silicone or rubber cement. Apply the patch or sealant following the manufacturer's instructions. Step 4: Let it dry. Allow the patch or sealant to dry completely before inflating the air mattress again. This can take anywhere from a few hours to overnight, so plan accordingly.How to Fix an Air Mattress Seam Leak
Here are a few common problems you may encounter with your air mattress and how to fix them:DIY Air Mattress Repair: Common Problems and Solutions
If you don't have a patch kit or sealant on hand, you can use household items to fix your air mattress. Here are a few options:How to Repair an Air Mattress with Household Items
To summarize, here's a step-by-step guide to repairing a leak in your air mattress:DIY Air Mattress Repair: Step-by-Step Guide
Why You Should DIY Fix Your Air Mattress

Save Money and Time
 If you have ever had to replace an air mattress, you know how expensive they can be. Instead of spending your hard-earned money on a new one, why not try fixing it yourself? Not only will you save money, but you'll also save time by not having to go to the store and search for a new one. Plus, fixing your air mattress is a quick and easy process that can be done in just a few simple steps.
It's Eco-Friendly
 In today's world, it's important to be mindful of our impact on the environment. By repairing your air mattress instead of throwing it away, you are helping to reduce waste and minimize your carbon footprint. This small DIY project can make a big difference in the long run.
Customize Your Mattress
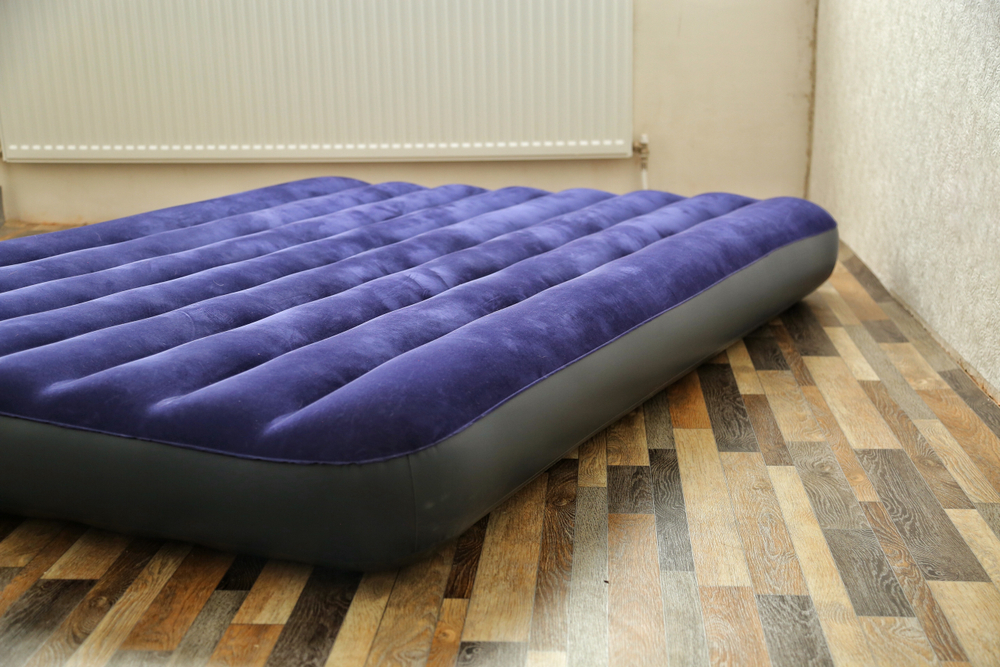 When you buy a new air mattress, you are limited to the options available in the store. But by fixing your current one, you have the opportunity to customize it to your liking. You can add extra cushioning or make it firmer to suit your comfort preferences. This way, you can create the perfect sleeping surface for yourself without breaking the bank.
Gain Valuable DIY Skills
 DIY fix your air mattress is not only a cost-effective and eco-friendly solution, but it also allows you to develop valuable DIY skills. You'll learn how to identify and fix leaks, use tools, and potentially even sew if your mattress has a fabric cover. These skills can be applied to other household items and save you money in the long run.
Conclusion
 Fixing your air mattress yourself is a practical and beneficial solution that not only saves you money and time but also allows you to contribute to a more sustainable environment. Plus, you'll gain valuable DIY skills that you can use for other projects in the future. So instead of throwing away your air mattress, give DIY fixing a try and see the difference it can make.


