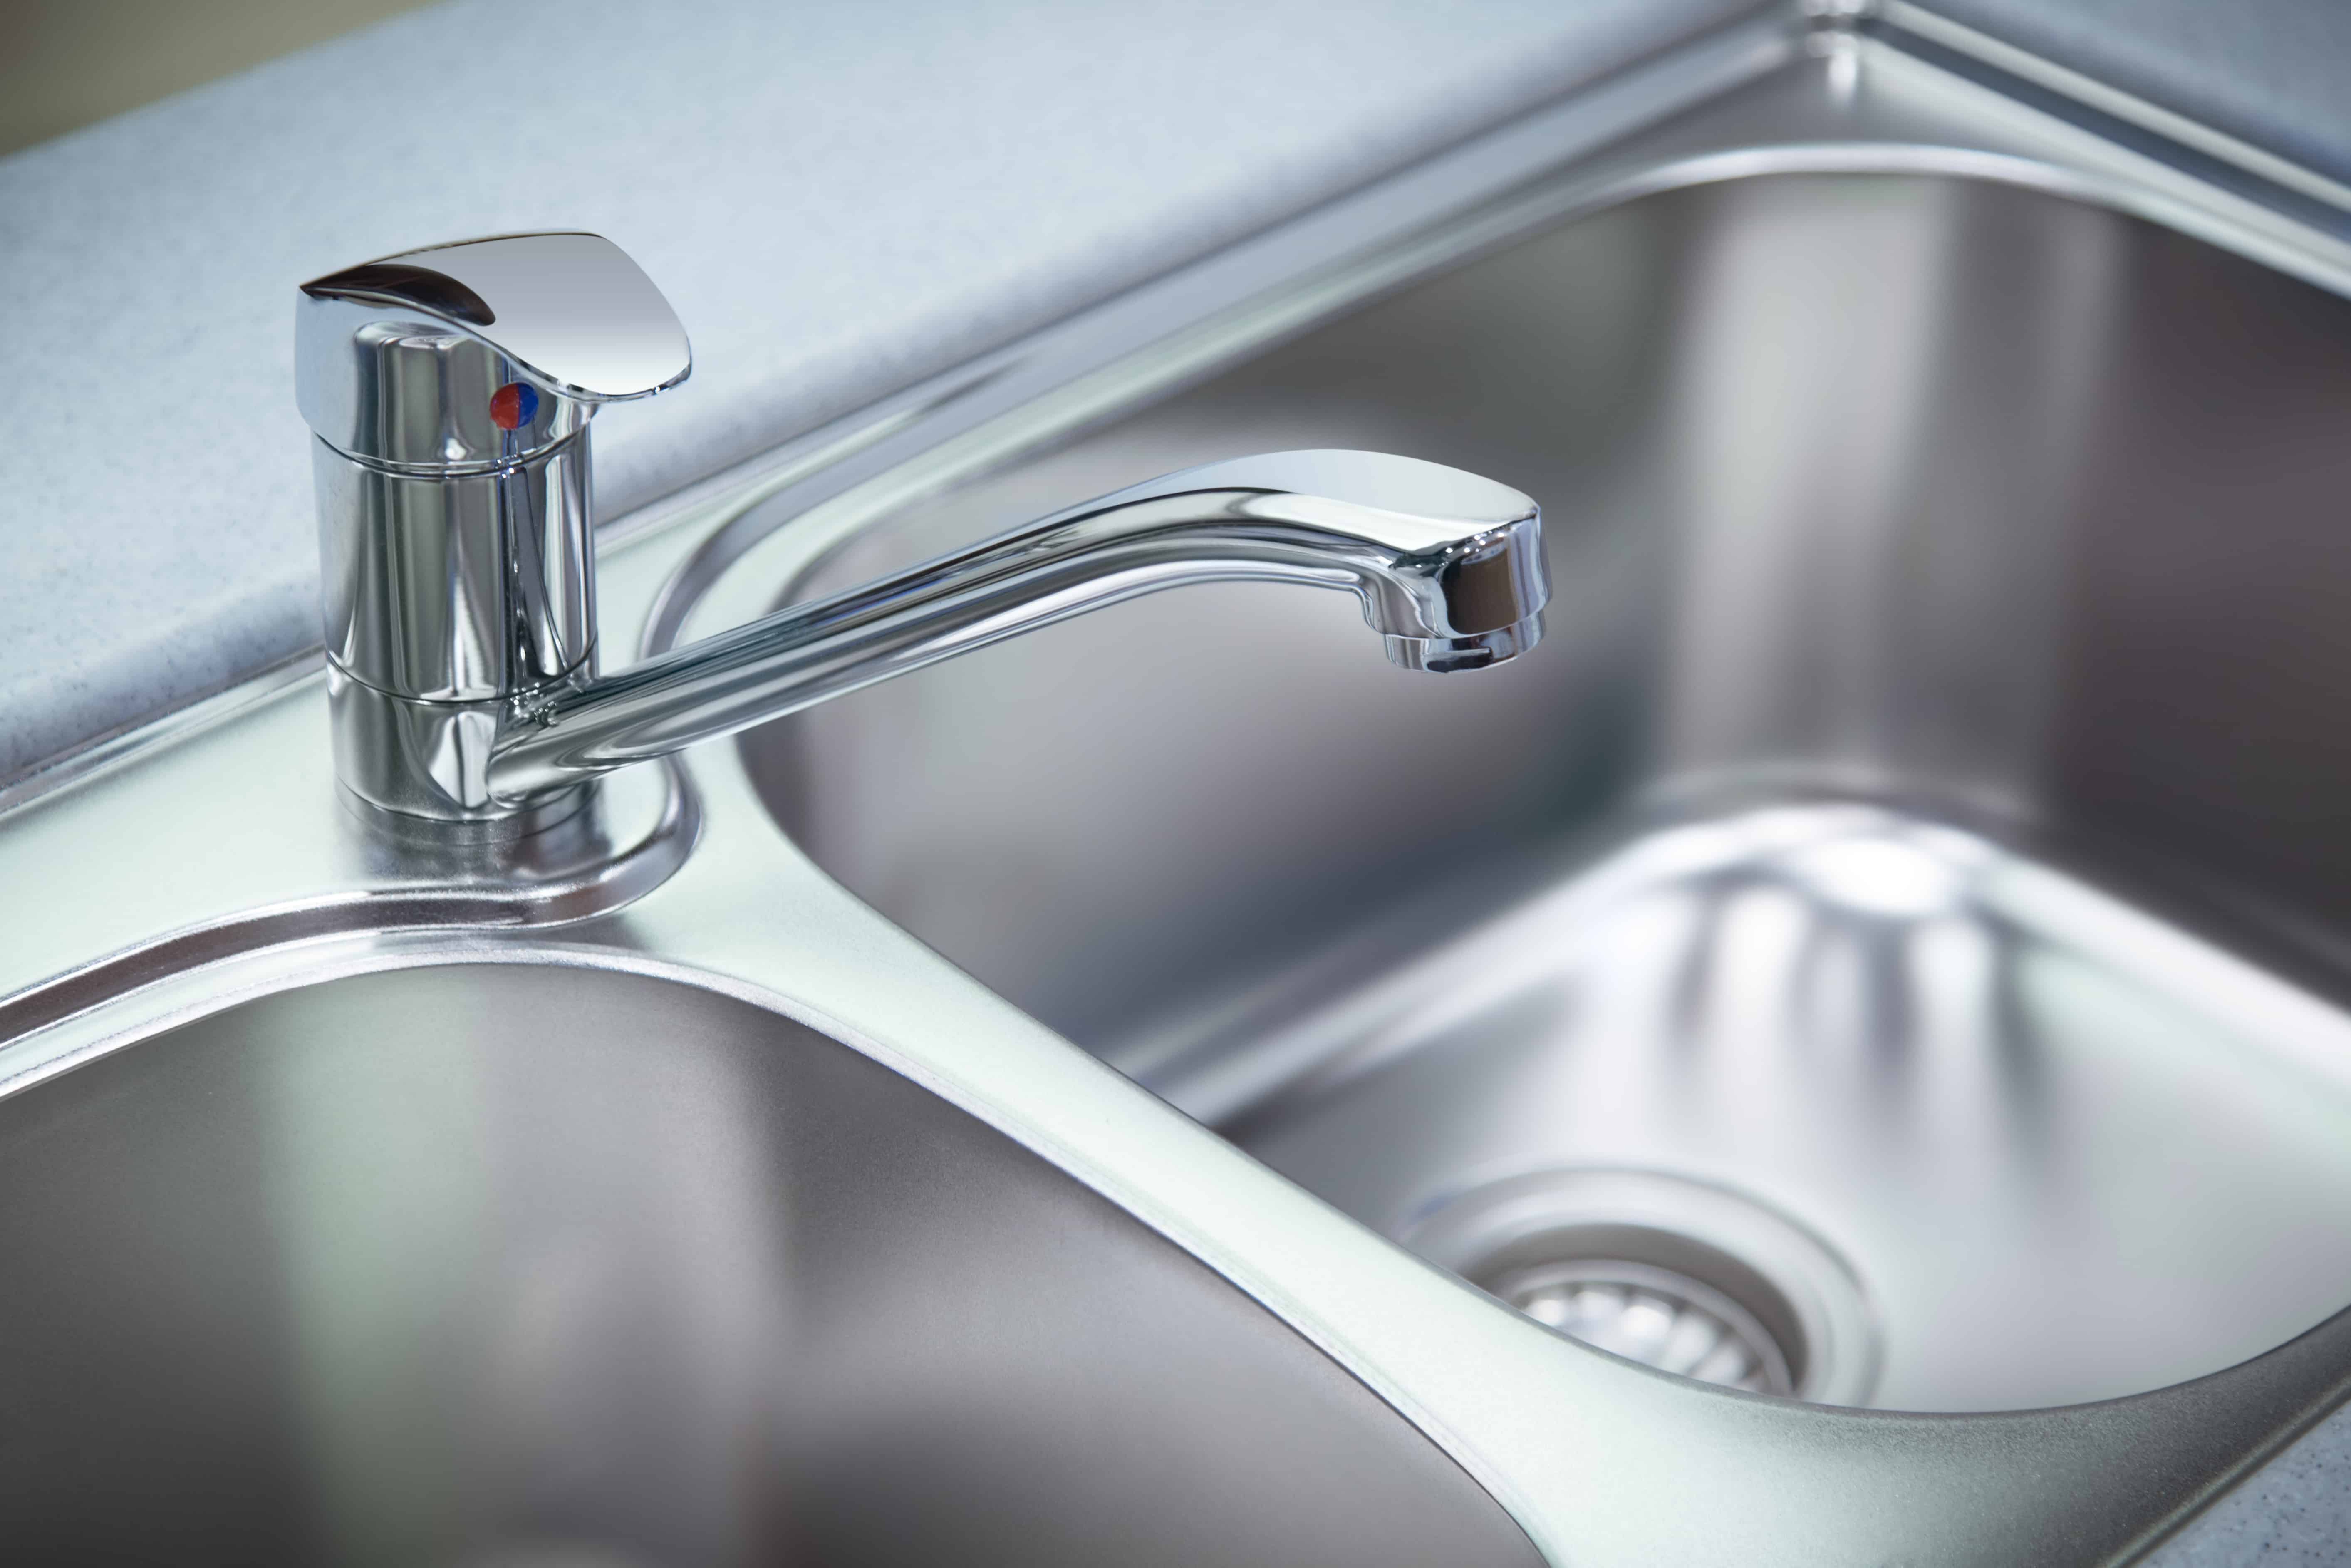
Are you looking to upgrade your kitchen sink? Installing a drop-in kitchen sink is a great DIY project that can add both functionality and style to your kitchen. In this step-by-step guide, we will walk you through the process of installing a drop-in kitchen sink. With the right tools and a little bit of patience, you can have a beautiful new sink in no time.DIY Drop-In Kitchen Sink: A Step-by-Step Guide
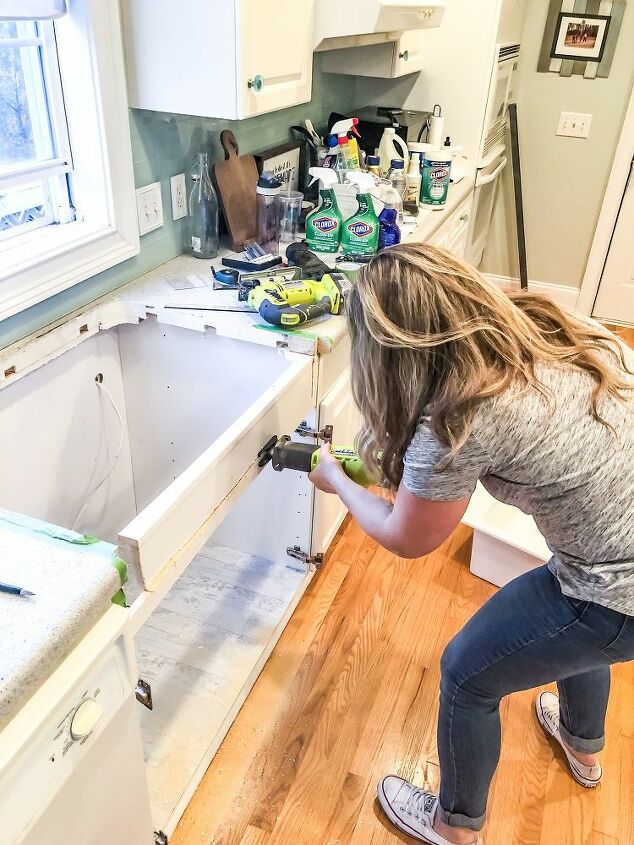
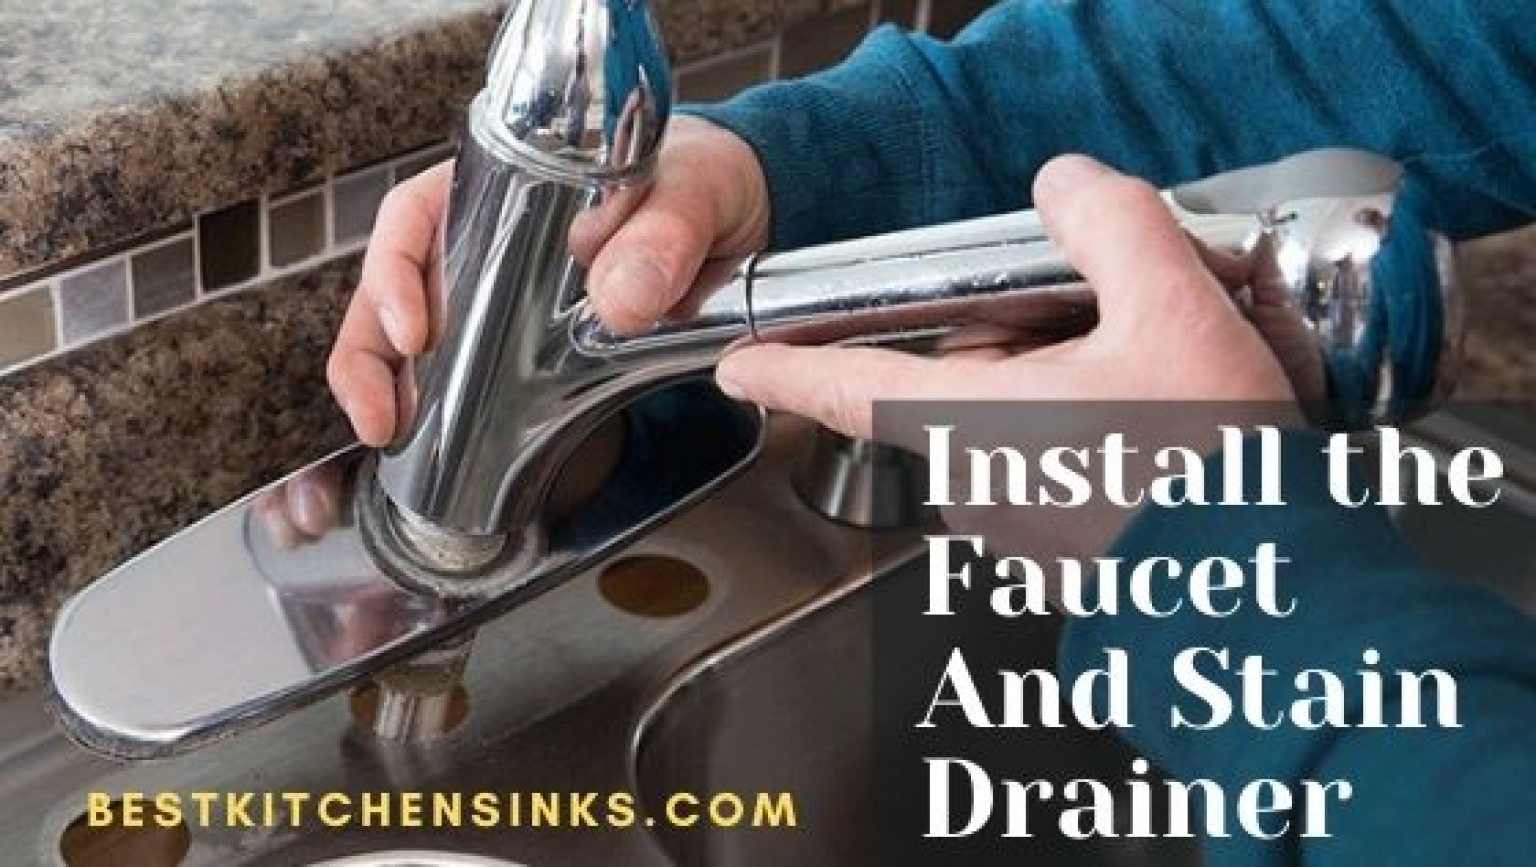
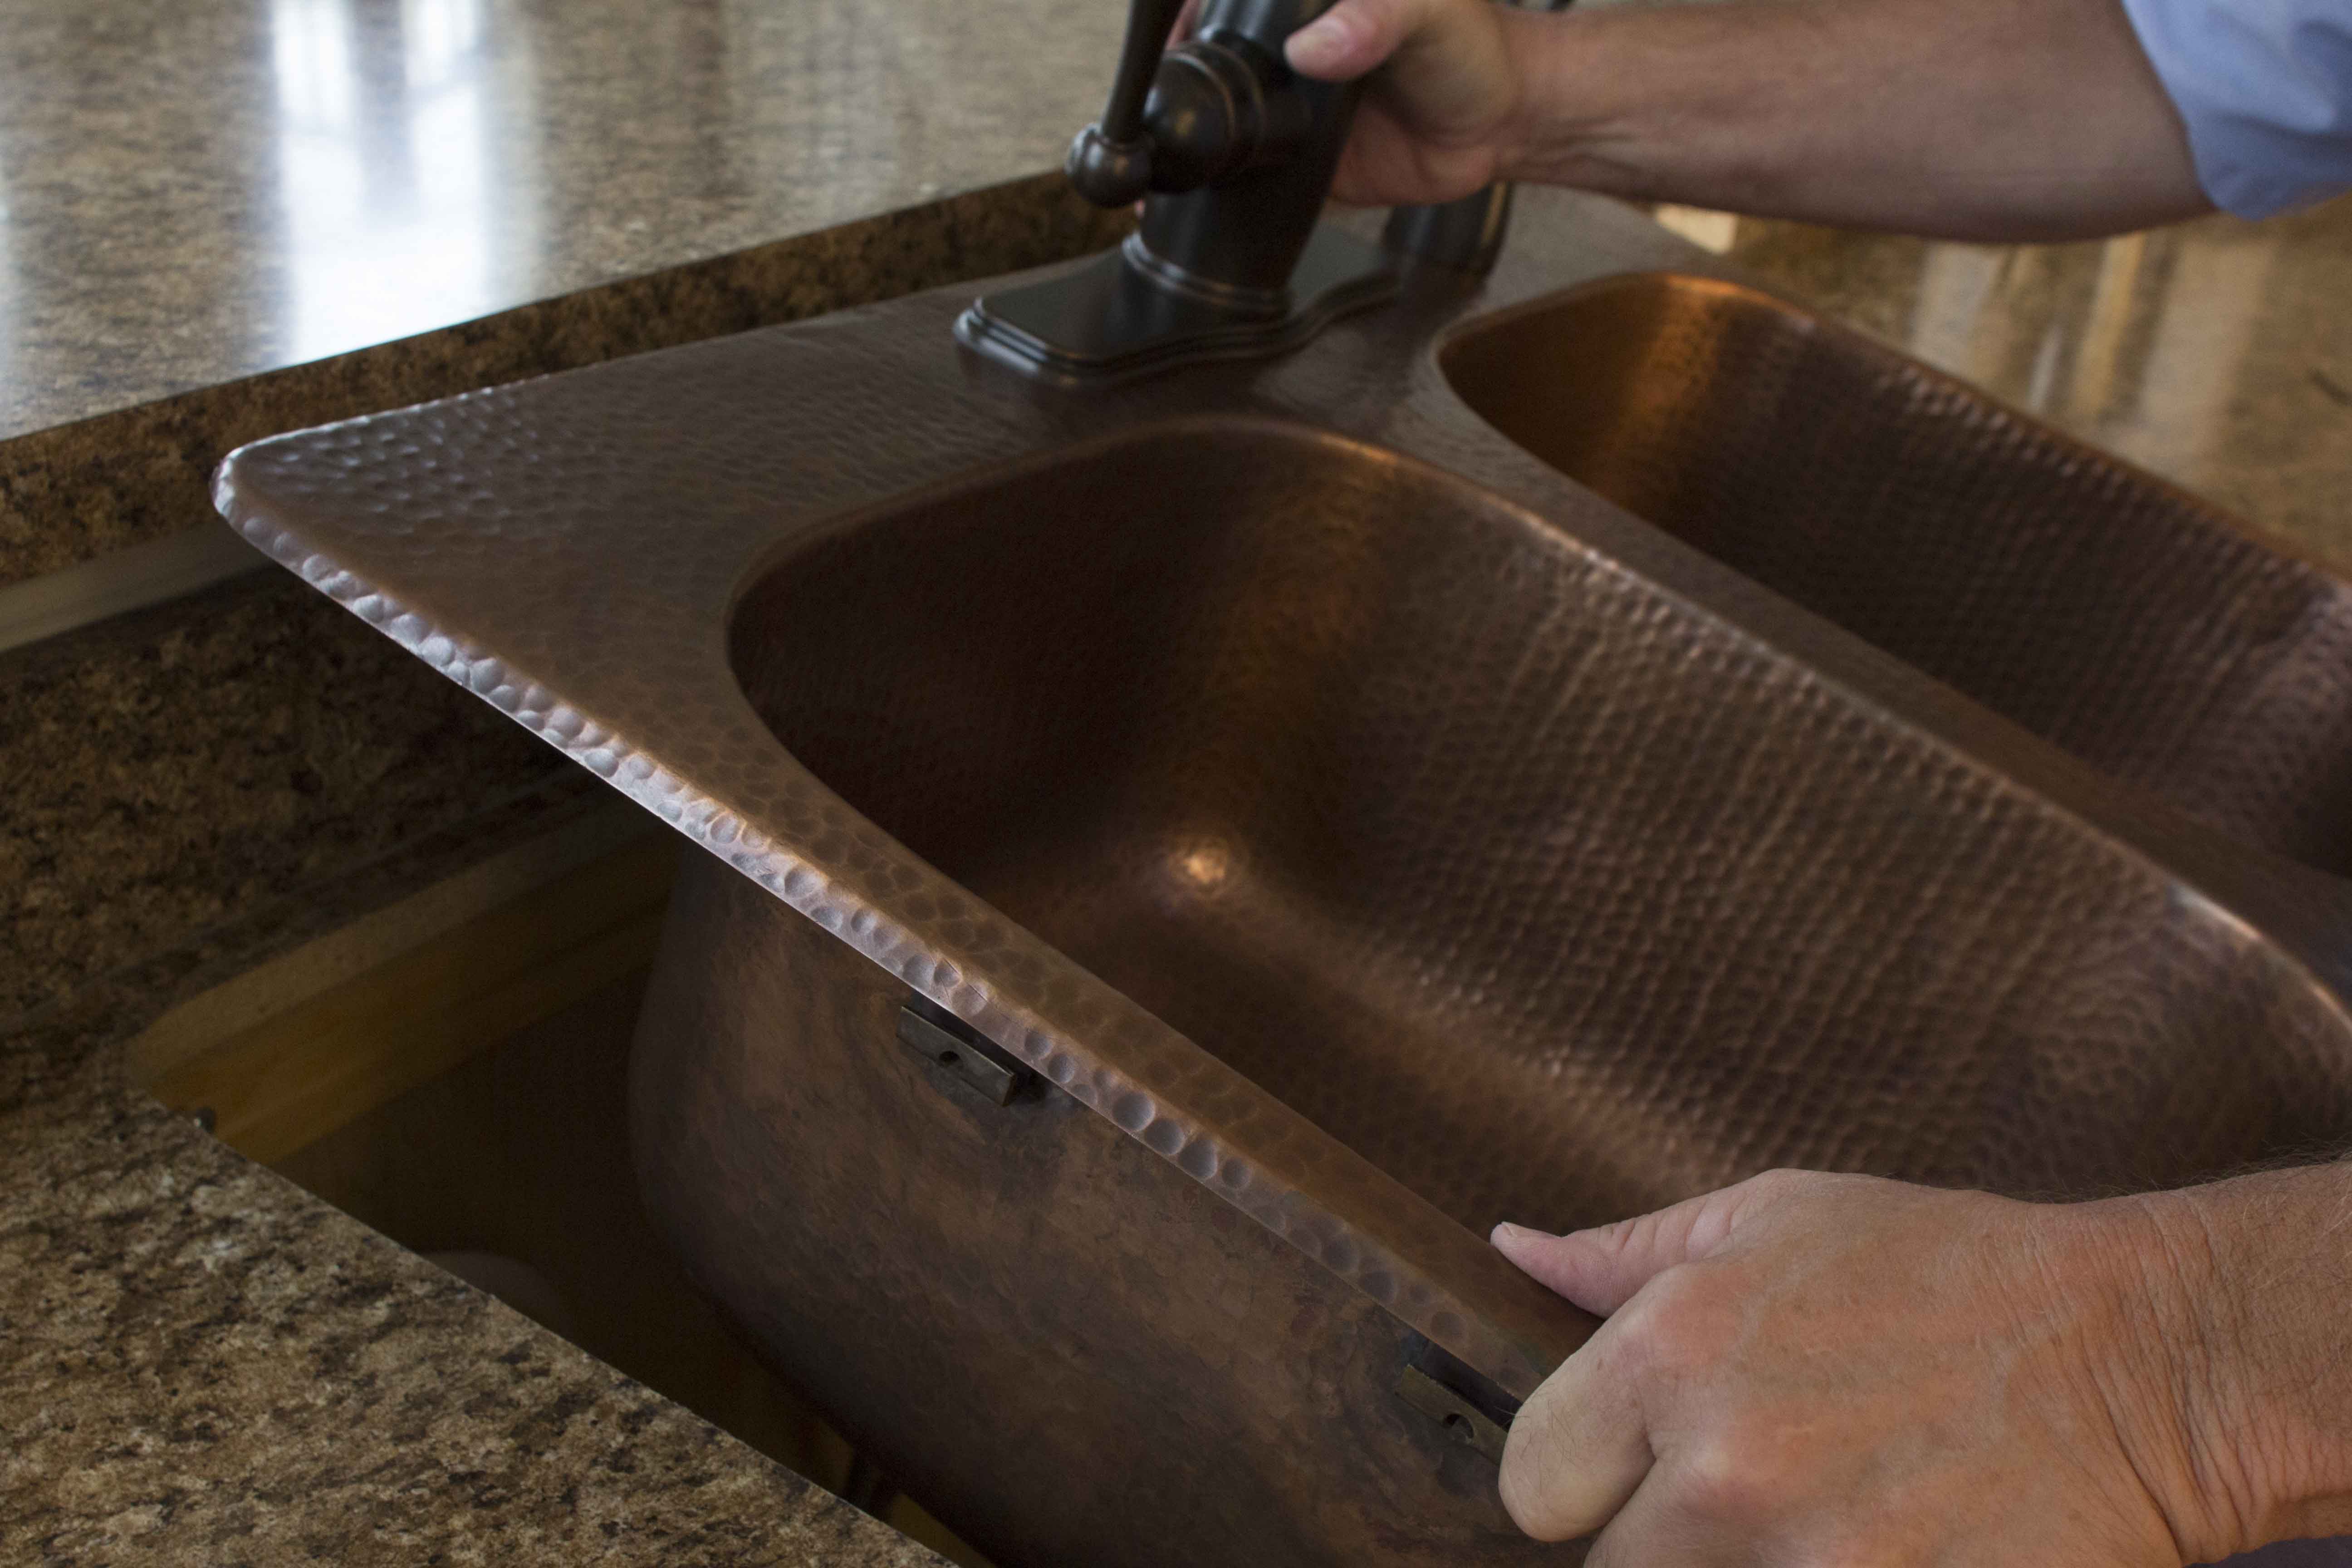
Before you begin, make sure you have all the necessary tools and materials, including a new drop-in kitchen sink, plumber's putty, silicone sealant, a wrench, and a screwdriver. Start by turning off the water supply and disconnecting the plumbing from your old sink. Next, remove the old sink and clean the countertop thoroughly to ensure a smooth surface for your new sink to sit on. Now it's time to install the new sink. Place the sink upside down on a soft surface, such as a towel, to prevent scratching. Apply plumber's putty along the edge of the sink's lip and carefully place the sink into the countertop cutout. Use a wrench to tighten the clips underneath the sink to secure it in place.How to Install a Drop-In Kitchen Sink
If you are replacing an old drop-in sink, the process is a bit different. Start by removing the old sink and cleaning the countertop. Then, place the new sink into the cutout and use a pencil to mark the location of the mounting clips. Remove the sink and install the clips on the underside of the countertop. Finally, place the sink back into the cutout and tighten the clips.DIY Kitchen Sink Replacement: Drop-In Installation
Installing a drop-in kitchen sink can be a bit tricky, so here are a few tips to help make the process smoother. First, make sure the sink is level before securing it in place. This will prevent any leaks or issues with the drain. Also, be sure to use a high-quality silicone sealant to ensure a tight seal around the sink's edges. Lastly, don't be afraid to ask for help if you need it. Having an extra pair of hands can make the installation process much easier.Drop-In Kitchen Sink Installation: Tips and Tricks
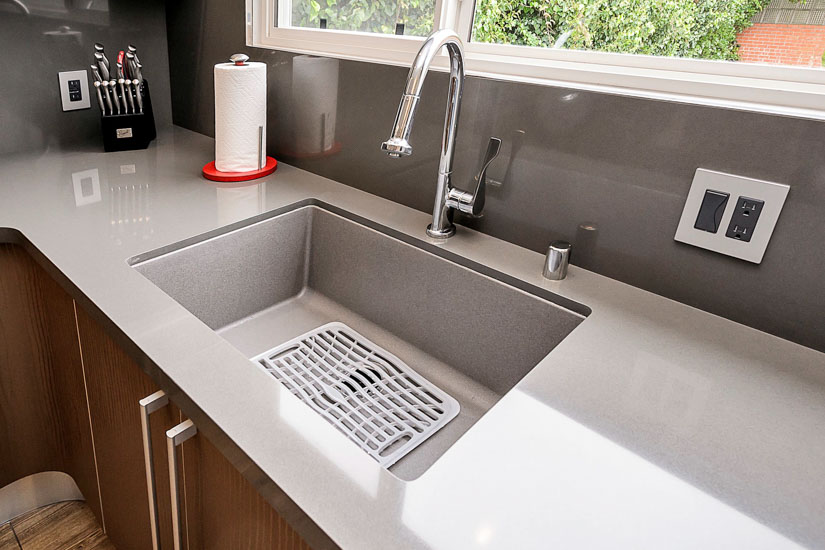
When it comes to kitchen sinks, there are two main types: drop-in and undermount. While both have their pros and cons, drop-in sinks are often the more popular choice for DIYers. They are easier to install and can be replaced without having to make any significant changes to the countertop. However, undermount sinks offer a more seamless look and are easier to clean since there are no edges for dirt and grime to collect in.DIY Kitchen Sink Upgrade: Drop-In vs. Undermount
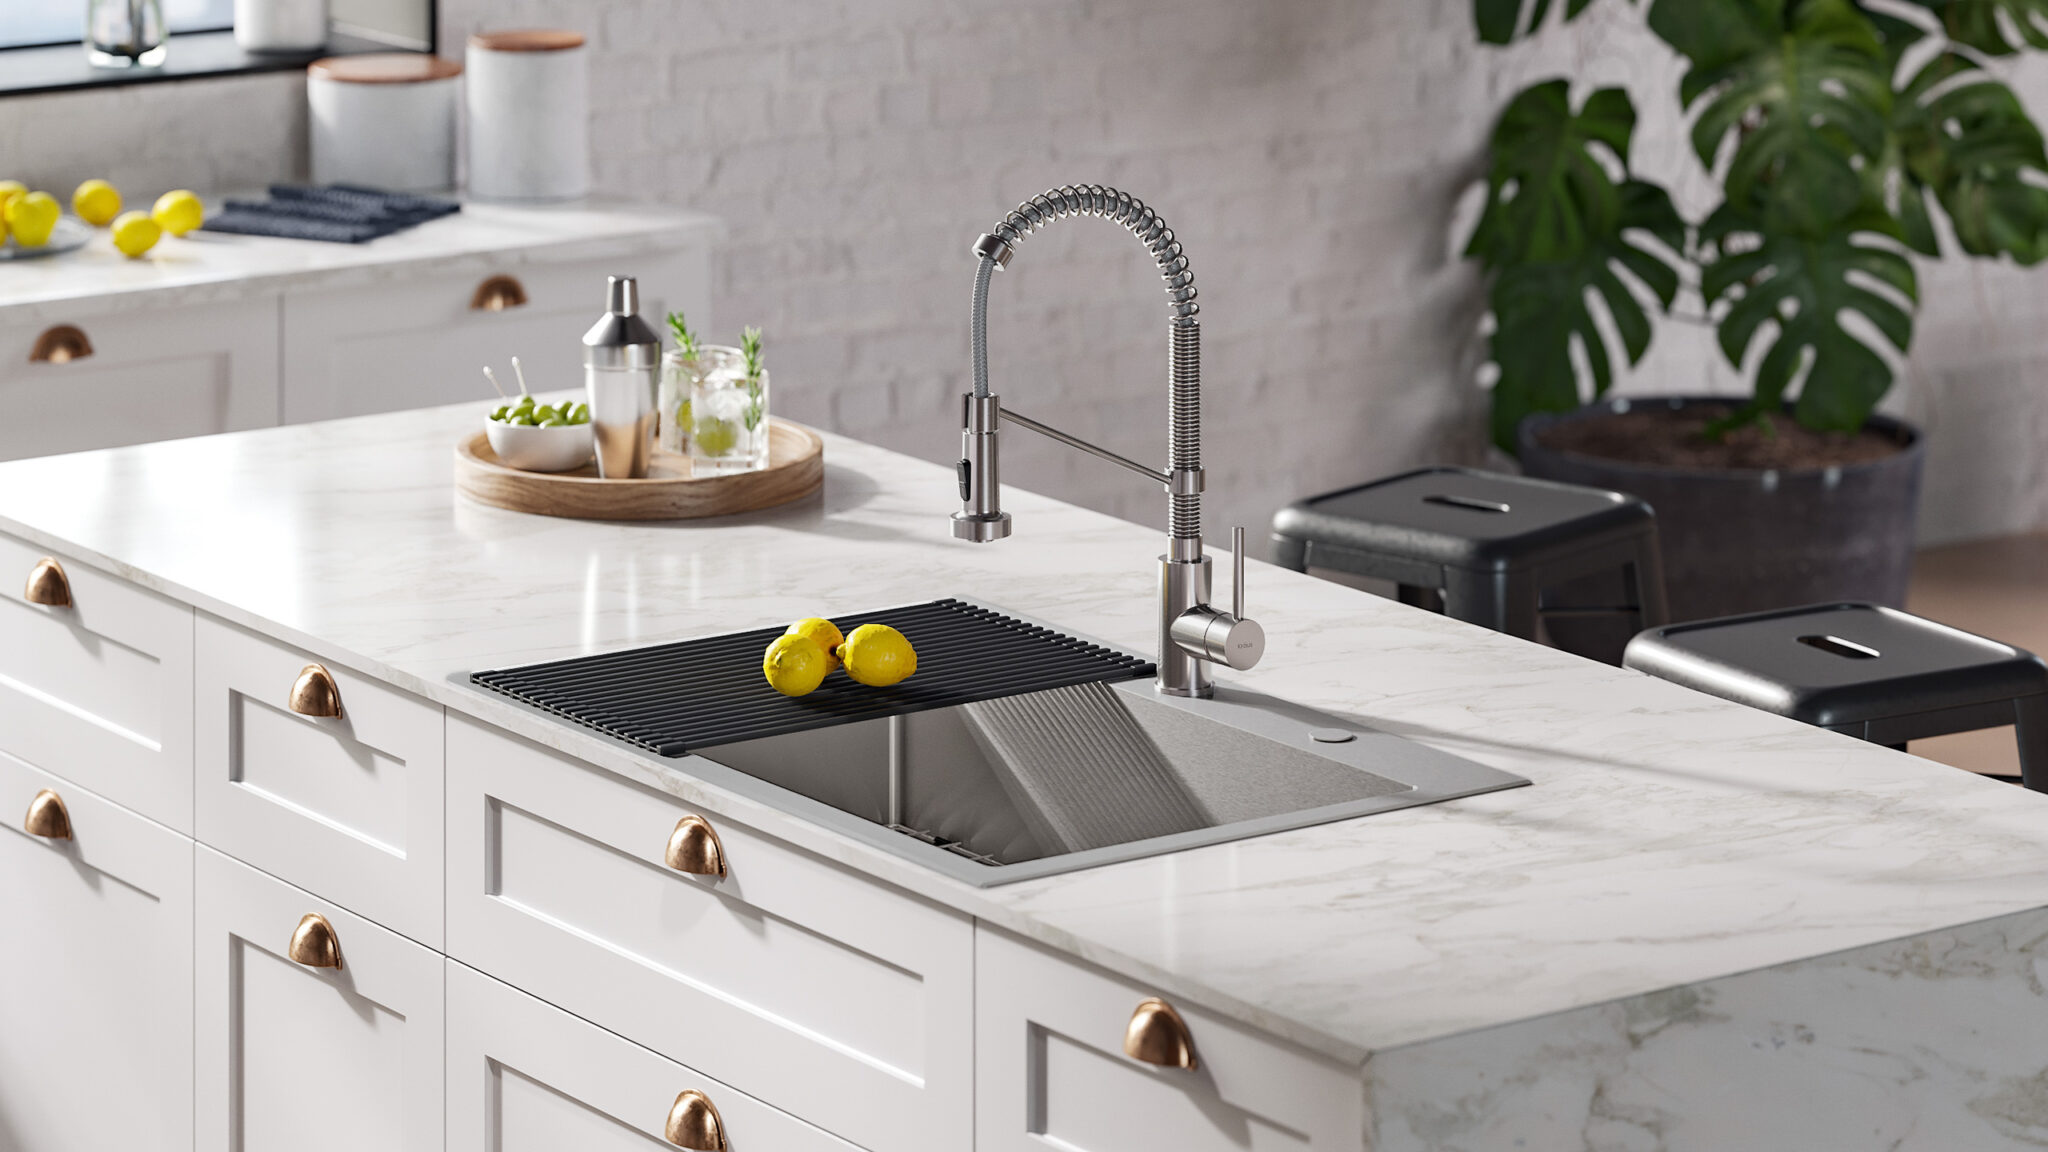
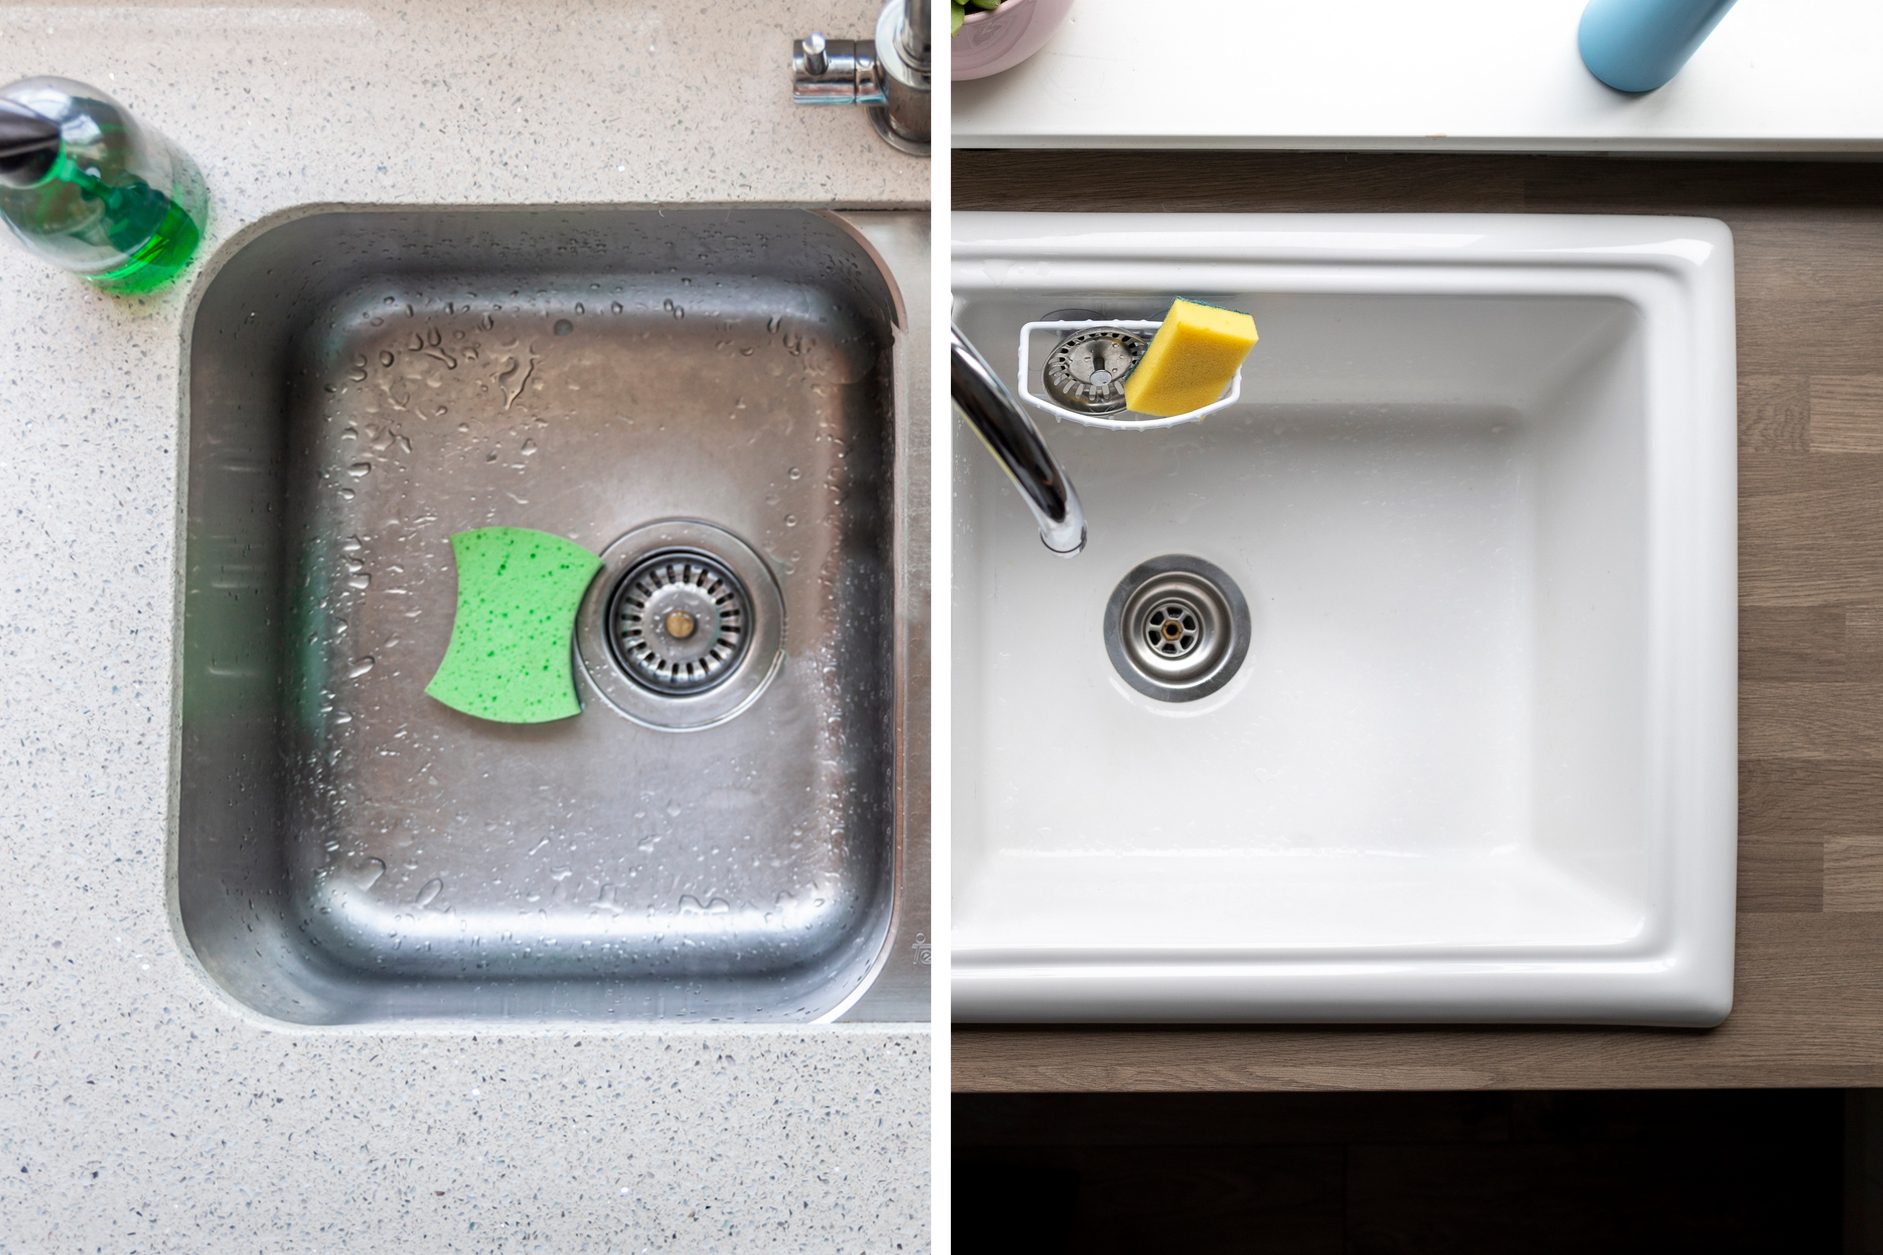
Choosing the right drop-in kitchen sink can be overwhelming with so many options available. When making your selection, consider the size and style of your kitchen, as well as your budget. Stainless steel sinks are a popular choice for their durability and affordability, while granite and fireclay sinks offer a more elegant and upscale look. Consider the features you want, such as a built-in drainboard or multiple compartments, to find the perfect sink for your needs.How to Choose the Right Drop-In Kitchen Sink
If you have a drop-in kitchen sink that you are not fond of, you can easily give it a makeover with a drop-in sink cover. These covers come in a variety of materials, such as wood, stainless steel, and granite, and can instantly transform the look of your sink. They are also great for hiding any scratches or stains on your sink's surface.DIY Kitchen Sink Makeover: Drop-In Sink Cover
Even with proper installation, drop-in kitchen sinks can sometimes develop issues over time. The most common problem is a leak, which can be caused by a loose clip or a worn-out sealant. If you notice a leak, try tightening the clips or reapplying silicone sealant around the sink's edges. If the problem persists, it may be time to call in a professional.Drop-In Kitchen Sink Repair: Common Issues and Solutions
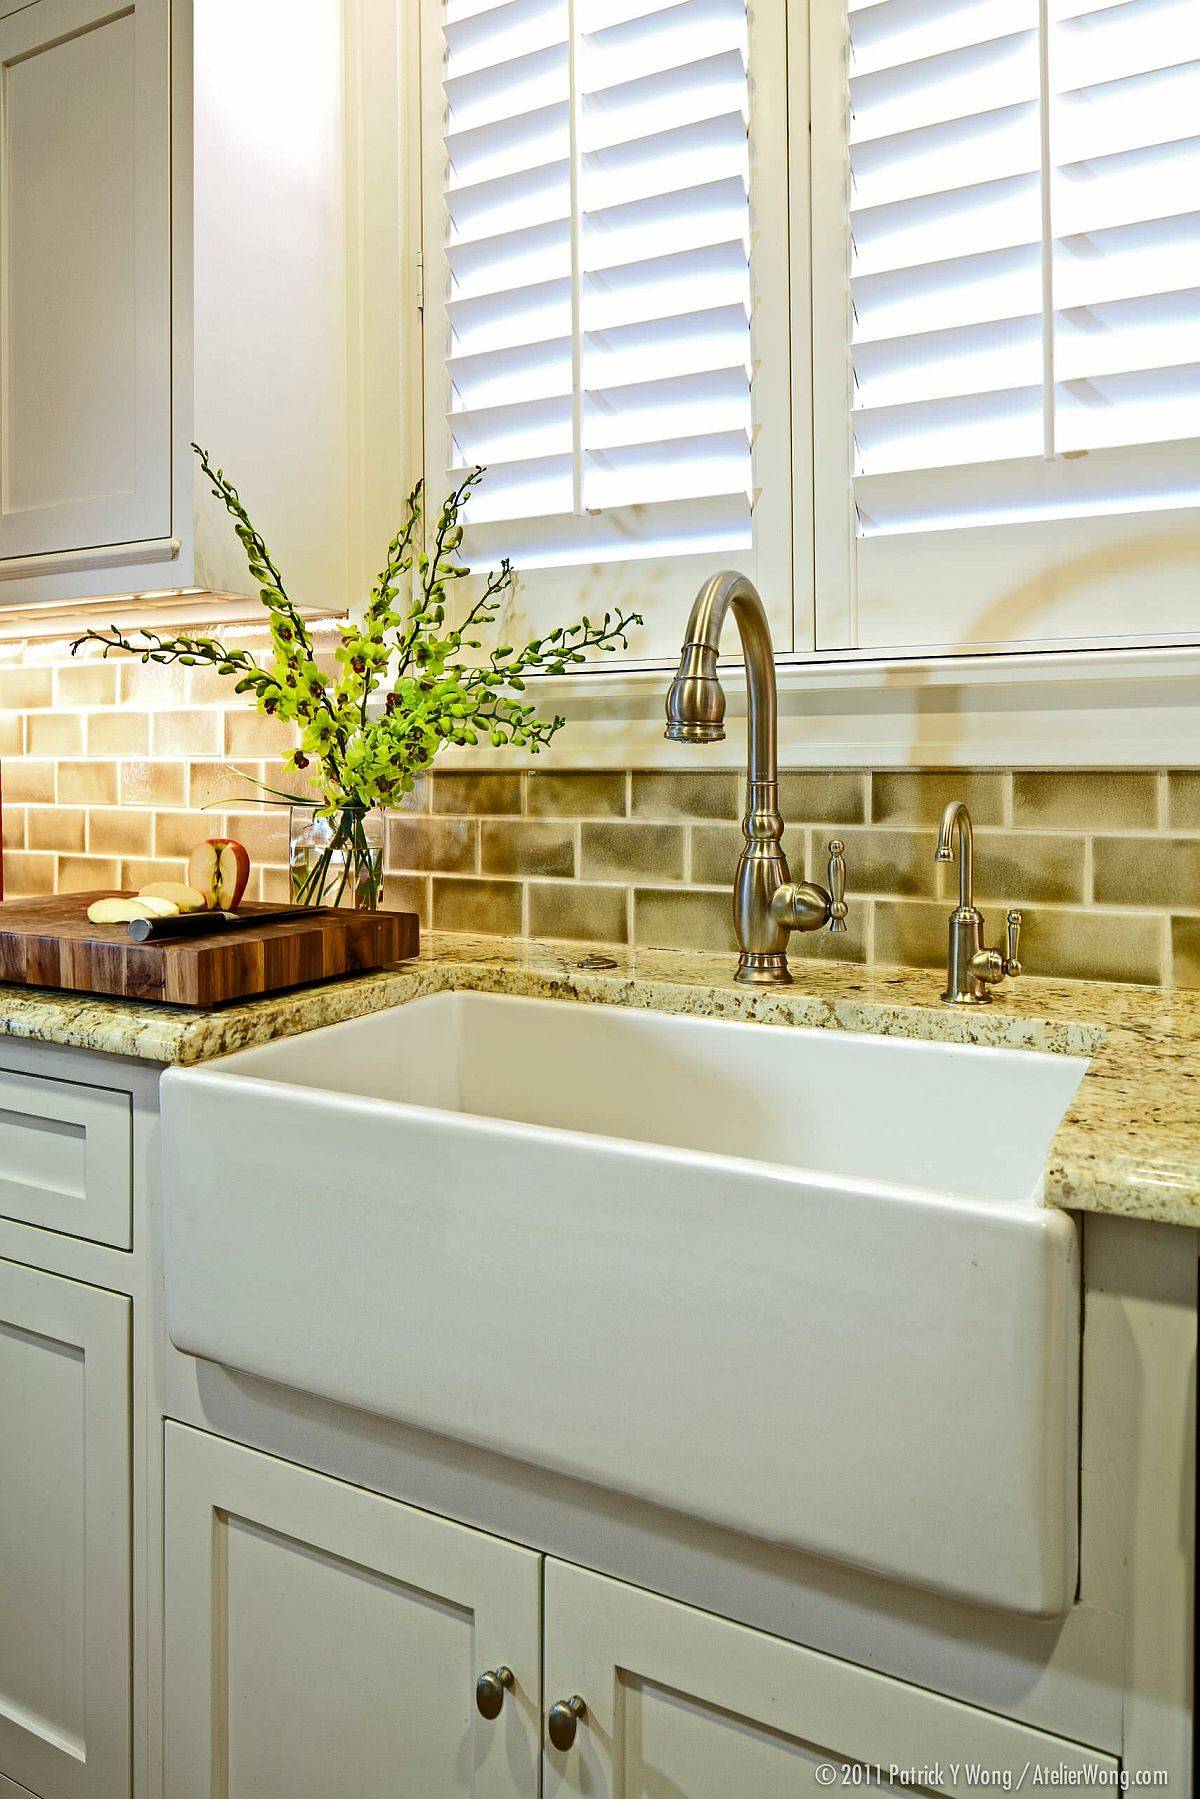
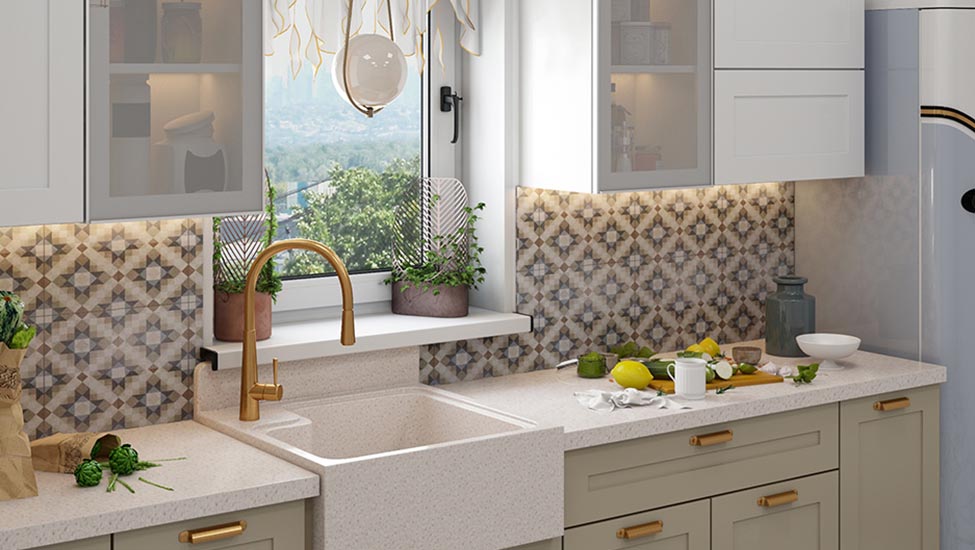
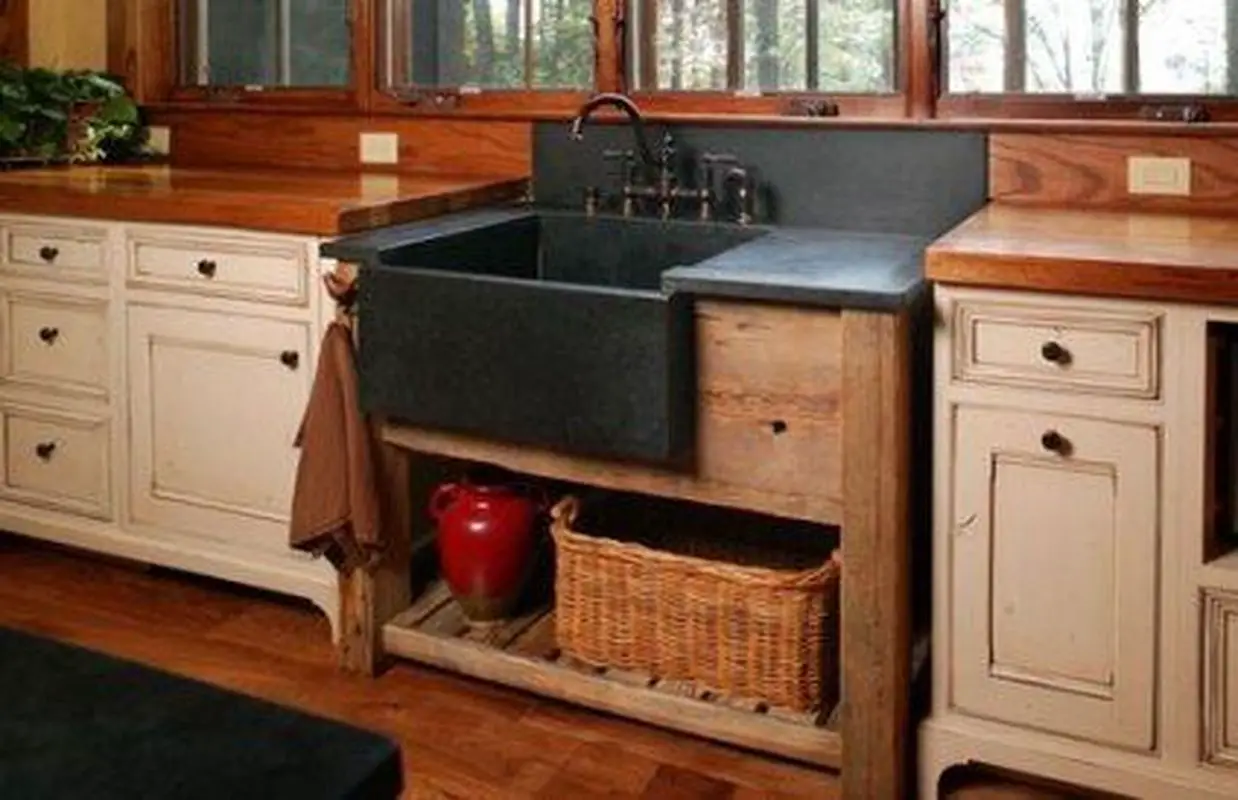
Another popular type of kitchen sink is the farmhouse sink, also known as an apron sink. These sinks have a large, exposed front panel that adds a charming, rustic touch to any kitchen. While they offer a unique look, installing a farmhouse sink can be more challenging compared to a drop-in sink. You may need to make adjustments to the countertop and cabinets to accommodate the sink's size and shape.DIY Kitchen Sink Installation: Drop-In vs. Farmhouse
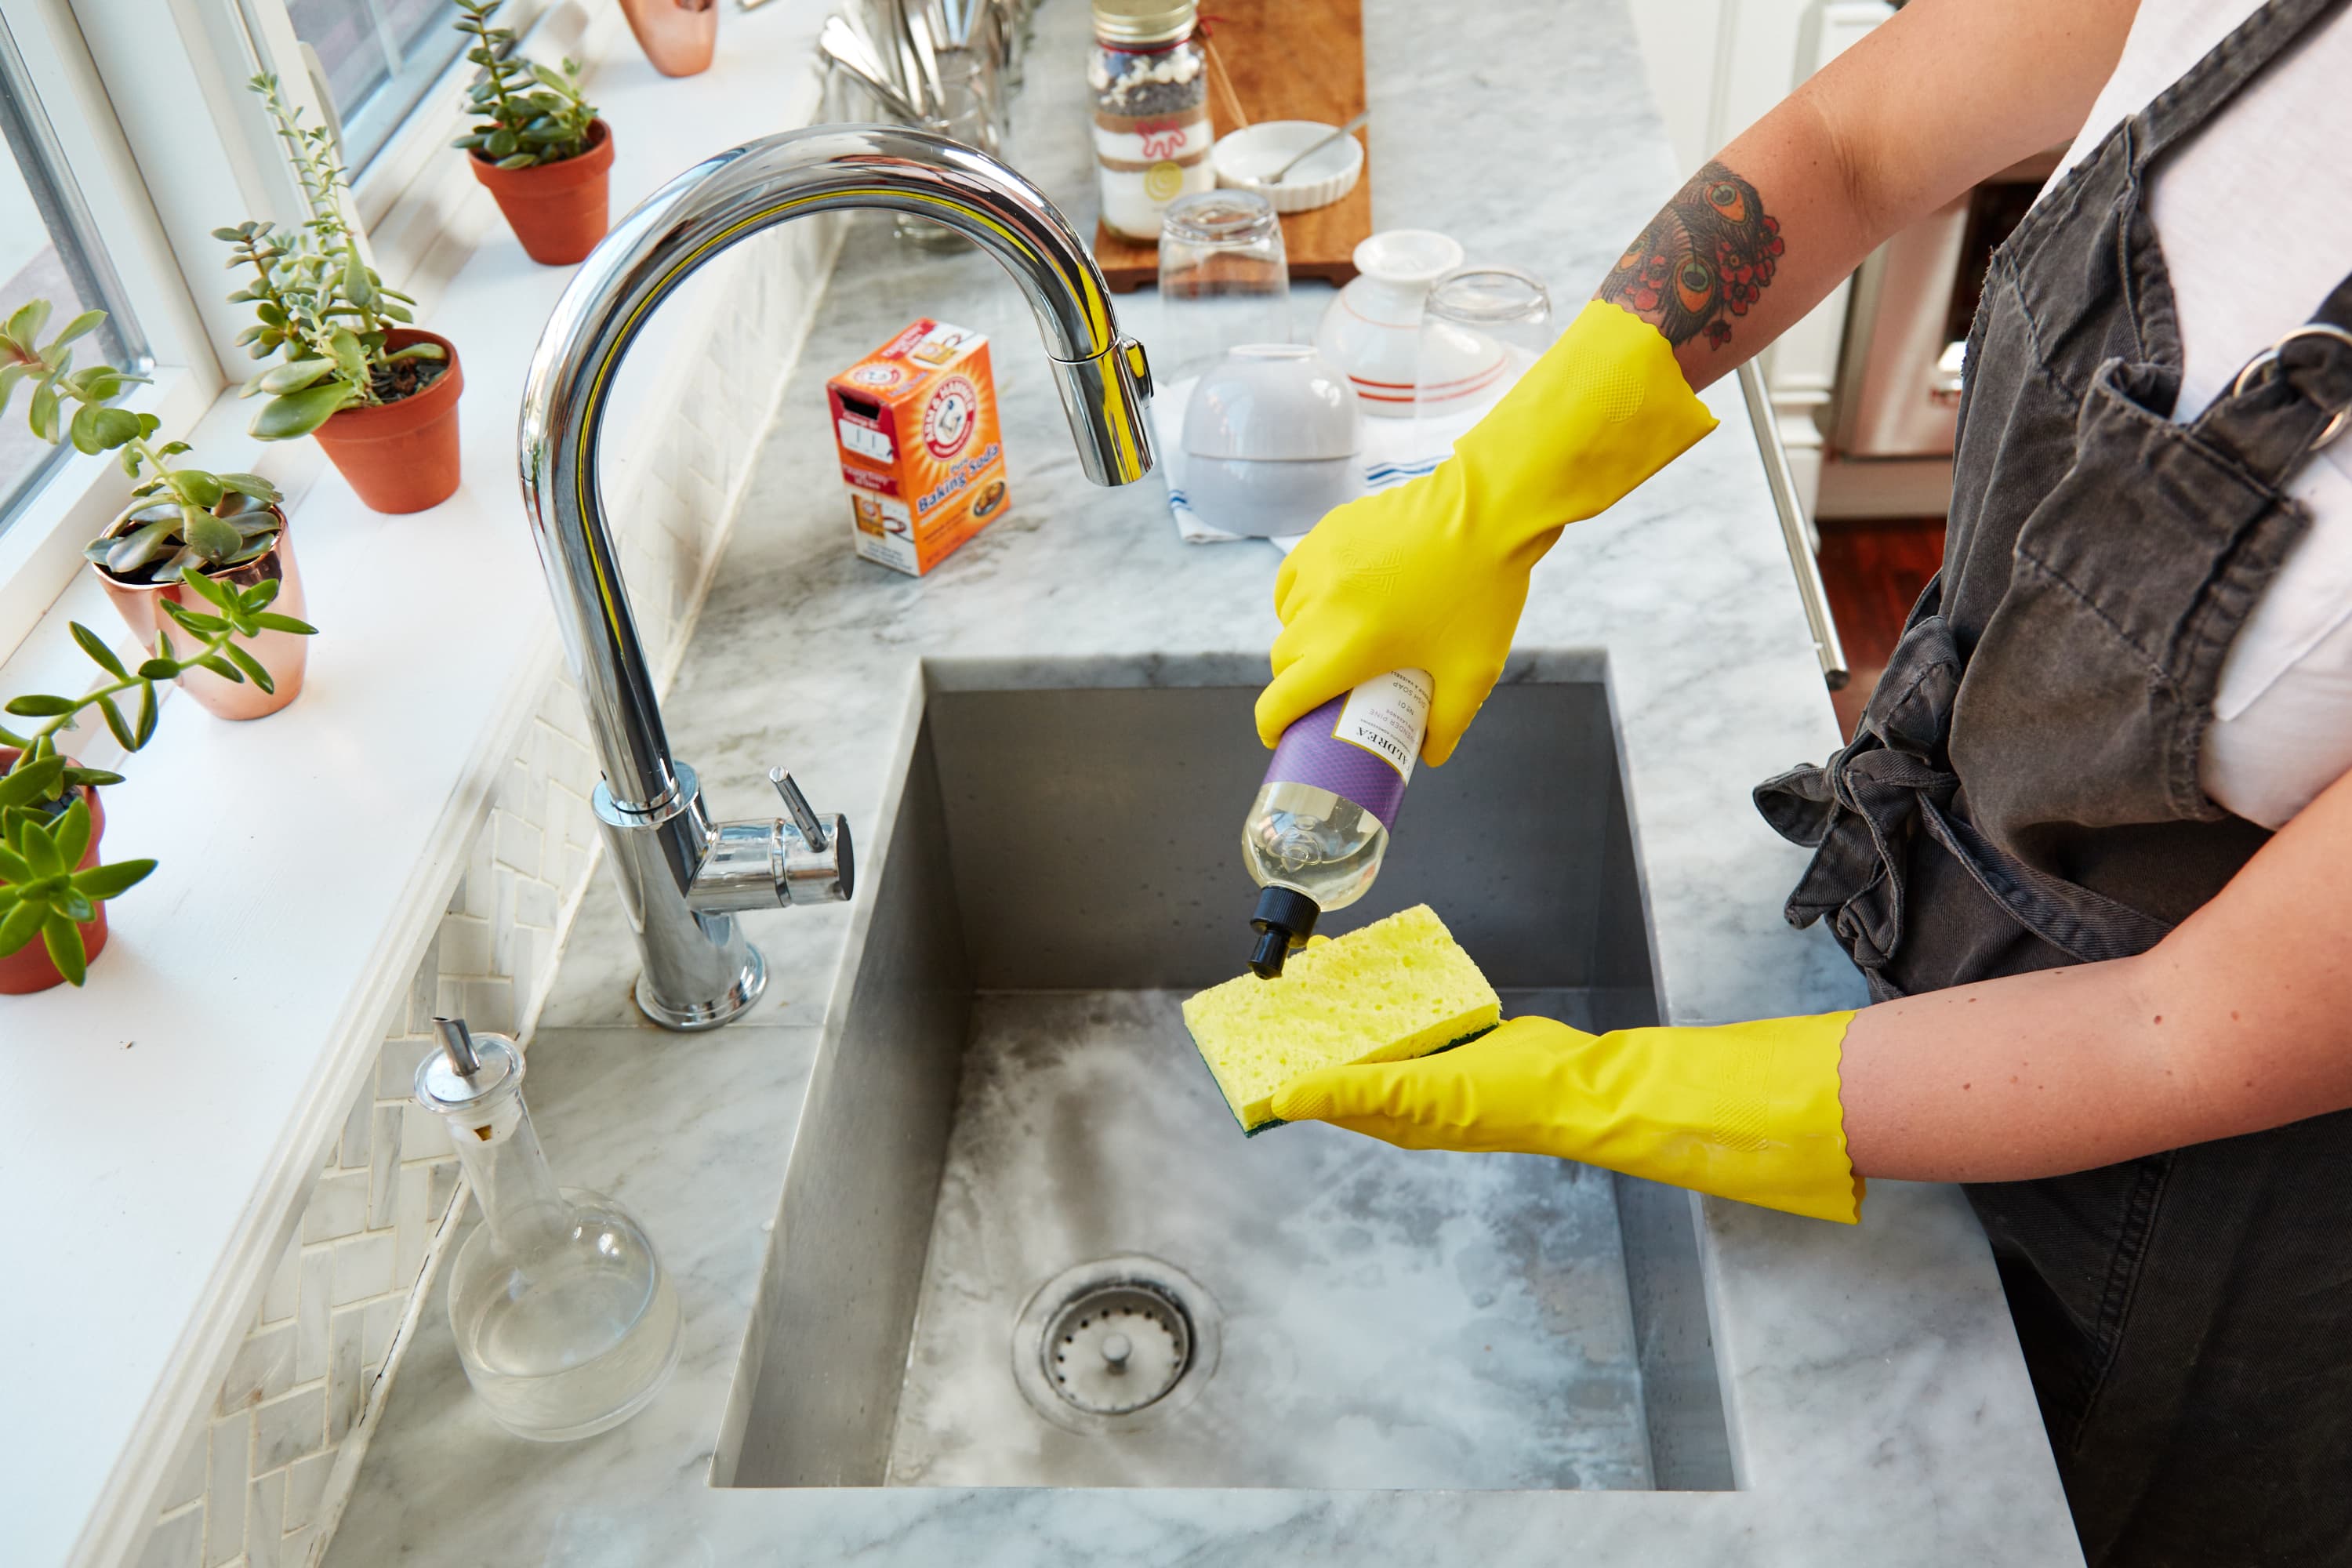
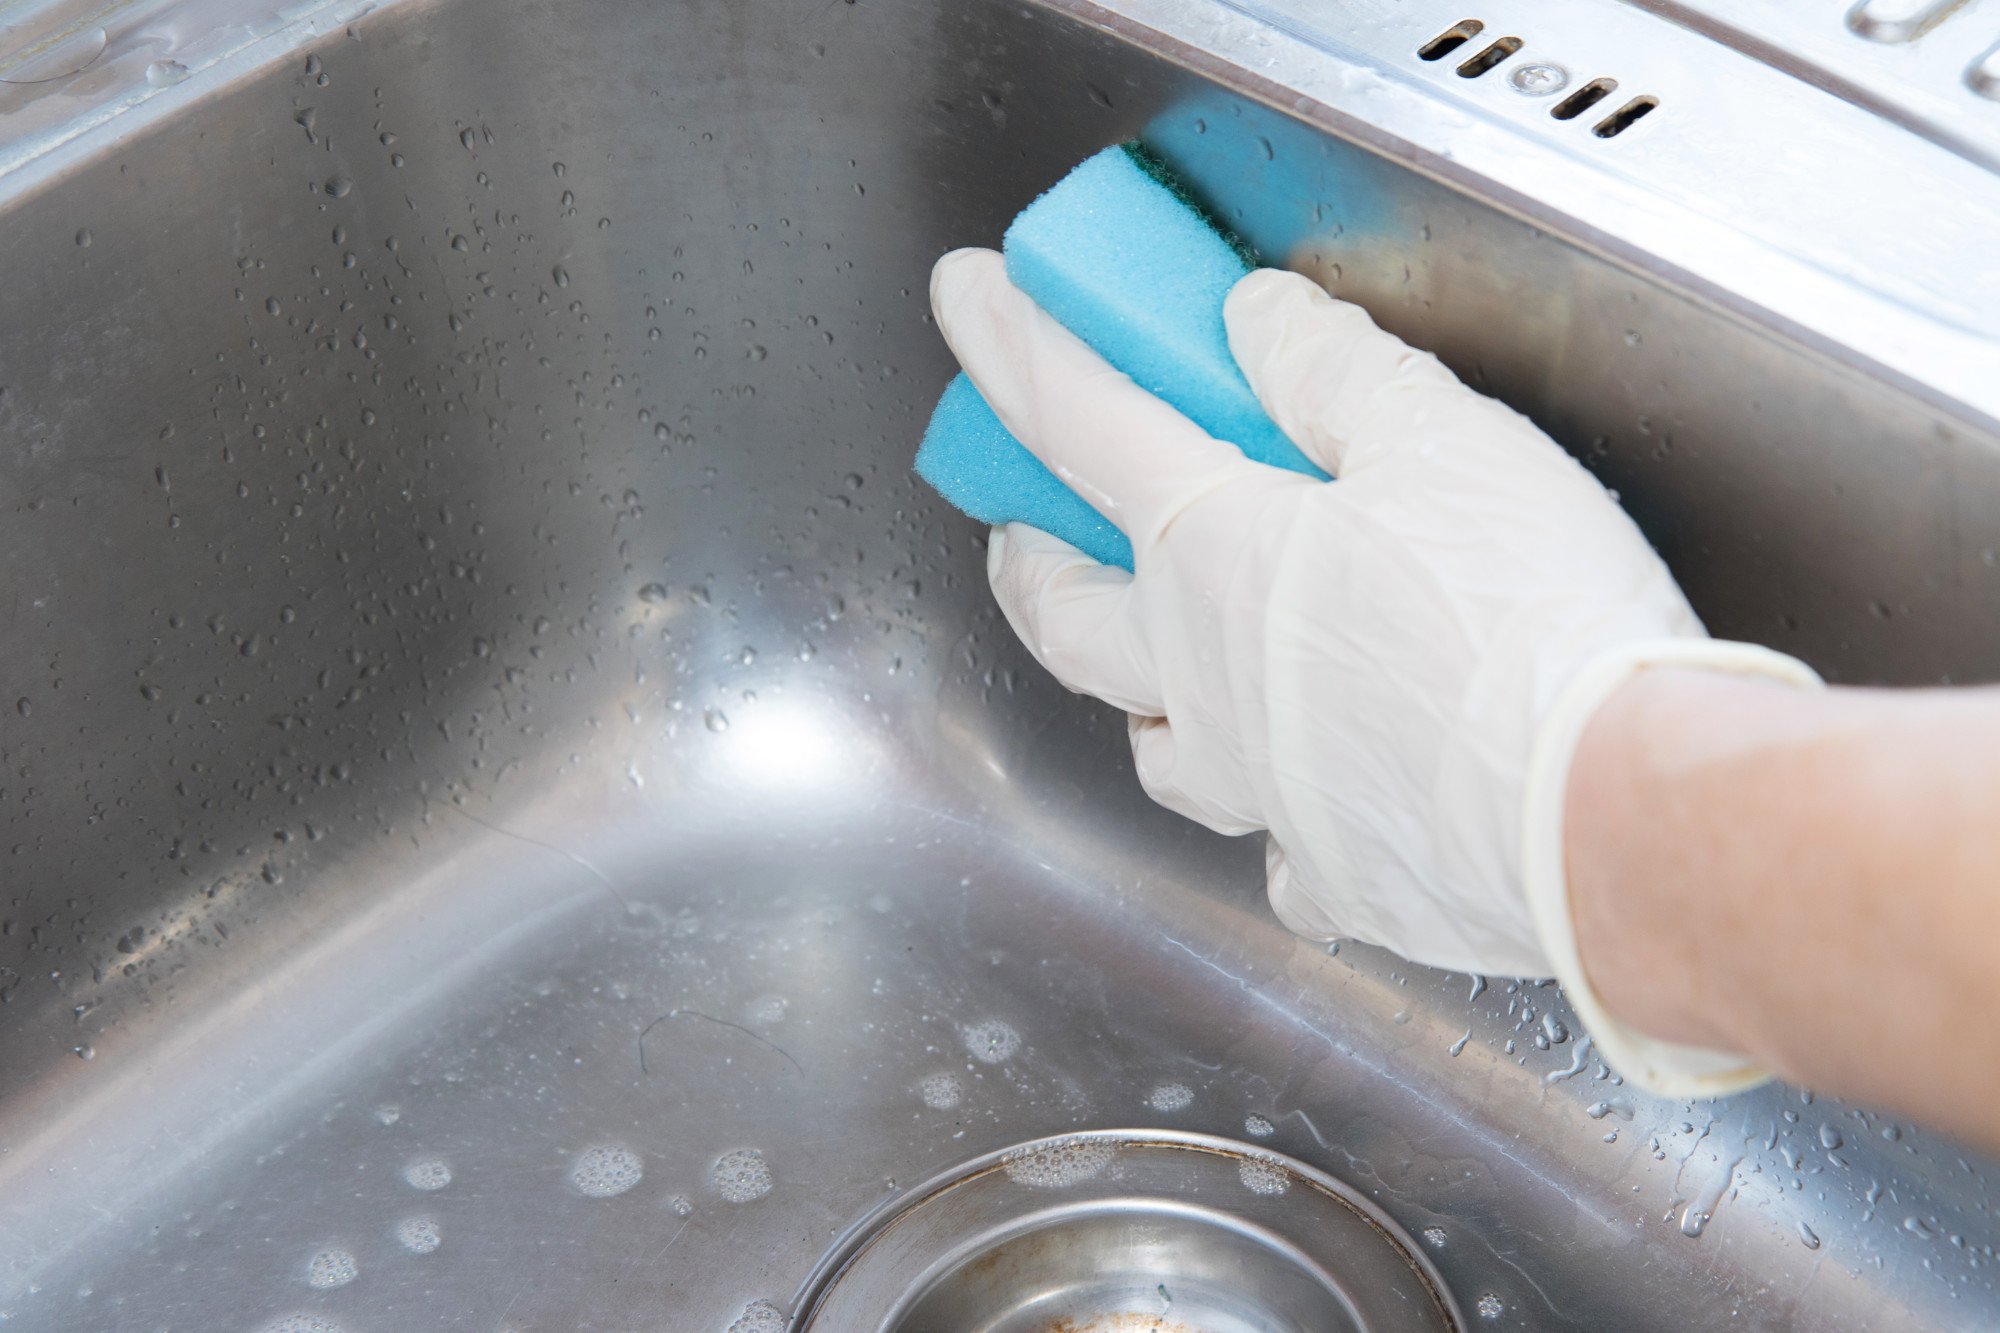
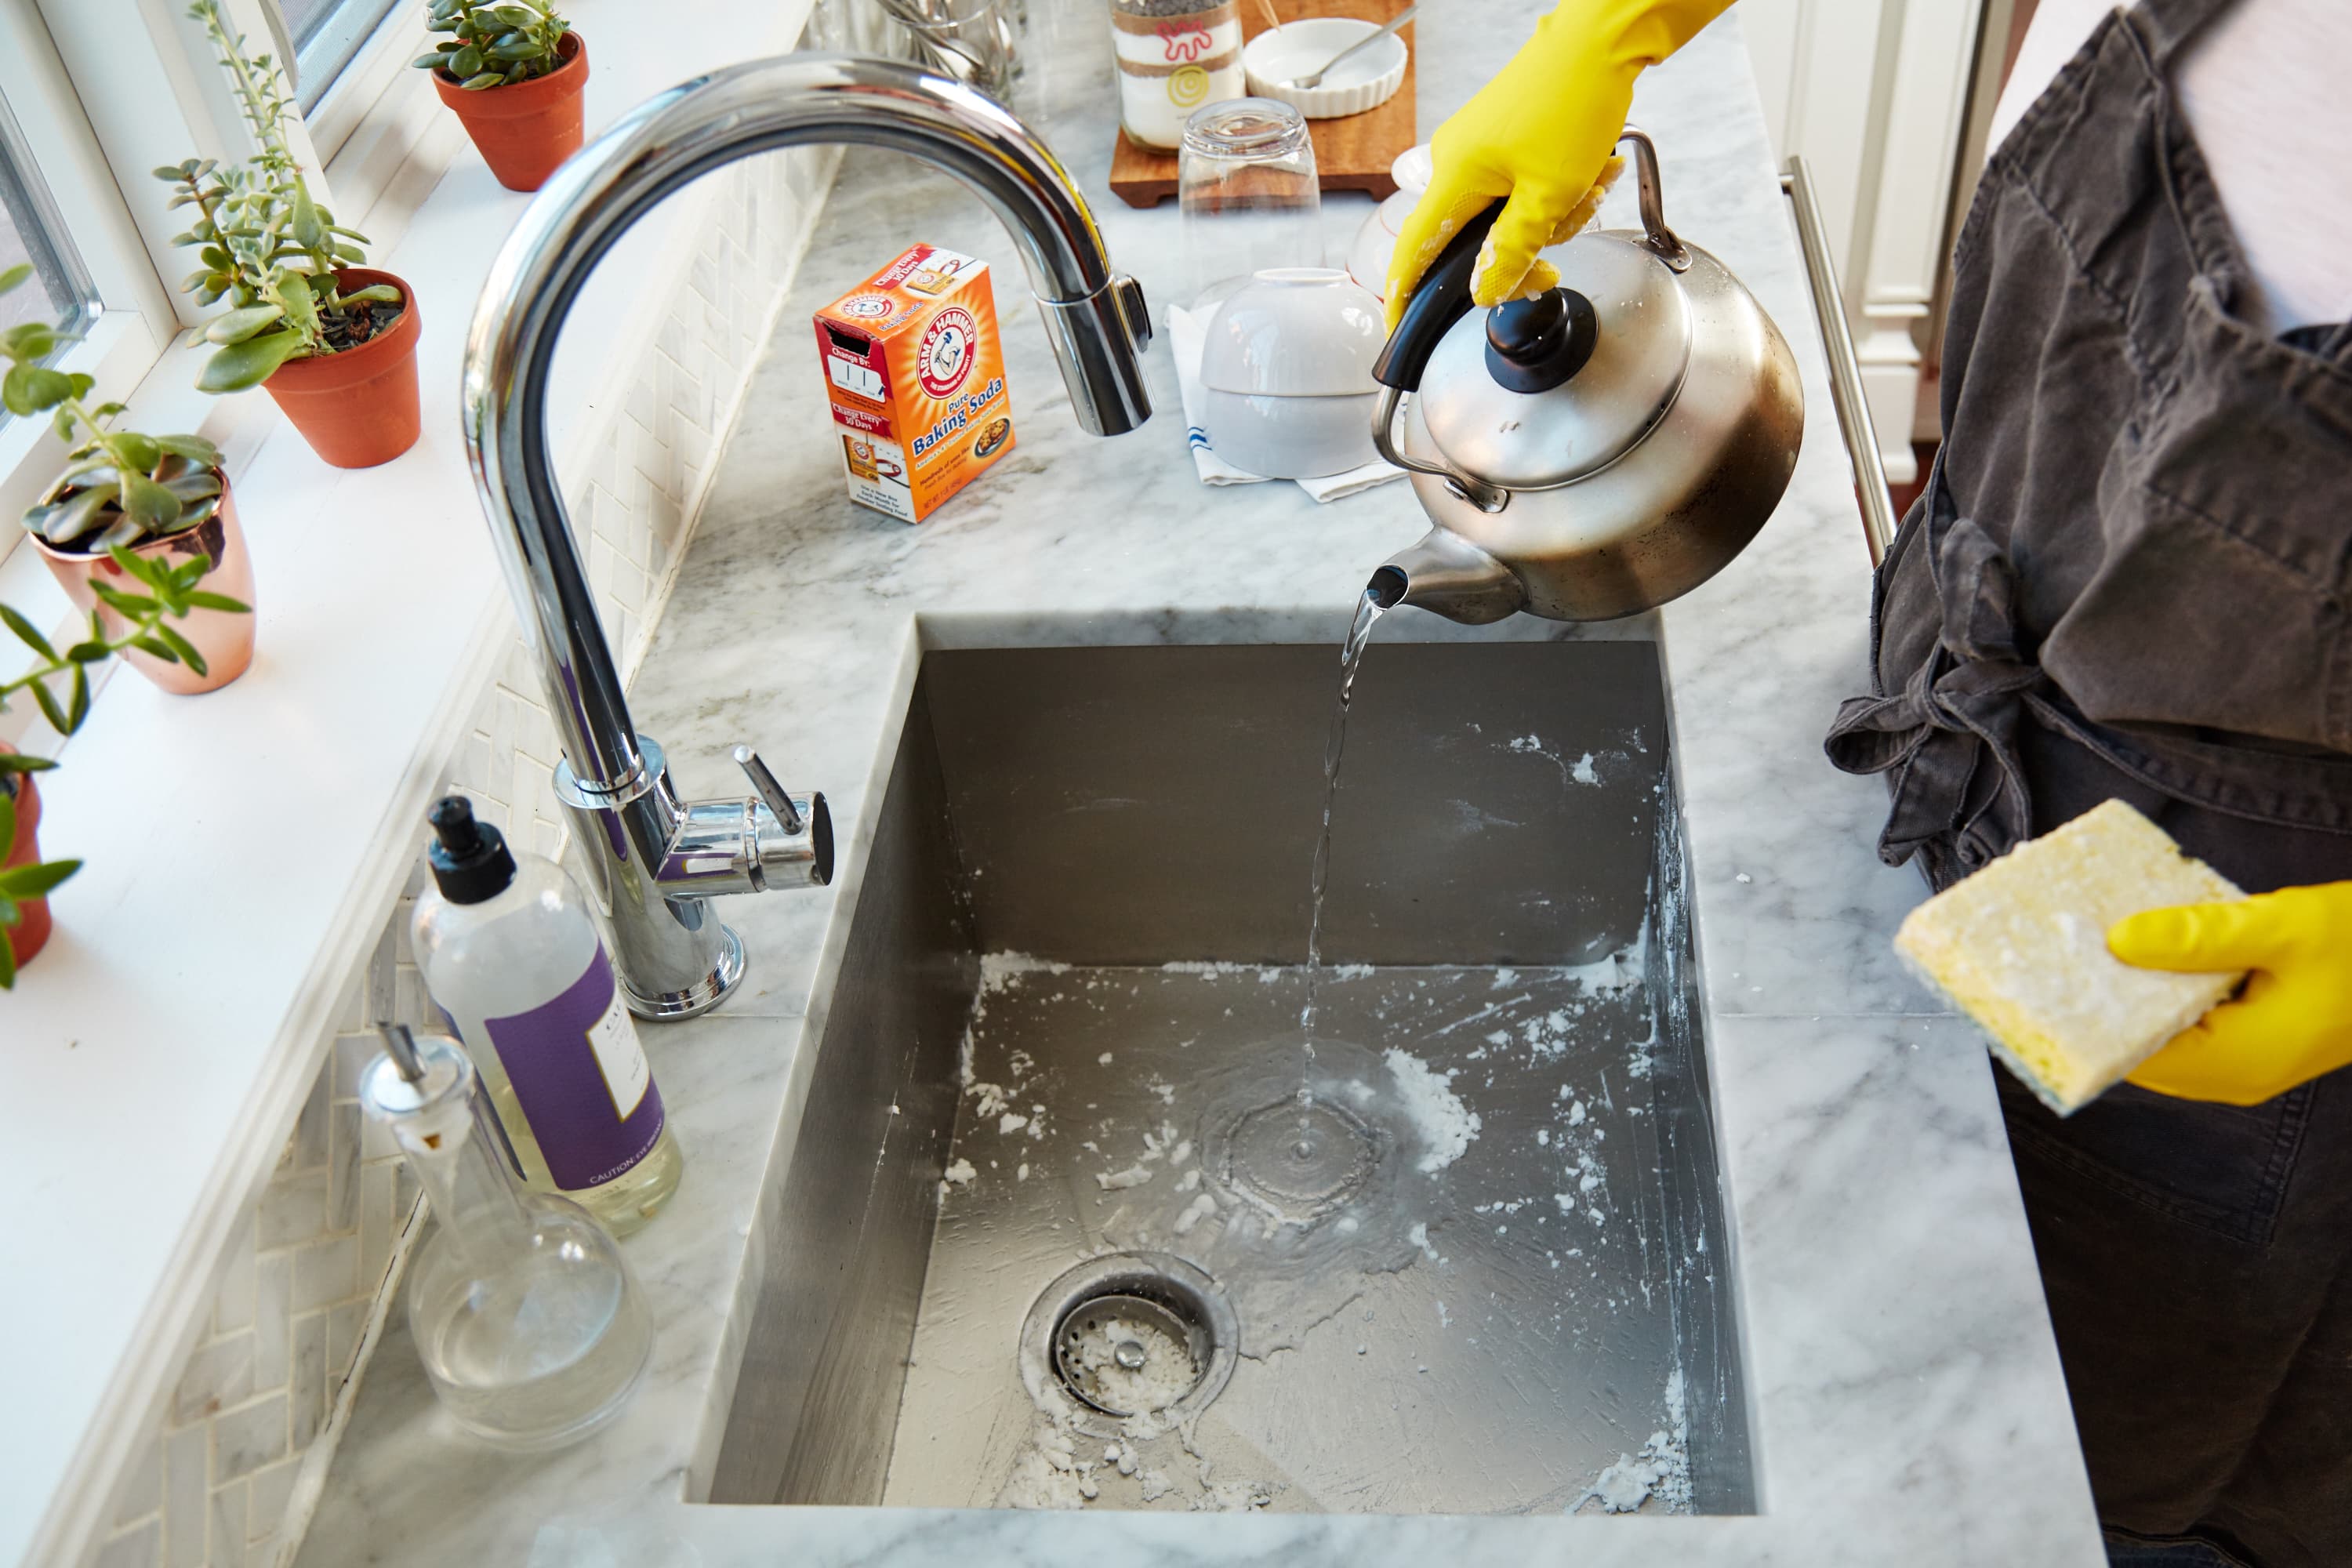
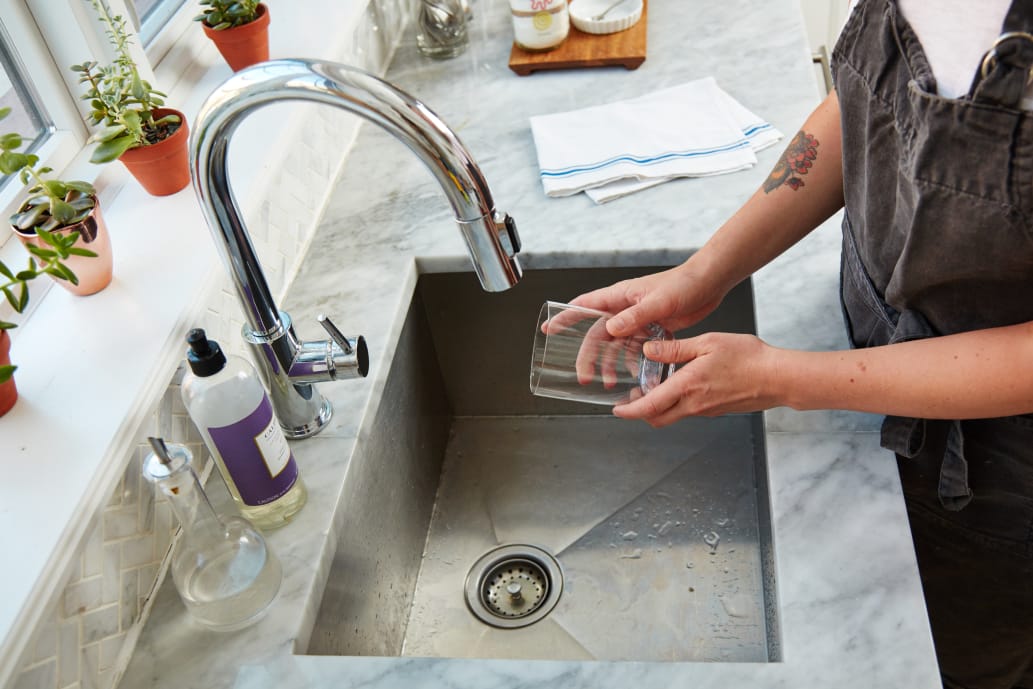
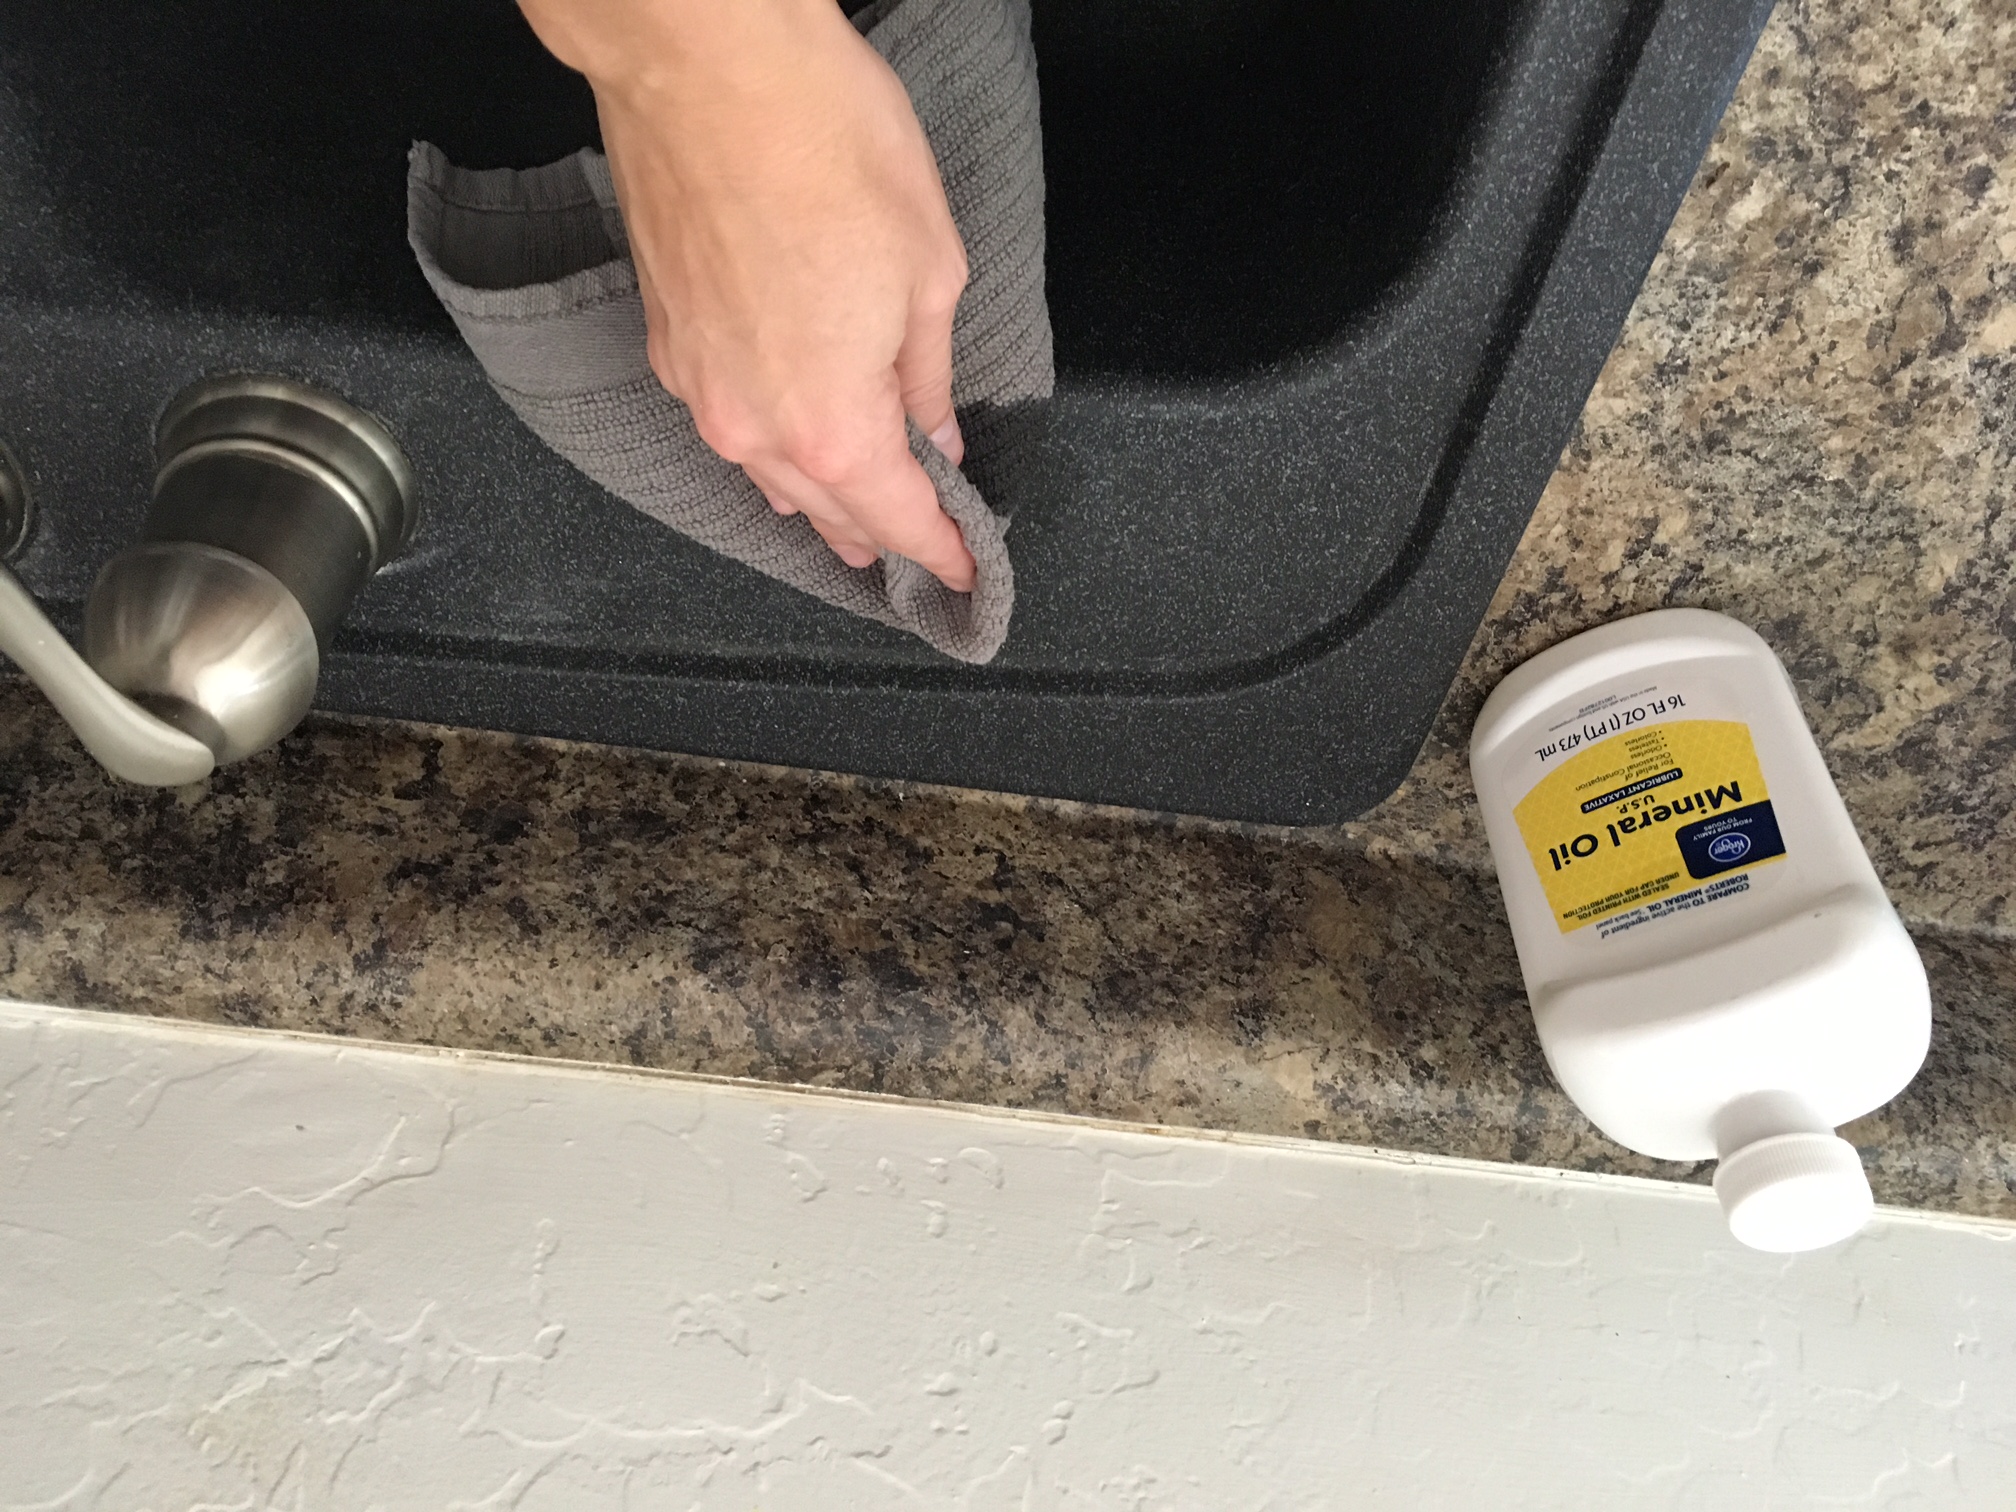
To keep your drop-in kitchen sink looking its best, it is essential to clean and maintain it regularly. Use a mild soap and warm water to clean the sink's surface, and avoid using harsh chemicals, as they can damage the sink's finish. For tougher stains, you can use a mixture of baking soda and water to scrub the sink gently. Be sure to rinse thoroughly and dry with a clean cloth to prevent water spots. With this step-by-step guide and helpful tips, you can easily install and maintain a drop-in kitchen sink on your own. Remember to choose a sink that fits your needs and style, and don't be afraid to ask for help if you need it. With a little bit of effort, you can have a beautiful and functional kitchen sink that will last for years to come.How to Clean and Maintain a Drop-In Kitchen Sink
The Benefits of Installing a DIY Drop-In Kitchen Sink
Enhanced Aesthetic Appeal
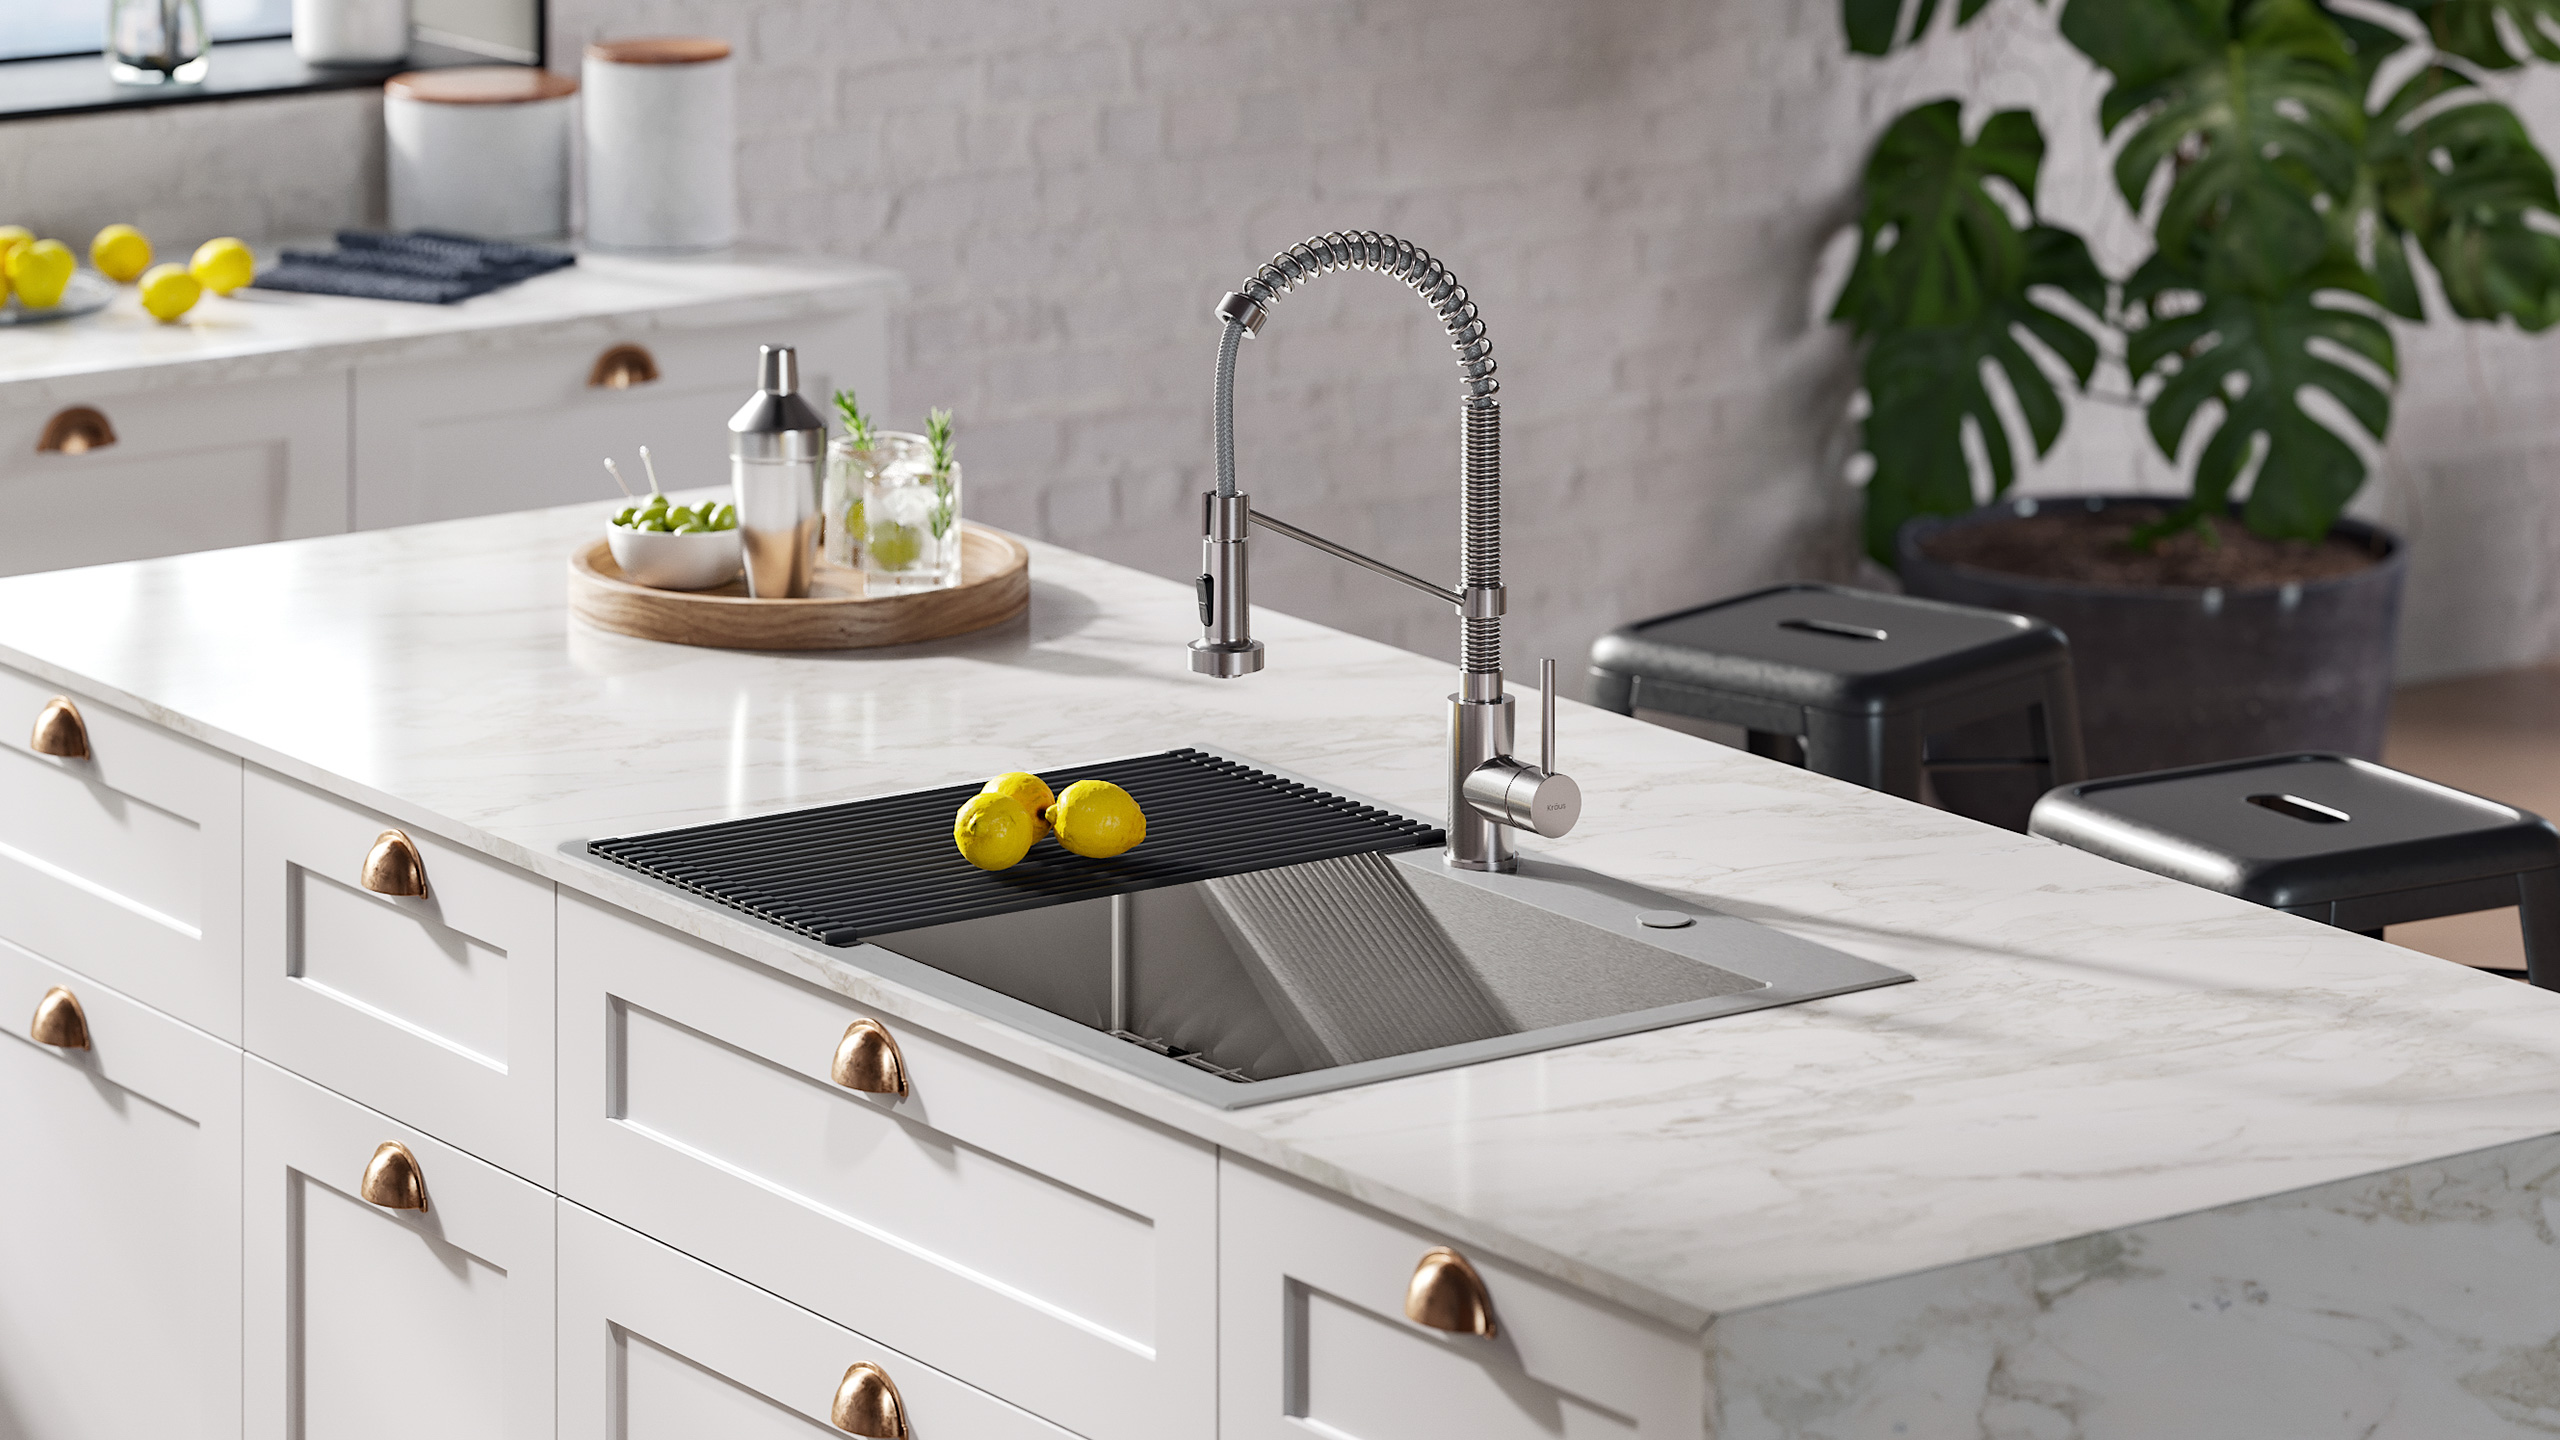
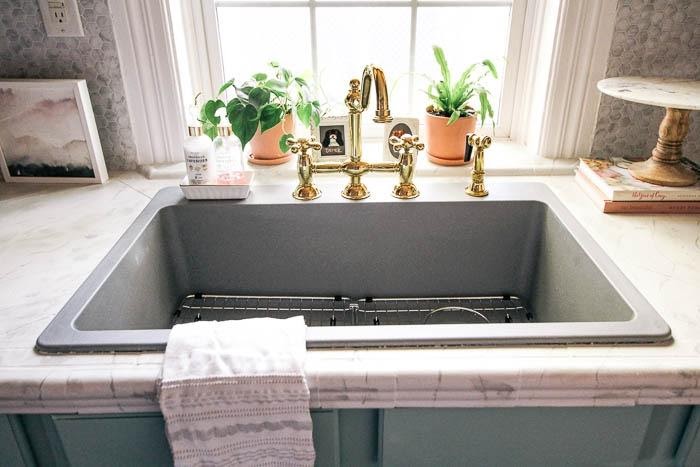
 One of the main reasons why homeowners opt for a DIY drop-in kitchen sink is its ability to enhance the overall aesthetic appeal of their kitchen. These sinks sit on top of the countertop, making them a focal point of the kitchen. With various styles, sizes, and materials to choose from, homeowners have the freedom to select a sink that complements their kitchen design and adds a touch of elegance to the space.
Easy Installation Process
 Another benefit of a DIY drop-in kitchen sink is its easy installation process. Unlike undermount sinks that require professional installation, drop-in sinks can be easily installed by homeowners themselves. With the right tools and materials, installing a drop-in sink can be a fun and rewarding DIY project. This not only saves homeowners money but also gives them a sense of accomplishment.
Cost-Effective Option
 In addition to being easy to install, DIY drop-in kitchen sinks are also a cost-effective option. These sinks are typically less expensive than undermount sinks, making them a budget-friendly choice for homeowners looking to upgrade their kitchen without breaking the bank. Furthermore, the simple installation process means homeowners can avoid hiring a professional, further reducing costs.
Customizable Features
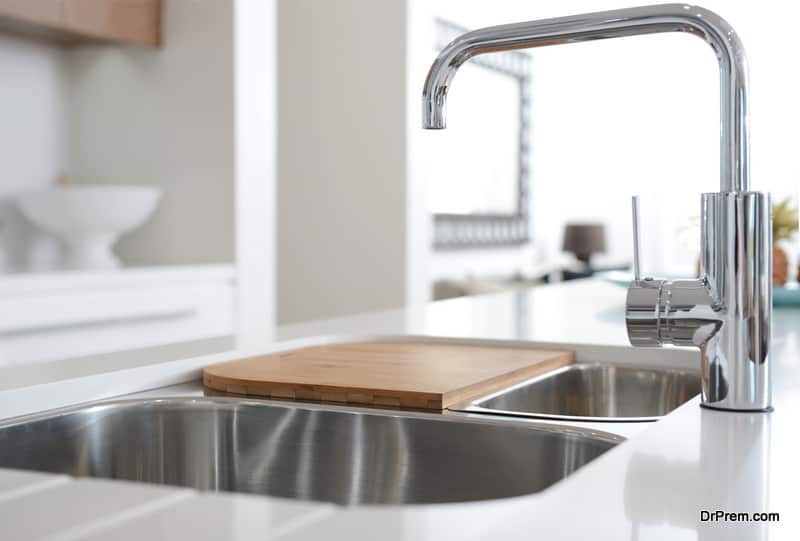
 DIY drop-in kitchen sinks offer a wide range of customizable features. From single to double bowls, different sizes and depths, to various materials such as stainless steel, granite, or porcelain, homeowners have the flexibility to choose a sink that meets their specific needs and preferences. Additionally, many drop-in sinks come with accessories such as cutting boards and colanders, adding both functionality and convenience to the kitchen.
Durable and Low Maintenance
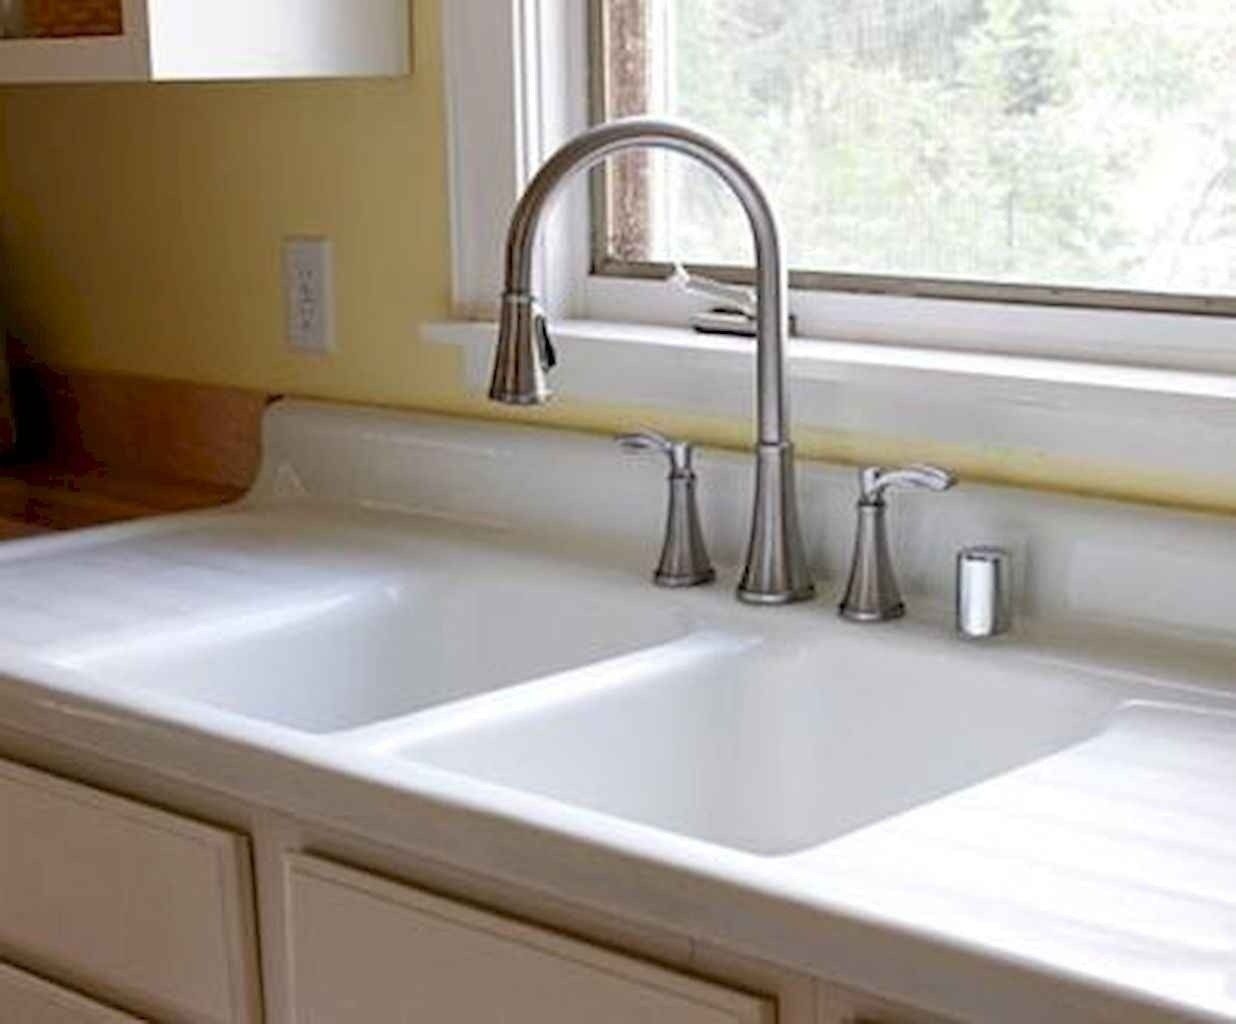 Finally, DIY drop-in kitchen sinks are known for their durability and low maintenance. The drop-in design provides a secure fit, making these sinks less prone to cracking or chipping. They are also easy to clean and require minimal maintenance, making them a practical choice for busy homeowners.
In conclusion, a DIY drop-in kitchen sink offers numerous benefits, including enhanced aesthetic appeal, easy installation process, cost-effectiveness, customizable features, and durability. With its versatile design and wide range of options, a drop-in sink is a great choice for homeowners looking to upgrade their kitchen and add a touch of style and functionality.




:no_upscale()/cdn.vox-cdn.com/uploads/chorus_asset/file/19495086/drain_0.jpg)



:no_upscale()/cdn.vox-cdn.com/uploads/chorus_asset/file/19495086/drain_0.jpg)
















:no_upscale()/cdn.vox-cdn.com/uploads/chorus_asset/file/19495086/drain_0.jpg)


