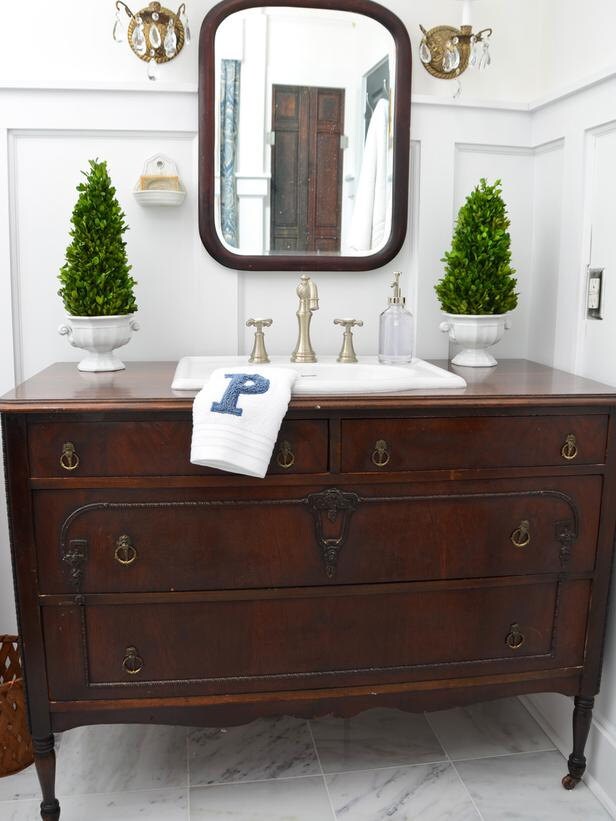
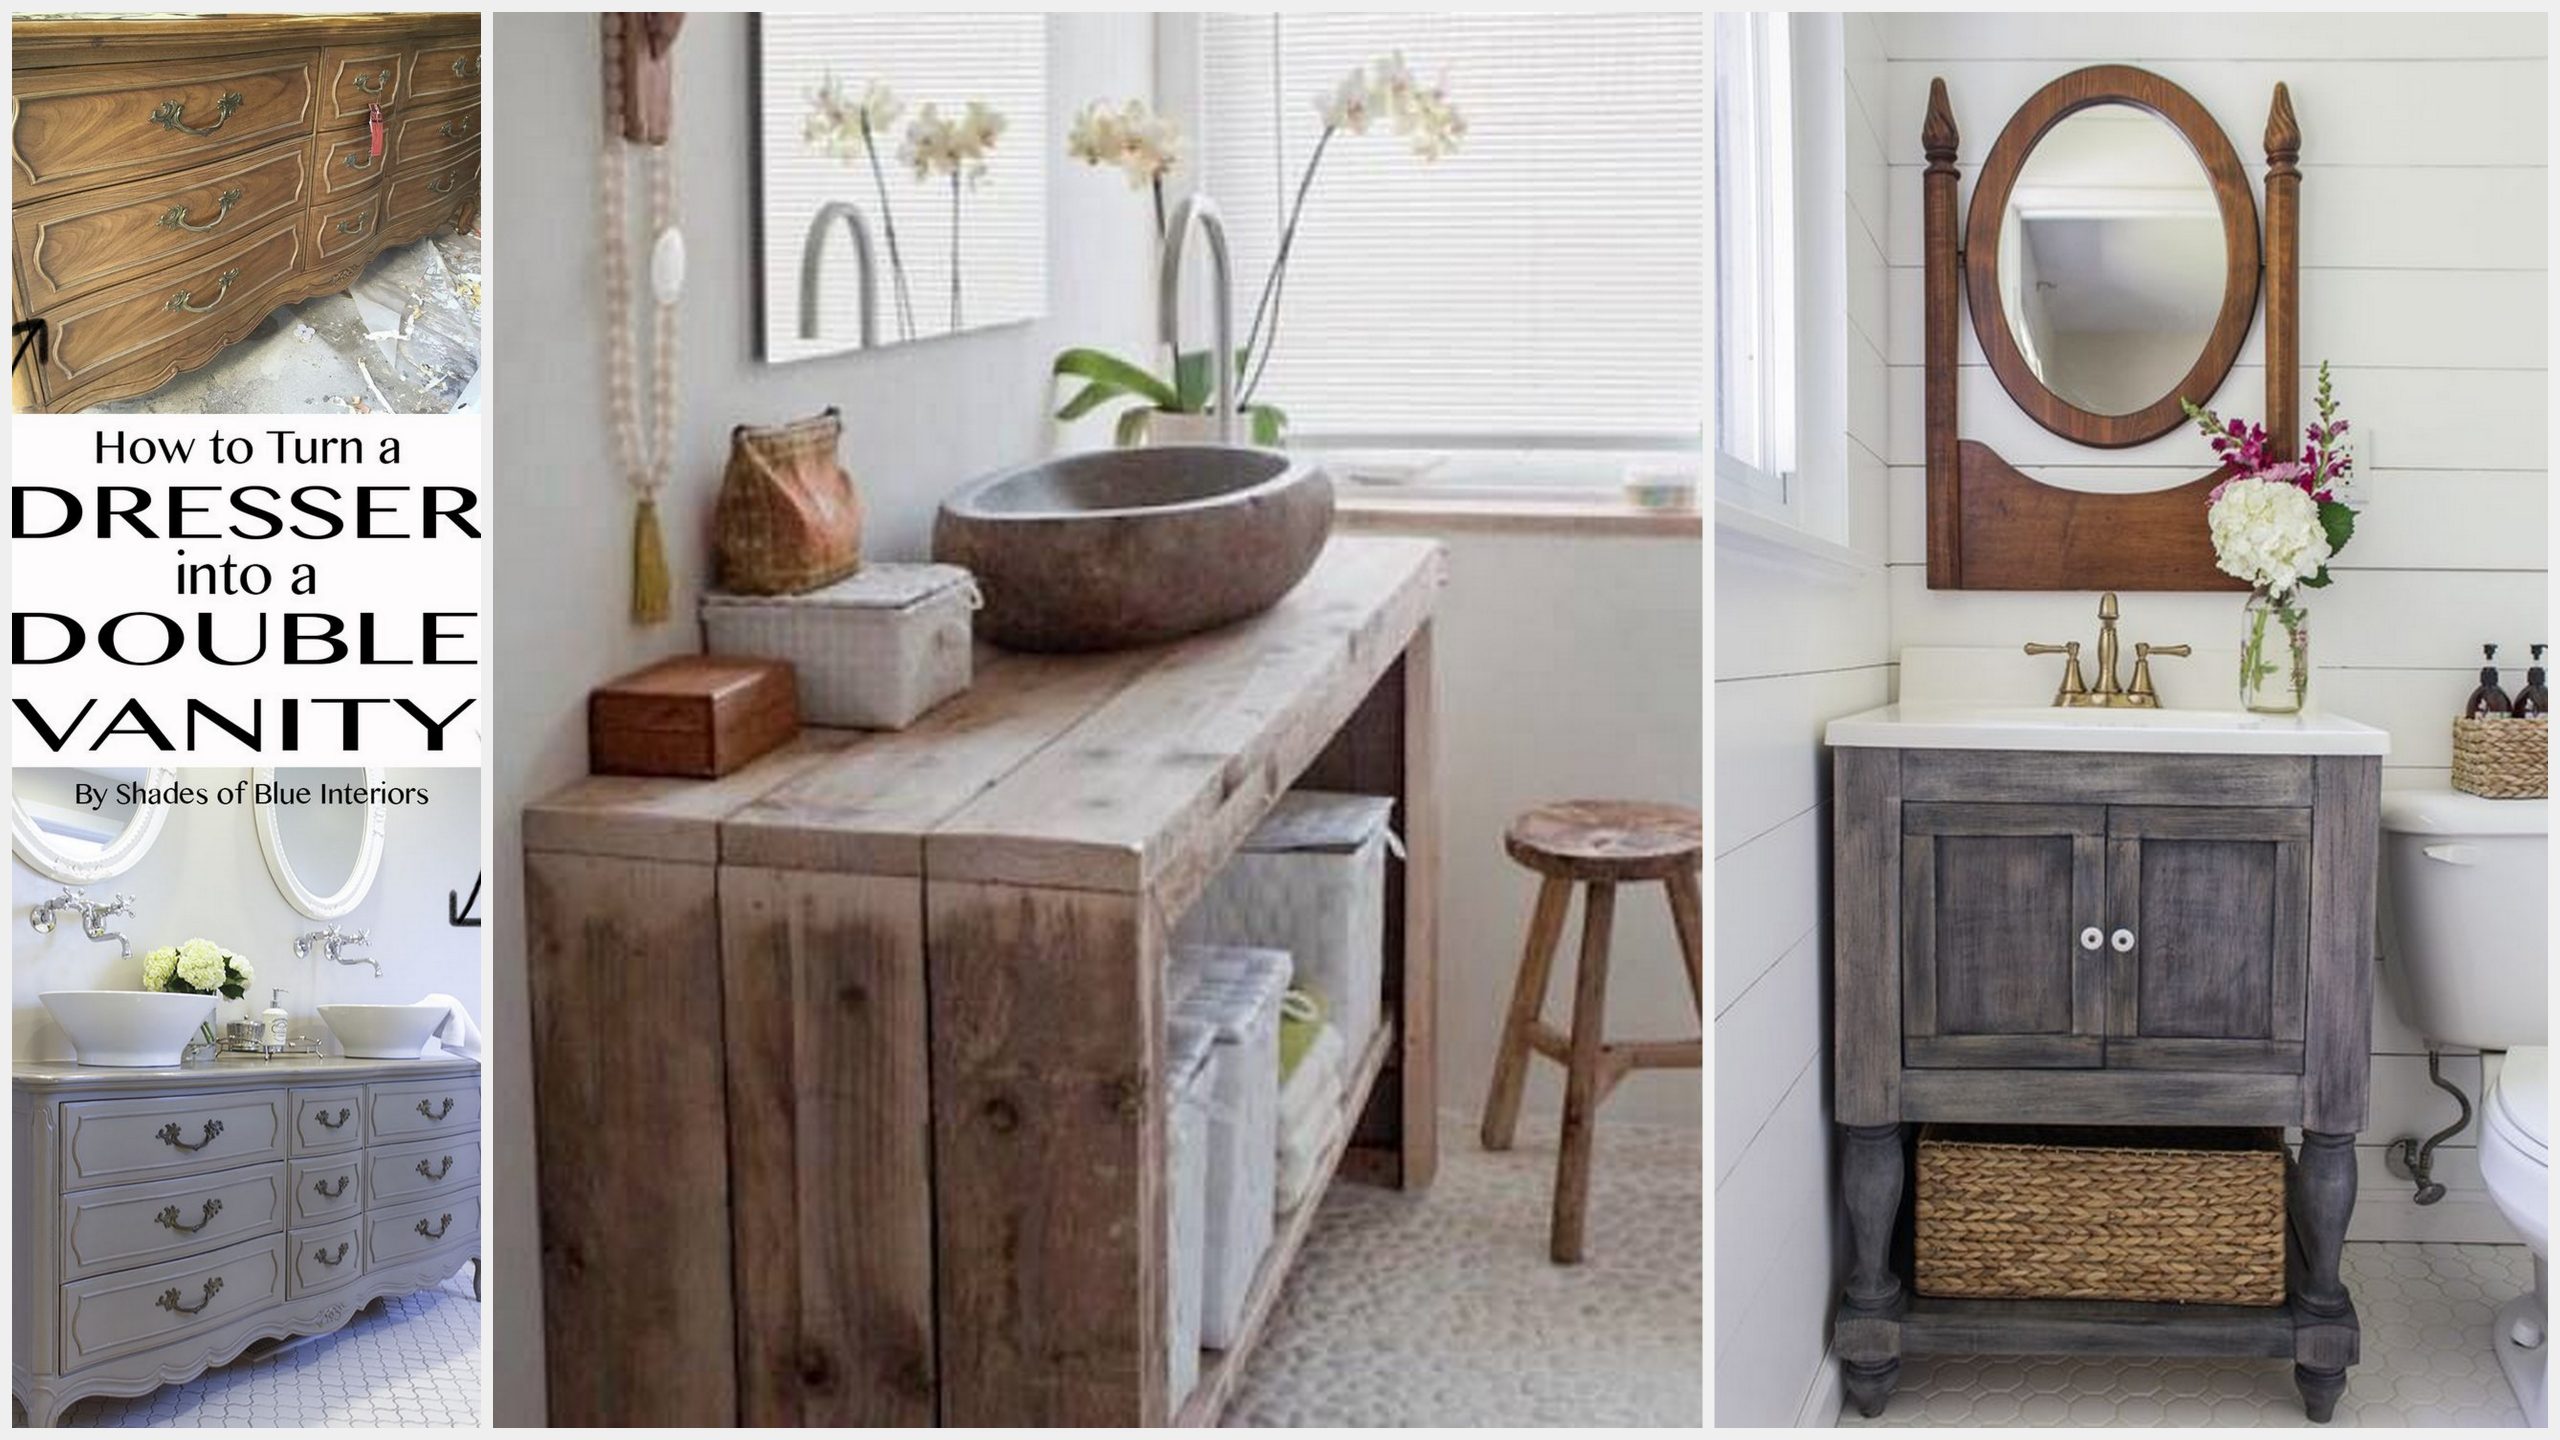
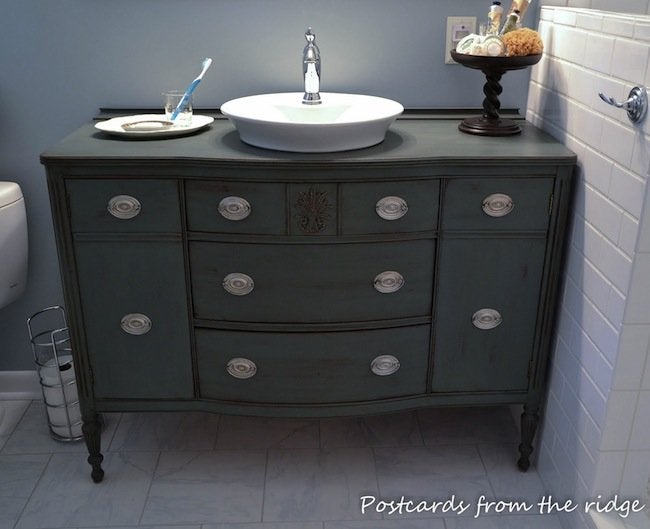
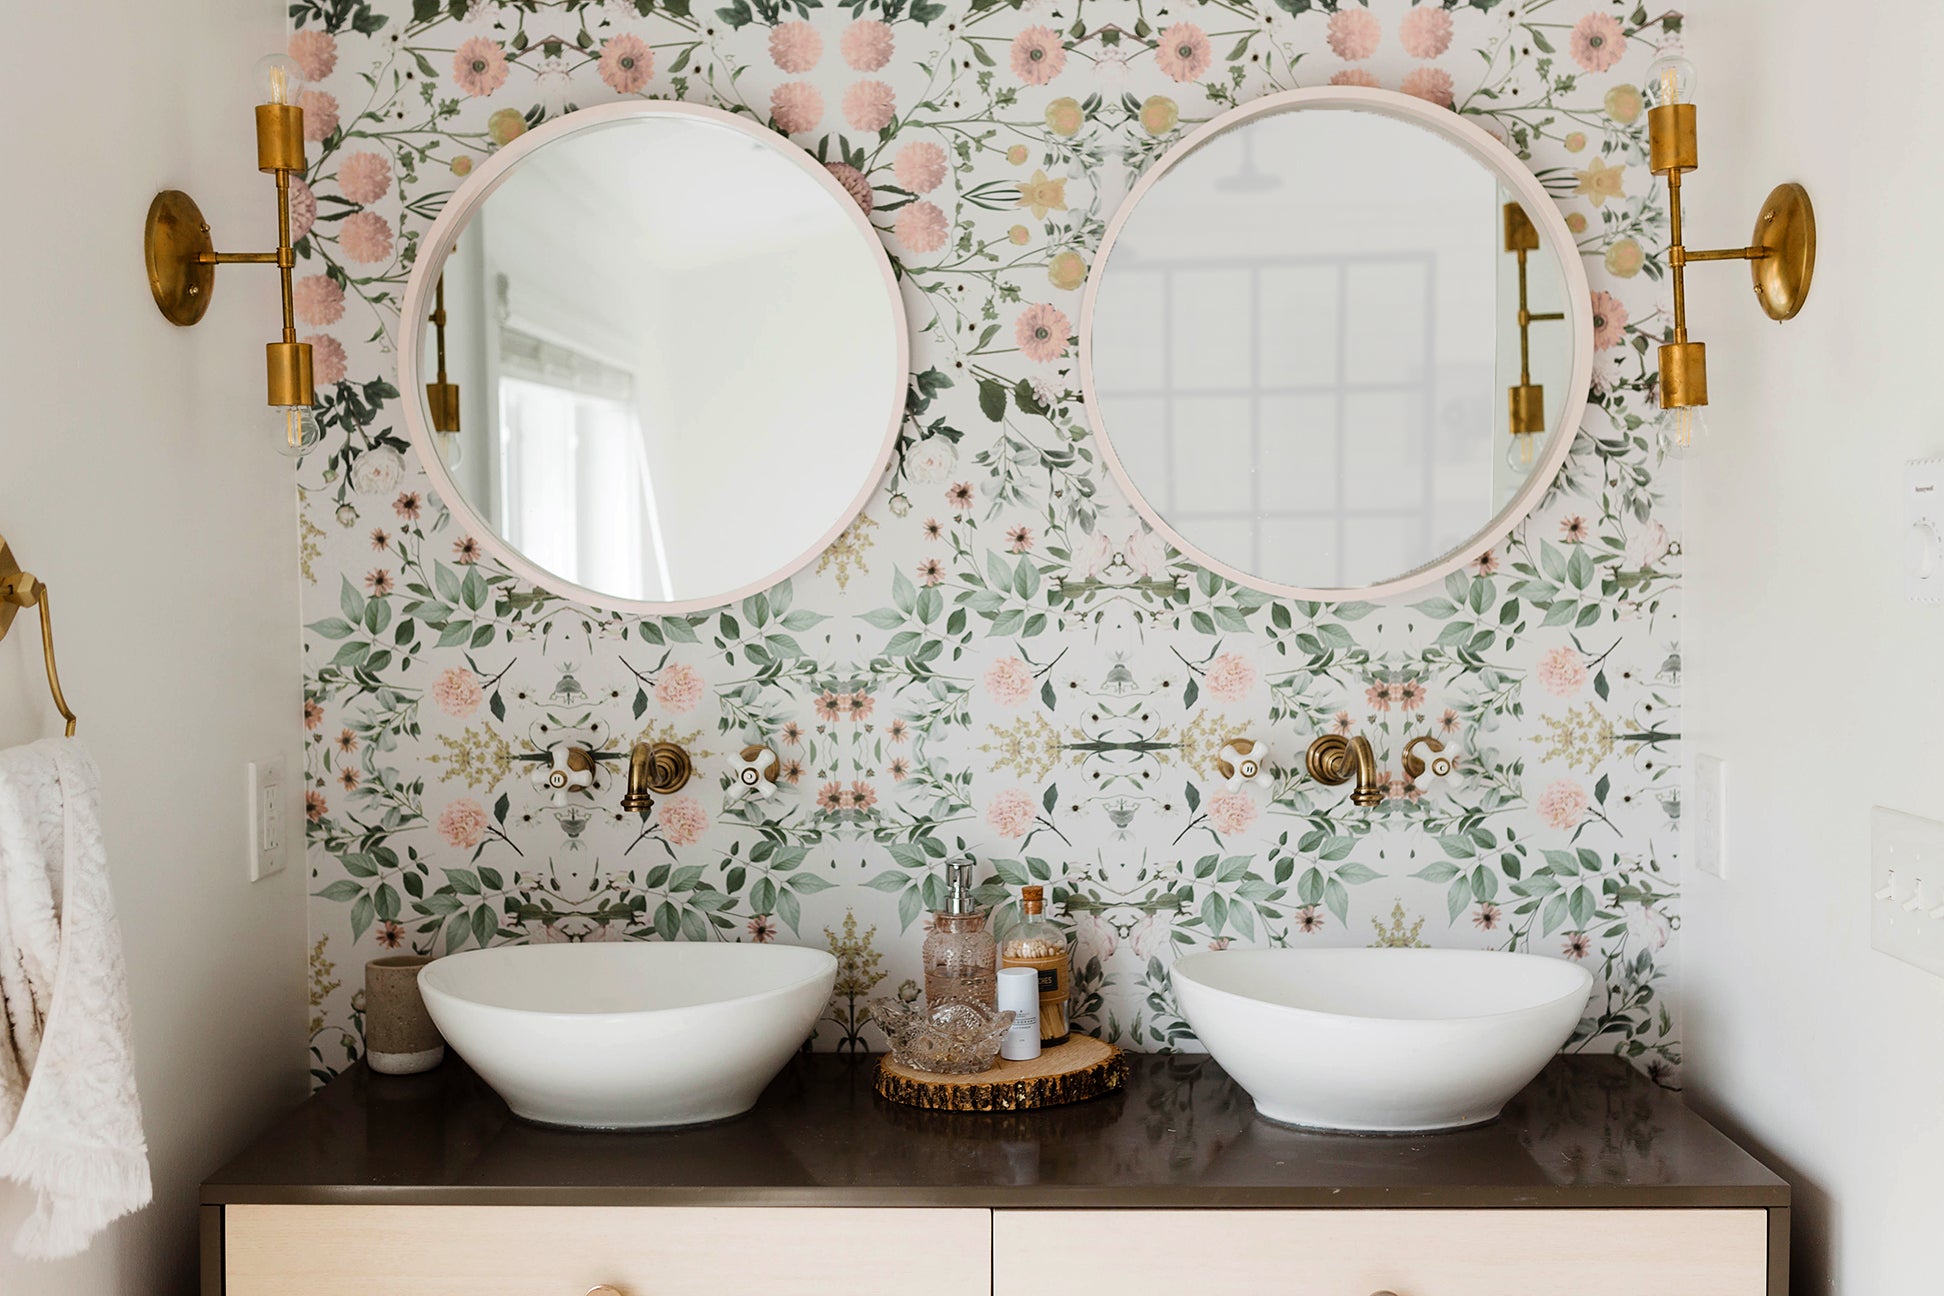
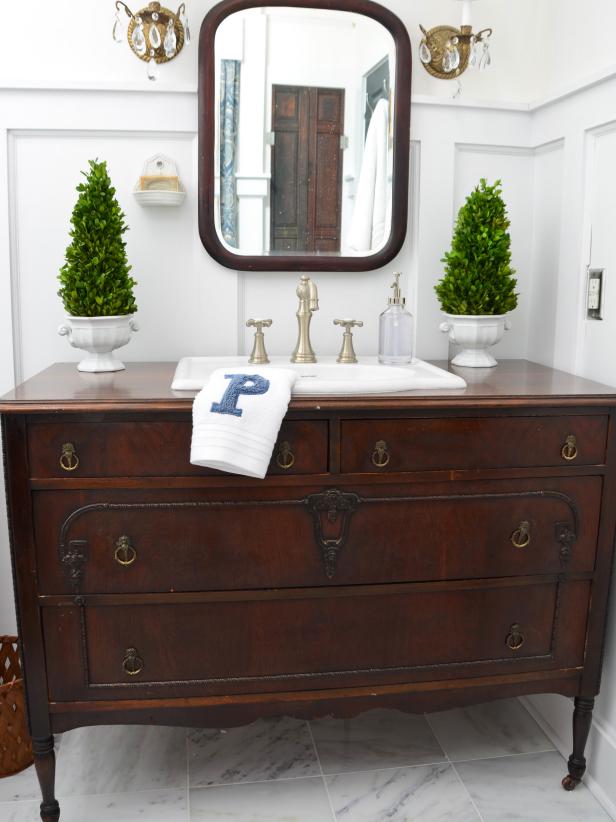
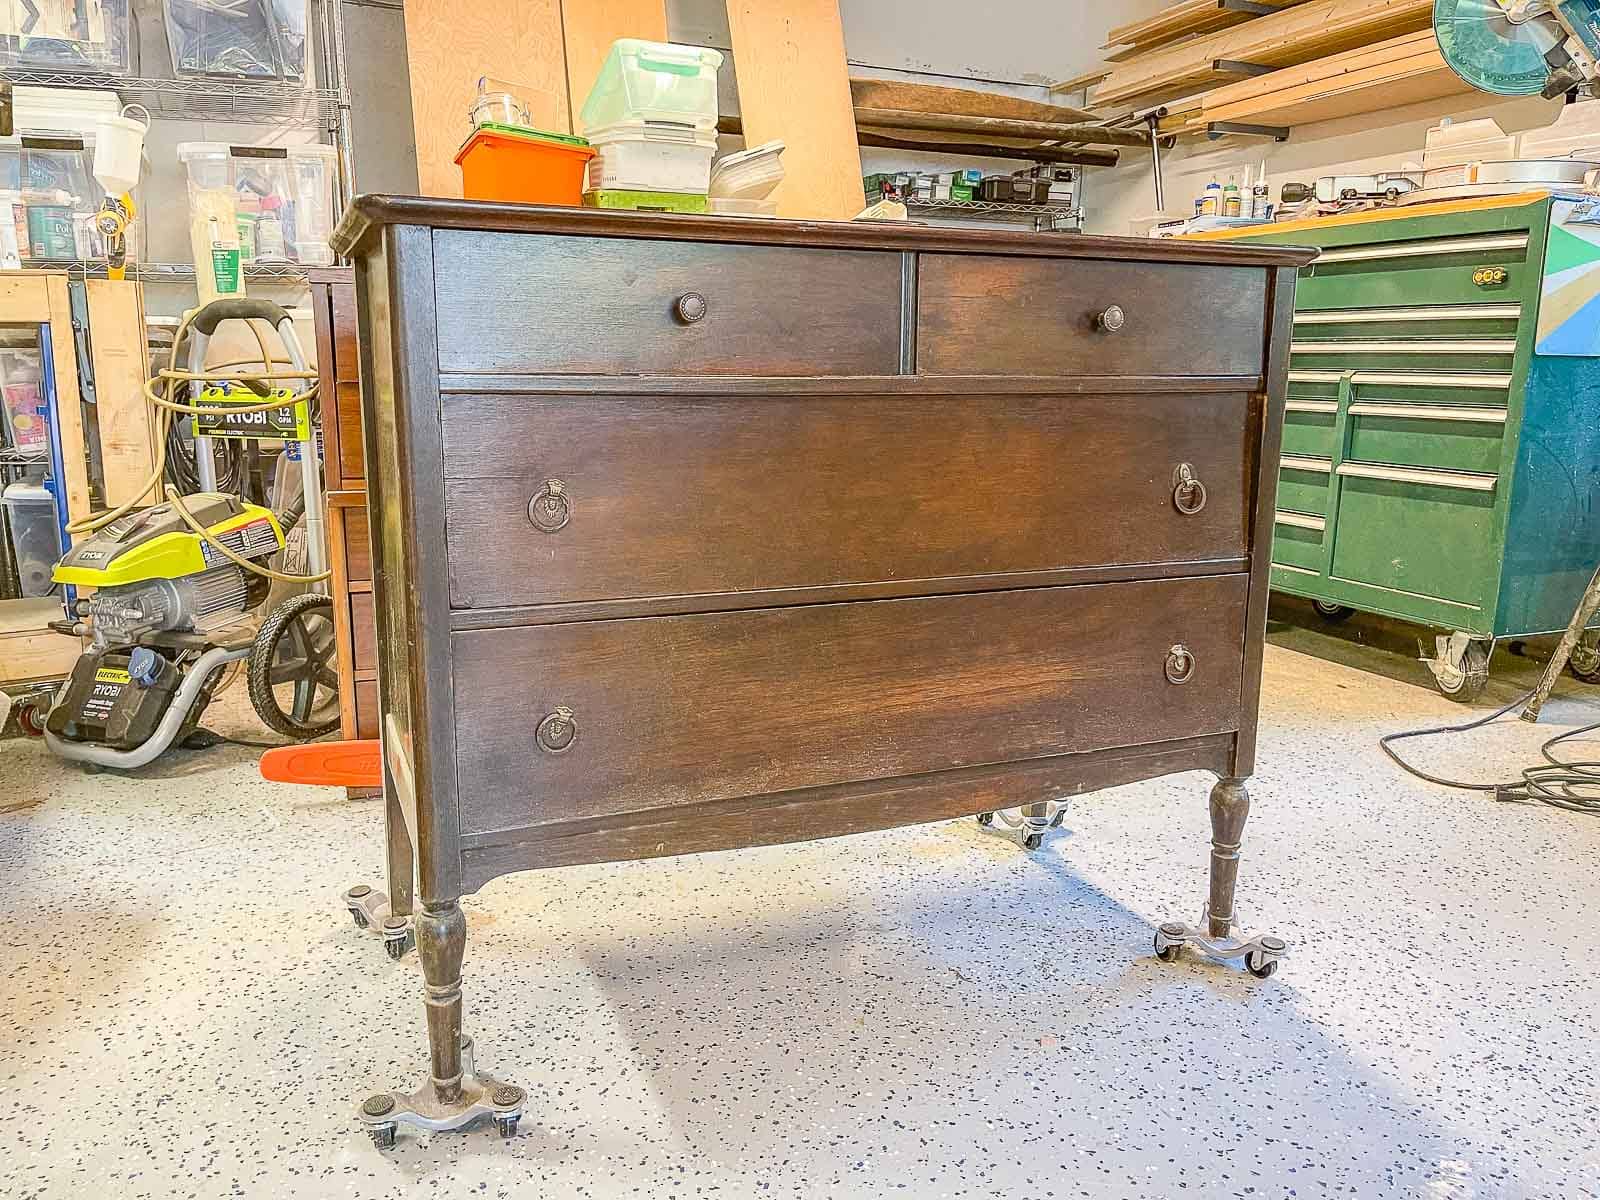
Are you looking to revamp your bathroom without breaking the bank? Look no further than your old dresser! With a little creativity and some basic tools, you can easily turn an old dresser into a unique and functional bathroom vanity. Not only is this a budget-friendly option, but it also adds a touch of character and personality to your bathroom. Follow our step-by-step guide to create your own DIY bathroom sink from an old dresser.DIY Bathroom Vanity from an Old Dresser
Transforming an old dresser into a bathroom vanity may seem like a daunting task, but it is actually quite simple. The first step is to find an old dresser that is the right size and style for your bathroom. Look for one with a sturdy structure and enough storage space for your needs. Next, you will need to remove the top of the dresser. This can usually be done by unscrewing it from the base. If the top is glued on, use a hammer and chisel to carefully separate it from the dresser. Once the top is removed, you will have an open space for your sink.How to Turn an Old Dresser into a Bathroom Vanity
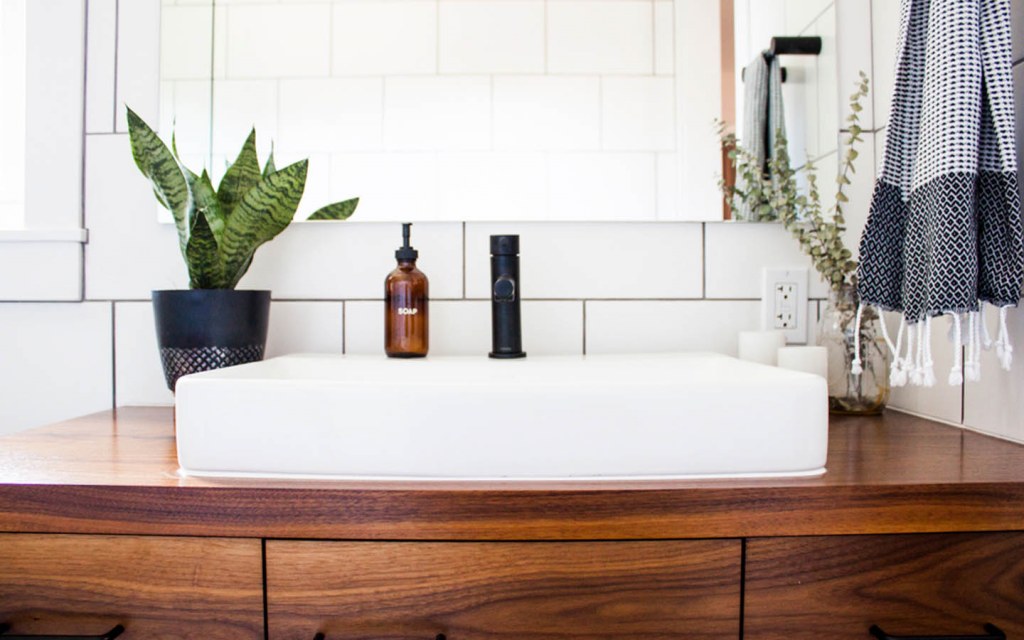
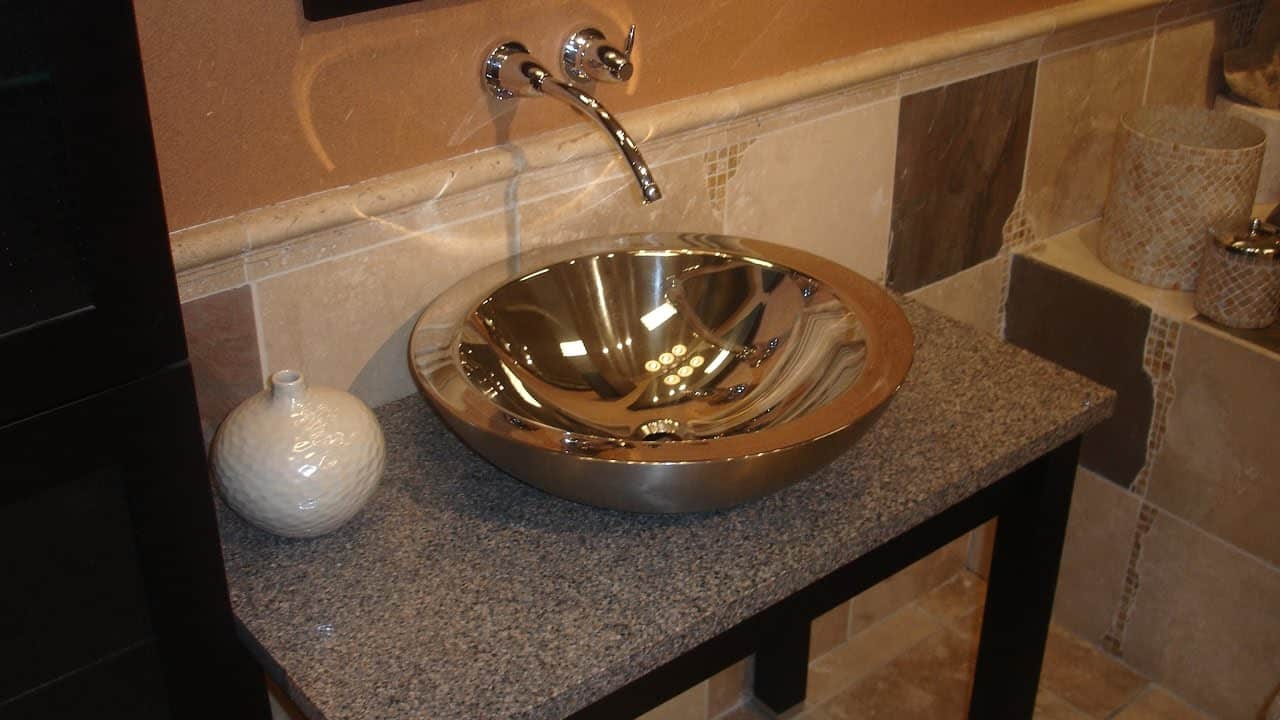
Now it's time to choose your sink. You can either repurpose an old sink or purchase a new one that fits the dimensions of your dresser. Keep in mind that a vessel sink will work best for this project as it sits on top of the dresser, rather than being mounted inside. Once you have your sink, you will need to cut a hole in the top of the dresser to fit it. Measure and mark the hole, then use a jigsaw to carefully cut it out. Make sure the hole is slightly smaller than the sink so that it can rest comfortably on top.Repurposed Dresser Bathroom Sink
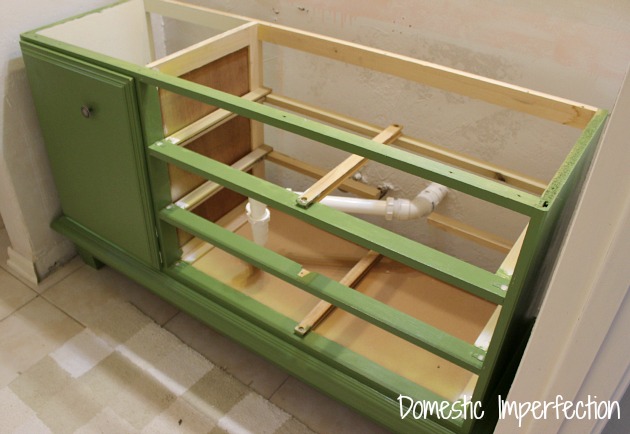
With the sink in place, it's time to convert the dresser into a vanity. If your dresser has drawers, you may need to remove some or all of them to make room for the plumbing. You can either leave the front of the drawers on for a decorative touch, or replace them with false fronts for a cleaner look. Next, you will need to make space for the plumbing pipes to fit through the back of the dresser. Measure and cut a hole in the back panel, making sure it is large enough for the pipes to fit through. If your dresser does not have a back panel, you can use a piece of plywood to create one.DIY Dresser to Bathroom Vanity Conversion
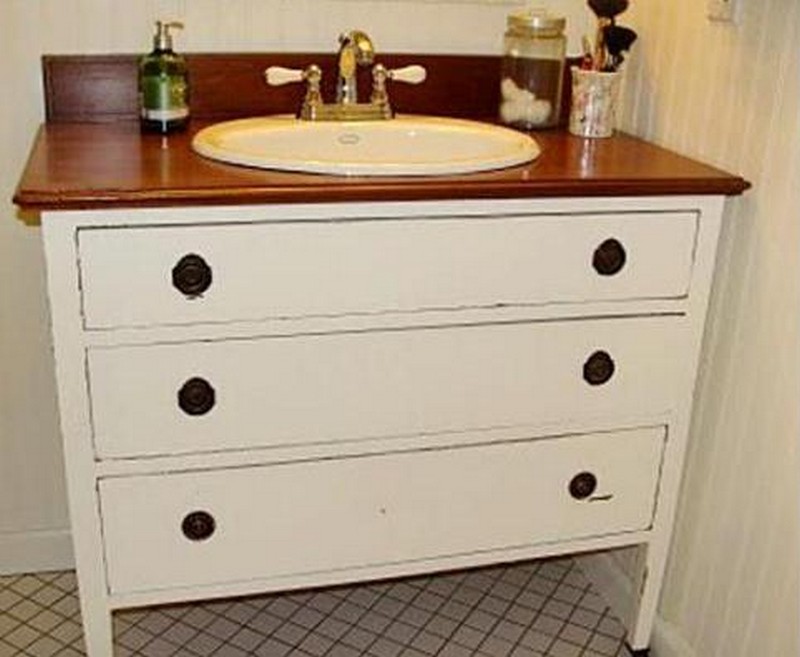
Now it's time to add the finishing touches to your DIY bathroom vanity. You can paint or stain the dresser to match your bathroom decor, or leave it as is for a rustic look. Consider adding new hardware, such as drawer pulls, to give the vanity a fresh and updated look. To complete the transformation, install the sink and connect the plumbing. If you are not comfortable with plumbing, it is best to hire a professional to ensure it is done correctly.Transforming an Old Dresser into a Bathroom Sink
Not only is this project a budget-friendly option for a bathroom remodel, but it is also an eco-friendly choice. By repurposing an old dresser, you are giving it a new life and keeping it out of the landfill. Plus, you can feel proud knowing that you created a unique and one-of-a-kind piece for your bathroom.Upcycled Dresser Bathroom Vanity
If you're feeling intimidated by this project, don't worry. We've broken it down into easy-to-follow steps to make the process as smooth as possible. Remember to take your time and be careful with power tools. Step 1: Find an old dresser that fits your bathroom and remove the top. Step 2: Choose and install a sink that fits on top of the dresser. Step 3: Cut a hole in the top of the dresser for the sink. Step 4: Create space for plumbing by removing or replacing drawers and cutting a hole in the back panel. Step 5: Paint or stain the dresser and add new hardware. Step 6: Install the sink and connect the plumbing.Step-by-Step Guide to Making a Dresser Bathroom Sink
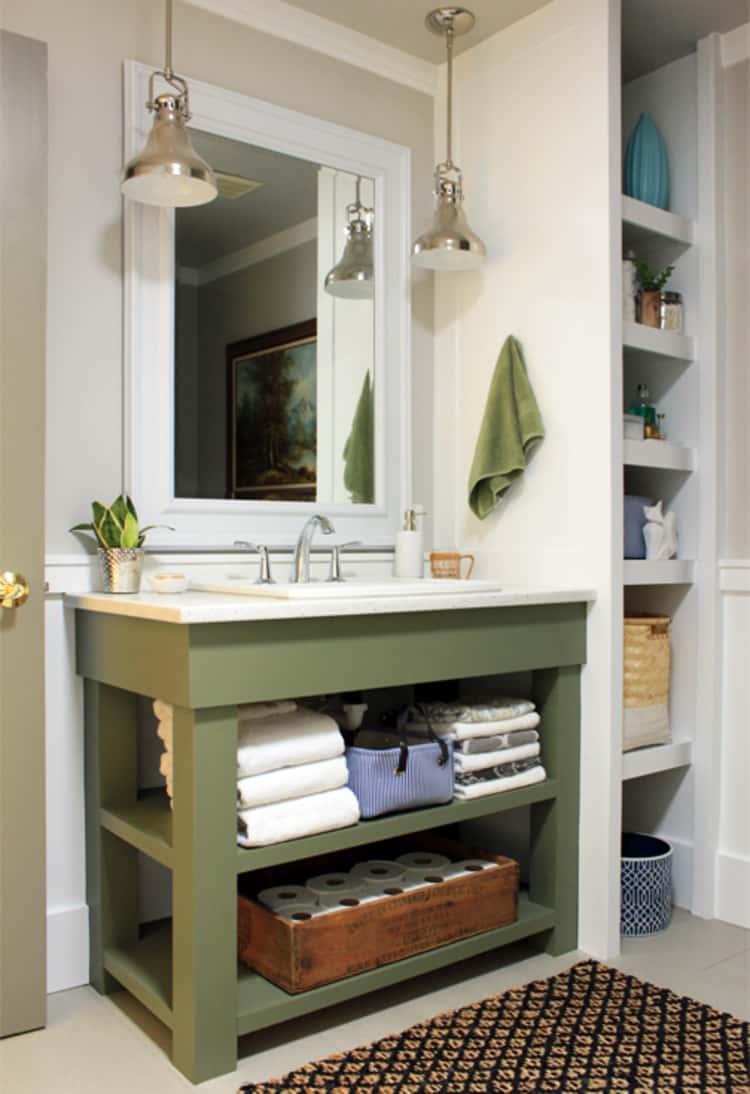
Don't limit yourself to just one dresser bathroom vanity in your home. There are many creative ways to use old dressers in your bathroom. For example, you can stack two or more dressers to create a taller vanity with more storage. You can also use just the bottom half of a dresser to create a smaller vanity or use a dresser as a storage unit for towels and toiletries.Creative Ways to Use an Old Dresser as a Bathroom Vanity
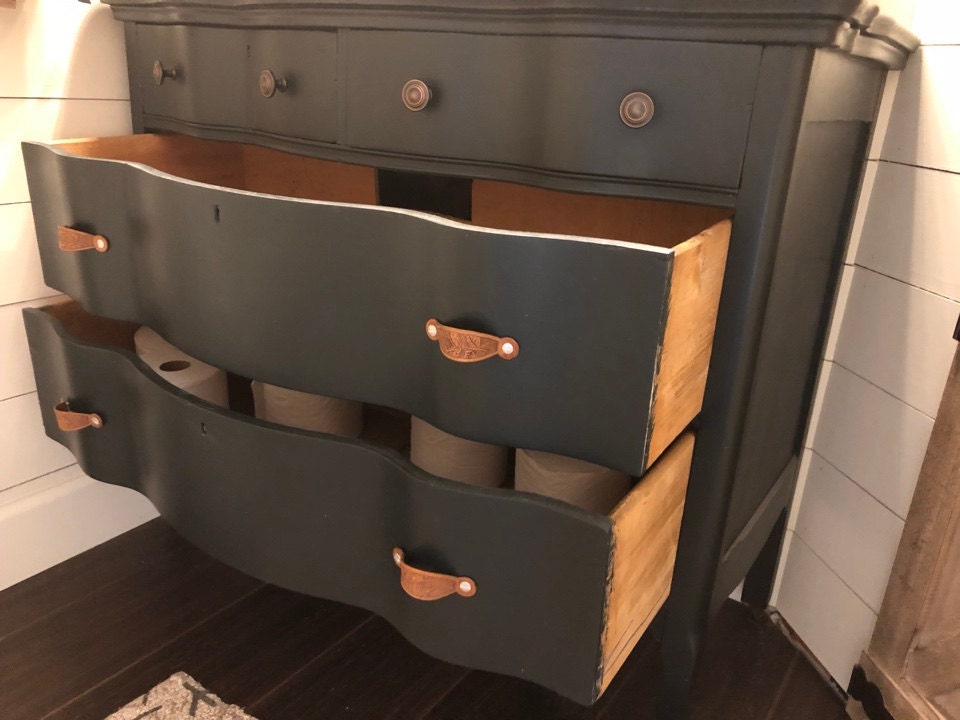
One of the great benefits of using an old dresser as a bathroom vanity is the built-in storage it provides. You can use the existing drawers for storing bathroom essentials or add shelves inside the dresser for even more storage options. This is a great way to maximize space in a small bathroom.DIY Dresser Bathroom Sink with Storage
With a little creativity and some DIY skills, you can turn an old dresser into a unique and functional bathroom vanity. Not only will it add character and charm to your bathroom, but it will also save you money and help reduce waste. Give it a try and see how you can transform an old dresser into a beautiful and practical piece for your bathroom.Repurpose an Old Dresser into a Unique Bathroom Vanity
How to Transform an Old Dresser into a Stunning DIY Bathroom Sink

The Perfect Solution for a Unique and Budget-Friendly Bathroom Upgrade
 Are you tired of the same old bathroom design and looking for a cost-effective way to give it a fresh look? Look no further than your old dresser! With a little creativity and some basic tools, you can easily transform an old dresser into a stylish and functional bathroom sink. Not only will this add a unique touch to your bathroom, but it will also save you a significant amount of money compared to buying a new sink. Keep reading to learn how to turn your old dresser into a one-of-a-kind DIY bathroom sink.
Step 1: Choose the Right Dresser
When selecting a dresser for this project, it is essential to consider its size and design. You want a dresser that is the right height and width to fit in your bathroom space. It should also have a sturdy structure and enough drawers to accommodate the plumbing for your sink. Additionally, the style of the dresser should complement your bathroom design. Whether you prefer a vintage, rustic, or modern look, there are plenty of dresser options to choose from.
Step 2: Prep and Cut
Before you begin cutting, make sure to remove all the drawers and hardware from the dresser. Next, you will need to cut out the top of the dresser to create a hole for the sink. Measure the sink and mark the dimensions on the dresser's top. Using a jigsaw, carefully cut along the marked lines. Be sure to wear protective gear and use caution when operating power tools.
Step 3: Add Plumbing
Now that you have a hole for the sink, it's time to add the plumbing. You will need to drill holes in the back of the dresser for the water supply and drainage pipes. You can also use a hole saw to create a larger hole for the sink's drain. Once the holes are drilled, you can connect the plumbing to the sink and secure it in place.
Step 4: Finishing Touches
With the plumbing in place, it's time to add the finishing touches to your DIY bathroom sink. You can paint or stain the dresser to match your bathroom's color scheme and add new hardware to give it a fresh look. You can also seal the top of the dresser with a waterproof sealant to ensure its durability.
Final Thoughts
Transforming an old dresser into a bathroom sink will not only add character to your bathroom but also save you money. With some creativity and basic tools, you can create a unique and budget-friendly bathroom upgrade that will impress your guests. So, don't throw away that old dresser just yet – turn it into a stunning DIY bathroom sink instead!
HTML Code:
 <h2>How to Transform an Old Dresser into a Stunning DIY Bathroom Sink</h2>
<h3>The Perfect Solution for a Unique and Budget-Friendly Bathroom Upgrade</h3>
<p>Are you tired of the same old bathroom design and looking for a cost-effective way to give it a fresh look? Look no further than your old dresser! With a little creativity and some basic tools, you can easily transform an old dresser into a stylish and functional bathroom sink. Not only will this add a unique touch to your bathroom, but it will also save you a significant amount of money compared to buying a new sink. Keep reading to learn how to turn your old dresser into a one-of-a-kind DIY bathroom sink.</p>
<b>Step 1: Choose the Right Dresser</b>
<p>When selecting a dresser for this project, it is essential to consider its size and design. You want a dresser that is the right height and width to fit in your bathroom space. It should also have a sturdy structure and enough drawers to accommodate the plumbing for your sink. Additionally, the style of the dresser should complement your bathroom design. Whether you prefer a vintage, rustic, or modern look, there are plenty of dresser options to choose from.</p>
<b>Step 2: Prep and Cut</b>
<p>Before you begin cutting, make sure to remove all the drawers and hardware from the dresser. Next, you will need to cut out the top of the dresser to create a hole for the sink. Measure the sink and mark the dimensions on the dresser's top. Using a jigsaw, carefully cut along the marked lines. Be sure to wear protective gear and use caution when operating power tools.</p>
<b>Step 3: Add Plumbing</b>
<p>Now that you have a hole for the sink, it's time to
