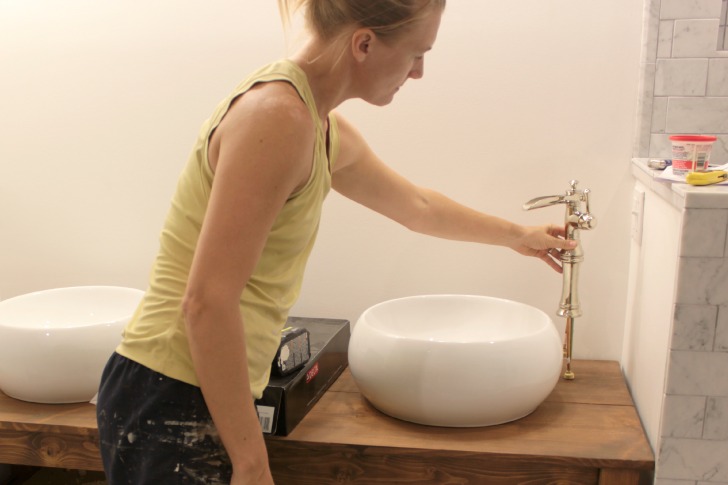
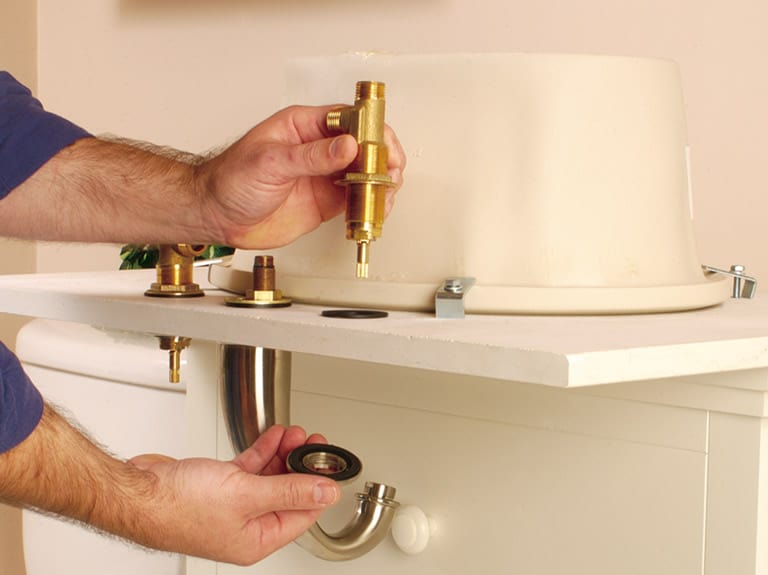
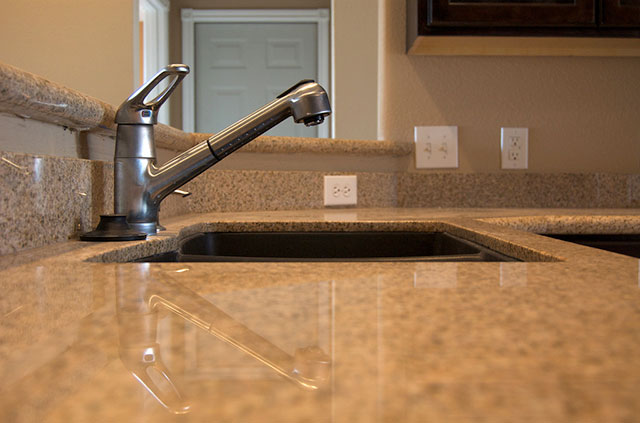
Installing a new bathroom sink faucet can seem like a daunting task, but with the right tools and a little know-how, it can be a DIY project that saves you time and money. Follow these steps to successfully install your own bathroom sink faucet. First, gather all the necessary tools and materials. This may include a basin wrench, adjustable wrench, plumber's putty, Teflon tape, and the new faucet and accompanying parts. Next, turn off the water supply to the sink by shutting off the valves under the sink or at the main water supply. Then, remove the old faucet by unscrewing the nuts and disconnecting the water supply lines. Once the old faucet is removed, clean the surface of the sink and remove any old putty or debris. Then, apply a thin layer of plumber's putty to the base of the new faucet before placing it on the sink. Secure the new faucet in place by tightening the mounting nuts underneath the sink. Connect the water supply lines to the corresponding valves and use Teflon tape to ensure a watertight seal. Turn the water supply back on and test the faucet for any leaks. DIY bathroom sink faucet installation can save you money and give you a sense of accomplishment. Just be sure to follow all safety precautions and double check your work before using the faucet.DIY Bathroom Sink Faucet Installation


DIY Bathroom Sink Faucet Installation


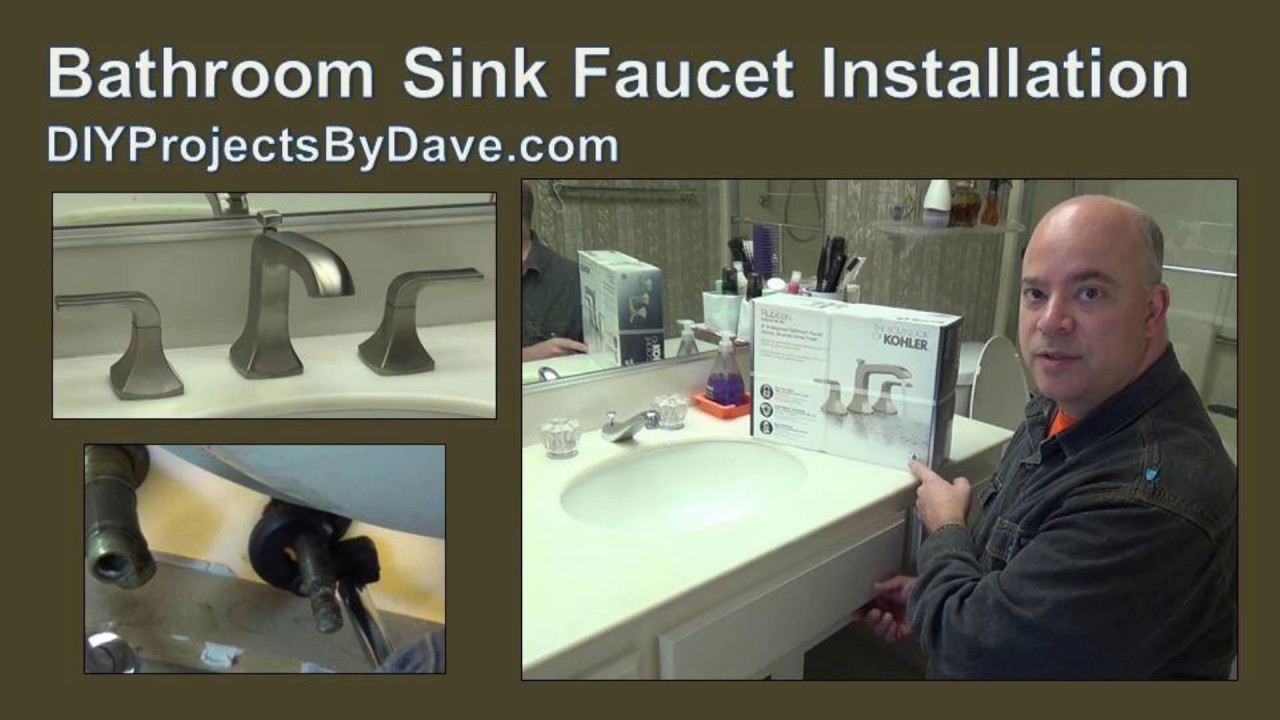
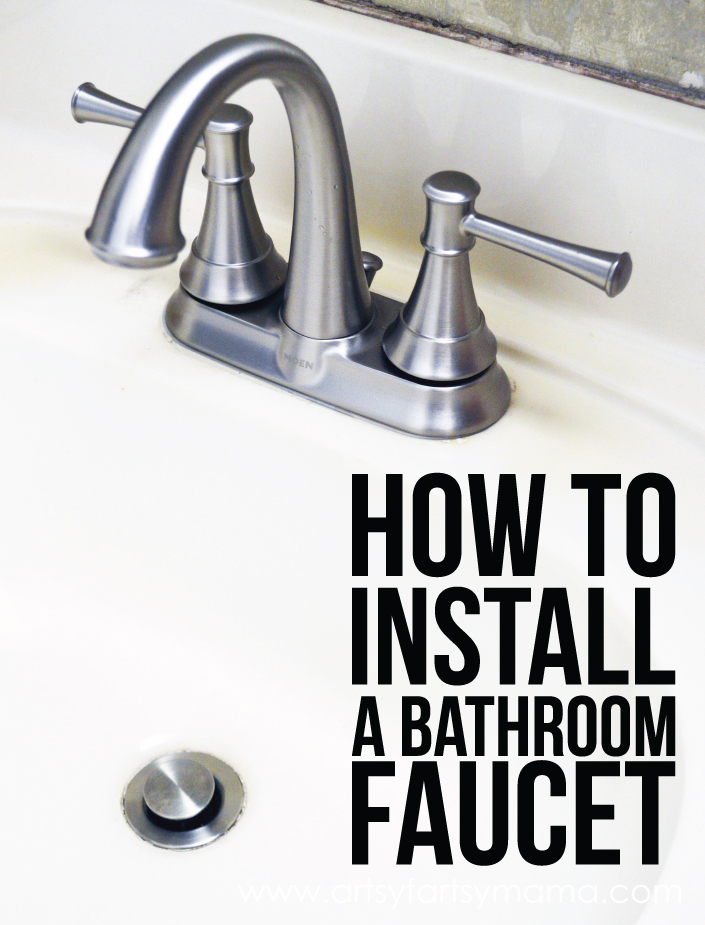
Installing a new bathroom sink faucet is a simple and cost-effective way to update the look of your bathroom. With the right tools and some basic knowledge, you can easily install a new faucet in just a few steps. The first step is to gather all the necessary tools and materials. This may include a basin wrench, adjustable wrench, plumber's putty, Teflon tape, and the new faucet and accompanying parts. Next, turn off the water supply to the sink by shutting off the valves under the sink or at the main water supply. Then, remove the old faucet by unscrewing the nuts and disconnecting the water supply lines. Clean the surface of the sink and remove any old putty or debris. Apply a thin layer of plumber's putty to the base of the new faucet and place it on the sink. Secure the faucet in place by tightening the mounting nuts underneath the sink. Connect the water supply lines to the corresponding valves and use Teflon tape to ensure a watertight seal. Turn the water supply back on and test the faucet for any leaks. If everything looks good, congratulations on successfully installing your new bathroom sink faucet!How to Install a Bathroom Sink Faucet
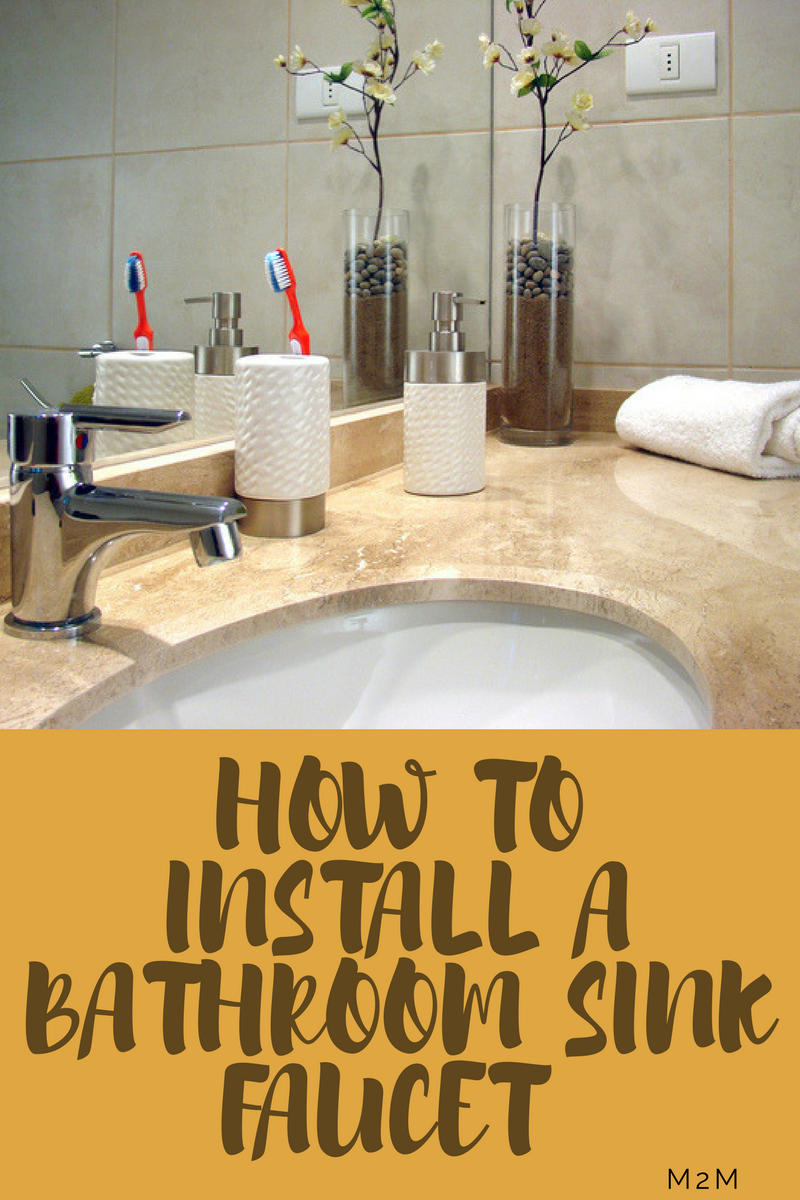


How to Install a Bathroom Sink Faucet


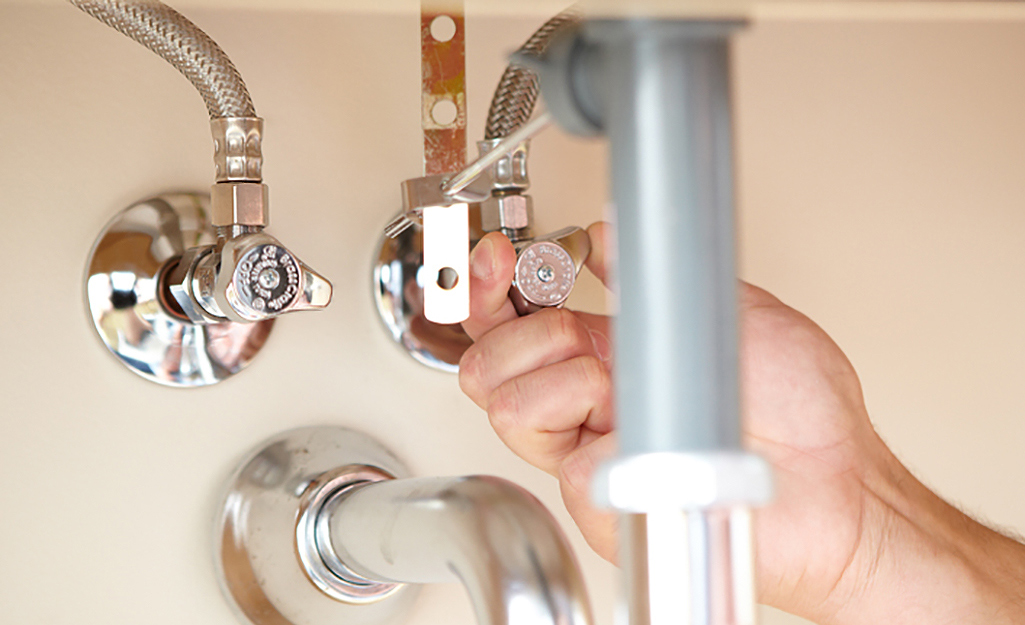
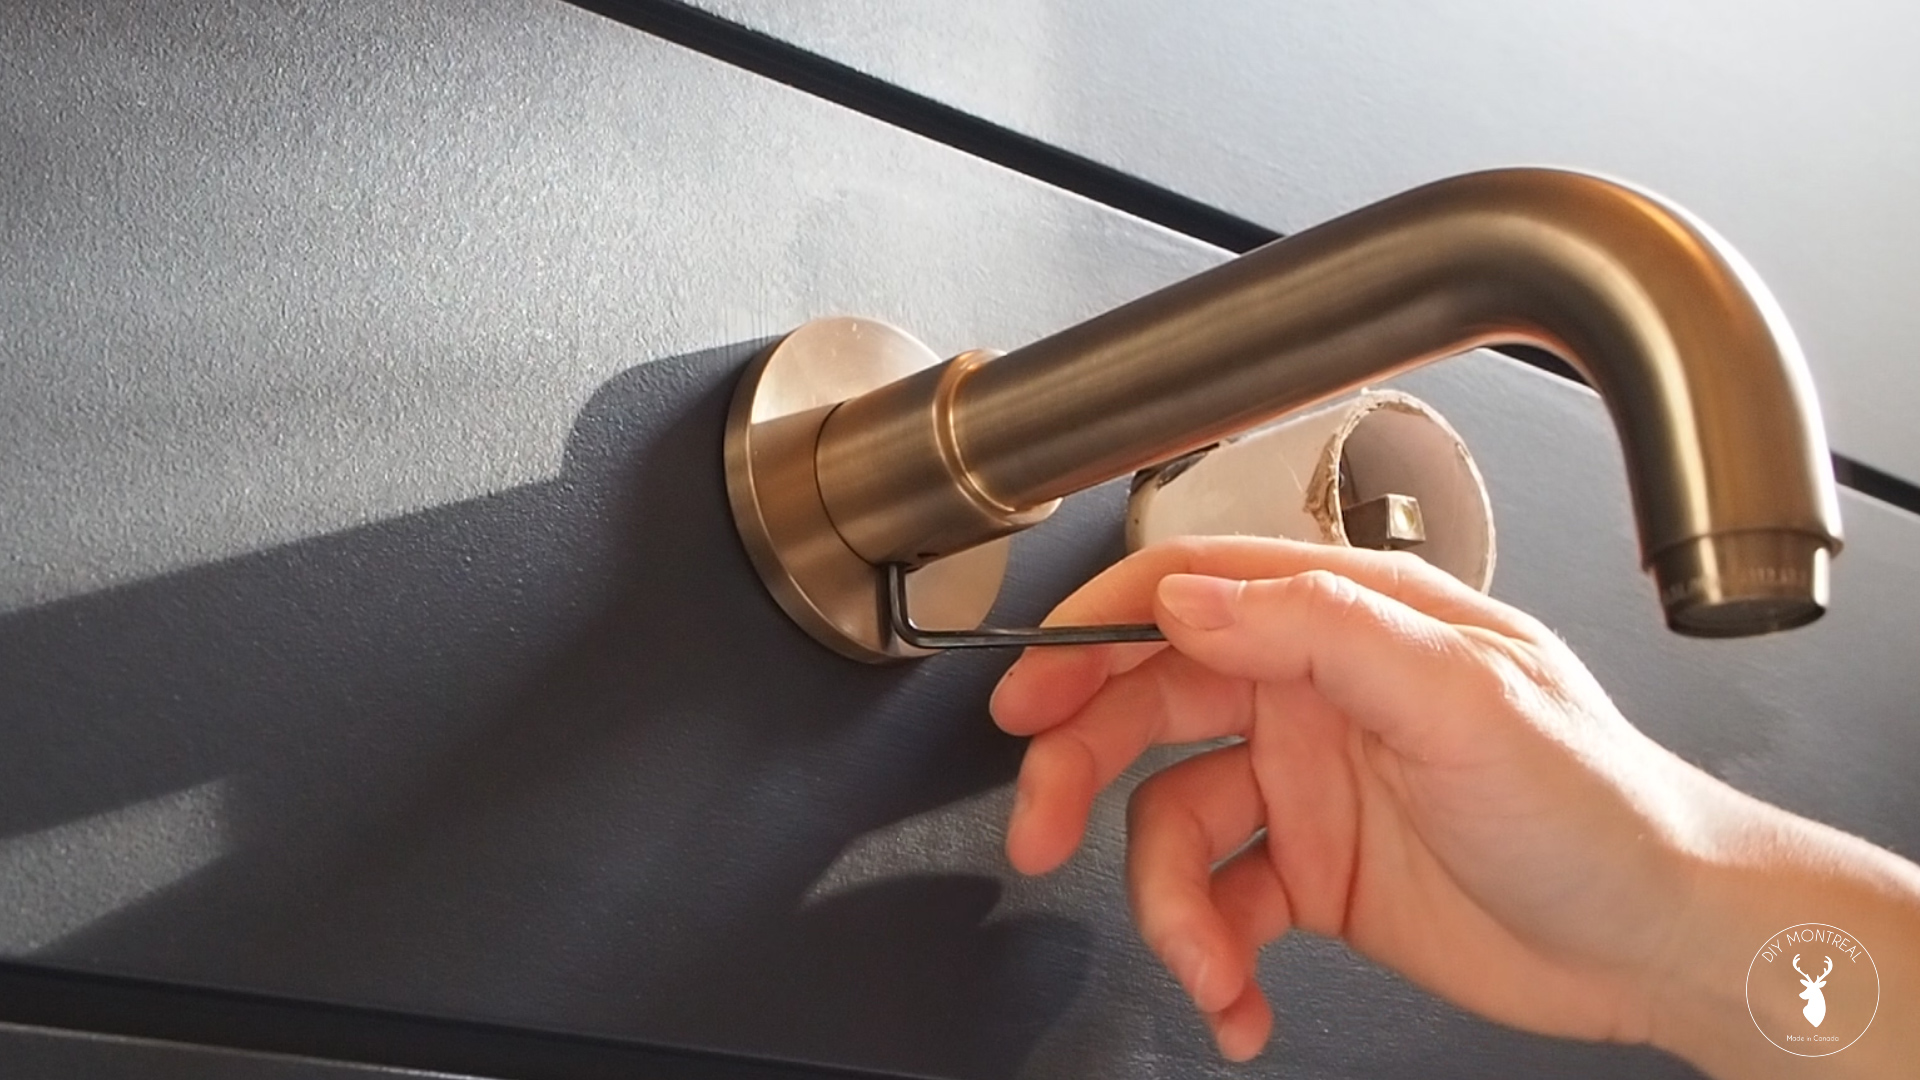
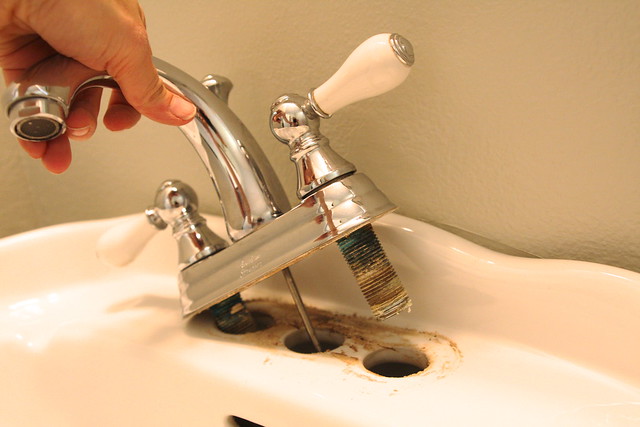
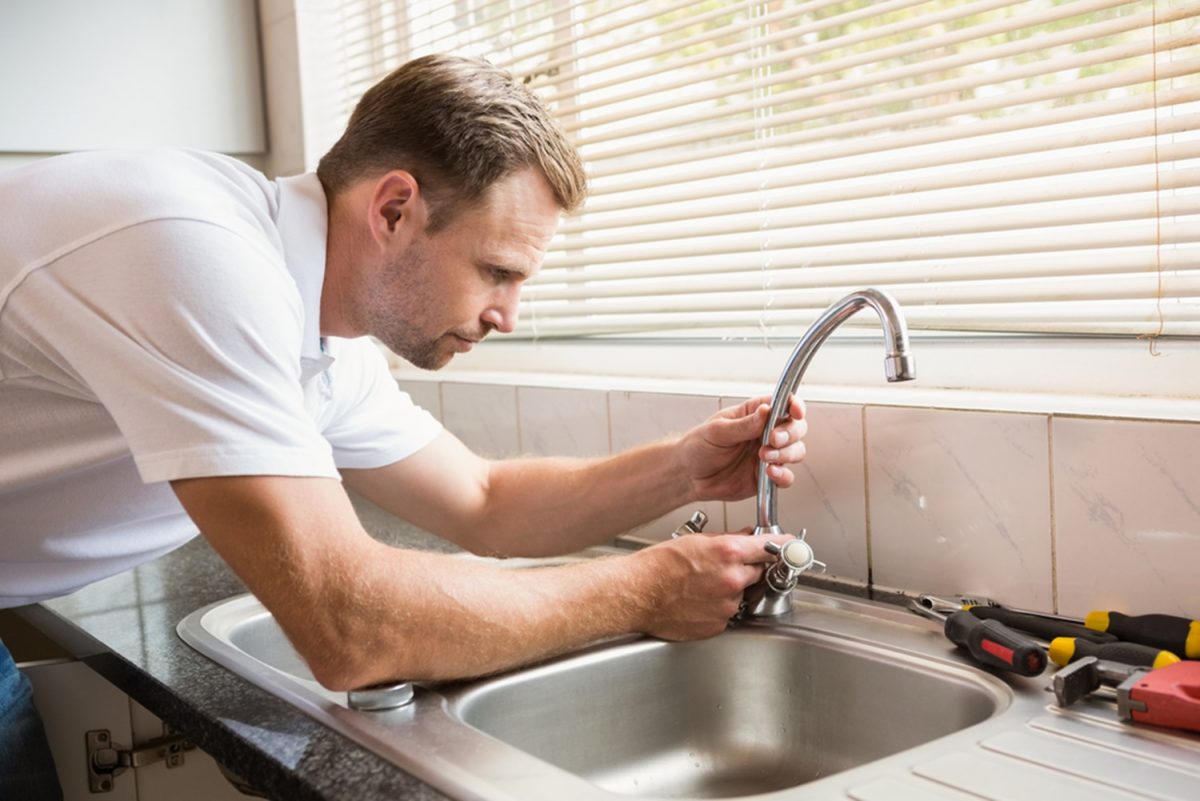
If your bathroom sink faucet is outdated, leaky, or simply not functioning properly, it may be time to replace it. Replacing a bathroom sink faucet is a task that can easily be done yourself with the right tools and a little patience. Start by gathering all the necessary tools and materials, including a basin wrench, adjustable wrench, plumber's putty, Teflon tape, and the new faucet and accompanying parts. Next, turn off the water supply to the sink and remove the old faucet by unscrewing the nuts and disconnecting the water supply lines. Clean the surface of the sink and remove any old putty or debris. Apply a thin layer of plumber's putty to the base of the new faucet and place it on the sink. Secure the faucet in place by tightening the mounting nuts underneath the sink. Connect the water supply lines to the corresponding valves and use Teflon tape to ensure a watertight seal. Turn the water supply back on and test the faucet for any leaks. If everything looks good, you have successfully replaced your bathroom sink faucet and can enjoy a refreshed and functional bathroom.DIY Bathroom Sink Faucet Replacement

DIY Bathroom Sink Faucet Replacement
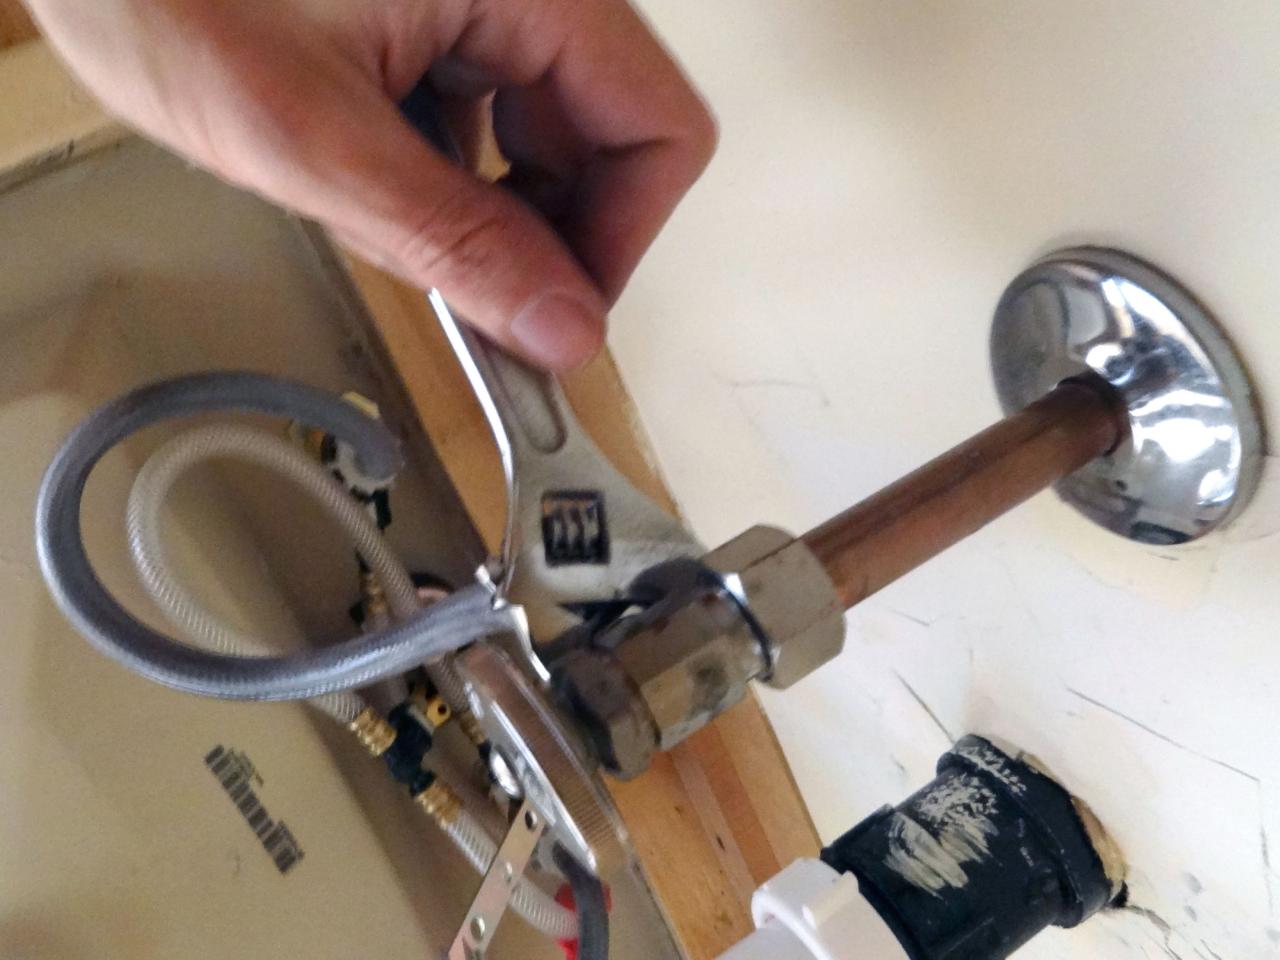


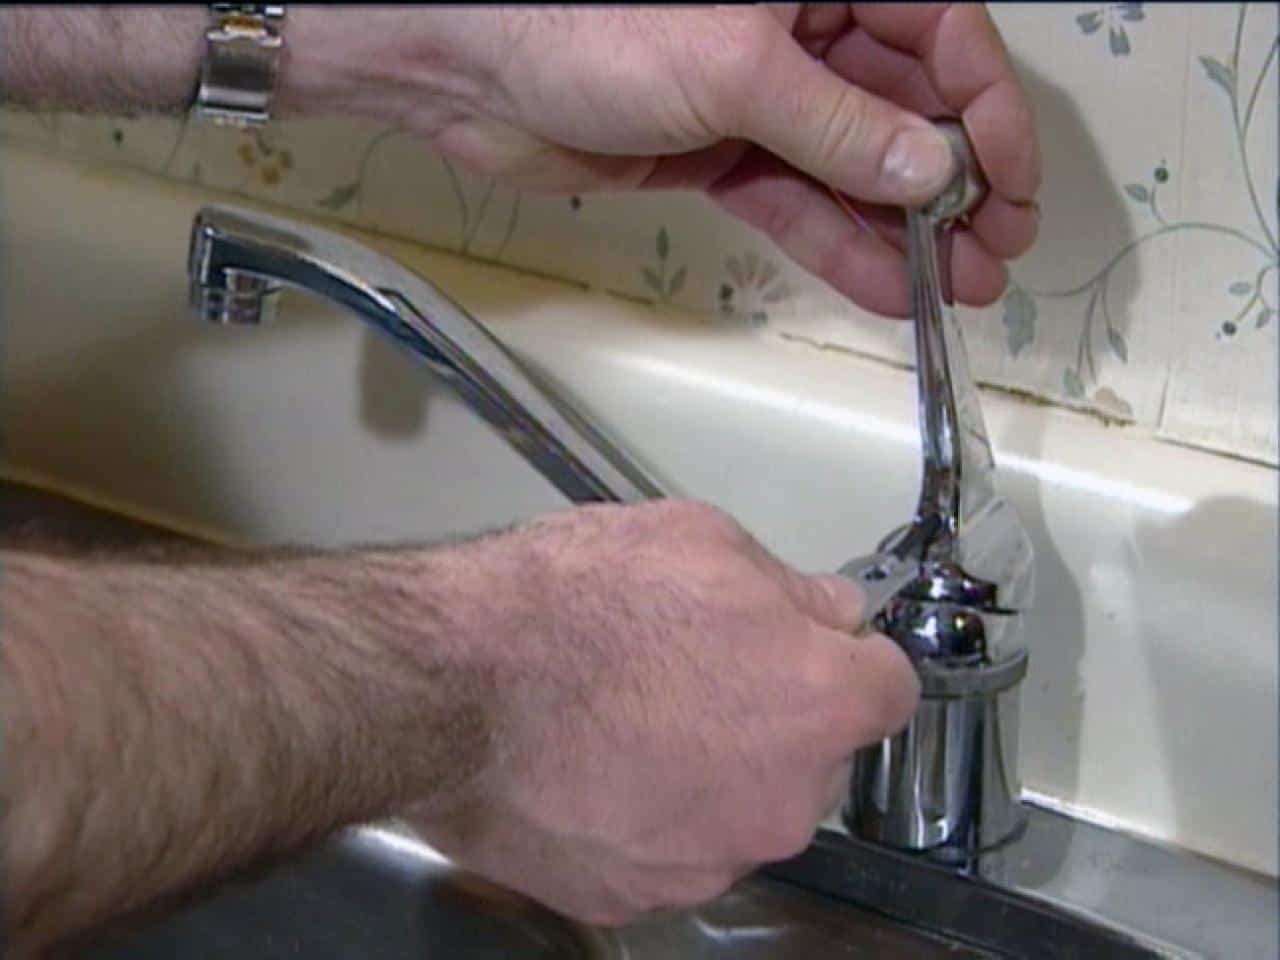
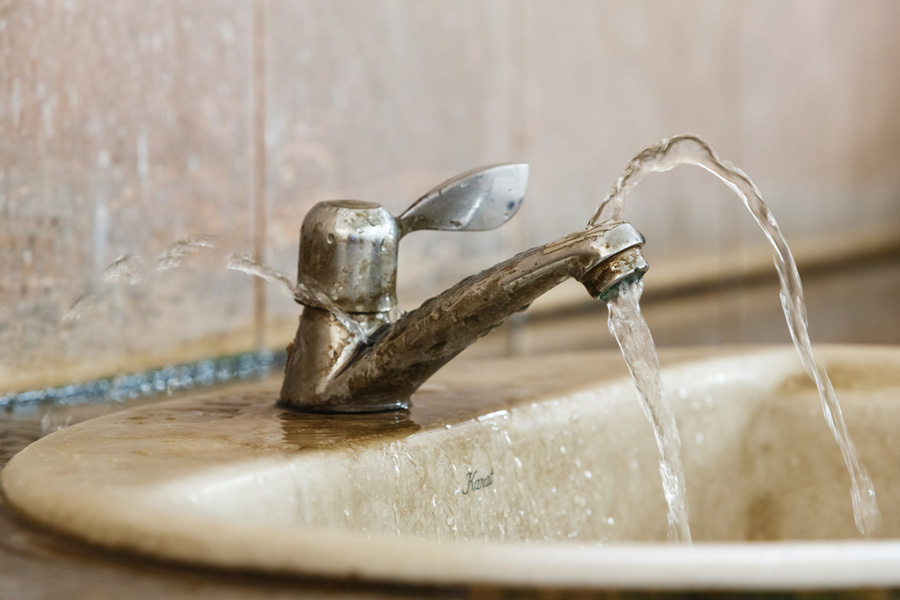
If your bathroom sink faucet is leaking or not functioning properly, it may not necessarily need to be replaced. In many cases, a simple repair can fix the issue and save you time and money. Start by identifying the problem with your faucet. Is it leaking from the handle, spout, or base? Is the water pressure low or is the water not shutting off completely? Once you have identified the issue, turn off the water supply and disassemble the faucet. Clean the parts and replace any worn or damaged components. If the issue is with the cartridge or valve, they may need to be replaced. Reassemble the faucet and turn the water supply back on. Test the faucet for any leaks and if everything looks good, you have successfully repaired your bathroom sink faucet.DIY Bathroom Sink Faucet Repair


DIY Bathroom Sink Faucet Repair


Upgrading your bathroom sink faucet can give your bathroom a fresh new look and improve its functionality. By following a few simple steps, you can easily upgrade your faucet yourself. Start by selecting a new faucet that fits your style and budget. Gather all the necessary tools and materials, including a basin wrench, adjustable wrench, plumber's putty, Teflon tape, and the new faucet and accompanying parts. Turn off the water supply to the sink and remove the old faucet. Clean the surface of the sink and remove any old putty or debris. Apply a thin layer of plumber's putty to the base of the new faucet and place it on the sink. Secure the faucet in place by tightening the mounting nuts underneath the sink. Connect the water supply lines to the corresponding valves and use Teflon tape to ensure a watertight seal. Turn the water supply back on and test the faucet for any leaks. With a new and upgraded bathroom sink faucet, you can enjoy a more stylish and functional bathroom space.DIY Bathroom Sink Faucet Upgrade


DIY Bathroom Sink Faucet Upgrade


Maintaining your bathroom sink faucet is important to ensure its longevity and proper functioning. With a few simple maintenance tasks, you can keep your faucet in top condition. Regularly clean your faucet with a mild soap and water solution to prevent a buildup of dirt and grime. Inspect the faucet for any leaks or drips and address them promptly to prevent further damage. Check the water pressure and adjust it as needed to prevent any issues with the faucet. If you notice any rust or corrosion, use a rust remover to keep the faucet looking like new. By regularly maintaining your bathroom sink faucet, you can extend its lifespan and avoid any costly repairs in the future.DIY Bathroom Sink Faucet Maintenance


DIY Bathroom Sink Faucet Maintenance


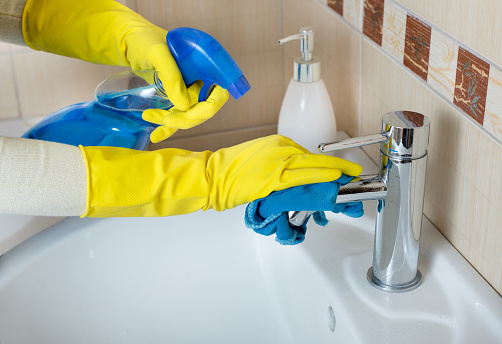
Cleaning your bathroom sink faucet not only keeps it looking shiny and new, but it also helps prevent any buildup of bacteria or mold. With a few simple steps, you can easily clean your faucet yourself. Start by gathering all the necessary tools and materials, including a mild soap, water, a soft cloth, and a toothbrush. Mix the soap and water to create a mild cleaning solution. Wet the cloth with the cleaning solution and gently scrub the faucet, paying extra attention to any hard-to-reach areas. Use the toothbrush to clean any crevices or around the base of the faucet. Rinse the faucet with clean water and dry with a soft cloth. Your bathroom sink faucet will now be sparkling clean and free of any bacteria or mold buildup.DIY Bathroom Sink Faucet Cleaning


DIY Bathroom Sink Faucet Cleaning
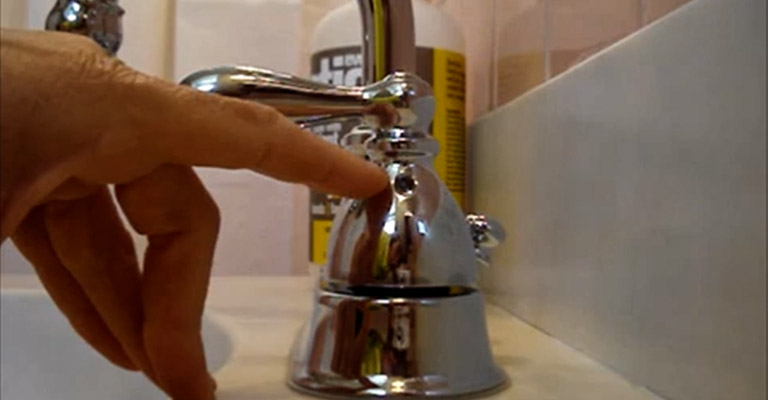
If your bathroom sink faucet is experiencing issues, it may not necessarily need to be replaced. With some troubleshooting techniques, you may be able to identify and fix the problem yourself. Start by turning off the water supply and disassembling the faucet. Clean the parts and replace any worn or damaged components. If the issue is with the cartridge or valve, they may need to be replaced. If the faucet is still not functioning properly, it may be a sign of a larger plumbing issue. In this case, it is best to consult a professional plumber to properly diagnose and fix the problem.DIY Bathroom Sink Faucet Troubleshooting


DIY Bathroom Sink Faucet Troubleshooting


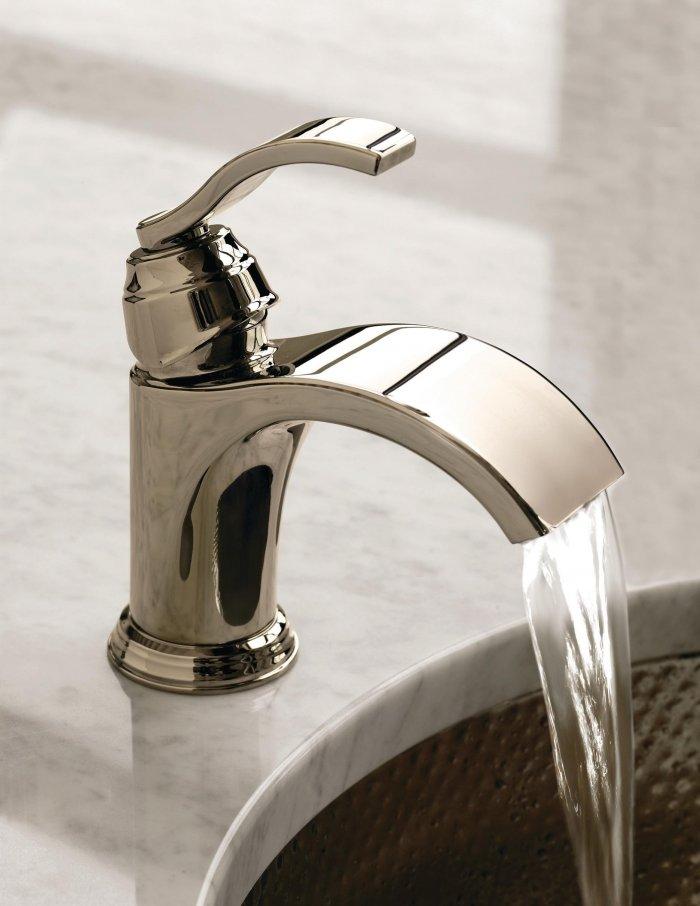
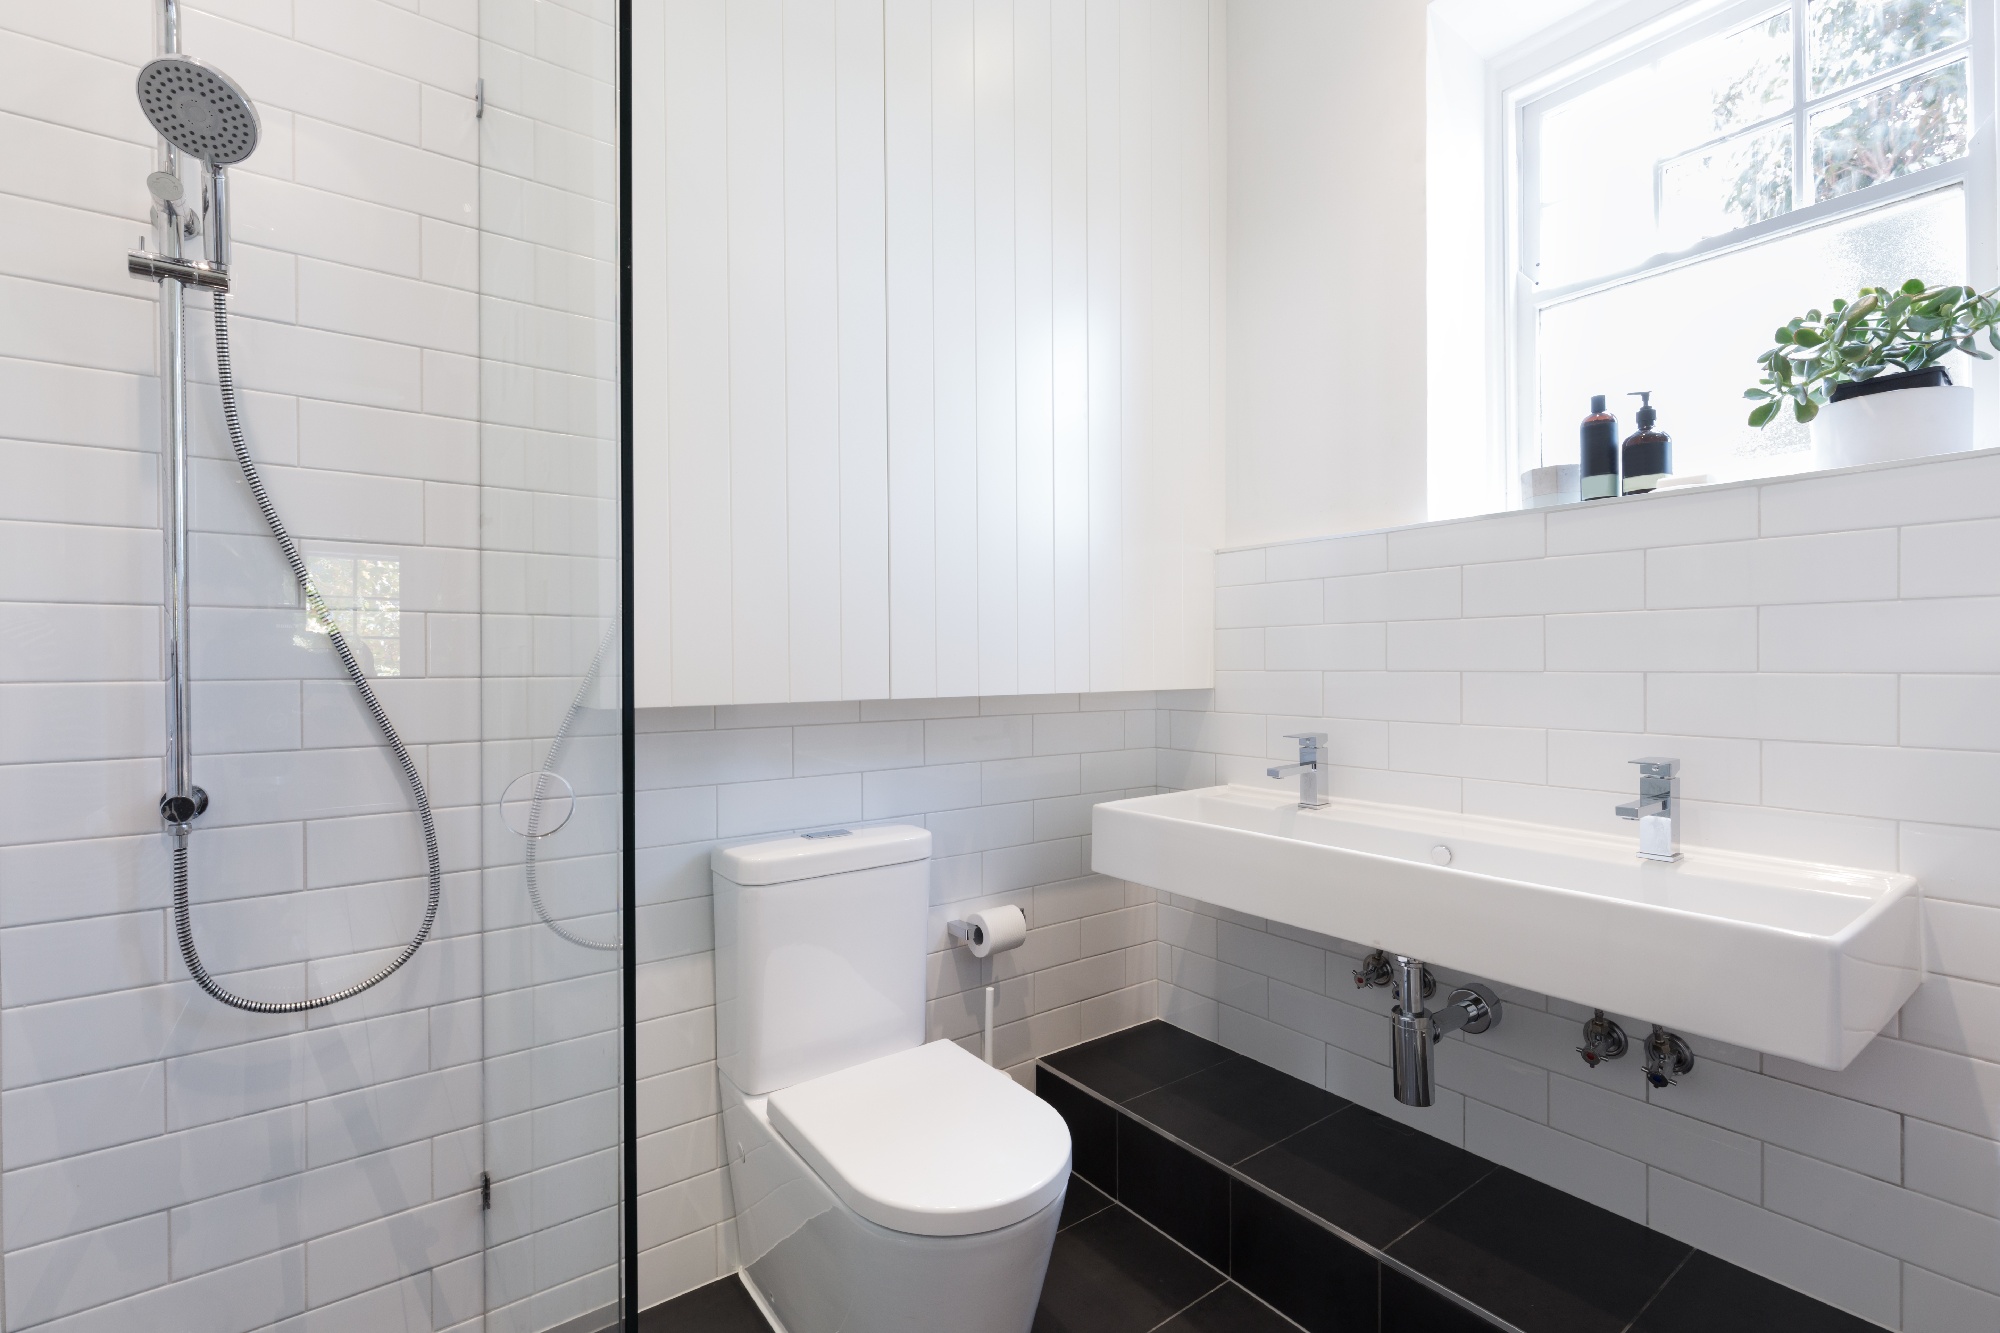
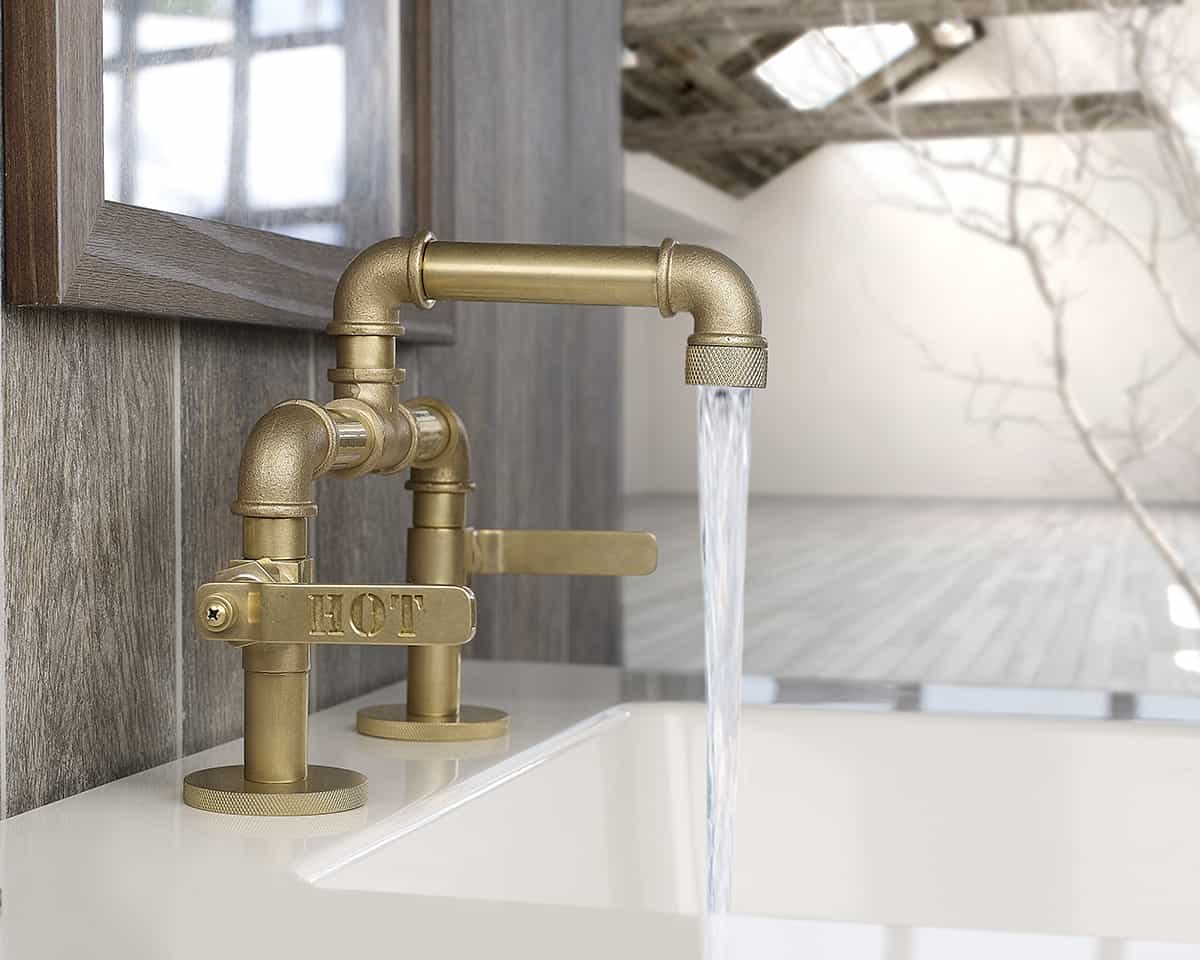
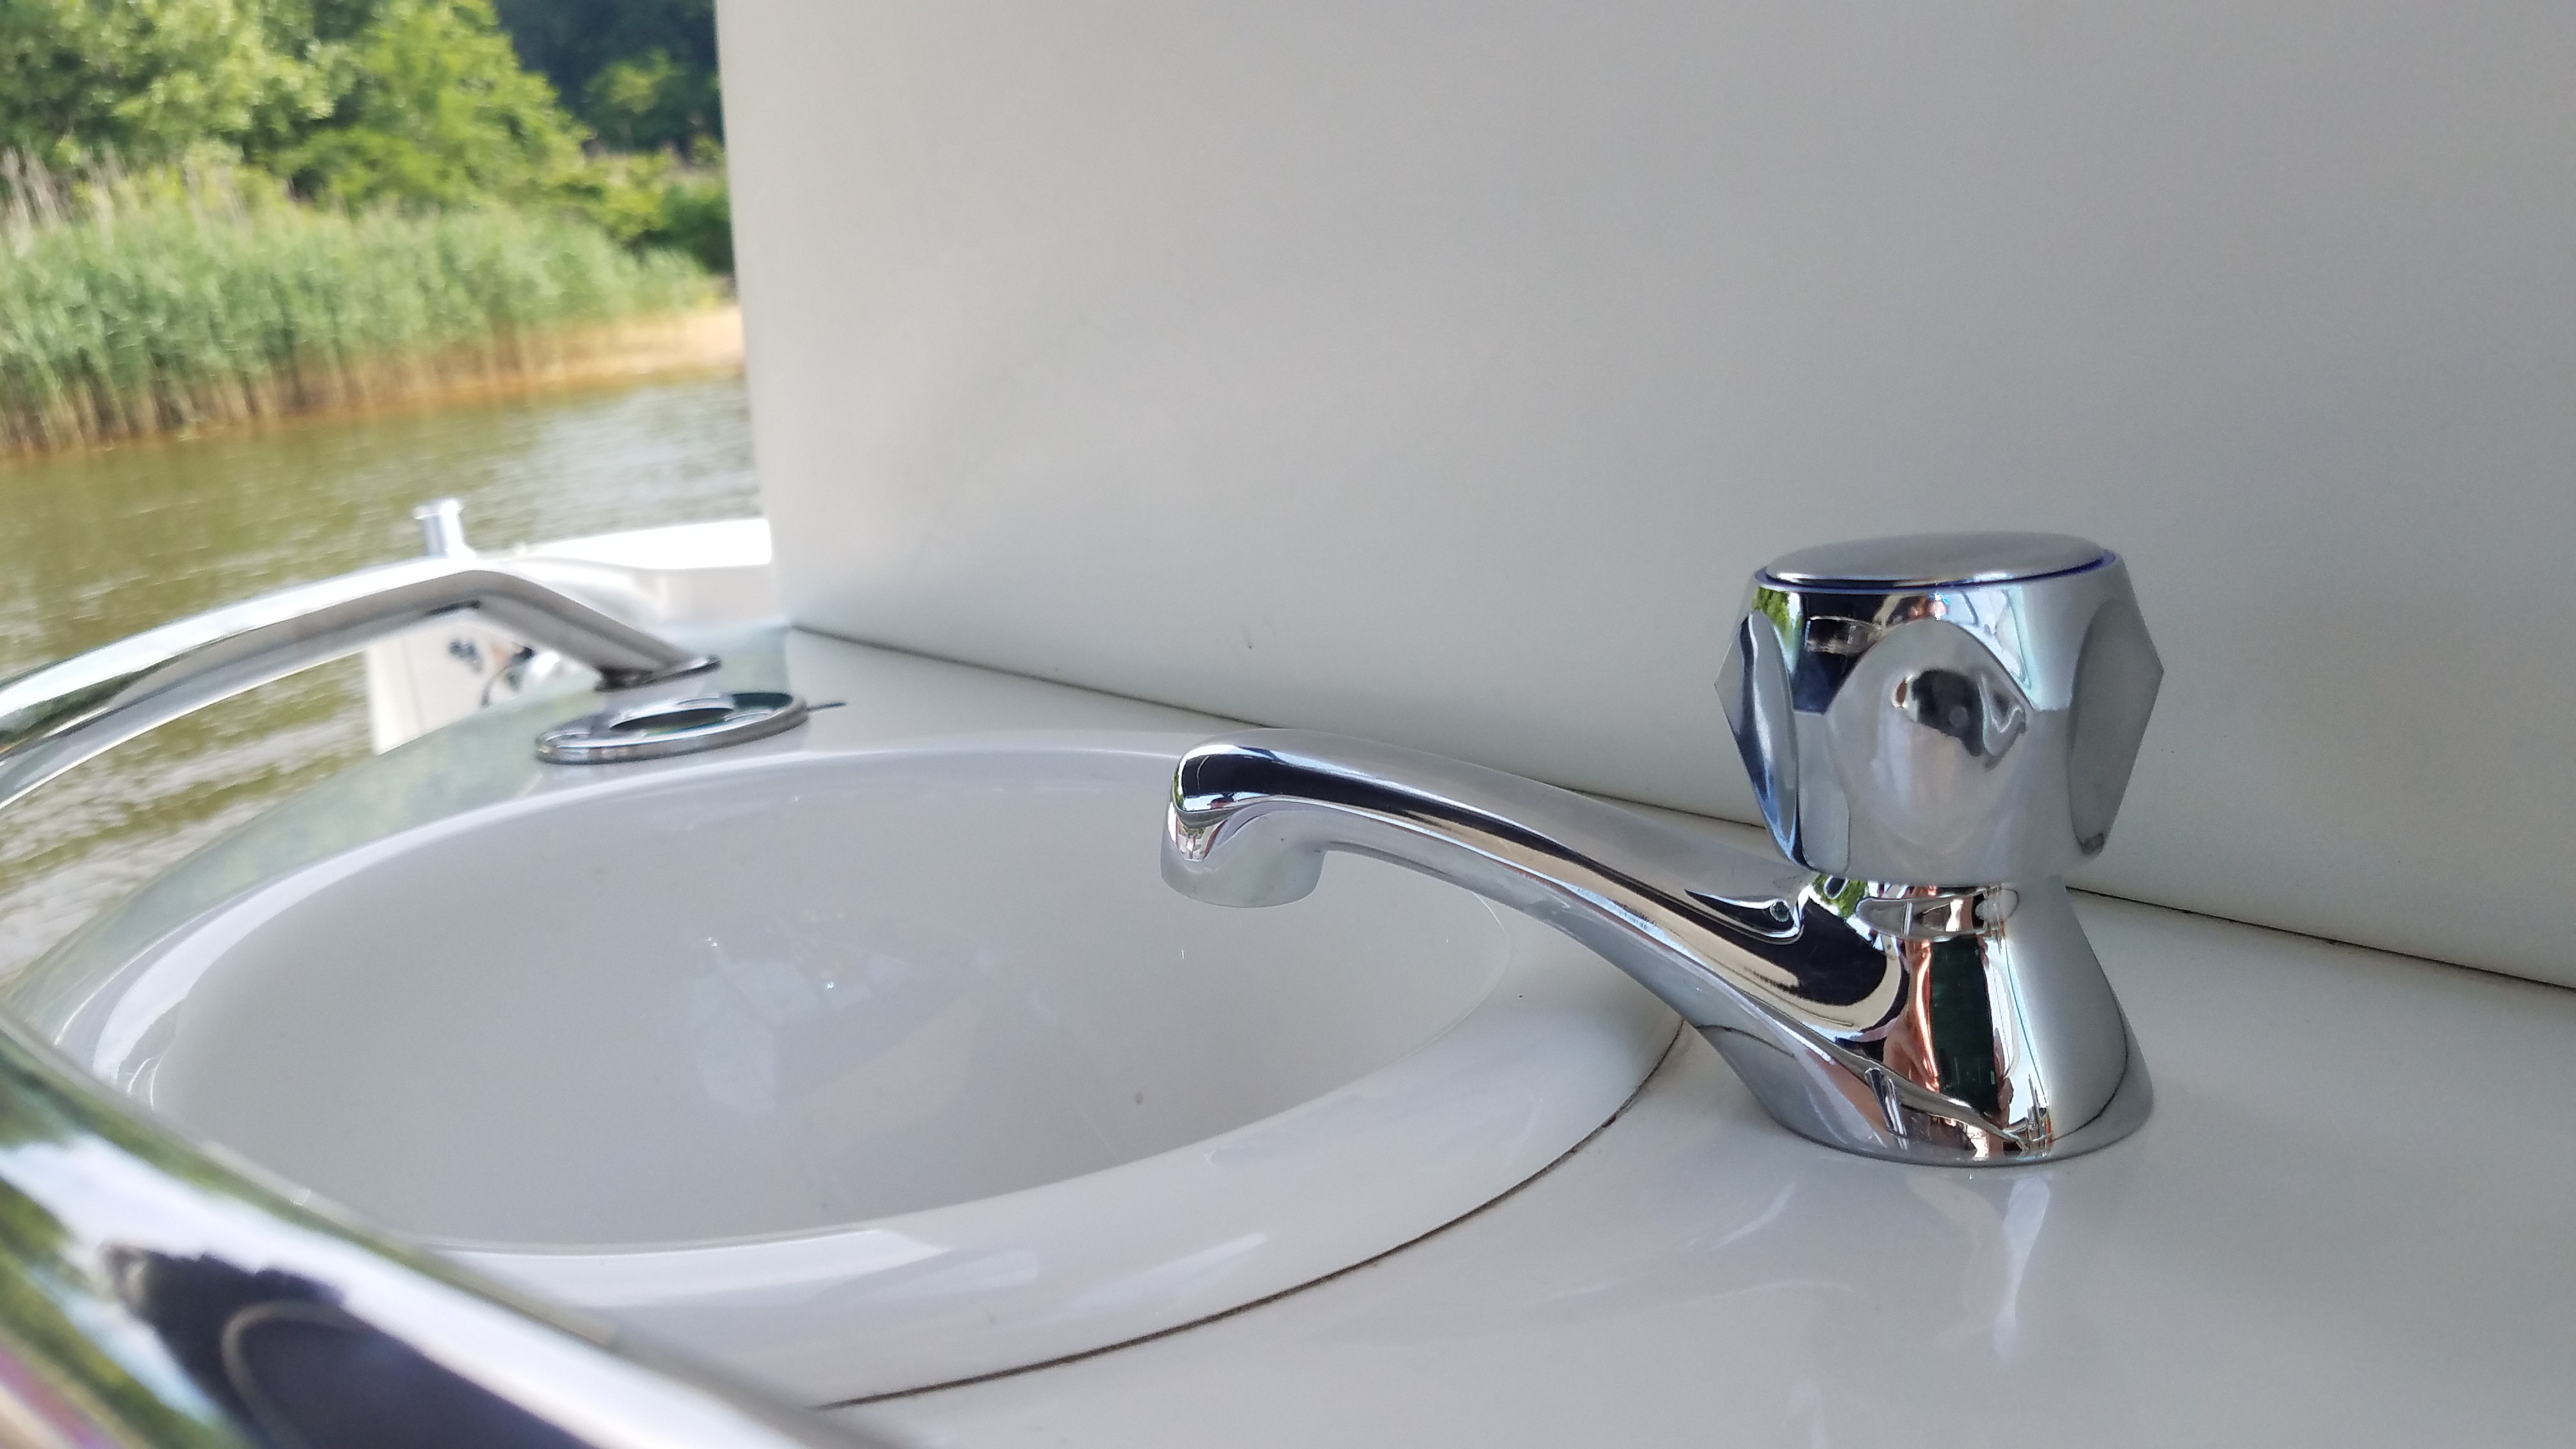
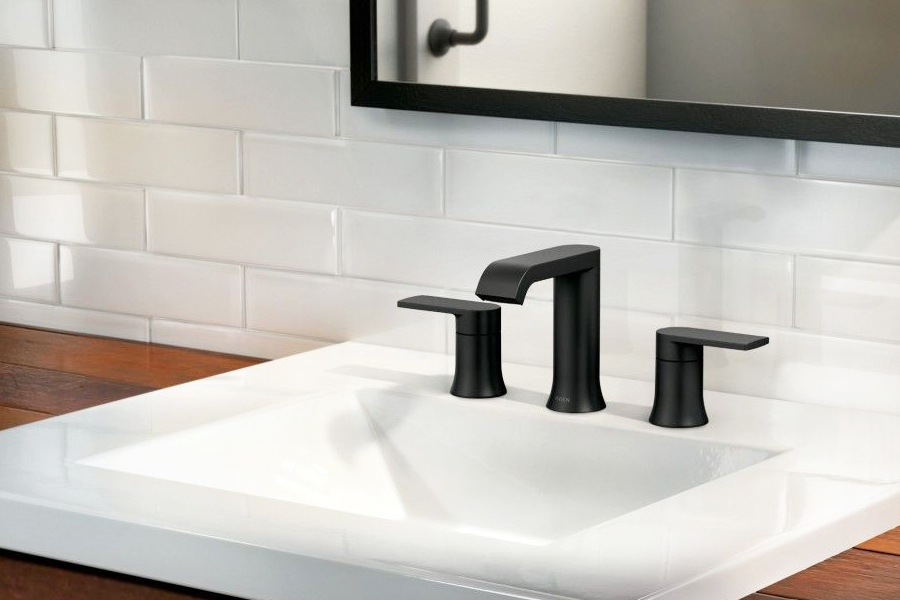
Bathroom sink faucets come in a variety of styles and designs, making it easy to find one that fits your personal taste and bathroom aesthetic. Here are some design ideas to consider when choosing a new faucet for your bathroom sink. For a modern and sleek look, consider a single-handle faucet with a high-arc spout. For a more traditional or vintage feel, opt for a two-handle faucet with a low-arc spout. You can also choose from a variety of finishes, such as chrome, brushed nickel, or oil-rubbed bronze. If you want to add a touch of luxury to your bathroom, consider a waterfall faucet or a touchless faucet with motion sensor technology. These unique designs will not only elevate the look of your bathroom but also add convenience to your daily routine.DIY Bathroom Sink Faucet Design Ideas
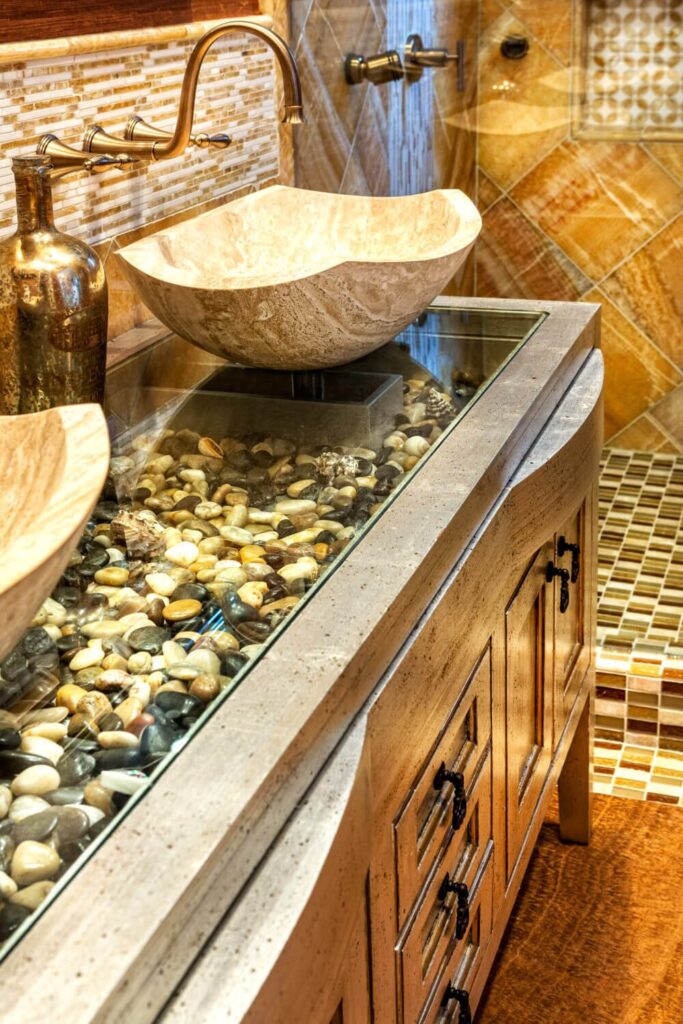

DIY Bathroom Sink Faucet Design Ideas


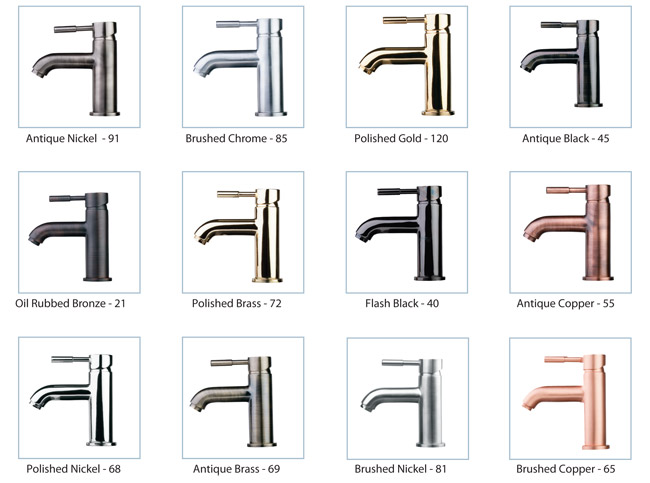
When it comes to bathroom sink faucets, there are endless styles and finishes to choose from. Consider the overall design and aesthetic of your bathroom when selecting a faucet that will complement the space. Straight, curved, and angled spouts are all popular styles to consider. You can also choose from a variety of handle options, including lever, cross, or knob handles. For a cohesive look, match the faucet finish to other fixtures in the bathroom, such as the showerhead or towel bar. If you want to add a pop of color or personality to your bathroom, consider a unique finish, such as matte black or rose gold. With so many options available, you can easily find a bathroom sink faucet that fits your style and design preferences.DIY Bathroom Sink Faucet Styles and Finishes


DIY Bathroom Sink Faucet Styles and Finishes

Why DIY Bathroom Sink Faucets Seating is a Must-Try for Your Next House Design Project

Effortless Elegance
 When it comes to designing your home, every detail matters. From the color of the walls to the type of flooring, every element contributes to the overall aesthetic of your space. And one often overlooked detail that can make a big impact is your bathroom sink faucet. By opting for a DIY bathroom sink faucet seating, you can easily add a touch of effortless elegance to your bathroom design.
Customized to Your Style
 One of the greatest advantages of DIY projects is the ability to customize and personalize according to your own style and preferences. With bathroom sink faucets, this is no different. By choosing to create your own seating for your faucet, you can choose the materials, colors, and design that best match your personal style. This allows you to create a unique and one-of-a-kind piece for your bathroom that truly reflects your taste.
Cost-Effective Solution
 DIY projects are not only fun and fulfilling, but they can also be a cost-effective solution for your home design. By creating your own bathroom sink faucet seating, you can save money on purchasing a pre-made seating or hiring a professional to do it for you. With just a few materials and some basic tools, you can create a beautiful and functional seating for your faucet at a fraction of the cost.
Boosts Functionality
 In addition to adding a touch of style and saving you money, DIY bathroom sink faucet seating can also improve the functionality of your space. By creating a seat for your faucet, you can easily access and control the water flow without having to lean over or strain your arms. This can be especially helpful for children or individuals with limited mobility.
Brings a Sense of Accomplishment
 There's a certain sense of accomplishment that comes with completing a DIY project, and incorporating a DIY bathroom sink faucet seating into your home design is no different. By taking on this project yourself, you can feel proud of the end result and know that you have added a unique and personal touch to your space.
Ready to Try DIY Bathroom Sink Faucet Seating?
 With all these benefits, it's no wonder why DIY bathroom sink faucet seating is gaining popularity in the world of house design. So if you're looking to add some effortless elegance, personalization, and functionality to your bathroom, why not give it a try? With a little creativity and some basic tools, you can create a beautiful and functional piece for your bathroom that you can be proud of.