Digging a dry well for your kitchen sink may sound like a daunting task, but with the right tools and techniques, it can be a DIY project that will benefit your home in the long run. A dry well is essentially a large hole filled with gravel or rocks that acts as a drainage system for your sink, preventing water from pooling and causing damage to your property. In this guide, we will take you through the step-by-step process of digging a dry well for your kitchen sink.1. How to Dig a Dry Well for Your Kitchen Sink


1. How to Dig a Dry Well for Your Kitchen Sink


Many homeowners are opting for DIY projects to save on cost and to have more control over the outcome. A DIY dry well for your kitchen sink is no exception. With some basic knowledge and the right tools, you can create a functional and efficient dry well for your sink. Not only will this save you money, but it will also give you a sense of accomplishment knowing that you did it yourself.2. DIY Dry Well for Kitchen Sink


2. DIY Dry Well for Kitchen Sink


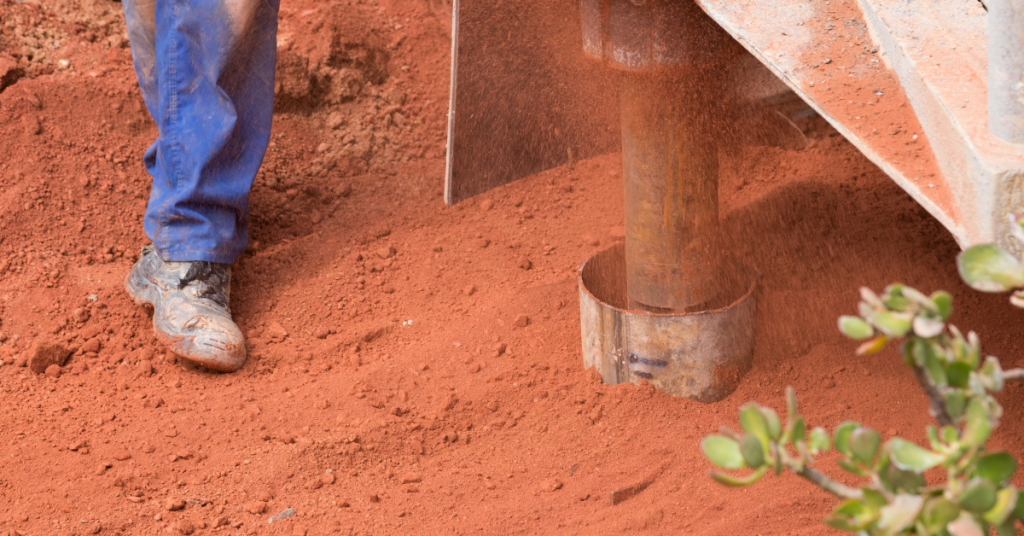
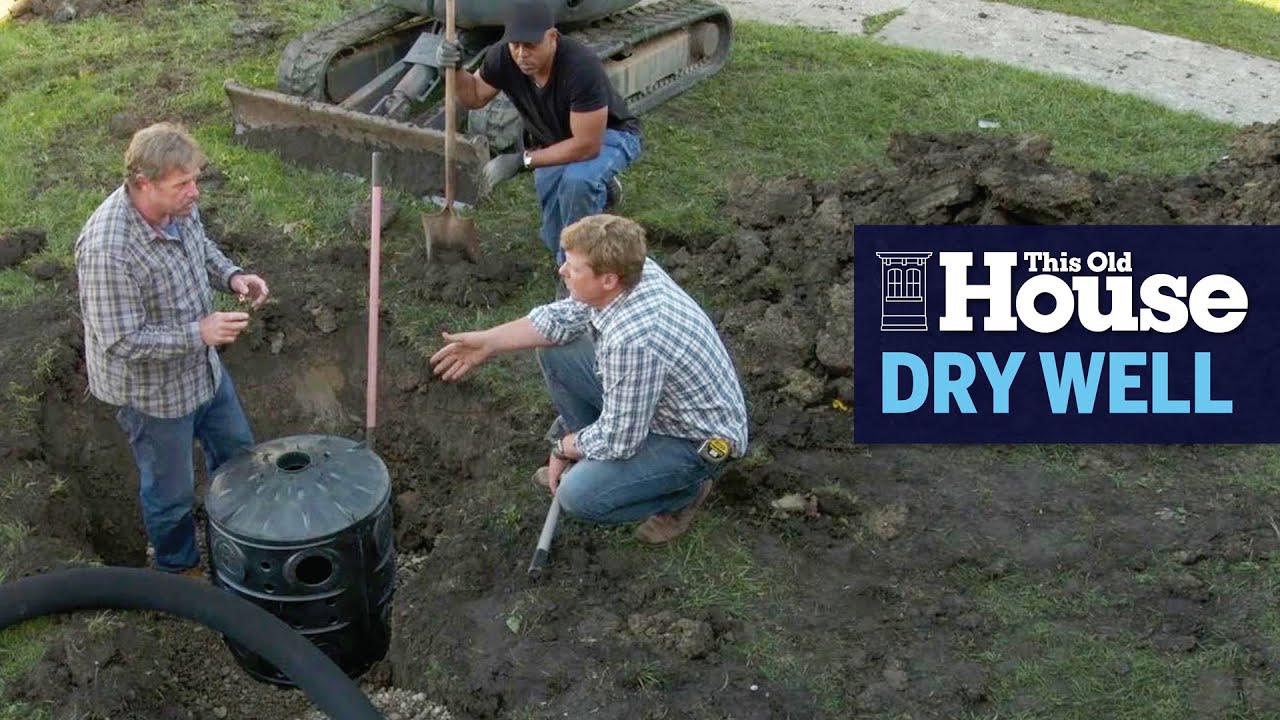
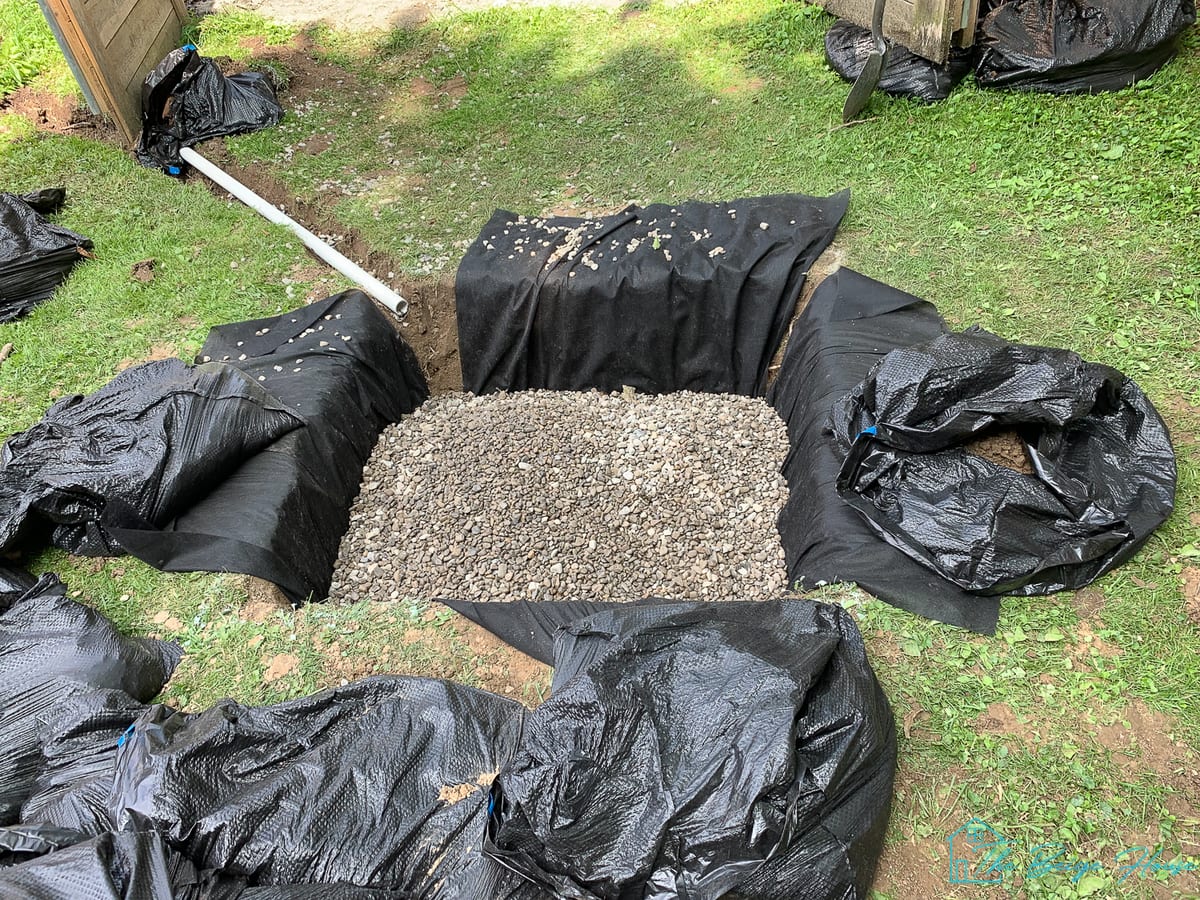
Digging a dry well for your kitchen sink requires careful planning and execution. Here's a step-by-step guide to help you through the process: Step 1: Gather the necessary tools and materials Before starting the project, make sure you have all the tools and materials you will need. This includes a shovel, pickaxe, sledgehammer, measuring tape, gravel or rocks, and a plastic or metal dry well kit. Step 2: Choose the location The first thing you need to do is choose the location for your dry well. This should be in an area where the water from your sink can easily flow into it. It should also be at least 10 feet away from your home's foundation and any other structures. Step 3: Dig the hole Using a shovel and pickaxe, start digging a hole that is at least 3 feet deep and 3 feet wide. Make sure the sides of the hole are straight and smooth. Step 4: Create a sump pit In the center of the hole, dig a smaller pit that is about 1 foot deep and 1 foot wide. This will act as the sump pit where the water will collect before draining into the surrounding gravel or rocks. Step 5: Install the dry well kit Follow the instructions on the dry well kit to install it in the sump pit. This will ensure proper drainage and prevent debris from clogging the system. Step 6: Fill the hole with gravel or rocks Once the dry well kit is installed, fill the hole with gravel or rocks until it is about 1 foot from the top. This will allow for proper drainage and filtration of the water. Step 7: Cover the dry well To prevent debris from getting into the dry well, cover it with a layer of landscape fabric and then cover it with a layer of soil or mulch.3. Step-by-Step Guide to Digging a Dry Well for Your Kitchen Sink


3. Step-by-Step Guide to Digging a Dry Well for Your Kitchen Sink


There are many benefits to installing a dry well for your kitchen sink, including: - Prevents water damage: A dry well provides a proper drainage system for your sink, preventing water from pooling and causing damage to your property. - Eco-friendly: By allowing the water to drain back into the ground, a dry well helps to conserve water and reduce your carbon footprint. - Cost-effective: Installing a dry well is a one-time cost that can save you money in the long run by preventing water damage and the need for costly repairs. - Increases property value: A dry well is a desirable feature for potential home buyers, which can increase the value of your property.4. Benefits of Installing a Dry Well for Your Kitchen Sink


4. Benefits of Installing a Dry Well for Your Kitchen Sink

The tools and materials needed for digging a dry well for your kitchen sink include: - Shovel - Pickaxe - Sledgehammer - Measuring tape - Gravel or rocks - Plastic or metal dry well kit5. Tools and Materials Needed for Digging a Dry Well for Your Kitchen Sink

5. Tools and Materials Needed for Digging a Dry Well for Your Kitchen Sink
/cdn.vox-cdn.com/uploads/chorus_image/image/65891635/howto_drywell_01.0.jpg)
:max_bytes(150000):strip_icc()/Basic-kitchen-sink-types-1821207_color_rev-0b539306b9ef4236a136624ad2a89a4c.jpg)

When choosing the location for your kitchen sink dry well, keep these tips in mind: - It should be at least 10 feet away from your home's foundation and any other structures. - It should be in an area where the water from your sink can easily flow into it. - Avoid areas with tree roots or other obstructions.6. Tips for Choosing the Right Location for Your Kitchen Sink Dry Well


6. Tips for Choosing the Right Location for Your Kitchen Sink Dry Well


The size and design of your dry well will depend on the size of your household and your water usage. As a general rule, a dry well should be able to hold at least 100 gallons of water for every 100 square feet of roof area that drains into it. - For a single-family home, a dry well with a capacity of 300 gallons is usually sufficient. - The design should include a sump pit and a dry well kit for proper drainage and filtration.7. How to Properly Size and Design a Dry Well for Your Kitchen Sink
7. How to Properly Size and Design a Dry Well for Your Kitchen Sink


To ensure a successful and functional dry well, avoid these common mistakes: - Not choosing the right location: An improperly located dry well can cause flooding or damage to your property. - Not digging the hole deep enough: The hole should be at least 3 feet deep to allow for proper drainage. - Not installing a dry well kit: Without proper filtration, debris can clog the dry well and render it ineffective.8. Common Mistakes to Avoid When Digging a Dry Well for Your Kitchen Sink

8. Common Mistakes to Avoid When Digging a Dry Well for Your Kitchen Sink


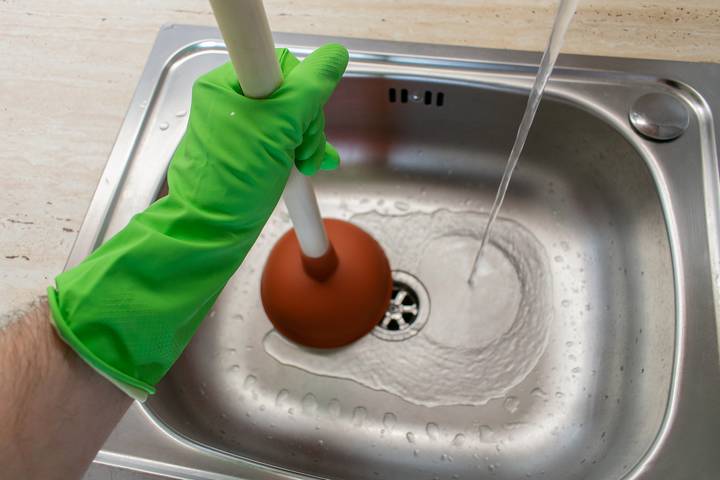
To keep your kitchen sink dry well functioning properly, follow these maintenance tips: - Regularly check the dry well for any debris or blockages. - Clean the dry well once every year by removing any accumulated debris and flushing it with water. - If you notice any issues, such as slow drainage, address them immediately to prevent further damage.9. How to Maintain and Clean Your Kitchen Sink Dry Well


9. How to Maintain and Clean Your Kitchen Sink Dry Well


While it is possible to DIY a dry well for your kitchen sink, it is recommended to hire a professional for the best results. A professional will have the experience and knowledge to properly locate, size, and design the dry well for your specific needs. They also have access to specialized equipment that can make the process more efficient and effective. Now that you know the benefits of having a dry well for your kitchen sink and how to properly dig one, you can confidently take on this DIY project or hire a professional to do it for you. By investing the time and effort into this project, you can protect your home from water damage and save money in the long run. Remember to regularly maintain and clean your dry well to ensure it continues to function properly for years to come.10. Professional vs. DIY: Which Option is Best for Digging a Dry Well for Your Kitchen Sink?


10. Professional vs. DIY: Which Option is Best for Digging a Dry Well for Your Kitchen Sink?


Dig a Dry Well for Kitchen Sink: An Essential Step in House Design

Why a Dry Well is Necessary for Kitchen Sink Drainage
 When designing a house,
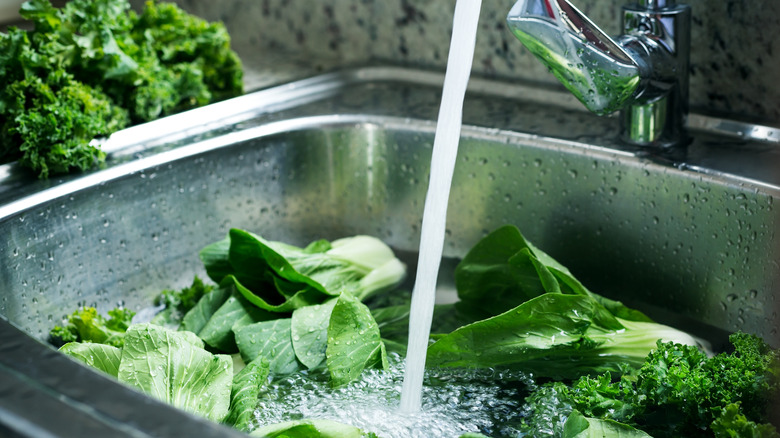
proper drainage for the kitchen sink
is often overlooked. Many homeowners focus on the aesthetics of their kitchen, but neglect the importance of a functional drainage system.
A dry well
is an essential component for a well-designed kitchen, as it helps to prevent clogs and backups in the sink drain.
When designing a house,
proper drainage for the kitchen sink
is often overlooked. Many homeowners focus on the aesthetics of their kitchen, but neglect the importance of a functional drainage system.
A dry well
is an essential component for a well-designed kitchen, as it helps to prevent clogs and backups in the sink drain.
The Benefits of a Dry Well
 A dry well is a simple, yet effective solution for
properly draining kitchen sinks
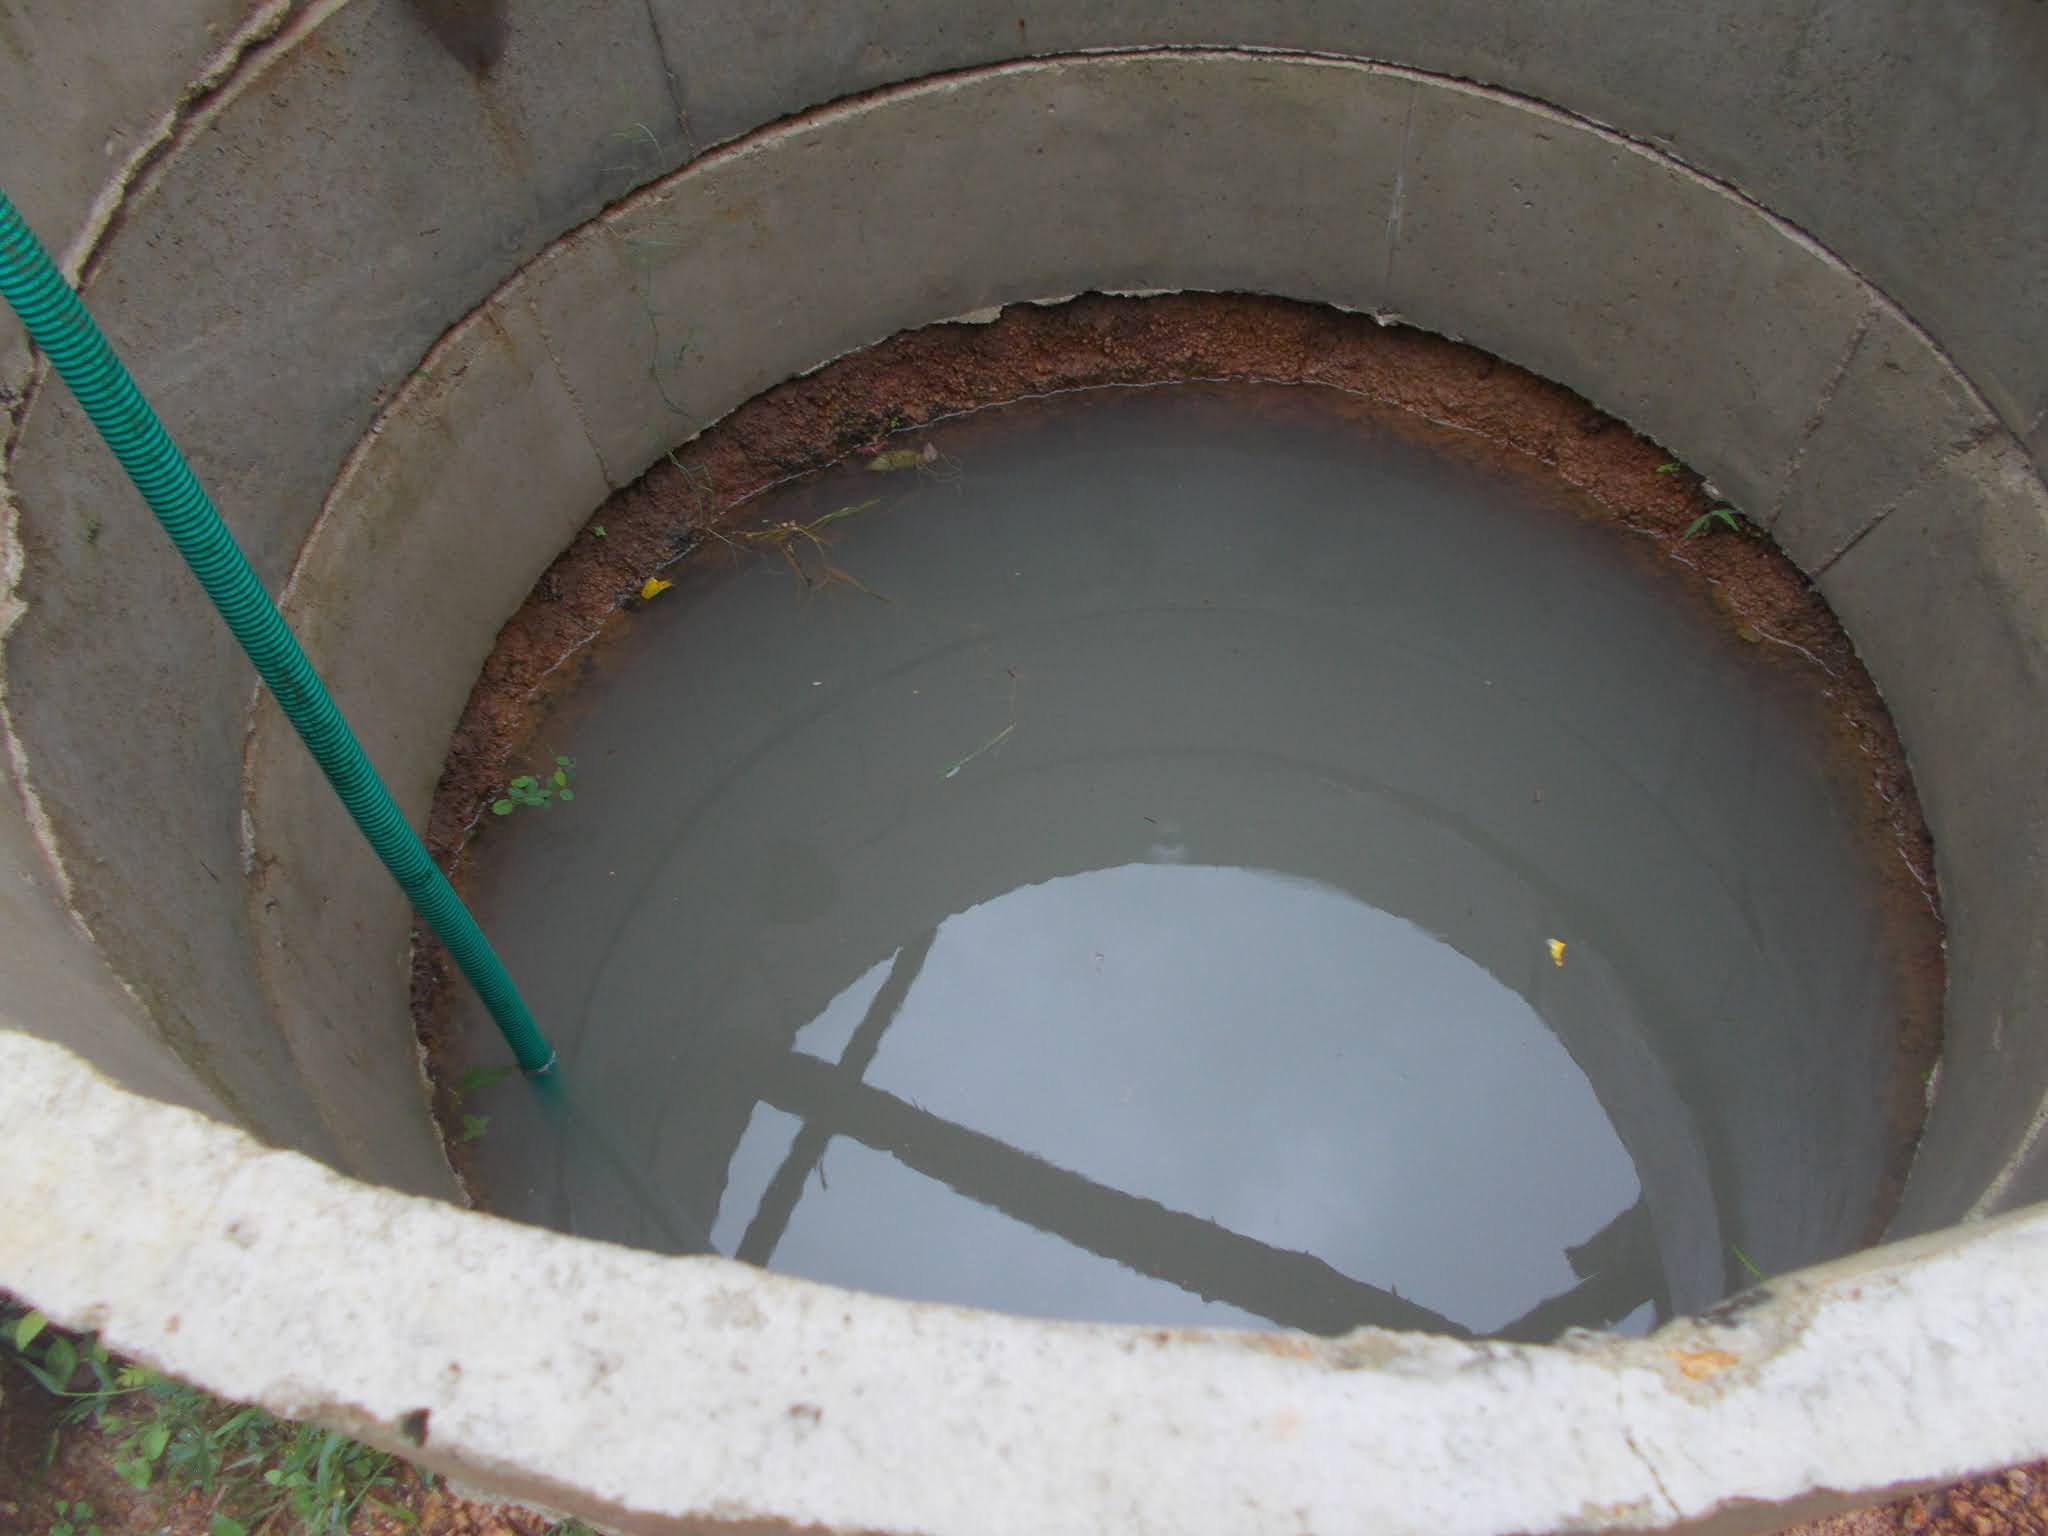
. It consists of a large hole dug in the ground, lined with gravel and a perforated container to hold excess water. The excess water from the sink drain is directed to the dry well, where it is absorbed into the ground. This not only prevents clogs and backups, but it also helps to reduce the amount of wastewater that enters the sewage system.
A dry well is a simple, yet effective solution for
properly draining kitchen sinks
. It consists of a large hole dug in the ground, lined with gravel and a perforated container to hold excess water. The excess water from the sink drain is directed to the dry well, where it is absorbed into the ground. This not only prevents clogs and backups, but it also helps to reduce the amount of wastewater that enters the sewage system.
Steps to Digging a Dry Well for Kitchen Sink Drainage
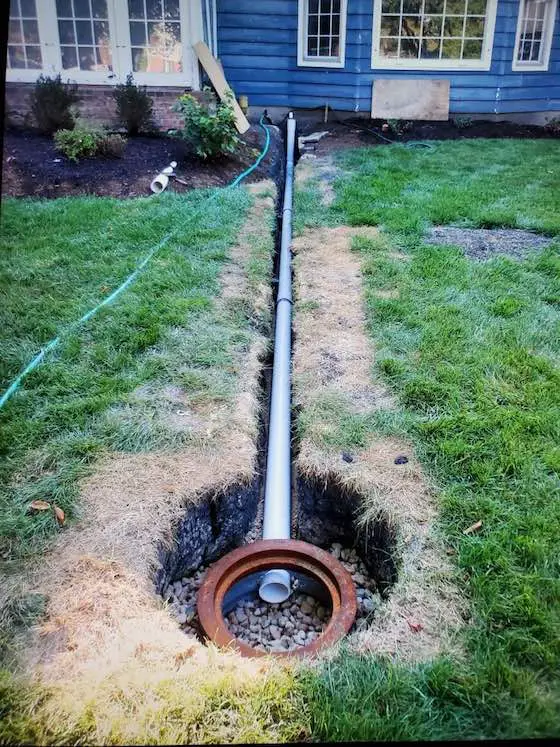
 The first step in
installing a dry well for your kitchen sink
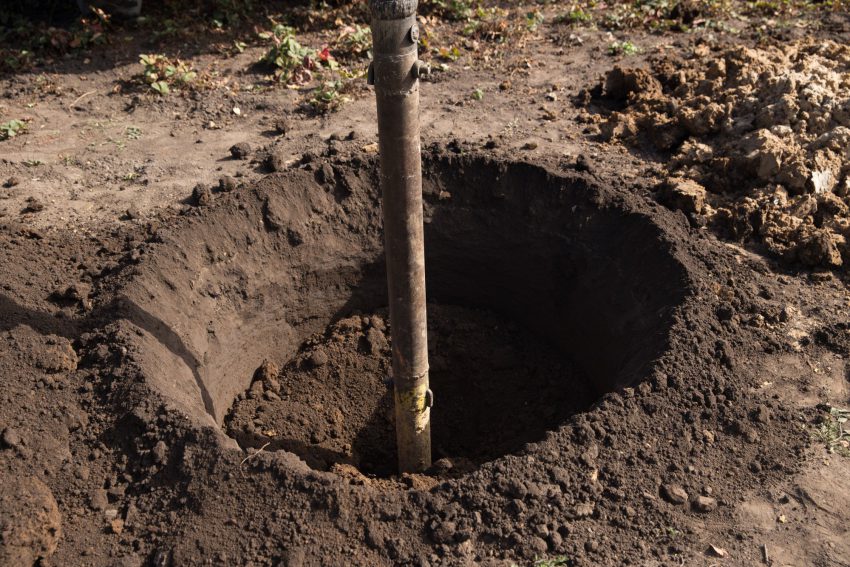
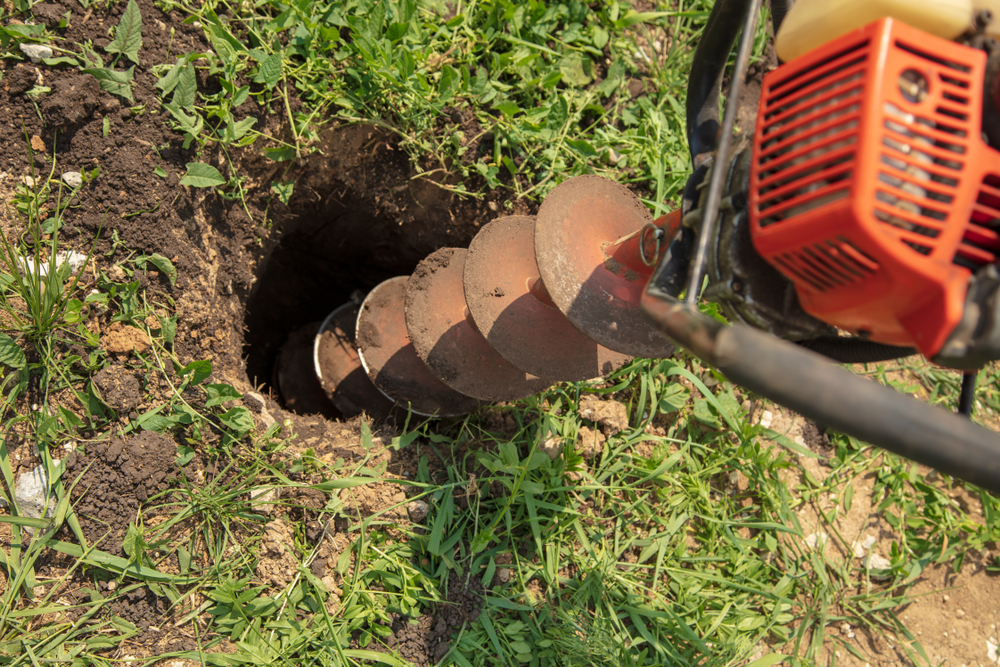
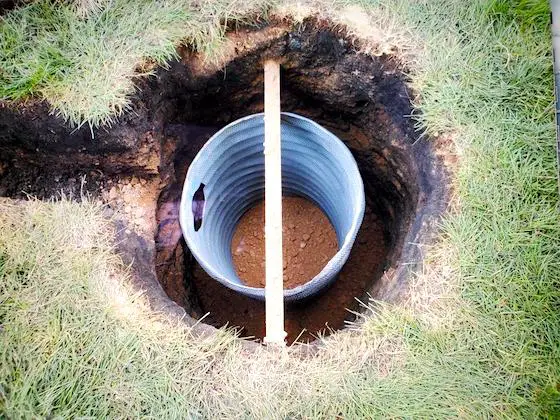
is to determine the location. It should be placed at least 10 feet away from your house and any other structures to avoid any potential damage to the foundation. Once you have chosen the location, use a shovel or an excavator to dig a hole that is at least 3 feet deep and 3 feet wide. Make sure the hole is sloped towards the center to allow for proper drainage.
Next, line the bottom of the hole with gravel and place the perforated container in the center. The container should be slightly larger than the hole to allow for proper drainage. Fill the remaining space around the container with more gravel, leaving a few inches of space at the top.
The first step in
installing a dry well for your kitchen sink
is to determine the location. It should be placed at least 10 feet away from your house and any other structures to avoid any potential damage to the foundation. Once you have chosen the location, use a shovel or an excavator to dig a hole that is at least 3 feet deep and 3 feet wide. Make sure the hole is sloped towards the center to allow for proper drainage.
Next, line the bottom of the hole with gravel and place the perforated container in the center. The container should be slightly larger than the hole to allow for proper drainage. Fill the remaining space around the container with more gravel, leaving a few inches of space at the top.
Maintaining Your Dry Well
 To ensure that your
kitchen sink drainage system
continues to function properly, it is important to regularly maintain your dry well. This includes checking for any clogs in the perforated container, as well as removing any debris or excess dirt that may accumulate around the well.
In addition, avoid pouring any grease, oil, or large food particles down your kitchen sink drain, as these can cause clogs and damage to your dry well. Instead, dispose of these items in the trash or use a strainer to catch them before they enter the drain.
To ensure that your
kitchen sink drainage system
continues to function properly, it is important to regularly maintain your dry well. This includes checking for any clogs in the perforated container, as well as removing any debris or excess dirt that may accumulate around the well.
In addition, avoid pouring any grease, oil, or large food particles down your kitchen sink drain, as these can cause clogs and damage to your dry well. Instead, dispose of these items in the trash or use a strainer to catch them before they enter the drain.
In Conclusion
 In order to have a well-designed and functional kitchen,
proper drainage for the kitchen sink
is a must. Digging a dry well is a simple, yet effective solution for preventing clogs and backups in the sink drain. By following these steps and properly maintaining your dry well, you can ensure that your kitchen sink drainage system will continue to function efficiently for years to come.
In order to have a well-designed and functional kitchen,
proper drainage for the kitchen sink
is a must. Digging a dry well is a simple, yet effective solution for preventing clogs and backups in the sink drain. By following these steps and properly maintaining your dry well, you can ensure that your kitchen sink drainage system will continue to function efficiently for years to come.