Delta Bathroom Sink Drain Removal
Are you having trouble removing the drain from your Delta bathroom sink? Don't worry, you're not alone. Removing a Delta bathroom sink drain can be a tricky task, but with the right tools and knowledge, it can be done easily. In this article, we will guide you through the process of removing a Delta bathroom sink drain, step-by-step.


Delta Bathroom Sink Drain Removal


How to Remove a Delta Bathroom Sink Drain
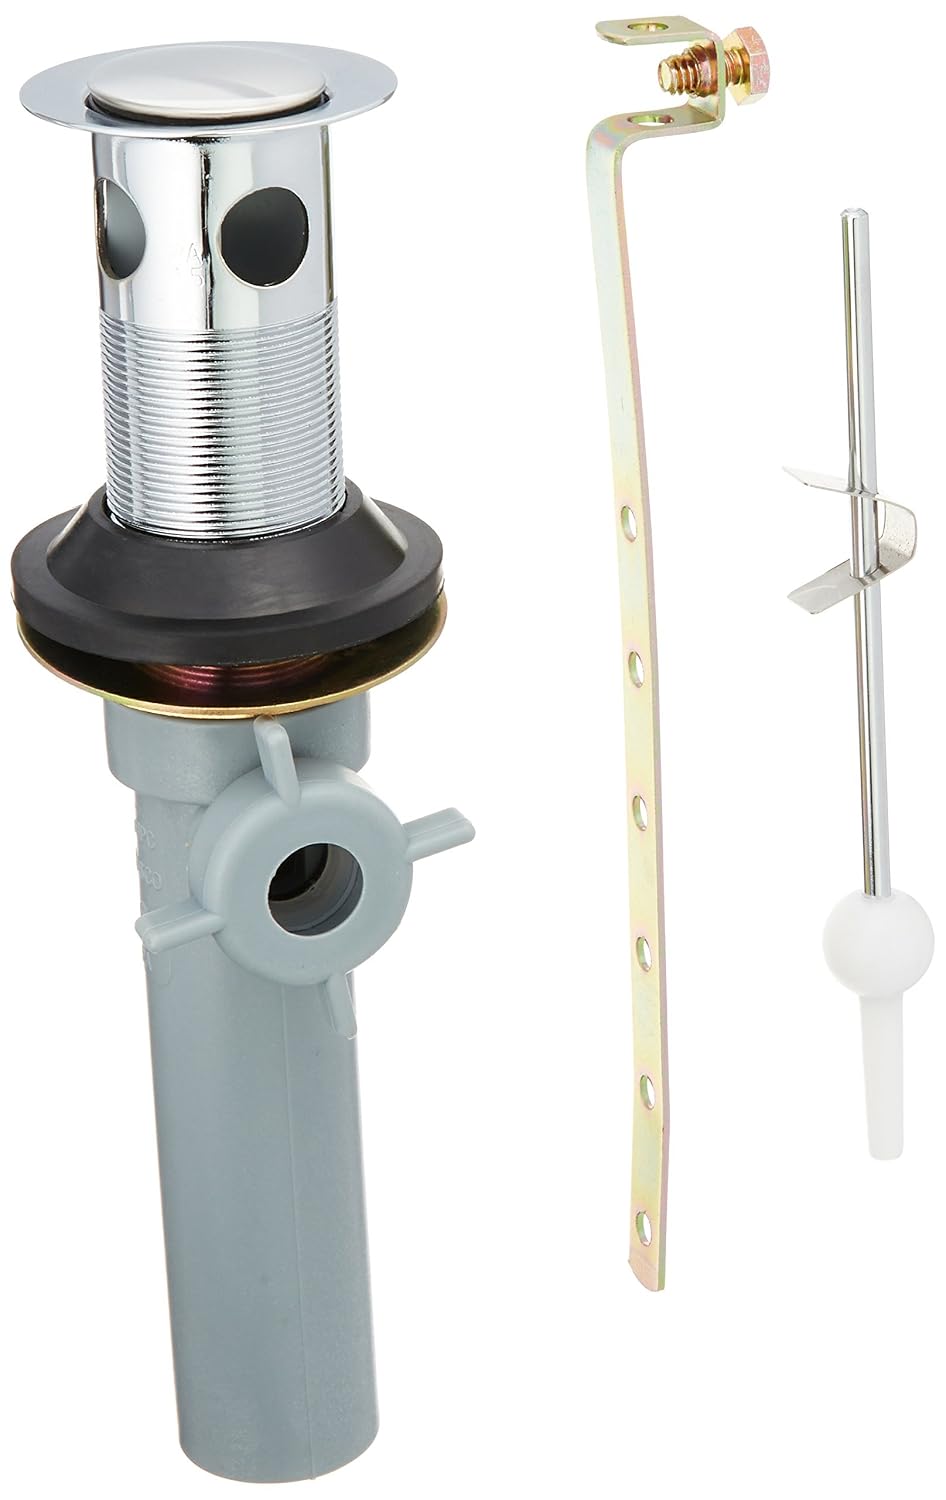
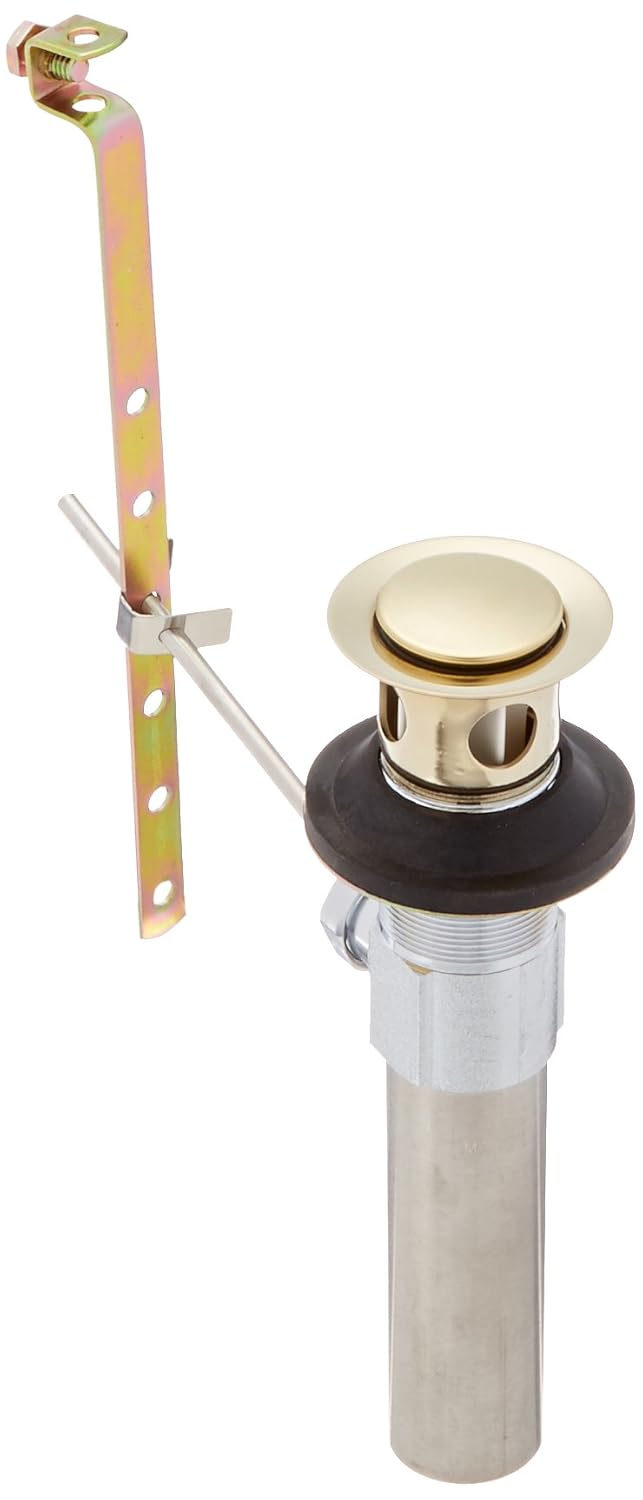
The first step in removing a Delta bathroom sink drain is to gather all the necessary tools. You will need a pair of pliers, a screwdriver, a putty knife, a bucket, and a new drain assembly. Once you have all these tools, you can begin the removal process.


How to Remove a Delta Bathroom Sink Drain


Step-by-Step Guide for Removing a Delta Bathroom Sink Drain
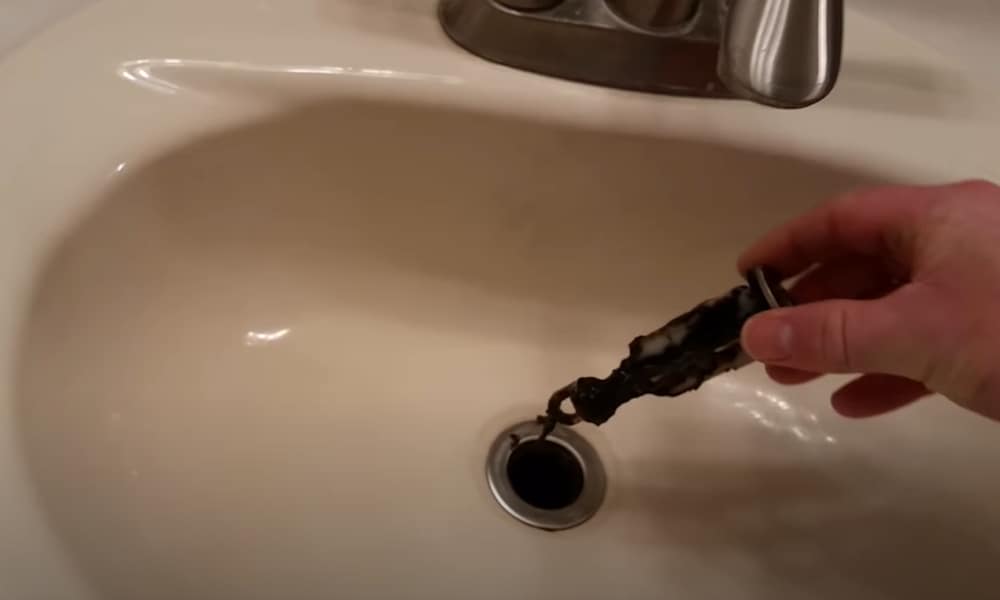
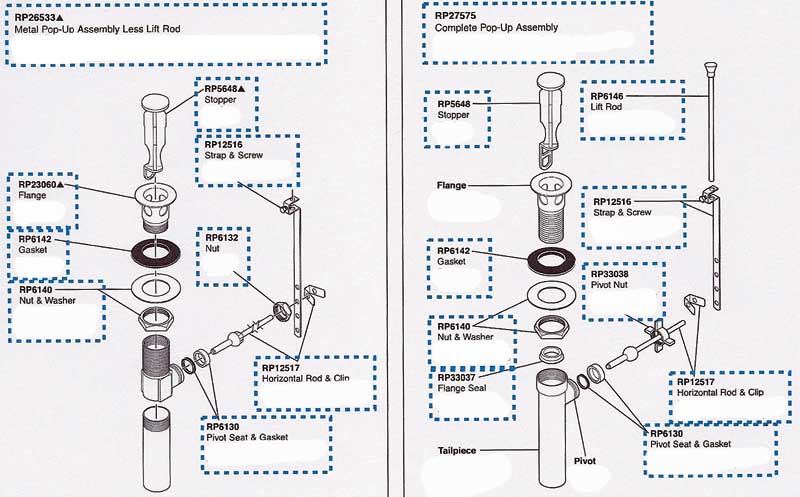
Step 1: Start by removing the stopper from the drain. Most Delta bathroom sinks have a lift and turn or a push and pull stopper. To remove it, simply twist or pull the stopper out of the drain.
Step 2: Next, use the pliers to loosen the nut that holds the drain assembly in place. You may need to use some force, but be careful not to damage the nut or the drain.
Step 3: Once the nut is loose, you can pull the drain assembly out of the sink. If the assembly is stuck, you may need to use the putty knife to gently pry it loose.
Step 4: Once the old drain assembly is removed, clean the area around the drain hole with a rag. This will ensure that the new drain assembly will seal properly.
Step 5: Install the new drain assembly by placing it into the drain hole and securing it with the nut. Use the pliers to tighten the nut, but be careful not to over-tighten it.
Step 6: Finally, place the stopper back into the drain and test the new assembly by running water through it. If there are no leaks, you have successfully removed and replaced your Delta bathroom sink drain.


Step-by-Step Guide for Removing a Delta Bathroom Sink Drain


:max_bytes(150000):strip_icc()/bathroom-sink-drain-installation-2718843-02-61e5ecbee1e949be8d8f45ac4f5a6797.jpg)


Removing a Delta Bathroom Sink Drain: Tips and Tricks
Removing a Delta bathroom sink drain can be a frustrating task, but here are a few tips and tricks to make the process easier:
- If the drain assembly is stuck, try using a lubricant, such as WD-40, to loosen it.
- If the nut is too tight to loosen with pliers, try using a wrench for more leverage.
- Be sure to turn off the water supply to your sink before starting the removal process.


Removing a Delta Bathroom Sink Drain: Tips and Tricks
DIY Delta Bathroom Sink Drain Removal
Removing a Delta bathroom sink drain is a DIY project that can save you time and money. By following our step-by-step guide and using the right tools, you can easily remove and replace your drain without the need for a plumber.


DIY Delta Bathroom Sink Drain Removal

Tools Needed for Removing a Delta Bathroom Sink Drain
- Pliers
- Screwdriver
- Putty knife
- Bucket
- New drain assembly


Tools Needed for Removing a Delta Bathroom Sink Drain

Common Problems with Removing a Delta Bathroom Sink Drain
One common problem when removing a Delta bathroom sink drain is encountering a stuck or corroded nut. If this happens, try using a lubricant or a wrench for more leverage. Another issue can be a drain assembly that is difficult to remove. In this case, using a putty knife to gently pry it loose can help.

Common Problems with Removing a Delta Bathroom Sink Drain


Video Tutorial: Removing a Delta Bathroom Sink Drain
If you prefer visual instructions, there are many helpful video tutorials available online that can guide you through the process of removing a Delta bathroom sink drain. These videos can be a great resource for DIYers.


Video Tutorial: Removing a Delta Bathroom Sink Drain


Expert Tips for Removing a Delta Bathroom Sink Drain
Here are a few tips from experts that can make removing a Delta bathroom sink drain even easier:
- When installing a new drain assembly, apply a small amount of plumber's putty around the drain hole to ensure a watertight seal.
- If you are having trouble loosening the nut, try using a hairdryer to heat it up. The heat can help to loosen any corrosion or debris.
- If you are not confident in your DIY skills, it is always best to call a professional plumber to avoid any potential damage to your sink or plumbing.

Expert Tips for Removing a Delta Bathroom Sink Drain

Delta Bathroom Sink Drain Removal: Step-by-Step Instructions
To summarize, here are the step-by-step instructions for removing a Delta bathroom sink drain:
1. Gather all necessary tools.
2. Remove the stopper from the drain.
3. Loosen the nut holding the drain assembly in place.
4. Remove the old drain assembly.
5. Clean the area around the drain hole.
6. Install the new drain assembly.
7. Test for leaks.
8. Replace the stopper.
With this guide, you should now be able to easily remove and replace your Delta bathroom sink drain. Remember to always be cautious and take your time to avoid any accidents or damage. Happy DIY-ing!


Delta Bathroom Sink Drain Removal: Step-by-Step Instructions
Understanding the Importance of Proper Drainage in Bathroom Design

The Role of Drainage in Bathroom Functionality
 When it comes to designing a bathroom, many homeowners focus on the aesthetic aspects such as the tiles, fixtures, and color scheme. While these elements are important, it's equally crucial to consider the functionality of your bathroom, especially when it comes to
drainage
. A properly functioning drain system is essential for keeping your bathroom clean, hygienic, and free from potential water damage.
When it comes to designing a bathroom, many homeowners focus on the aesthetic aspects such as the tiles, fixtures, and color scheme. While these elements are important, it's equally crucial to consider the functionality of your bathroom, especially when it comes to
drainage
. A properly functioning drain system is essential for keeping your bathroom clean, hygienic, and free from potential water damage.
The Consequences of Poor Drainage
 If your bathroom has
poor drainage
, it can lead to a host of problems. Water pooling in the sink or bathtub can create an ideal breeding ground for bacteria and mold, which can cause unpleasant odors and potential health hazards. Additionally, stagnant water can damage your bathroom fixtures and cause discoloration or corrosion. In extreme cases, it can even result in structural damage to your home.
If your bathroom has
poor drainage
, it can lead to a host of problems. Water pooling in the sink or bathtub can create an ideal breeding ground for bacteria and mold, which can cause unpleasant odors and potential health hazards. Additionally, stagnant water can damage your bathroom fixtures and cause discoloration or corrosion. In extreme cases, it can even result in structural damage to your home.
The Delta Bathroom Sink Drain Removal Process
 One way to ensure proper drainage in your bathroom is by regularly cleaning and maintaining your sink drain. This is especially important for
Delta bathroom sinks
, which have a unique design that may require specialized tools for removal. To remove a Delta bathroom sink drain, you will need a pair of needle-nose pliers, a flathead screwdriver, and a specialized Delta drain removal tool.
Follow these steps for a successful removal process:
1. Start by removing any visible debris or hair from the drain using the needle-nose pliers.
2. Next, insert the flathead screwdriver into the drain and twist it counterclockwise to loosen the drain.
3. Once the drain is loose, use the Delta drain removal tool to unscrew the drain from the sink.
4. Voila! Your Delta bathroom sink drain is now removed and ready for cleaning or replacement.
One way to ensure proper drainage in your bathroom is by regularly cleaning and maintaining your sink drain. This is especially important for
Delta bathroom sinks
, which have a unique design that may require specialized tools for removal. To remove a Delta bathroom sink drain, you will need a pair of needle-nose pliers, a flathead screwdriver, and a specialized Delta drain removal tool.
Follow these steps for a successful removal process:
1. Start by removing any visible debris or hair from the drain using the needle-nose pliers.
2. Next, insert the flathead screwdriver into the drain and twist it counterclockwise to loosen the drain.
3. Once the drain is loose, use the Delta drain removal tool to unscrew the drain from the sink.
4. Voila! Your Delta bathroom sink drain is now removed and ready for cleaning or replacement.
Conclusion
 In conclusion, proper drainage is a crucial aspect of bathroom design that should not be overlooked. Regularly cleaning and maintaining your bathroom drains, especially for Delta bathroom sinks, can prevent potential health hazards and costly repairs. By following the simple steps outlined above, you can easily remove and maintain your Delta bathroom sink drain for a functional and hygienic bathroom.