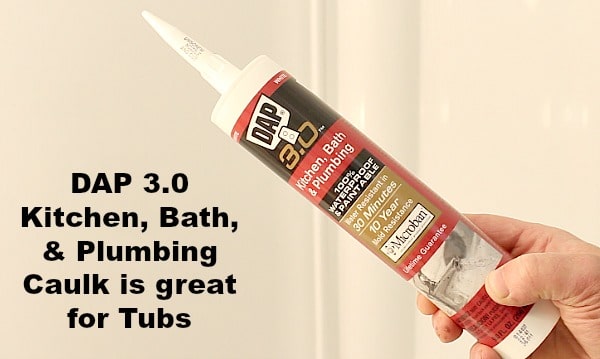
DAP 3.0 Kitchen, Bath, and Plumbing Instructions
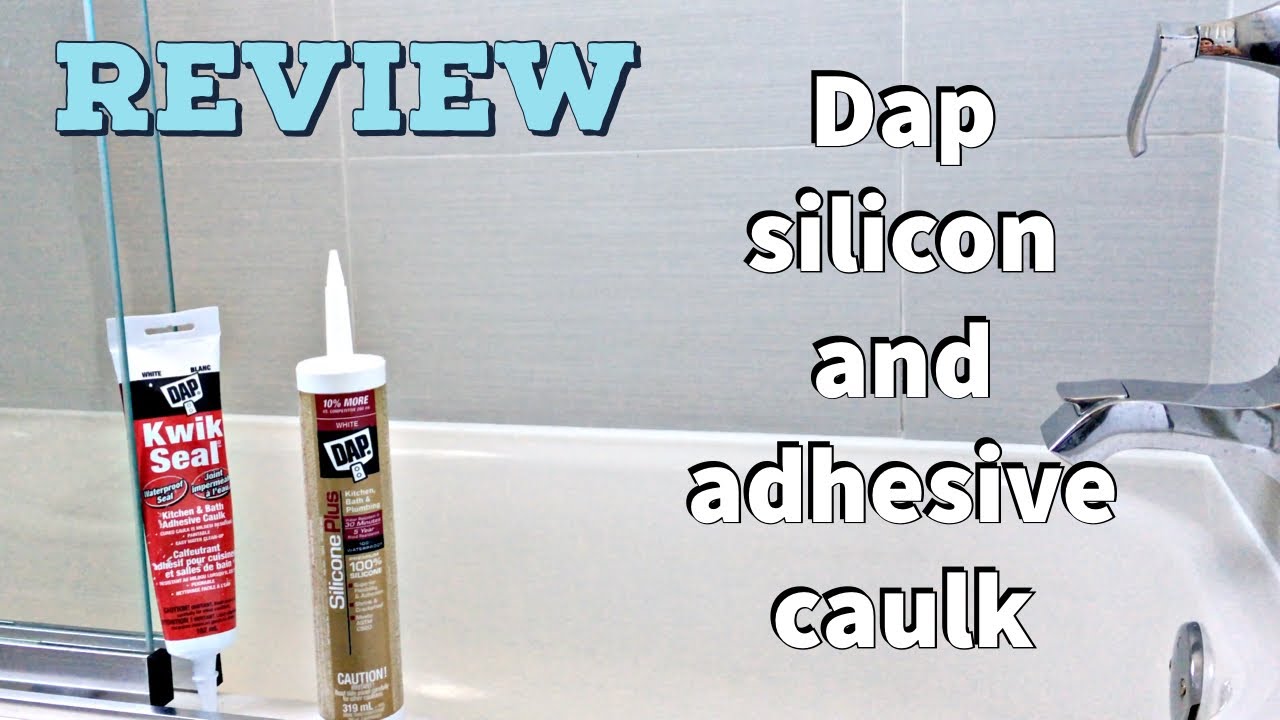
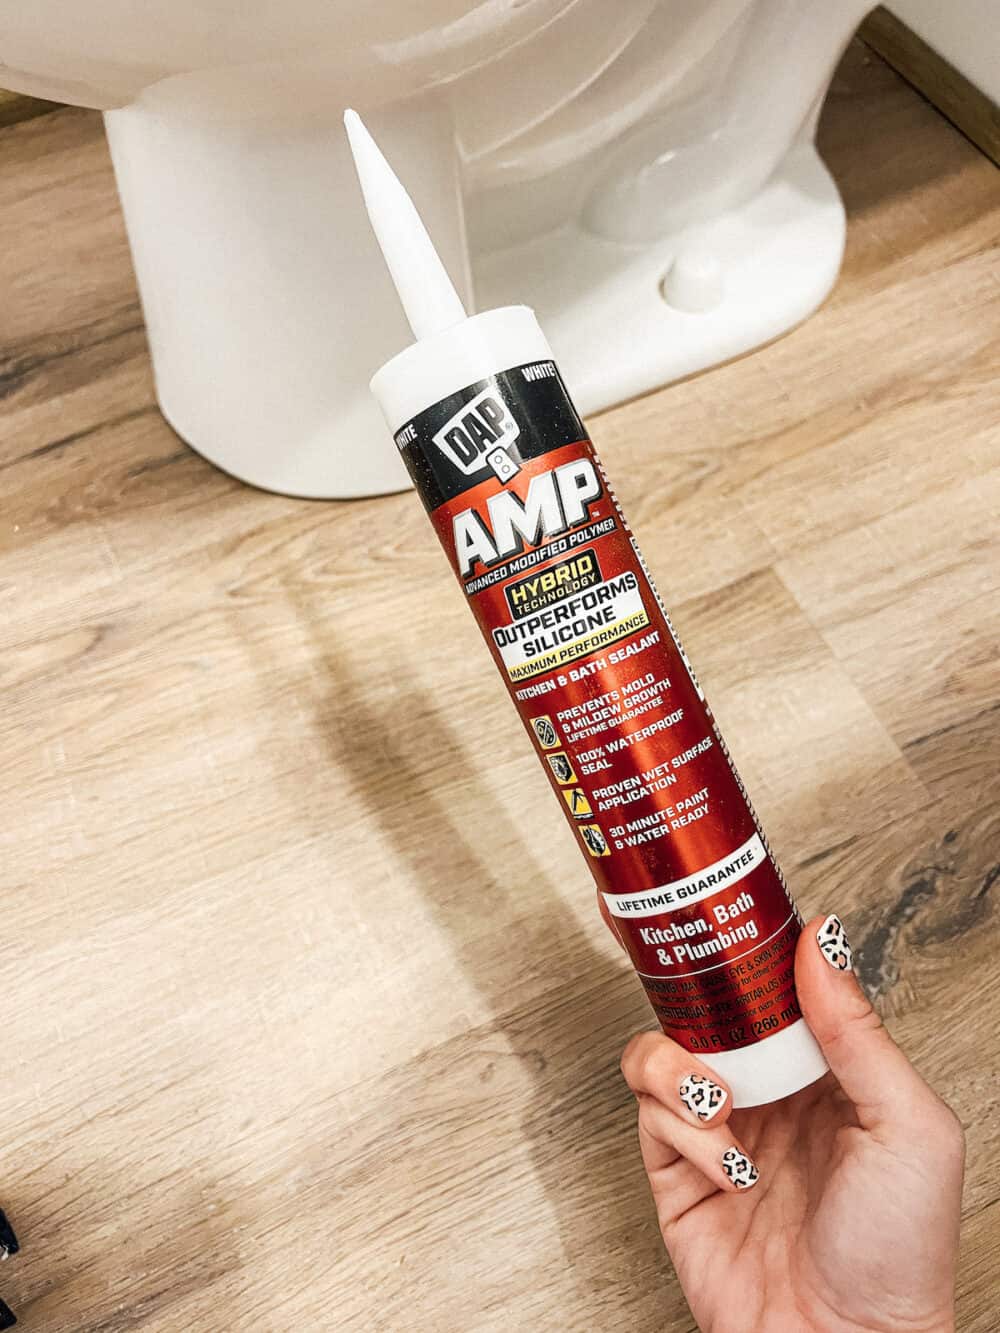
The DAP 3.0 kitchen, bath, and plumbing caulking is a popular choice for DIY enthusiasts and professionals alike. Its advanced formula provides a durable and waterproof seal, making it perfect for use in high-moisture areas like kitchens and bathrooms. In this article, we will provide you with 10 easy-to-follow instructions for using DAP 3.0 in your kitchen, bath, and plumbing projects.


DAP 3.0 Kitchen, Bath, and Plumbing Instructions


DAP 3.0 Instructions for Kitchen, Bath, and Plumbing
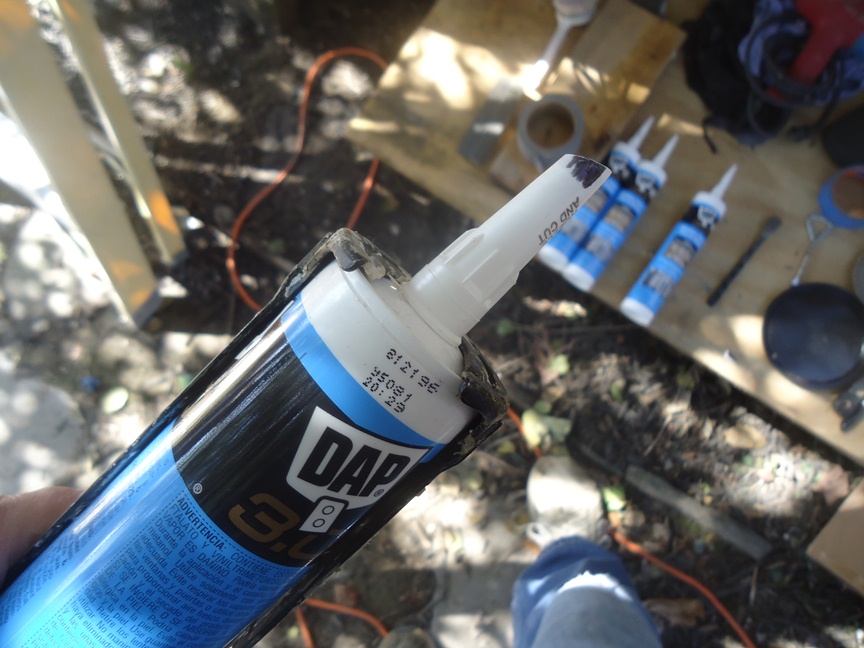
Before we dive into the specific instructions, it's important to understand the general application process for DAP 3.0. The first step is to prepare the surface by cleaning it thoroughly and removing any old caulk. Then, using a caulking gun, apply the DAP 3.0 in a continuous bead along the joint, making sure to cover the entire area. Finally, smooth the caulk with a damp finger or caulk tool, and remove any excess with a damp cloth. Now, let's take a look at the instructions for specific kitchen, bath, and plumbing projects.

DAP 3.0 Instructions for Kitchen, Bath, and Plumbing


DAP 3.0 Kitchen and Bath Instructions
The kitchen and bathroom are two areas of the house that are constantly exposed to moisture, making them prime spots for DAP 3.0 caulking. For kitchen and bath projects, follow the general application process mentioned above. However, be sure to pay special attention to areas around sinks, tubs, and showers, as these are common areas for water to seep through and cause damage. Additionally, if you're using DAP 3.0 in your kitchen, make sure to choose a caulk color that complements your countertop and backsplash for a seamless look.

DAP 3.0 Kitchen and Bath Instructions


DAP 3.0 Plumbing Instructions
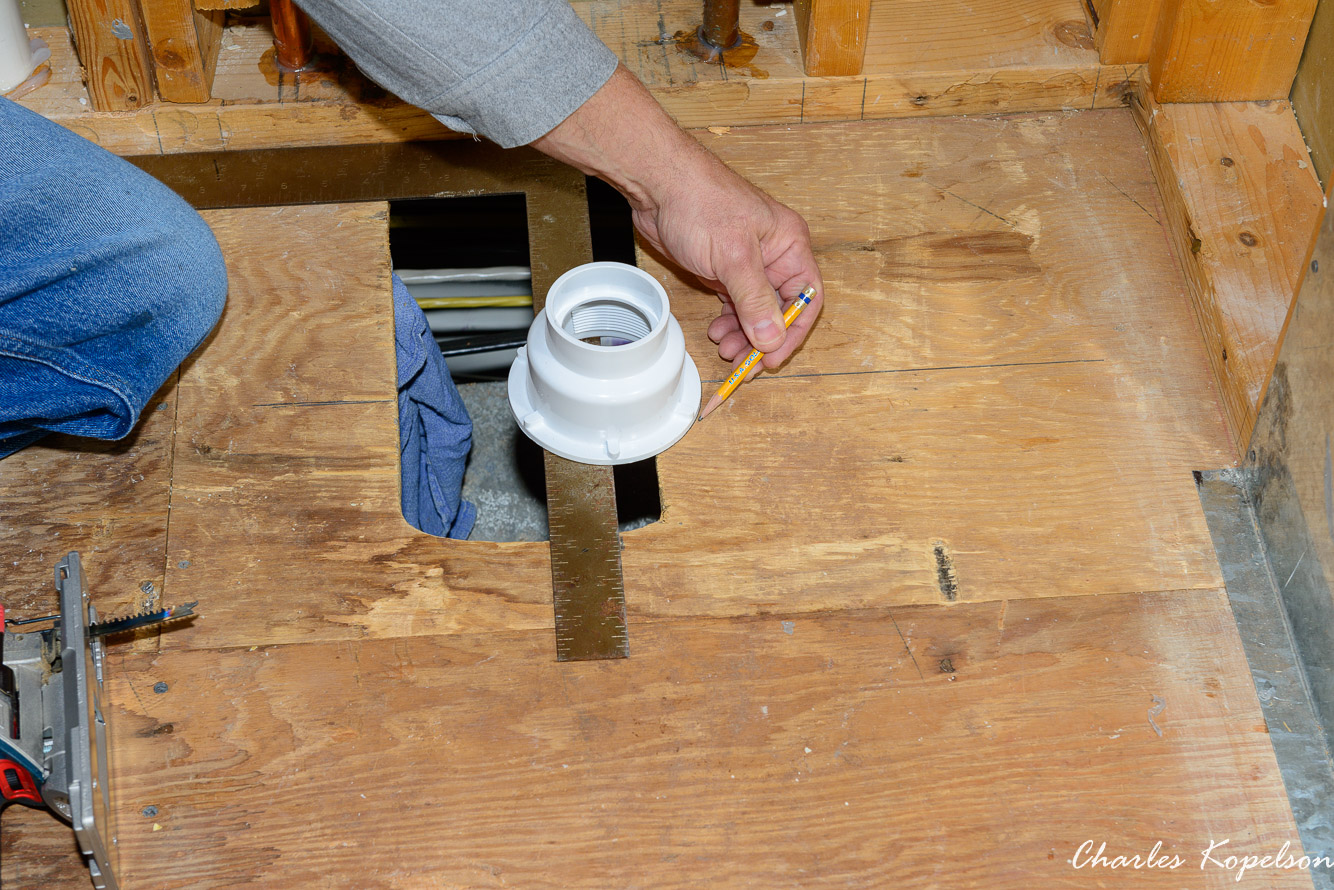
DAP 3.0 is not just for kitchens and bathrooms; it's also a great choice for plumbing projects. Whether you're installing a new sink or repairing a leaky pipe, DAP 3.0 can provide a strong and waterproof seal. When using DAP 3.0 for plumbing projects, be sure to pay extra attention to areas where pipes meet walls or floors, as these are common areas for water to seep through. Also, remember to let the caulk dry completely before testing the plumbing to ensure a secure seal.


DAP 3.0 Plumbing Instructions


DAP 3.0 Kitchen Instructions
When it comes to kitchens, DAP 3.0 can be used for more than just sealing joints and seams. It's also great for filling small cracks or gaps in baseboards, cabinets, and countertops. This can help prevent food crumbs and water from getting trapped in these areas, making it easier to keep your kitchen clean. Simply follow the general application process, and use a damp cloth to smooth out any excess caulk. Then, let it dry completely before using your kitchen again.

DAP 3.0 Kitchen Instructions

DAP 3.0 Bath Instructions
In the bathroom, DAP 3.0 can be used not only for caulking around fixtures, but also for filling gaps and cracks in tile grout. This can help prevent water from seeping through and causing damage to the walls or floors. To use DAP 3.0 for grout repair, first clean the area and remove any old grout. Then, apply the caulk in a thin line along the grout line, and use a damp cloth to smooth it out. Let it dry completely before using the shower or bath again.

DAP 3.0 Bath Instructions


DAP 3.0 Kitchen and Plumbing Instructions
If you have a kitchen or plumbing project that involves both areas, DAP 3.0 is the perfect solution. It can be used to seal joints and seams in the kitchen, as well as around pipes and fixtures in the plumbing. When using DAP 3.0 for these types of projects, make sure to choose a caulk color that complements both the kitchen and bathroom for a cohesive look.


DAP 3.0 Kitchen and Plumbing Instructions

DAP 3.0 Bath and Plumbing Instructions
Similar to the kitchen and plumbing instructions, DAP 3.0 can also be used for bath and plumbing projects. It's a versatile caulk that can provide a strong and waterproof seal in both areas. Whether you're replacing a toilet or installing a new showerhead, DAP 3.0 can help prevent water damage and keep your bathroom looking pristine.

DAP 3.0 Bath and Plumbing Instructions


DAP 3.0 Kitchen and Bath Plumbing Instructions
For large projects that involve all three areas, DAP 3.0 can be a lifesaver. It's strong and durable formula can provide a long-lasting seal in kitchens, bathrooms, and plumbing fixtures. When using DAP 3.0 for these types of projects, make sure to purchase enough caulk to cover all the areas, and follow the general application process for each specific area.
DAP 3.0 Kitchen and Bath Plumbing Instructions
DAP 3.0 Kitchen, Bath, and Plumbing Guide
In addition to these specific instructions, there are a few general tips to keep in mind when using DAP 3.0 in your kitchen, bath, and plumbing projects. First, always make sure to read and follow the manufacturer's instructions for the best results. Second, be sure to use a high-quality caulking gun for easier application. And finally, remember to let the caulk dry completely before using the area again.
With these 10 instructions, you can confidently use DAP 3.0 in your kitchen, bath, and plumbing projects. Its advanced formula and easy application process make it a top choice for sealing and protecting these areas in your home. So, the next time you have a kitchen or bathroom renovation or a plumbing repair, reach for DAP 3.0 and follow these instructions for a professional-looking result.

DAP 3.0 Kitchen, Bath, and Plumbing Guide
The Importance of DAP 3.0 in Kitchen, Bath, and Plumbing Design
Creating a Functional and Aesthetically Pleasing Space
 When it comes to designing our homes, the kitchen, bathroom, and plumbing are often overlooked. However, these areas play a crucial role in our daily lives and should not be neglected. This is where DAP 3.0 comes in – a revolutionary product that is changing the game in kitchen, bath, and plumbing design.
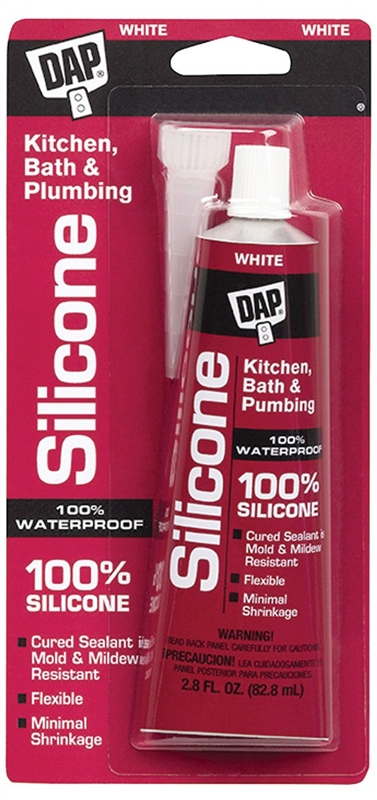
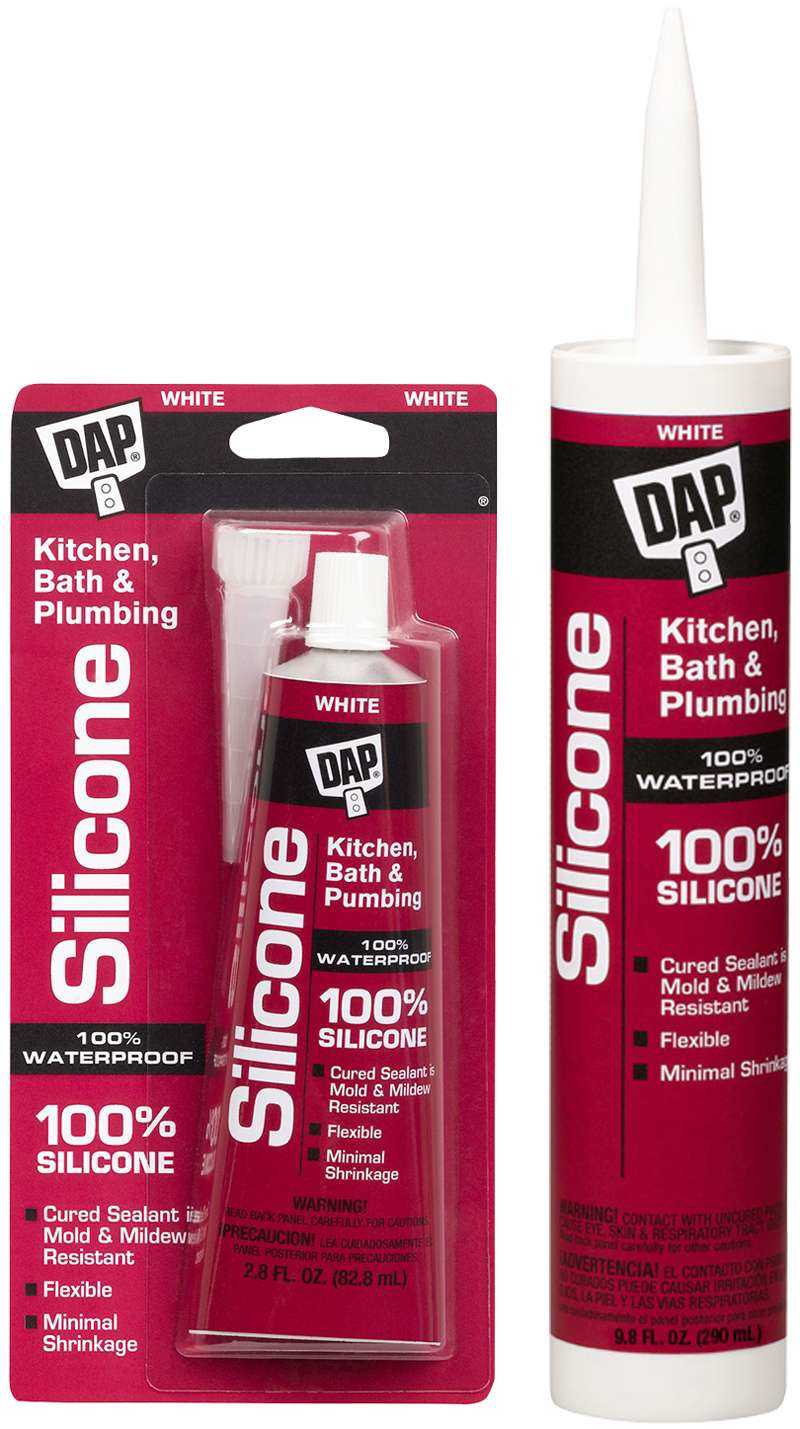
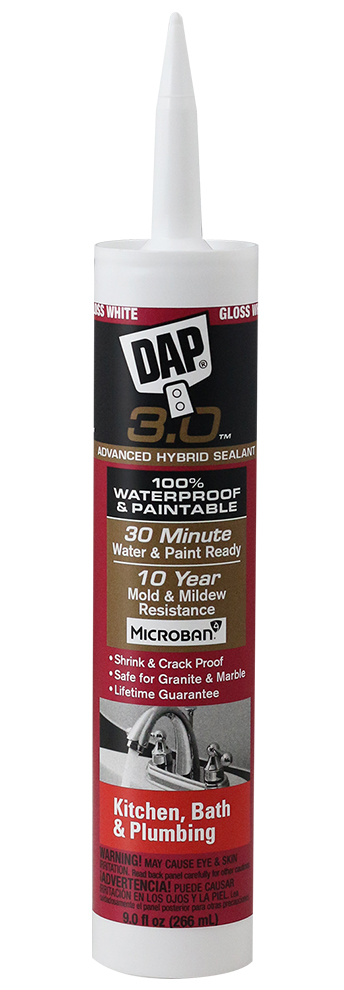
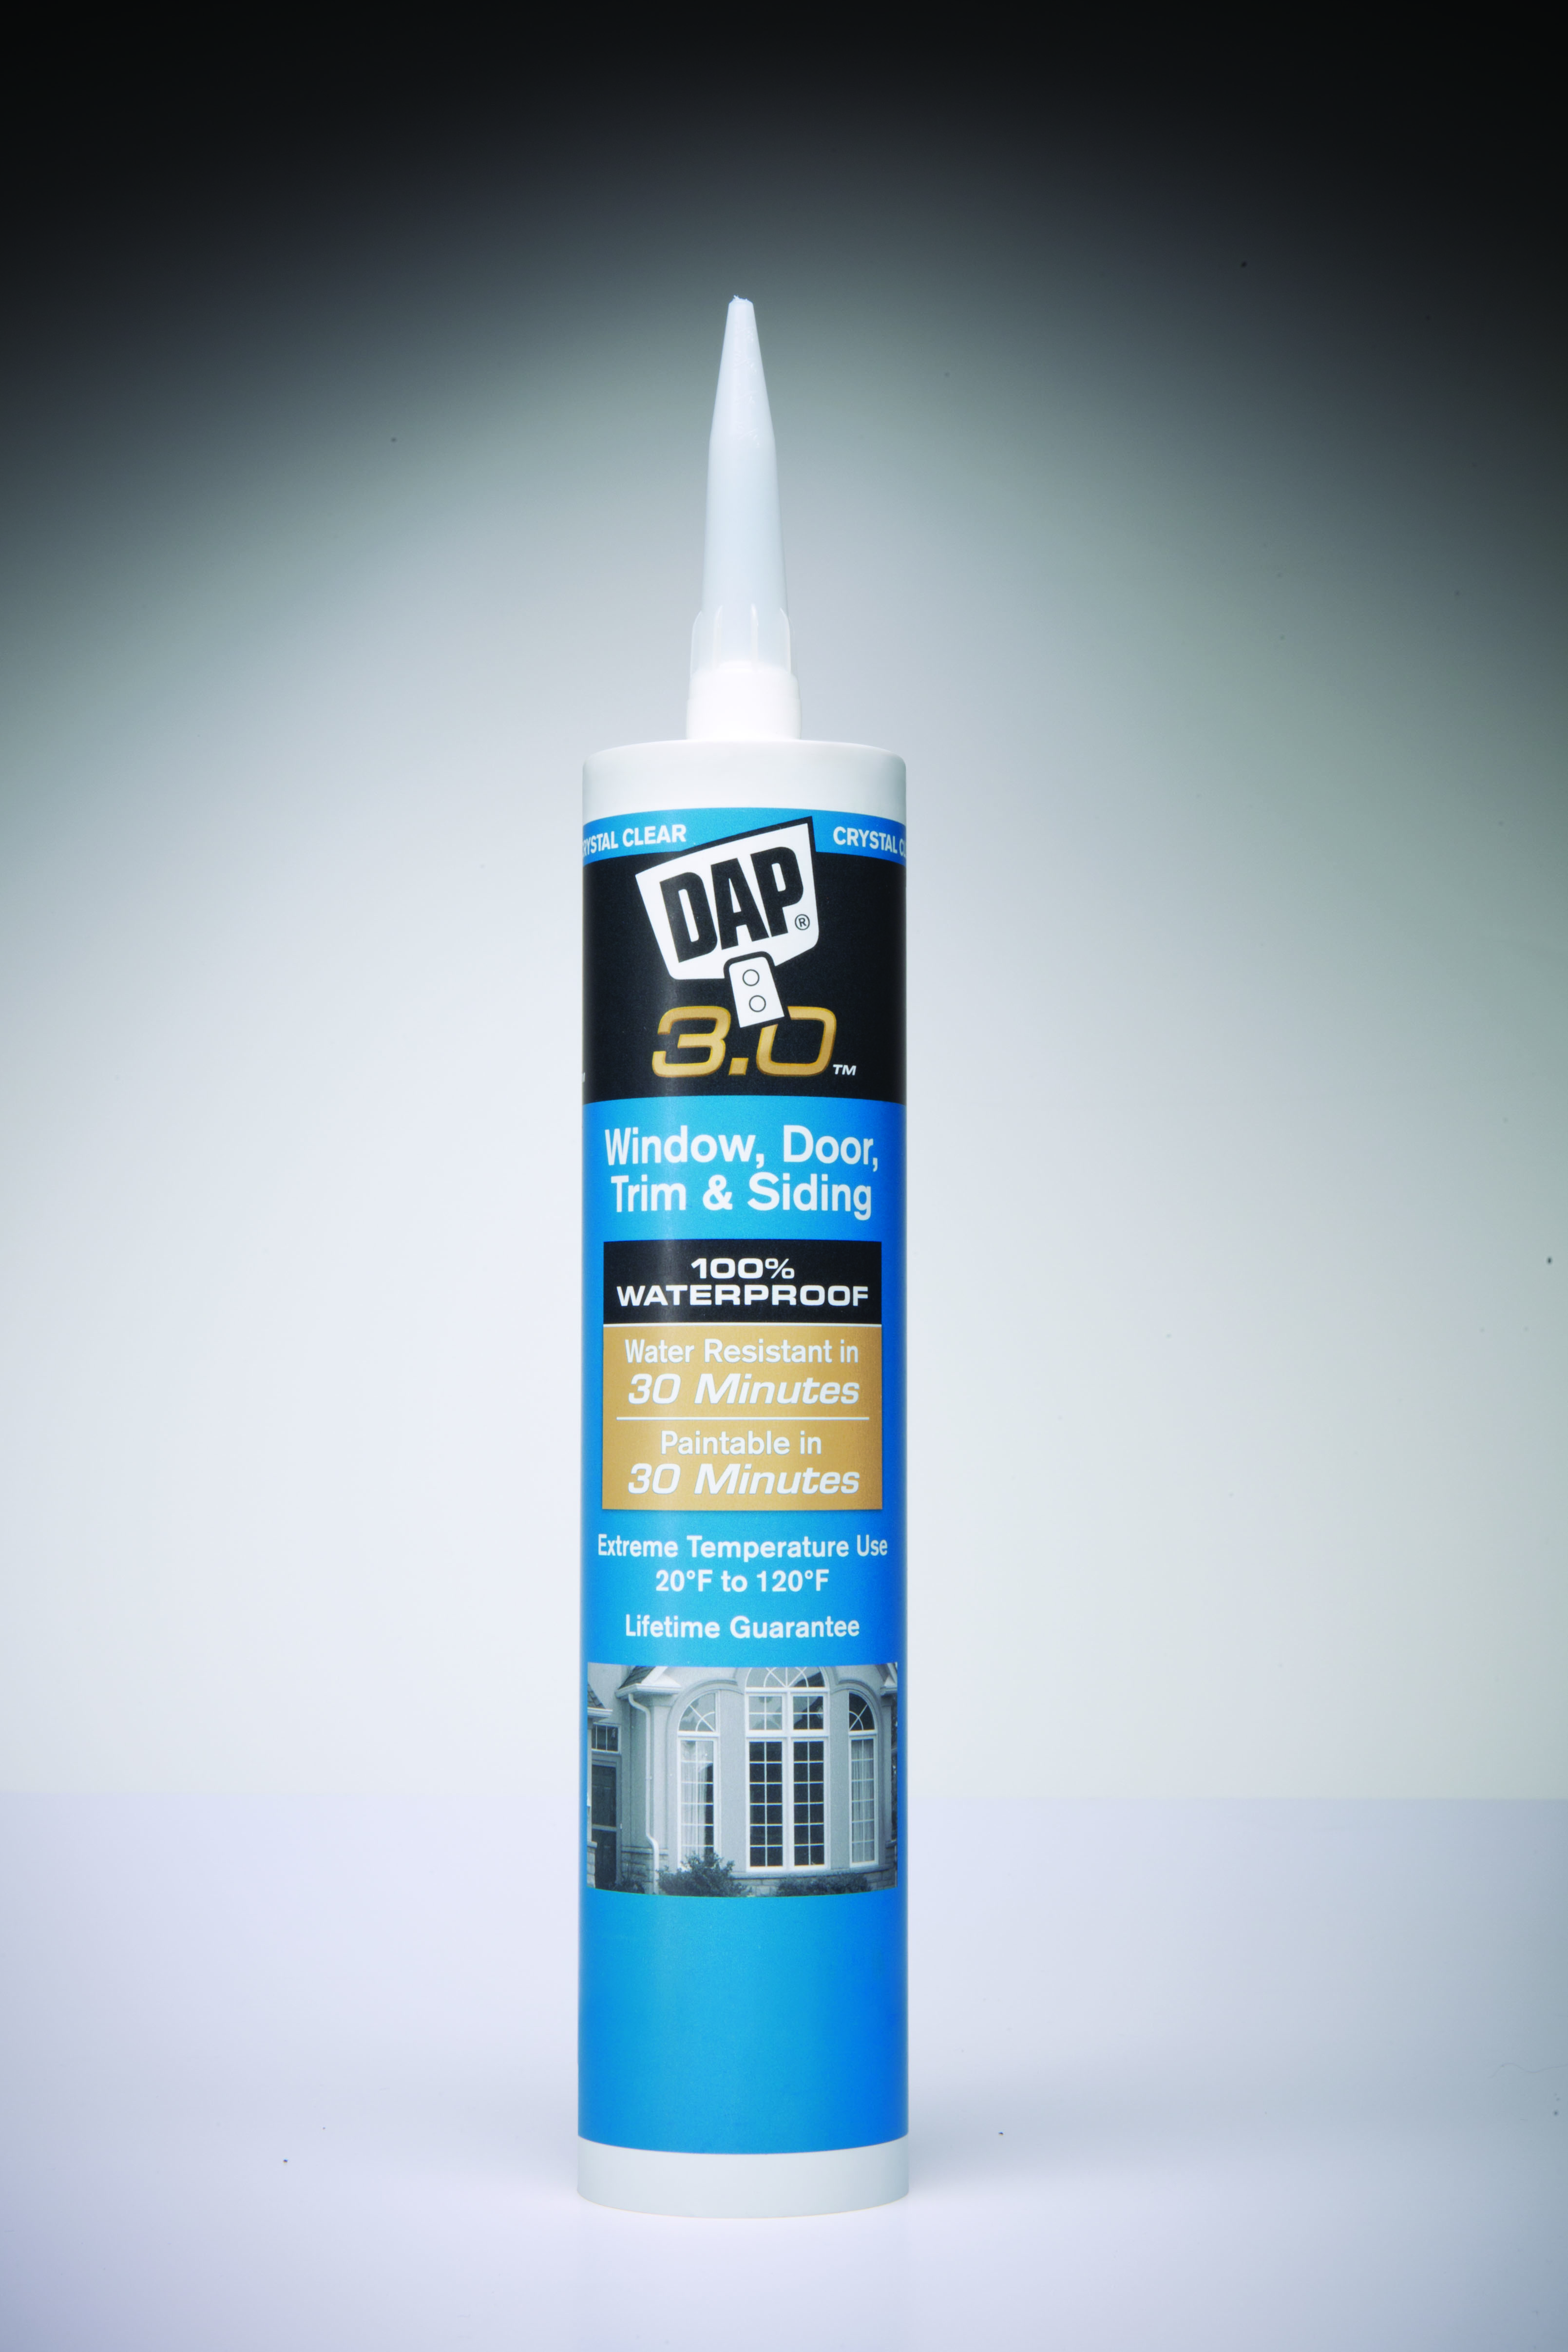
DAP 3.0
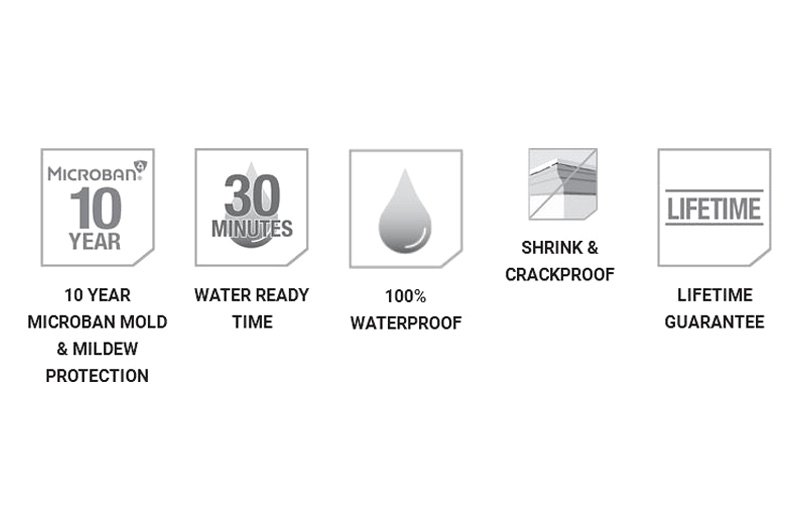
is a high-quality sealant that provides durable and long-lasting protection against water, moisture, and mold. Its advanced formula makes it perfect for use in areas prone to high humidity and water exposure, such as kitchens, bathrooms, and plumbing fixtures. With its strong adhesion and flexibility, DAP 3.0 ensures that your kitchen, bath, and plumbing fixtures remain in top condition for years to come.
When it comes to designing our homes, the kitchen, bathroom, and plumbing are often overlooked. However, these areas play a crucial role in our daily lives and should not be neglected. This is where DAP 3.0 comes in – a revolutionary product that is changing the game in kitchen, bath, and plumbing design.
DAP 3.0
is a high-quality sealant that provides durable and long-lasting protection against water, moisture, and mold. Its advanced formula makes it perfect for use in areas prone to high humidity and water exposure, such as kitchens, bathrooms, and plumbing fixtures. With its strong adhesion and flexibility, DAP 3.0 ensures that your kitchen, bath, and plumbing fixtures remain in top condition for years to come.
Sealing and Protecting Your Investment
 Your kitchen, bathroom, and plumbing fixtures are not only functional but also a significant investment in your home. It is essential to protect these areas from potential water damage, which can lead to costly repairs. DAP 3.0 provides an excellent solution for sealing and protecting these crucial areas, giving you peace of mind and saving you money in the long run.
Kitchen
In the kitchen, DAP 3.0 can be used to seal and protect countertops, backsplashes, and sinks. Its waterproof and mold-resistant properties make it ideal for areas that are constantly exposed to water and humidity. Additionally, its clear finish ensures that it does not detract from the aesthetics of your kitchen design.
Bathroom
In the bathroom, DAP 3.0 can be used to seal and protect around showers, tubs, and sinks. Its superior adhesion and flexibility make it perfect for use in these moisture-rich areas, ensuring that your bathroom remains free from water damage and mold growth. Its clear finish also makes it ideal for use on tiles and grout, providing a seamless and professional look.
Plumbing
When it comes to plumbing, DAP 3.0 can be used to seal and protect around pipes, fixtures, and joints. Its waterproof and mold-resistant properties make it an excellent choice for preventing leaks and water damage in these critical areas. Its flexibility also allows for easy application on curved or irregular surfaces, providing a reliable seal every time.
Your kitchen, bathroom, and plumbing fixtures are not only functional but also a significant investment in your home. It is essential to protect these areas from potential water damage, which can lead to costly repairs. DAP 3.0 provides an excellent solution for sealing and protecting these crucial areas, giving you peace of mind and saving you money in the long run.
Kitchen
In the kitchen, DAP 3.0 can be used to seal and protect countertops, backsplashes, and sinks. Its waterproof and mold-resistant properties make it ideal for areas that are constantly exposed to water and humidity. Additionally, its clear finish ensures that it does not detract from the aesthetics of your kitchen design.
Bathroom
In the bathroom, DAP 3.0 can be used to seal and protect around showers, tubs, and sinks. Its superior adhesion and flexibility make it perfect for use in these moisture-rich areas, ensuring that your bathroom remains free from water damage and mold growth. Its clear finish also makes it ideal for use on tiles and grout, providing a seamless and professional look.
Plumbing
When it comes to plumbing, DAP 3.0 can be used to seal and protect around pipes, fixtures, and joints. Its waterproof and mold-resistant properties make it an excellent choice for preventing leaks and water damage in these critical areas. Its flexibility also allows for easy application on curved or irregular surfaces, providing a reliable seal every time.
Conclusion
 In conclusion, DAP 3.0 is an essential product for any kitchen, bath, and plumbing design project. Its advanced formula, durability, and versatility make it a reliable choice for sealing and protecting these vital areas in your home. Don't underestimate the importance of using DAP 3.0 in your next kitchen, bath, and plumbing project – it could save you time, money, and headaches in the long run.