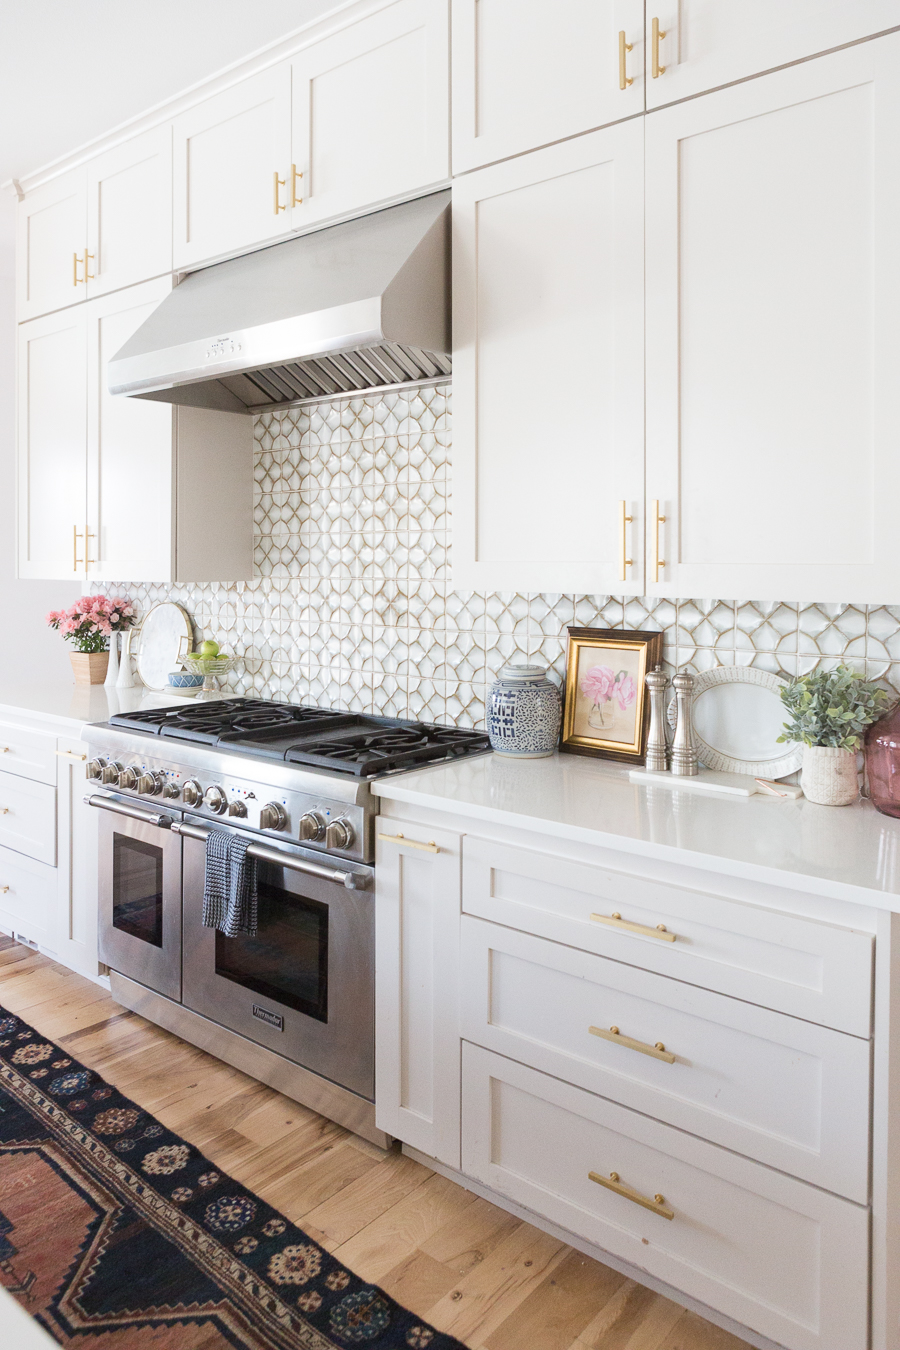
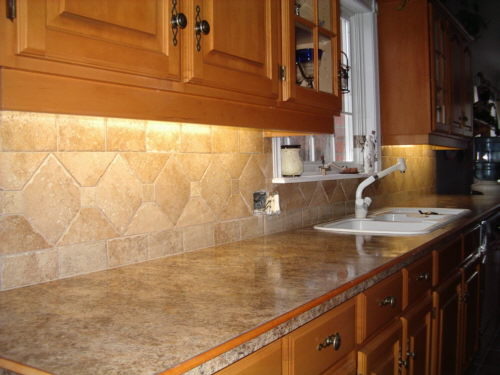
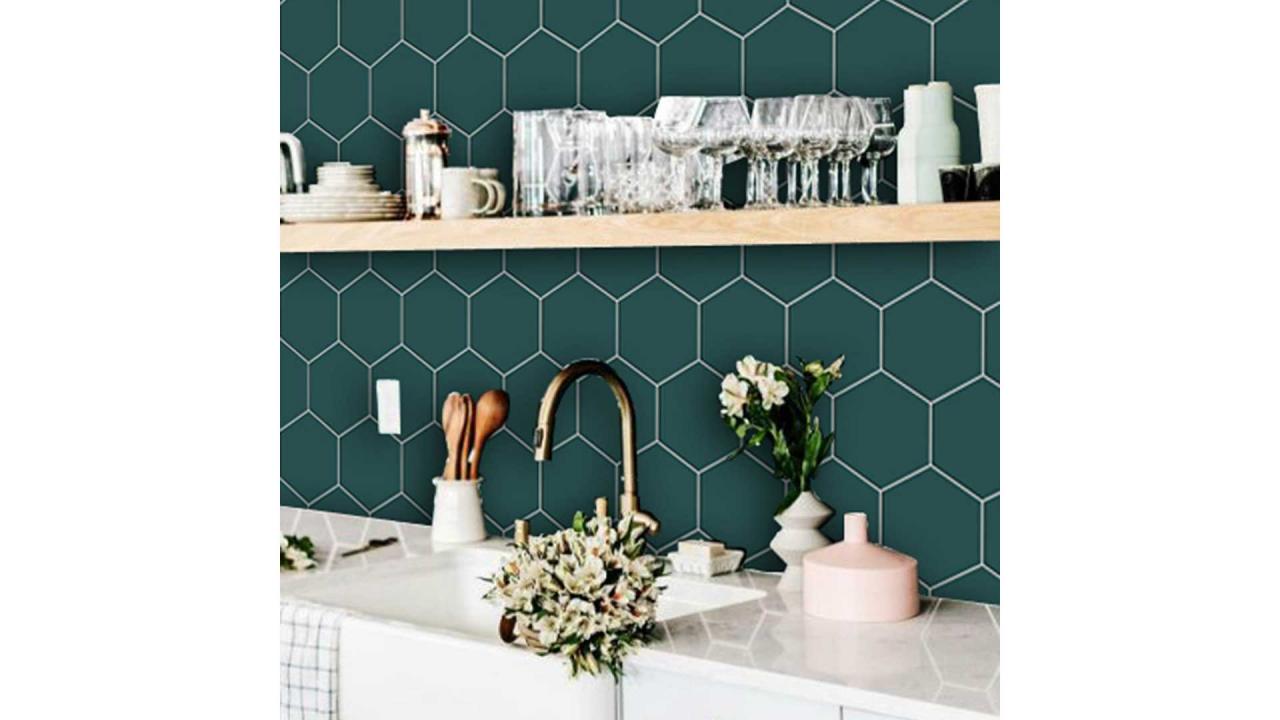
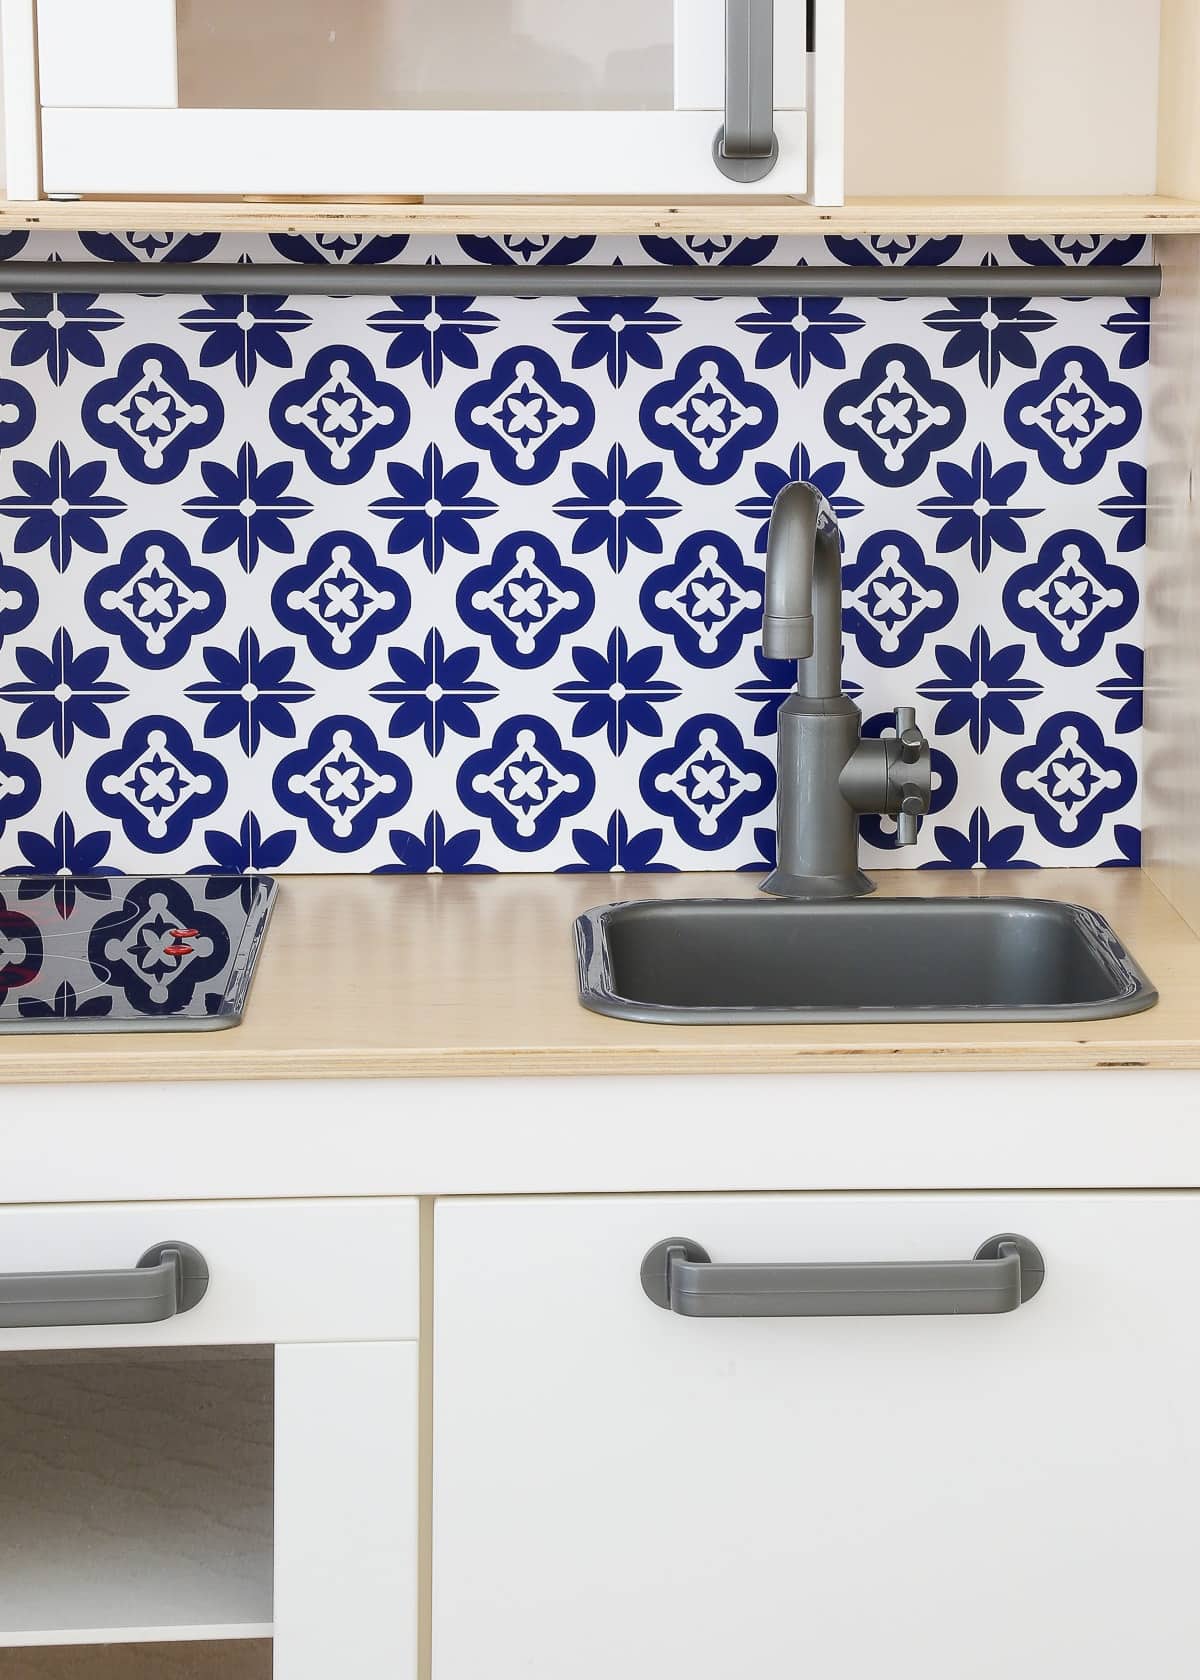
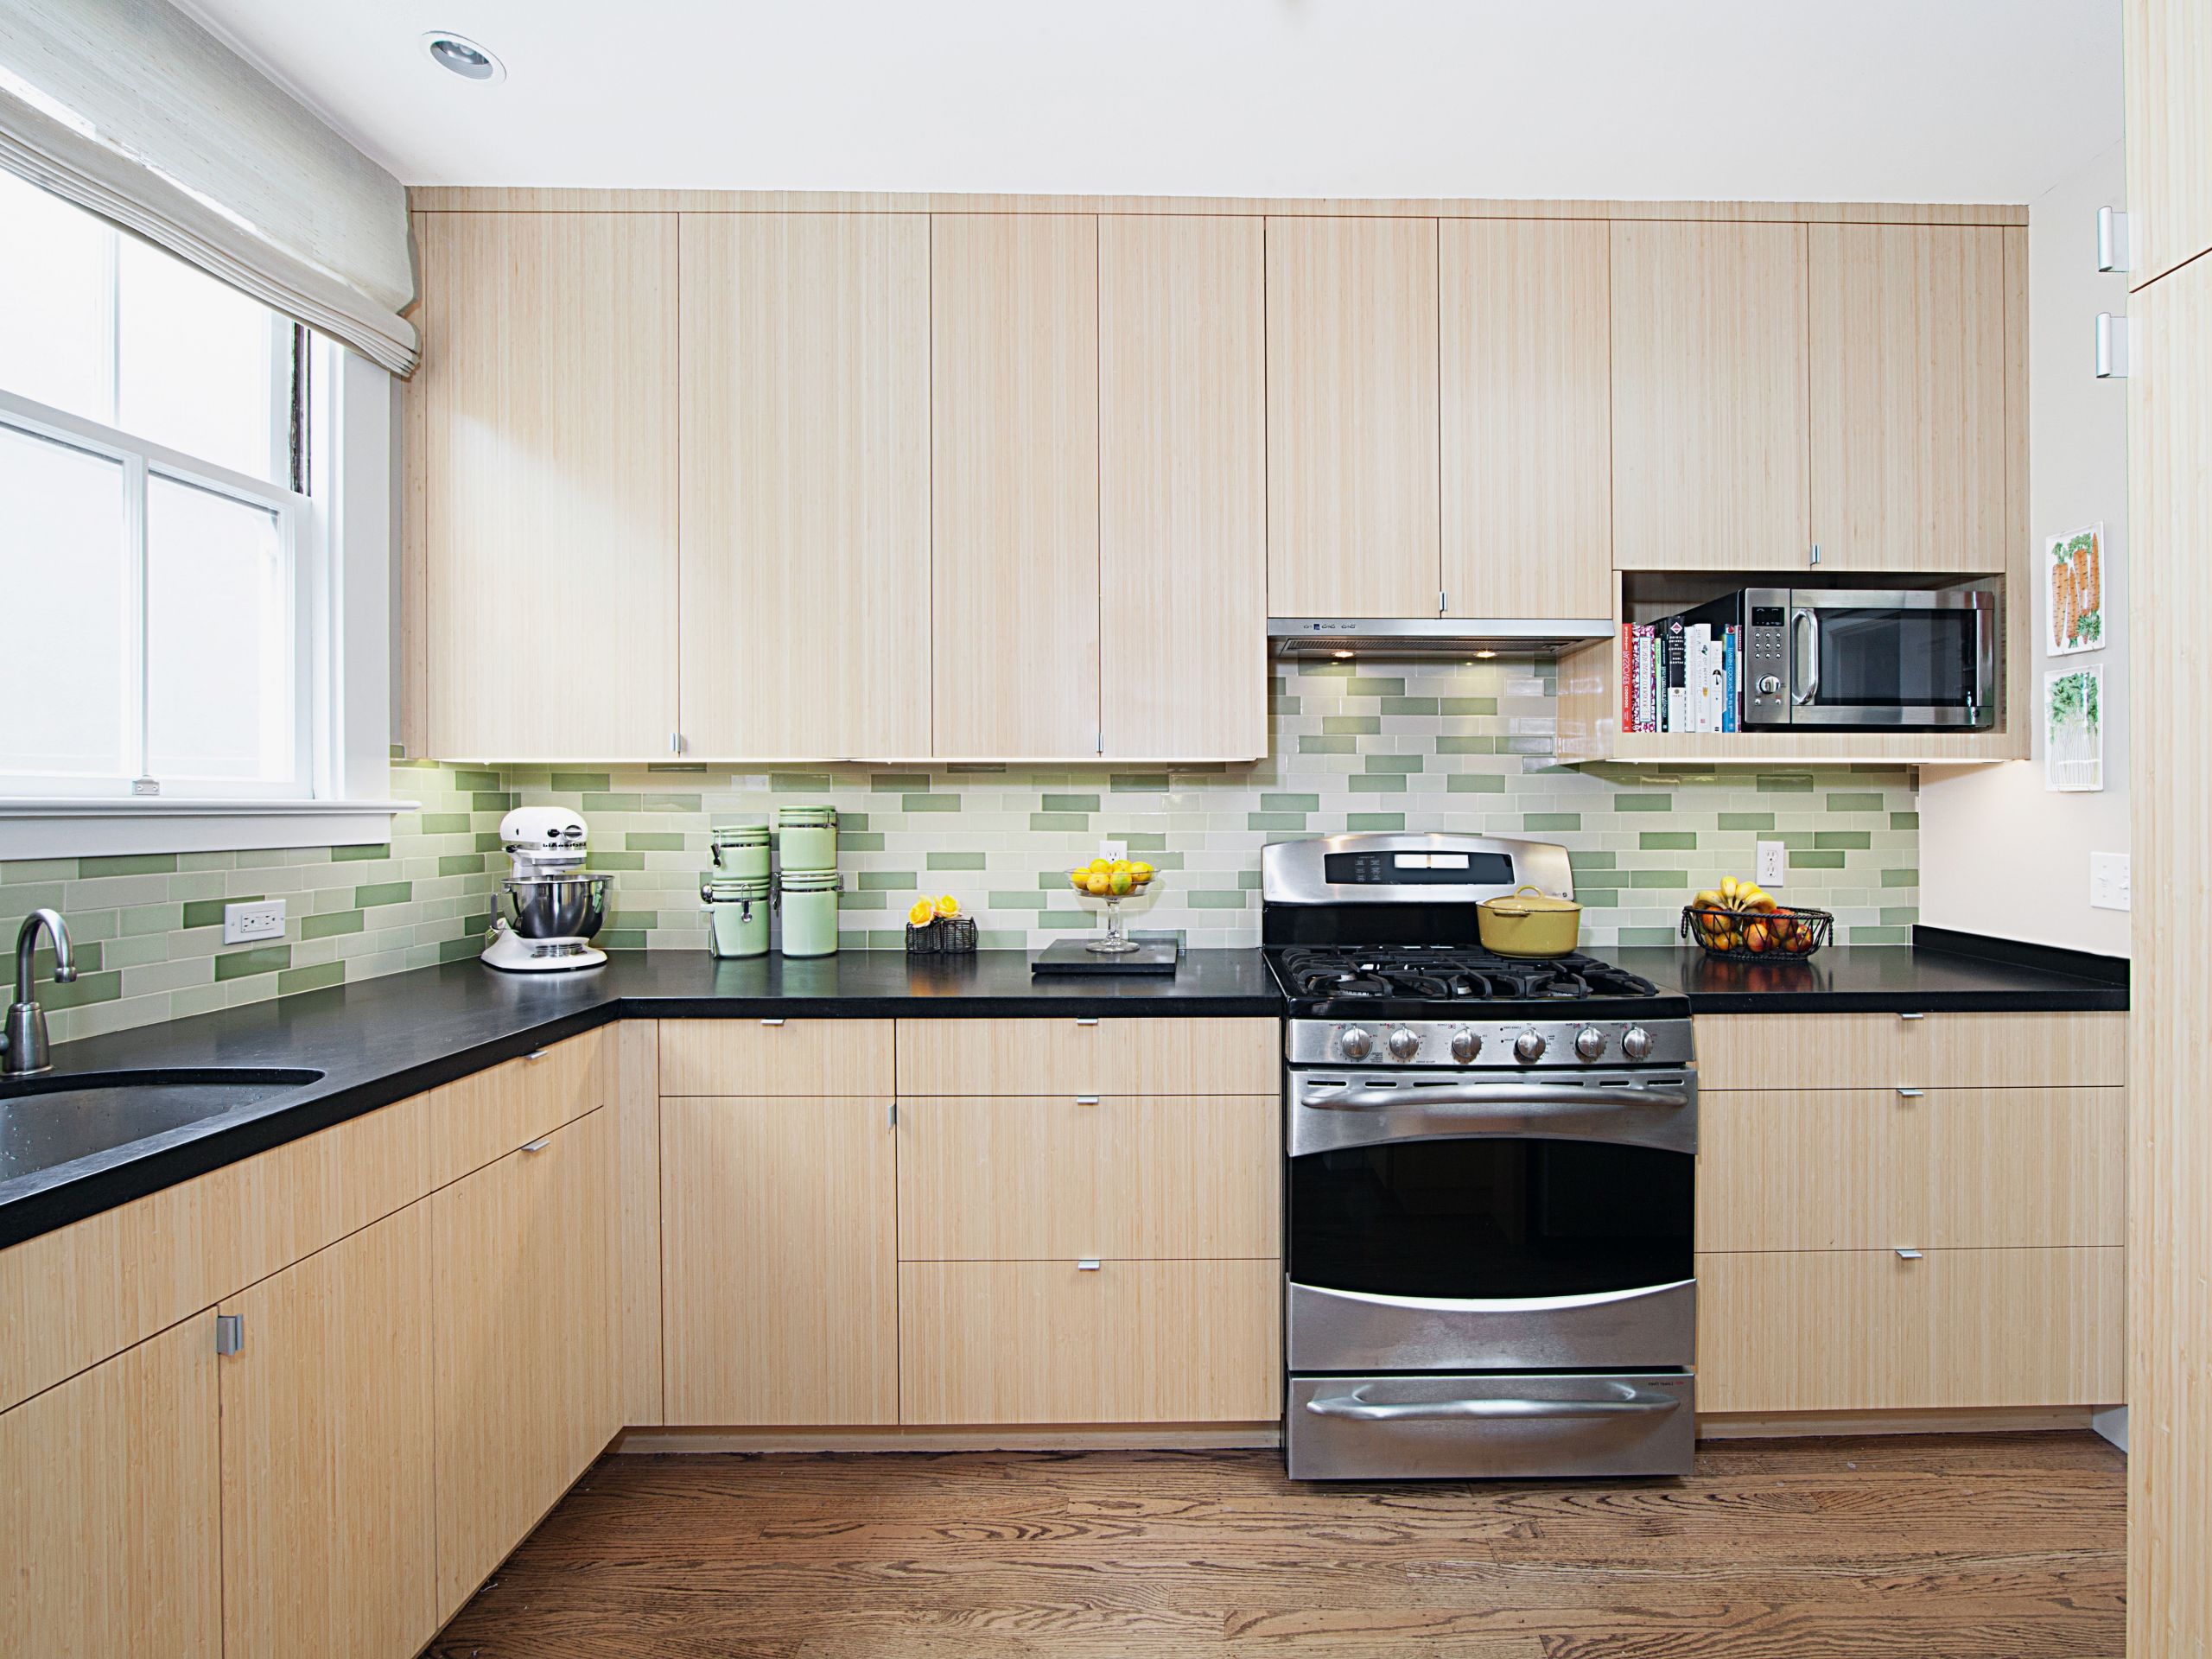
1. Tile Backsplash
If you're looking for a classic and versatile option for your kitchen sink backsplash, then a tile backsplash is the way to go. With a wide range of colors, patterns, and materials to choose from, you can create a unique and personalized look for your kitchen. You can opt for a neutral color like white or grey for a timeless appeal, or go bold with bright and vibrant colors for a more modern and eye-catching design. Tile backsplashes are also easy to clean and maintain, making them a practical choice for a busy kitchen.


1. Tile Backsplash


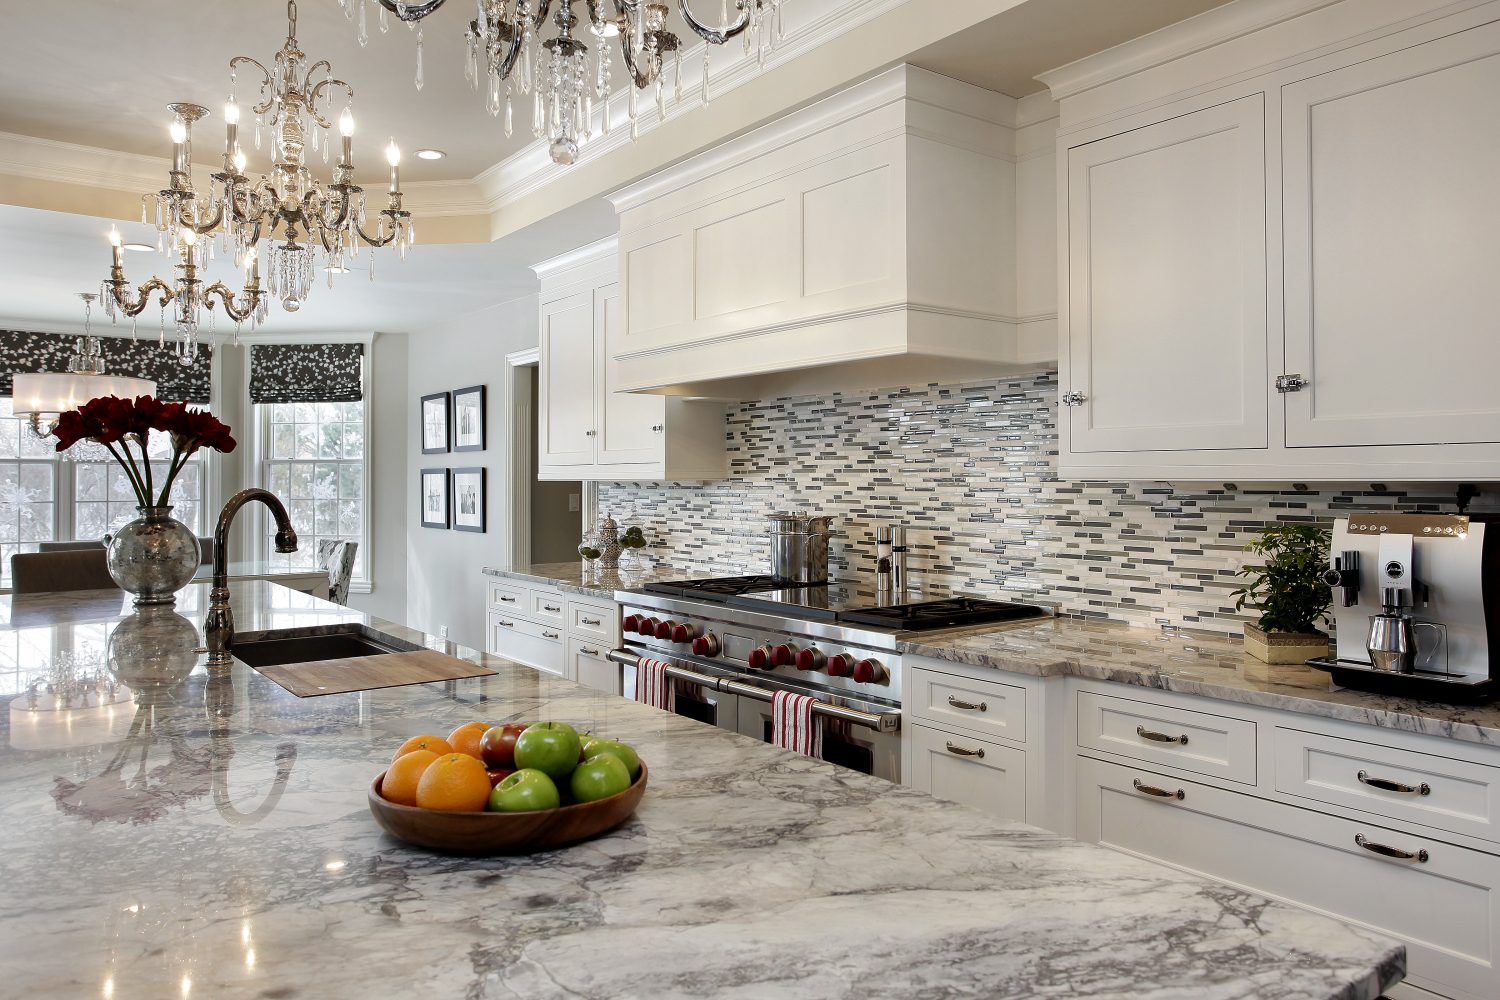
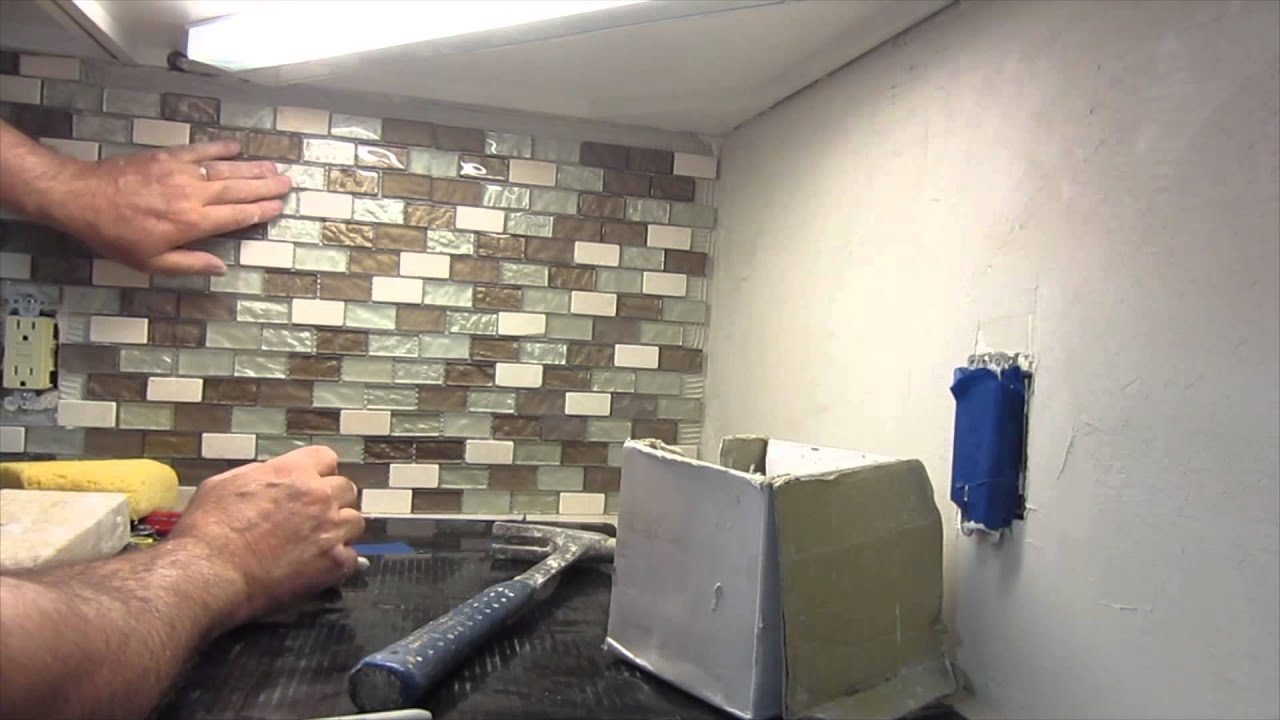
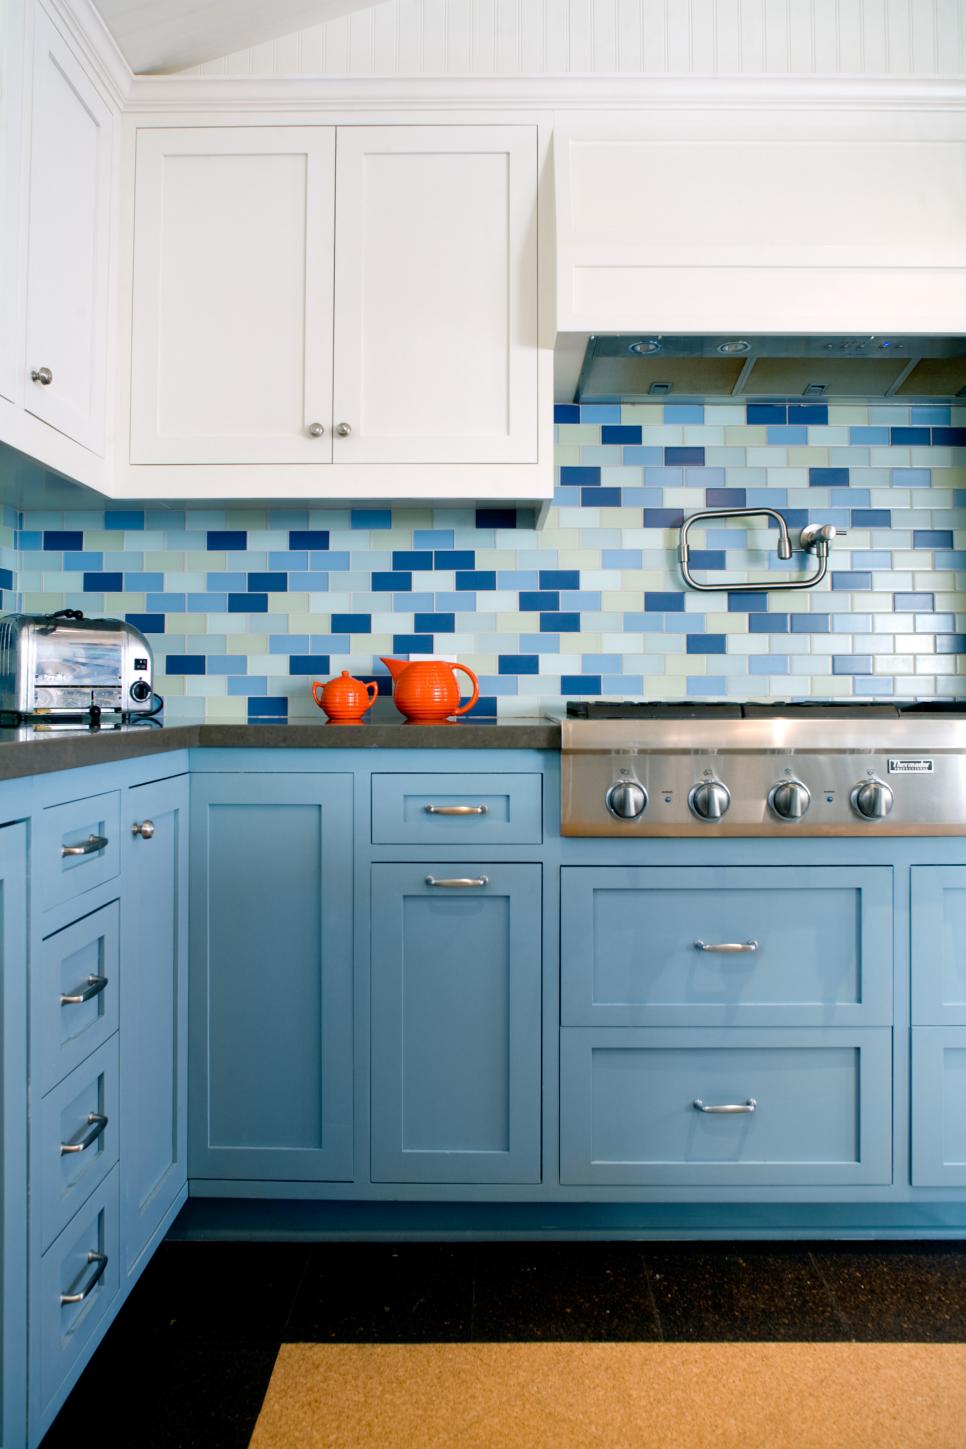
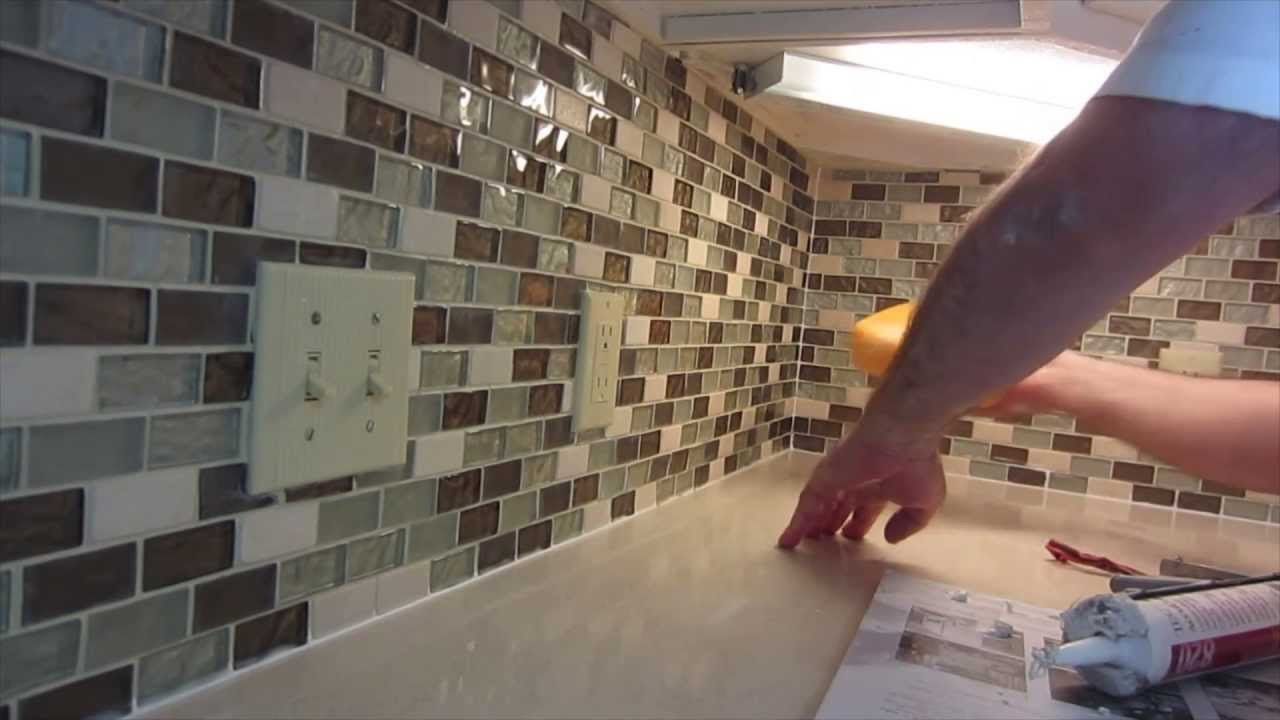
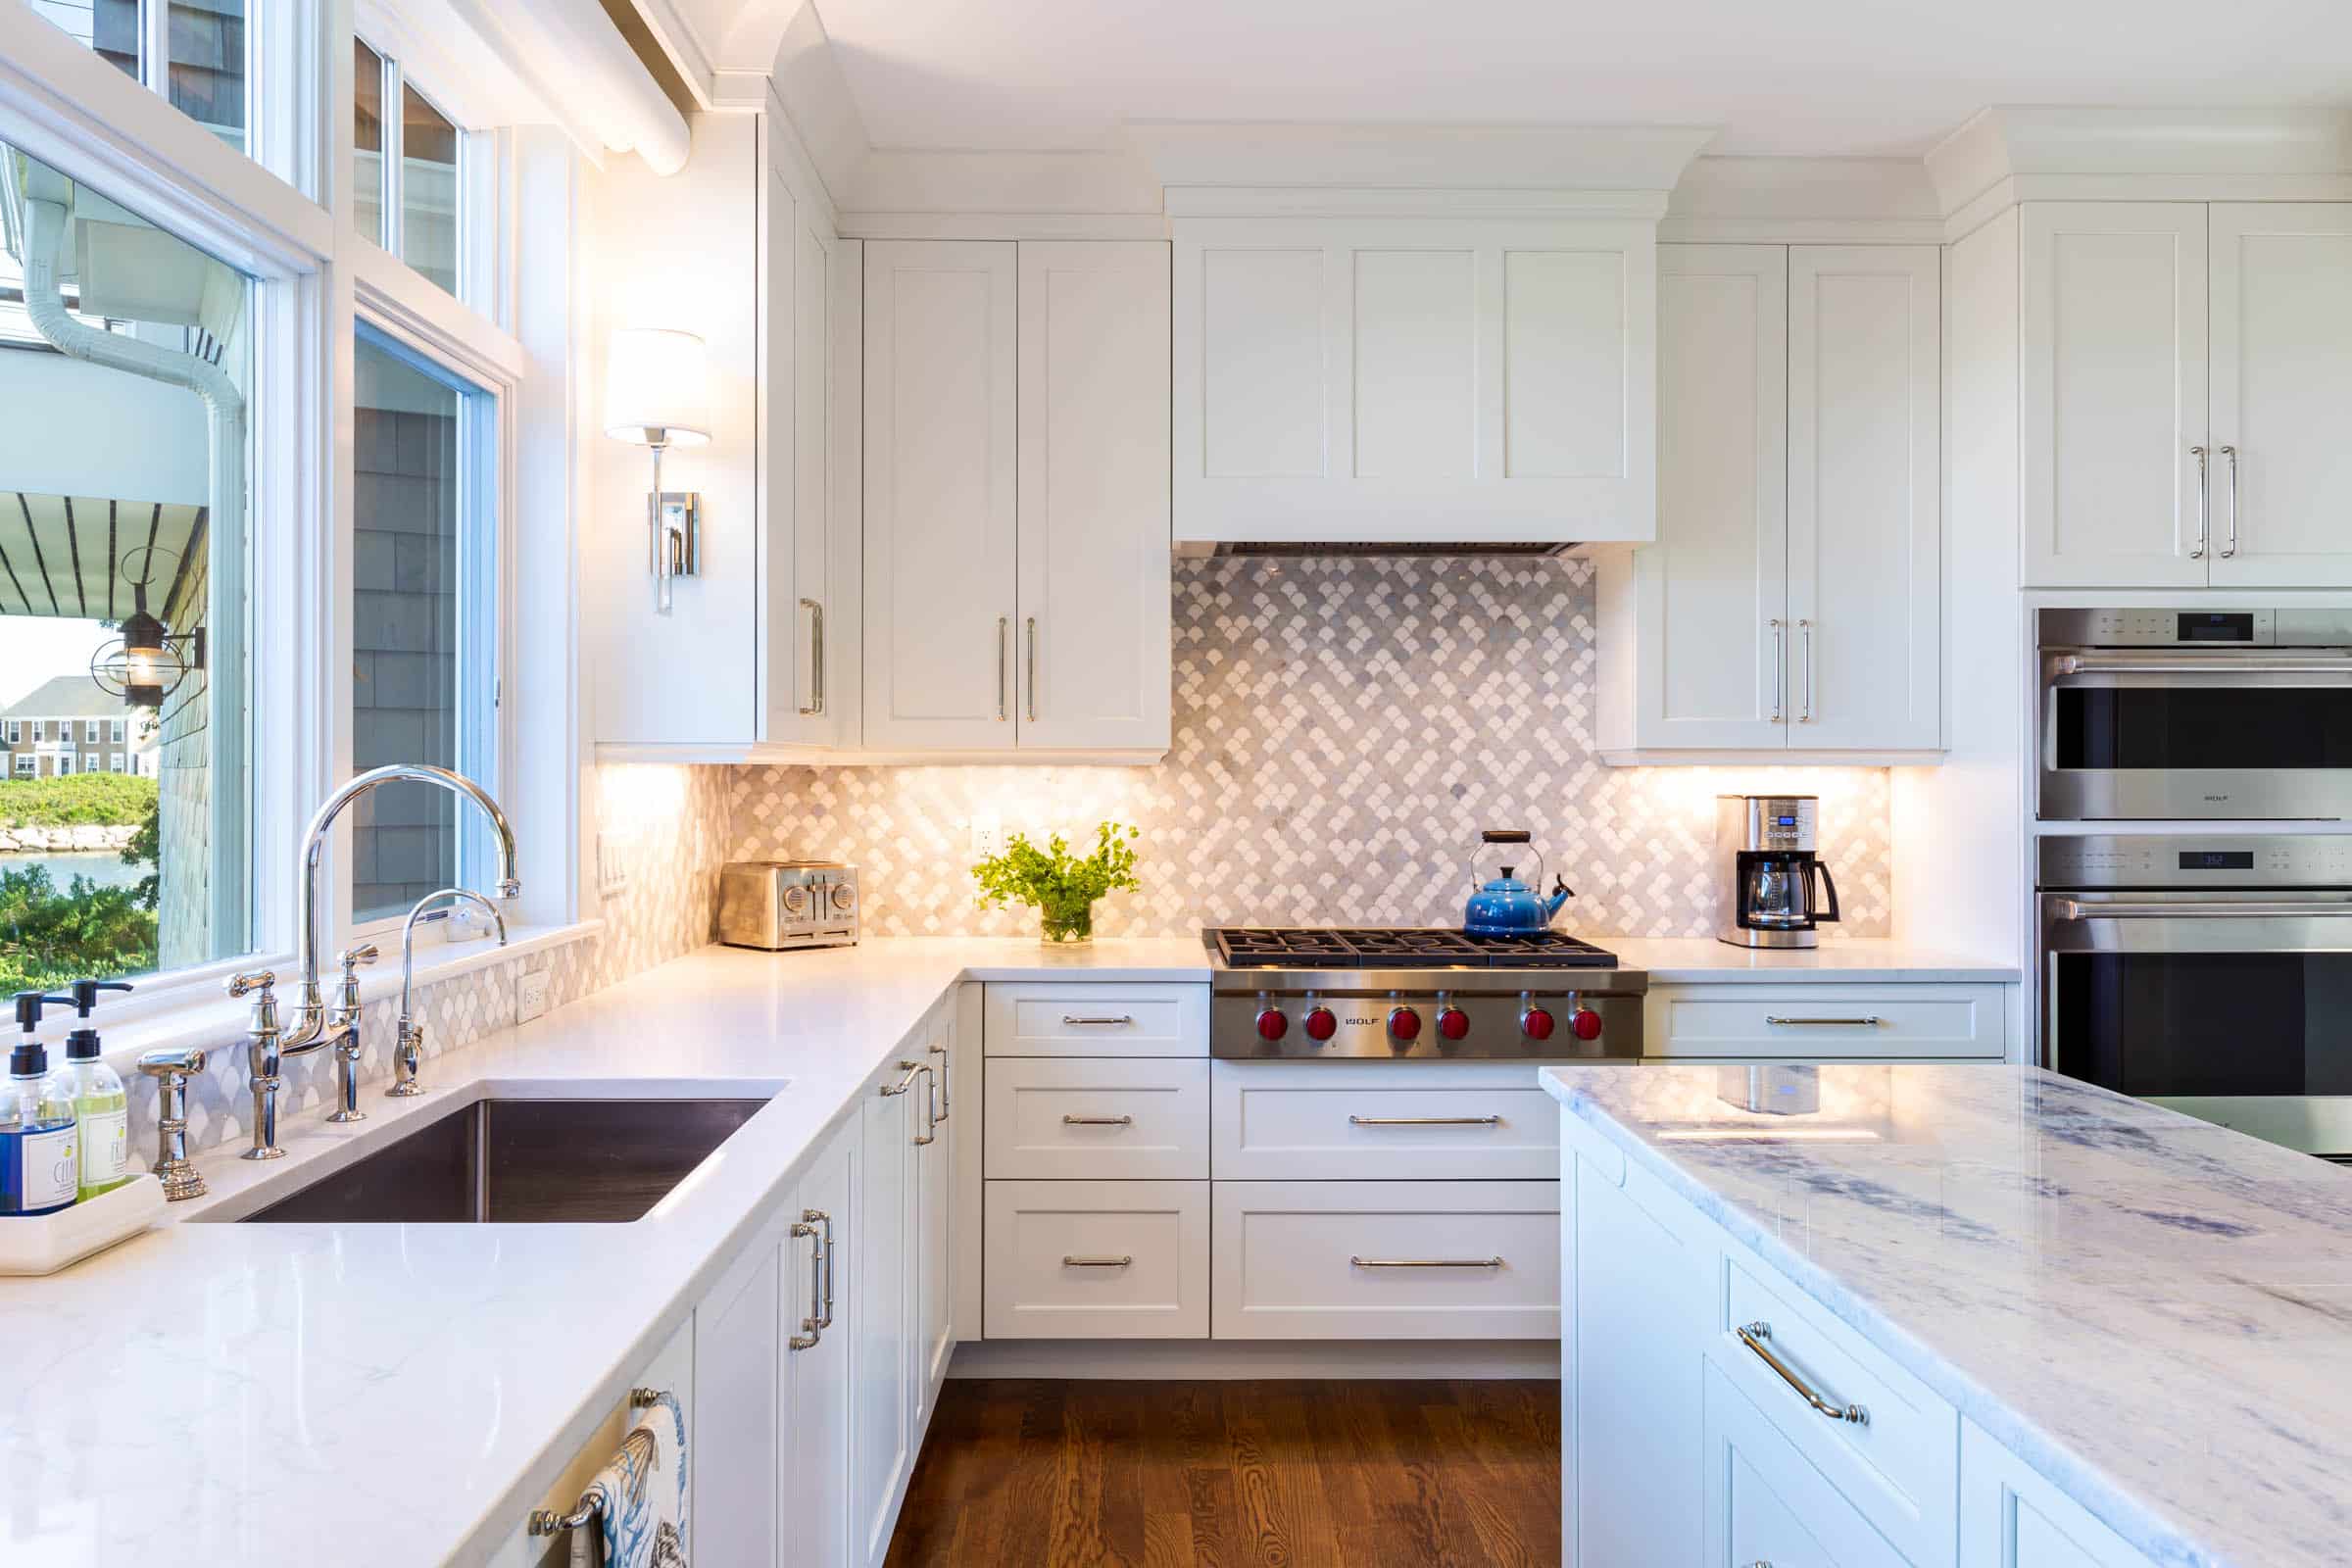
2. Mosaic Backsplash
For a more intricate and visually appealing option, consider a mosaic backsplash for your kitchen sink. Made up of small pieces of tile, glass, or stone, mosaic backsplashes can add texture, dimension, and a pop of color to your kitchen. You can choose from a variety of patterns, such as herringbone, chevron, or random designs, to create a unique and personalized look. Mosaic backsplashes are also a great way to add a touch of artistry to your kitchen, making it a focal point of your space.


2. Mosaic Backsplash


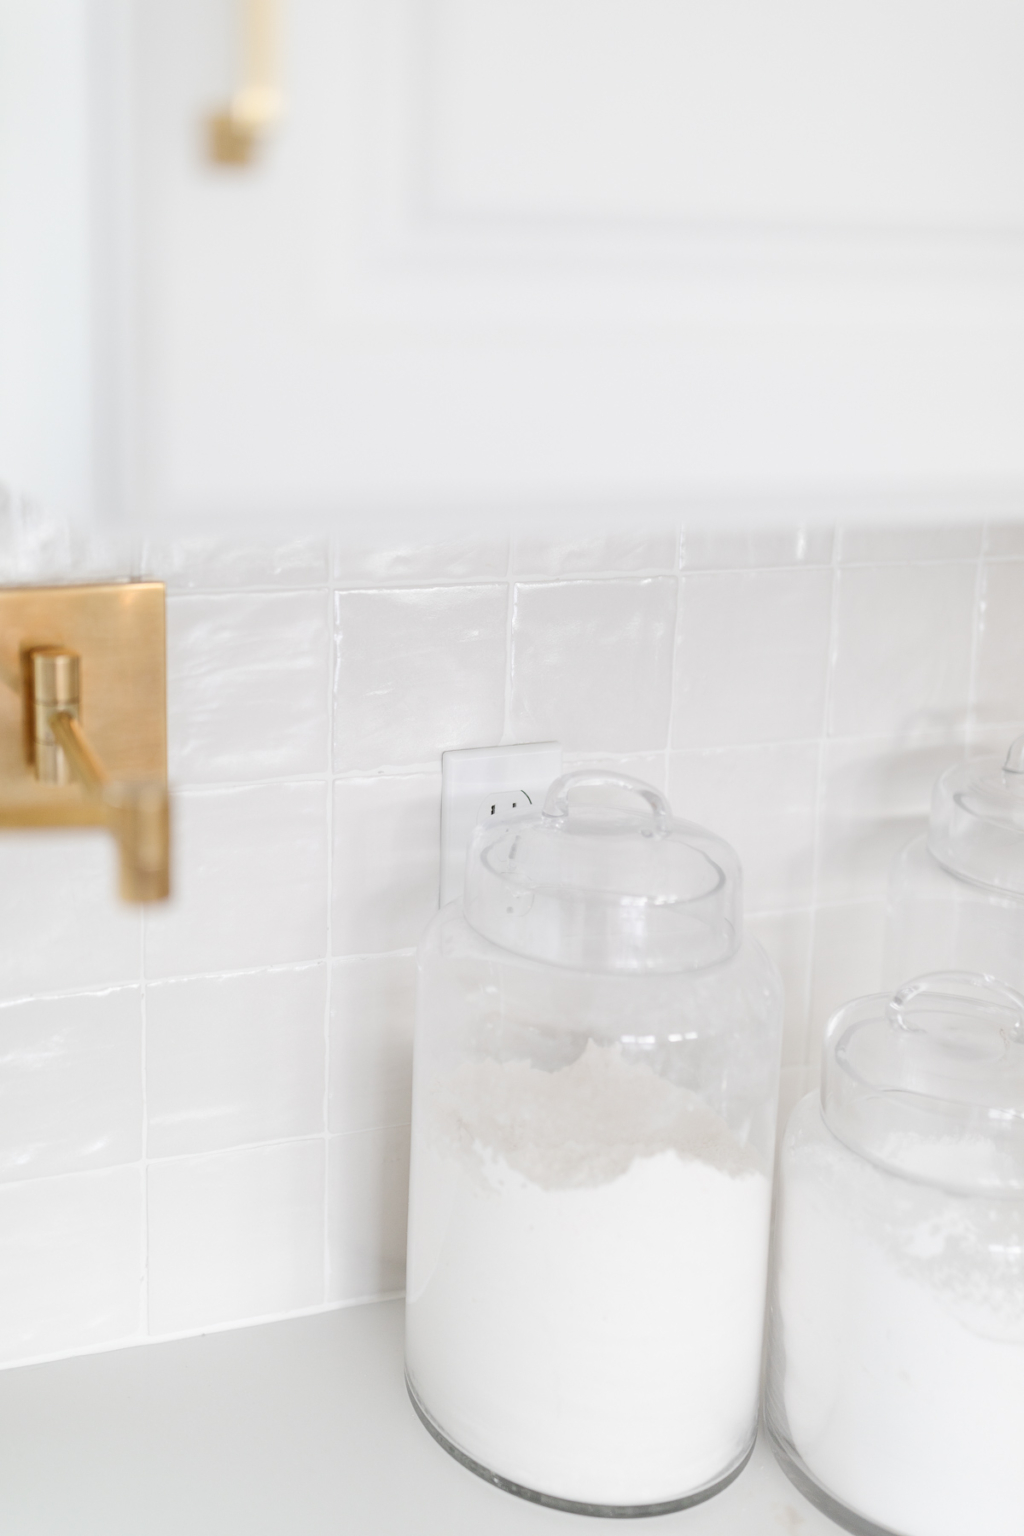
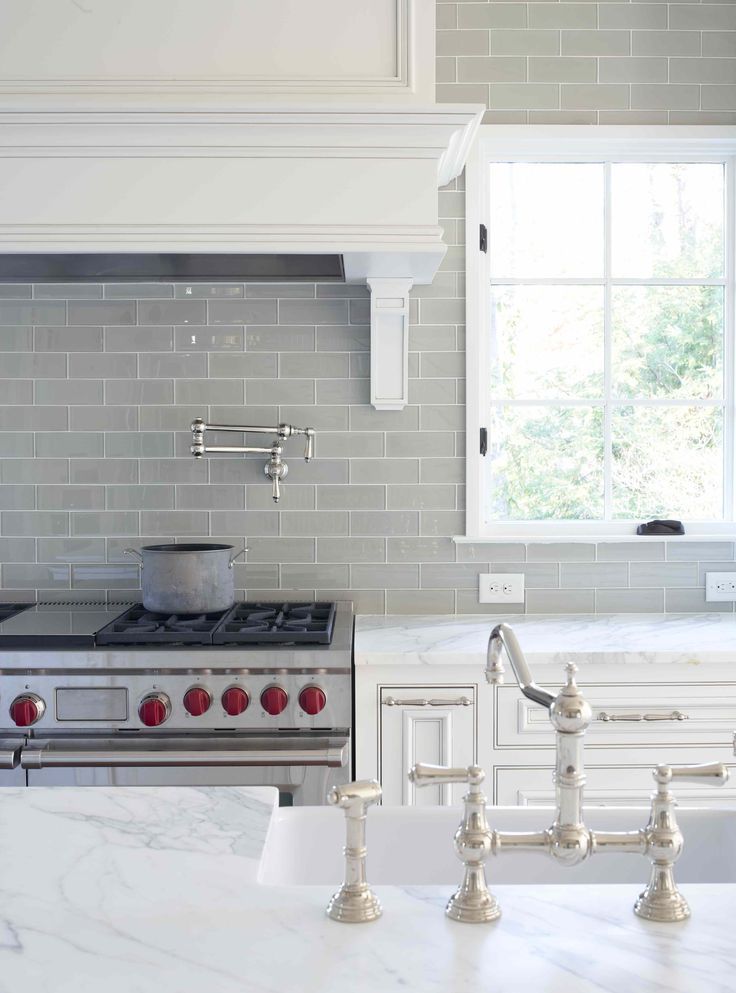
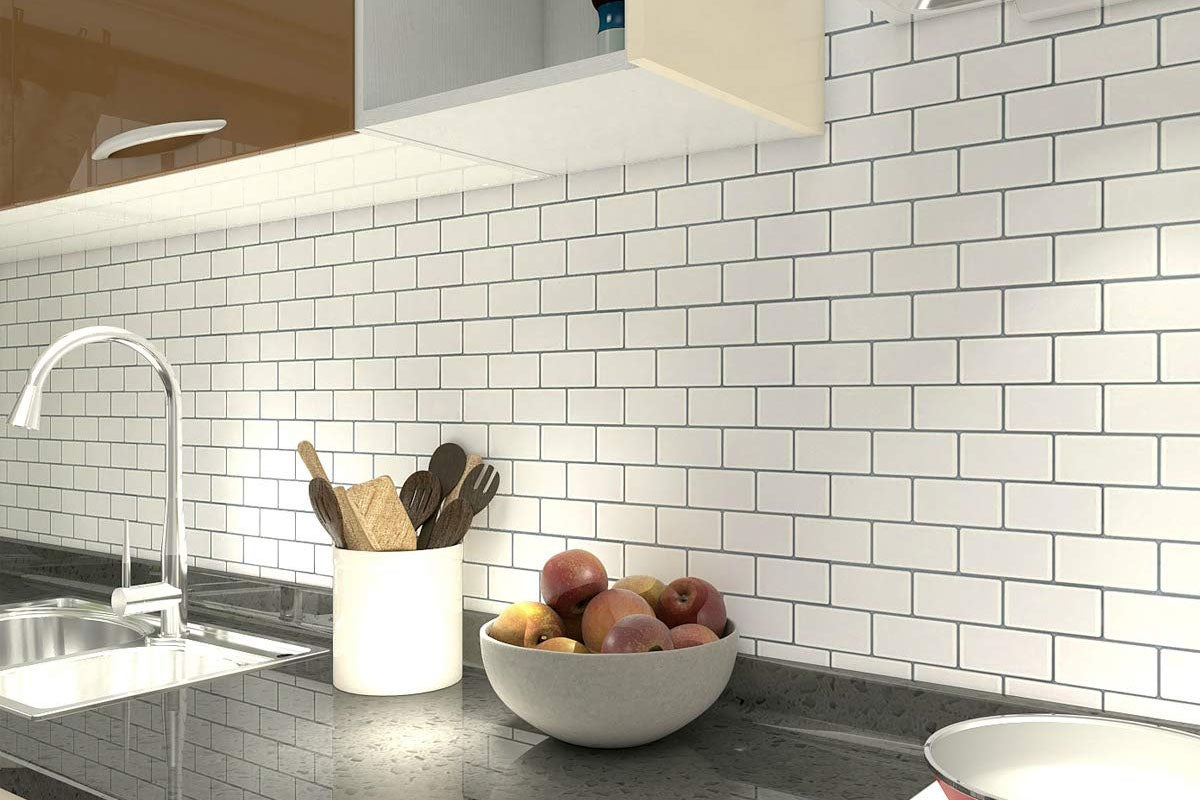
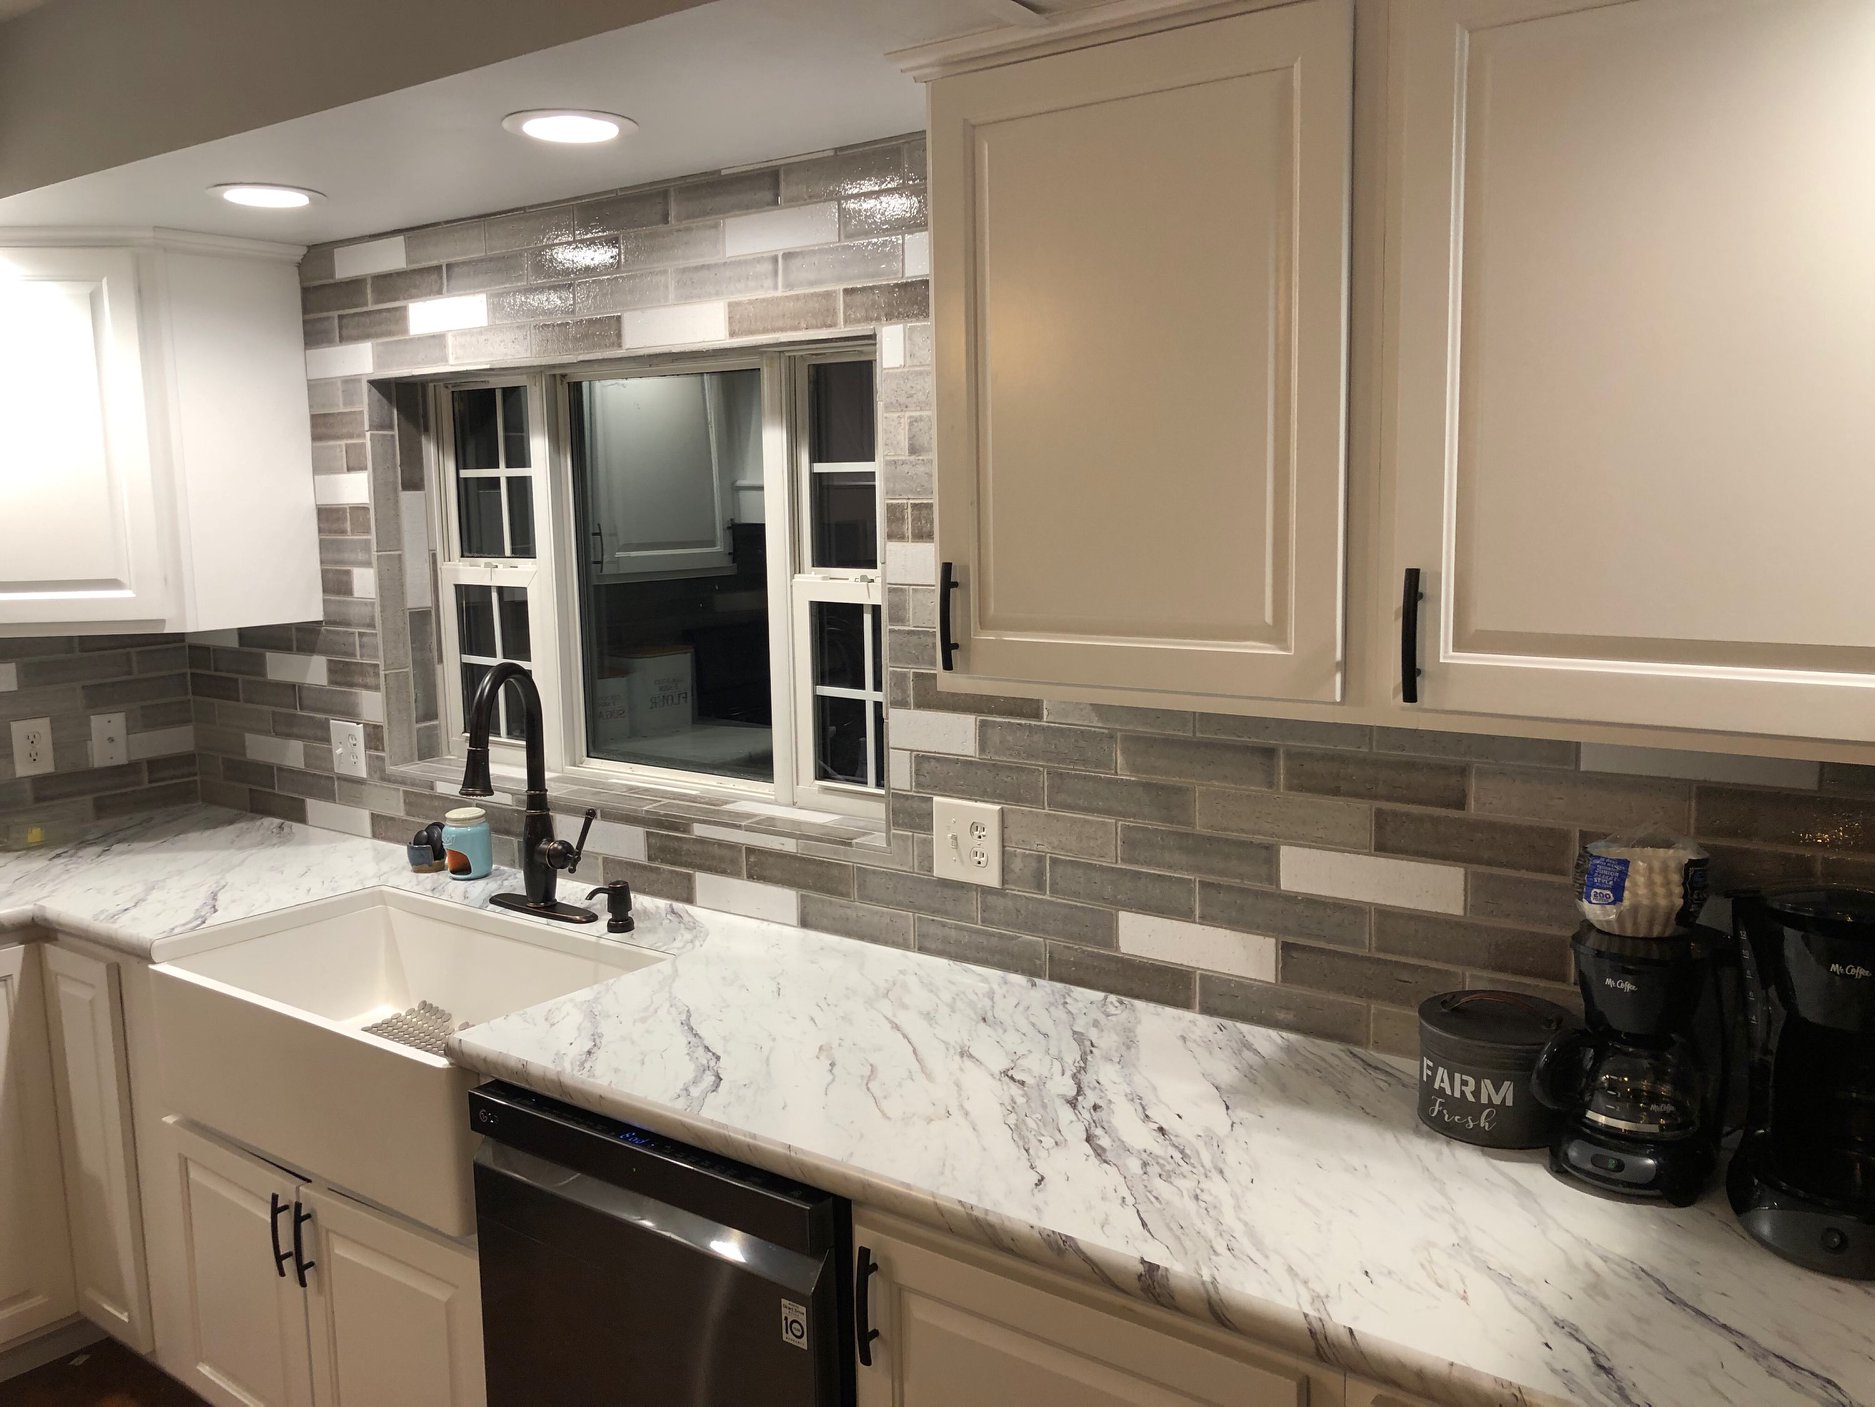
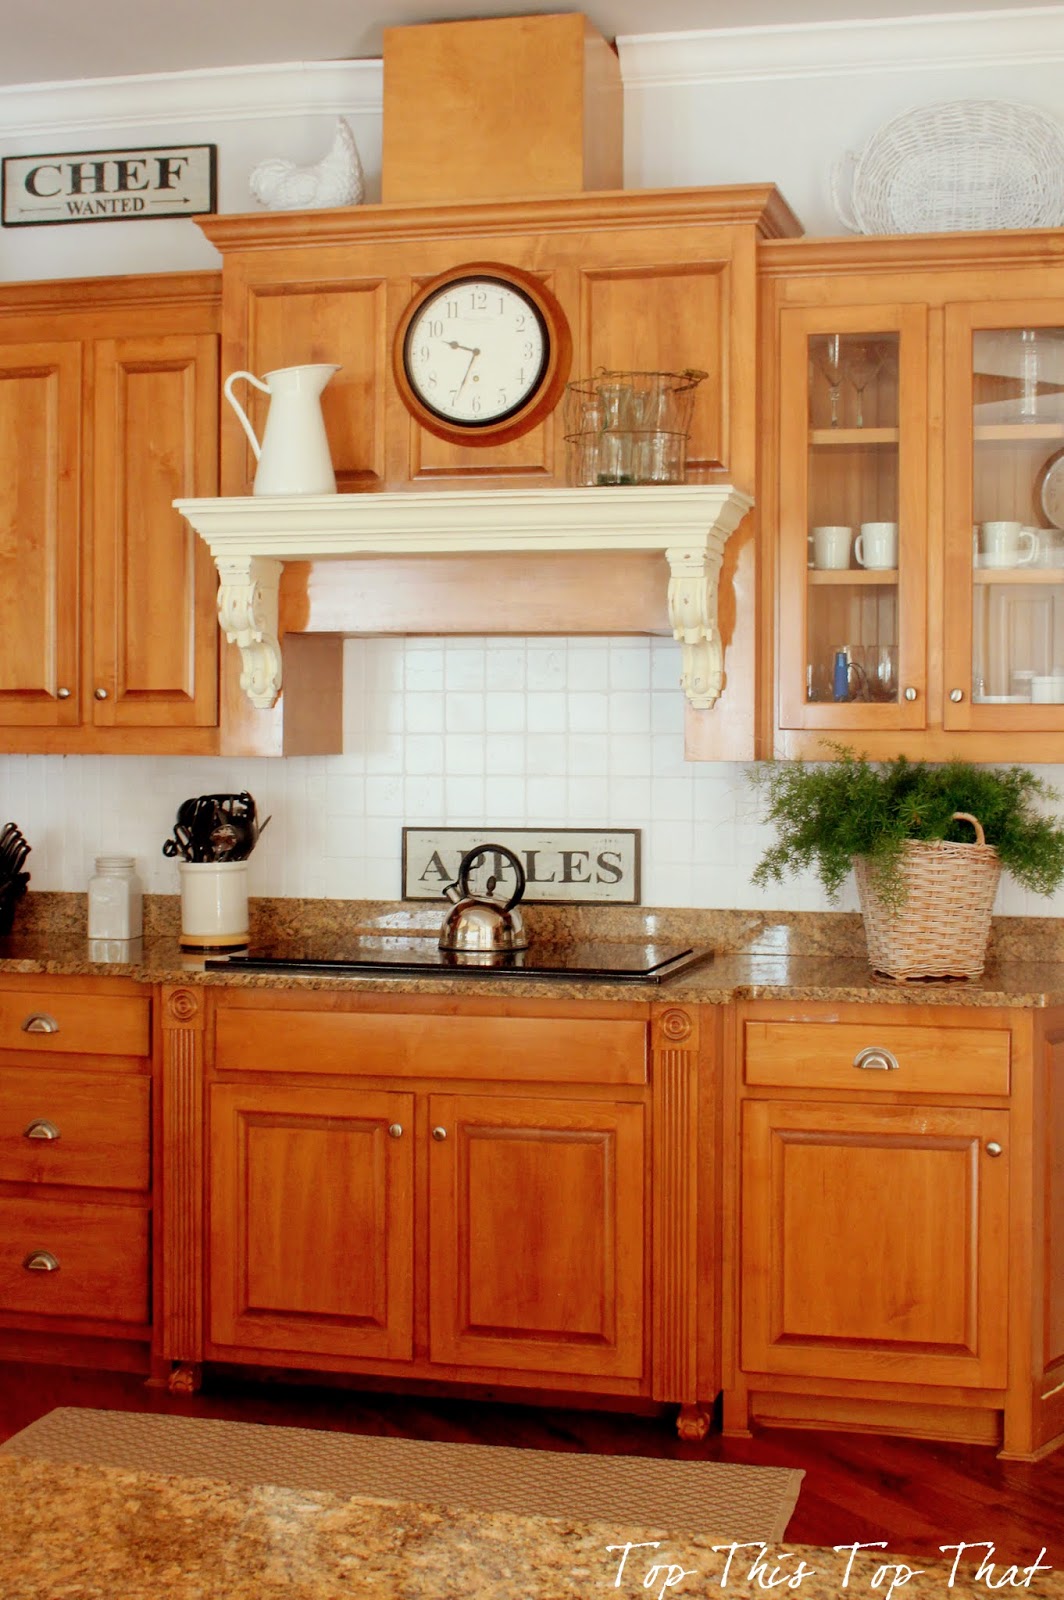
3. Subway Tile Backsplash
A timeless and classic option for a kitchen sink backsplash is a subway tile backsplash. These rectangular tiles have been a popular choice for decades, and for good reason. They are versatile, easy to install, and come in a variety of colors and materials, such as ceramic, glass, or marble. You can also play around with different layouts, such as the traditional horizontal or vertical pattern, or a more modern stacked or herringbone design. Subway tiles are also a budget-friendly option, making them a popular choice for many homeowners.


3. Subway Tile Backsplash


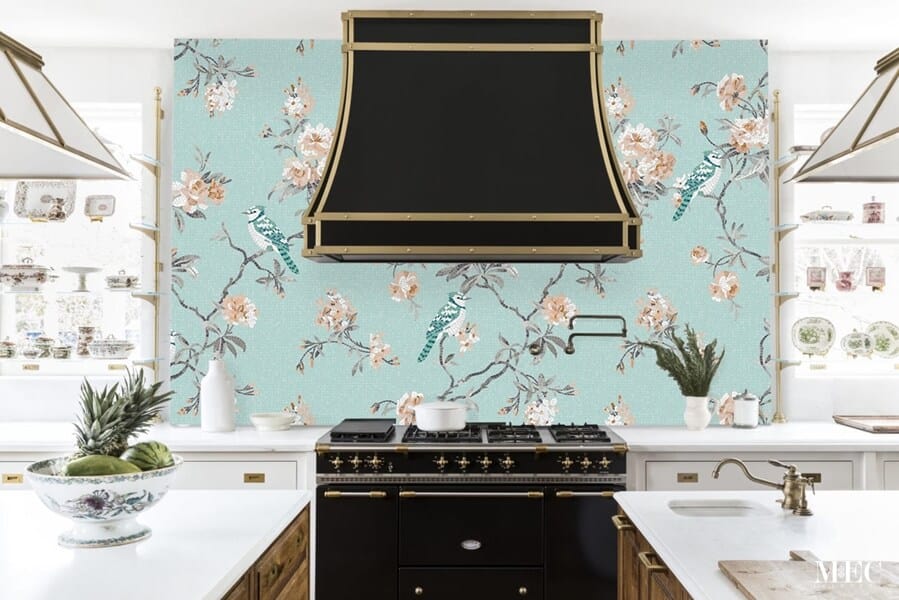
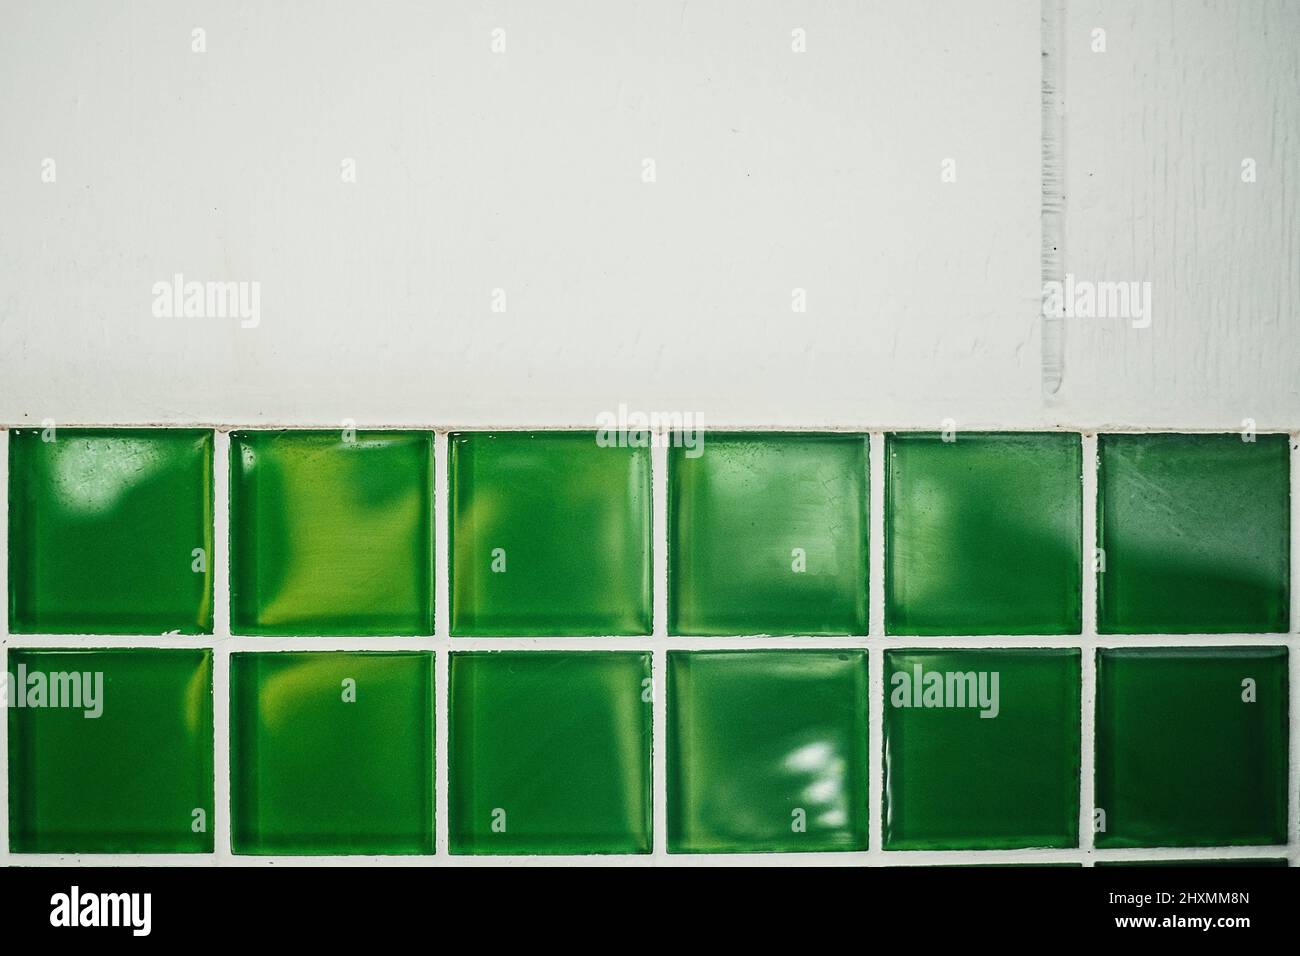
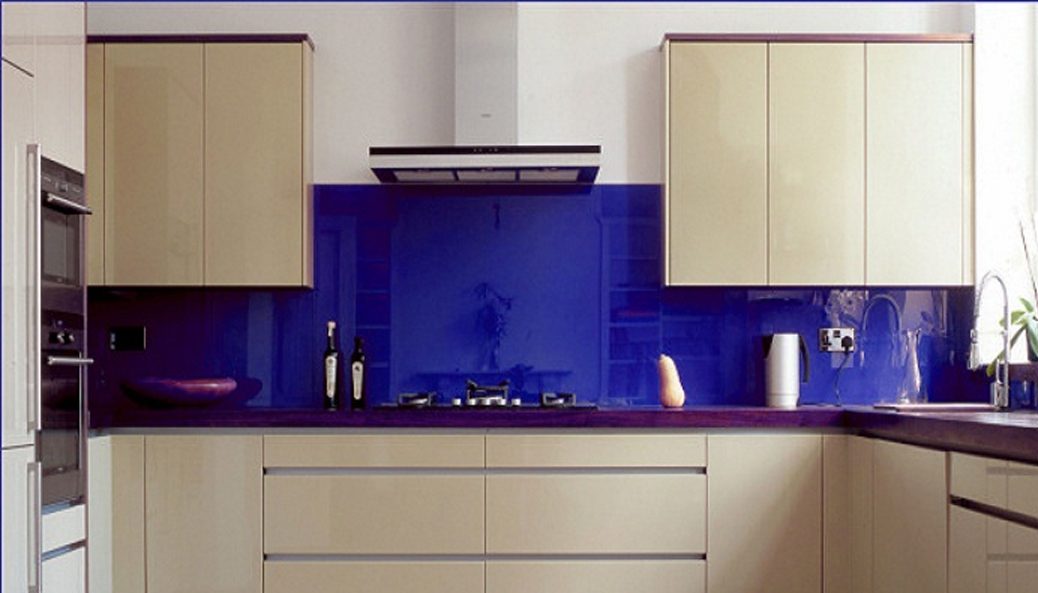
4. Glass Tile Backsplash
If you want to add a touch of sophistication and elegance to your kitchen, consider a glass tile backsplash. These tiles come in a range of colors and finishes, from transparent to opaque, and can add a glossy and reflective element to your space. You can opt for a single color for a seamless look or mix and match different shades for a more unique and eye-catching design. Glass tiles are also easy to clean and maintain, making them a practical choice for a busy kitchen.


4. Glass Tile Backsplash


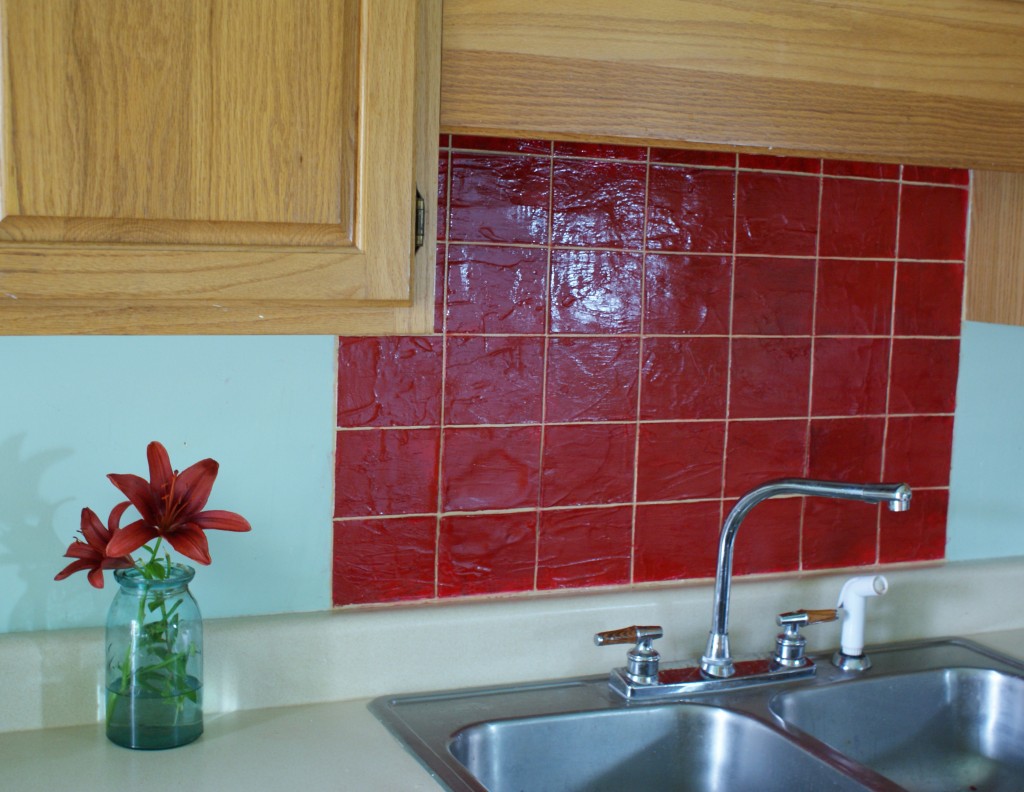
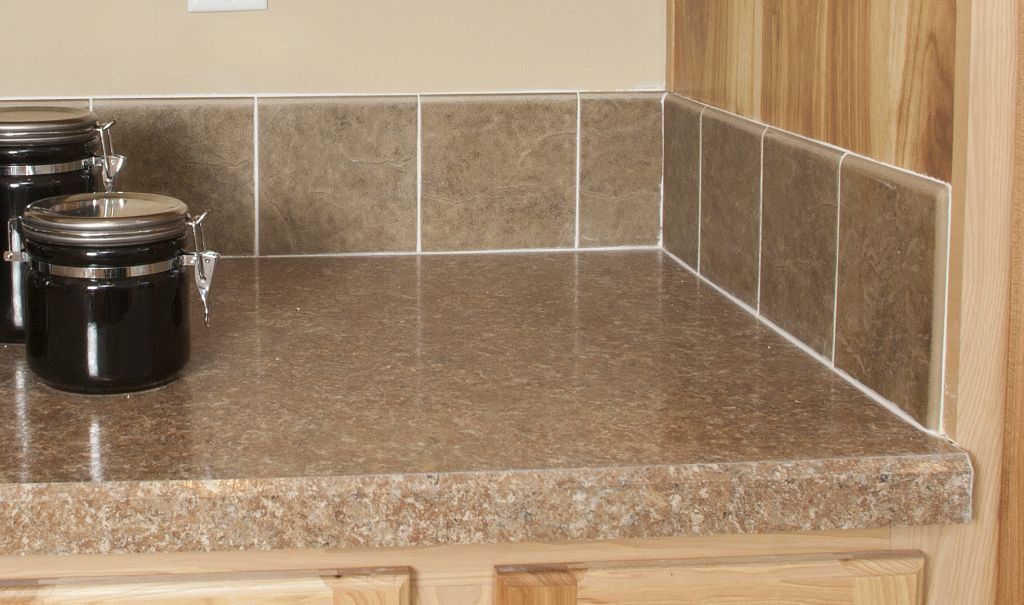
5. Ceramic Tile Backsplash
For a durable and budget-friendly option, consider a ceramic tile backsplash for your kitchen sink. These tiles are made from clay and are available in a variety of colors, patterns, and sizes. You can choose from a classic subway tile or opt for a more intricate design, such as a Moroccan or geometric pattern. Ceramic tiles are also resistant to heat, water, and stains, making them a practical choice for a kitchen backsplash.


5. Ceramic Tile Backsplash
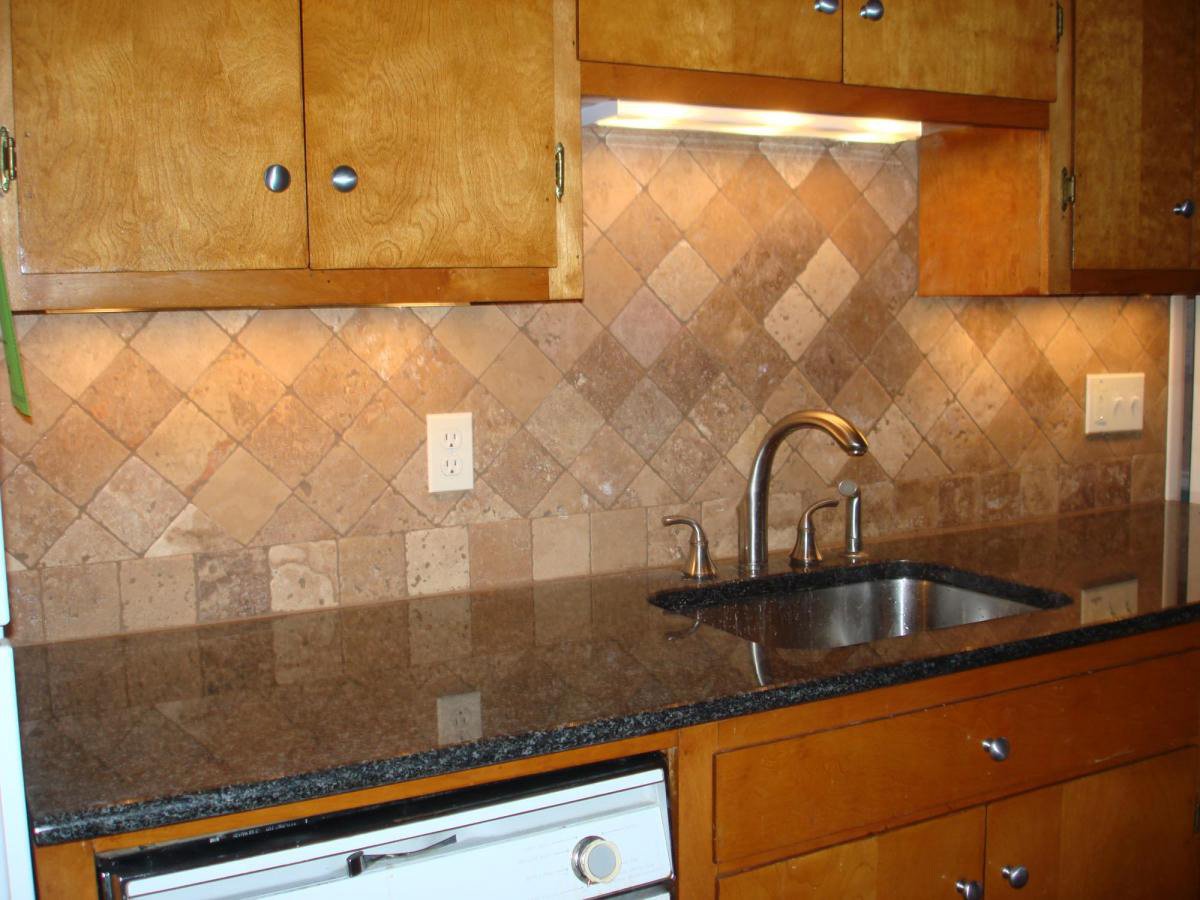


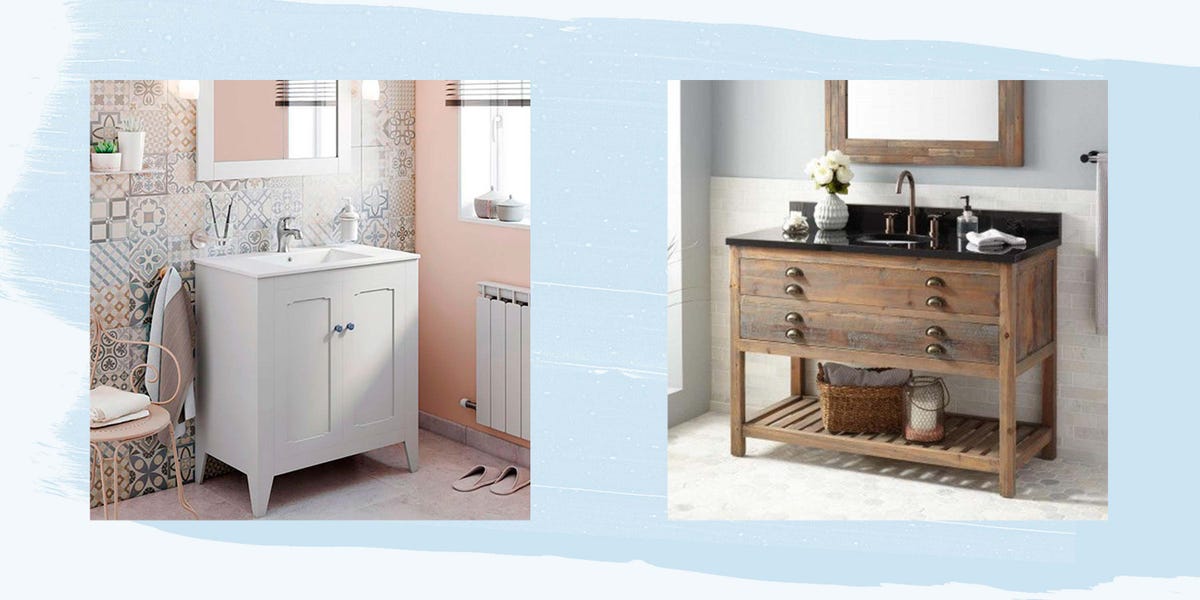
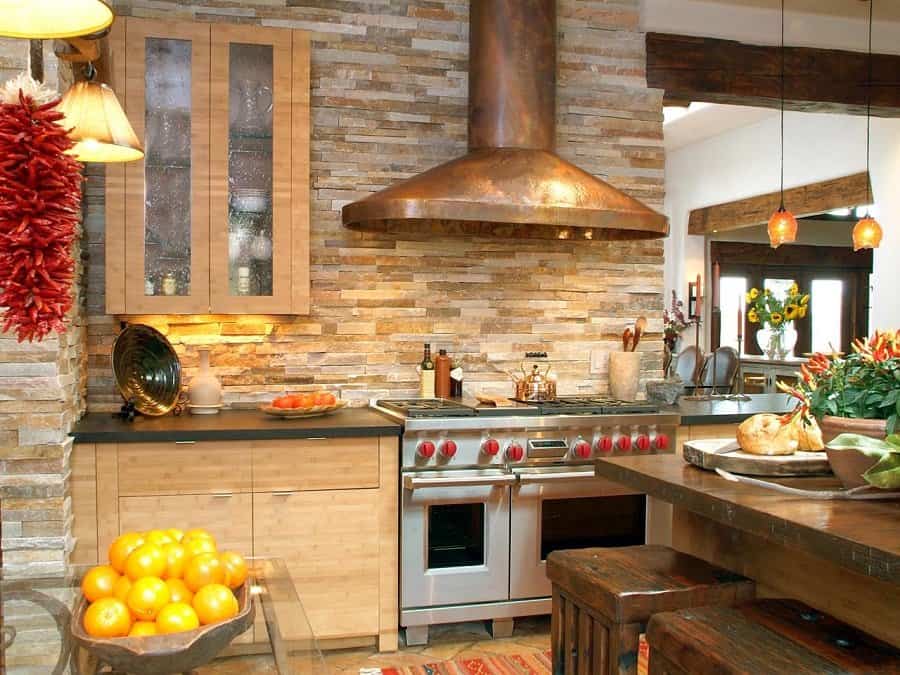
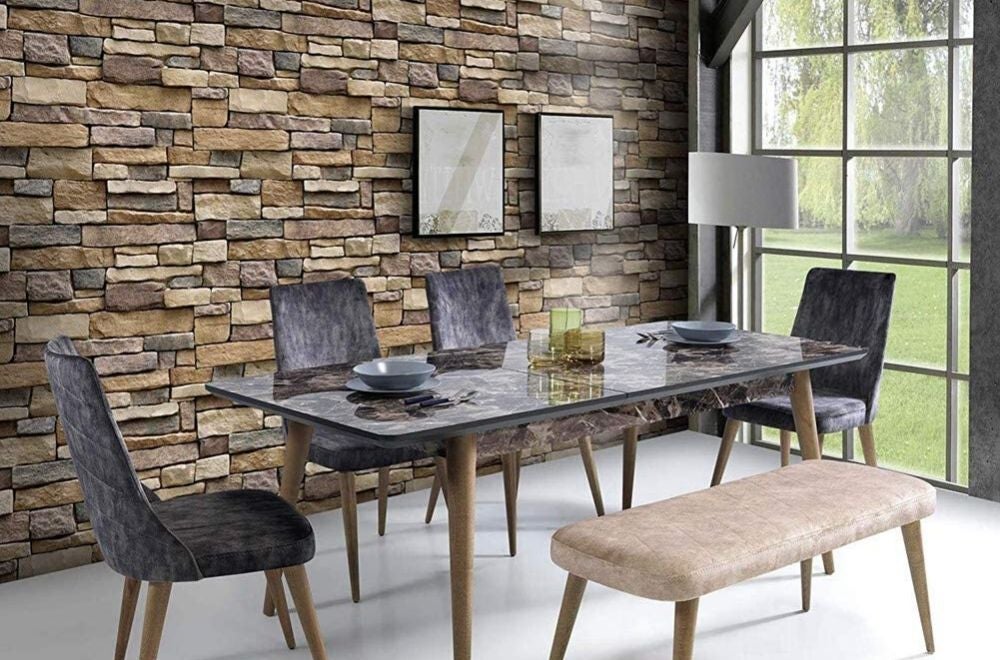
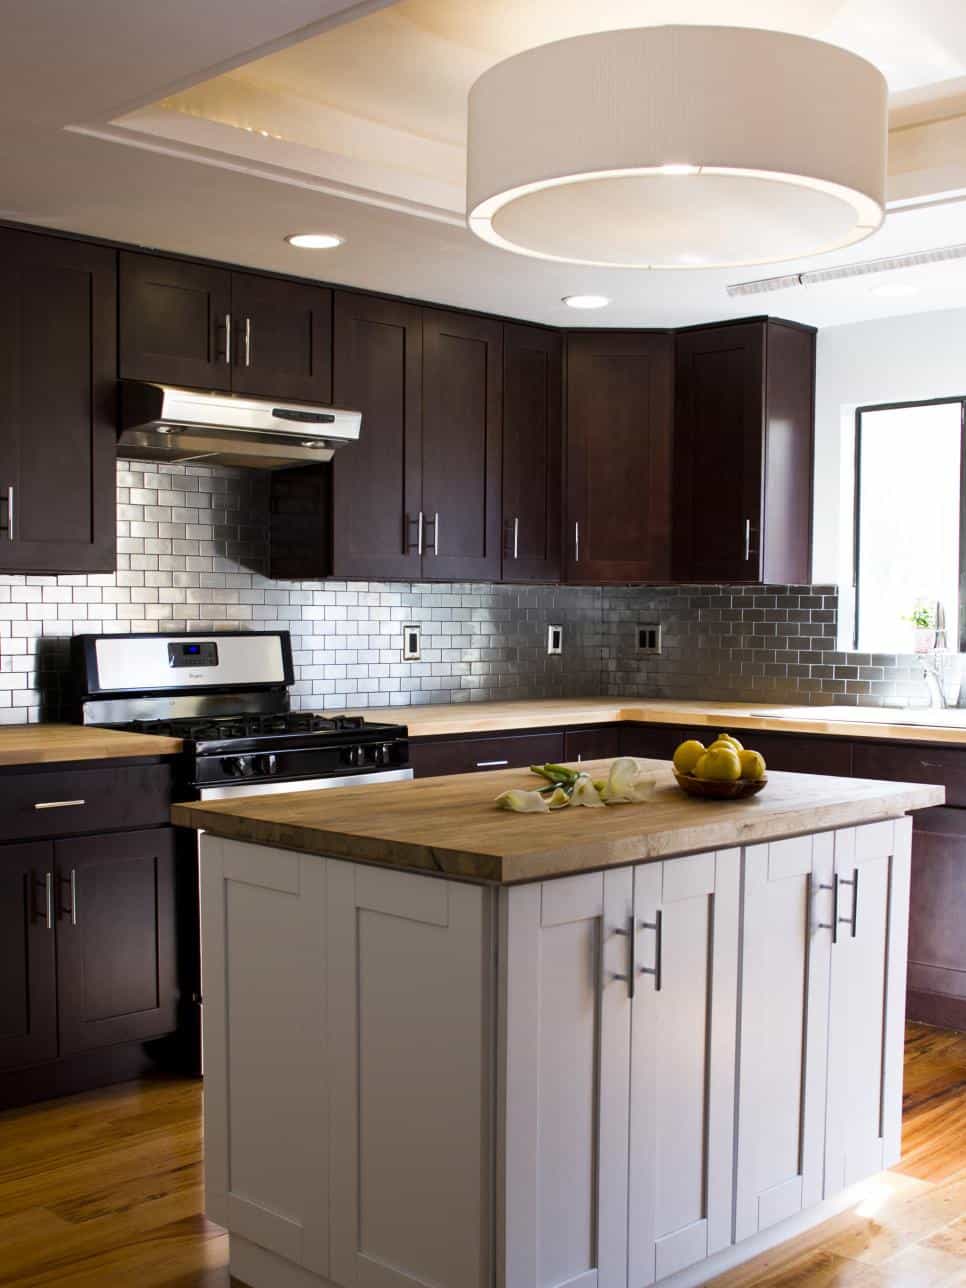
6. Stone Backsplash
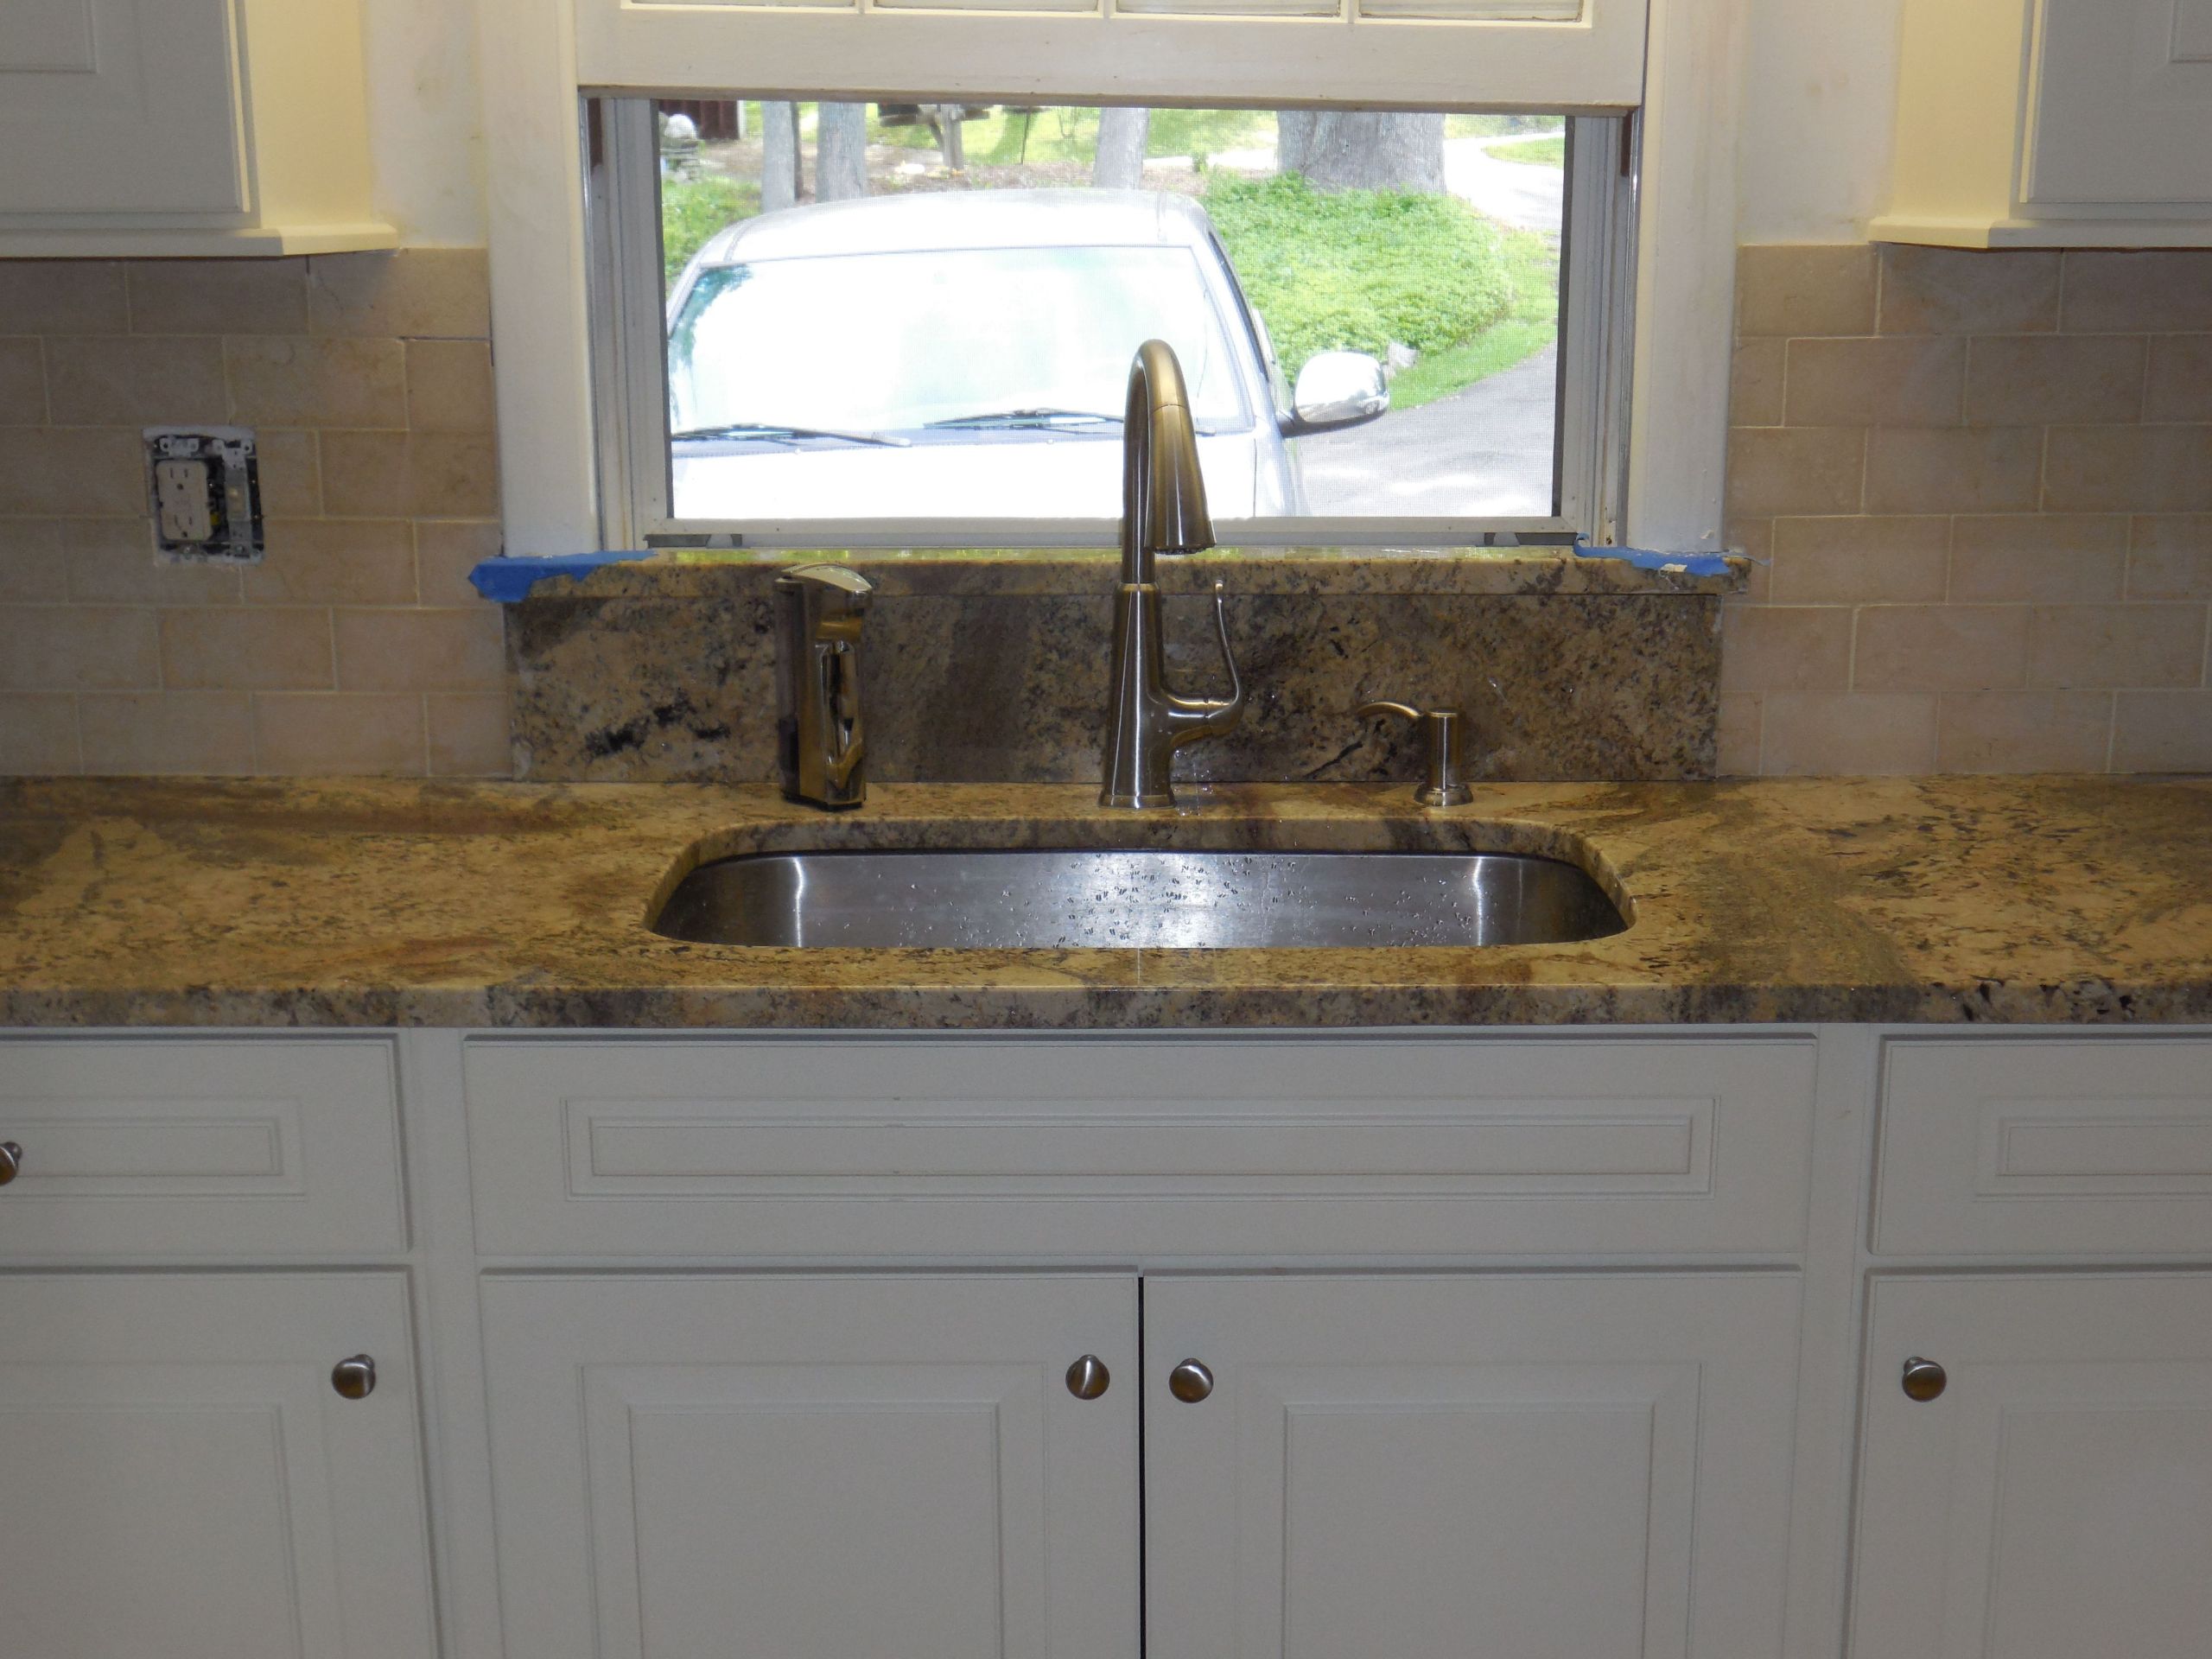
If you want to add a natural and earthy element to your kitchen, consider a stone backsplash. Made from materials like marble, granite, or slate, stone backsplashes can add texture, warmth, and character to your space. You can choose from a variety of colors and patterns, from neutral tones to bold and dramatic designs. Stone backsplashes are also durable and can withstand heat and moisture, making them a practical choice for a kitchen.


6. Stone Backsplash


/slide-r2-82c9c6a4f98c41ef969c07e677067a84.jpg)


:max_bytes(150000):strip_icc()/kitchen6-3acaf0fc86c14800b71d4b169a1e4c81.jpg)

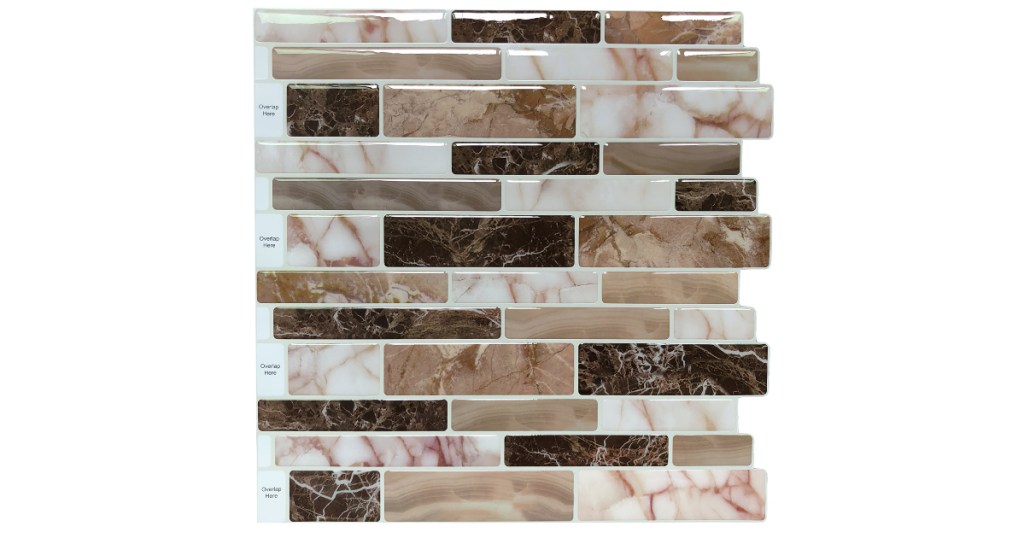
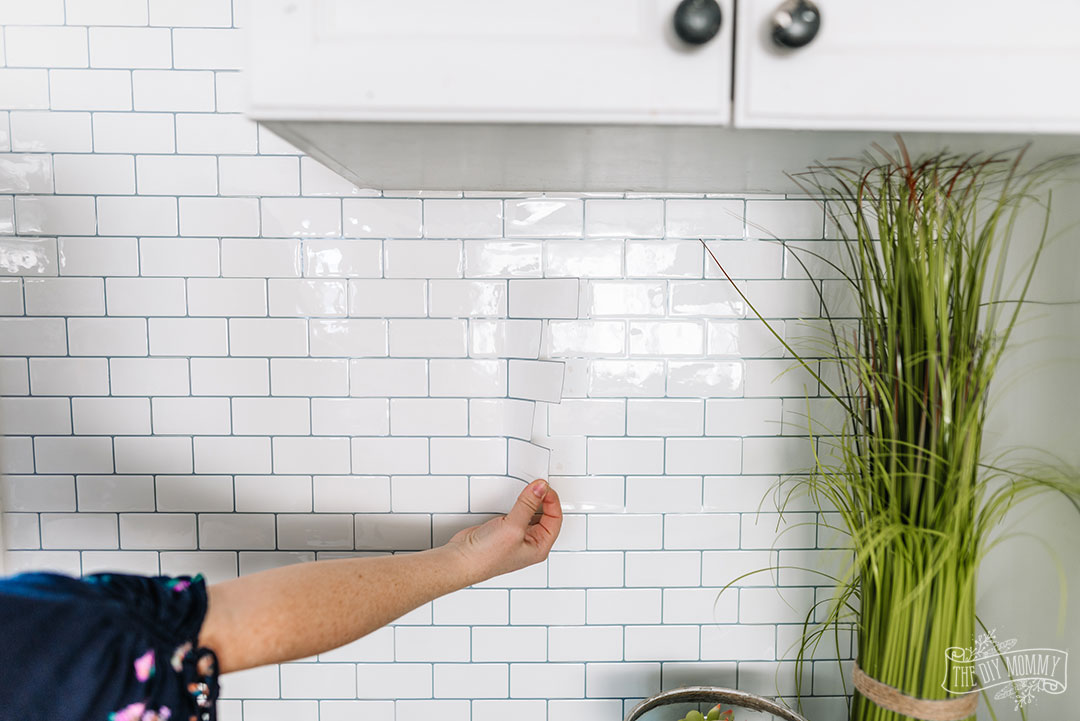
7. Peel and Stick Backsplash
For a quick and easy way to update your kitchen sink backsplash, consider a peel and stick backsplash. These tiles come with an adhesive backing, making them easy to install without the need for any special tools or skills. You can choose from a variety of materials, such as vinyl or metal, and a range of colors and patterns to suit your style. Peel and stick backsplashes are also easy to remove and replace, making them a perfect temporary option for renters.


7. Peel and Stick Backsplash


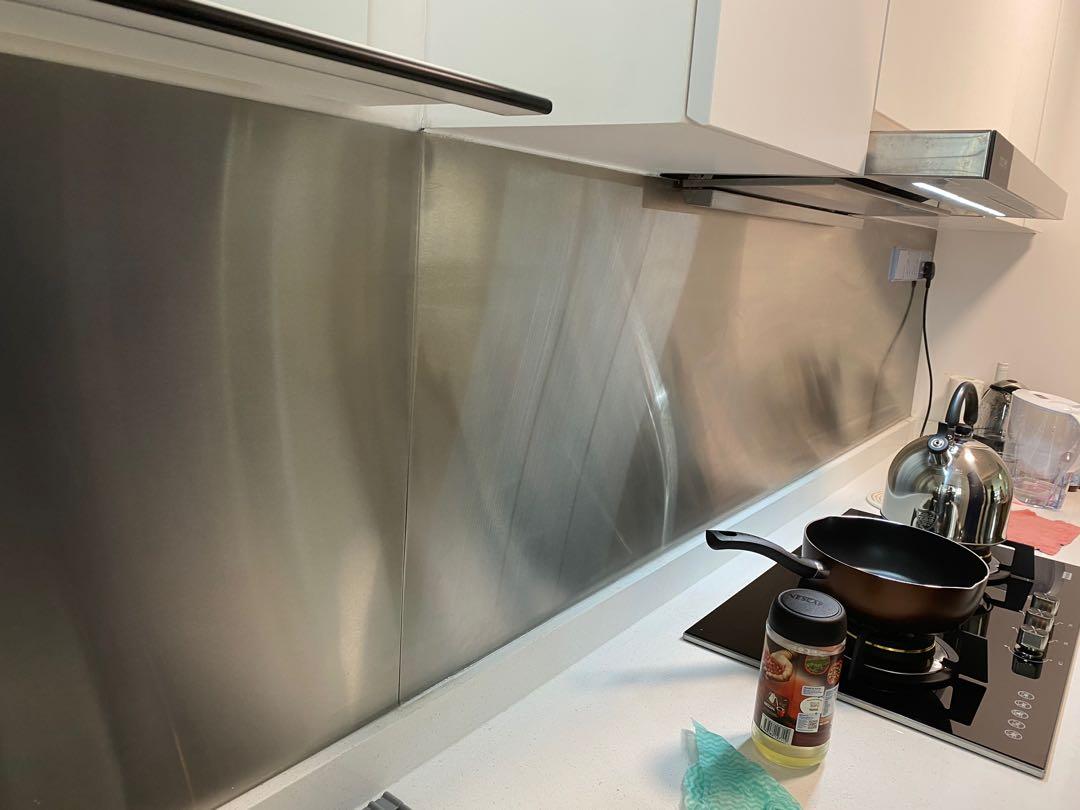
8. Stainless Steel Backsplash
For a sleek and modern look, consider a stainless steel backsplash for your kitchen sink. These metal tiles are not only durable and resistant to heat and water, but they also add a touch of industrial and contemporary style to your kitchen. You can opt for a single sheet of stainless steel for a seamless look or choose from a variety of patterns, such as chevron or diamond, for a more eye-catching design. Stainless steel backsplashes are also easy to clean and maintain, making them a practical option for a busy kitchen.


8. Stainless Steel Backsplash


9. Vinyl Backsplash
If you're on a tight budget and looking for a budget-friendly option for your kitchen sink backsplash, consider a vinyl backsplash. These peel and stick tiles come in a range of colors, patterns, and designs, from classic subway tiles to intricate mosaics. Vinyl tiles are also easy to install and can be a great DIY project for homeowners. With their water-resistant and easy-to-clean properties, vinyl backsplashes are a practical and stylish choice for any kitchen.


9. Vinyl Backsplash


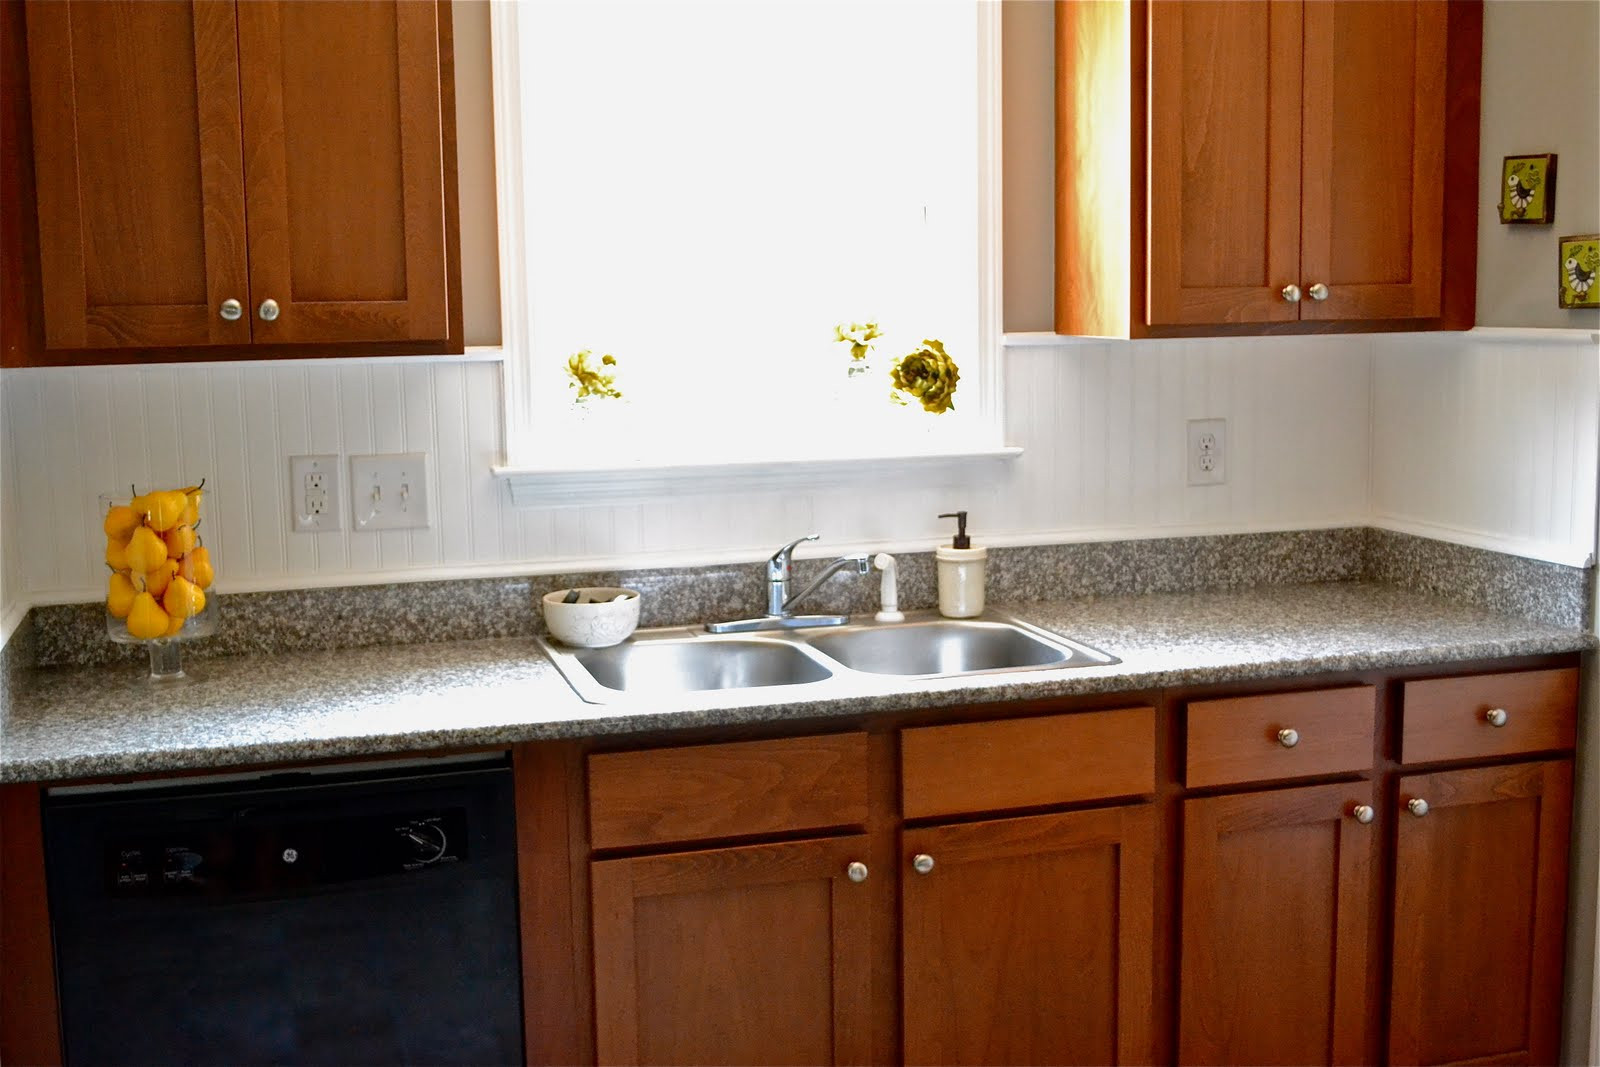
10. Painted Backsplash
For a budget-friendly and creative option, consider painted backsplashes for your kitchen sink. You can use paint to create a unique and personalized backsplash, whether it's a solid color or a pattern like stripes or stenciled designs. You can also use special paint, such as chalkboard or magnetic paint, to add functionality to your backsplash. Painting a backsplash is also a great way to update the look of your kitchen without breaking the bank.


10. Painted Backsplash


How to Enhance Your Kitchen Design with a Beautiful Backsplash
Upgrade Your Kitchen with a Stunning Sink Backsplash
 When it comes to designing or renovating a kitchen, one of the most important aspects to consider is the sink area. Not only is the sink a highly functional space, but it is also a focal point in the kitchen. That's why adding a backsplash to your kitchen sink can make a huge impact on the overall design of your kitchen. Not only does it protect your walls from water damage, but it also adds a touch of style and personality to your space.
Creating a Kitchen Sink Backsplash: A Step-by-Step Guide
When it comes to designing or renovating a kitchen, one of the most important aspects to consider is the sink area. Not only is the sink a highly functional space, but it is also a focal point in the kitchen. That's why adding a backsplash to your kitchen sink can make a huge impact on the overall design of your kitchen. Not only does it protect your walls from water damage, but it also adds a touch of style and personality to your space.
Creating a Kitchen Sink Backsplash: A Step-by-Step Guide
Step 1: Choose the Right Material
 The first step to creating a kitchen sink backsplash is choosing the right material. There are various options available, such as ceramic tiles, glass, stainless steel, and natural stone. Each material has its own unique characteristics and can complement different kitchen styles. For a classic and timeless look, ceramic tiles are a popular choice. If you want to add a modern and sleek touch, glass or stainless steel would be ideal. Natural stone, on the other hand, adds a rustic and earthy feel to the space.
Step 2: Measure and Prep the Area
 Before you start installing the backsplash, make sure to measure the area around your sink accurately. This will help you determine the amount of material needed and avoid any wastage. Once you have the measurements, prepare the area by cleaning the walls and removing any debris. If you have existing tiles, make sure to remove them carefully to avoid damaging the wall.
Step 3: Installation
 Now comes the fun part - installing the backsplash. If you have chosen ceramic tiles, you will need to apply a special adhesive to the back of each tile and press it onto the wall. For glass or stainless steel, you can use a peel-and-stick adhesive for easy installation. Natural stone, however, may require professional installation as it is heavier and more difficult to work with.
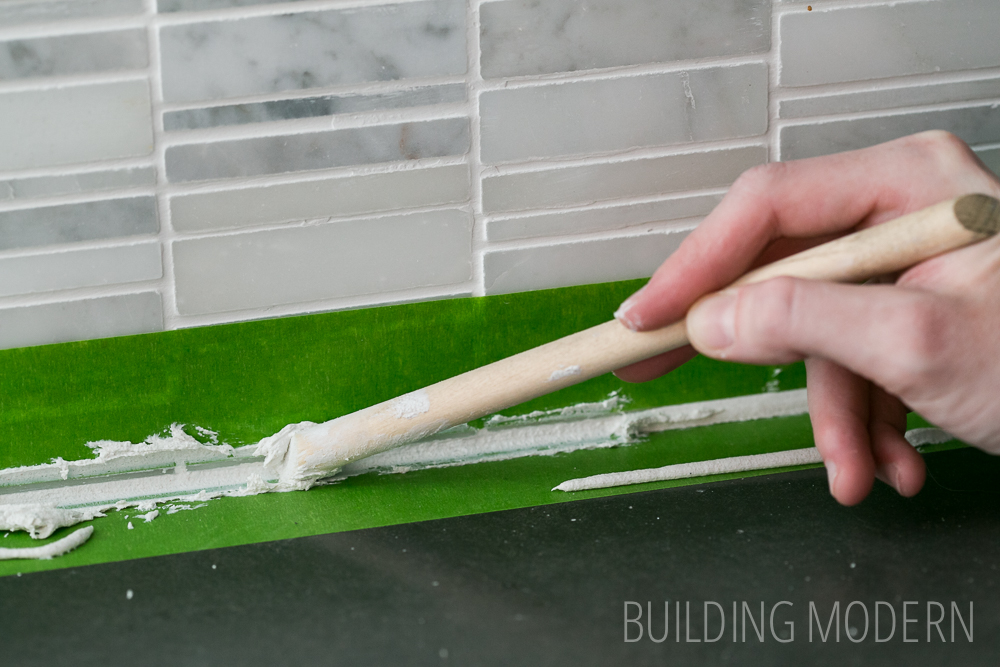
Step 4: Add Finishing Touches
 Once the backsplash is installed, it's time to add some finishing touches. You can use grout to fill in the gaps between the tiles for a clean and polished look. If you have chosen a natural stone backsplash, you can apply a sealant to protect it from water and stains. Finally, clean the backsplash with a damp cloth and let it dry before using your sink.
Final Thoughts
A kitchen sink backsplash not only adds a decorative element to your kitchen but also serves a practical purpose. It protects your walls from water damage and makes cleaning up spills and splashes a breeze. With the right material and installation, your kitchen sink backsplash can be a stunning addition to your kitchen design. So why wait? Upgrade your kitchen today and create a beautiful backsplash for your sink!
Once the backsplash is installed, it's time to add some finishing touches. You can use grout to fill in the gaps between the tiles for a clean and polished look. If you have chosen a natural stone backsplash, you can apply a sealant to protect it from water and stains. Finally, clean the backsplash with a damp cloth and let it dry before using your sink.
Final Thoughts
A kitchen sink backsplash not only adds a decorative element to your kitchen but also serves a practical purpose. It protects your walls from water damage and makes cleaning up spills and splashes a breeze. With the right material and installation, your kitchen sink backsplash can be a stunning addition to your kitchen design. So why wait? Upgrade your kitchen today and create a beautiful backsplash for your sink!