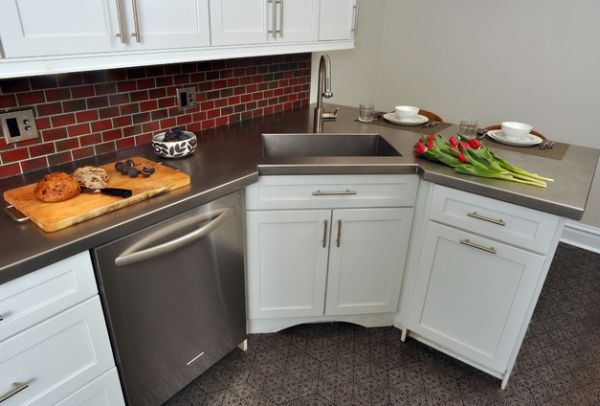
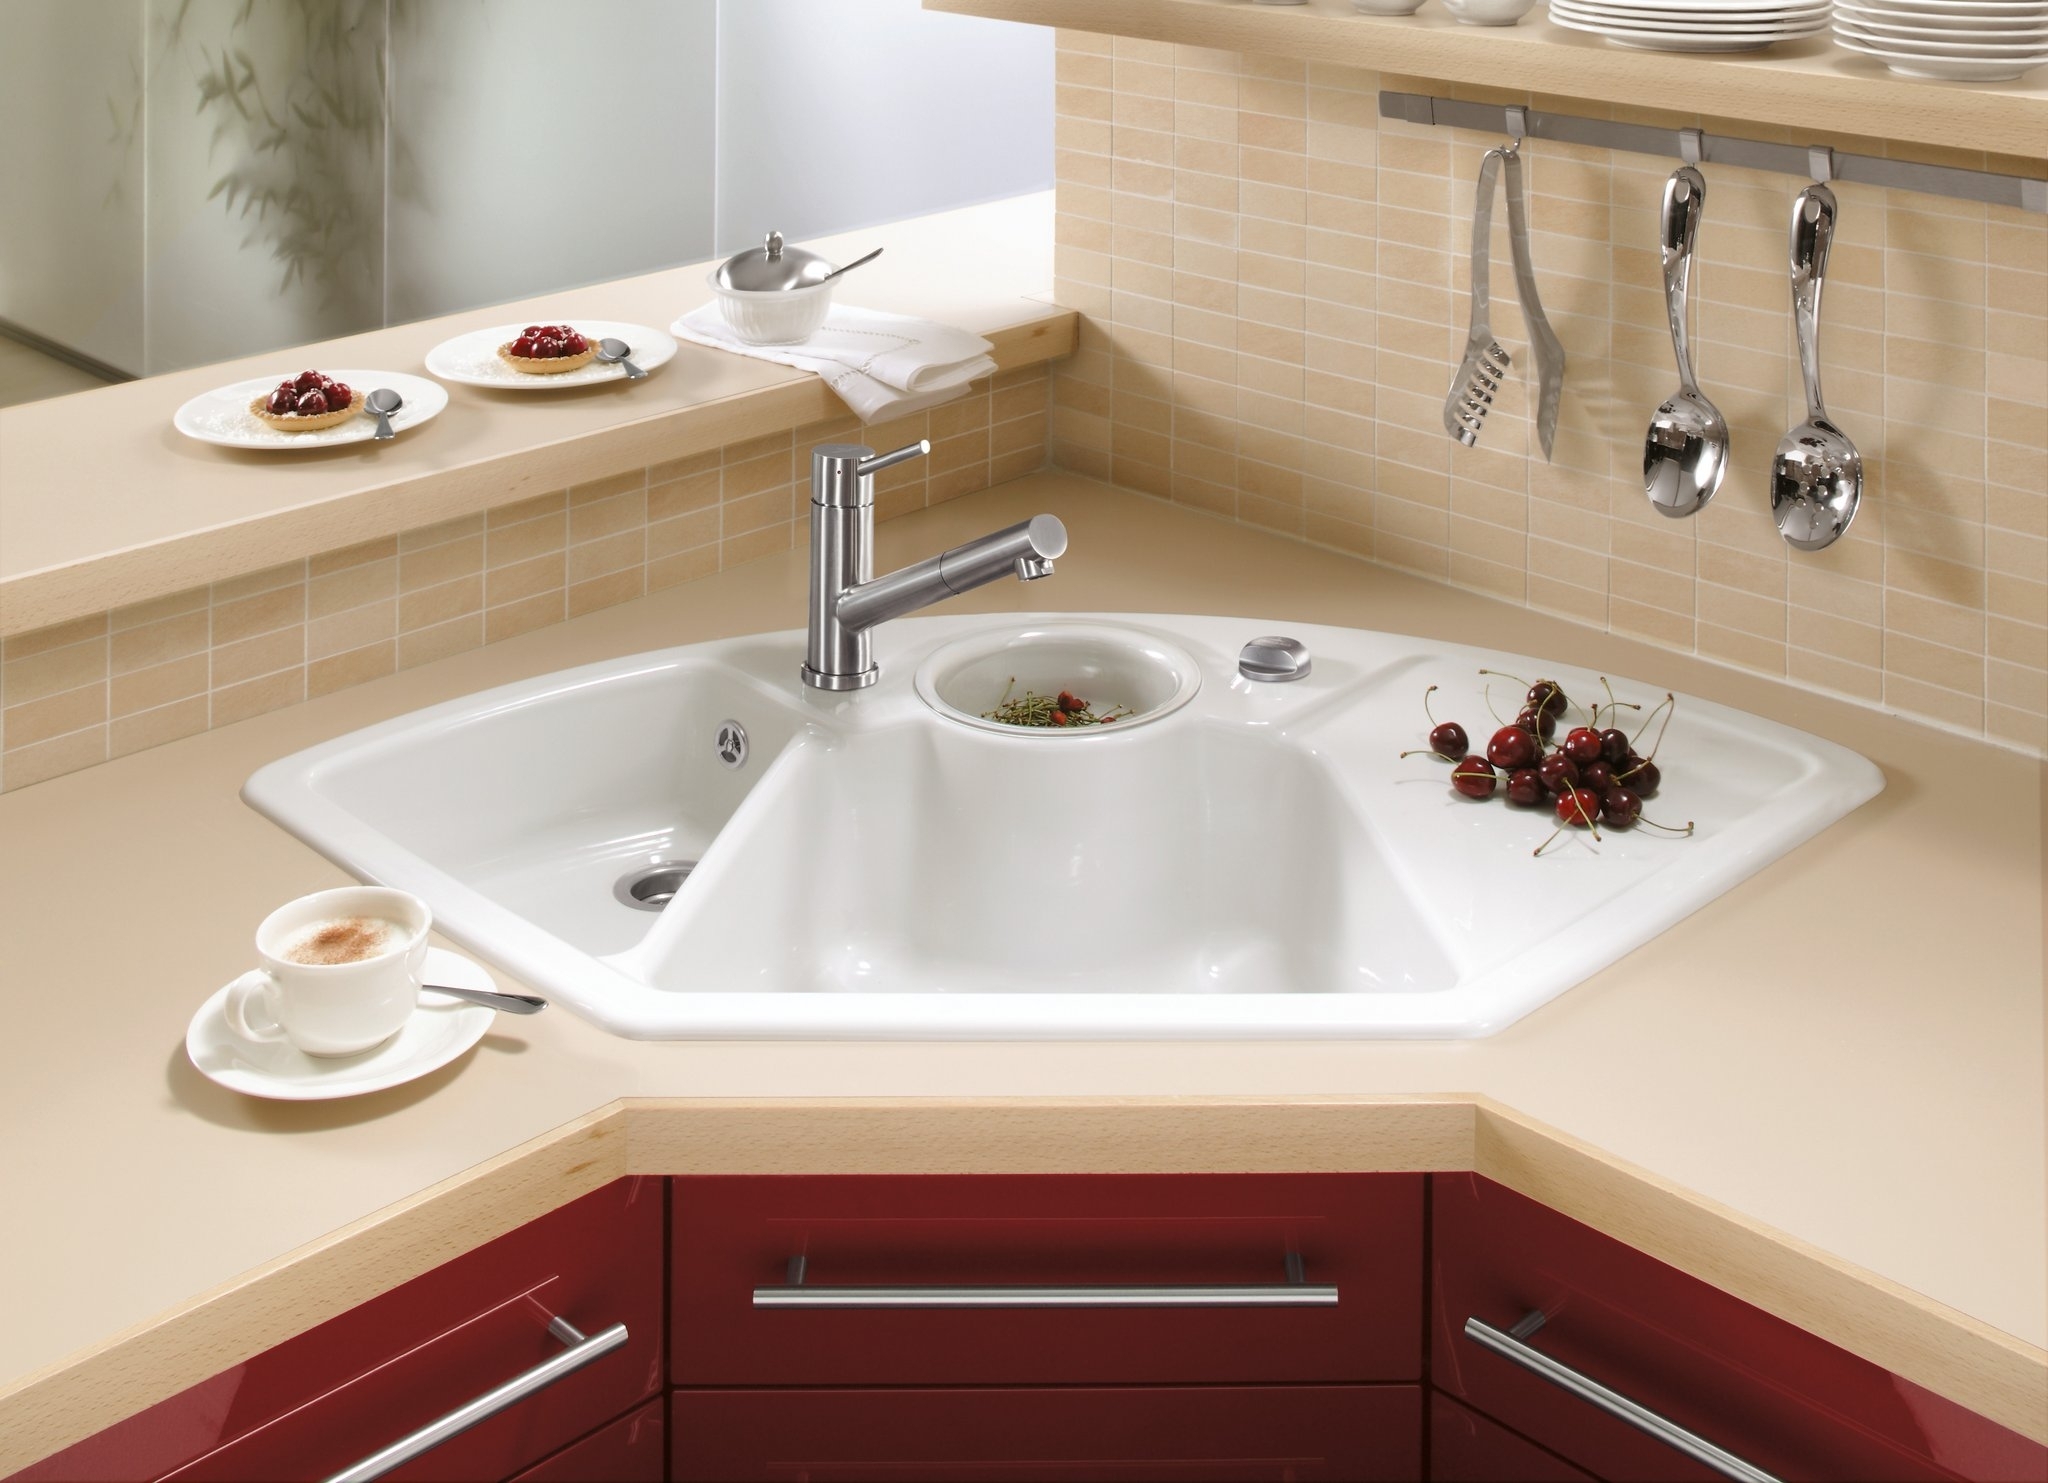
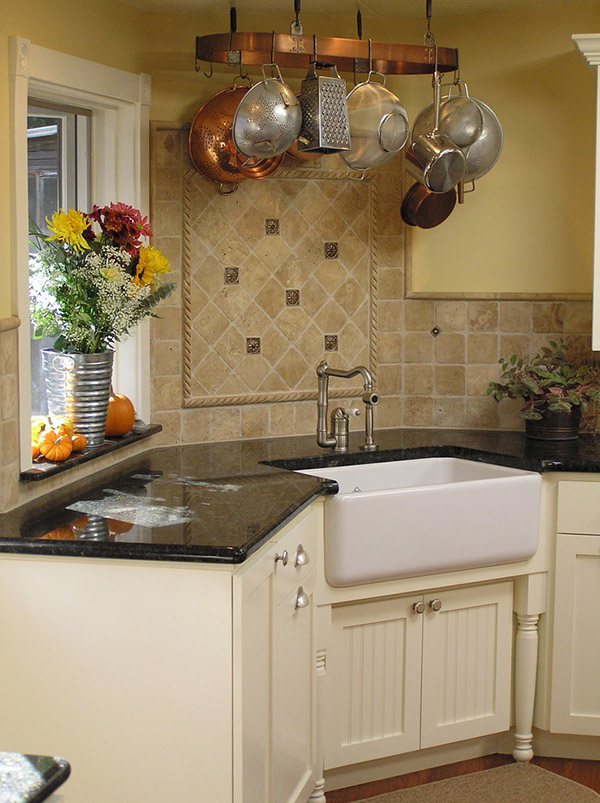
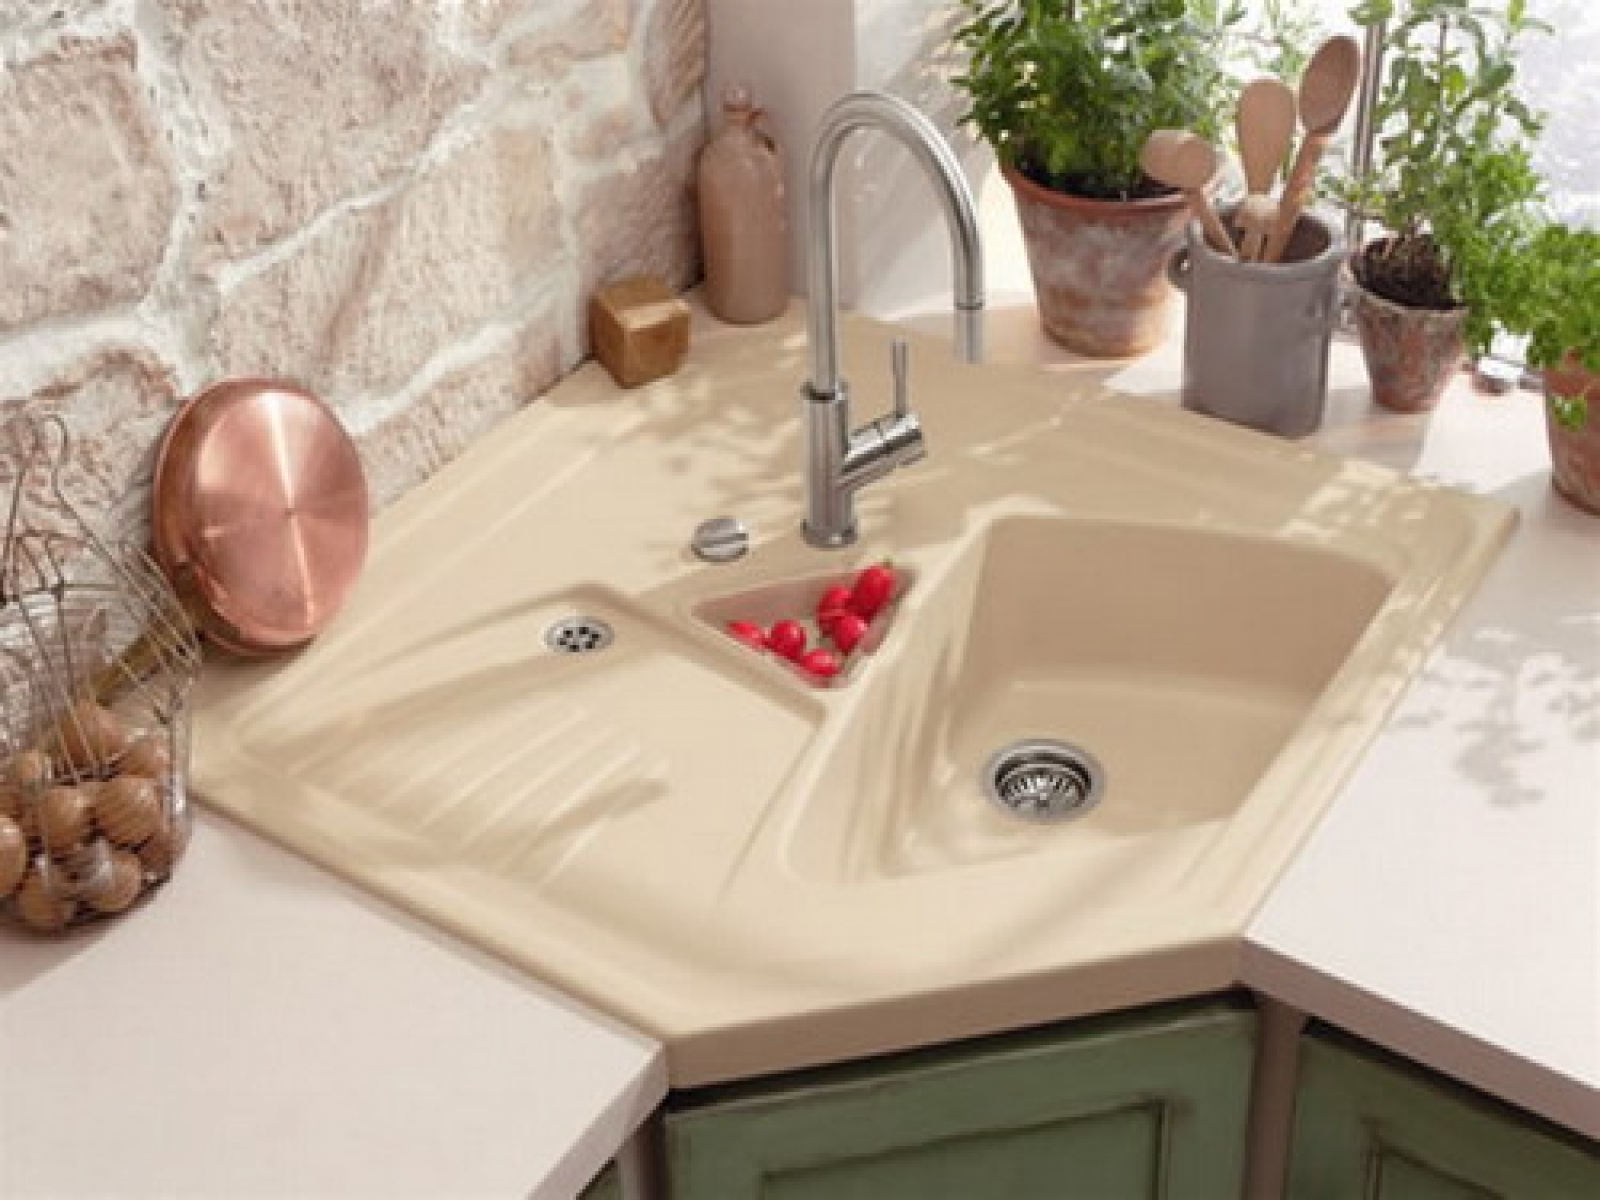
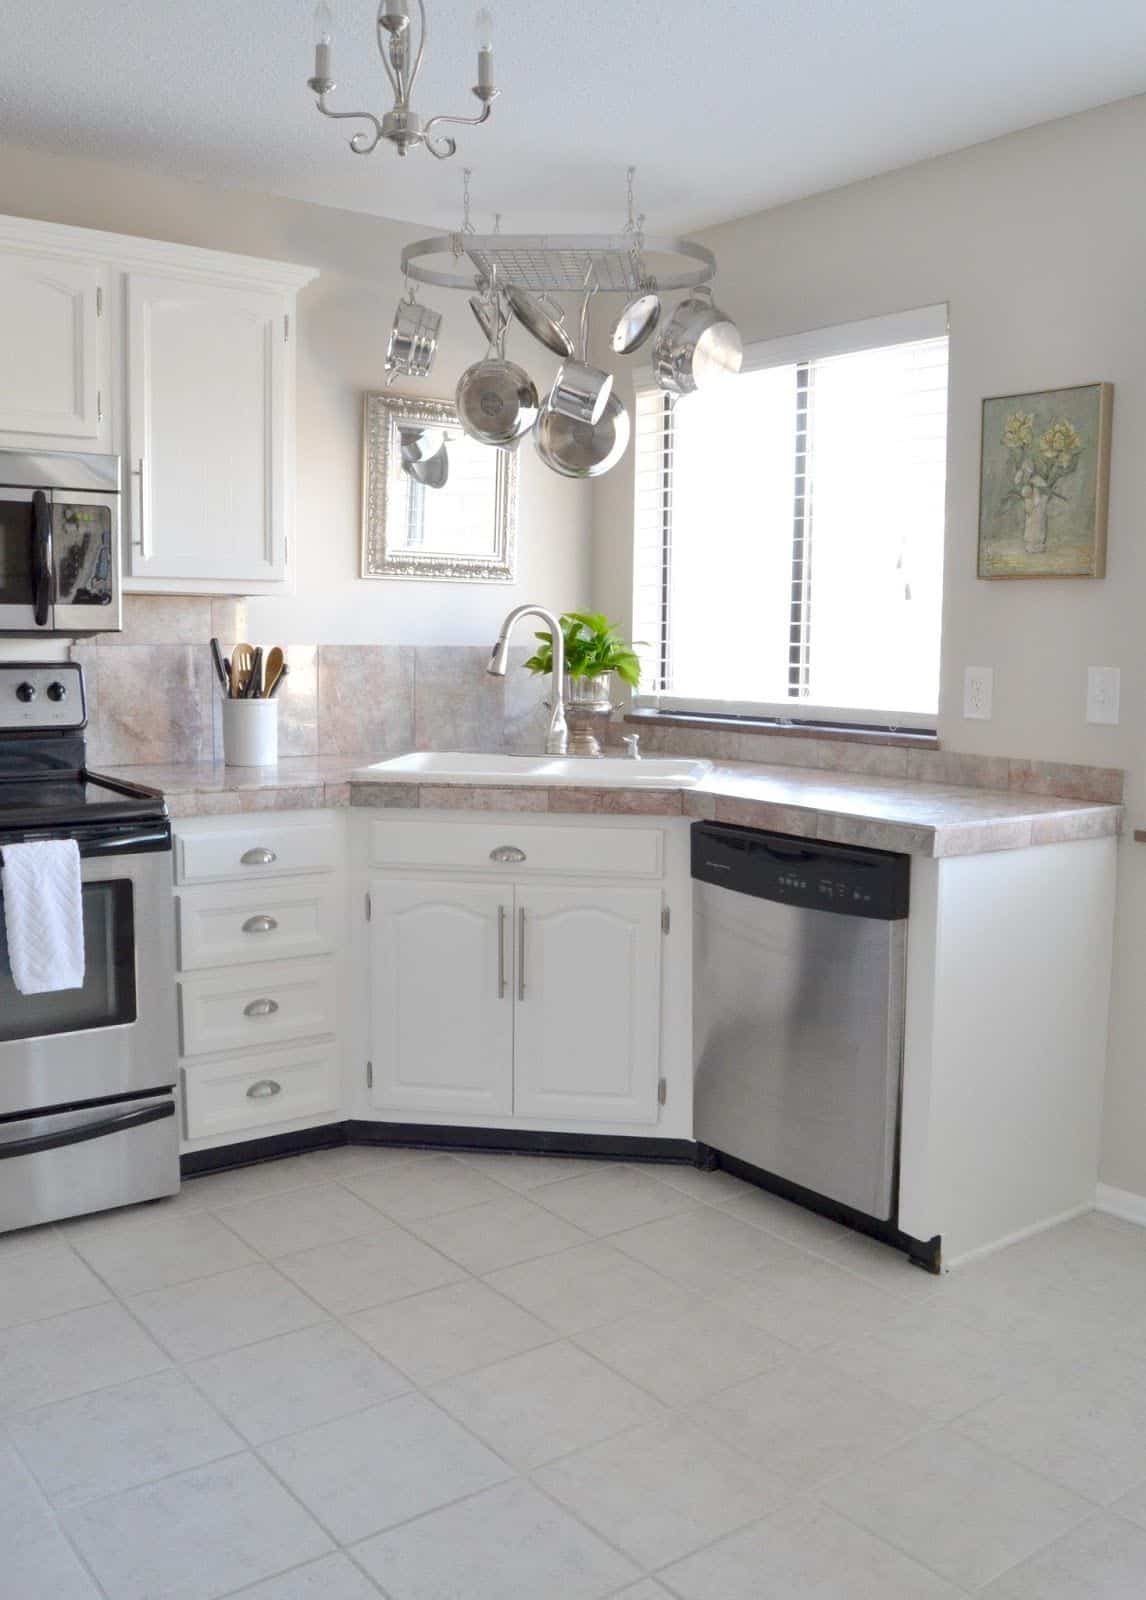
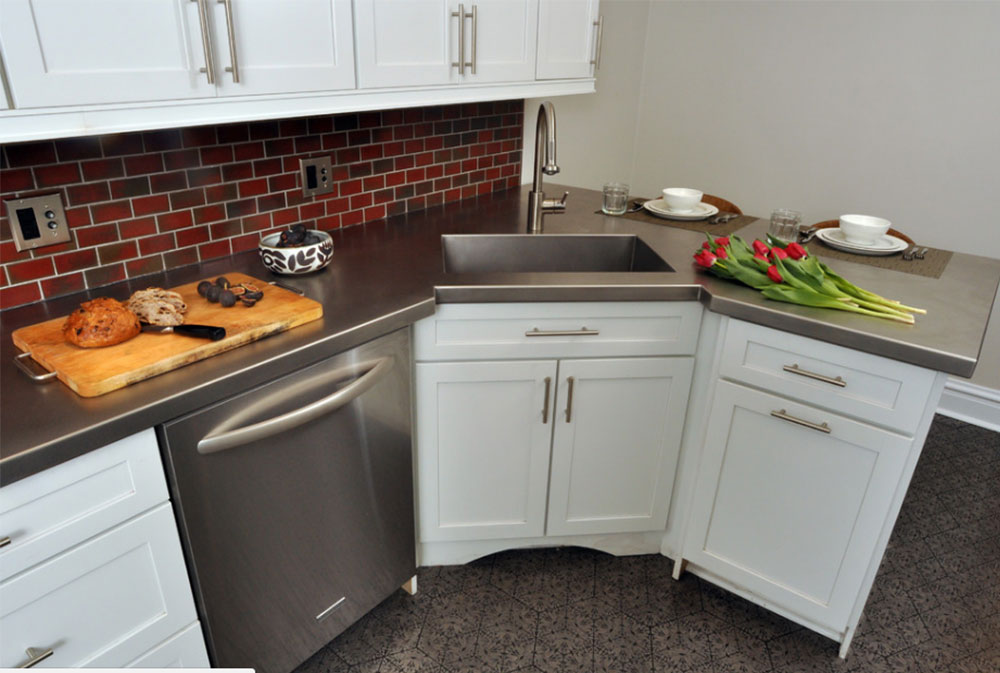
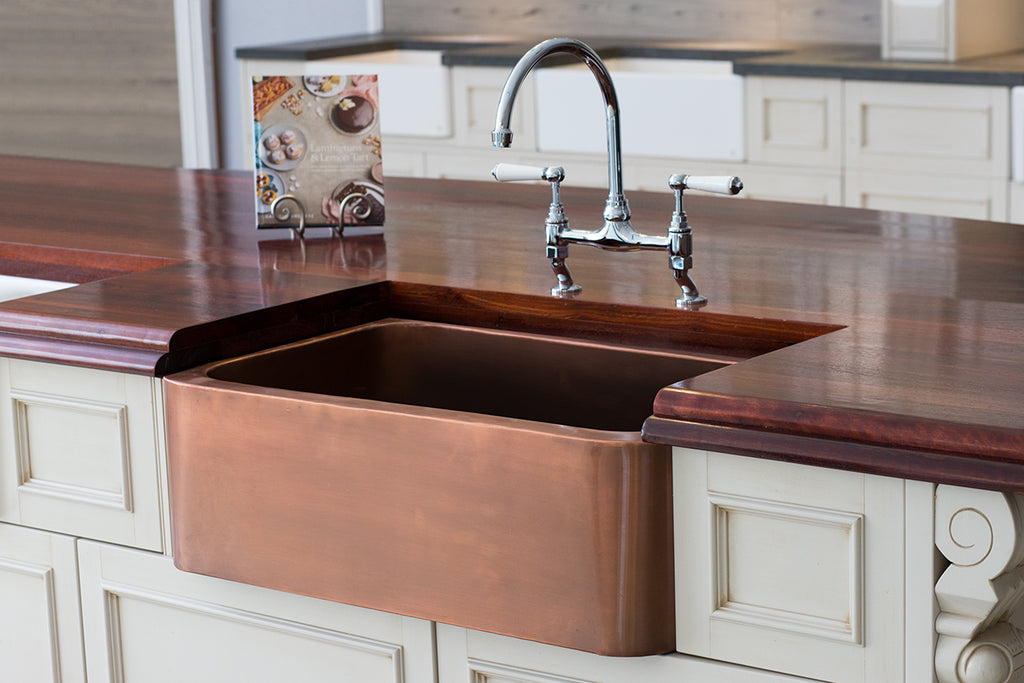
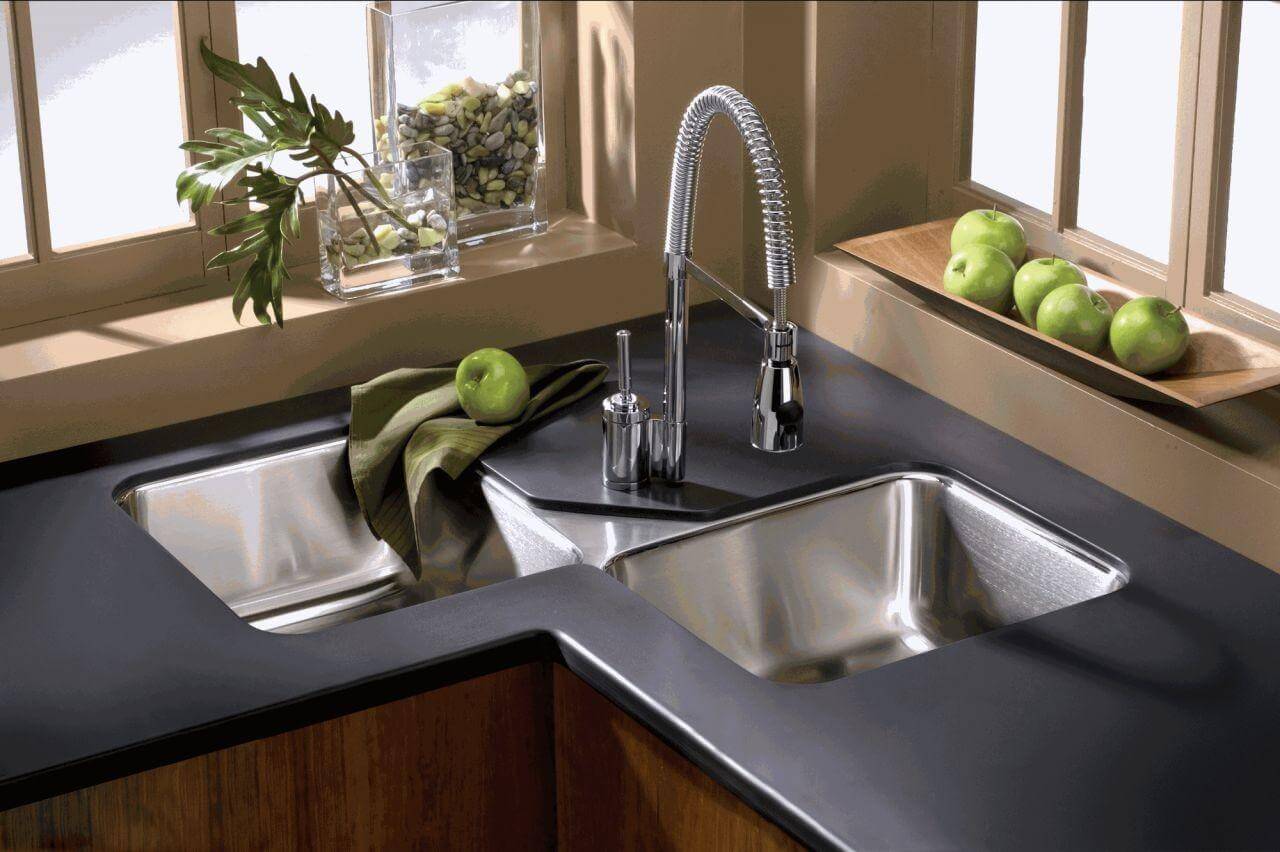
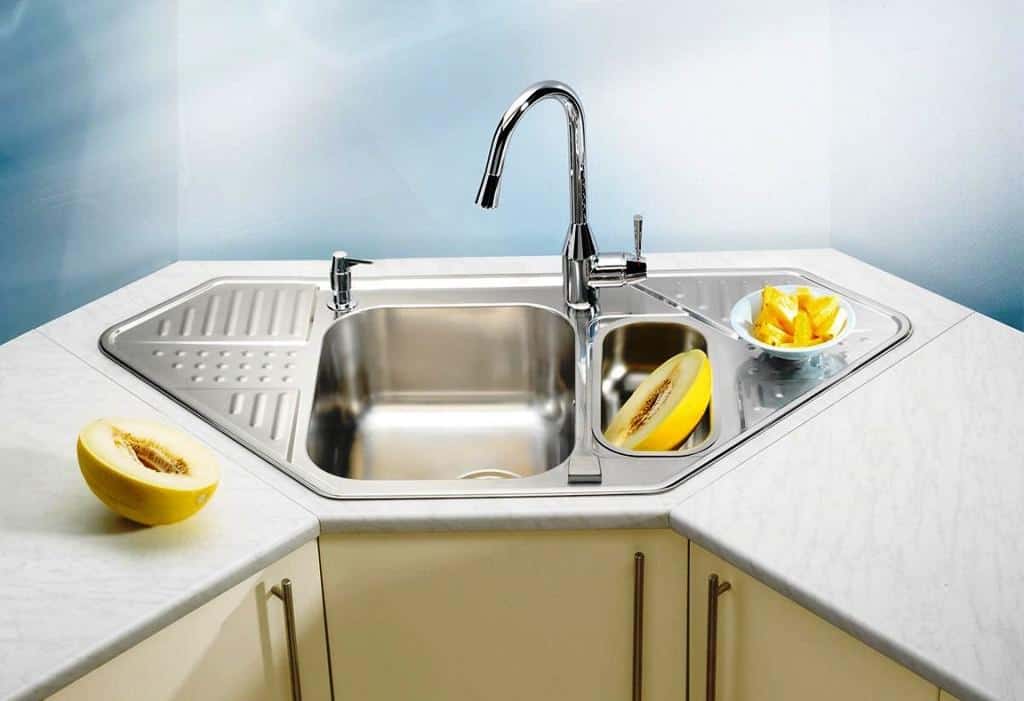
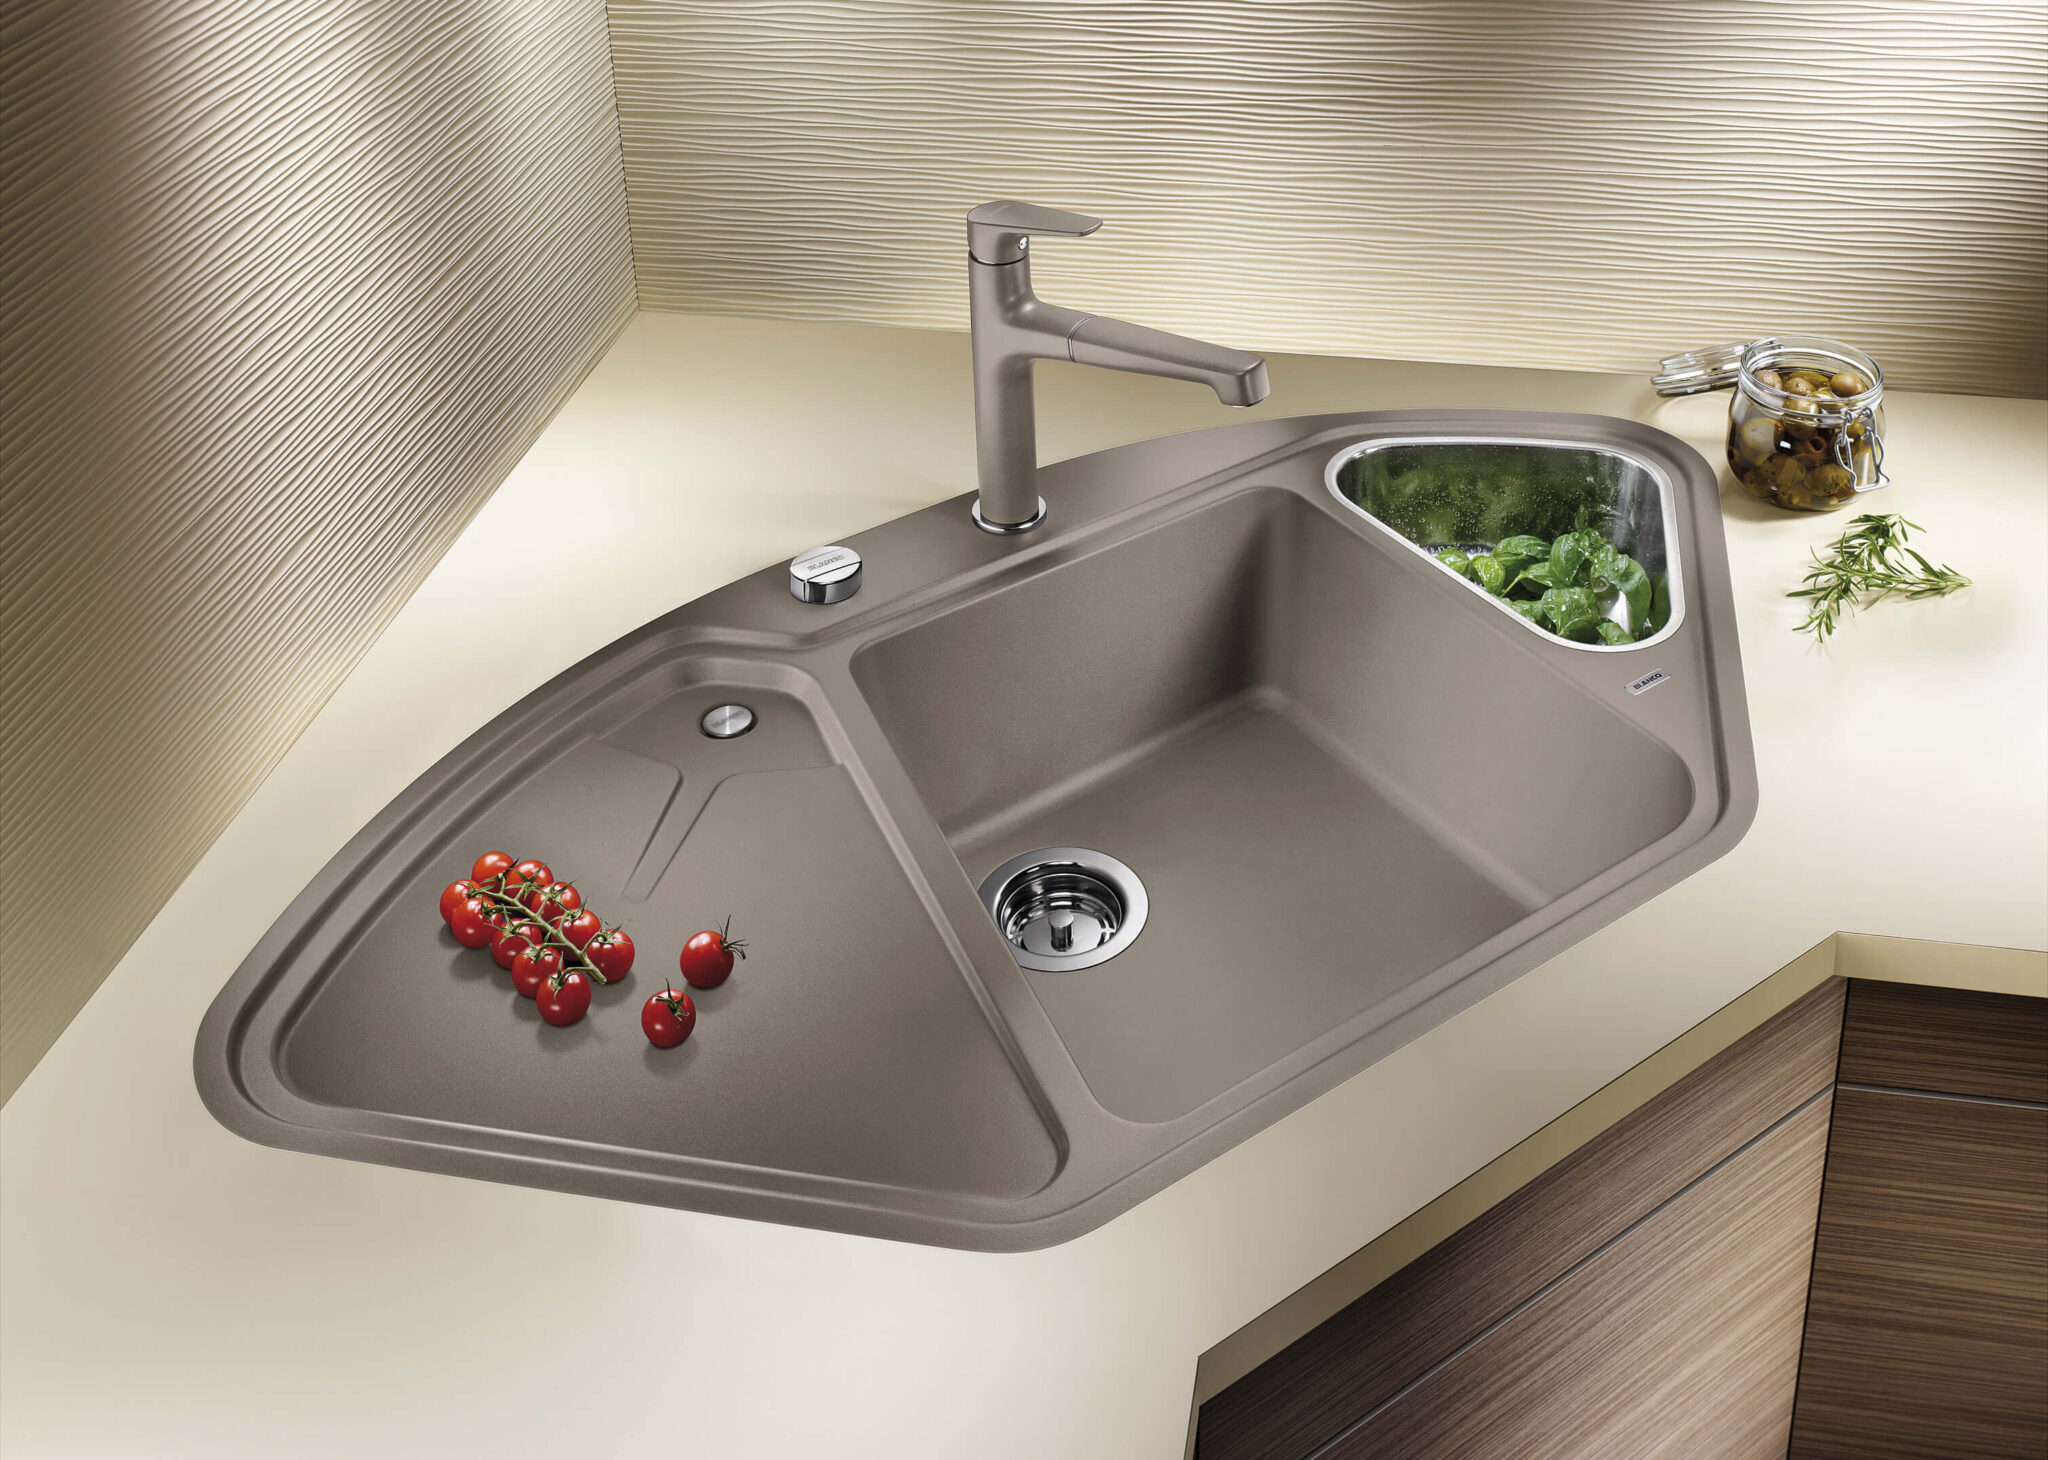
Installing a corner kitchen sink can be a great way to maximize space and add a unique touch to your kitchen. However, it also comes with its own set of challenges, particularly when it comes to plumbing. Here are 10 tips to help you successfully install a corner kitchen sink and avoid common issues. TIP 1: Plan Your Layout Carefully Before you even start installing your corner sink, it's important to carefully plan out your layout. Make sure to consider the placement of your sink in relation to other appliances, such as your dishwasher and stove, as well as the location of your plumbing and electrical outlets. TIP 2: Choose the Right Size Sink Corner sinks come in a variety of sizes and shapes, so make sure to choose one that fits your space and needs. Consider the depth of the sink, as well as the size of the bowls, to ensure it will be functional for your daily use. TIP 3: Install Proper Support Corner sinks can be heavier than traditional sinks, so it's important to install proper support to avoid any issues down the line. This can include using a stud finder to locate and reinforce the studs in the wall, as well as using brackets or braces to support the weight of the sink. TIP 4: Use Quality Materials When it comes to plumbing, it's important to use quality materials to ensure a long-lasting and leak-free installation. This includes using stainless steel or PVC pipes, as well as durable and sturdy fittings and connectors. TIP 5: Properly Vent Your Drain Proper ventilation is crucial for any plumbing installation, and this is especially true for a corner kitchen sink. Make sure to properly vent your drain to prevent any clogs or backups and ensure efficient drainage. TIP 6: Consider a Garbage Disposal If you're installing a corner sink with a garbage disposal, make sure to plan out the placement of the disposal in relation to your sink and plumbing. You may need to make adjustments to your layout or plumbing to accommodate the disposal. TIP 7: Follow Building Codes Before starting your installation, make sure to research and follow any local building codes and regulations. This will ensure that your installation is up to code and safe to use. TIP 8: Don't Forget About the Faucet While it may seem like an afterthought, the faucet is a crucial part of your corner sink installation. Make sure to choose a faucet that fits the style and size of your sink, and properly install it according to the manufacturer's instructions. TIP 9: Properly Seal Your Sink Properly sealing your sink is essential for preventing leaks and maintaining the integrity of your installation. Make sure to use waterproof sealant around the edges of the sink, as well as around any plumbing connections. TIP 10: Consider Hiring a Professional If you're not confident in your plumbing skills, or if you encounter any issues during the installation process, don't hesitate to hire a professional. This will ensure that your corner kitchen sink is installed correctly and safely.Corner Kitchen Sink Plumbing: 10 Tips for Installing a Corner Sink
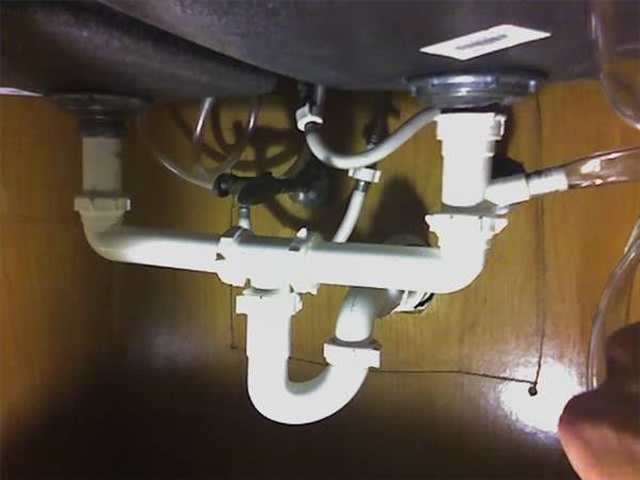
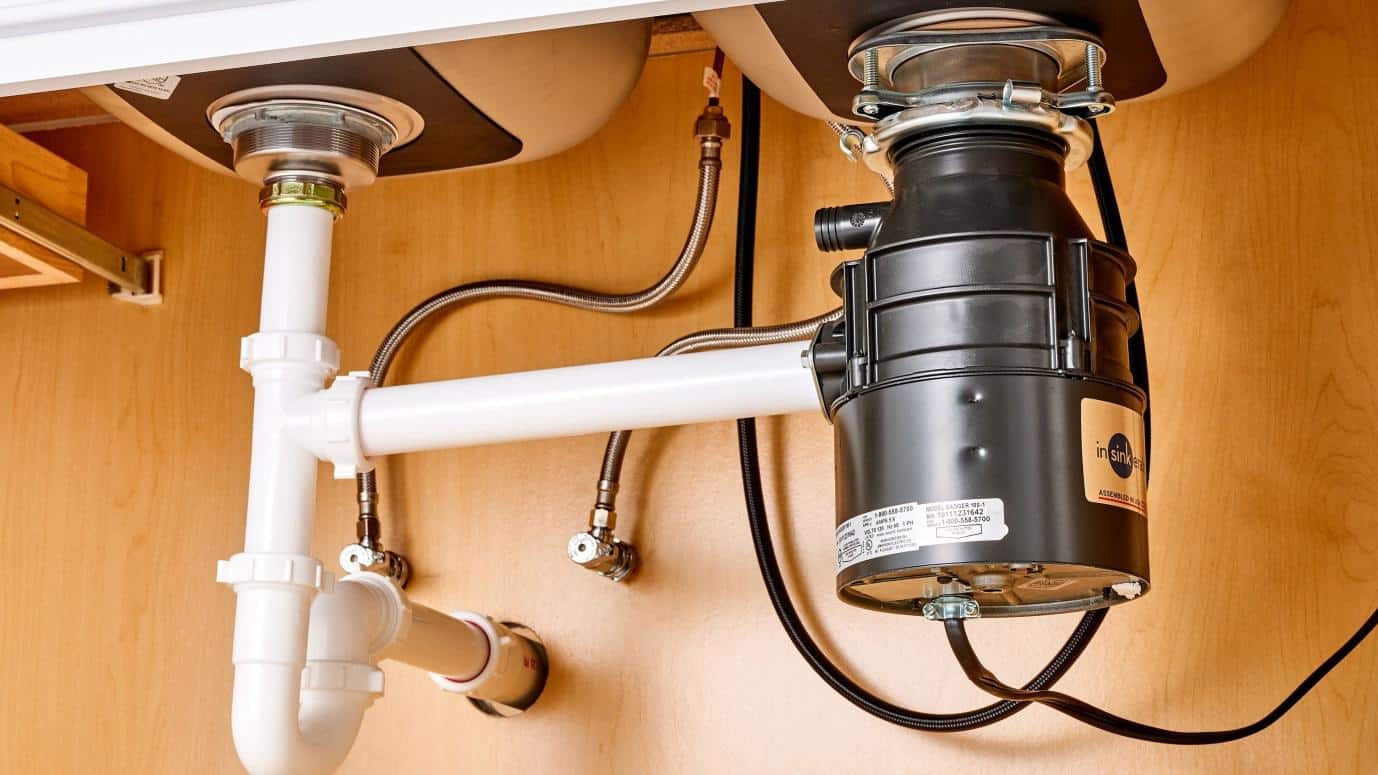
Installing a corner kitchen sink drain may seem like a daunting task, but with the right tools and knowledge, it can be a straightforward process. Here's a step-by-step guide to help you properly install your corner sink drain. Step 1: Gather Your Tools Before starting the installation, make sure you have all the necessary tools and materials. This may include a screwdriver, pliers, plumber's putty, and pipe wrenches. Step 2: Attach the Drain to the Sink Start by attaching the drain to the bottom of the sink. Apply plumber's putty around the edge of the drain and insert it into the drain hole in the sink. Tighten the retaining nut on the underside of the sink using a wrench. Step 3: Connect the Trap Next, connect the trap to the drain. The trap is a curved pipe that prevents sewer gases from entering your home. Make sure to connect the trap to the bottom of the drain and secure it with a slip nut and washer. Step 4: Connect the Drain to the Wall Once the trap is connected, you can attach the drain to the wall. This may require cutting and fitting pipes, depending on the layout of your plumbing. Make sure to use the appropriate connectors and fittings for a secure and leak-free connection. Step 5: Test for Leaks After all the connections are made, turn on the water and check for any leaks. If you notice any leaks, tighten the connections or use plumber's tape to seal any gaps. Step 6: Secure the Sink to the Countertop Once the drain is properly installed, you can secure the sink to the countertop using the manufacturer's instructions. This may include using brackets or silicone adhesive to ensure a sturdy and secure attachment.How to Install a Corner Kitchen Sink Drain
Installing a corner kitchen sink requires some knowledge of plumbing and careful planning. Here are some important things to keep in mind when it comes to the plumbing aspect of your installation. Pipe Size and Layout Make sure to properly measure and plan out the size and layout of your pipes before starting the installation. This will ensure that your pipes fit correctly and efficiently drain water from your sink. Water Pressure Low water pressure can be a common issue with corner sinks. If you notice low water pressure, you may need to install a pressure booster or adjust your pipes to allow for better water flow. Proper Ventilation As mentioned earlier, proper ventilation is crucial for any plumbing installation, and this is especially true for corner sinks. Make sure to properly vent your drain to prevent any clogs or backups. Leak Prevention To prevent leaks and maintain the integrity of your installation, make sure to properly seal all connections and use quality materials. Regularly checking for leaks and addressing any issues promptly can also help prevent larger problems down the line.Corner Kitchen Sink Plumbing: What You Need to Know
Plumbing a corner kitchen sink may seem like a complex task, but with the right tools and knowledge, it can be done successfully. Here's a step-by-step guide to help you properly plumb your corner sink. Step 1: Measure and Plan Before starting the plumbing process, make sure to carefully measure and plan out the layout of your pipes. This will ensure that your pipes fit correctly and efficiently drain water from your sink. Step 2: Cut and Fit Pipes Using your measurements, cut and fit your pipes according to the layout you planned. Make sure to use the appropriate connectors and fittings for a secure and leak-free connection. Step 3: Connect to the Water Supply Next, connect your pipes to the water supply using the appropriate connectors and fittings. Make sure to turn off the water supply before making any connections and regularly check for leaks as you make the connections. Step 4: Install the Drain Once the pipes are properly connected, you can install the drain. Refer to the manufacturer's instructions for the correct installation process and make sure to properly seal all connections to prevent leaks. Step 5: Test for Leaks After all the connections are made, turn on the water and check for any leaks. If you notice any leaks, tighten the connections or use plumber's tape to seal any gaps. Step 6: Secure the Sink to the Countertop Once the plumbing is properly installed, you can secure the sink to the countertop using the manufacturer's instructions. This may include using brackets or silicone adhesive to ensure a sturdy and secure attachment.How to Plumb a Corner Kitchen Sink
Despite careful planning and installation, issues can still arise with your corner kitchen sink plumbing. Here are some common problems and their solutions. Clogs Clogs can occur in any sink, but corner sinks may be more susceptible due to their unique shape. To prevent clogs, make sure to properly dispose of food waste and regularly clean your sink and drain. Low Water Pressure As mentioned earlier, low water pressure can be a common issue with corner sinks. To increase water pressure, you may need to install a pressure booster or adjust your pipes to allow for better water flow. Leaks Leaks can occur at any point in your plumbing, from the drain to the water supply. Regularly checking for leaks and properly sealing connections can help prevent larger problems down the line. Foul Odors If you notice a foul odor coming from your sink, it may be a sign of a clog or buildup in your pipes. Regularly cleaning your sink and using a drain cleaner can help eliminate any odors.Corner Kitchen Sink Plumbing: Common Issues and Solutions
Installing a corner kitchen sink can be a challenging task, and mistakes can happen. Here are some common mistakes to avoid when it comes to corner sink plumbing. Not Planning Properly Proper planning is crucial for a successful corner sink installation. Make sure to carefully measure and plan out your layout, and consider the placement of your sink in relation to other appliances and plumbing. Using the Wrong Materials Using the right materials is key for a long-lasting and leak-free installation. Make sure to use quality materials, such as stainless steel or PVC pipes, and avoid using cheap or low-quality materials. Not Properly Venting the Drain Proper ventilation is crucial for any plumbing installation, and this is especially true for corner sinks. Make sure to properly vent your drain to prevent any clogs or backups. Rushing the Installation Installing a corner sink takes time and patience. Rushing through the installation process can lead to mistakes and potentially costly issues down the line. Take your time and carefully follow the instructions for a successful installation.Corner Kitchen Sink Plumbing: How to Avoid Common Mistakes
When it comes to installing a corner kitchen sink, you may be wondering whether to tackle it yourself or hire a professional. Here are some factors to consider when deciding between DIY or hiring a professional for your corner sink plumbing. DIY Pros:Corner Kitchen Sink Plumbing: DIY vs Hiring a Professional
When it comes to plumbing, using the right materials is crucial for a successful installation. Here are some tips for choosing the right materials for your corner kitchen sink plumbing. Pipes Stainless steel or PVC pipes are typically the best choice for corner sinks, as they are durable and resistant to corrosion. Make sure to choose the correct size and type of pipe for your specific installation. Connectors and Fittings Choosing the right connectors and fittings is also important for a secure and leak-free installation. Make sure to use quality materials and properly size and fit the connectors and fittings to your pipes. Sealant Properly sealing your sink and connections is essential for preventing leaks. Use waterproof sealant around the edges of the sink and around any plumbing connections to ensure a tight and secure seal. Drain The type and size of your drain will depend on the type of sink you choose and your specific installation. Make sure to choose a drain that fits your sink and properly connects to your plumbing.Corner Kitchen Sink Plumbing: Choosing the Right Materials
The Importance of Proper Plumbing for Your Corner Kitchen Sink
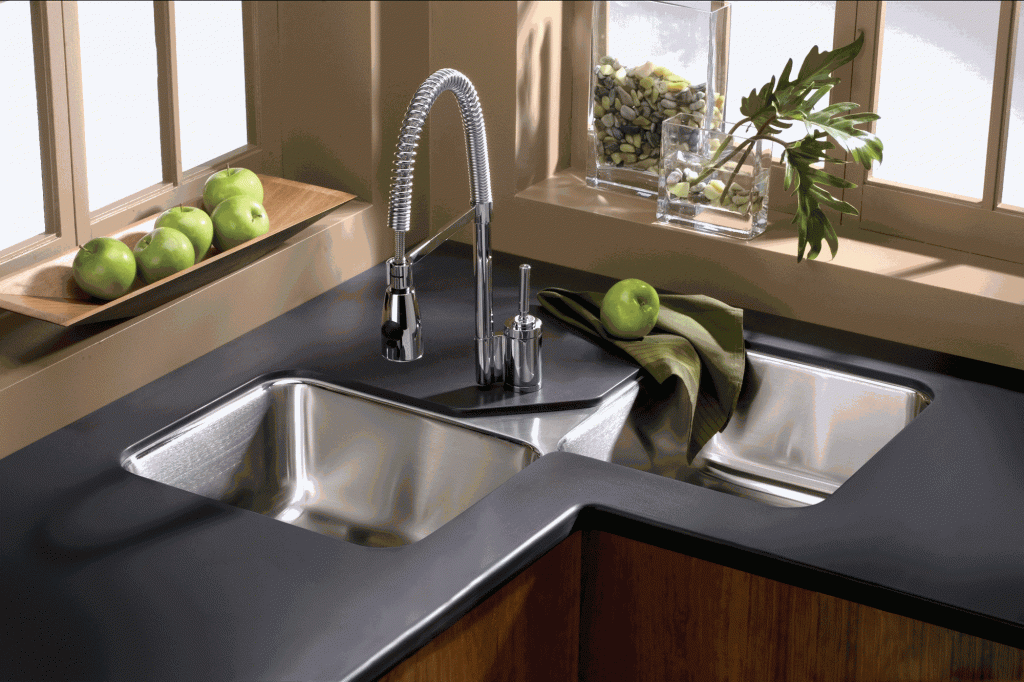
Maximizing Space and Functionality
Efficient Drainage and Water Supply
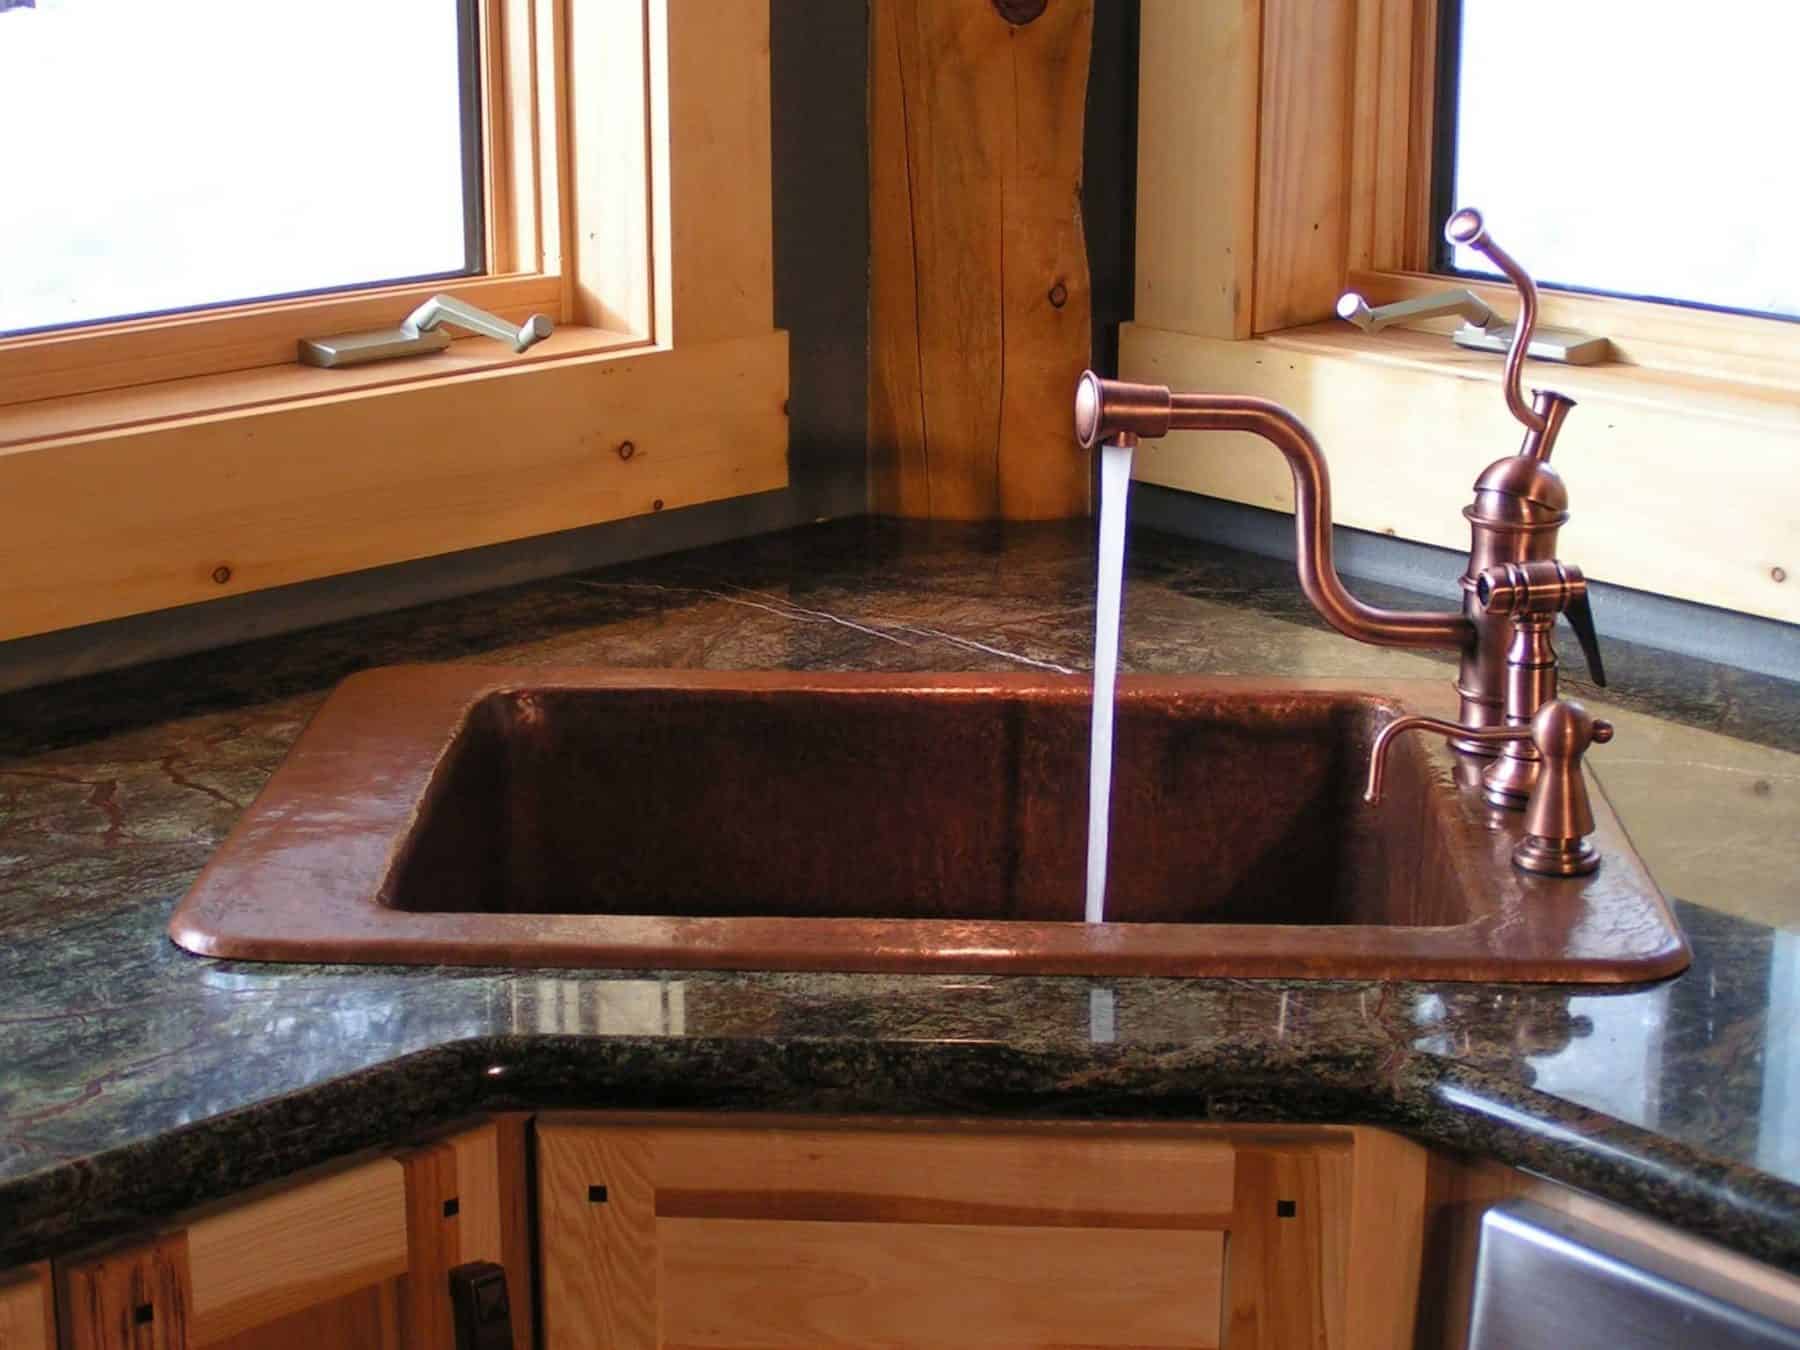 Proper plumbing for your corner kitchen sink also ensures efficient drainage and water supply. A well-designed plumbing system will prevent any issues with clogging or slow draining, which can be a common problem in corner sinks if not installed correctly. It is crucial to have a professional plumber assess the layout and ensure that the pipes are properly angled and connected to allow for effective drainage.
In addition, the water supply to your corner kitchen sink should be properly installed to avoid any leaks or low water pressure. This is especially important in corner sinks, as they may require longer pipes to reach the back corner. A professional plumber can ensure that the pipes are appropriately sized and connected to provide adequate water supply to your sink.
Preventing Water Damage
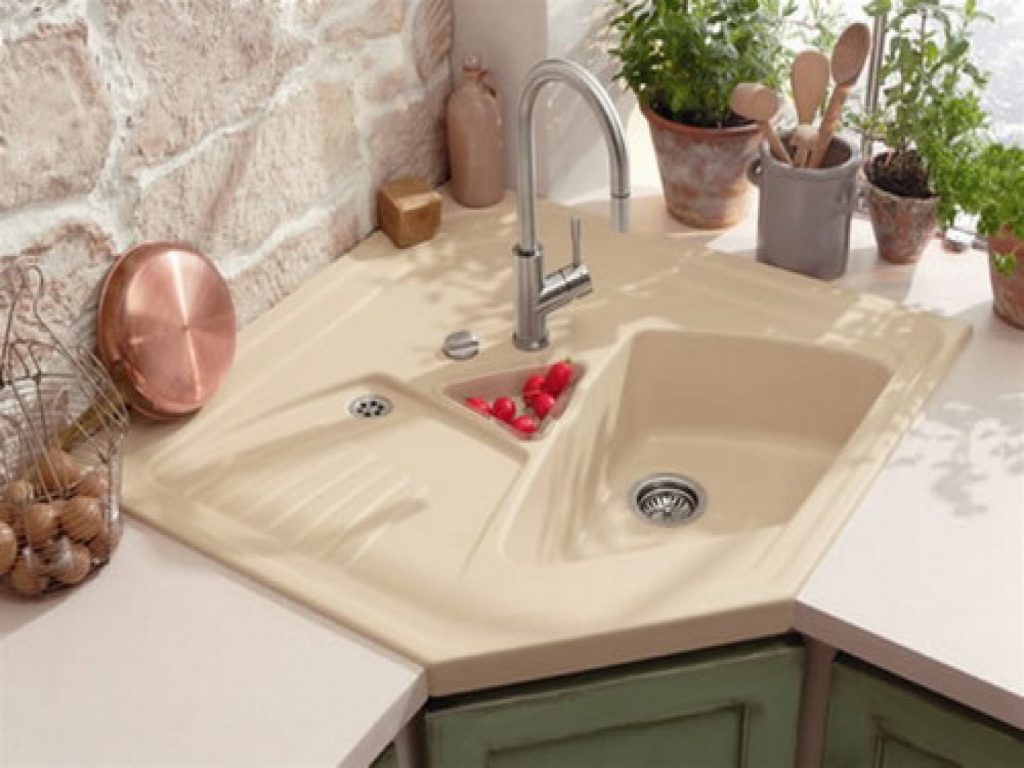 Poorly installed plumbing can also lead to water damage in and around your corner kitchen sink. Leaks or clogs in the pipes can cause water to seep into cabinets, floors, and walls, leading to costly repairs. To avoid this, it is essential to have a professional plumber install and regularly maintain your corner sink's plumbing system.
In addition, proper plumbing can also prevent potential mold growth, which can be a health hazard and cause further damage to your kitchen. By investing in quality plumbing for your corner kitchen sink, you can avoid these issues and ensure the longevity of your kitchen.
In Conclusion
A well-designed plumbing system is crucial for the functionality and longevity of your corner kitchen sink. It allows for maximum use of space, efficient drainage and water supply, and prevents potential water damage. By investing in professional plumbing services, you can ensure that your corner sink becomes a beautiful and functional centerpiece in your kitchen. So don't overlook the importance of proper plumbing for your corner kitchen sink and consult a professional for the best results.







:max_bytes(150000):strip_icc()/how-to-install-a-sink-drain-2718789-hero-24e898006ed94c9593a2a268b57989a3.jpg)


/how-to-install-a-sink-drain-2718789-hero-b5b99f72b5a24bb2ae8364e60539cece.jpg)


