Connecting a bathroom sink drain to the wall may seem like a daunting task, but with the right tools and techniques, it can be a simple and straightforward process. Whether you're installing a new sink or replacing an old one, properly connecting the drain to the wall is crucial for ensuring proper drainage and preventing leaks. In this article, we'll guide you through the steps of connecting a bathroom sink drain to the wall, offer tips and tricks, and provide alternative methods and troubleshooting solutions.How to Connect a Bathroom Sink Drain to the Wall


How to Connect a Bathroom Sink Drain to the Wall

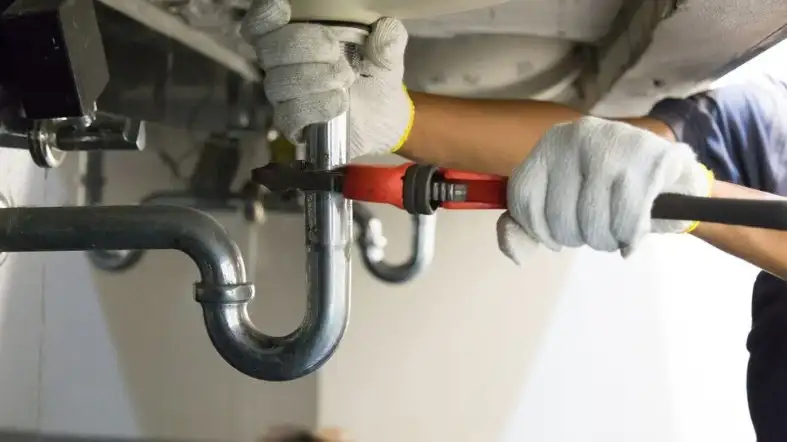
Before you begin, make sure you have all the necessary tools and materials. You will need a drain pipe, P-trap, adjustable wrench, plumber's putty, and pipe joint compound. Once you have everything ready, follow these steps: Step 1: Begin by installing the drain pipe. Apply pipe joint compound to the threads of the drain pipe before attaching it to the bottom of the sink. Make sure the pipe is aligned with the drain hole and secure it with the adjustable wrench. Step 2: Next, install the P-trap. Apply pipe joint compound to the threads before attaching it to the drain pipe. Use the adjustable wrench to tighten the connections. Step 3: Now it's time to connect the drain pipe to the wall. Apply pipe joint compound to the threads of the drain pipe before attaching it to the wall pipe. Make sure the pipes are aligned and tighten the connections with the adjustable wrench. Step 4: To prevent leaks, apply plumber's putty around the drain opening on the sink. This will create a watertight seal between the sink and the drain. Step 5: Finally, attach the sink to the wall. Use the appropriate screws and bolts to secure the sink in place. Make sure the sink is level before tightening all the screws.Step-by-Step Guide for Connecting a Bathroom Sink Drain to the Wall


Step-by-Step Guide for Connecting a Bathroom Sink Drain to the Wall


:max_bytes(150000):strip_icc()/bathroom-sink-drain-installation-2718843-02-61e5ecbee1e949be8d8f45ac4f5a6797.jpg)


Here are some helpful tips and tricks to keep in mind when connecting a bathroom sink drain to the wall: Tip 1: Use a drain pipe with a cleanout plug for easier maintenance. This will allow you to easily access and clean out any debris or clogs that may occur in the future. Tip 2: Make sure all connections are tight and secure to prevent leaks. Use an adjustable wrench to tighten connections, but be careful not to over-tighten as it can damage the pipes. Tip 3: Use a level to ensure the sink is properly aligned and not tilted. A tilted sink can cause drainage issues and potential leaks. Tip 4: If your sink has an overflow, make sure to connect the overflow pipe to the wall drain pipe. This will prevent water from overflowing onto your countertop.Connecting a Bathroom Sink Drain to the Wall: Tips and Tricks


Connecting a Bathroom Sink Drain to the Wall: Tips and Tricks


Here is a list of the tools and materials you will need to connect a bathroom sink drain to the wall: Tools: Adjustable wrench, level. Materials: Drain pipe, P-trap, plumber's putty, pipe joint compound.Tools and Materials Needed to Connect a Bathroom Sink Drain to the Wall


Tools and Materials Needed to Connect a Bathroom Sink Drain to the Wall


Connecting a bathroom sink drain to the wall may seem like a simple task, but there are some common mistakes that can cause issues in the future. Here are some mistakes to avoid when connecting a bathroom sink drain to the wall: Mistake 1: Not using enough plumber's putty. This can cause leaks and water damage to your countertop and cabinets. Mistake 2: Over-tightening connections. This can damage the pipes and cause leaks. Mistake 3: Not properly aligning the sink and drain pipes. This can cause drainage issues and leaks.Common Mistakes to Avoid When Connecting a Bathroom Sink Drain to the Wall


Common Mistakes to Avoid When Connecting a Bathroom Sink Drain to the Wall


If you prefer visual instructions, there are many helpful video tutorials available online that can guide you through the process of connecting a bathroom sink drain to the wall. Make sure to follow the steps carefully and use the appropriate tools and materials.Video Tutorial: How to Connect a Bathroom Sink Drain to the Wall


Video Tutorial: How to Connect a Bathroom Sink Drain to the Wall


If you encounter any issues during the process of connecting your bathroom sink drain to the wall, here are some troubleshooting tips: Issue 1: The drain pipe is too short to reach the wall pipe. You can purchase a longer drain pipe or use a coupling to connect two shorter pipes together. Issue 2: The sink is not level. Use a level to adjust and align the sink before securing it to the wall. Issue 3: The connections are leaking. Make sure all connections are tight and secure. If the leak persists, you may need to replace the pipes or use plumber's tape to seal the joints.Troubleshooting: What to Do If Your Bathroom Sink Drain Won't Connect to the Wall


Troubleshooting: What to Do If Your Bathroom Sink Drain Won't Connect to the Wall


While the steps outlined above are the most common and recommended method for connecting a bathroom sink drain to the wall, there are some alternative methods you can try: Method 1: Use a flexible drain pipe instead of a solid one. This can be helpful if your sink is not directly aligned with the wall drain pipe. Method 2: Use a rubber gasket instead of plumber's putty. This can provide a watertight seal and may be easier for beginners to use.Alternative Methods for Connecting a Bathroom Sink Drain to the Wall


Alternative Methods for Connecting a Bathroom Sink Drain to the Wall

When working with plumbing, it's important to take safety precautions to avoid any accidents or injuries. Make sure to wear protective gear, such as gloves and safety glasses, and turn off the water supply before beginning any work.Safety Precautions When Connecting a Bathroom Sink Drain to the Wall


Safety Precautions When Connecting a Bathroom Sink Drain to the Wall

Properly connecting a bathroom sink drain to the wall is crucial for ensuring proper drainage and preventing leaks. It can also help maintain the integrity of your sink and prevent damage to your countertop and cabinets. By following the steps outlined in this article and using the right tools and materials, you can easily connect your bathroom sink drain to the wall and have a fully functioning and leak-free sink.Final Thoughts: Why Properly Connecting a Bathroom Sink Drain to the Wall is Important


Final Thoughts: Why Properly Connecting a Bathroom Sink Drain to the Wall is Important


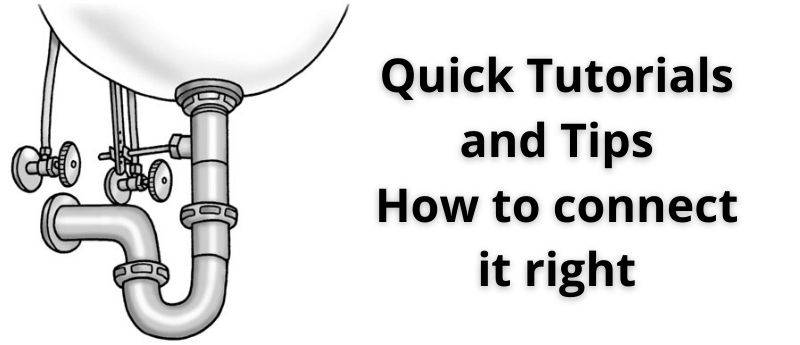
How to Connect Your Bathroom Sink Drain to the Wall

A Guide to Proper House Design and Installation
 When designing a house, every detail counts. This includes the placement and installation of the bathroom sink drain. Connecting the drain to the wall may seem like a simple task, but it requires precision and attention to detail for a properly functioning and aesthetically pleasing result. In this guide, we will walk you through the steps on how to connect your bathroom sink drain to the wall for a seamless and professional finish.
Gather Your Tools and Materials
 Before beginning the installation process, make sure you have all the necessary tools and materials on hand. This includes a drain pipe, P-trap, adjustable wrench, plumber's putty, Teflon tape, and a hacksaw. It's important to use high-quality materials to ensure the longevity of your installation.
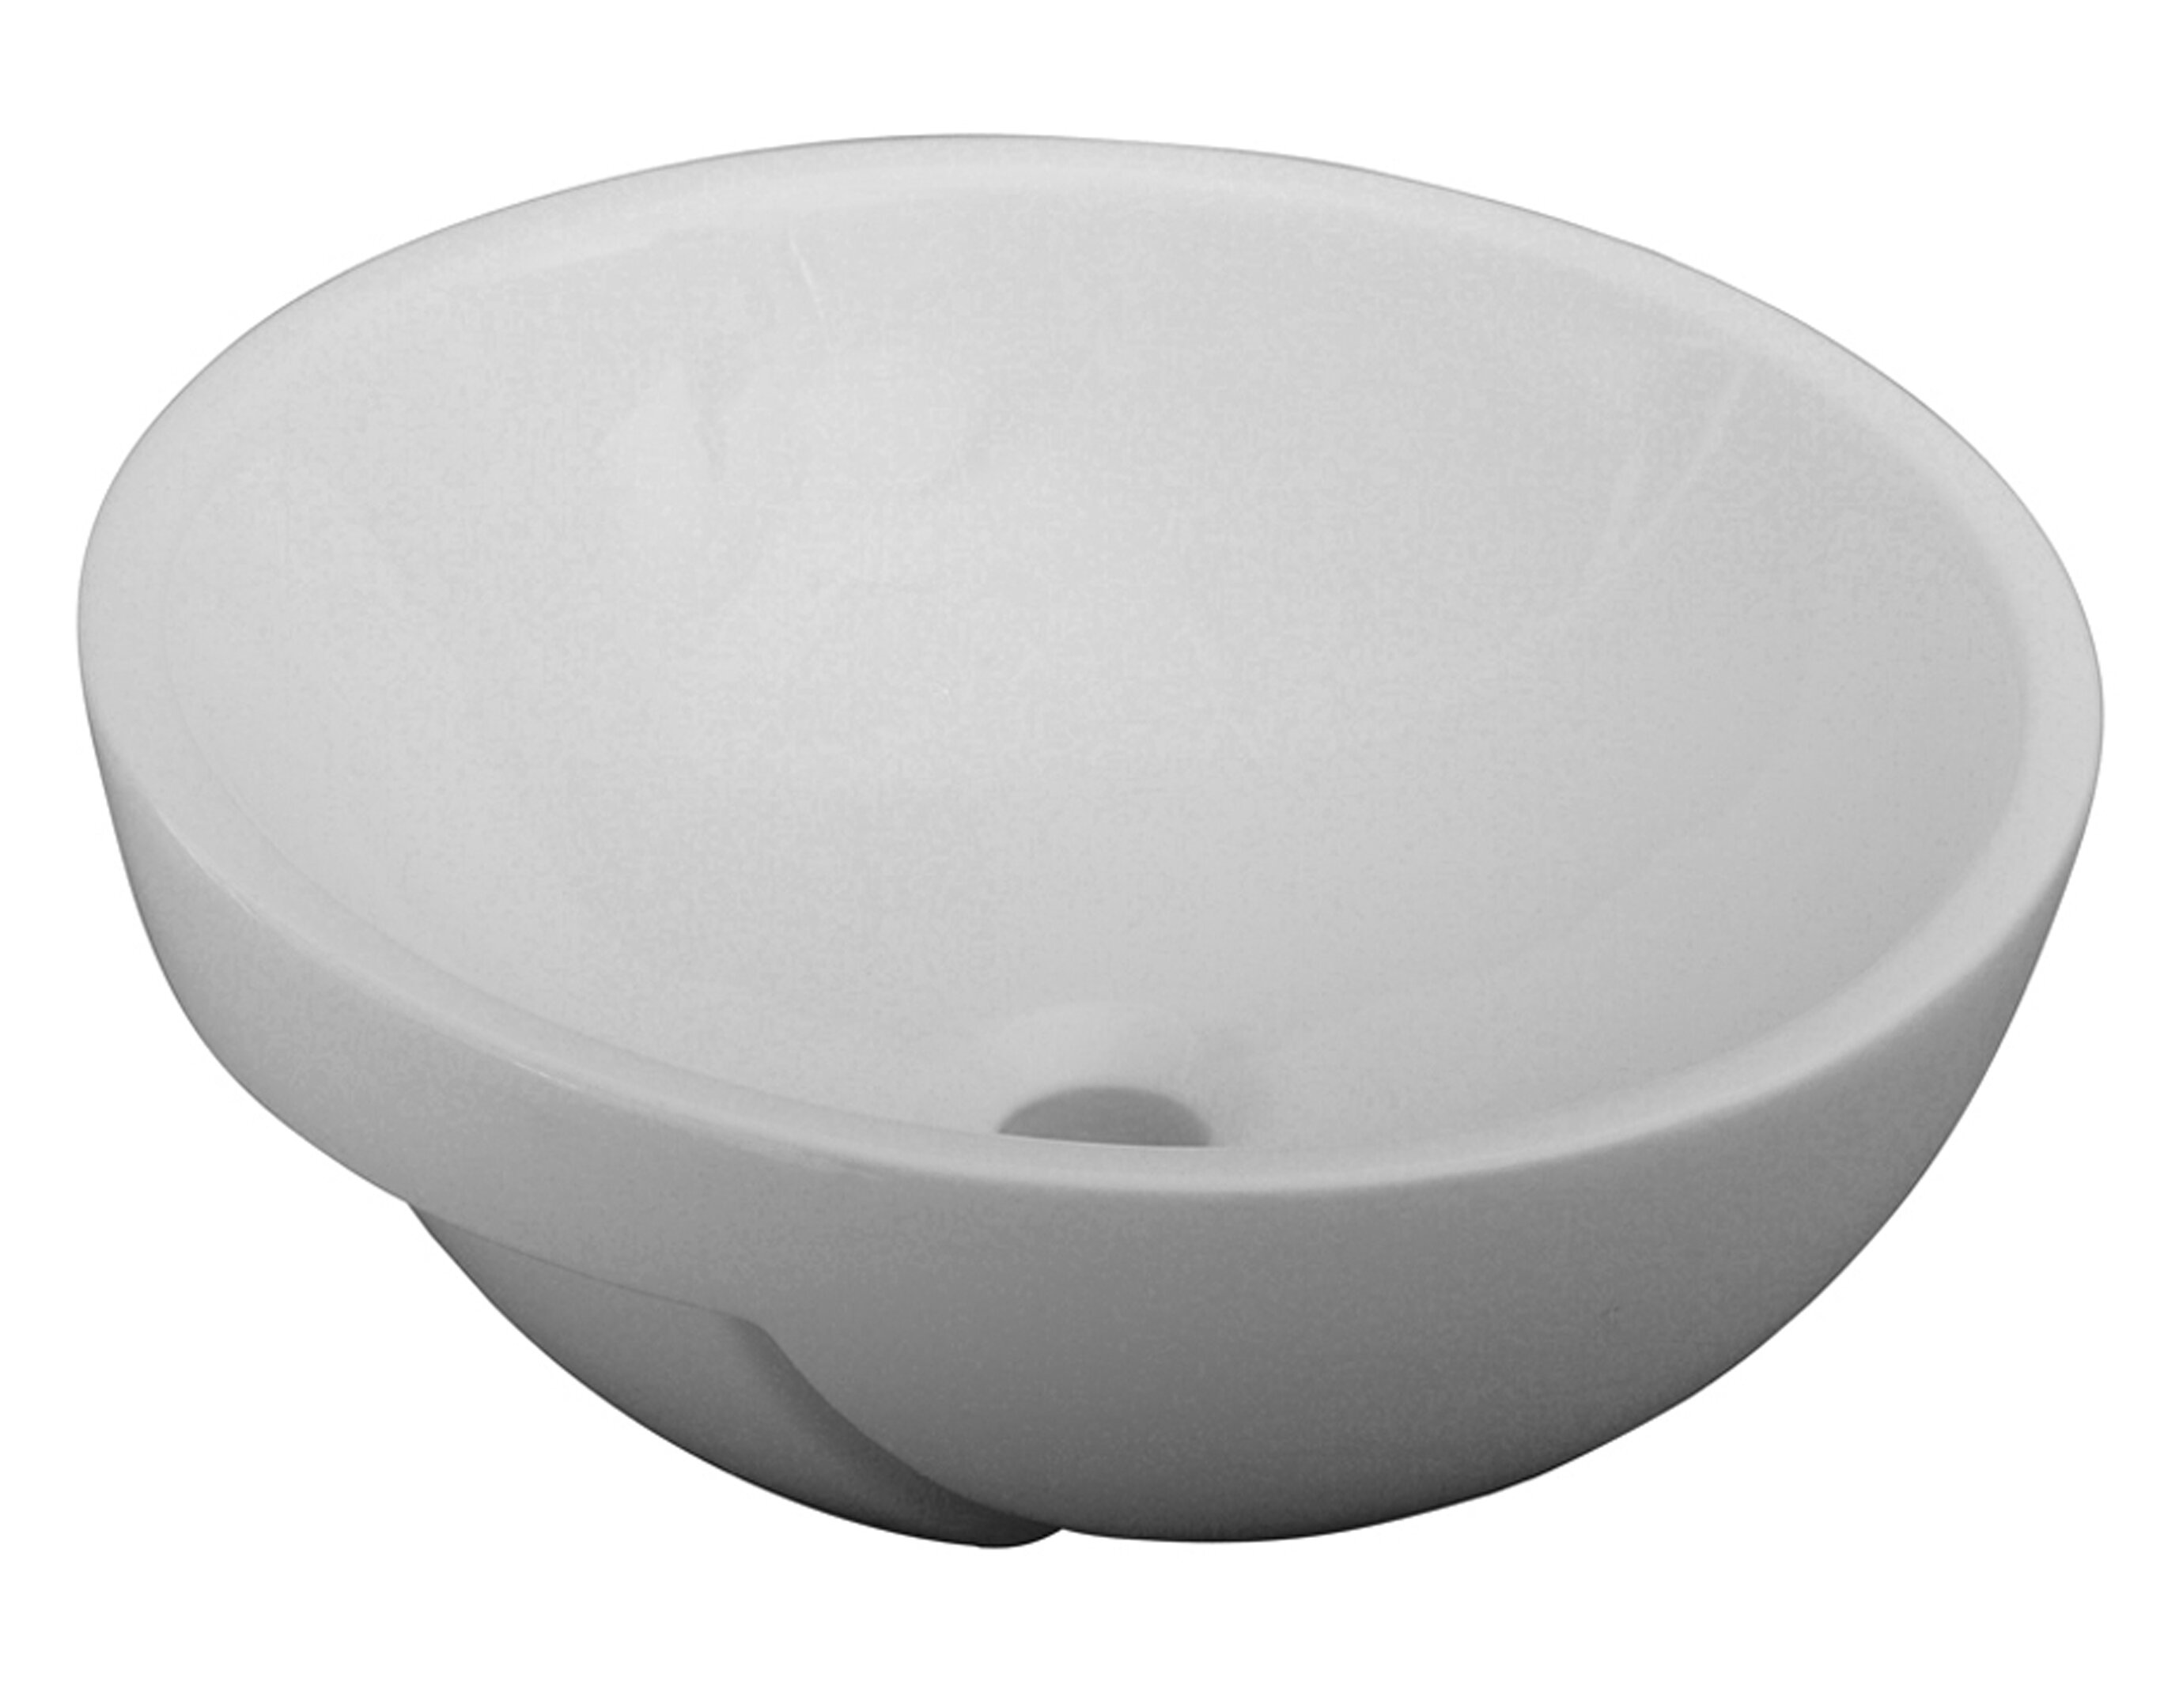
Step 1: Position the Sink
 Start by positioning the sink in its designated spot on the vanity. Make sure it is level and secure before proceeding to the next step.
Step 2: Install the Drain Pipe
 Take your drain pipe and insert it into the sink's drain opening. Make sure it is inserted all the way and then tighten the connection with your adjustable wrench.
Step 3: Apply Plumber's Putty
 Take a small amount of plumber's putty and roll it into a thin rope. Apply it to the underside of the drain flange and then carefully place it into the sink's drain opening. Press down firmly to create a tight seal.
Step 4: Attach the P-Trap
 Next, take your P-trap and attach it to the drain pipe. Use your adjustable wrench to tighten the connections. Make sure the P-trap is positioned in a way that allows for proper drainage.
Step 5: Connect to the Wall
 With the P-trap in place, it's now time to connect the drain pipe to the wall. Use Teflon tape on the threads of the pipe to create a tight seal. Then, insert the pipe into the wall's drain opening and tighten the connection.
Step 6: Test the Drain
 Before finishing up, it's important to test your drain for any leaks. Fill the sink with water and let it drain. If there are no leaks, then your sink is properly connected to the wall.
Final Thoughts
 Connecting your bathroom sink drain to the wall may seem like a daunting task, but with the right tools and materials, it can be done with ease. Proper installation not only ensures functionality but also adds to the overall aesthetic of your house design. Follow these steps and you'll have a professionally installed sink drain in no time.
Keywords:
bathroom sink drain, connect, wall, installation, house design, precision, attention to detail, tools, materials, vanity, drain pipe, P-trap, plumber's putty, Teflon tape, hacksaw, high-quality, longevity, position, install, drain opening, seal, attach, test, leaks, functionality, aesthetic.
Connecting your bathroom sink drain to the wall may seem like a daunting task, but with the right tools and materials, it can be done with ease. Proper installation not only ensures functionality but also adds to the overall aesthetic of your house design. Follow these steps and you'll have a professionally installed sink drain in no time.
Keywords:
bathroom sink drain, connect, wall, installation, house design, precision, attention to detail, tools, materials, vanity, drain pipe, P-trap, plumber's putty, Teflon tape, hacksaw, high-quality, longevity, position, install, drain opening, seal, attach, test, leaks, functionality, aesthetic.


