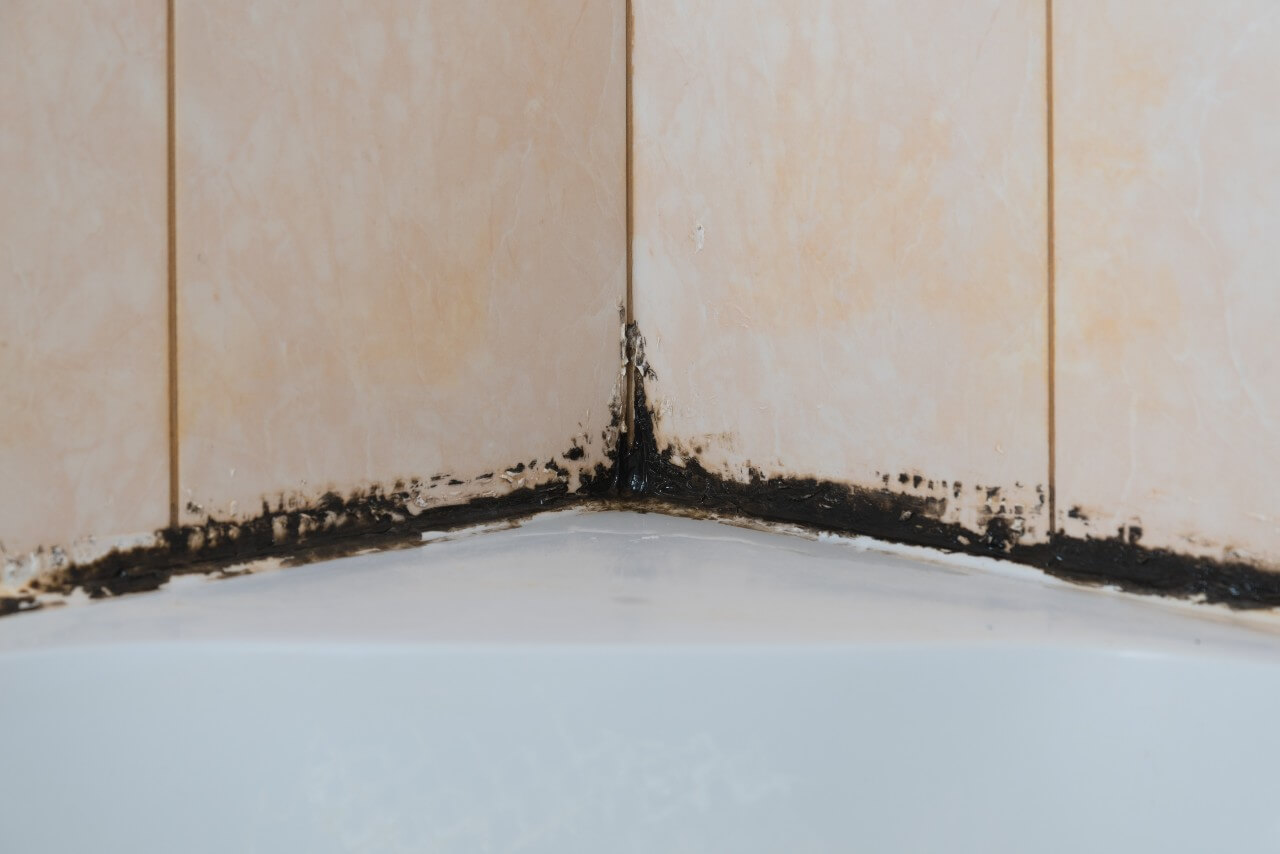
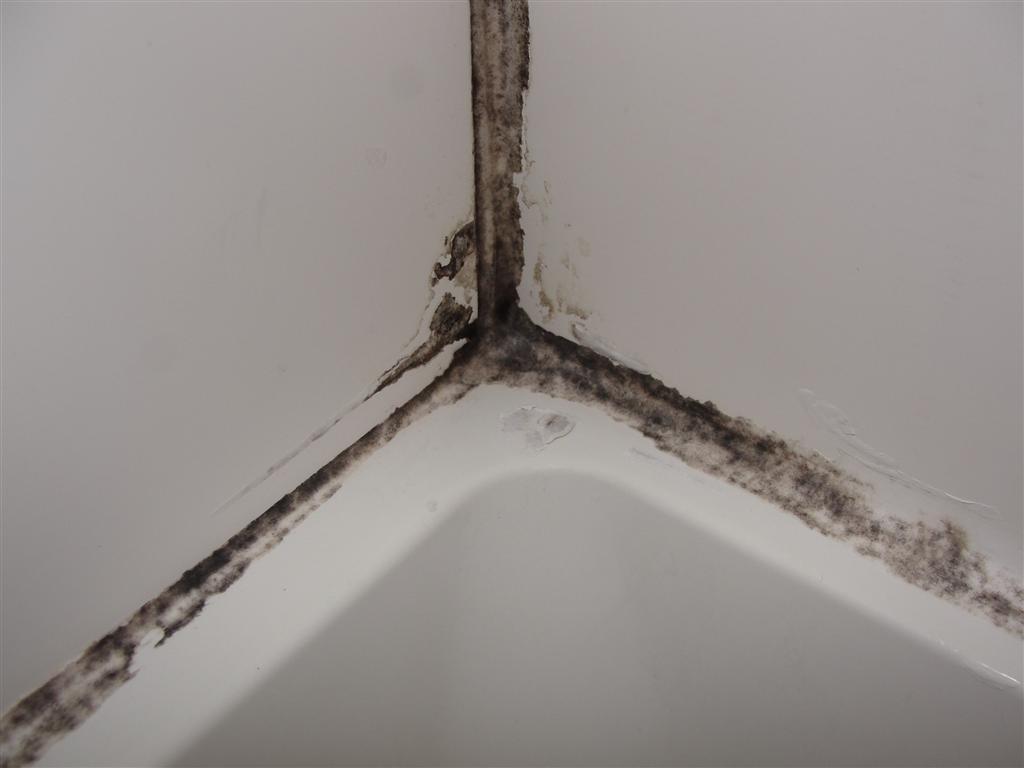
Keeping your kitchen sink clean and free of grime and mold is essential for maintaining a hygienic and welcoming space. However, one area that often gets overlooked is the caulk around the sink. Over time, caulk can become discolored, cracked, and even moldy, making the sink area look unkempt and uninviting. But fear not, with the right techniques and products, cleaning caulk around a kitchen sink can be a breeze.How to Clean Caulk Around a Kitchen Sink
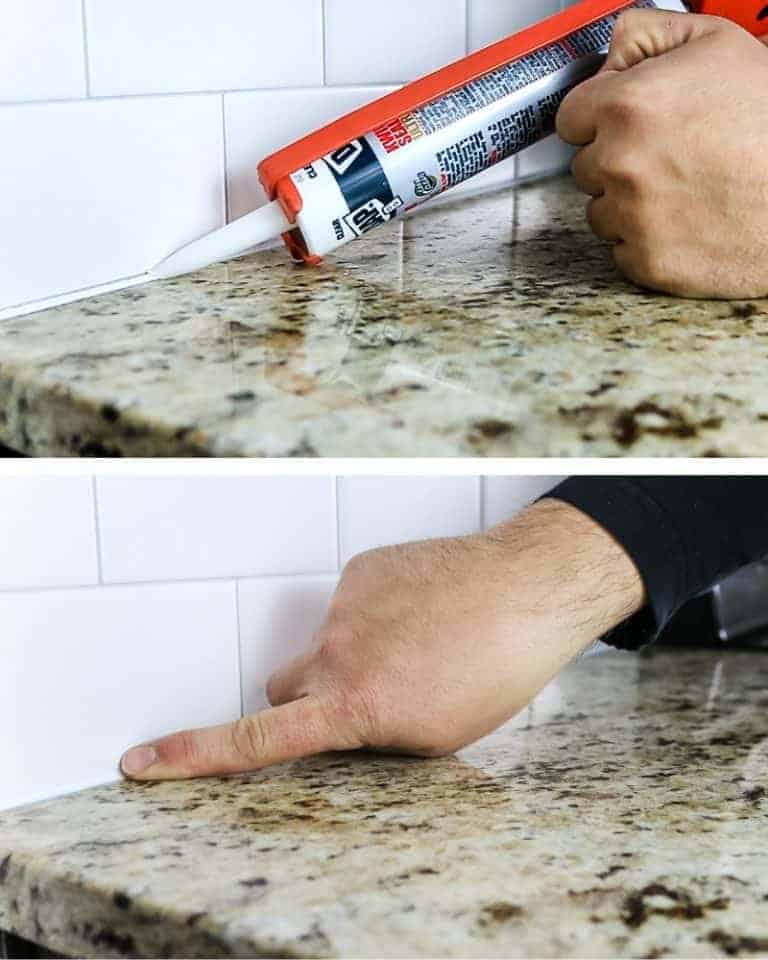
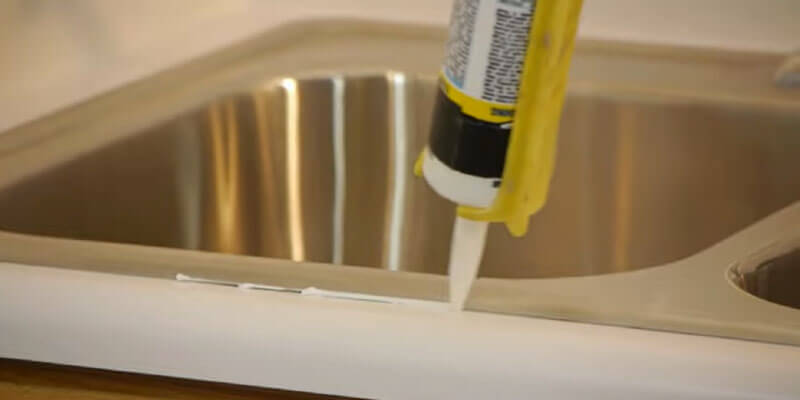
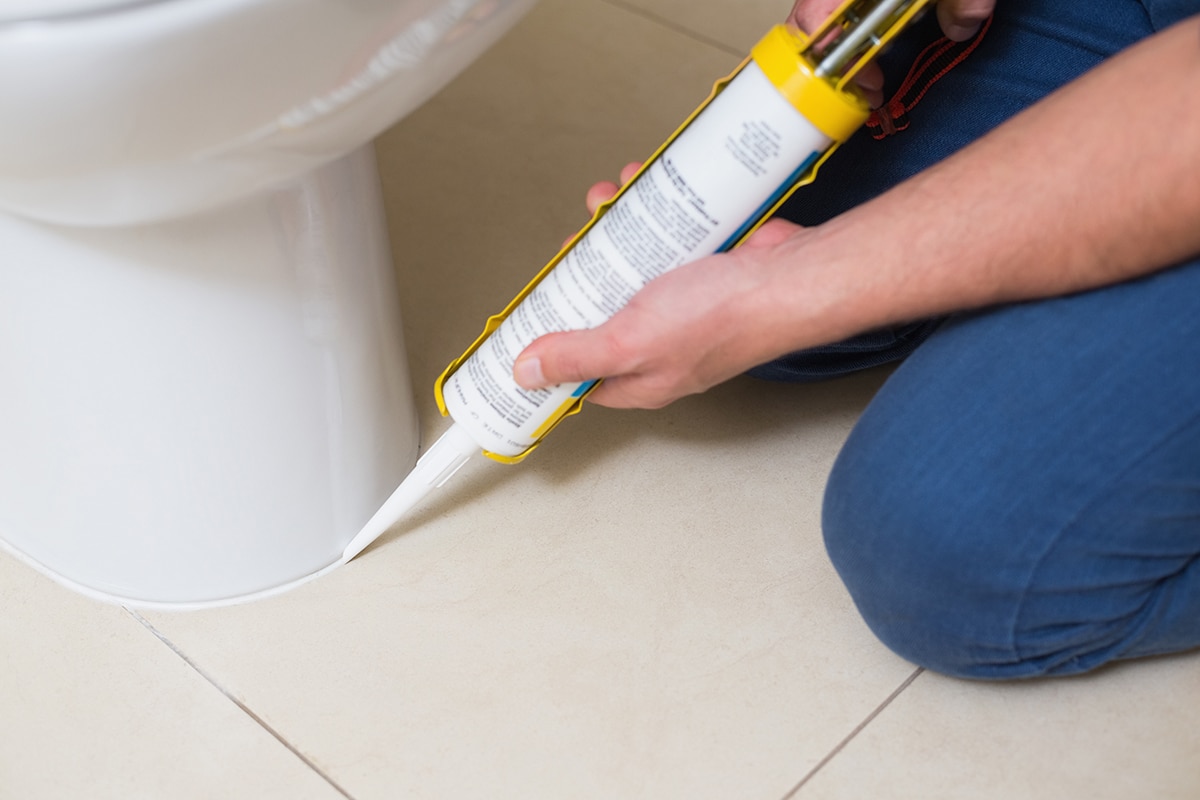
The first step to cleaning caulk around a kitchen sink is to remove any old or damaged caulk. This can be done using a caulk removal tool or a sharp utility knife. Carefully cut along the edges of the caulk, making sure not to damage the sink or surrounding surfaces. Once the old caulk is removed, thoroughly clean the area with a mild soap and water solution.How to Remove Caulk Around a Kitchen Sink
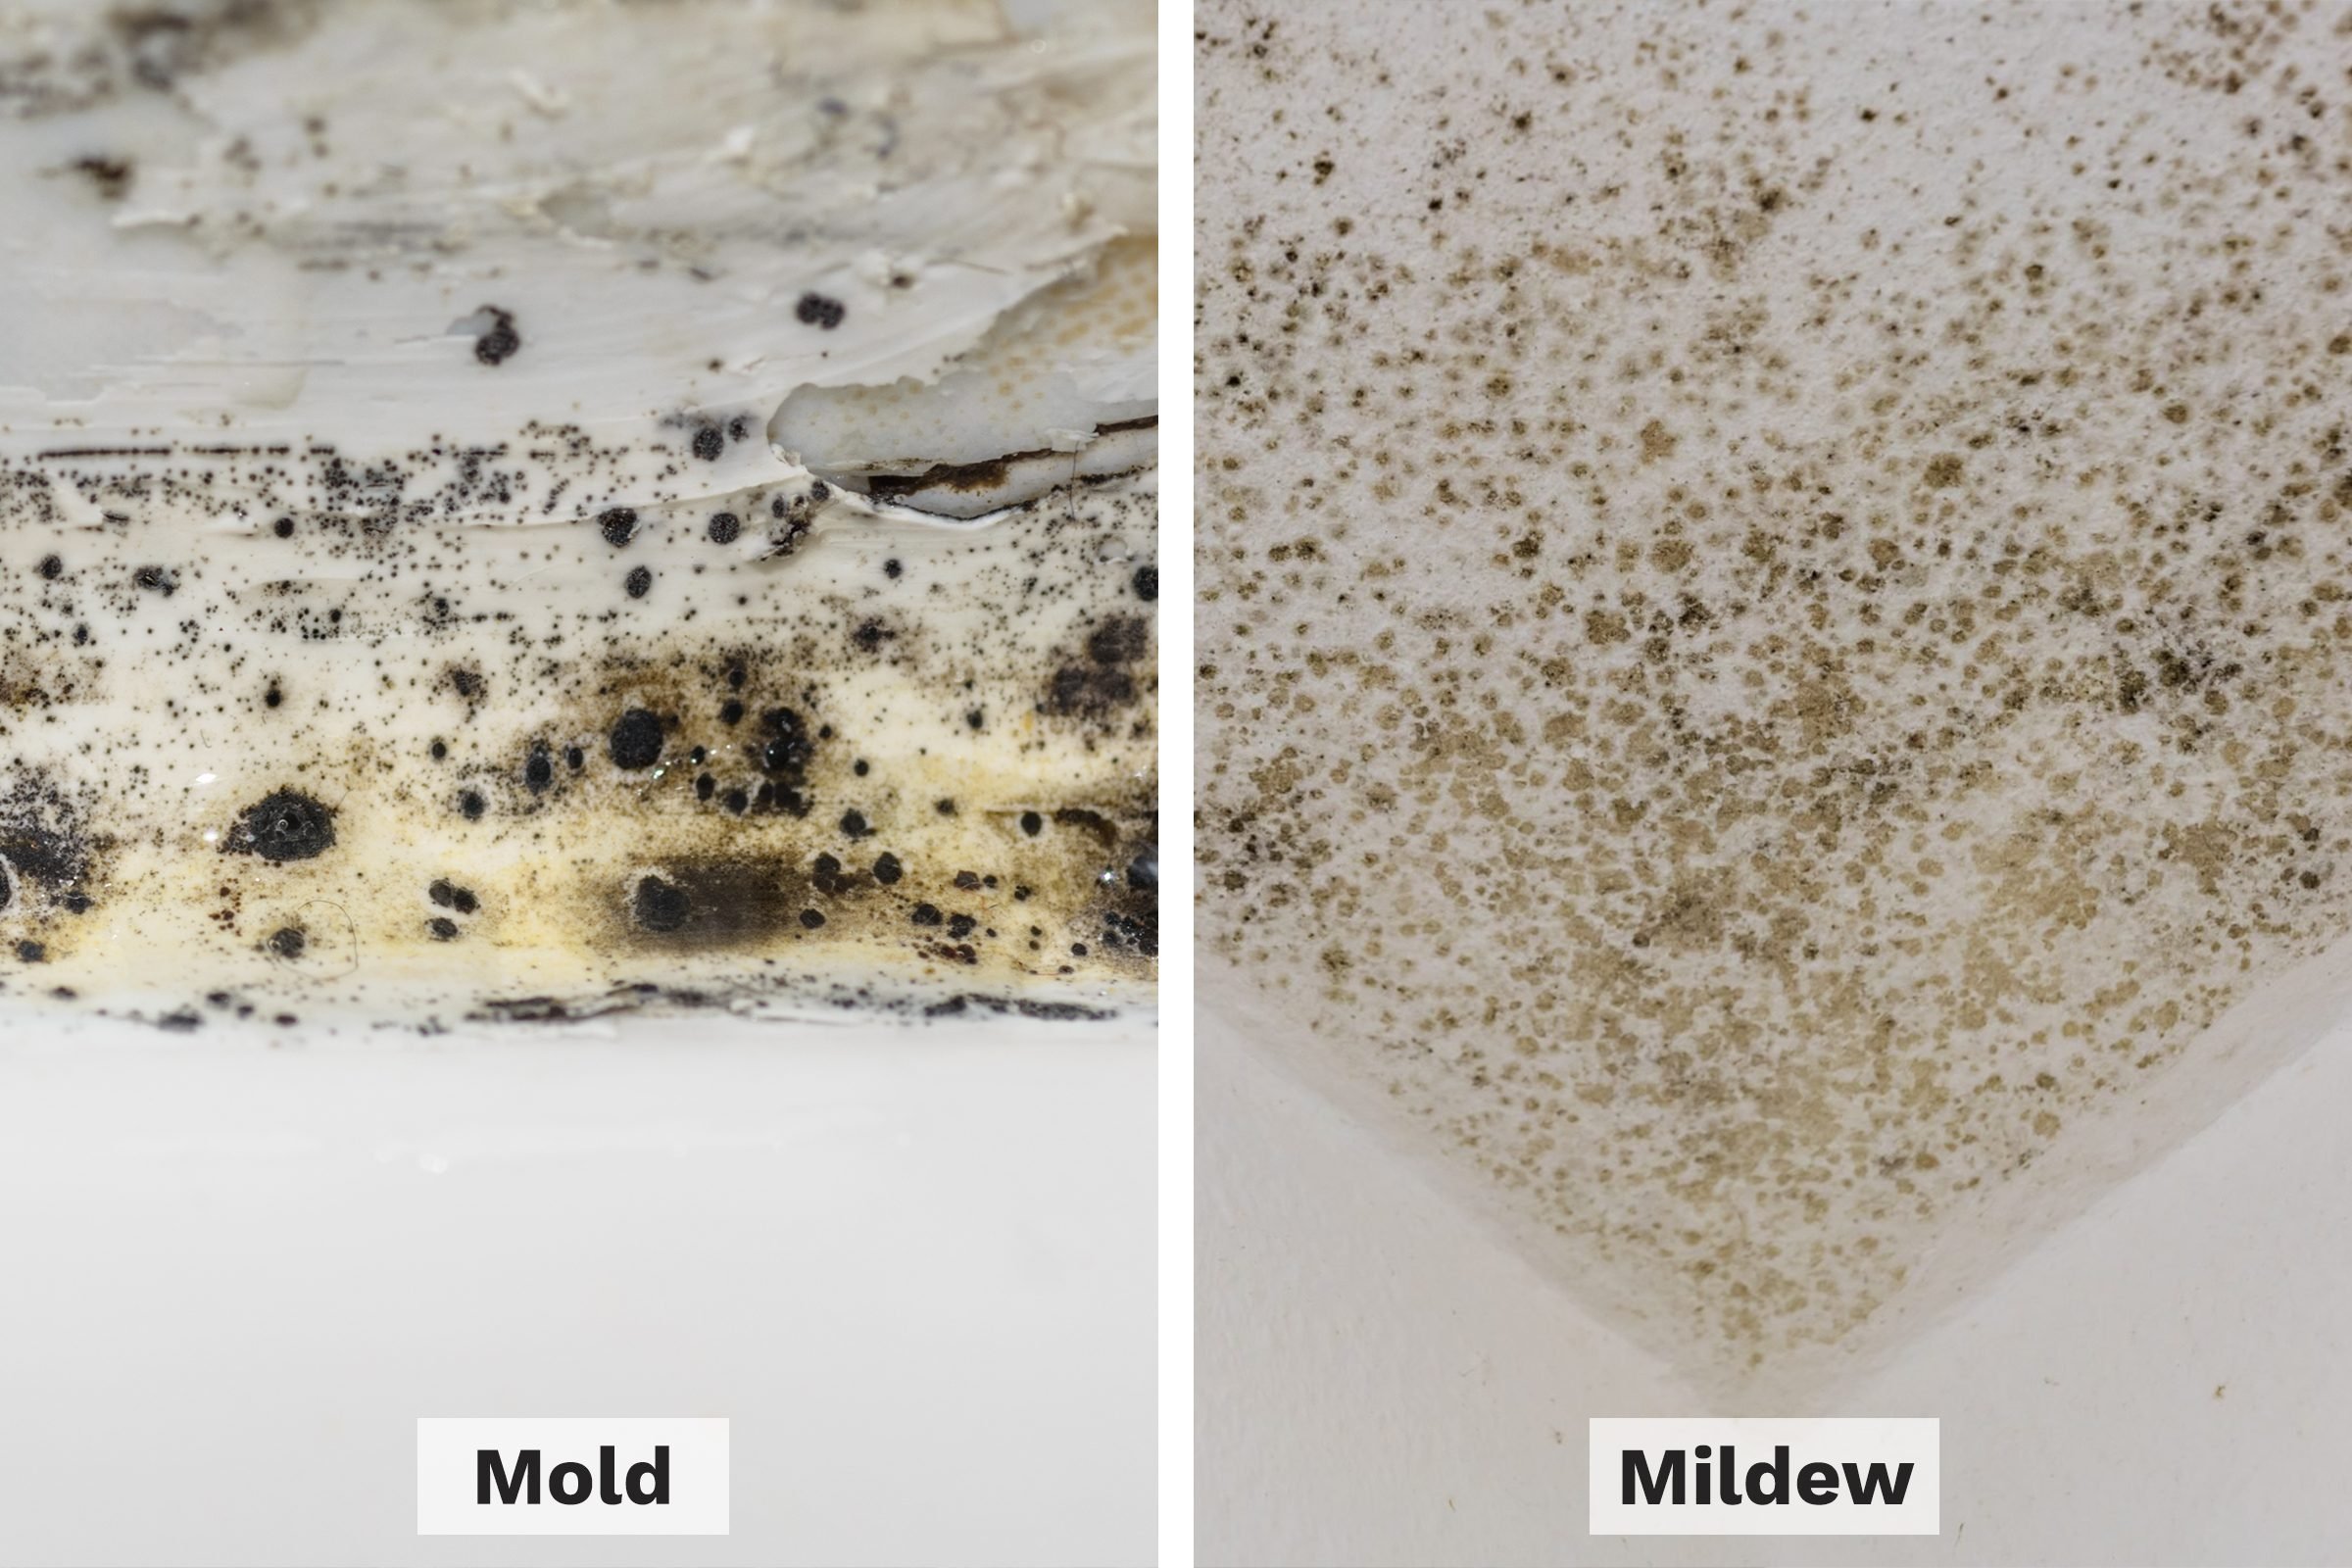
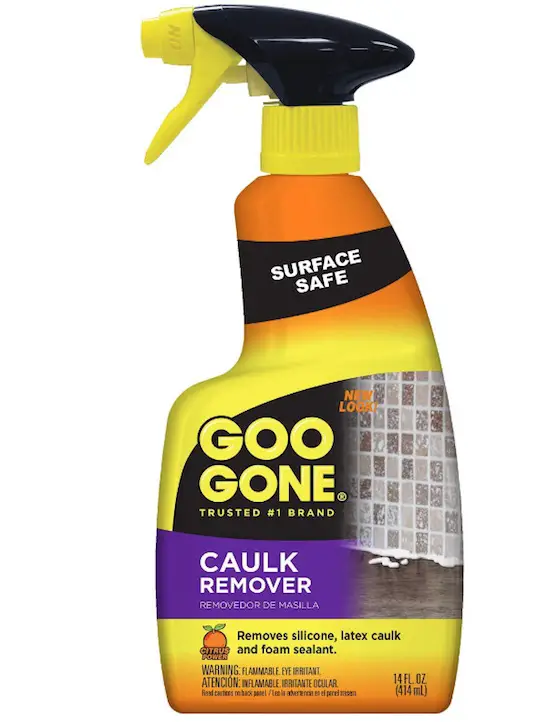
When it comes to cleaning caulk around a kitchen sink, there are many products available on the market. However, it's essential to choose products that are safe for your specific type of caulk and won't damage the sink or surrounding surfaces. Look for products specifically designed for removing mold and mildew from caulk, such as CLR Mold and Mildew Stain Remover or Krud Kutter Mold and Mildew Stain Remover.Best Products for Cleaning Caulk Around a Kitchen Sink
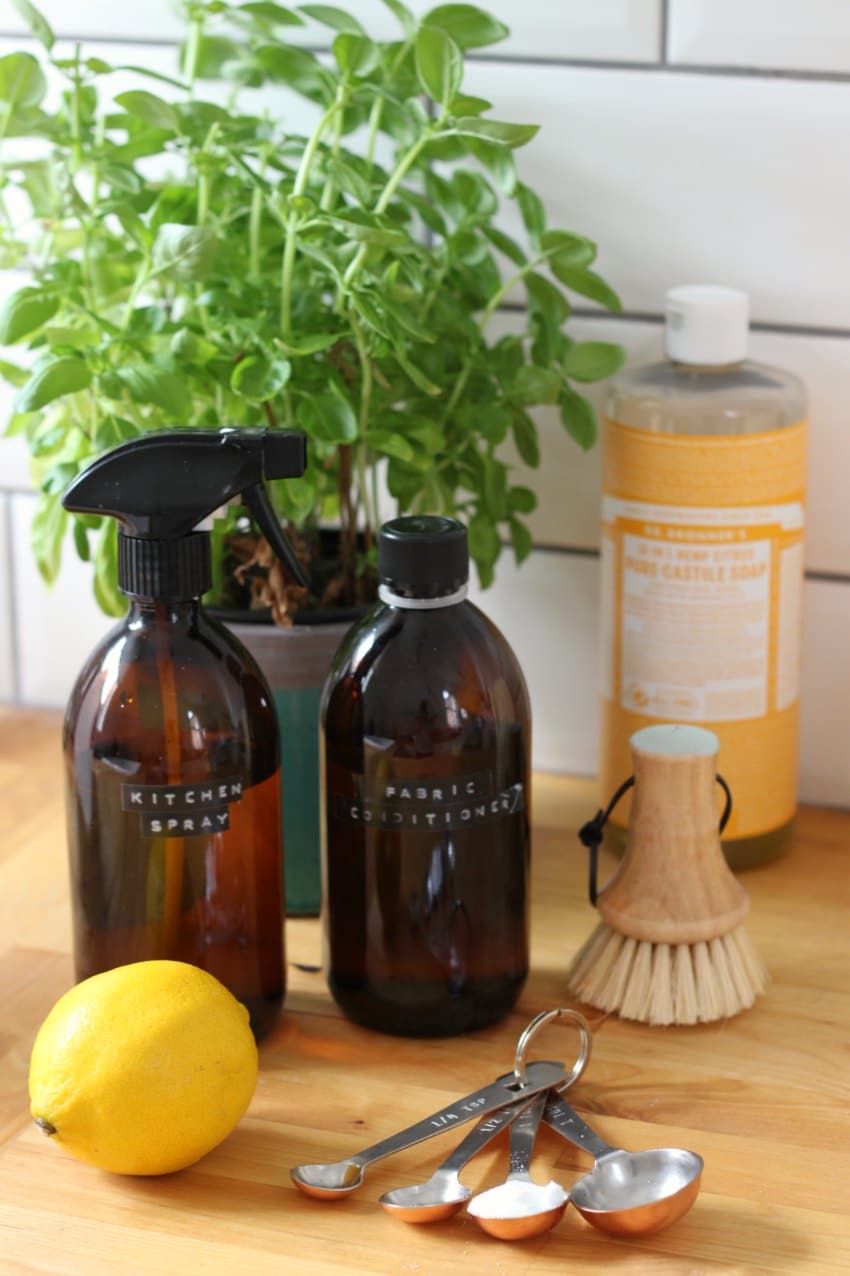
If you prefer to use natural and eco-friendly methods for cleaning caulk around a kitchen sink, there are a few DIY options you can try. One effective method is to create a paste using equal parts baking soda and water. Apply the paste to the caulk and let it sit for 15-20 minutes before scrubbing with a brush. Another option is to mix equal parts vinegar and water in a spray bottle and spray the caulk. Let it sit for a few minutes before scrubbing with a brush.DIY Methods for Cleaning Caulk Around a Kitchen Sink
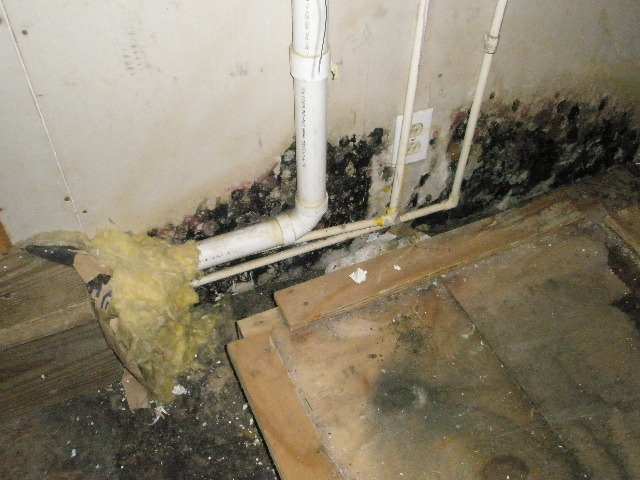
If the caulk around your kitchen sink is severely damaged or moldy, it may be best to seek professional help. Professional cleaning services have the experience and tools necessary to thoroughly clean and replace caulk, ensuring that your sink area looks like new. This option may be more costly, but it will save you time and effort in the long run.Professional Services for Cleaning Caulk Around a Kitchen Sink
To prevent the caulk around your kitchen sink from becoming dirty and moldy, it's crucial to maintain it regularly. Wipe down the caulk after each use of the sink, and avoid using harsh chemicals or abrasive cleaners that can damage the caulk. Also, be sure to check for any cracks or gaps in the caulk and repair them immediately to prevent water from seeping in and causing mold and mildew growth.Tips for Maintaining Caulk Around a Kitchen Sink
When cleaning caulk around a kitchen sink, there are a few mistakes that people often make. One common mistake is using too much force when scraping off old caulk, which can damage the sink or surrounding surfaces. Another mistake is using harsh chemicals or cleaners that can discolor or damage the caulk. It's essential to read and follow the instructions carefully when using any cleaning products on caulk.Common Mistakes When Cleaning Caulk Around a Kitchen Sink
The frequency of cleaning caulk around a kitchen sink will depend on how often the sink is used and the type of caulk used. It's generally recommended to clean the caulk every few weeks to prevent mold and mildew growth. However, if you notice any discoloration or damage to the caulk, it's best to clean it immediately to prevent further issues.How Often Should You Clean Caulk Around a Kitchen Sink?
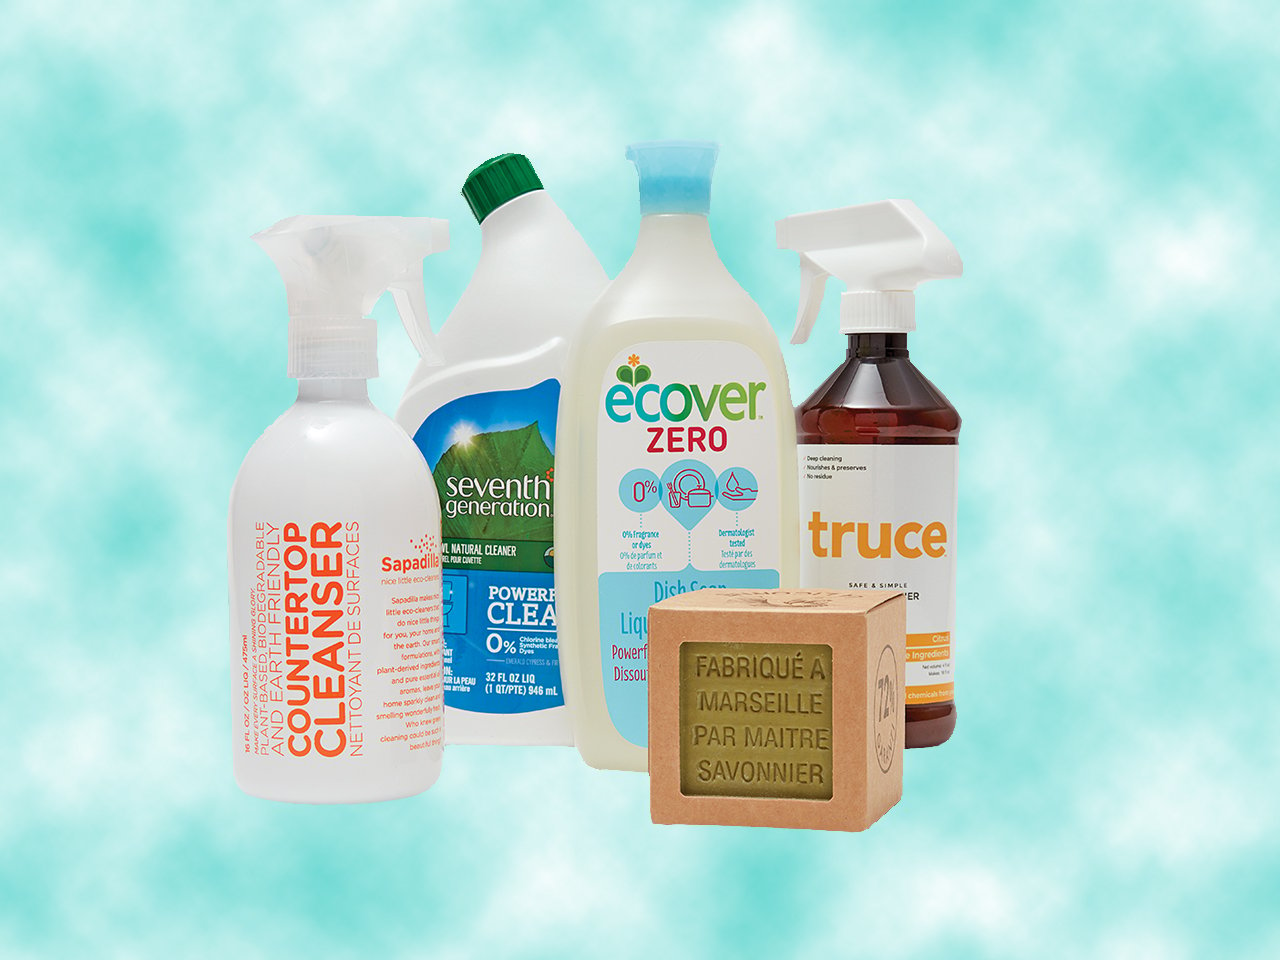
If you're looking for eco-friendly options for cleaning caulk around a kitchen sink, there are several products available that are safe for the environment. Look for products with natural ingredients, such as Seventh Generation Natural Tub and Tile Cleaner or Method Antibacterial Bathroom Cleaner. Additionally, DIY methods using vinegar and baking soda are also environmentally friendly alternatives.Eco-Friendly Options for Cleaning Caulk Around a Kitchen Sink
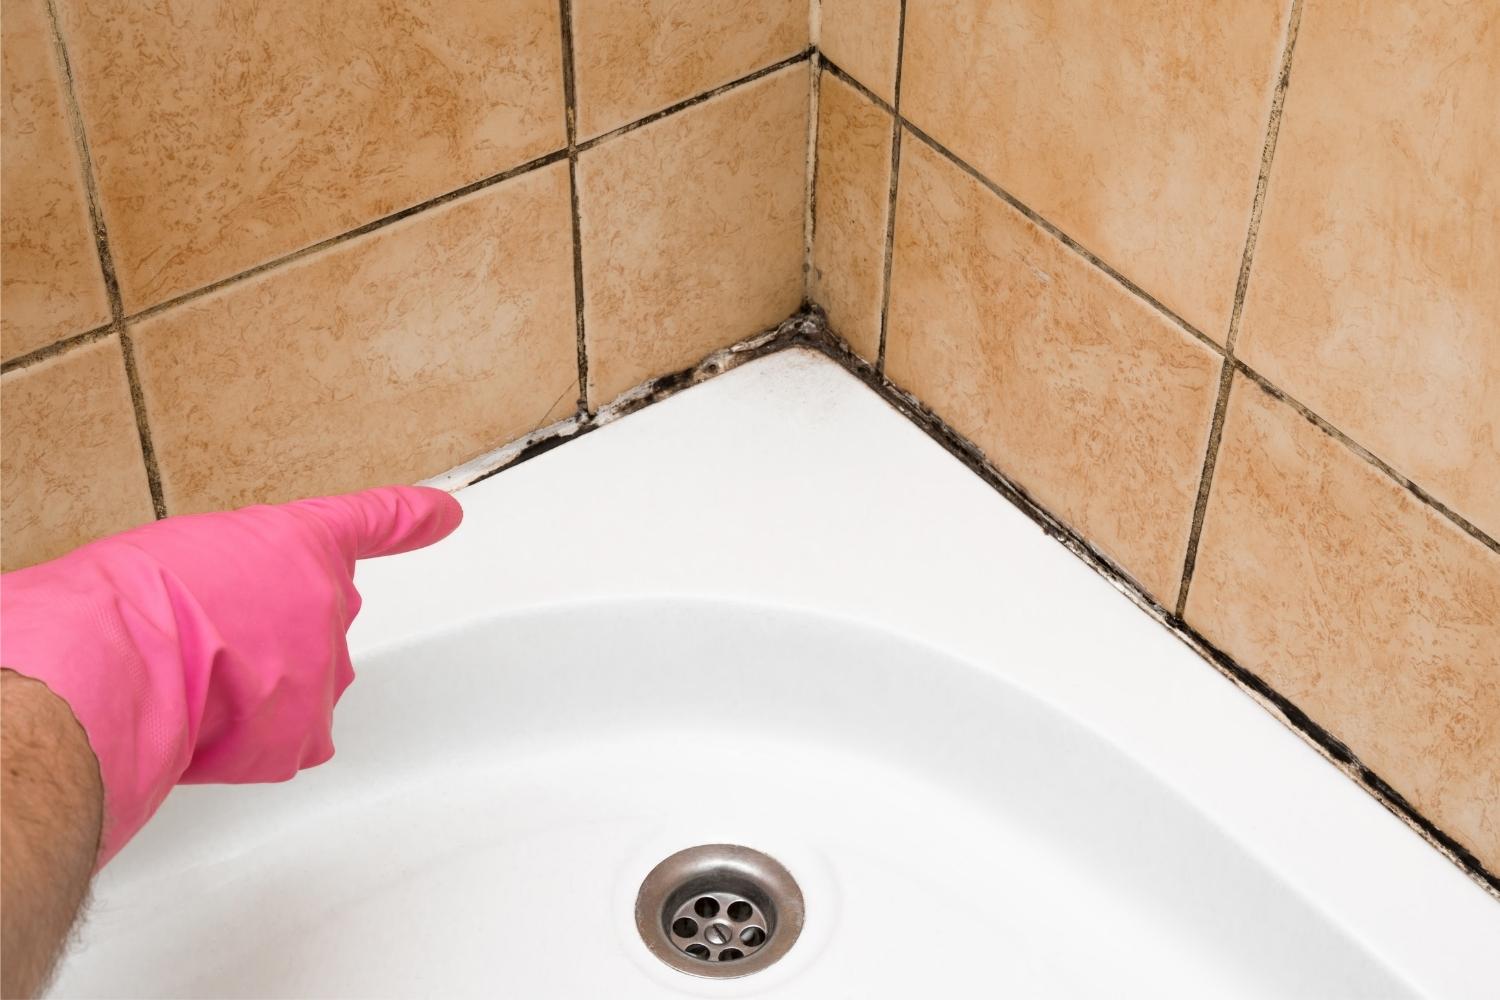
Prevention is key when it comes to keeping the caulk around a kitchen sink clean and mold-free. In addition to regularly cleaning the caulk, it's essential to keep the sink area dry and well-ventilated. Wipe down the sink and surrounding surfaces after each use and use a dehumidifier if necessary. Also, avoid leaving wet sponges or dishcloths around the sink area, as these can promote mold and mildew growth. With these tips and methods, you can easily keep the caulk around your kitchen sink clean and free of mold and mildew. Regular maintenance and the use of appropriate cleaning products will ensure that your sink area looks fresh and inviting for years to come.How to Prevent Mold and Mildew in Caulk Around a Kitchen Sink
Maintaining a Clean and Functional Kitchen Sink: The Importance of Cleaning Caulk

Why is caulk important for a clean kitchen sink?
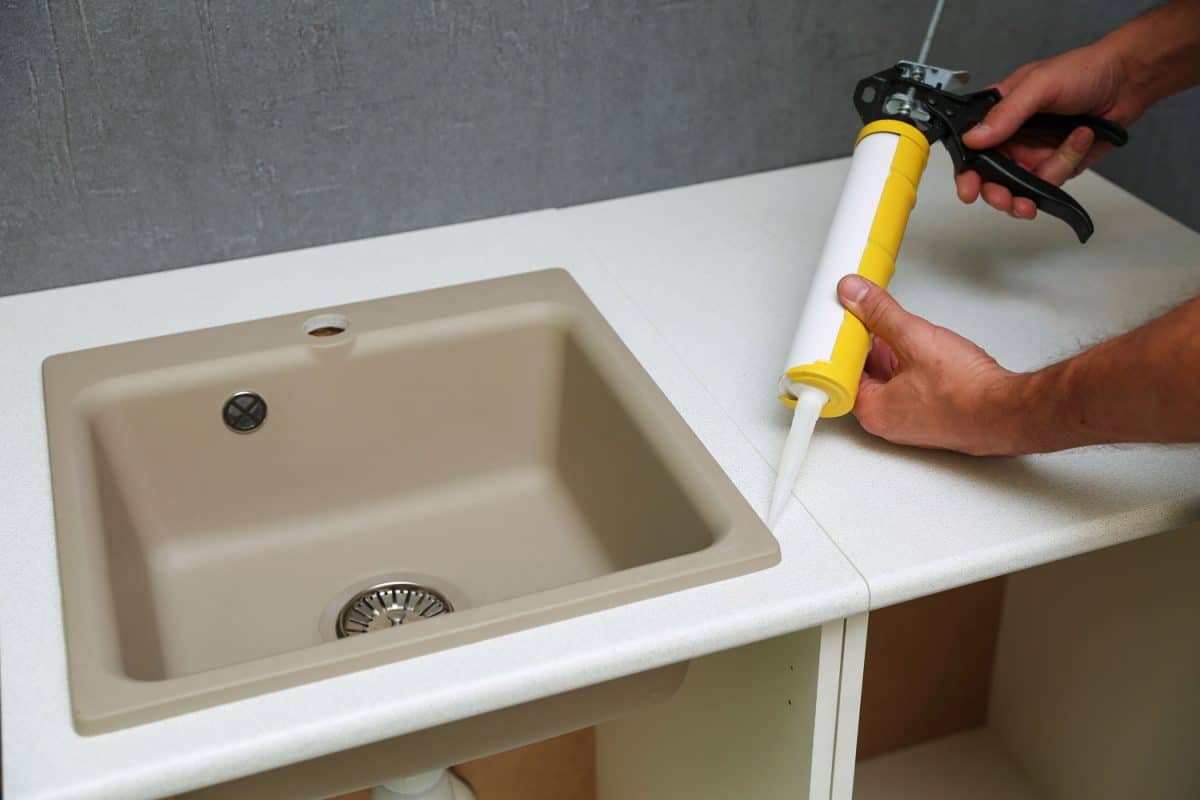
 Caulk is a waterproof sealant that is used to fill in the gaps and joints between surfaces. In the kitchen, caulk is commonly used around the sink to create a barrier between the sink and the countertop. This not only provides a clean and finished look, but it also prevents water from seeping into the cracks and causing damage. When caulk is properly applied and maintained, it can prevent mold and mildew growth, water damage, and even insects from entering through the gaps. However, over time, caulk can deteriorate and become a breeding ground for bacteria, making it crucial to regularly clean and maintain it.
How often should you clean caulk around your kitchen sink?
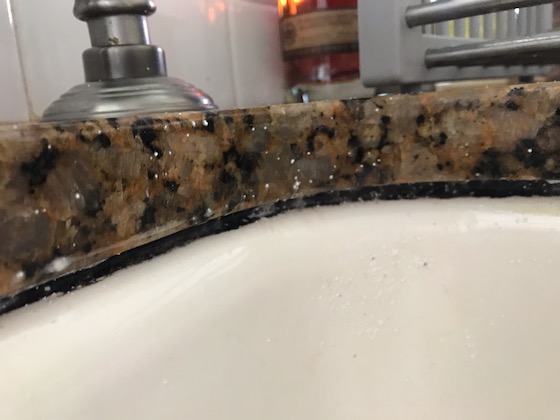 It is recommended to clean caulk around your kitchen sink at least once a month. This will help to prevent buildup of grime, mold, and mildew. However, if you notice any discoloration, mold growth, or a foul odor, it is important to clean the caulk immediately. Additionally, it is important to regularly inspect the caulk for any cracks or gaps, and to replace it if necessary.
How to clean caulk around your kitchen sink?
 To effectively clean caulk around your kitchen sink, you will need a few basic household items such as a sponge, white vinegar, baking soda, and a toothbrush. First, make a paste using equal parts of baking soda and water. Apply this paste to the caulk and let it sit for 10-15 minutes. Then, using a toothbrush, gently scrub the caulk in a circular motion. Next, mix equal parts of white vinegar and water in a spray bottle and spray it onto the caulk. Let it sit for another 10-15 minutes before wiping it clean with a damp sponge. This will help to remove any remaining residue and kill any bacteria. For tougher stains or mold growth, you can use a mixture of bleach and water. However, be sure to wear gloves and open windows for ventilation when using bleach.
Regular maintenance for caulk around your kitchen sink
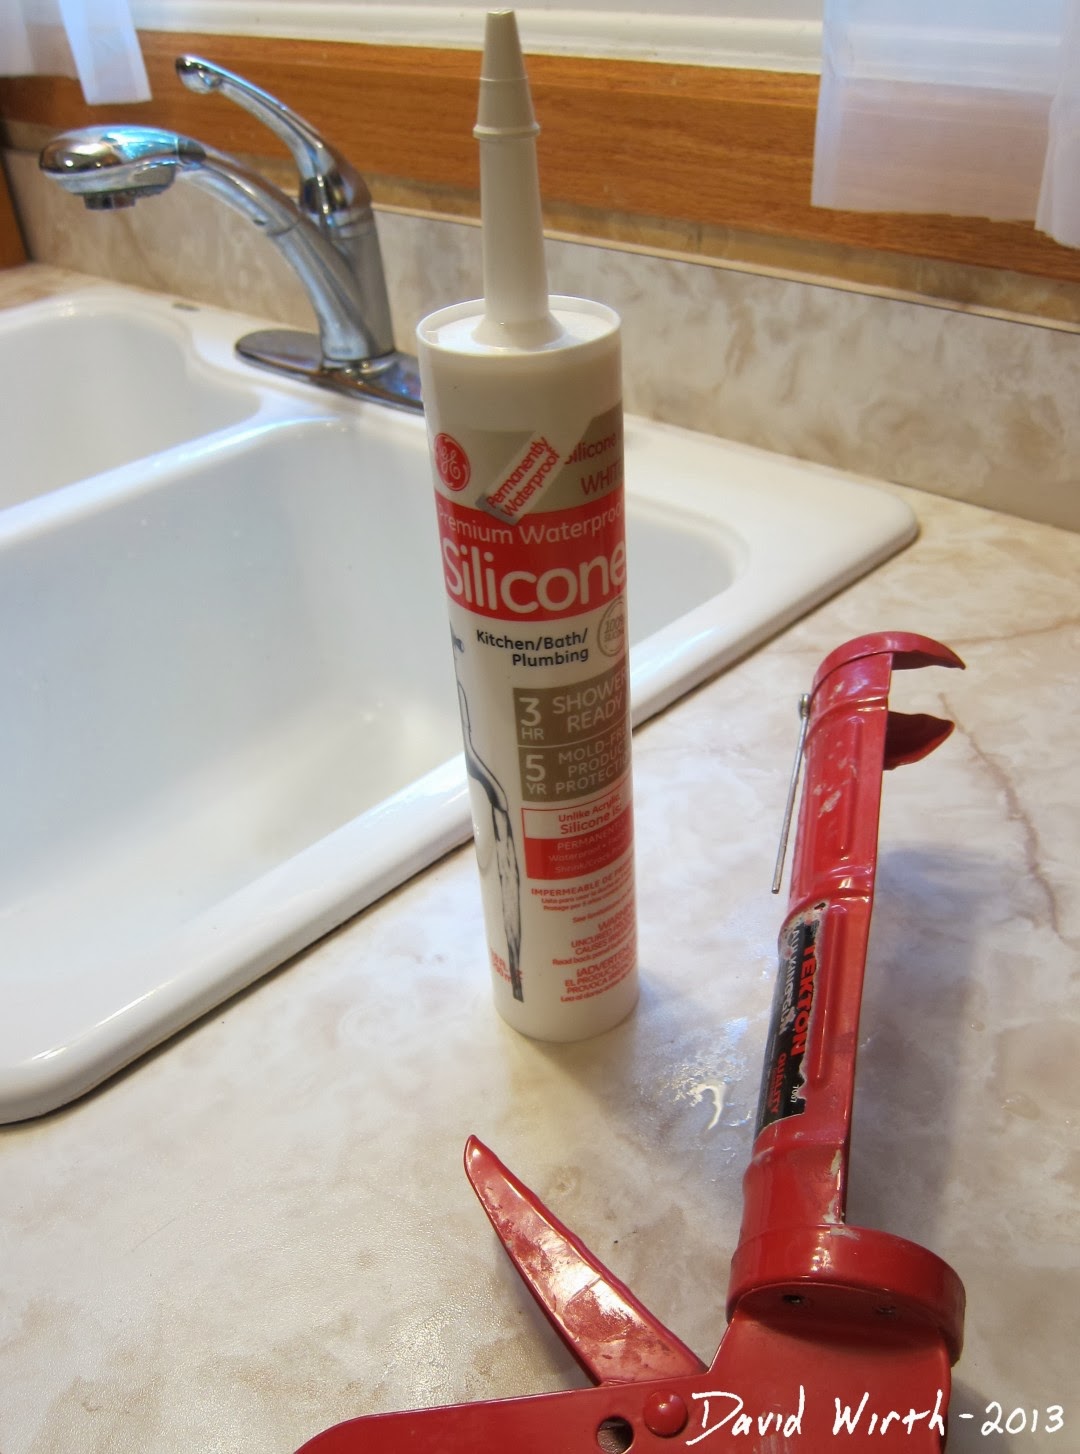
 In addition to regular cleaning, there are a few steps you can take to maintain the caulk around your kitchen sink. Be sure to wipe down the caulk after each use to prevent water and grime buildup. You can also apply a layer of clear silicone caulk on top of the existing caulk to provide an extra layer of protection. This should be done every 6-12 months or as needed. Additionally, be mindful of what products you use around the sink as harsh chemicals can damage the caulk.
In conclusion, keeping the caulk around your kitchen sink clean and well-maintained is essential for a functional and hygienic kitchen. By following these simple steps and regularly cleaning and inspecting the caulk, you can ensure that your sink remains in top condition for years to come. Don't neglect this important aspect of kitchen maintenance and enjoy a clean and beautiful sink every day.


.jpg)


