How to Change a Kitchen Sink Sprayer
If your kitchen sink sprayer is not working properly or is in need of an upgrade, you may be considering changing it yourself. While this may seem like a daunting task, with the right tools and knowledge, it can be a simple and cost-effective DIY project. In this guide, we will take you through the steps of changing a kitchen sink sprayer, from start to finish.
Replacing a Kitchen Sink Sprayer
Before you begin, it is important to determine if your kitchen sink sprayer needs to be replaced or just repaired. If the sprayer is leaking or not working at all, it may be time for a replacement. However, if it is just clogged or has a minor issue, you may be able to fix it without replacing the entire unit.
DIY Kitchen Sink Sprayer Replacement
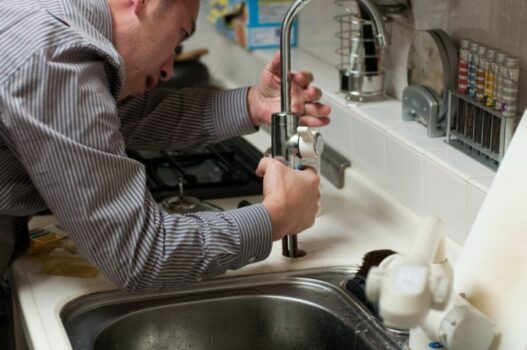
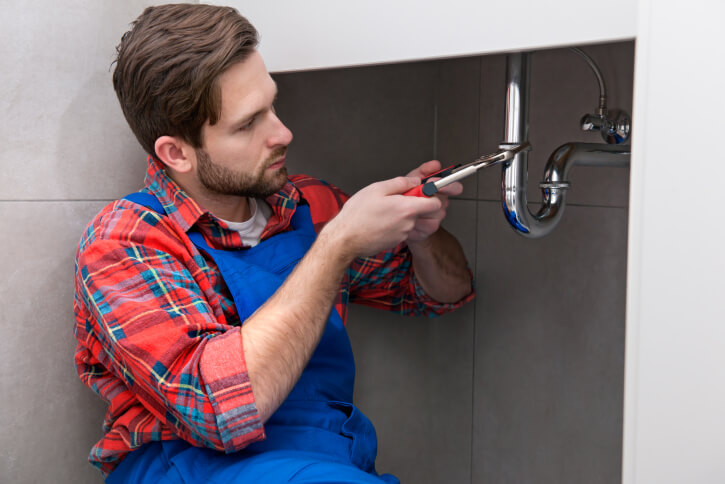
Changing a kitchen sink sprayer is a relatively simple process that can be done by most homeowners. It is important to have the right tools and follow the steps carefully to ensure a successful replacement. Some common tools you may need include a wrench, pliers, and a screwdriver.
Step-by-Step Guide for Changing a Kitchen Sink Sprayer
Step 1: Turn off the water supply to your kitchen sink by shutting off the water valves under the sink.
Step 2: Disconnect the old sprayer from the water supply by loosening the nut that connects it to the sink or countertop.
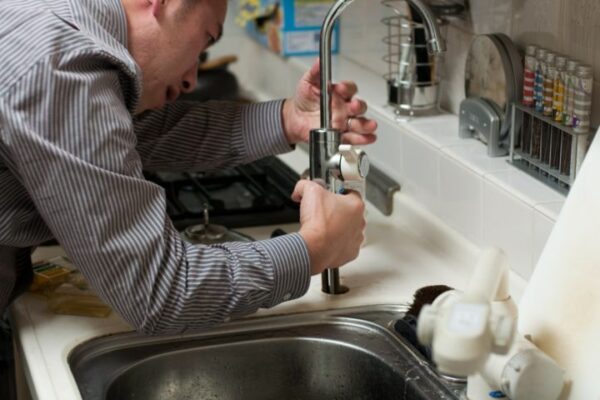
Step 3: Remove the old sprayer from the sink by unscrewing the mounting nut underneath the sink. If it is stuck, you may need to use pliers to loosen it.
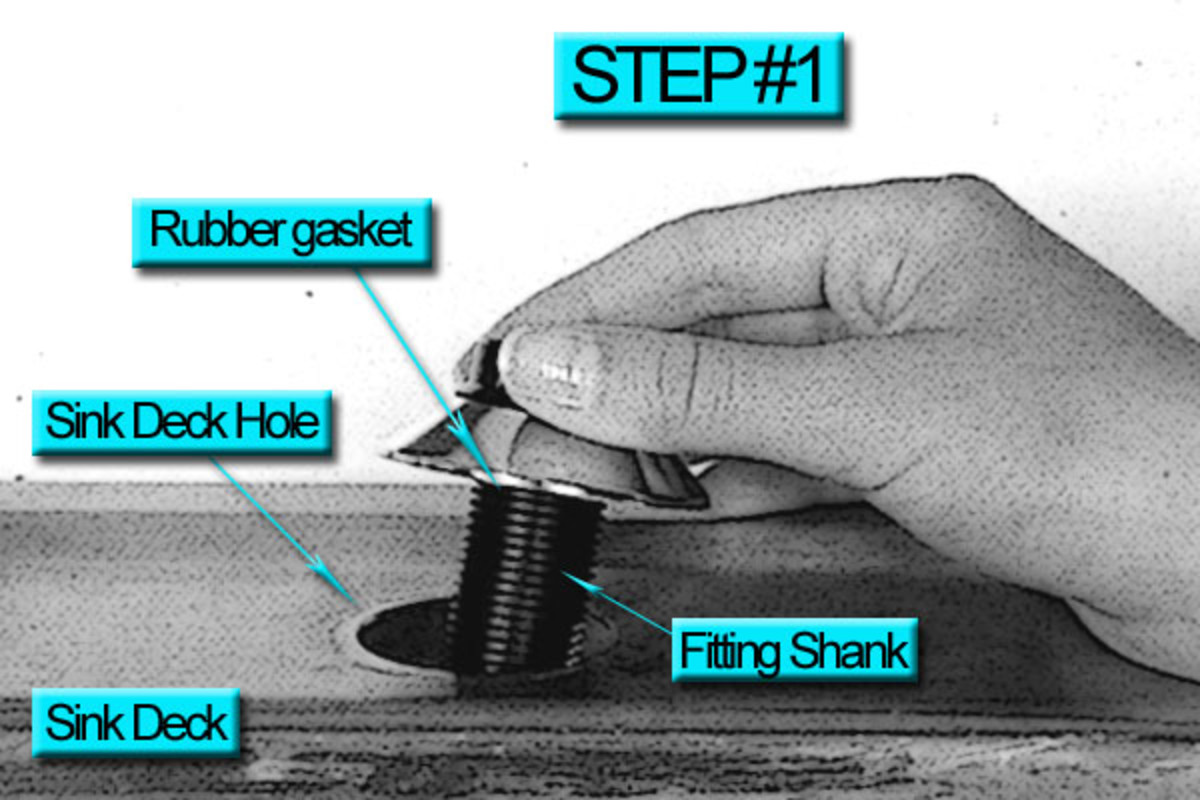
Step 4: Install the new sprayer by placing the mounting nut and gasket on the bottom of the sink and tightening it with a wrench.
Step 5: Connect the new sprayer to the water supply by screwing on the mounting nut and tightening it with pliers.
Step 6: Turn the water supply back on and test the new sprayer to make sure it is working properly.
Tools Needed for Changing a Kitchen Sink Sprayer
- Wrench
- Pliers
- Screwdriver
- New sprayer
- Mounting nut and gasket (included with new sprayer)
Tips for Changing a Kitchen Sink Sprayer
- Make sure to turn off the water supply before starting.
- Take a picture or make a note of how the old sprayer was installed before removing it to make it easier to install the new one.
- Clean the area under the sink before installing the new sprayer to prevent any leaks or issues.
- If you are unsure about any steps, consult the manufacturer's instructions or seek professional help.
Common Problems When Changing a Kitchen Sink Sprayer
While changing a kitchen sink sprayer is a relatively simple process, there are some common issues that may arise. These include leaks, difficulty removing the old sprayer, and compatibility issues with the new sprayer. If you encounter any of these problems, it may be best to seek professional help.
Video Tutorial: Changing a Kitchen Sink Sprayer
If you prefer a visual guide, there are many helpful video tutorials available online that can guide you through the process of changing a kitchen sink sprayer. Make sure to follow along carefully and pause the video if needed to ensure you are completing each step correctly.
Cost of Changing a Kitchen Sink Sprayer
The cost of changing a kitchen sink sprayer can vary depending on the type of sprayer and any additional tools or materials you may need. On average, a basic kitchen sink sprayer can cost anywhere from $10 to $30. If you choose to hire a professional, the cost can range from $50 to $100, not including the cost of the new sprayer.
Professional vs DIY: Changing a Kitchen Sink Sprayer
Deciding whether to hire a professional or do it yourself ultimately depends on your skill level and comfort with DIY projects. While changing a kitchen sink sprayer may seem like a simple task, it is important to have some knowledge and experience with plumbing. If you are unsure or uncomfortable with the process, it may be best to hire a professional to ensure a successful replacement.
Additional Body Paragraph:

Why You Should Consider Changing Your Kitchen Sink Sprayer for a More Efficient One
 If you're looking to upgrade your kitchen and make it more functional, one area you should consider is your sink sprayer. While it may seem like a small and insignificant part of your kitchen, a high-quality sprayer can make a big difference in your daily tasks. Not only is it a convenient tool for washing dishes and cleaning the sink, but it can also save you time and water.
Changing your kitchen sink sprayer
to a more efficient one can have many benefits for your household.
First and foremost,
changing your kitchen sink sprayer
can improve your water usage. Old and faulty sprayers can often lead to leaks, which can waste a significant amount of water. According to the Environmental Protection Agency (EPA), a leaky faucet that drips at a rate of one drop per second can waste up to 3,000 gallons of water per year. By investing in a new sprayer, you can prevent water wastage and reduce your water bills. Look for a sprayer with a
low-flow feature
to further reduce your water usage.
In addition to saving water, a new kitchen sink sprayer can also improve the functionality of your sink.
Modern sprayers
come with various features such as different spray patterns, adjustable water pressure, and even a pause button. These features can make tasks like rinsing dishes and filling up pots much easier and quicker. Plus, a high-quality sprayer can also provide a more powerful spray, making it easier to remove tough food residue from dishes.
Moreover,
changing your kitchen sink sprayer
can also enhance the overall aesthetic of your kitchen. With the wide range of
designs and finishes
available, you can find a sprayer that complements the style of your kitchen. You can choose from traditional, modern, or even industrial styles to match your personal taste. And if you're planning a full kitchen renovation, a new sprayer can be the perfect finishing touch to tie the whole look together.
In conclusion,
changing your kitchen sink sprayer
can have numerous benefits for your daily tasks, water usage, and kitchen design. So, if you're looking to upgrade your kitchen, don't overlook the importance of a high-quality sprayer. Not only will it make your life easier, but it can also be a cost-effective and stylish addition to your home.


/25089301983_c5145fe85d_o-58418ef15f9b5851e5f392b5.jpg)


