Is your kitchen sink hose starting to leak or show signs of wear and tear? It may be time to replace it. Don't worry, changing out a kitchen sink hose is easier than you think. With just a few tools and some basic knowledge, you can have your new hose installed in no time. Follow these simple steps to replace your kitchen sink hose and get your sink back in top shape.How to Change Out a Kitchen Sink Hose


How to Change Out a Kitchen Sink Hose


The first step in replacing a kitchen sink hose is to gather all the necessary tools and materials. You will need a new hose, adjustable pliers, a bucket, and a towel. Once you have everything you need, you can begin the process of replacing your old hose with a new one.How to Replace a Kitchen Sink Hose


How to Replace a Kitchen Sink Hose


Replacing a kitchen sink hose is a simple DIY project that can save you time and money. Hiring a professional plumber can be expensive, but with a little bit of effort, you can easily replace the hose on your own. Plus, you'll have the satisfaction of knowing you did it yourself.DIY: Replacing a Kitchen Sink Hose


DIY: Replacing a Kitchen Sink Hose


To begin, turn off the water supply to your sink. This can usually be done by turning the shut-off valves under the sink in a clockwise direction. If you can't locate the shut-off valves, you may need to turn off the main water supply to your house. Next, place a towel or bucket under the sink to catch any excess water that may drip out during the process. Then, use your adjustable pliers to loosen the connections on both ends of the old hose. Once the connections are loose, you can easily remove the old hose. Now, it's time to install the new hose. Make sure to choose a hose that is the same length and size as your old one. Begin by attaching one end of the new hose to the faucet connection. Use your adjustable pliers to tighten the connection, but be careful not to over-tighten. Next, attach the other end of the hose to the water supply connection under the sink. Again, use your adjustable pliers to tighten the connection. Once both ends are securely attached, turn the water supply back on and check for any leaks. If everything looks good, you're all set!Step-by-Step Guide to Changing a Kitchen Sink Hose


Step-by-Step Guide to Changing a Kitchen Sink Hose


:no_upscale()/cdn.vox-cdn.com/uploads/chorus_asset/file/19495086/drain_0.jpg)
When replacing your kitchen sink hose, there are a few tips and tricks that can make the process even easier. First, make sure to turn off the water supply before beginning. This will prevent any accidental leaks or spills. Second, have a towel or bucket ready to catch any excess water that may drip out during the process. And finally, don't over-tighten the connections as this can cause damage to the hose or faucet.Replacing a Kitchen Sink Hose: Tips and Tricks


Replacing a Kitchen Sink Hose: Tips and Tricks


If you're new to DIY projects, you may be wondering what you need to know before replacing your kitchen sink hose. The most important thing to keep in mind is to choose a hose that is the same length and size as your old one. This will ensure a proper fit and prevent any future issues. Additionally, make sure to turn off the water supply before beginning and use caution when tightening connections.Kitchen Sink Hose Replacement: What You Need to Know
Kitchen Sink Hose Replacement: What You Need to Know


Replacing a kitchen sink hose may seem daunting, but it's actually a simple task that even beginners can tackle. With just a few tools and some basic knowledge, you can easily replace your old hose and have your sink functioning like new again. Plus, the money you'll save by doing it yourself is an added bonus!Easy Kitchen Sink Hose Replacement for Beginners

Easy Kitchen Sink Hose Replacement for Beginners


While replacing a kitchen sink hose is a relatively simple task, there are a few common mistakes that you should avoid. One of the most common mistakes is over-tightening the connections, which can cause damage to the hose or faucet. Another mistake is not turning off the water supply before beginning, which can result in a messy clean-up. By being aware of these common mistakes, you can ensure a smooth and easy replacement process.Replacing a Kitchen Sink Hose: Common Mistakes to Avoid


Replacing a Kitchen Sink Hose: Common Mistakes to Avoid


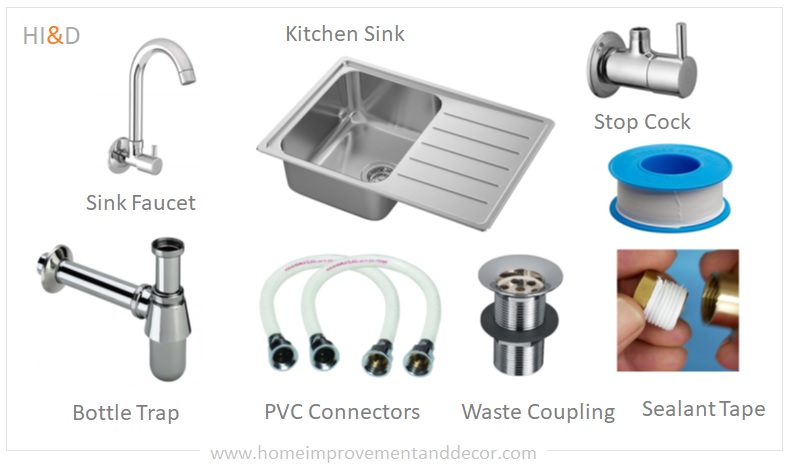
Before you begin the process of changing out your kitchen sink hose, it's important to have all the necessary tools and materials. You will need a new hose, adjustable pliers, a bucket, and a towel. Having these items on hand will make the replacement process much easier and more efficient.Tools and Materials Needed for Changing a Kitchen Sink Hose

Tools and Materials Needed for Changing a Kitchen Sink Hose
/how-to-install-a-sink-drain-2718789-hero-24e898006ed94c9593a2a268b57989a3.jpg)

To recap, here are the 5 simple steps to changing out a kitchen sink hose:How to Change Out a Kitchen Sink Hose in 5 Simple Steps

How to Change Out a Kitchen Sink Hose in 5 Simple Steps


How to Change Out a Kitchen Sink Hose Like a Pro

An Essential Guide for Upgrading Your Kitchen Design
 Are you tired of dealing with a leaky or outdated kitchen sink hose? Upgrading your kitchen sink hose is a simple and affordable way to elevate the overall design of your kitchen. Not only will it improve the functionality and efficiency of your sink, but it can also enhance the aesthetic appeal of your space. In this article, we will guide you through the process of changing out a kitchen sink hose like a professional.
Step 1: Gather Your Tools
Before starting the project, make sure to have all the necessary tools on hand. This includes a new kitchen sink hose, adjustable wrench, pliers, Teflon tape, and a bucket. You may also want to have a towel or rag nearby in case of any spills.
Step 2: Turn Off the Water Supply
Before removing the old hose, turn off the water supply to your sink. This can usually be done by turning the shut-off valves located under the sink in a clockwise direction. If your sink does not have shut-off valves, you will need to turn off the main water supply to your house.
Step 3: Remove the Old Hose
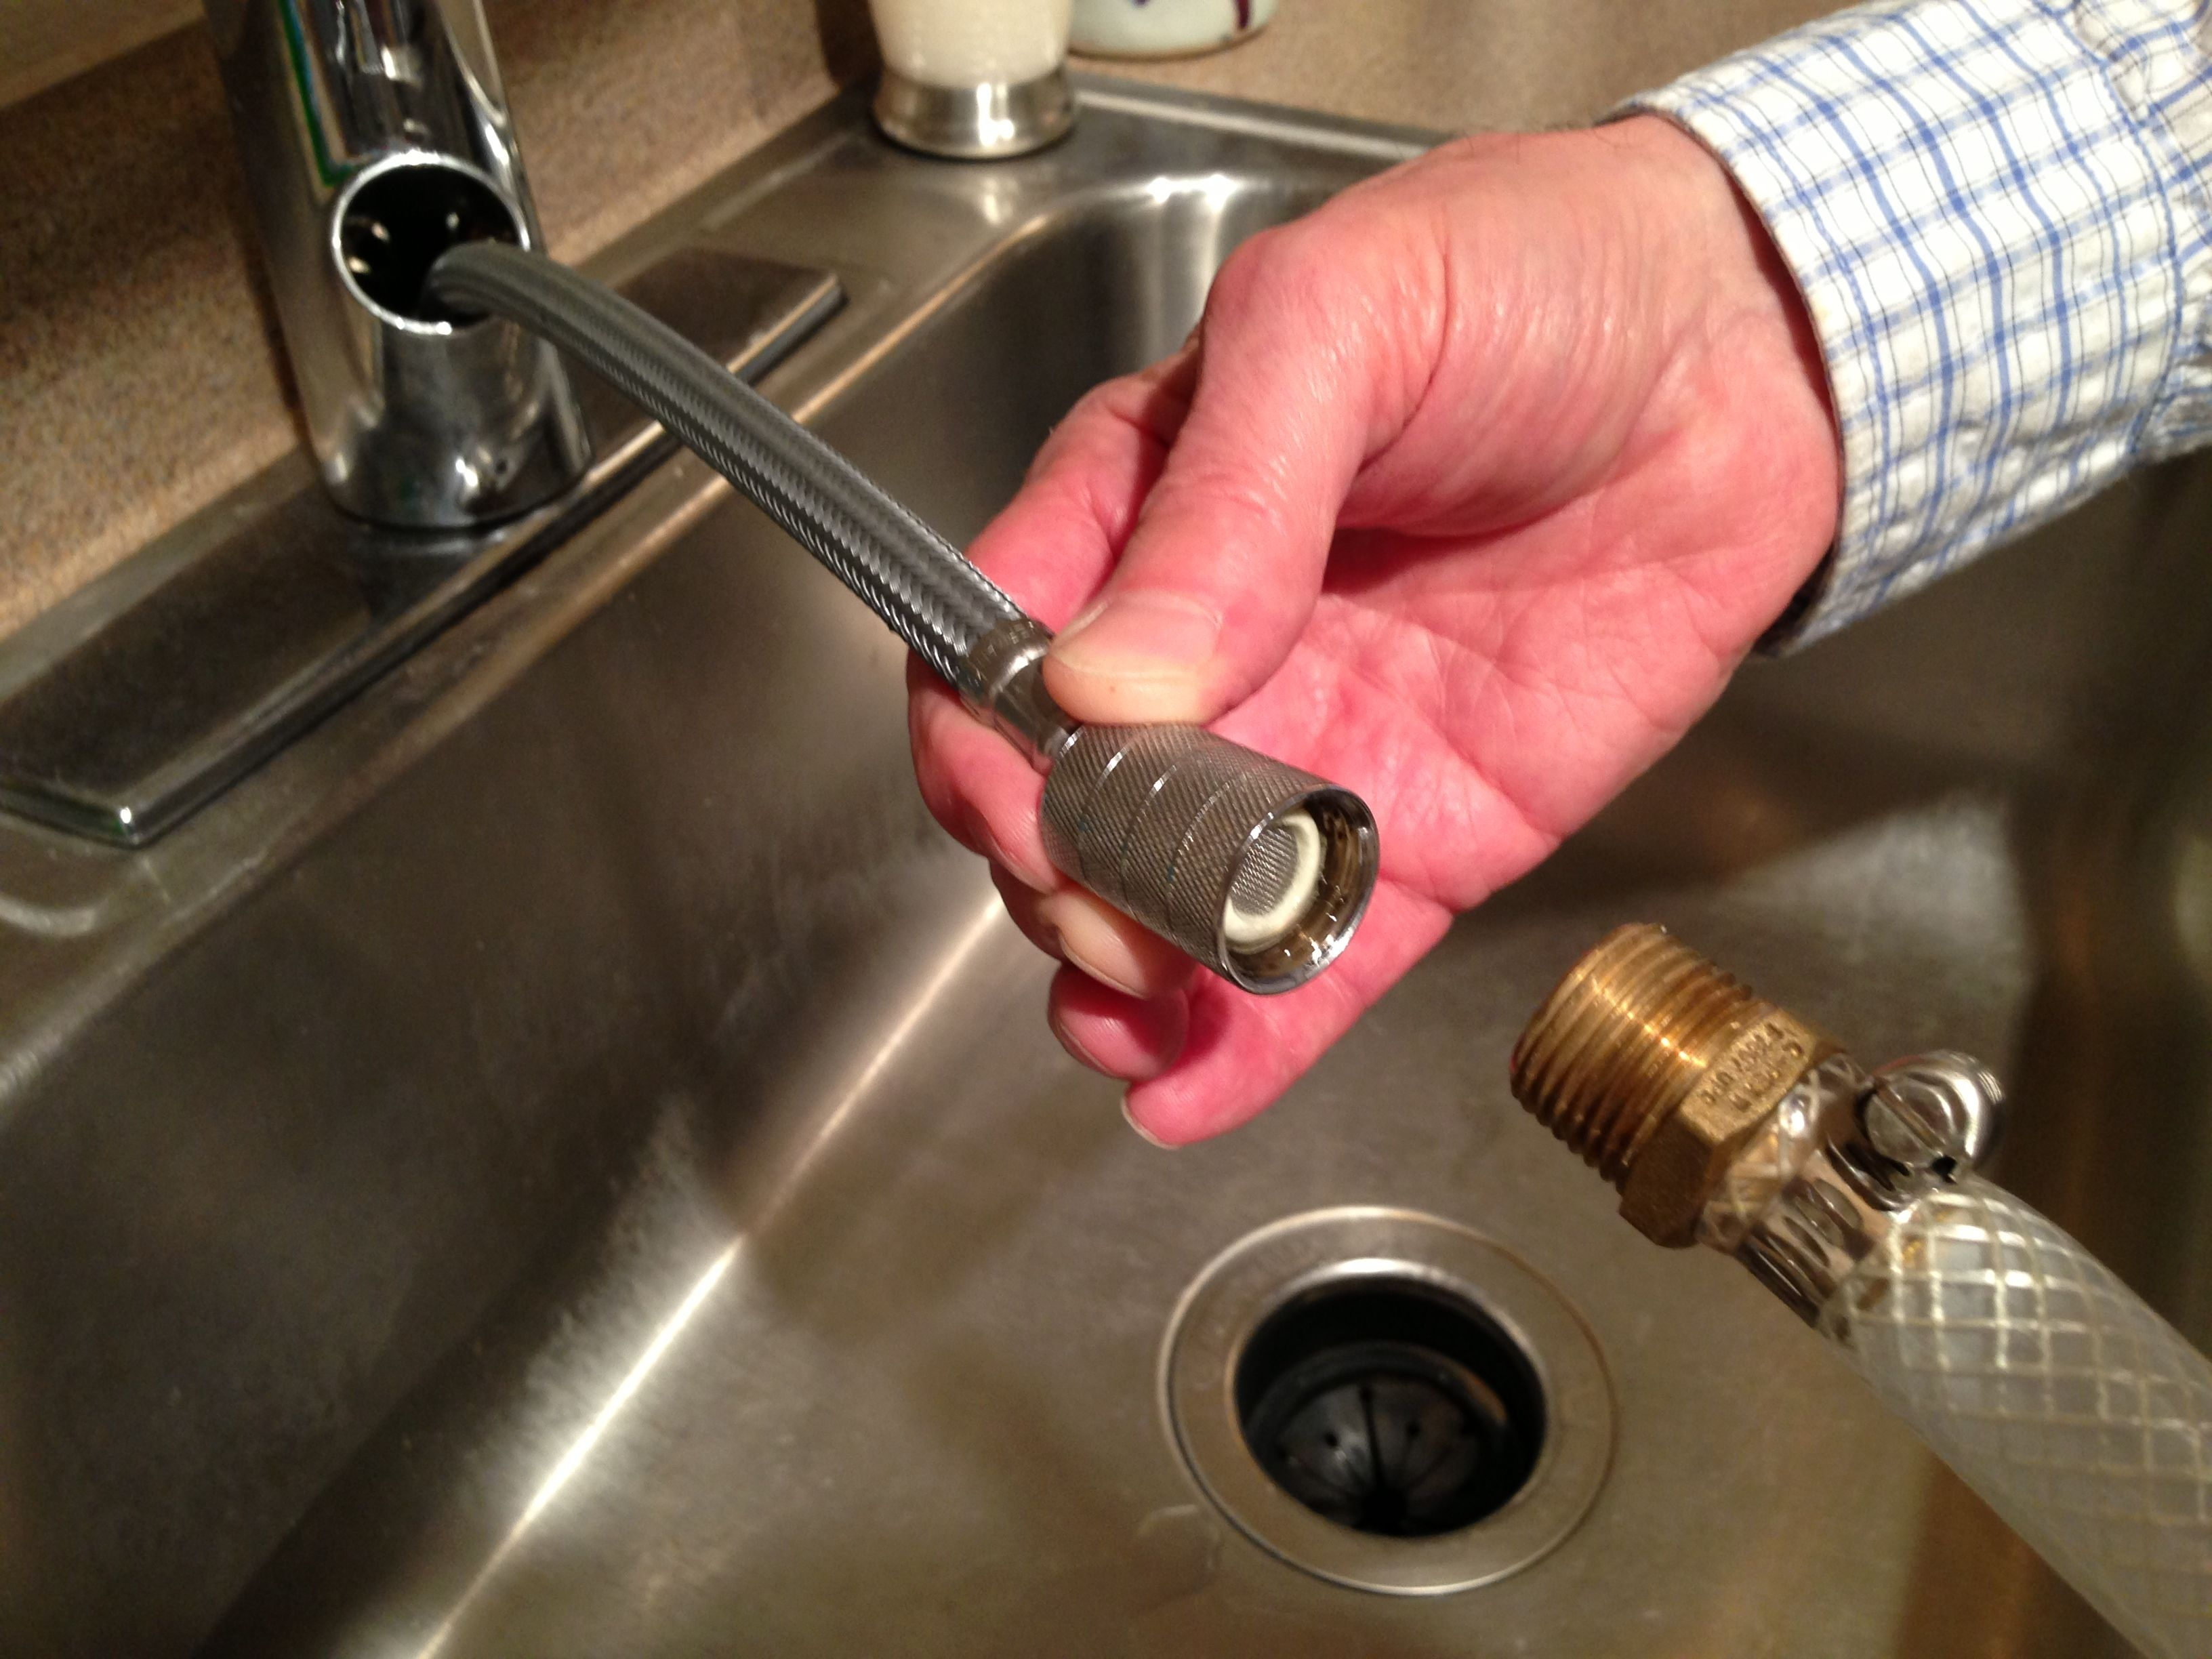
Using your pliers, loosen the nuts connecting the old hose to the water supply and the faucet. Once the nuts are loosened, use your hands to unscrew them the rest of the way. Place the bucket underneath to catch any water that may still be in the hose. Once the old hose is removed, use a rag to clean the area and remove any debris.
Step 4: Install the New Hose
Take your new hose and wrap Teflon tape around the threaded connectors to prevent leaks. Then, attach the hose to the water supply and faucet by hand-tightening the nuts. Use your adjustable wrench to give them an extra turn to ensure they are secured.
Step 5: Turn the Water Supply Back On
Once the new hose is securely in place, turn the water supply back on and check for any leaks. If there are no leaks, you can pat yourself on the back for a job well done!
Step 6: Enjoy Your Upgraded Kitchen Design
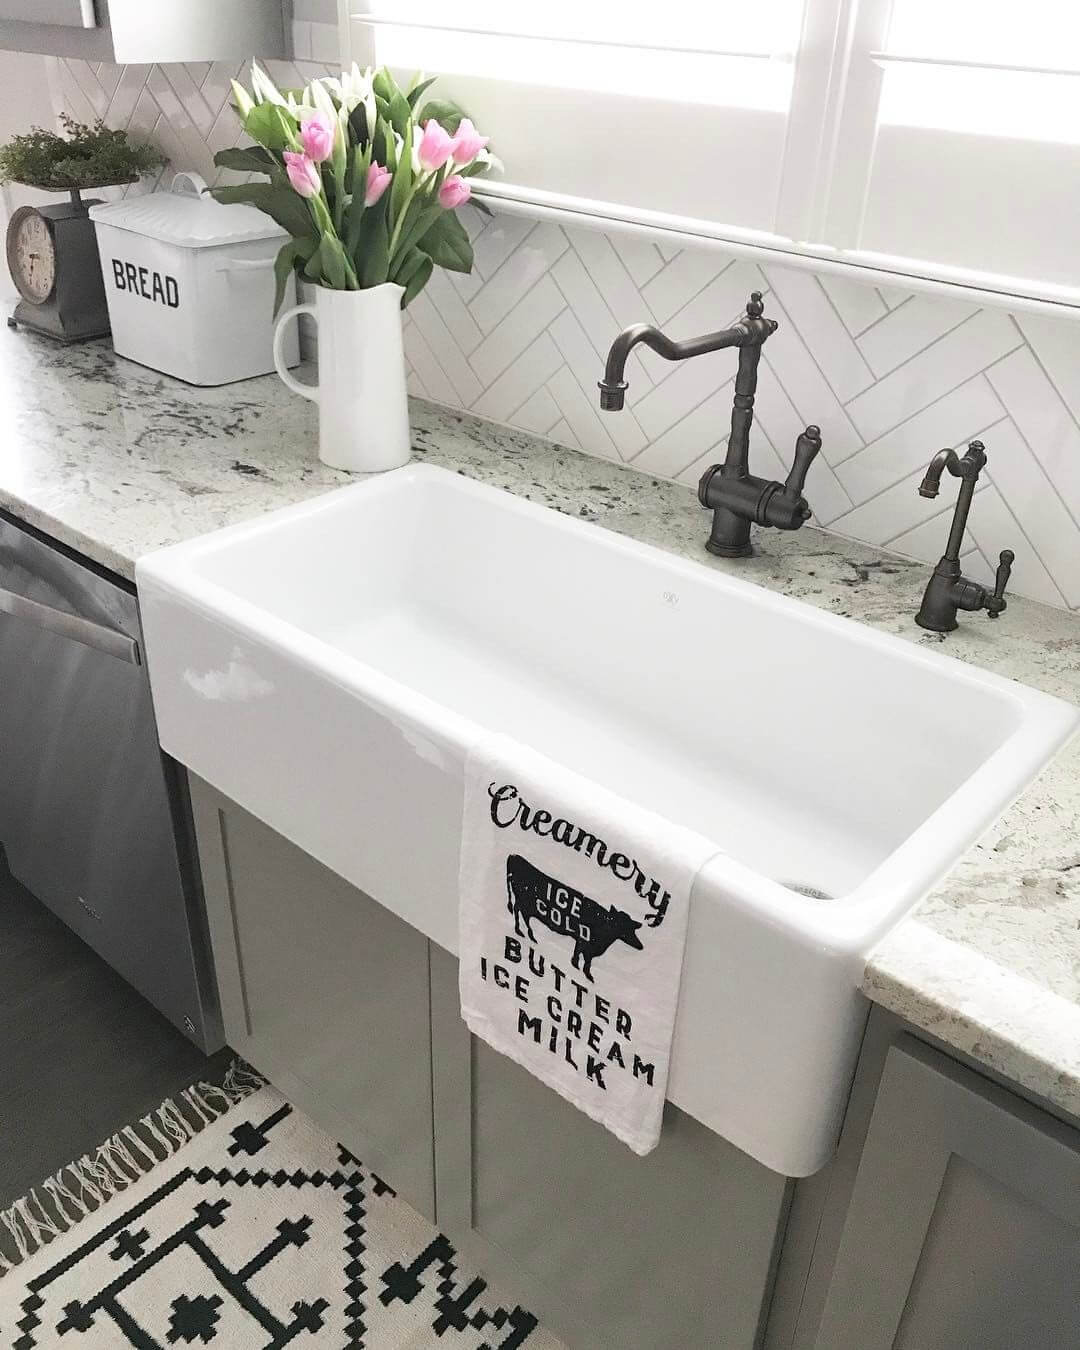
With your new kitchen sink hose installed, take a step back and admire the updated look and functionality of your kitchen. A simple change like this can make a big difference in the overall design of your space.
In conclusion, changing out a kitchen sink hose is a straightforward and budget-friendly way to enhance your kitchen design. By following these simple steps, you can easily upgrade your sink and enjoy a more efficient and stylish kitchen. So, grab your tools and get ready to impress your family and friends with your newfound plumbing skills.
Are you tired of dealing with a leaky or outdated kitchen sink hose? Upgrading your kitchen sink hose is a simple and affordable way to elevate the overall design of your kitchen. Not only will it improve the functionality and efficiency of your sink, but it can also enhance the aesthetic appeal of your space. In this article, we will guide you through the process of changing out a kitchen sink hose like a professional.
Step 1: Gather Your Tools
Before starting the project, make sure to have all the necessary tools on hand. This includes a new kitchen sink hose, adjustable wrench, pliers, Teflon tape, and a bucket. You may also want to have a towel or rag nearby in case of any spills.
Step 2: Turn Off the Water Supply
Before removing the old hose, turn off the water supply to your sink. This can usually be done by turning the shut-off valves located under the sink in a clockwise direction. If your sink does not have shut-off valves, you will need to turn off the main water supply to your house.
Step 3: Remove the Old Hose
Using your pliers, loosen the nuts connecting the old hose to the water supply and the faucet. Once the nuts are loosened, use your hands to unscrew them the rest of the way. Place the bucket underneath to catch any water that may still be in the hose. Once the old hose is removed, use a rag to clean the area and remove any debris.
Step 4: Install the New Hose
Take your new hose and wrap Teflon tape around the threaded connectors to prevent leaks. Then, attach the hose to the water supply and faucet by hand-tightening the nuts. Use your adjustable wrench to give them an extra turn to ensure they are secured.
Step 5: Turn the Water Supply Back On
Once the new hose is securely in place, turn the water supply back on and check for any leaks. If there are no leaks, you can pat yourself on the back for a job well done!
Step 6: Enjoy Your Upgraded Kitchen Design
With your new kitchen sink hose installed, take a step back and admire the updated look and functionality of your kitchen. A simple change like this can make a big difference in the overall design of your space.
In conclusion, changing out a kitchen sink hose is a straightforward and budget-friendly way to enhance your kitchen design. By following these simple steps, you can easily upgrade your sink and enjoy a more efficient and stylish kitchen. So, grab your tools and get ready to impress your family and friends with your newfound plumbing skills.