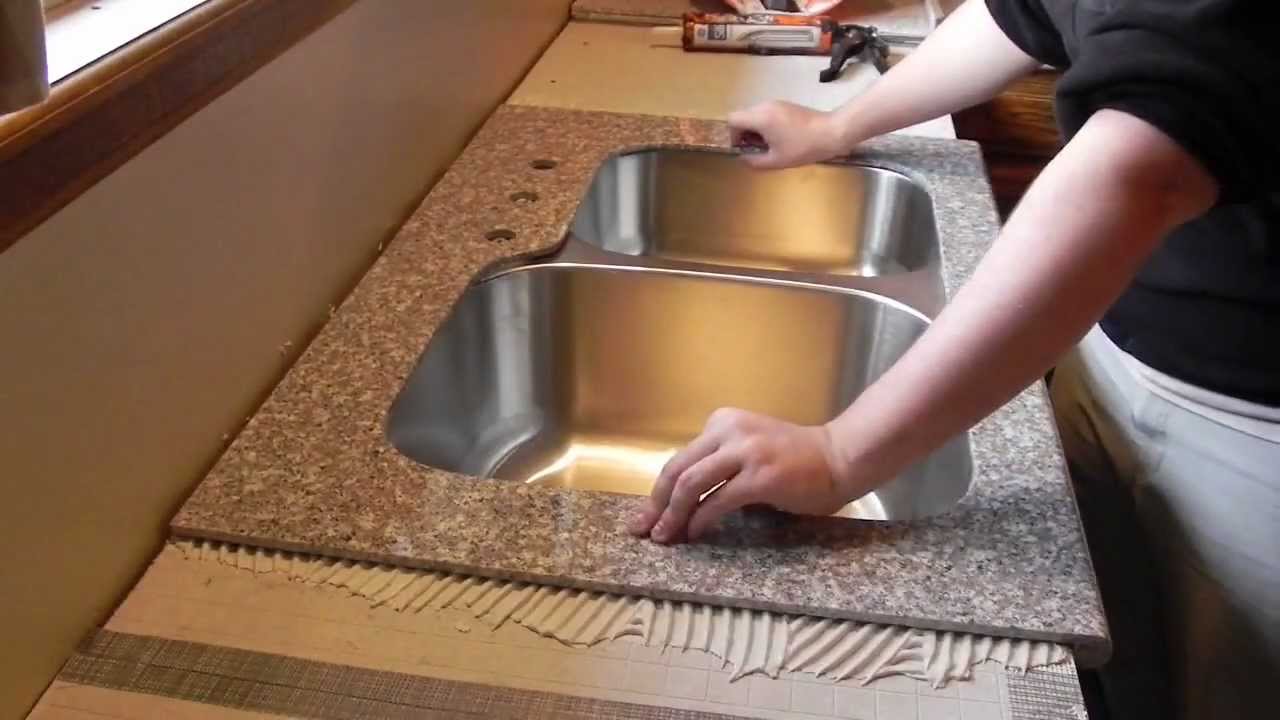
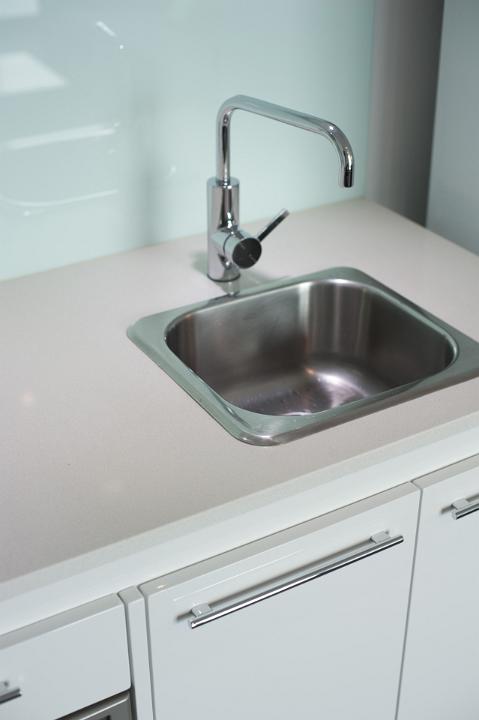
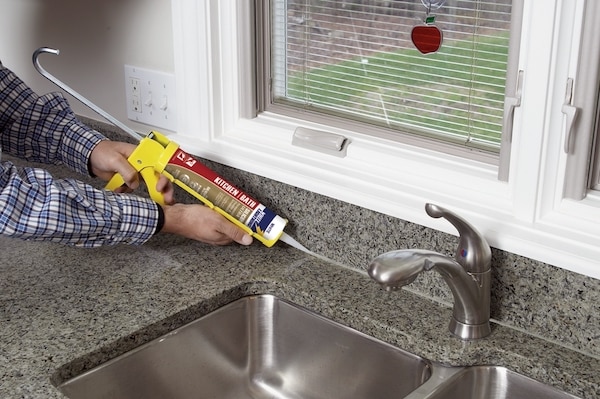
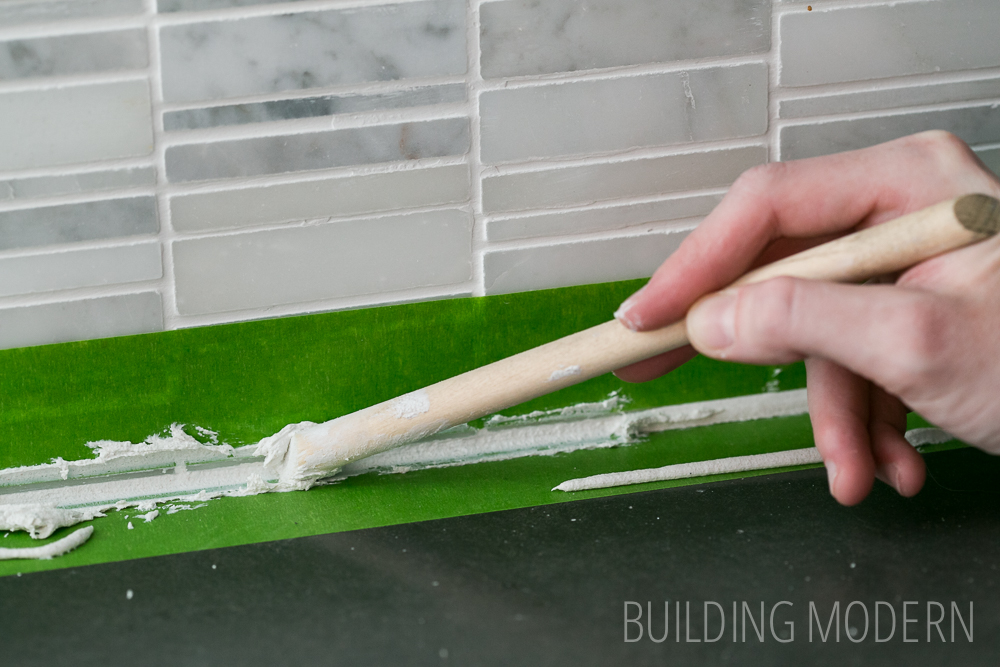
Caulking a kitchen sink is an important step in maintaining a clean and functional kitchen. Over time, caulk can deteriorate and allow water to seep into the cracks and cause damage to your countertops and cabinets. In this guide, we will go through the steps on how to properly caulk your kitchen sink to ensure a tight seal and prevent any potential damage.How to Caulk a Kitchen Sink
.jpg)


How to Caulk a Kitchen Sink


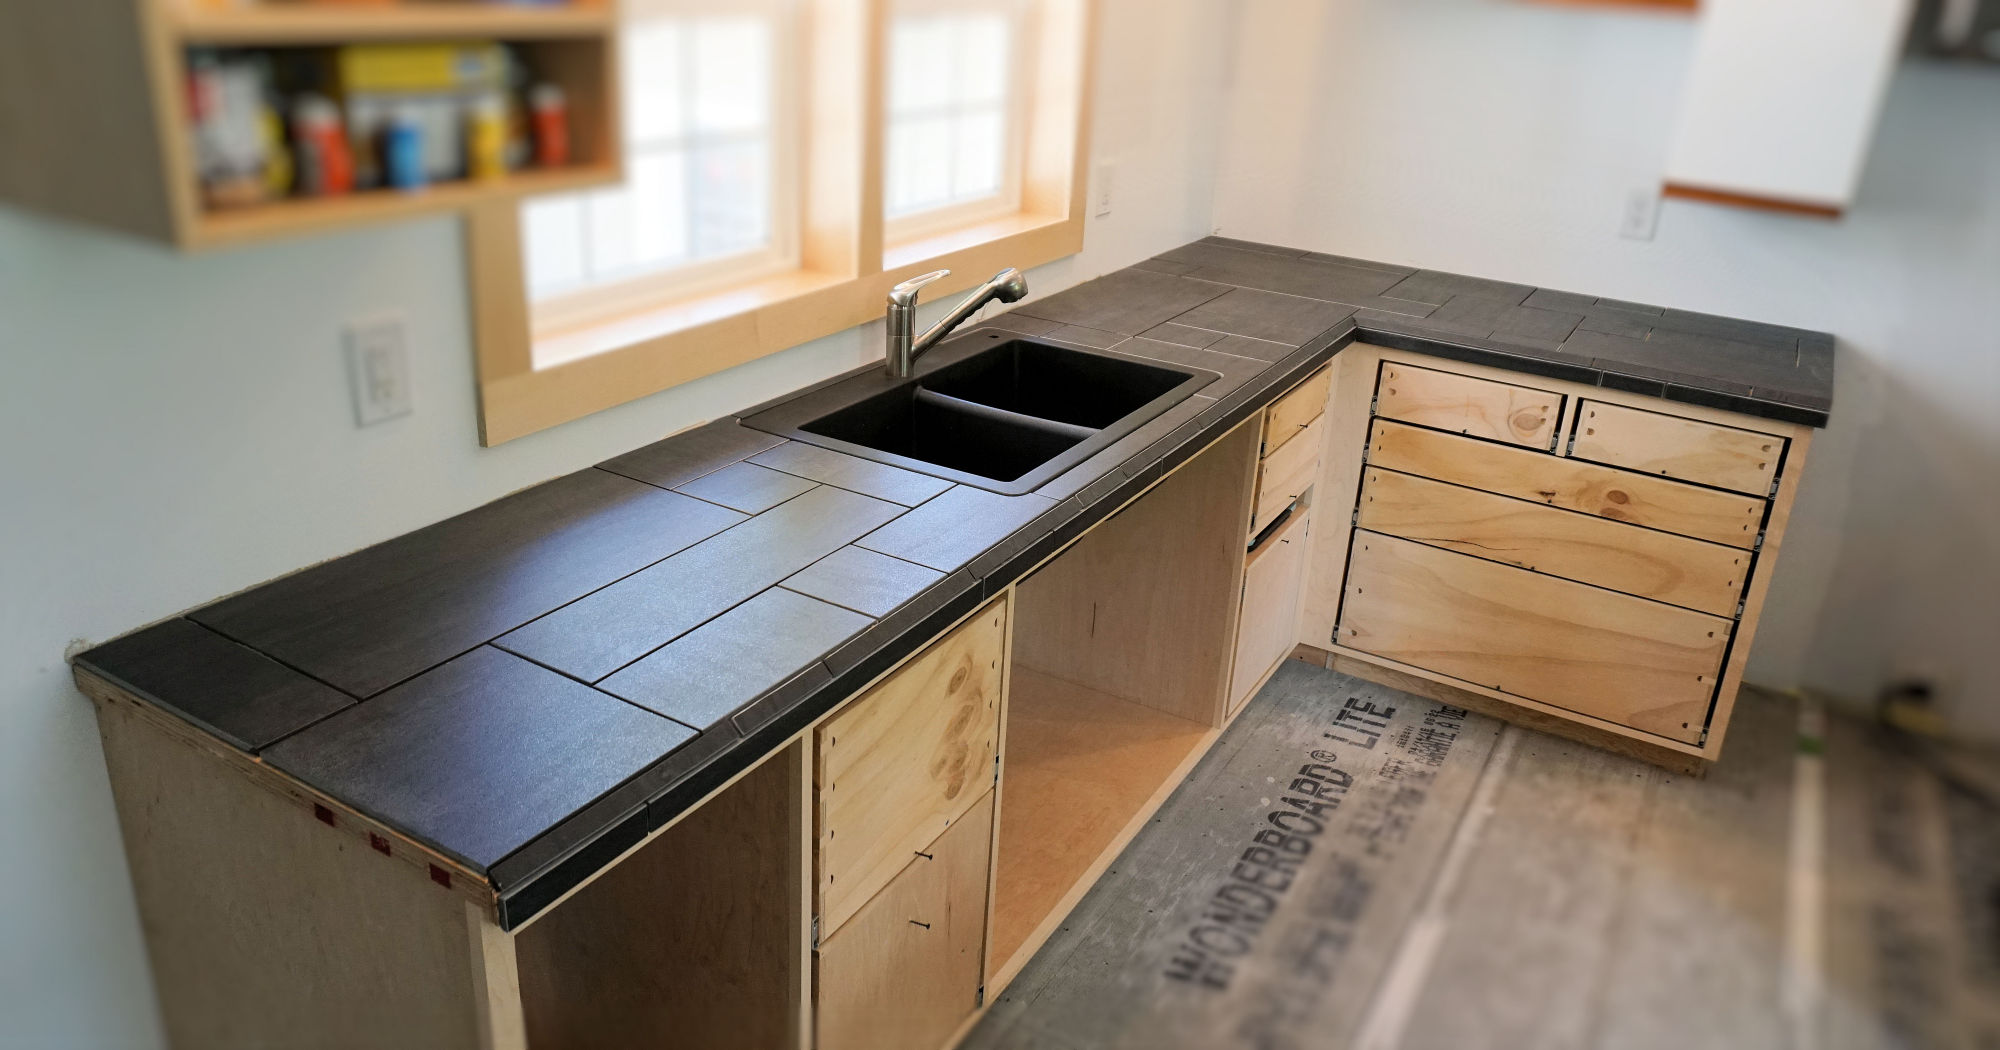
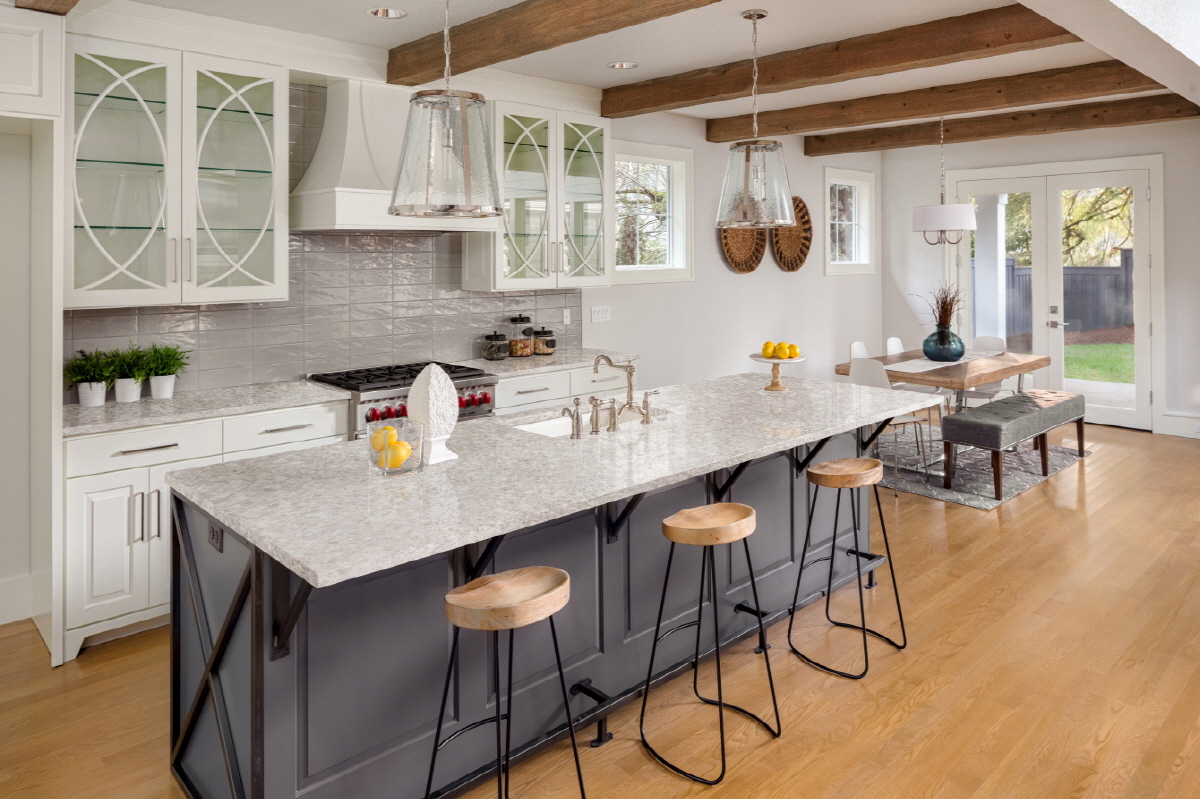
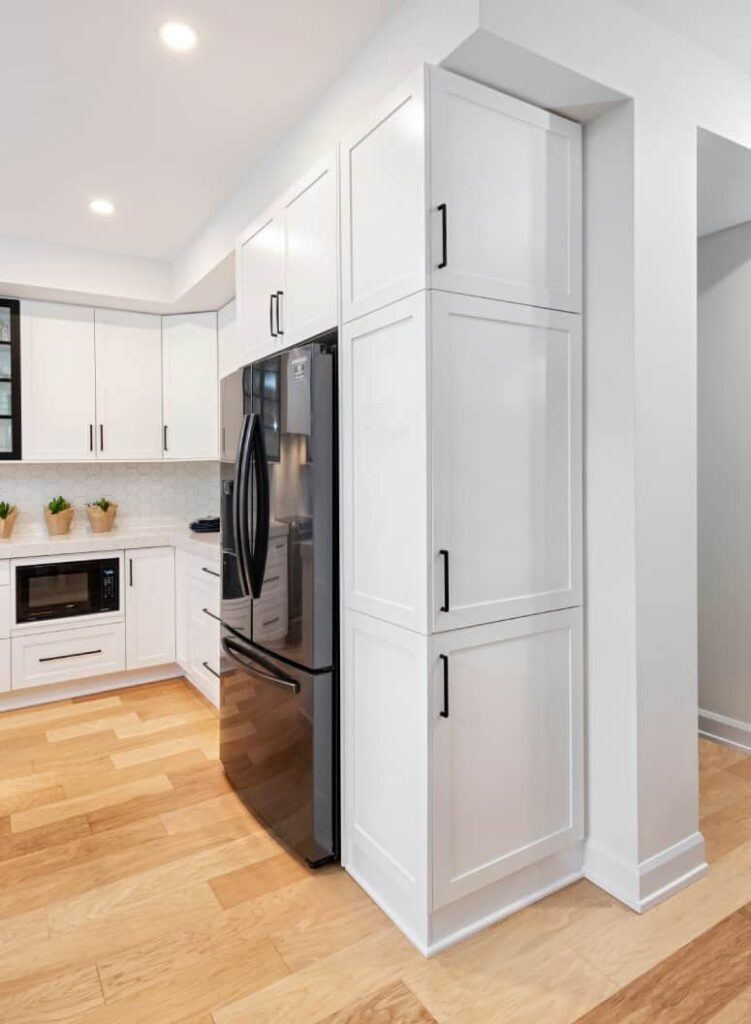
Tiling your countertops is a great way to give your kitchen a fresh and updated look. Not only does it add aesthetic appeal, but it also provides a durable and easy-to-clean surface. In this section, we will discuss the steps on how to tile a countertop and achieve a professional finish.How to Tile a Countertop

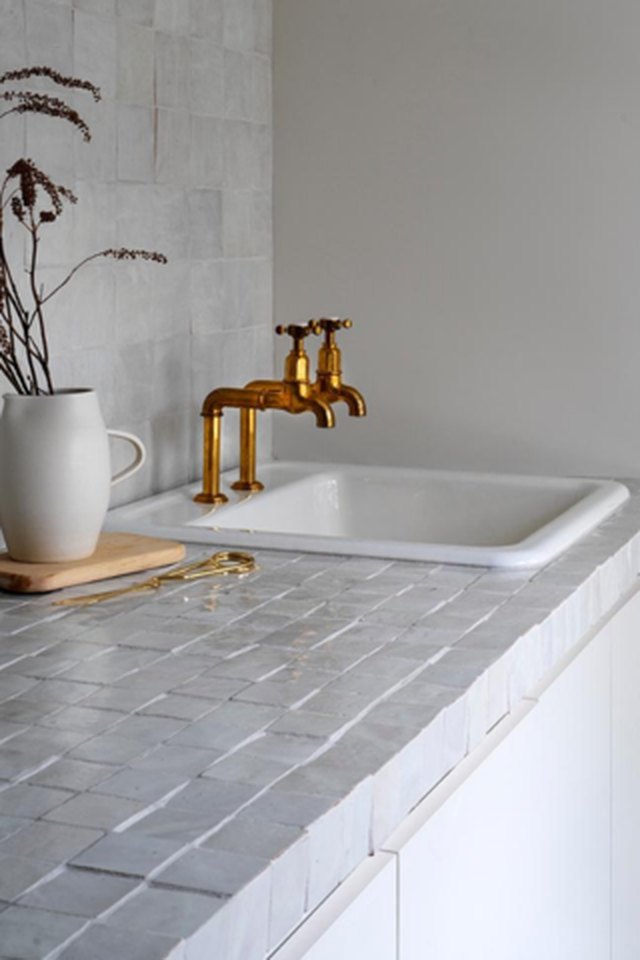

How to Tile a Countertop


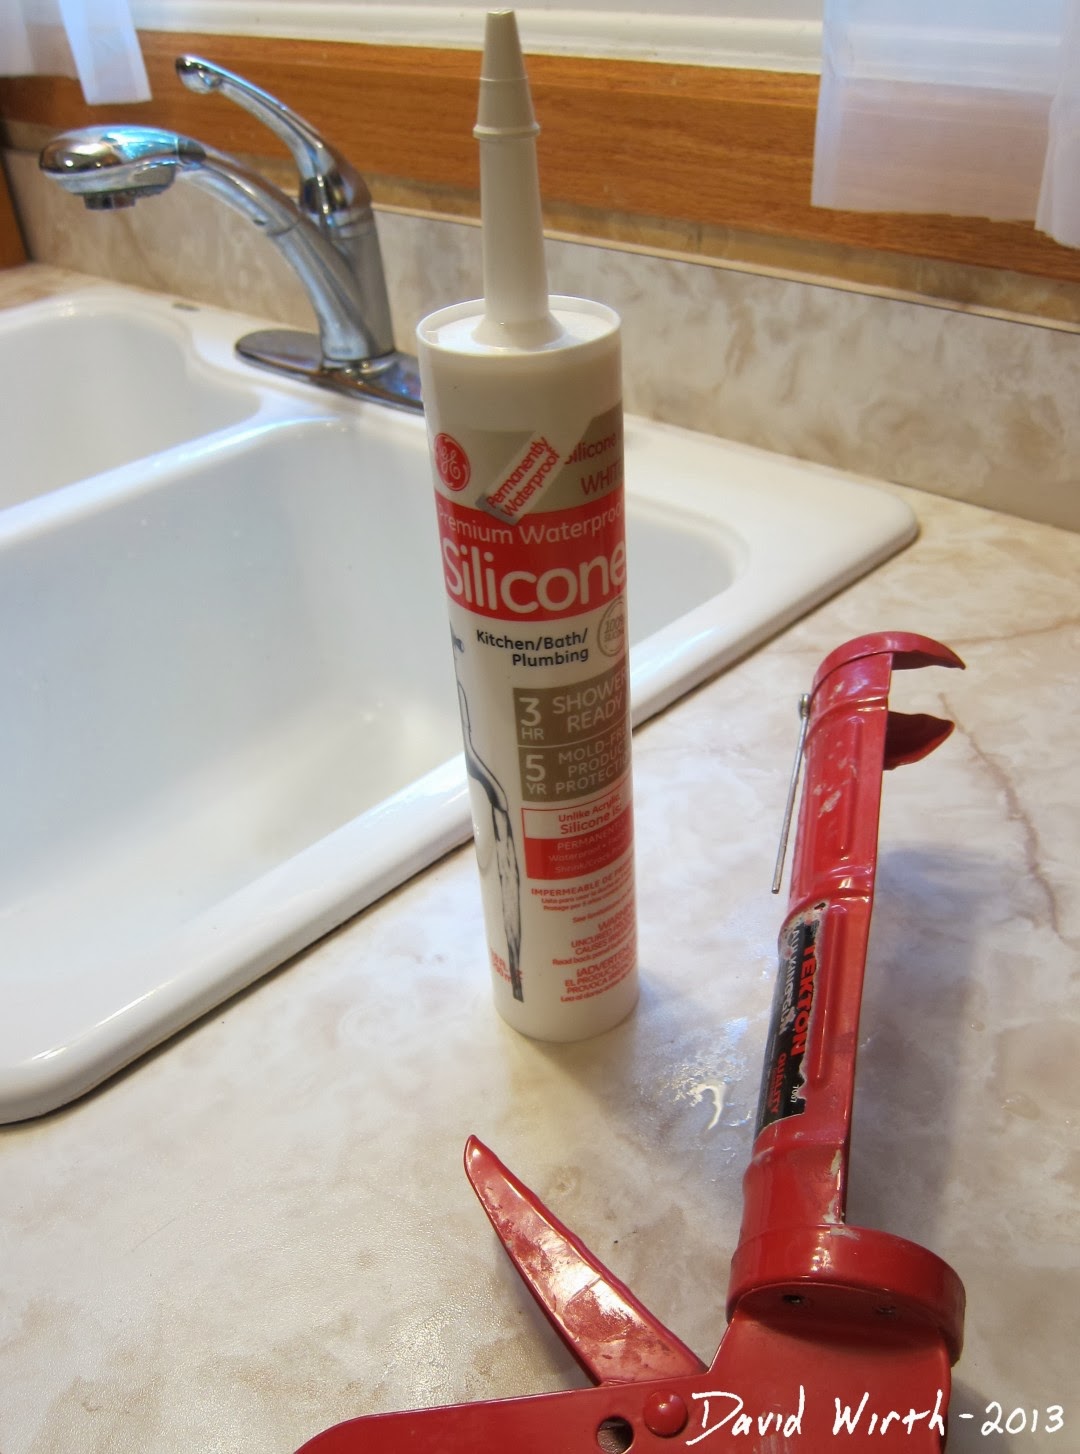
If you are re-caulking your kitchen sink, the first step is to remove the old caulk. This can be a tedious and time-consuming task, but it is necessary to ensure a proper seal. Here's a guide on how to remove old caulk from a kitchen sink without damaging the surrounding surfaces.How to Remove Old Caulk from a Kitchen Sink


How to Remove Old Caulk from a Kitchen Sink


:max_bytes(150000):strip_icc()/how-to-remove-old-caulk-1824827-01-3d0370c59e124dbbaa6560c68bab111c.jpg)
Before you start tiling your countertop, it is important to properly prepare the surface. This will ensure that the tiles adhere properly and your countertop remains strong and sturdy. In this section, we will cover the steps on how to prepare your countertop for tiling.How to Prepare a Countertop for Tiling


How to Prepare a Countertop for Tiling


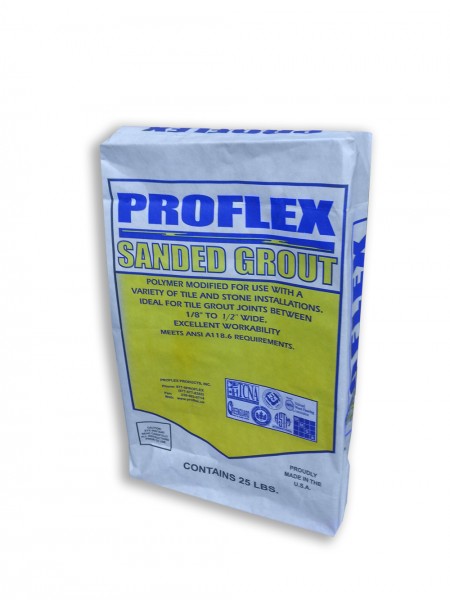
When it comes to choosing the right caulk for your kitchen sink, there are a few factors to consider. The type of caulk you use can affect the durability and longevity of your seal. In this section, we will discuss the best types of caulk for kitchen sinks and their respective benefits.Best Caulk for Kitchen Sink


Best Caulk for Kitchen Sink


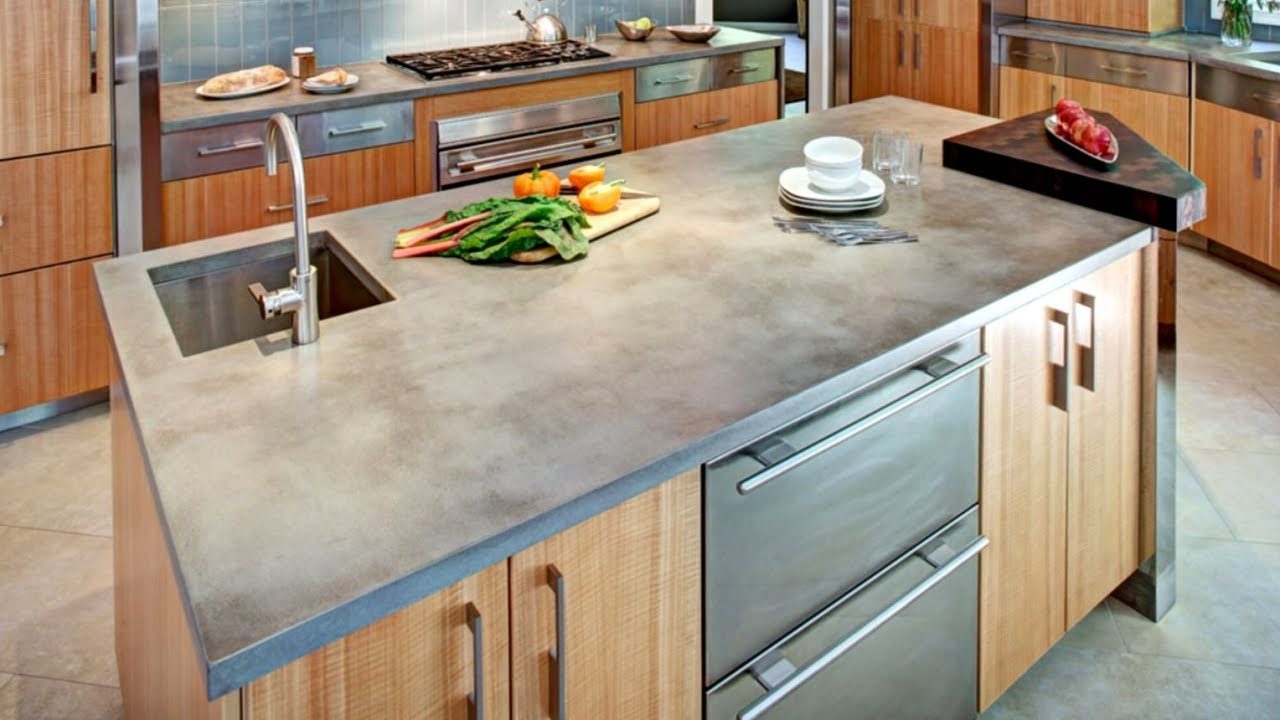
There are many different types of tiles available for countertops, each with their own unique characteristics and benefits. Choosing the right tile for your countertop can make a significant difference in its appearance and functionality. Here are some tips on how to choose the perfect tile for your countertop.How to Choose the Right Tile for Your Countertop


How to Choose the Right Tile for Your Countertop


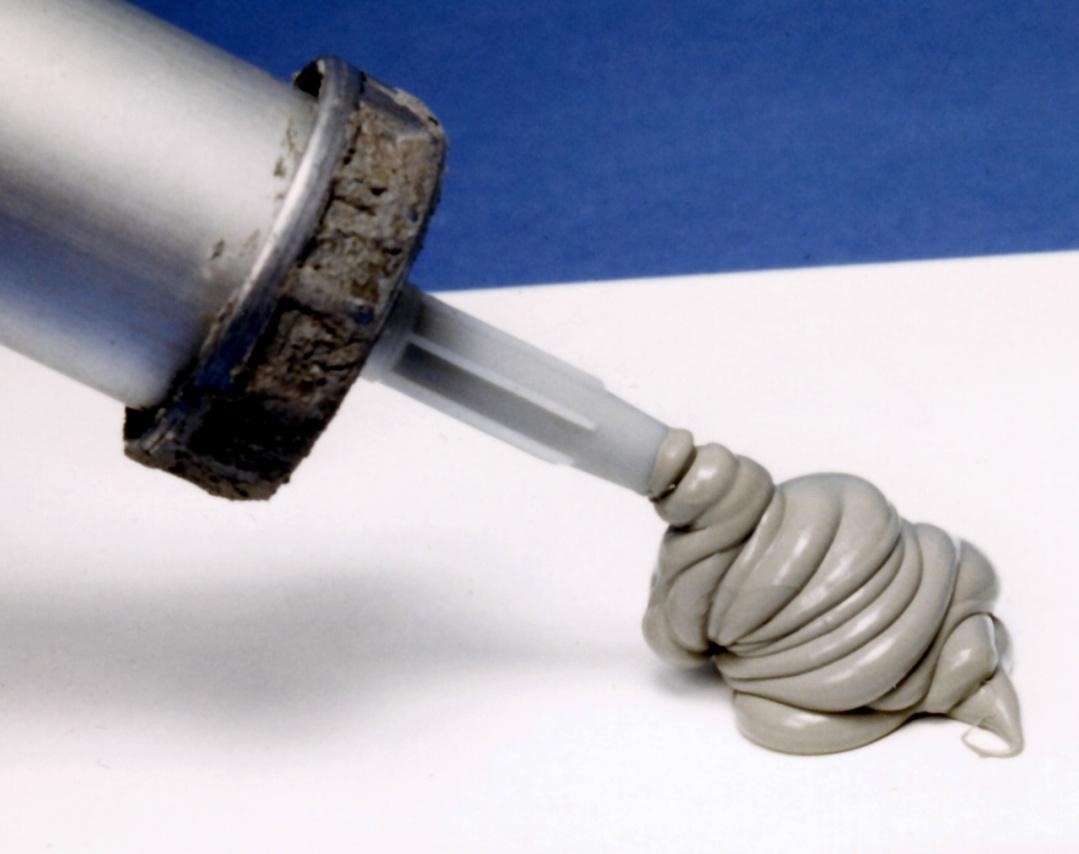
Now that you have chosen the right caulk for your kitchen sink, it's time to apply it. This may seem like a simple task, but there are a few key steps to follow to ensure a proper and long-lasting seal. Here's a step-by-step guide on how to apply caulk to a kitchen sink.How to Apply Caulk to a Kitchen Sink

How to Apply Caulk to a Kitchen Sink


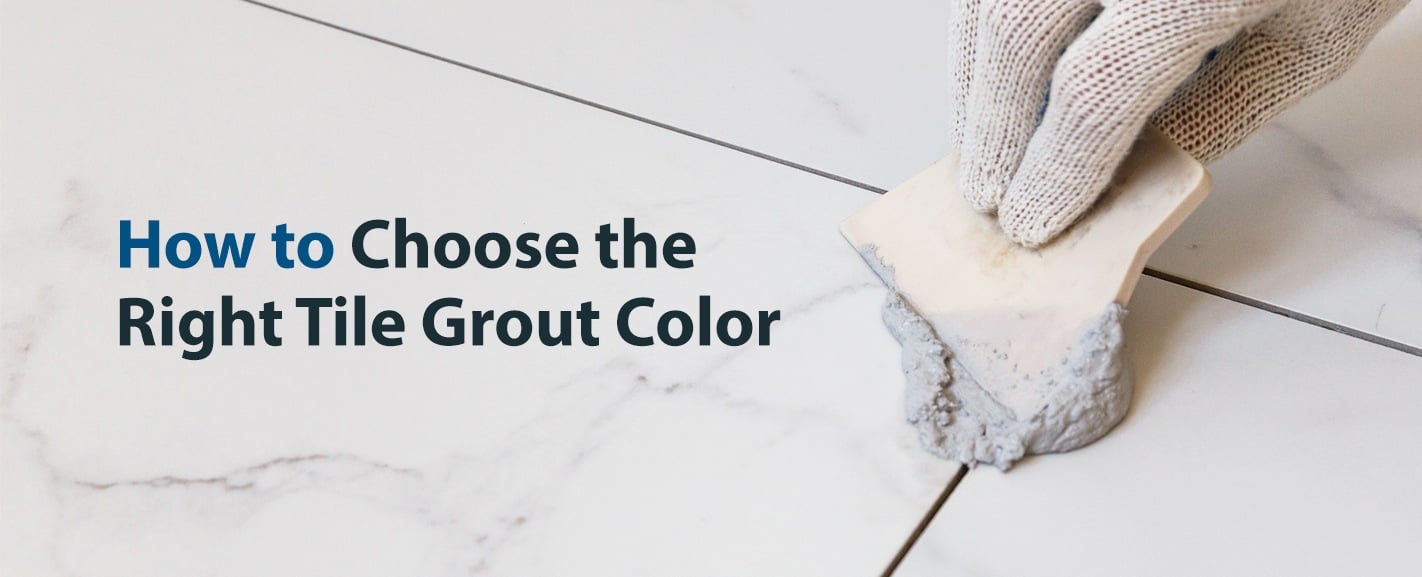
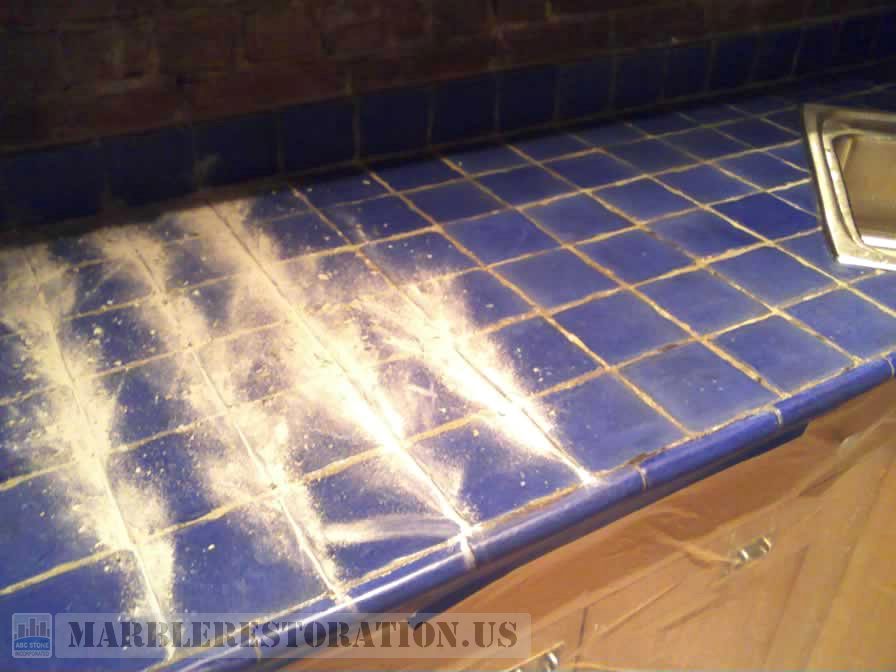
After tiling your countertop, the next step is to grout the tiles. Grout not only fills in the gaps between the tiles, but it also provides a strong bond and adds to the overall appearance of your countertop. In this section, we will go through the steps on how to properly grout a tiled countertop.How to Grout a Tiled Countertop


How to Grout a Tiled Countertop
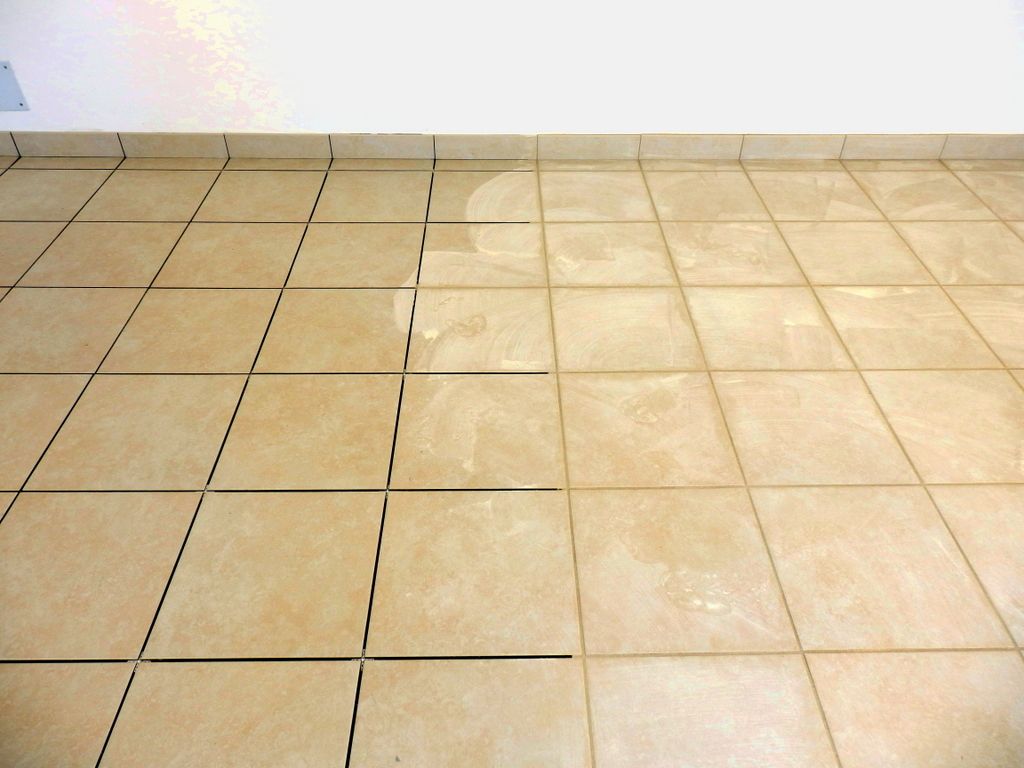


Sealing your tiled countertop is an important step in protecting it from stains, water damage, and bacteria growth. It also helps to maintain the color and shine of your tiles. In this section, we will discuss how to properly seal a tiled countertop to keep it looking new for years to come.How to Seal a Tiled Countertop

How to Seal a Tiled Countertop


While caulking a kitchen sink may seem like a simple task, there are some common mistakes that can lead to a faulty seal and potential damage. In this section, we will highlight some of these mistakes and how to avoid them to achieve a professional and long-lasting caulk job.Common Mistakes to Avoid When Caulking a Kitchen Sink


Common Mistakes to Avoid When Caulking a Kitchen Sink


The Importance of Caulking Your Kitchen Sink and Tiling Your Countertop

Aesthetics and Functionality
 When it comes to designing your kitchen,
caulking your kitchen sink and tiling your countertop
may not be the first things that come to mind. However, these two tasks are essential for both the aesthetics and functionality of your kitchen.
Caulking
seals the gap between your sink and the countertop, preventing water and other liquids from seeping in and causing damage. Meanwhile,
tiling
your countertop adds a beautiful and durable surface for food prep and daily use.
When it comes to designing your kitchen,
caulking your kitchen sink and tiling your countertop
may not be the first things that come to mind. However, these two tasks are essential for both the aesthetics and functionality of your kitchen.
Caulking
seals the gap between your sink and the countertop, preventing water and other liquids from seeping in and causing damage. Meanwhile,
tiling
your countertop adds a beautiful and durable surface for food prep and daily use.
Protecting Against Water Damage
 One of the main reasons why
caulking your kitchen sink
is important is to prevent water damage. Over time, water can seep through the gap between your sink and countertop, causing damage to the underlying structure. This can lead to mold growth, rotting wood, and even structural issues if left unchecked. By properly
caulking
this area, you can protect your kitchen from potential water damage and save yourself from costly repairs in the future.
One of the main reasons why
caulking your kitchen sink
is important is to prevent water damage. Over time, water can seep through the gap between your sink and countertop, causing damage to the underlying structure. This can lead to mold growth, rotting wood, and even structural issues if left unchecked. By properly
caulking
this area, you can protect your kitchen from potential water damage and save yourself from costly repairs in the future.
Avoiding Grime and Bacteria Buildup
 In addition to water damage,
caulking your kitchen sink
also helps to prevent grime and bacteria buildup. Without proper sealing, food particles and liquids can get trapped in the gap between your sink and countertop. This creates the perfect environment for bacteria to thrive, leading to potential health hazards. By regularly
caulking
and sealing this area, you can keep your kitchen clean and hygienic.
In addition to water damage,
caulking your kitchen sink
also helps to prevent grime and bacteria buildup. Without proper sealing, food particles and liquids can get trapped in the gap between your sink and countertop. This creates the perfect environment for bacteria to thrive, leading to potential health hazards. By regularly
caulking
and sealing this area, you can keep your kitchen clean and hygienic.
Enhancing the Look of Your Kitchen
 Aside from the functional benefits,
tiling your countertop
also adds to the overall look and design of your kitchen. With a wide range of
tile
options available, you can choose a style that complements your kitchen's aesthetic and adds a touch of personality. Whether you prefer a classic subway
tile
or a bold mosaic design,
tiling
your countertop can transform your kitchen into a stunning and inviting space.
Aside from the functional benefits,
tiling your countertop
also adds to the overall look and design of your kitchen. With a wide range of
tile
options available, you can choose a style that complements your kitchen's aesthetic and adds a touch of personality. Whether you prefer a classic subway
tile
or a bold mosaic design,
tiling
your countertop can transform your kitchen into a stunning and inviting space.
Increasing Your Home's Value
 When it comes time to sell your home,
caulking your kitchen sink
and
tiling your countertop
can significantly increase its value. These small but impactful upgrades show potential buyers that you have taken good care of your home and have invested in its maintenance. A well-maintained kitchen with a beautifully tiled countertop can be a major selling point and may even result in a higher selling price for your home.
When it comes time to sell your home,
caulking your kitchen sink
and
tiling your countertop
can significantly increase its value. These small but impactful upgrades show potential buyers that you have taken good care of your home and have invested in its maintenance. A well-maintained kitchen with a beautifully tiled countertop can be a major selling point and may even result in a higher selling price for your home.
Conclusion
 In conclusion,
caulking your kitchen sink and tiling your countertop
are not only necessary for the functionality and protection of your kitchen, but they also add to its overall design and value. These tasks may seem like small details, but they can make a big difference in the long run. So if you're looking to upgrade your kitchen, don't forget to pay attention to these important areas. Your kitchen (and wallet) will thank you.
In conclusion,
caulking your kitchen sink and tiling your countertop
are not only necessary for the functionality and protection of your kitchen, but they also add to its overall design and value. These tasks may seem like small details, but they can make a big difference in the long run. So if you're looking to upgrade your kitchen, don't forget to pay attention to these important areas. Your kitchen (and wallet) will thank you.