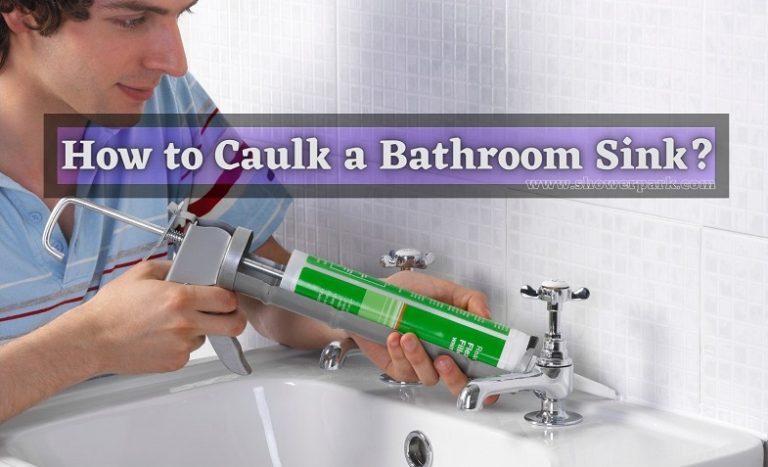
A bathroom sink is an essential part of any bathroom, and keeping it in good condition is important for both functionality and aesthetics. One common issue that homeowners face with their bathroom sink is cracked or deteriorating caulk. If left untreated, this can lead to water damage and mold growth. In this article, we will discuss the top 10 caulking fixes for bathroom sinks to help you maintain a clean and leak-free sink. Introduction


Caulk for Bathroom Sink Repair


When it comes to repairing caulk around your bathroom sink, it's important to use the right type of caulk. Look for a waterproof caulk specifically designed for bathroom use, such as silicone or acrylic caulk. These types of caulk are resistant to water and mold, making them ideal for bathroom sinks. 1. Caulk for Bathroom Sink Repair


Waterproof Caulk for Bathroom Sink

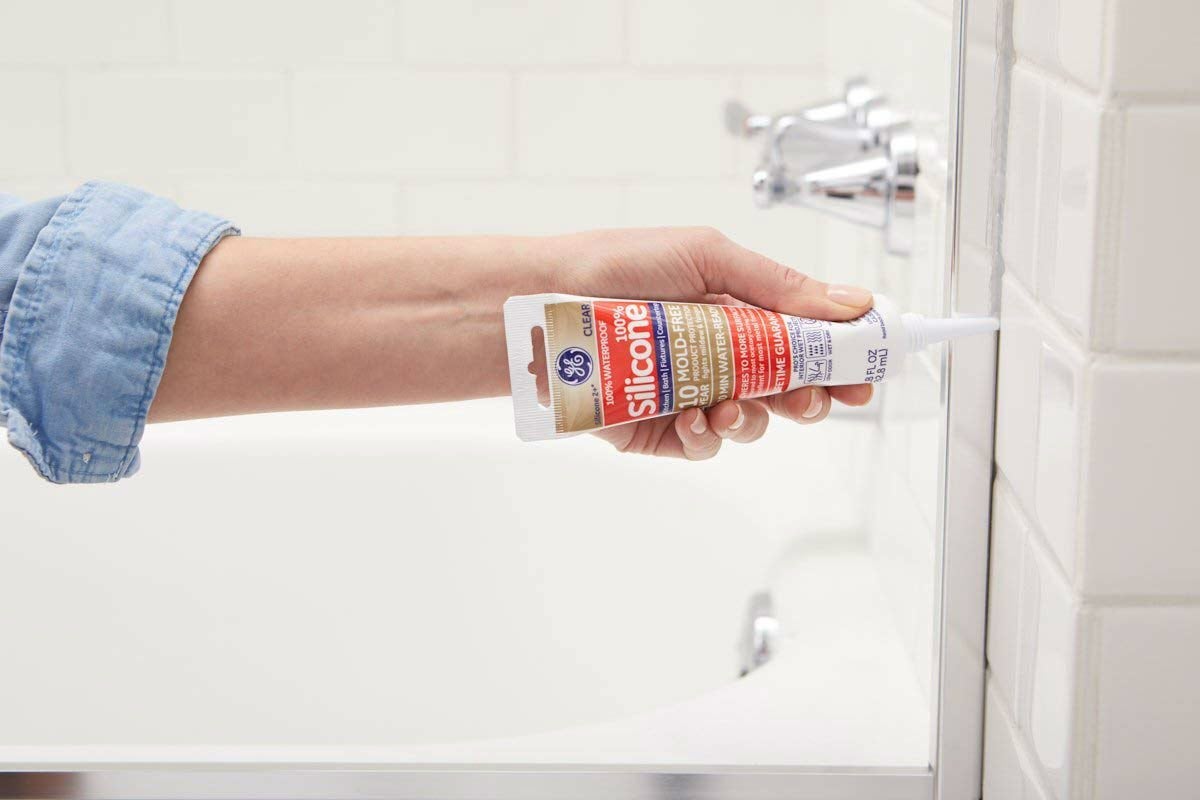

As mentioned, waterproof caulk is essential for bathroom sink repair. Make sure to read the label carefully before purchasing caulk to ensure that it is suitable for bathroom use. Look for caulk that is mildew resistant and can withstand exposure to water. 2. Waterproof Caulk for Bathroom Sink


Bathroom Sink Caulking Tips

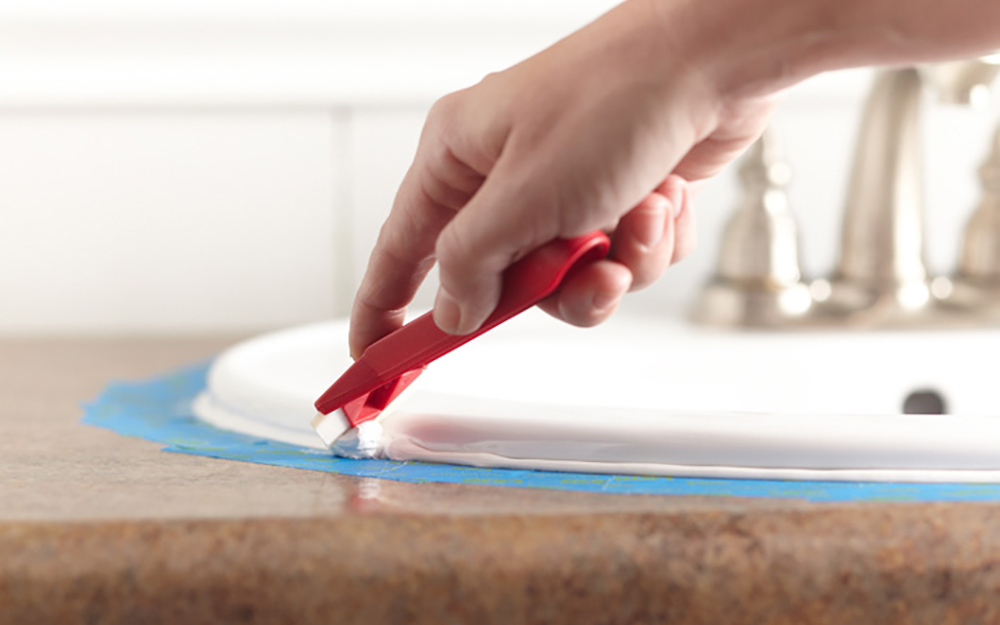

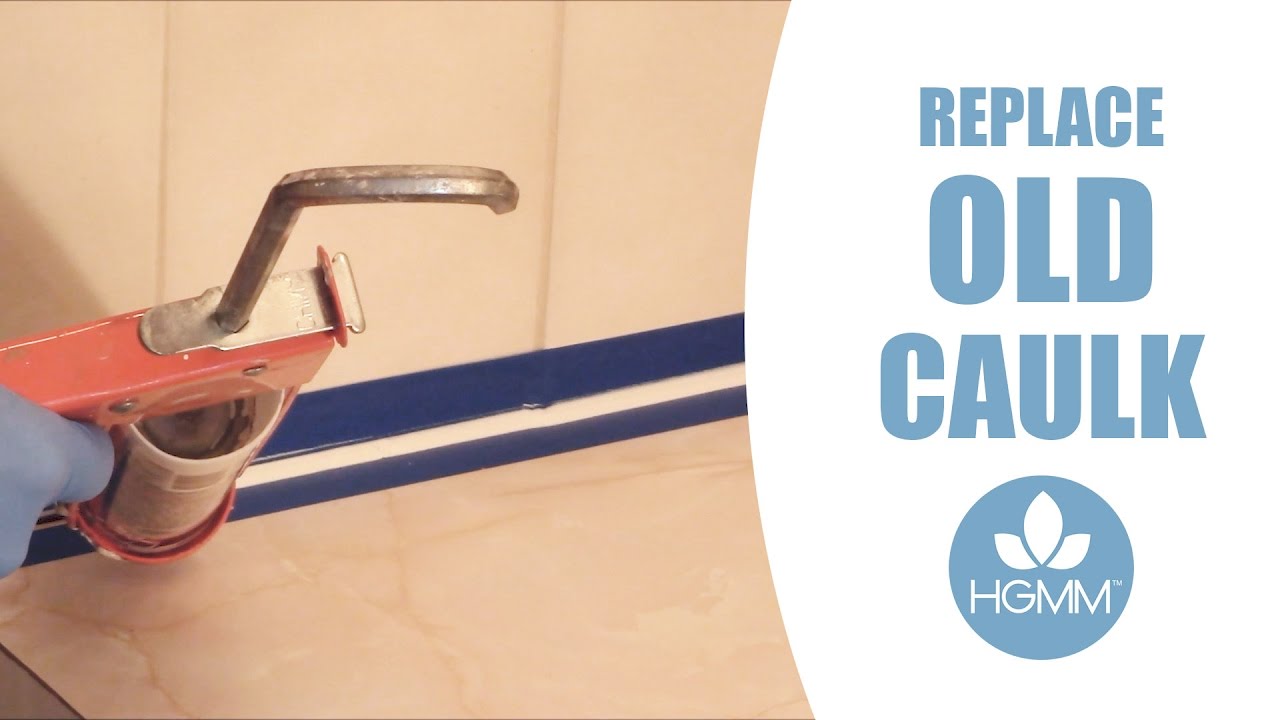
Before applying caulk to your bathroom sink, it's important to properly prepare the surface. This includes removing any old caulk and thoroughly cleaning and drying the area. It's also helpful to use painter's tape to create clean and straight lines around the sink. 3. Bathroom Sink Caulking Tips


Best Caulk for Bathroom Sink


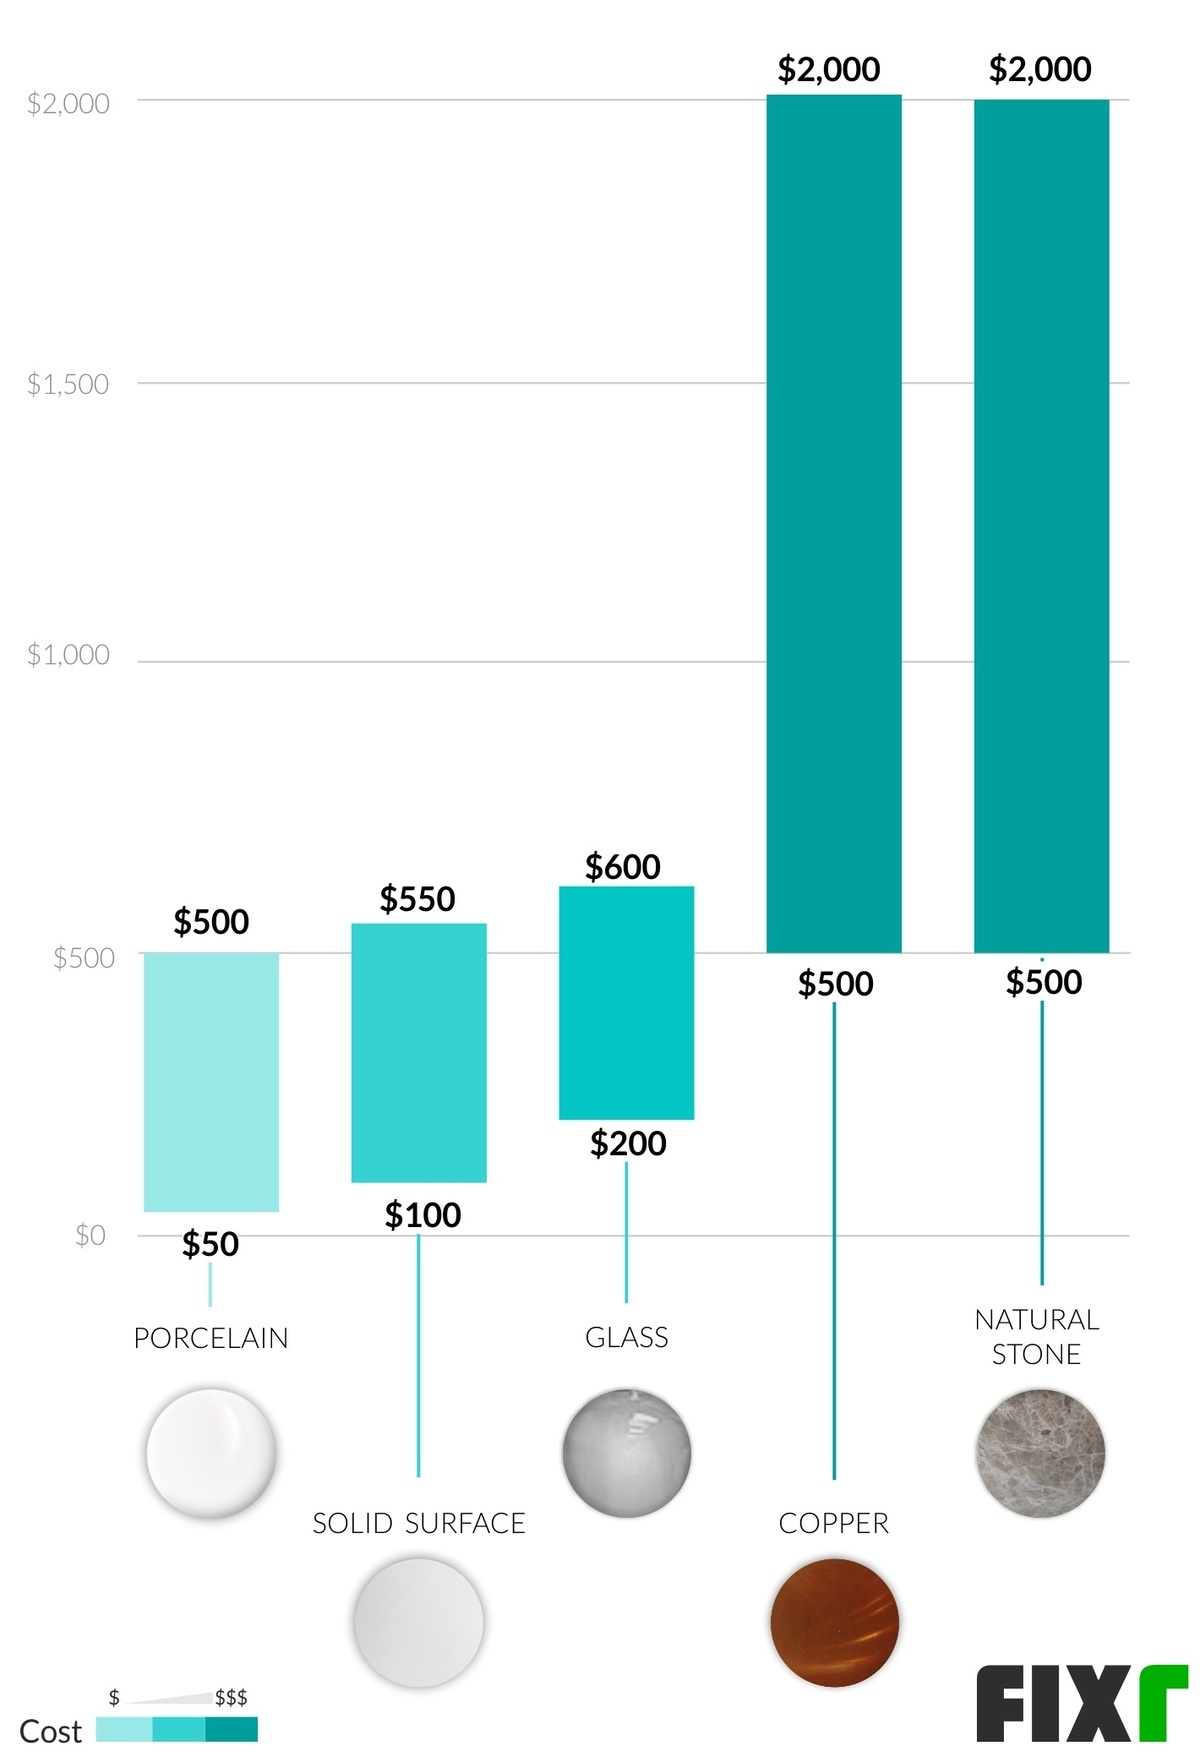
When it comes to choosing the best caulk for your bathroom sink, consider the type of material your sink is made of. For example, if you have a ceramic sink, you may want to use silicone caulk as it adheres well to this type of material. For porcelain sinks, acrylic caulk may be a better option. 4. Best Caulk for Bathroom Sink


How to Fix Bathroom Sink Caulk


.jpg)


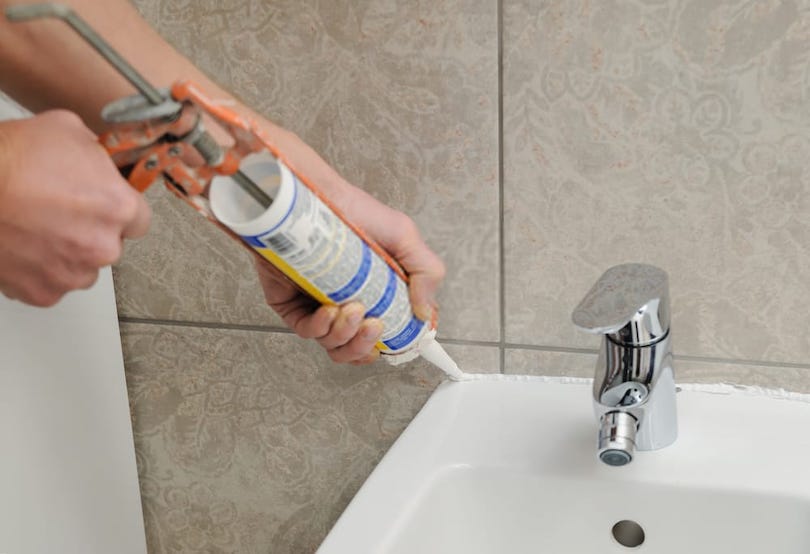
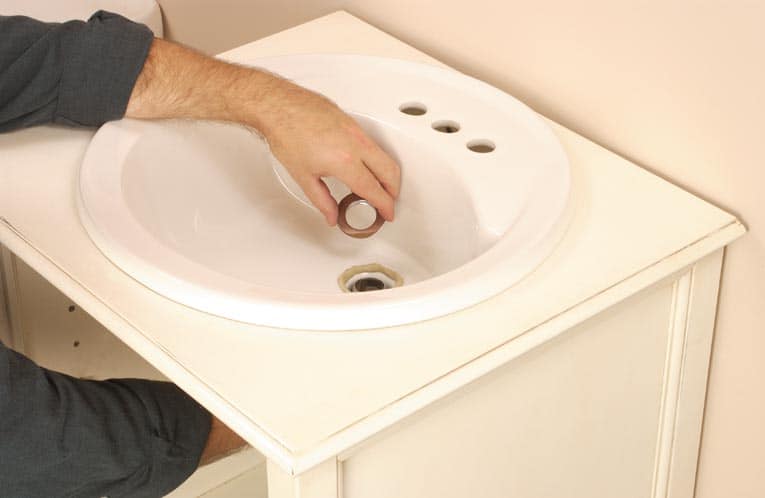
The process of fixing bathroom sink caulk involves removing the old caulk, cleaning and drying the area, and then applying the new caulk. It's important to use a caulk gun for precise application and to smooth out the caulk with a caulk tool or your finger for an even finish. Let the caulk dry completely before using the sink. 5. How to Fix Bathroom Sink Caulk


Caulking a Bathroom Sink


Caulking a bathroom sink can be a DIY project for those with some experience. However, if you are unsure or uncomfortable with the process, it's best to hire a professional. Improperly applied caulk can lead to leaks and water damage, which can be costly to repair. 6. Caulking a Bathroom Sink
Bathroom Sink Caulk Removal


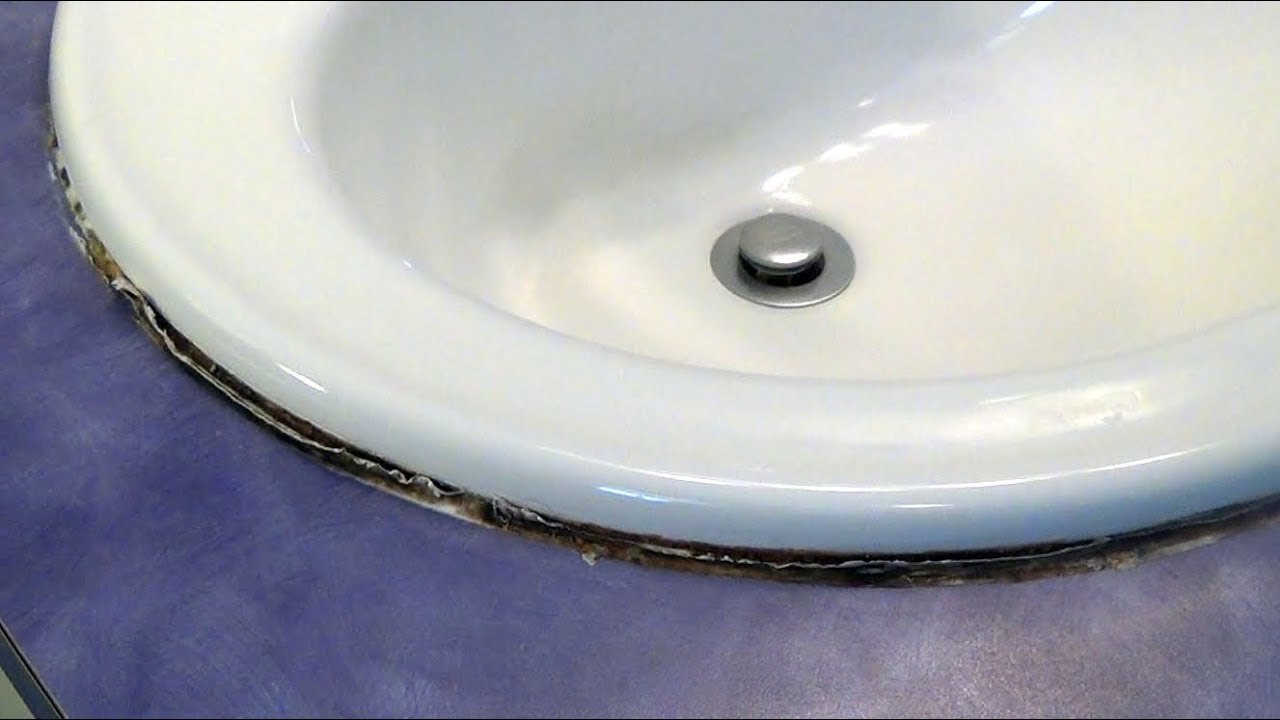
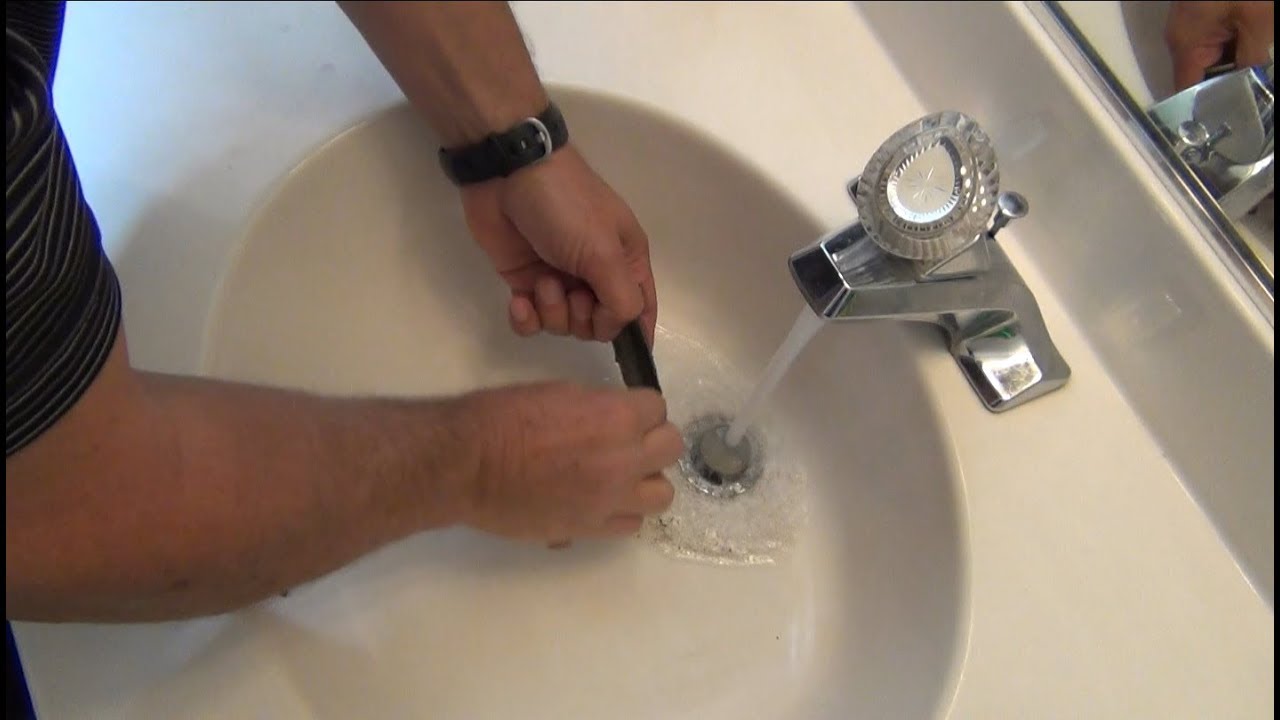
If you have old, cracked, or moldy caulk around your bathroom sink, it's important to remove it before applying new caulk. There are several tools and products available for caulk removal, such as a caulk remover tool or a chemical caulk remover. Follow the instructions carefully for best results. 7. Bathroom Sink Caulk Removal


Caulking Around Bathroom Sink


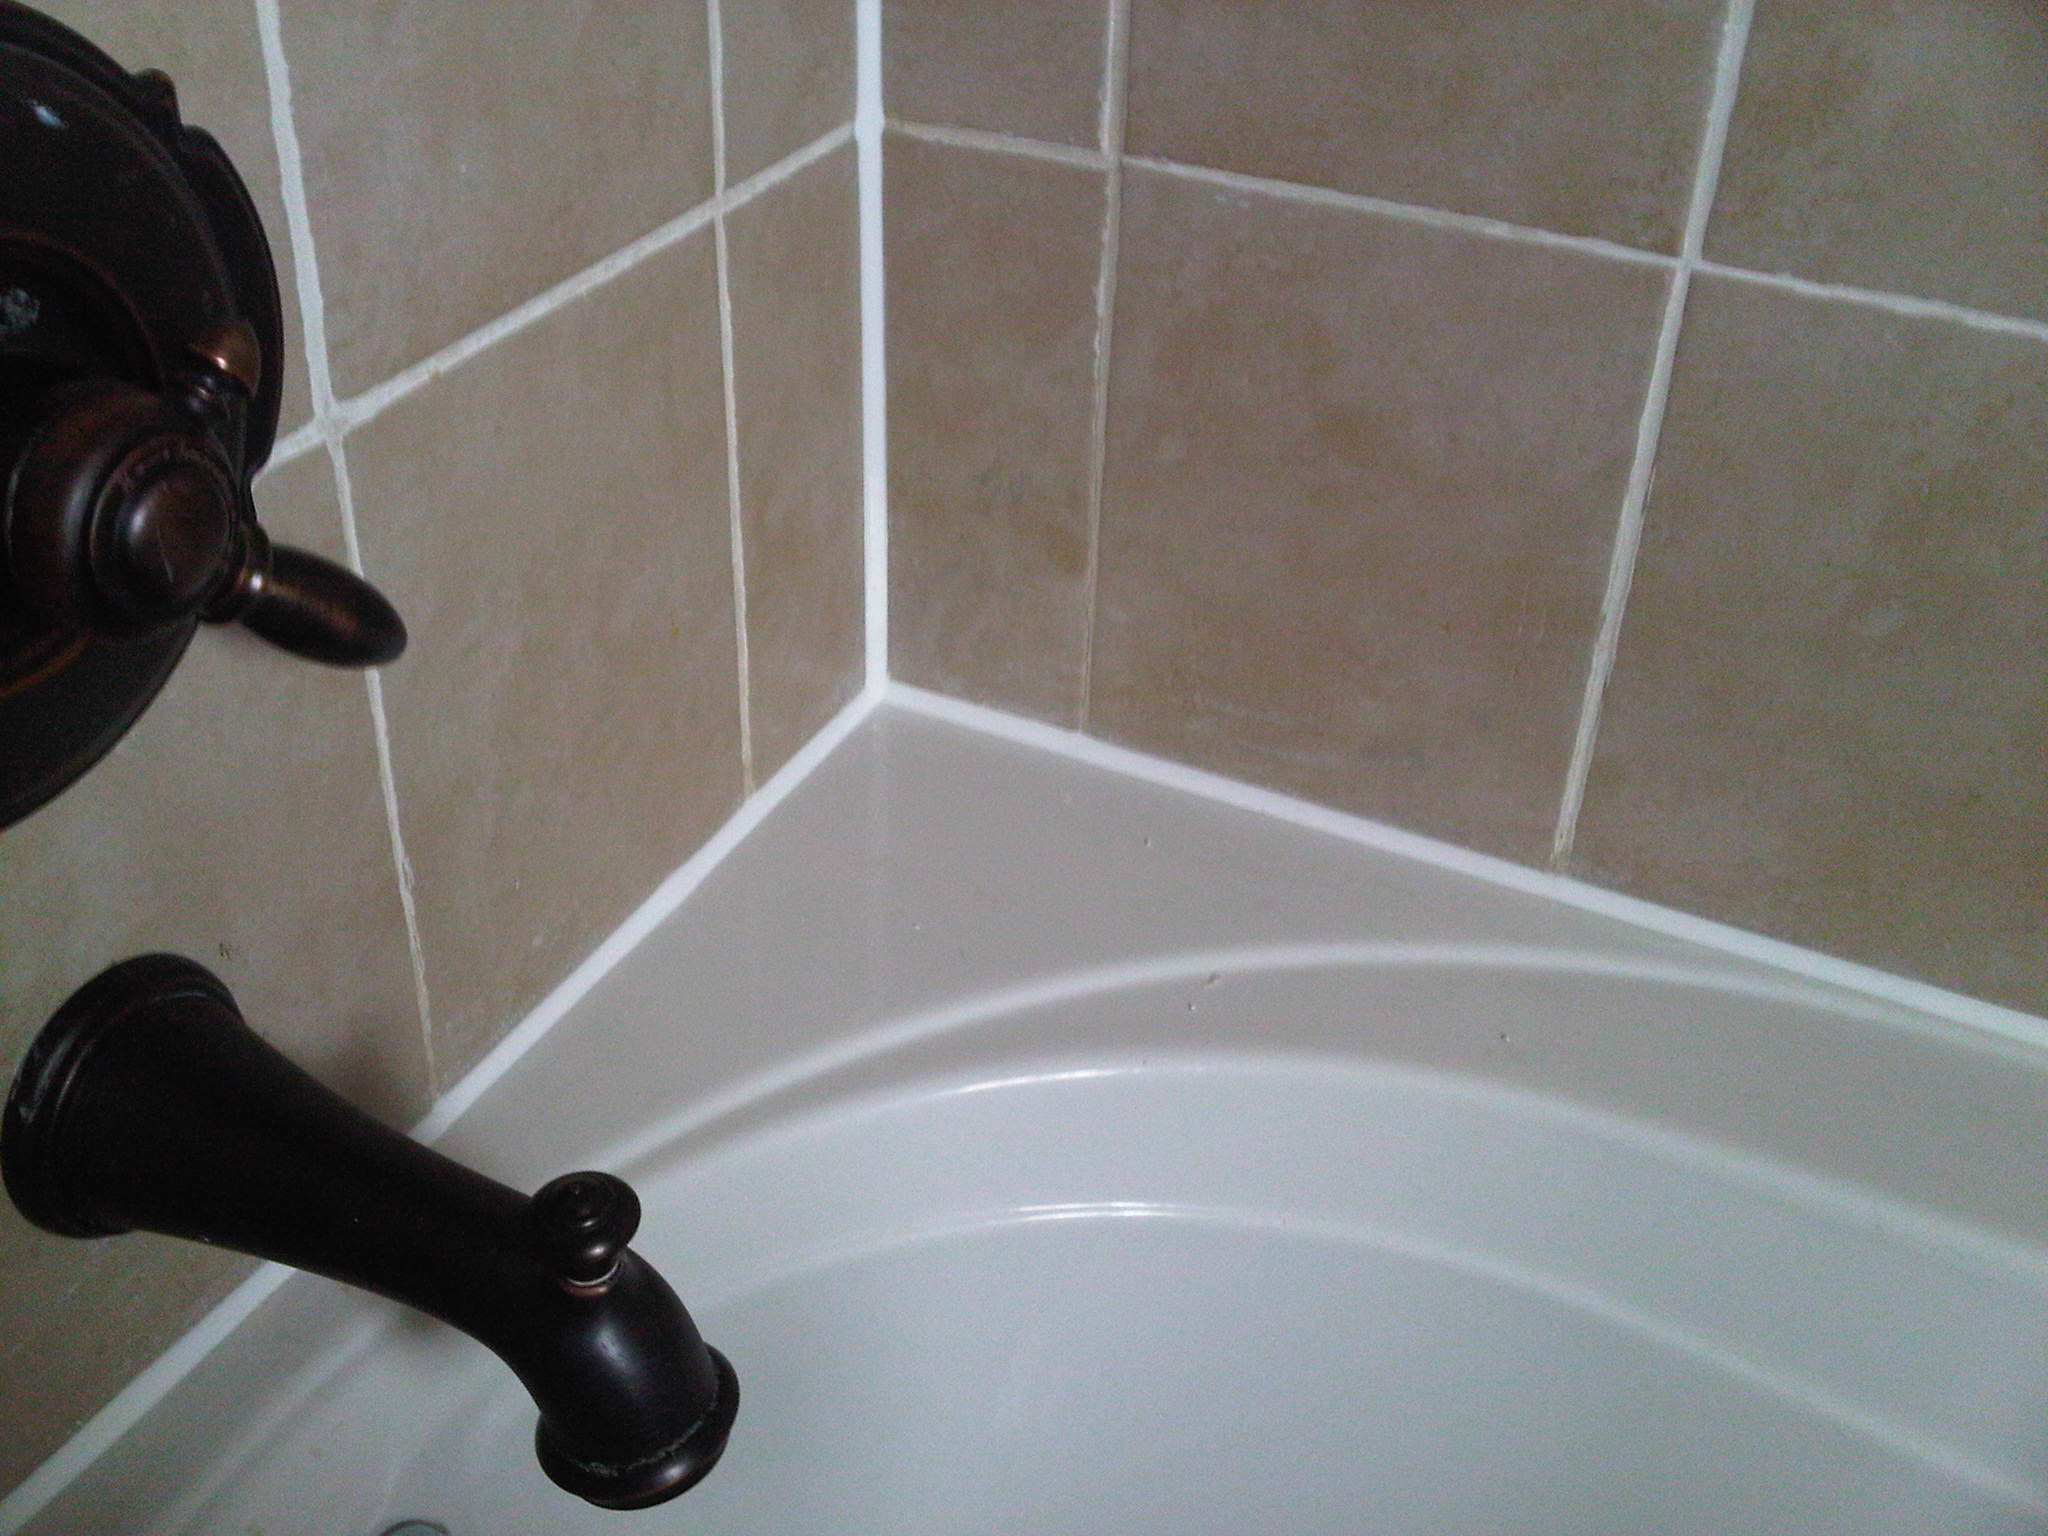
When applying caulk around your bathroom sink, it's important to create a continuous, even line. This will help prevent water from seeping through and causing damage. Use a damp cloth to smooth out the caulk and remove any excess for a professional-looking finish. 8. Caulking Around Bathroom Sink
Bathroom Sink Caulk Repair
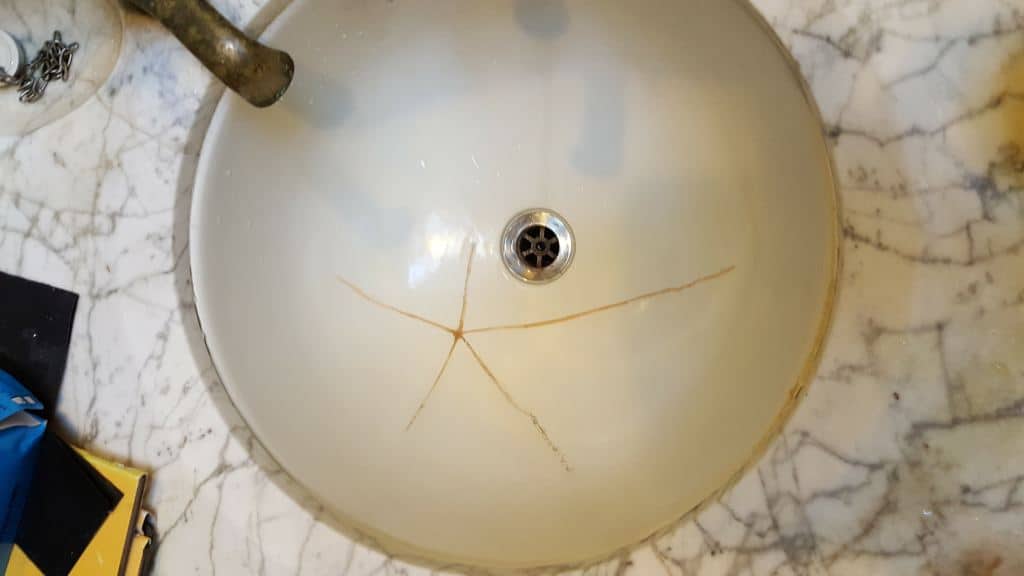

If you have noticed that the caulk around your bathroom sink is cracked or deteriorating, it's important to repair it as soon as possible. This will help prevent further damage and potential mold growth. Regularly inspecting and maintaining the caulk around your sink can save you time and money in the long run. 9. Bathroom Sink Caulk Repair

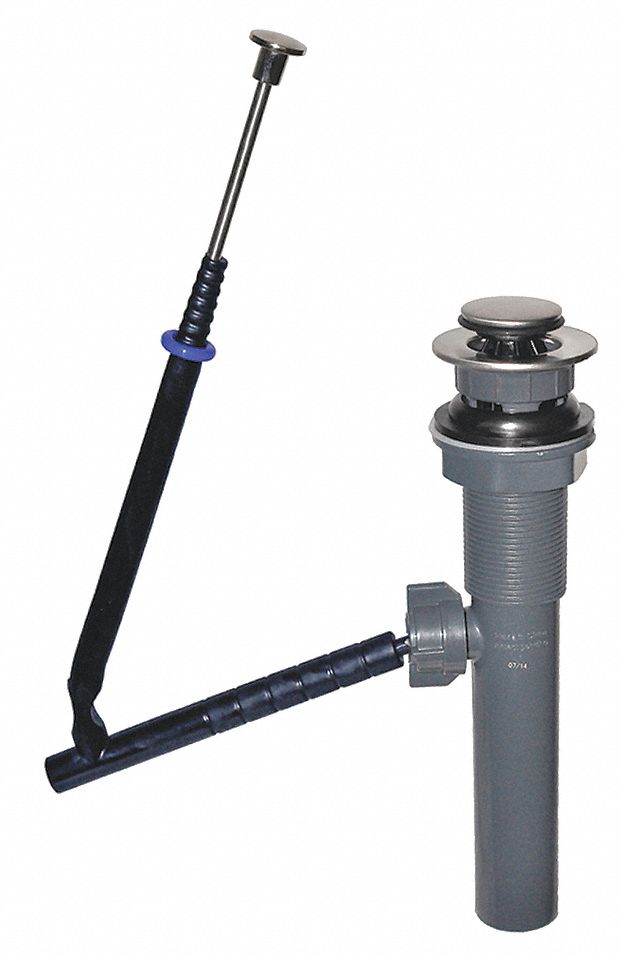
Caulking Bathroom Sink Drain
The Importance of Properly Caulking Your Bathroom Sink

Preventing Water Damage
 Properly caulking your bathroom sink is an essential step in maintaining a functional and visually appealing bathroom. Not only does it provide a clean and finished look, but it also serves as a barrier to prevent water from seeping into crevices and causing damage to the structure of your home.
Water damage is a common problem in bathrooms, especially around sinks, and can lead to mold growth and rotting wood if left untreated.
By taking the time to properly caulk your bathroom sink, you can prevent these issues and save yourself from costly repairs in the future.
Properly caulking your bathroom sink is an essential step in maintaining a functional and visually appealing bathroom. Not only does it provide a clean and finished look, but it also serves as a barrier to prevent water from seeping into crevices and causing damage to the structure of your home.
Water damage is a common problem in bathrooms, especially around sinks, and can lead to mold growth and rotting wood if left untreated.
By taking the time to properly caulk your bathroom sink, you can prevent these issues and save yourself from costly repairs in the future.
Ensuring a Tight Seal
 A tight seal around your bathroom sink is crucial to prevent water from leaking into the surrounding areas.
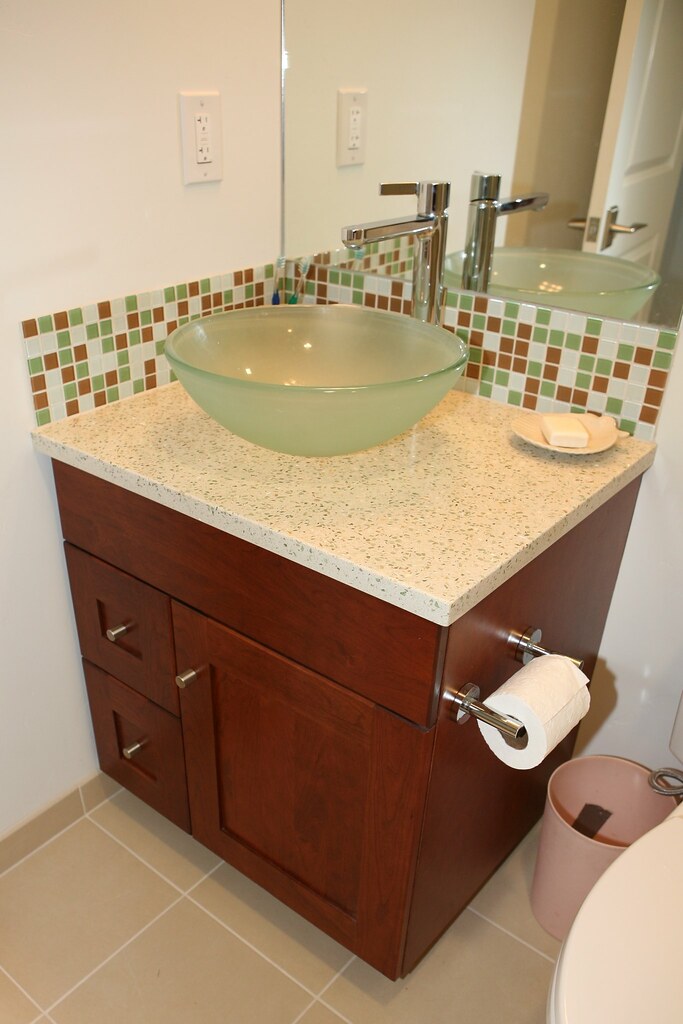
Caulking your sink not only helps to keep the water in the sink, but it also keeps it from seeping into the countertop and cabinets below, which can cause damage and create an unsanitary environment.
Without a proper seal, water can also seep into the walls and floor, causing even more extensive damage. By regularly caulking your bathroom sink, you can ensure that the area remains water-tight and prevent any potential damage.
A tight seal around your bathroom sink is crucial to prevent water from leaking into the surrounding areas.
Caulking your sink not only helps to keep the water in the sink, but it also keeps it from seeping into the countertop and cabinets below, which can cause damage and create an unsanitary environment.
Without a proper seal, water can also seep into the walls and floor, causing even more extensive damage. By regularly caulking your bathroom sink, you can ensure that the area remains water-tight and prevent any potential damage.
Improving Aesthetics
 In addition to its functional purposes, caulking your bathroom sink can also significantly improve the overall appearance of your bathroom.
Cracked, peeling, or discolored caulk can make your bathroom look unkempt and uninviting.
By regularly re-caulking your sink, you can maintain a clean and polished look in your bathroom. You can also choose from a variety of caulk colors to match your sink and bathroom decor, further enhancing the aesthetic appeal of the space.
In addition to its functional purposes, caulking your bathroom sink can also significantly improve the overall appearance of your bathroom.
Cracked, peeling, or discolored caulk can make your bathroom look unkempt and uninviting.
By regularly re-caulking your sink, you can maintain a clean and polished look in your bathroom. You can also choose from a variety of caulk colors to match your sink and bathroom decor, further enhancing the aesthetic appeal of the space.
How to Properly Caulk Your Bathroom Sink
 To properly caulk your bathroom sink, you will need a caulk gun, caulk, a utility knife, and a damp cloth.
Start by removing any old caulk using the utility knife and thoroughly cleaning the area with the damp cloth to ensure a smooth and clean surface.
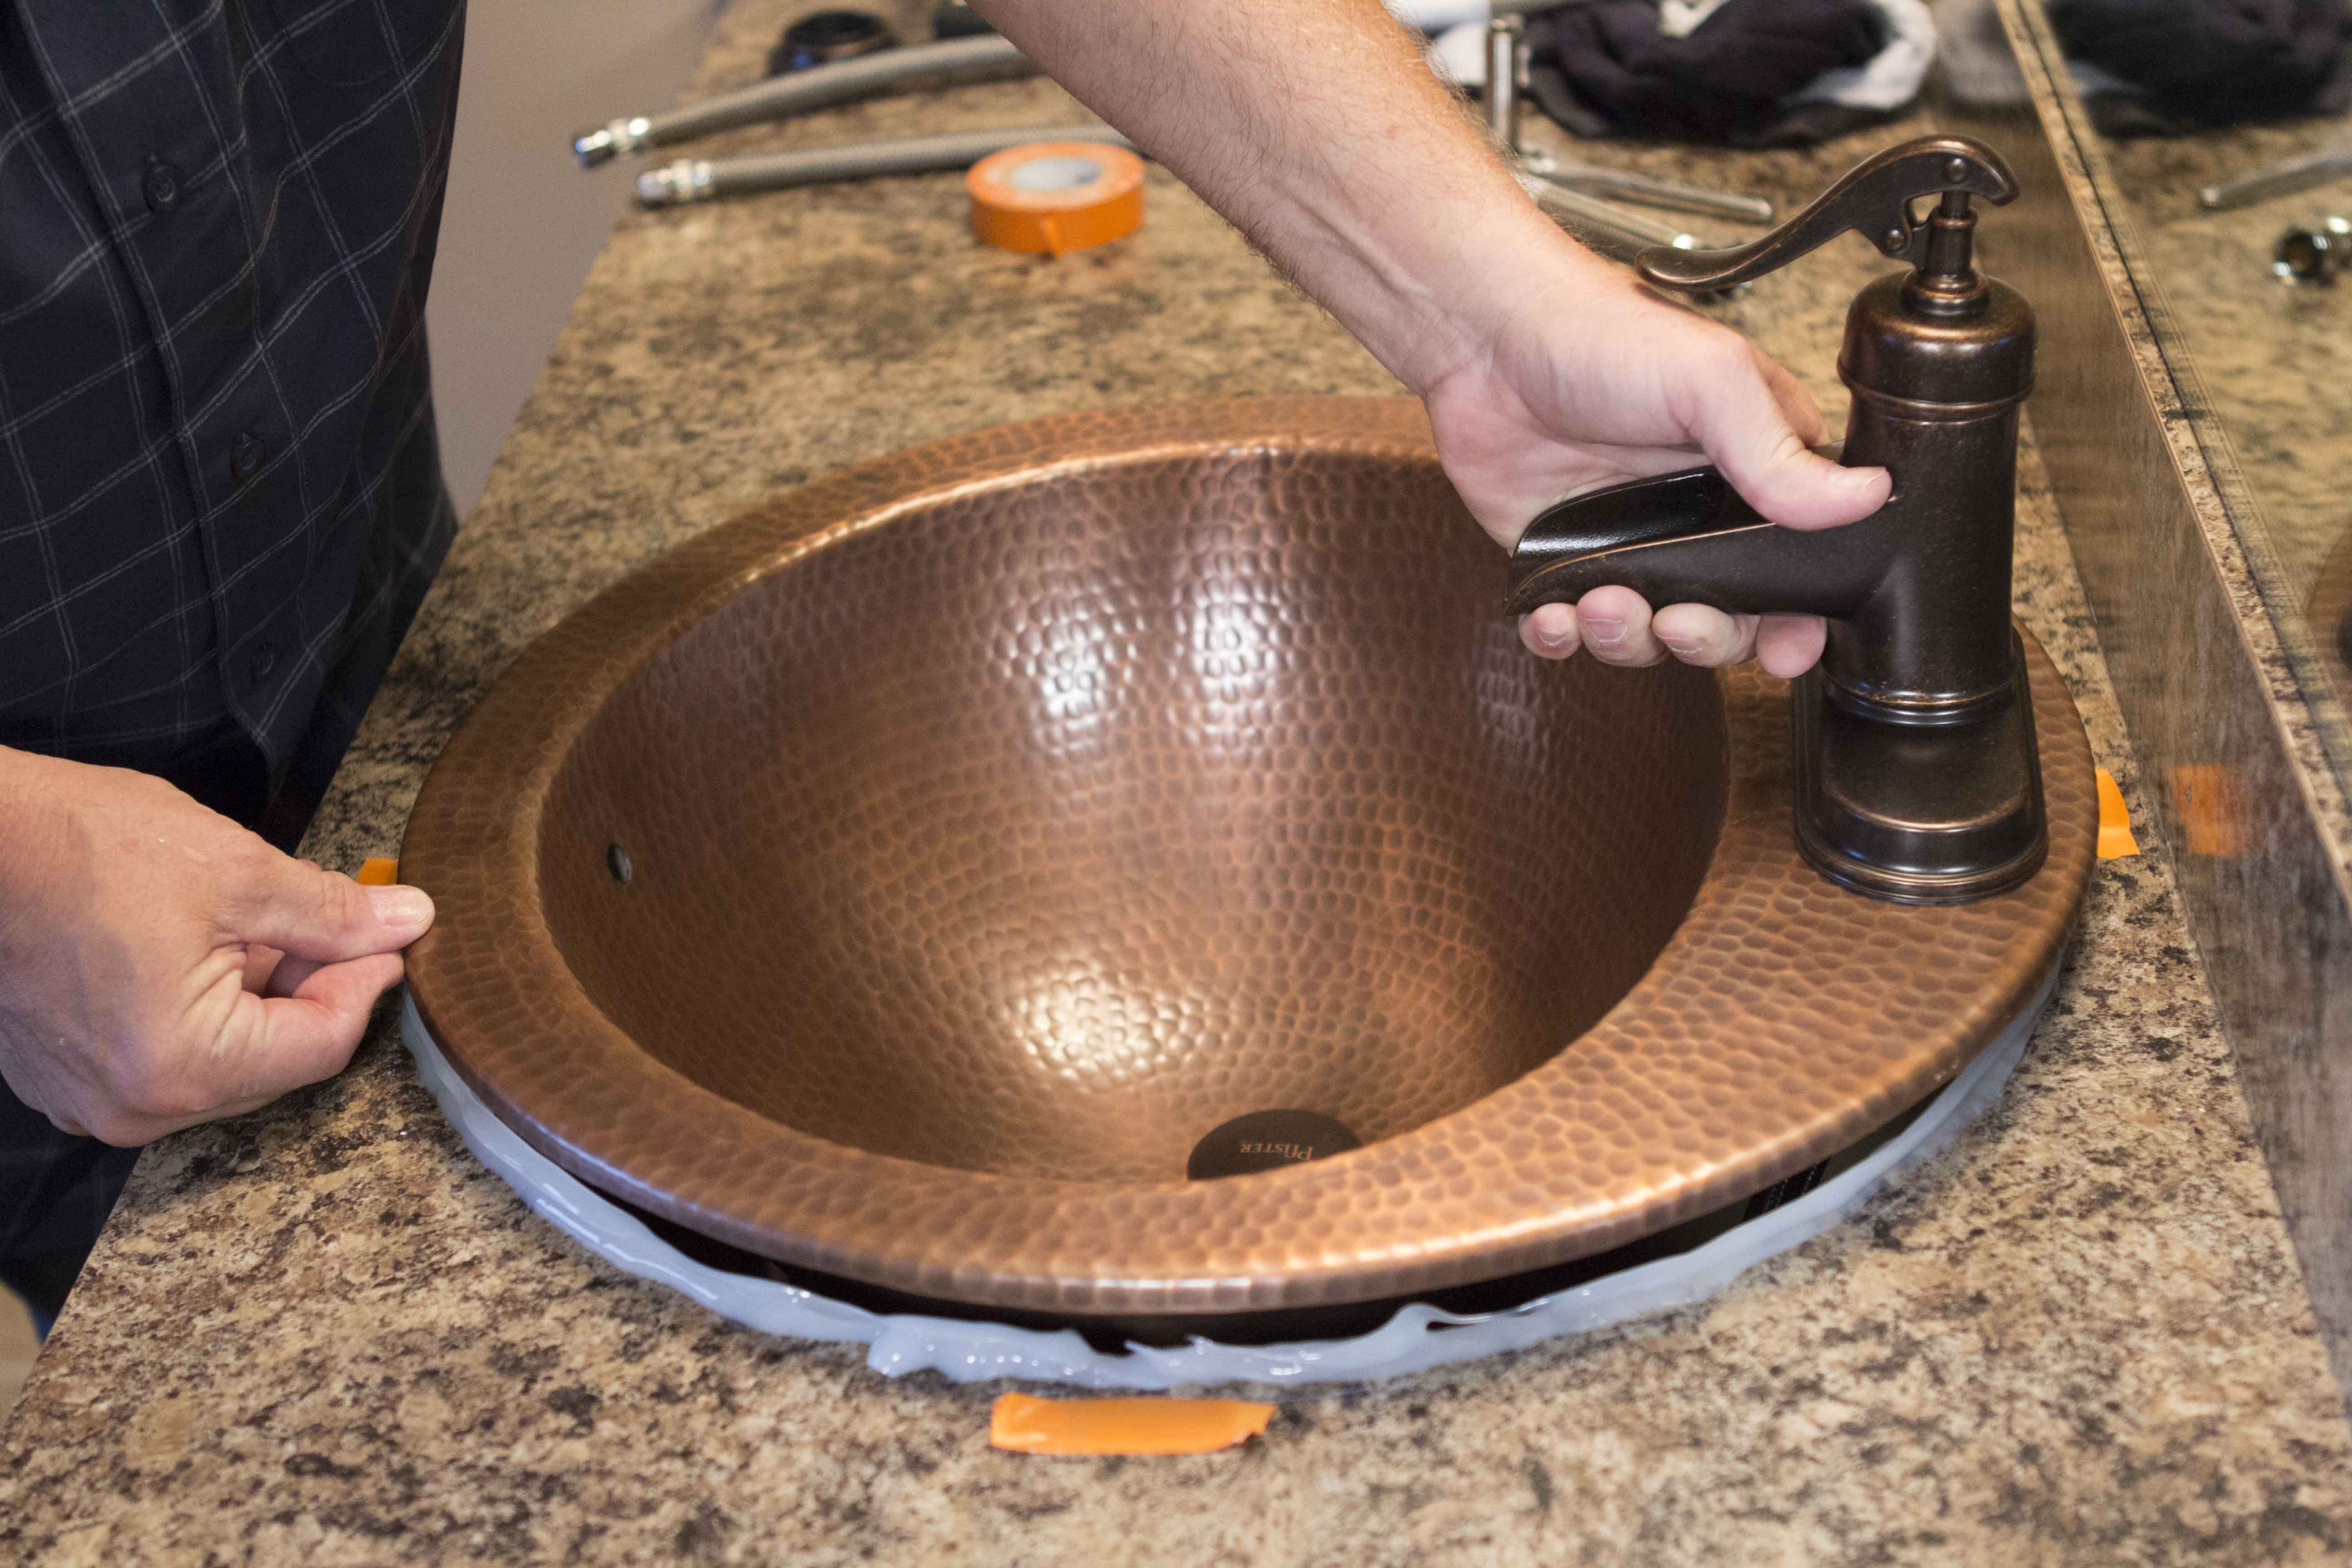
Next, load the caulk into the caulk gun and apply a thin and even bead of caulk along the seam where the sink meets the countertop. Use a damp finger or a caulk smoothing tool to smooth out the caulk and remove any excess. Finally, allow the caulk to dry completely before using the sink.
In conclusion,
properly caulking your bathroom sink is essential for preventing water damage, ensuring a tight seal, and improving the overall appearance of your bathroom.
By following these simple steps and regularly maintaining your sink's caulk, you can save yourself from potential damage and keep your bathroom looking clean and beautiful. So next time you notice cracks or gaps around your bathroom sink, don't hesitate to grab your caulk gun and give it a quick touch-up. Your bathroom (and your wallet) will thank you.
To properly caulk your bathroom sink, you will need a caulk gun, caulk, a utility knife, and a damp cloth.
Start by removing any old caulk using the utility knife and thoroughly cleaning the area with the damp cloth to ensure a smooth and clean surface.
Next, load the caulk into the caulk gun and apply a thin and even bead of caulk along the seam where the sink meets the countertop. Use a damp finger or a caulk smoothing tool to smooth out the caulk and remove any excess. Finally, allow the caulk to dry completely before using the sink.
In conclusion,
properly caulking your bathroom sink is essential for preventing water damage, ensuring a tight seal, and improving the overall appearance of your bathroom.
By following these simple steps and regularly maintaining your sink's caulk, you can save yourself from potential damage and keep your bathroom looking clean and beautiful. So next time you notice cracks or gaps around your bathroom sink, don't hesitate to grab your caulk gun and give it a quick touch-up. Your bathroom (and your wallet) will thank you.
:max_bytes(150000):strip_icc()/bathroom-sink-drain-installation-2718843-02-61e5ecbee1e949be8d8f45ac4f5a6797.jpg)