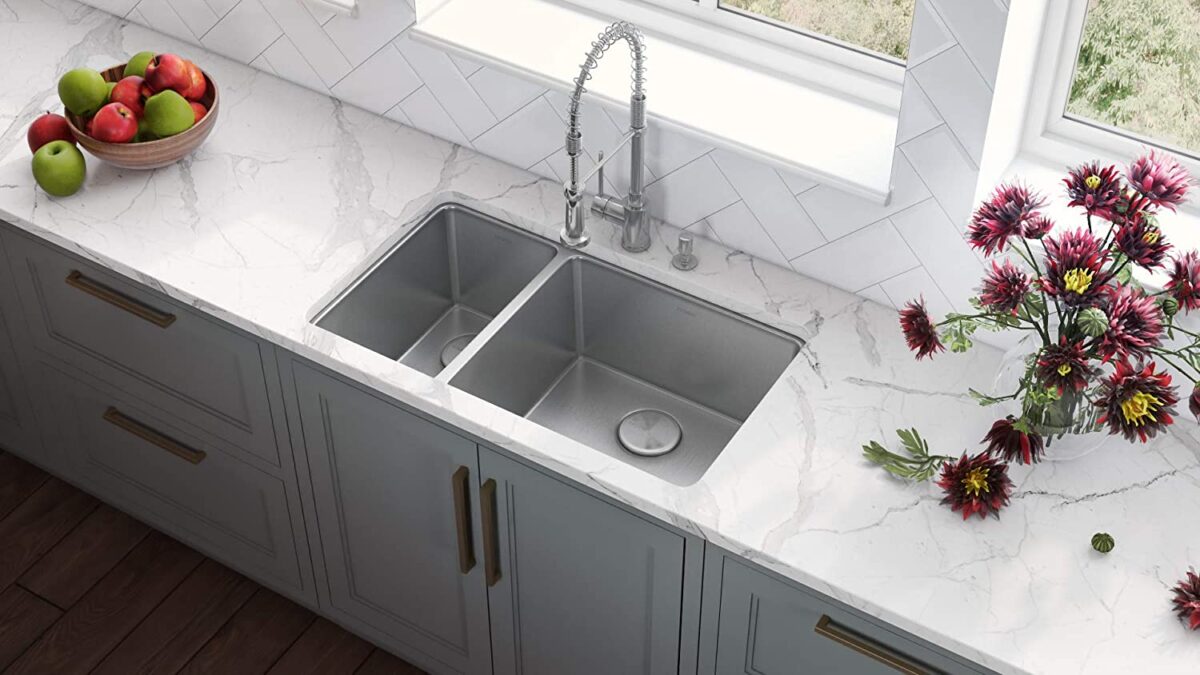
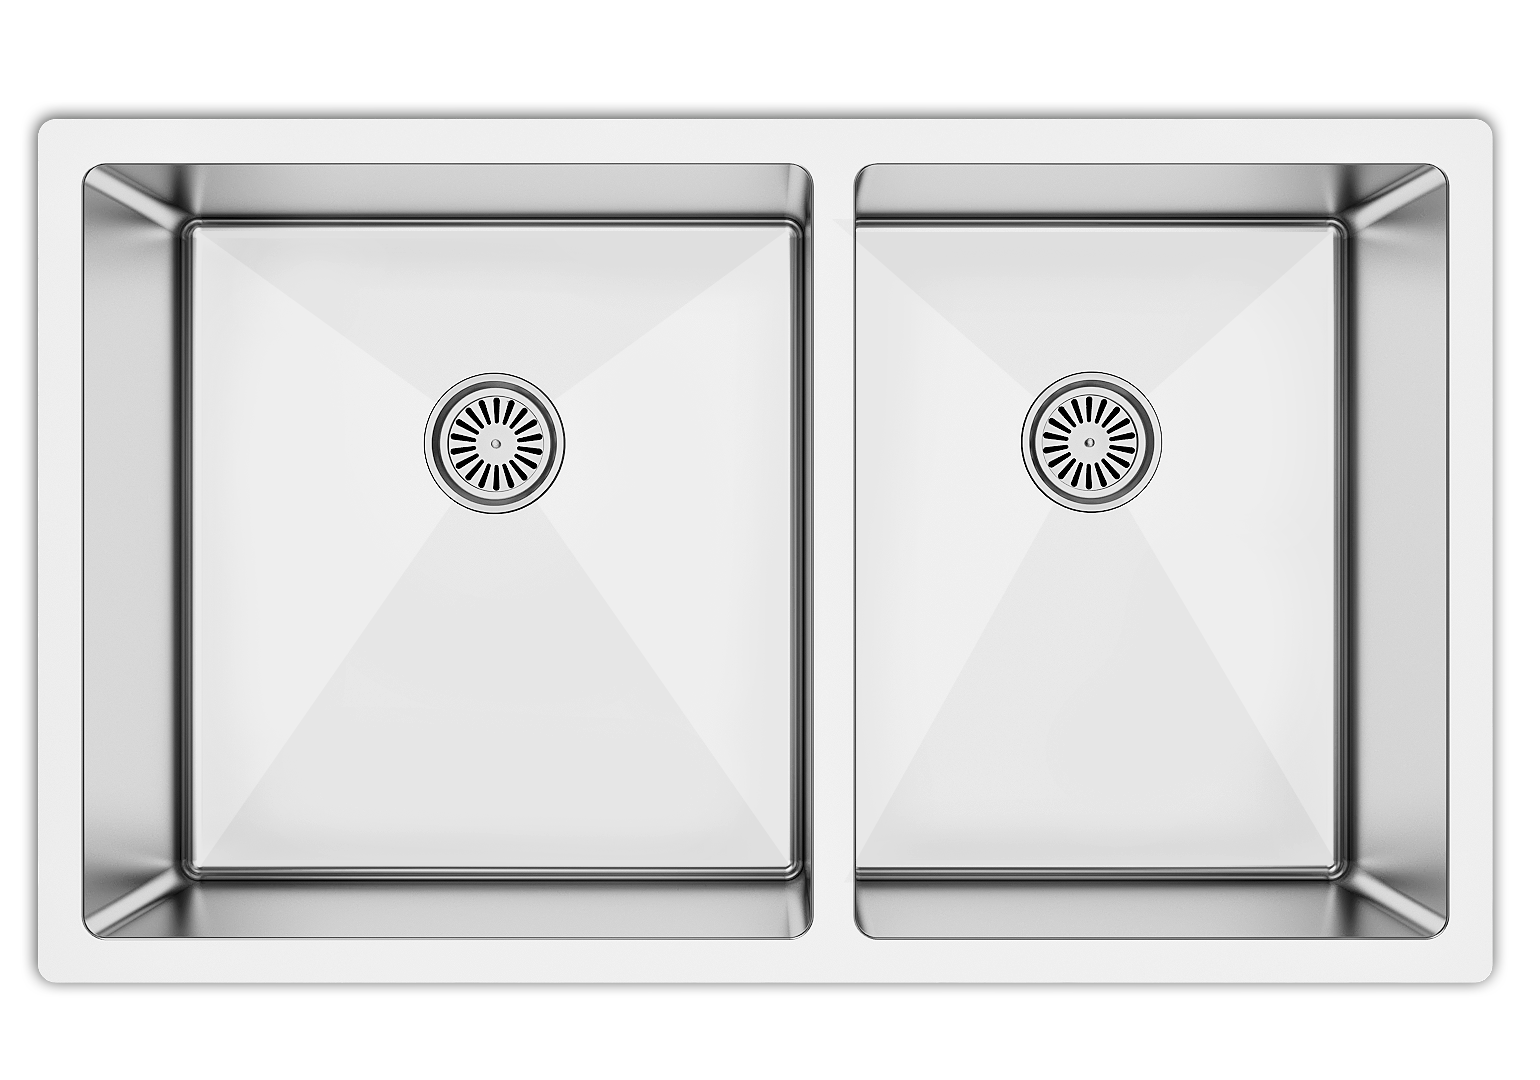
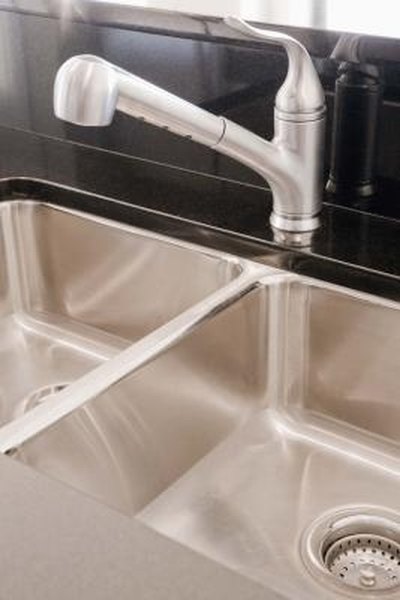
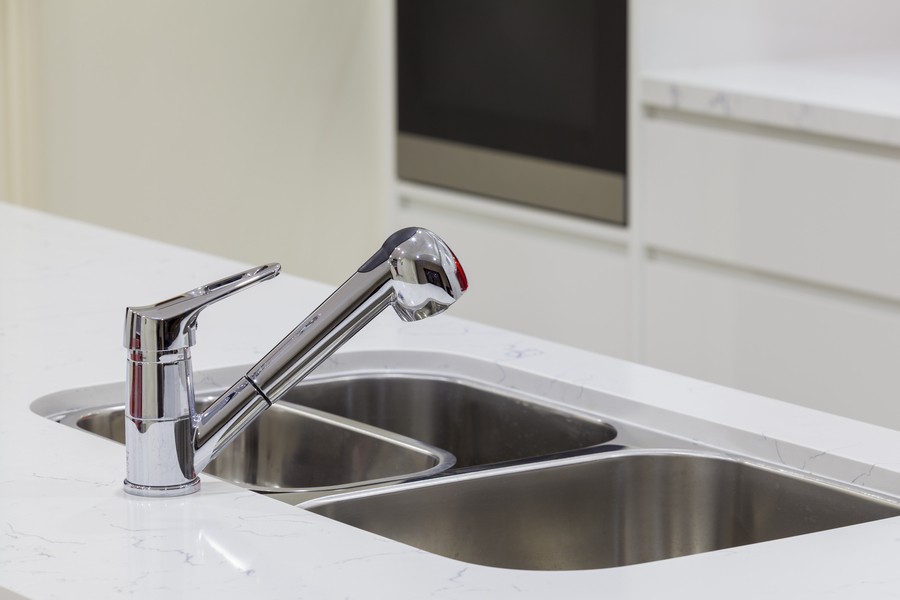
Caulking an undermount kitchen sink is an important step in the installation process to ensure a watertight seal and prevent any water damage. It may seem like a daunting task, but with the right tools and techniques, you can easily caulk your undermount sink like a pro. In this article, we will discuss the top 10 tips for caulking an undermount kitchen sink.How to Caulk an Undermount Kitchen Sink


How to Caulk an Undermount Kitchen Sink


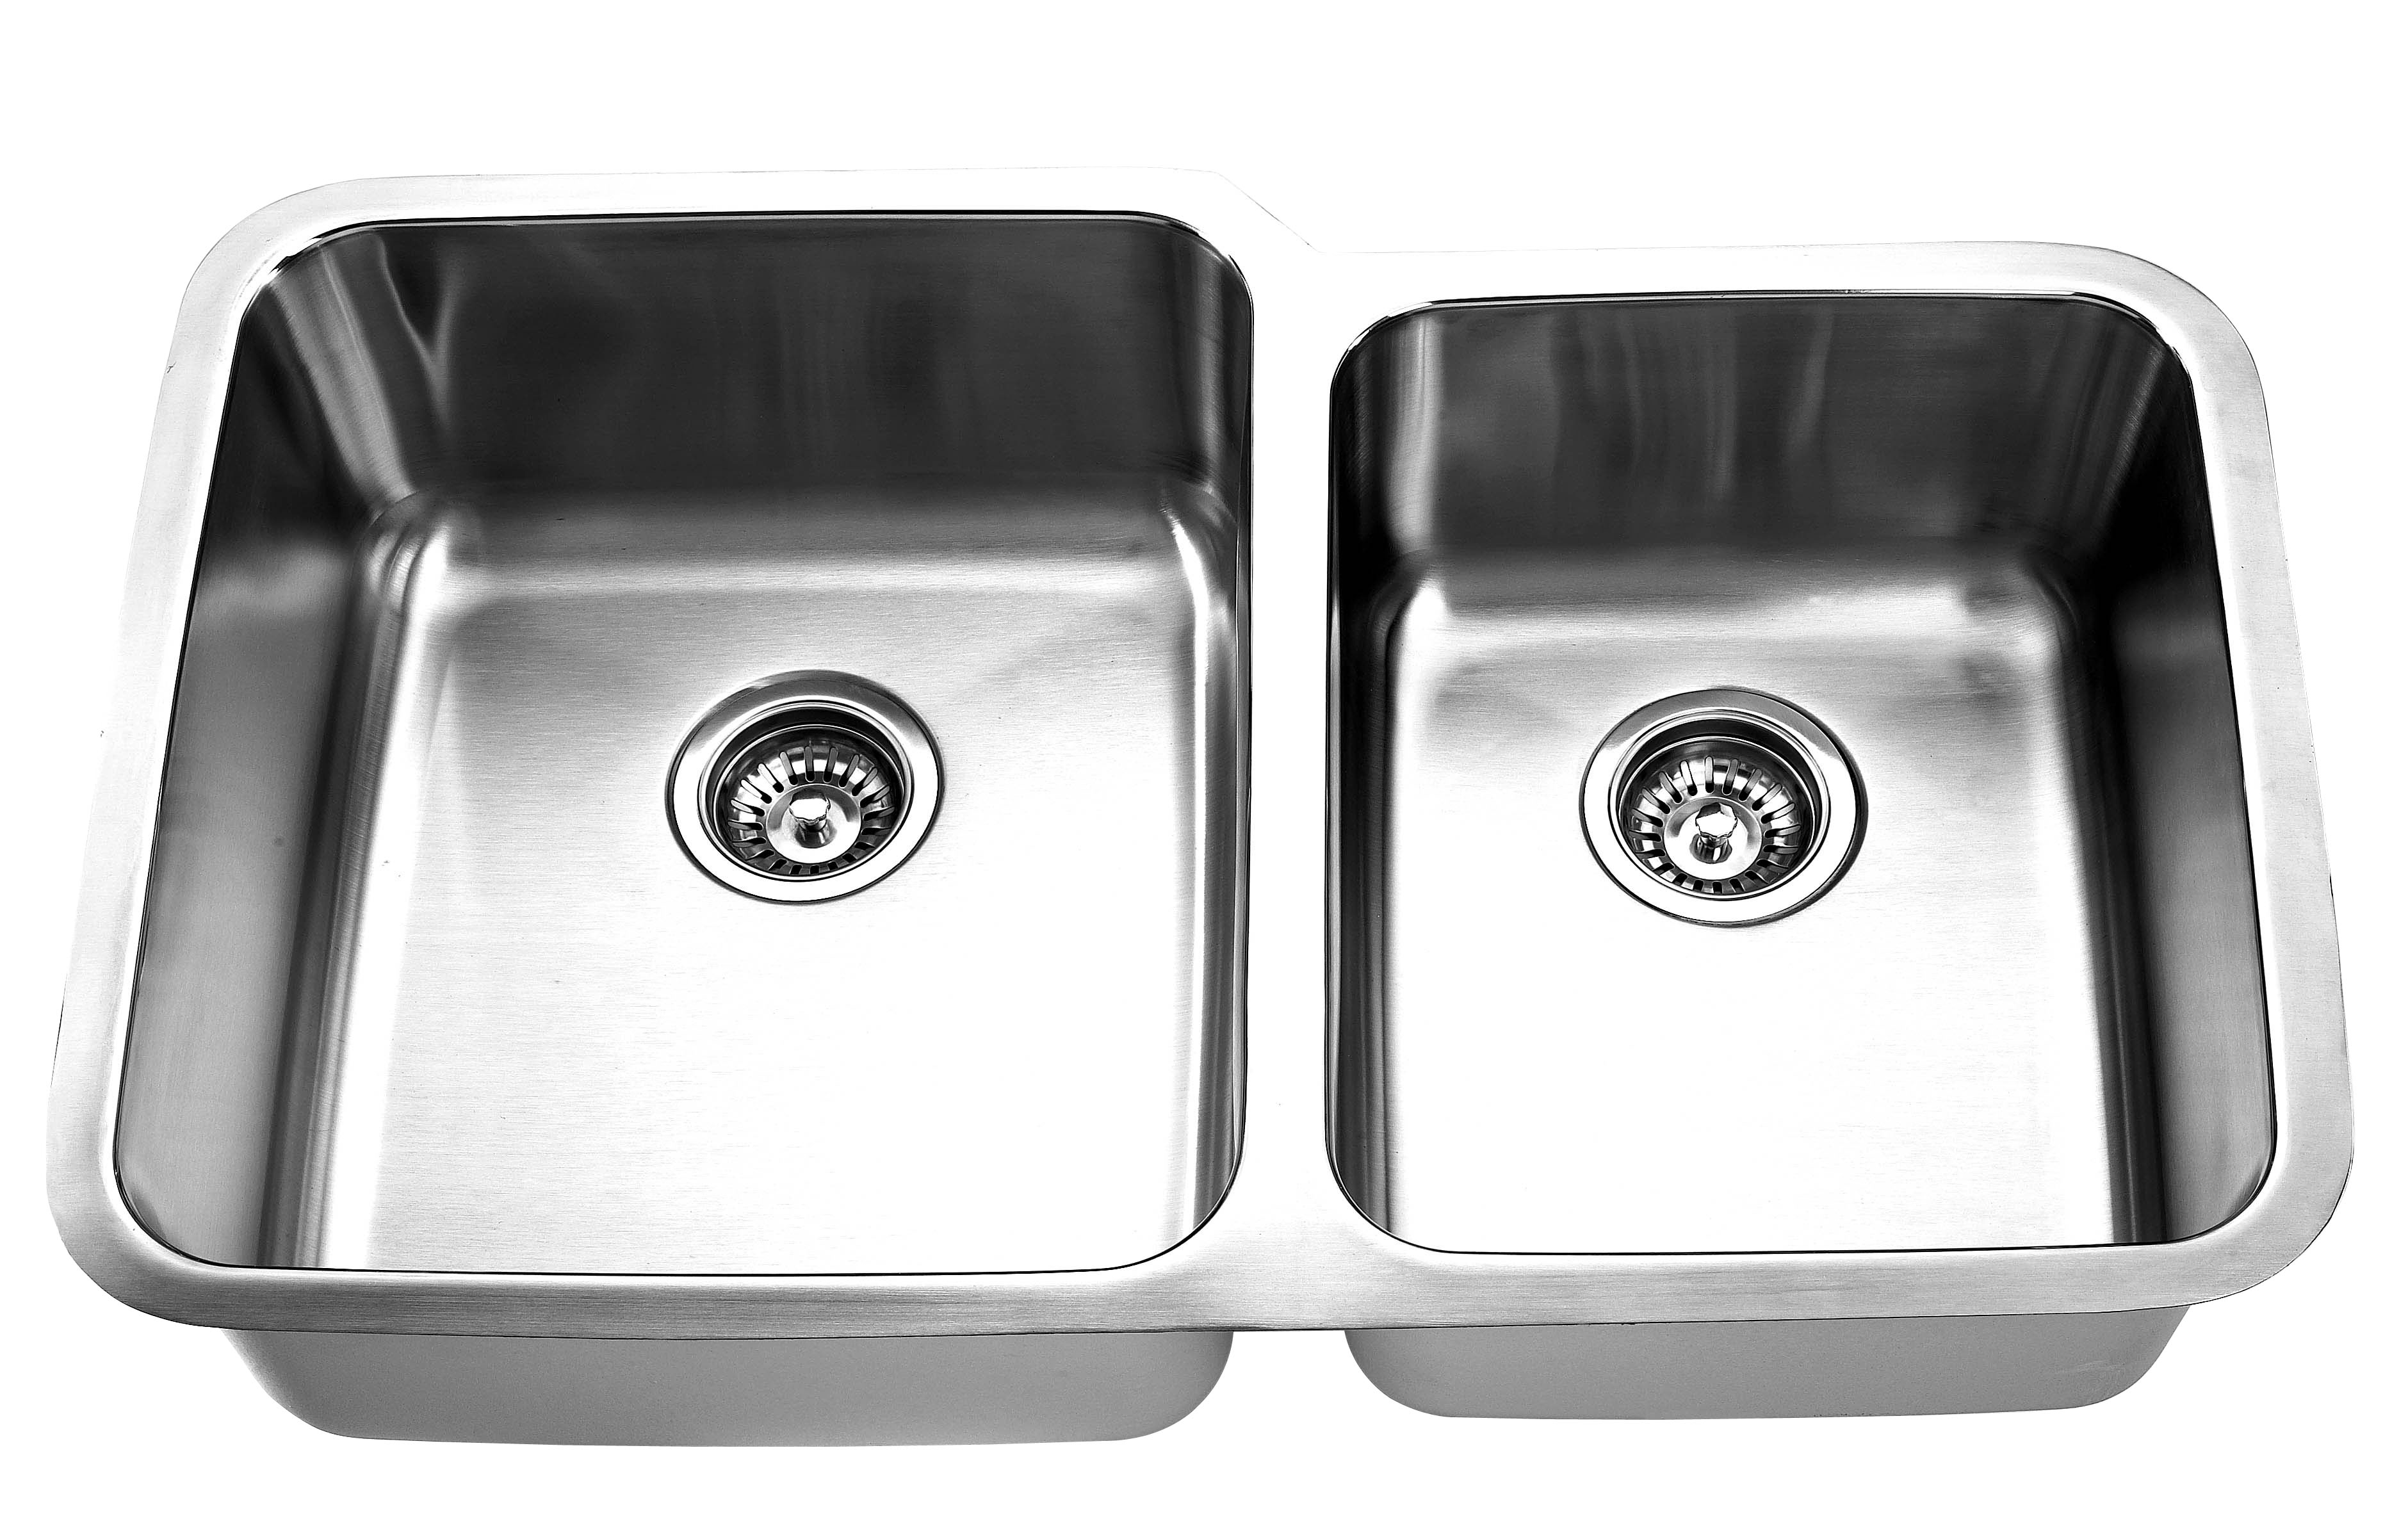
The first step to caulking an undermount sink is to clean the area around the sink thoroughly. Use a mild soap and warm water to remove any dirt, debris, or old caulk. Allow the area to dry completely before proceeding with the next step. This will ensure that the caulk adheres properly to the surface.How to Caulk an Undermount Sink


How to Caulk an Undermount Sink


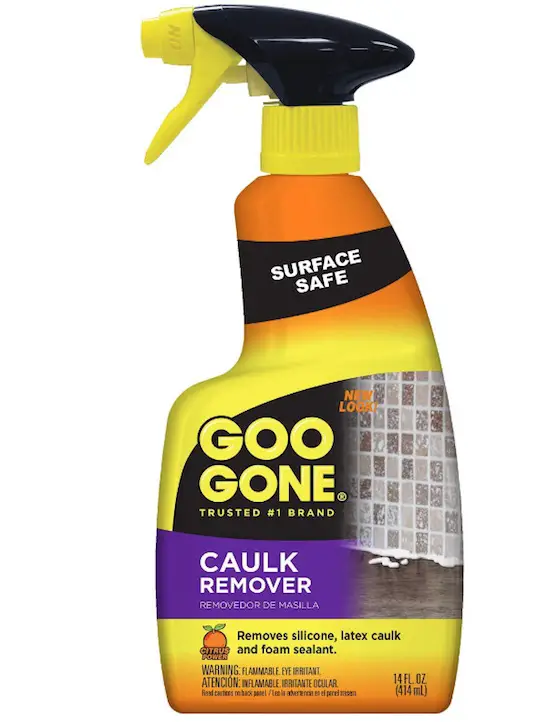
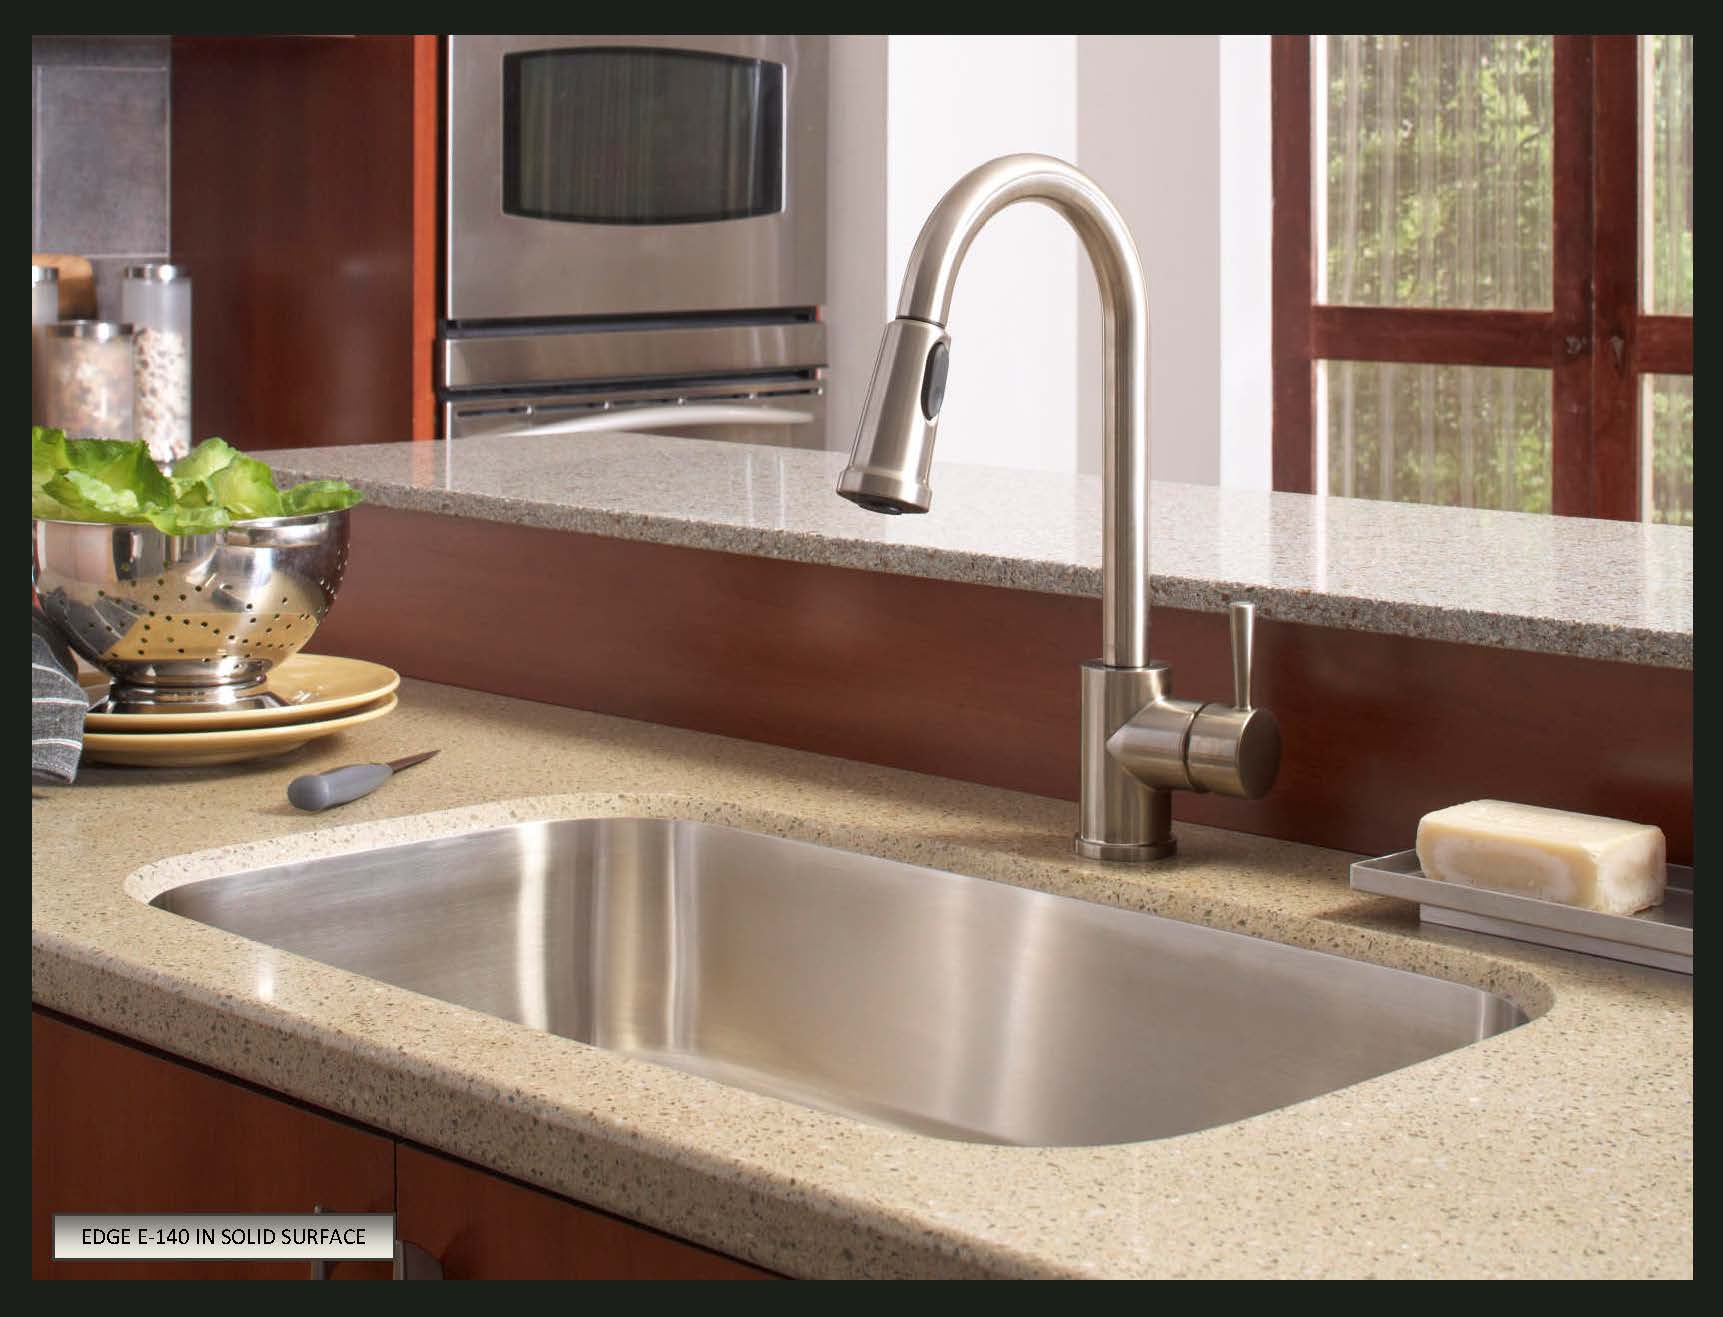
When it comes to choosing the right caulk for your undermount sink, it is important to select a waterproof and mold-resistant formula. Silicone caulk is a popular choice for undermount sinks as it is flexible and provides a strong seal. It is also important to choose a caulk color that matches your sink and countertop for a seamless look.Undermount Kitchen Sink Caulking Tips


Undermount Kitchen Sink Caulking Tips


Before applying the caulk, make sure to protect your sink and countertop by covering them with painter's tape. This will prevent any accidental caulk smudges and make it easier to create a clean caulking line. You can also apply petroleum jelly along the edges of the sink to make it easier to remove any excess caulk later on.Best Caulk for Undermount Sink


Best Caulk for Undermount Sink


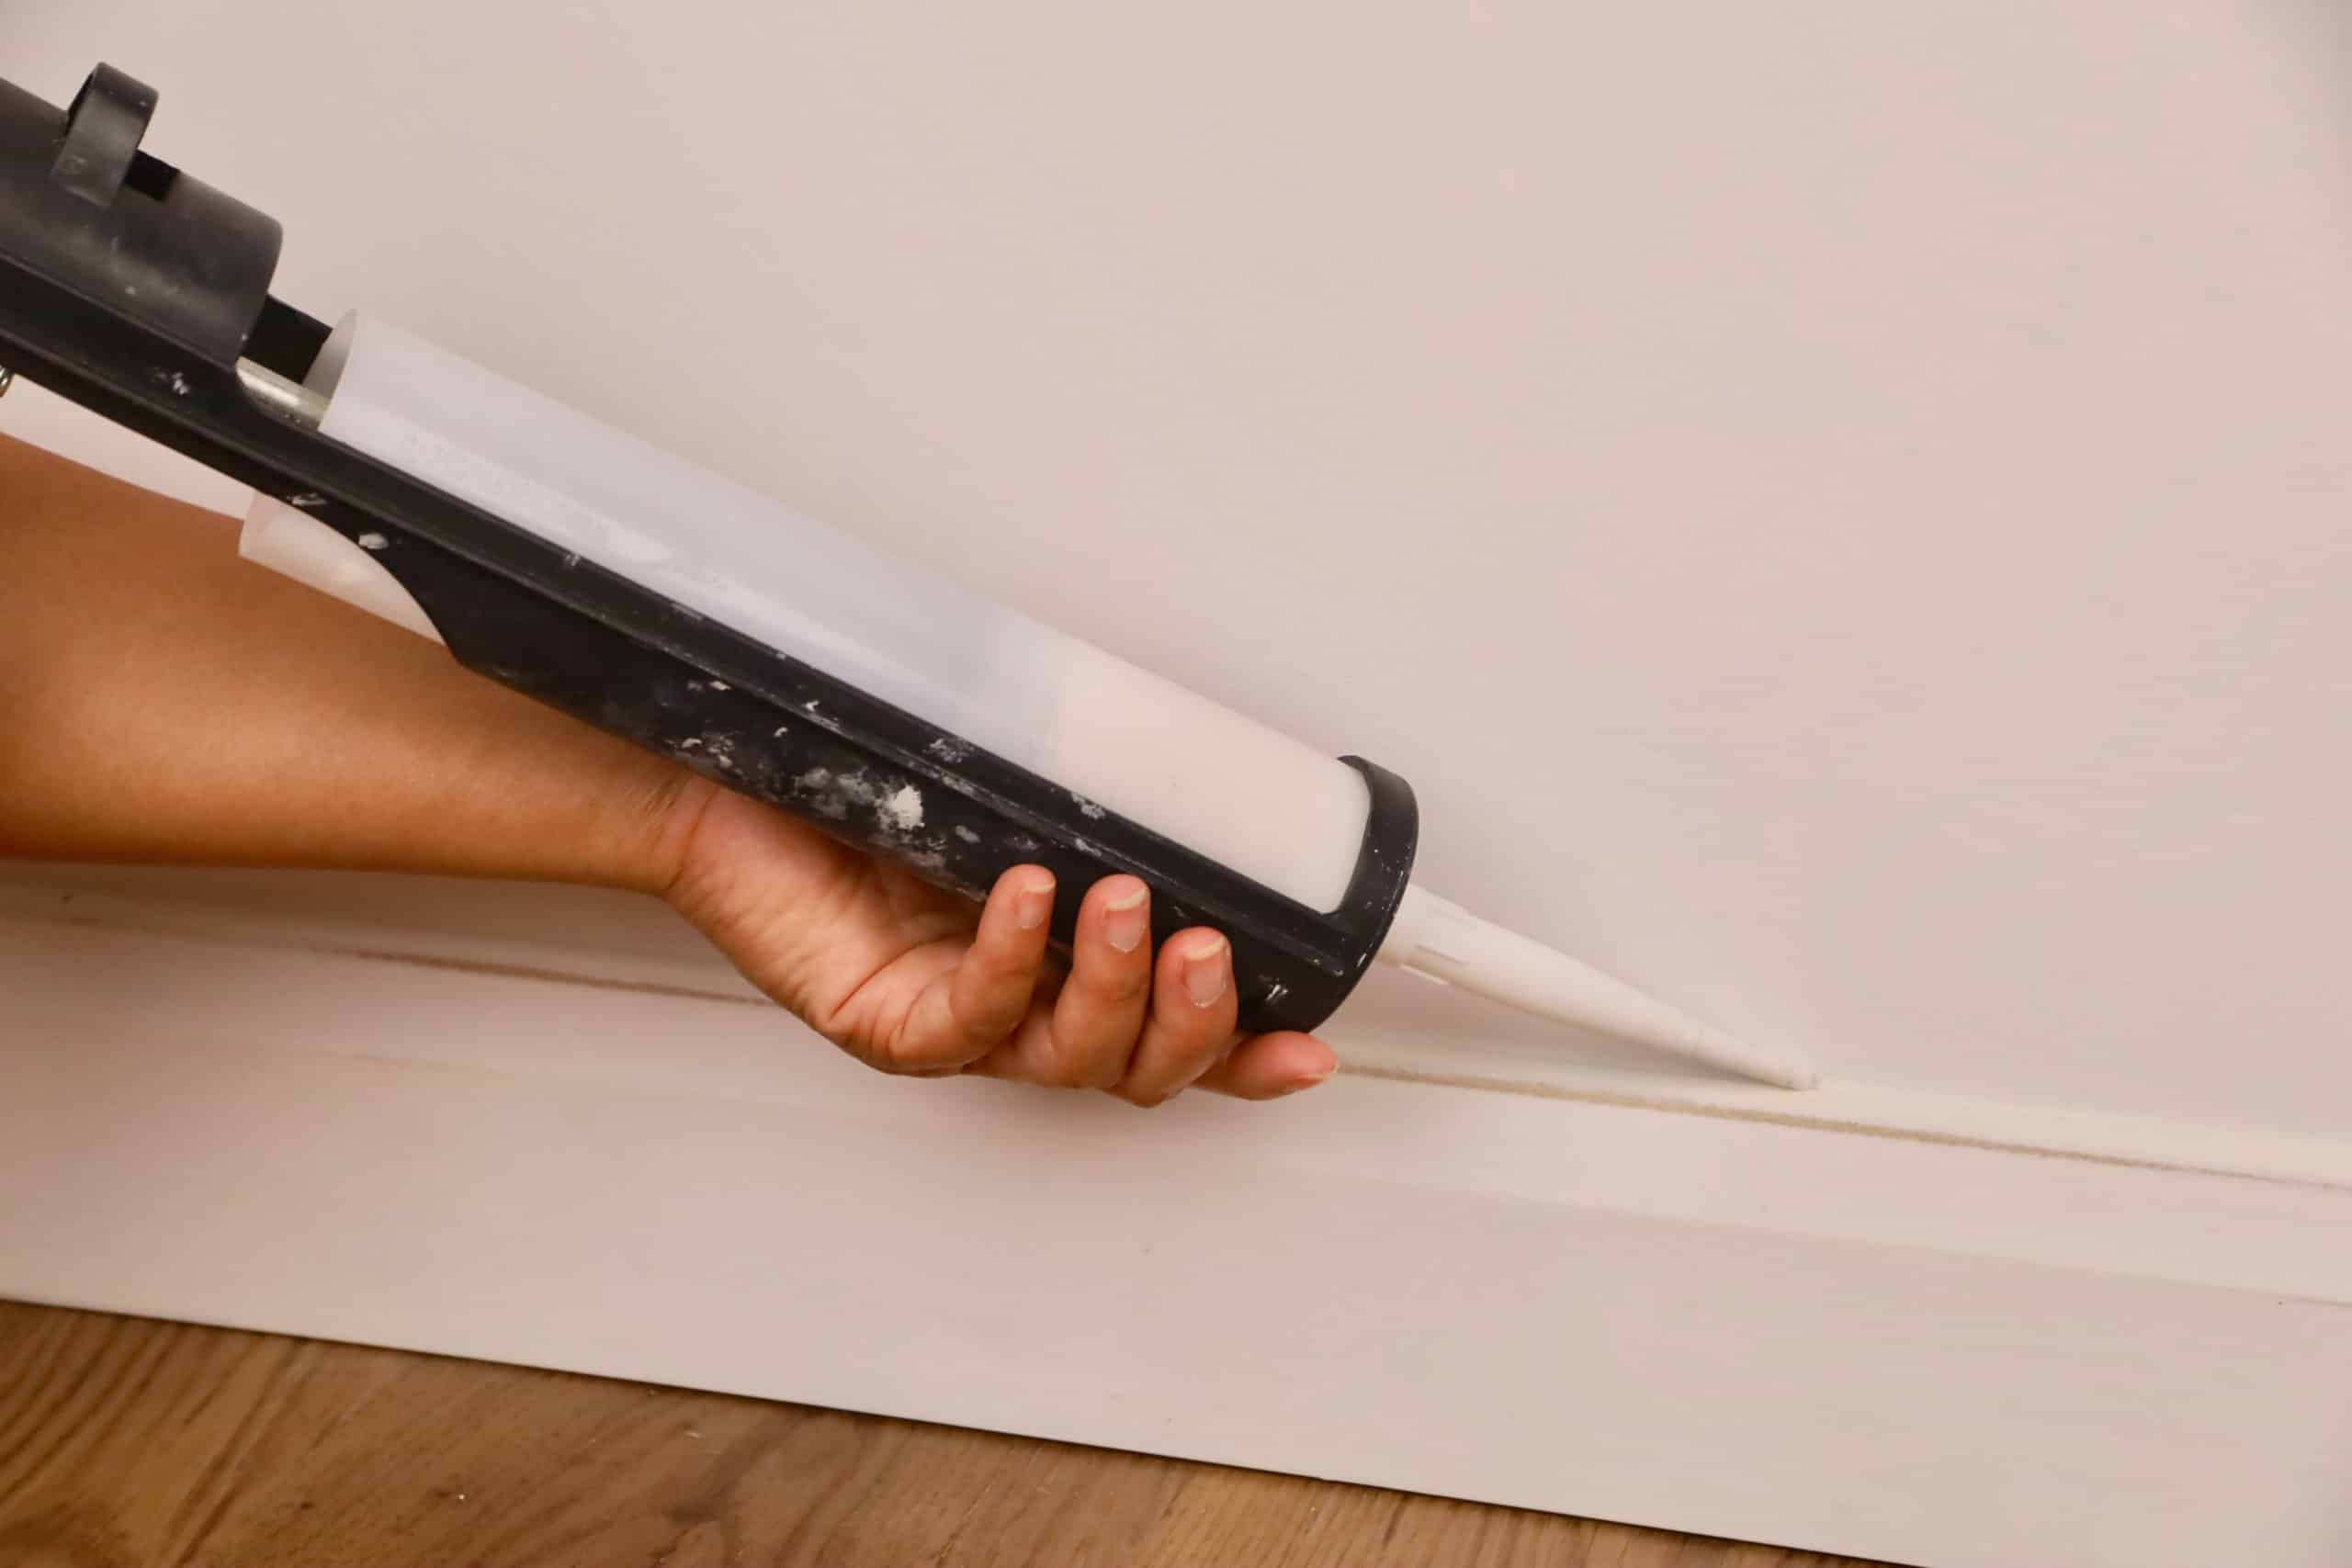
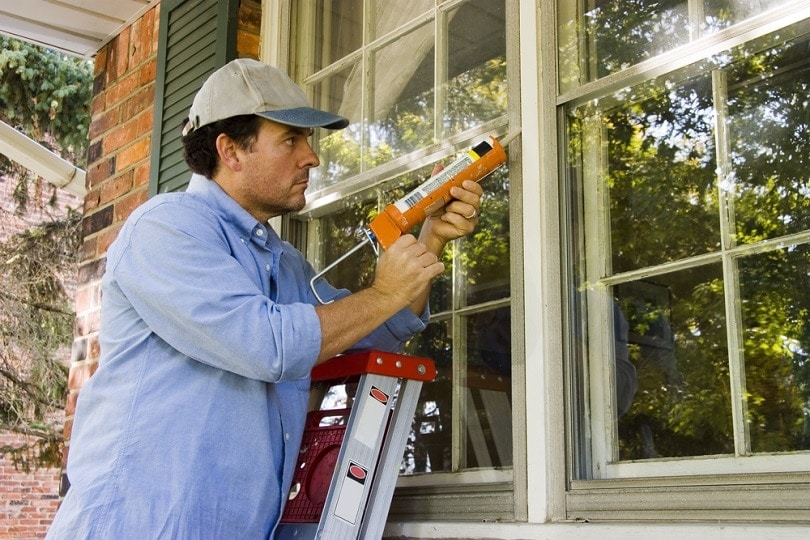
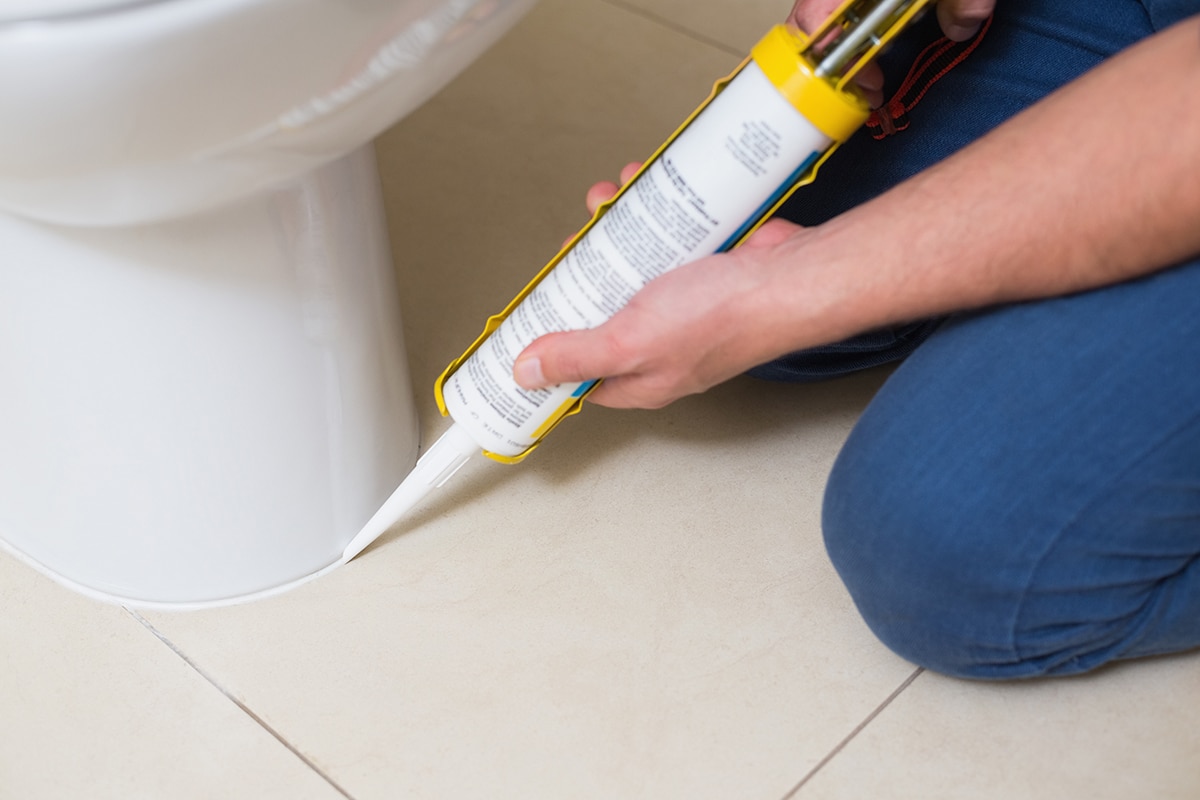
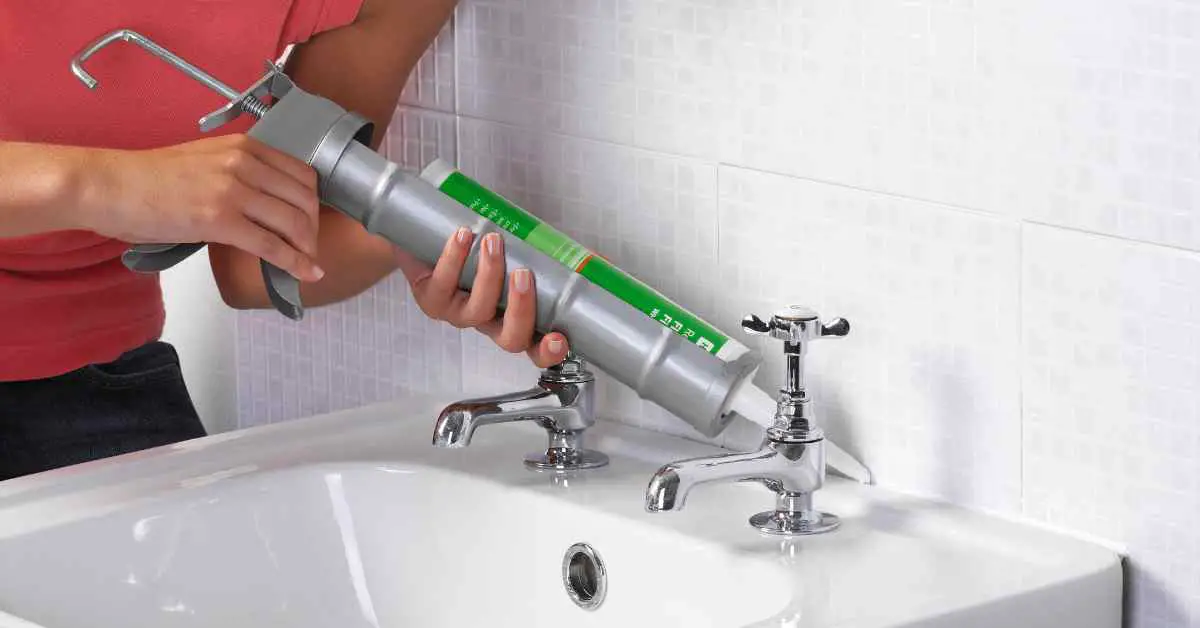
Now it's time to apply the caulk. Cut the tip of the caulk tube at a 45-degree angle and insert it into a caulk gun. Apply a thin and even bead of caulk along the edge of the sink, making sure to cover any gaps between the sink and countertop. Use your finger or a caulk smoothing tool to smooth out the caulk and create a clean line. Remove any excess caulk with a damp cloth.Step-by-Step Guide for Caulking an Undermount Sink


Step-by-Step Guide for Caulking an Undermount Sink


If you are using a colored caulk, you can add a small amount of dish soap to your finger or smoothing tool to prevent the caulk from sticking and create a smooth finish. For a more professional look, you can also use a caulk finishing tool to create a concave shape along the caulk line. This will also help to prevent water from collecting on the edge of the sink.DIY Caulking for Undermount Kitchen Sink


DIY Caulking for Undermount Kitchen Sink


One of the most common mistakes when caulking an undermount sink is applying too much caulk. This can create a messy and uneven caulk line. It is important to remember that you can always add more caulk if needed, but it is difficult to remove excess caulk without making a mess. It is also important to use a high-quality caulk gun for better control and precision.Common Mistakes When Caulking an Undermount Sink


Common Mistakes When Caulking an Undermount Sink


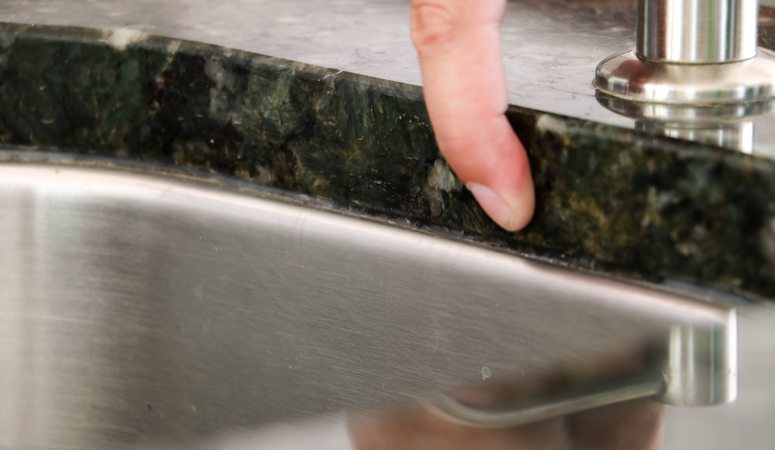
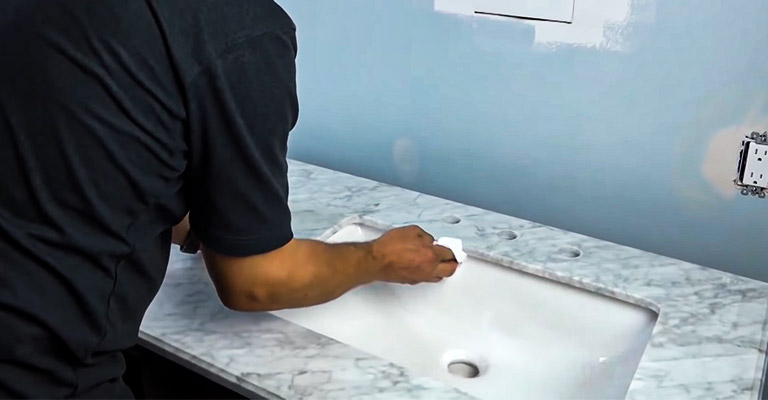
If you are re-caulking an undermount sink, it is important to remove any old caulk before applying a new one. Use a caulk removal tool or a razor blade to carefully scrape off the old caulk. Make sure to clean the area thoroughly before applying the new caulk.How to Remove Old Caulk from Undermount Sink


How to Remove Old Caulk from Undermount Sink

:max_bytes(150000):strip_icc()/how-to-remove-old-caulk-1824827-01-3d0370c59e124dbbaa6560c68bab111c.jpg)


:max_bytes(150000):strip_icc()/how-to-remove-old-caulk-1824827-04-c71b38e1f79142e3b7b6656a81cdcdbb.jpg)
To ensure that your caulk is waterproof, it is important to use a waterproof caulk and follow the manufacturer's instructions for application and drying time. You can also use a waterproof silicone sealant around the edges of the sink for extra protection against water damage.Waterproof Caulking for Undermount Kitchen Sink

Waterproof Caulking for Undermount Kitchen Sink

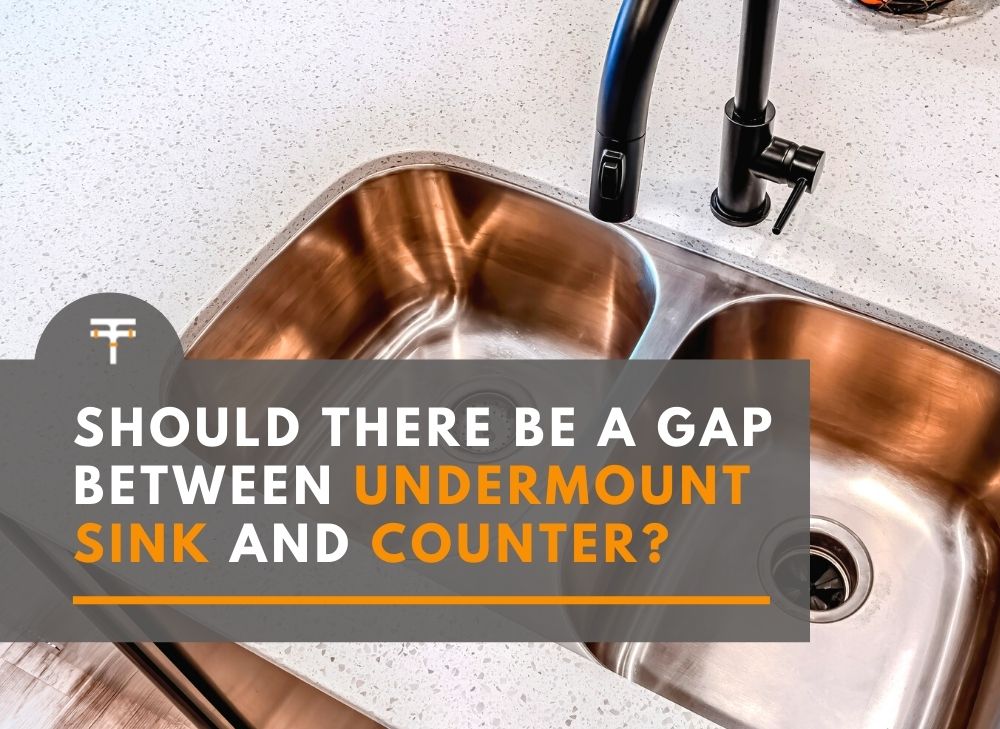
It is recommended to re-caulk an undermount sink every 1-2 years to maintain a strong and watertight seal. However, if you notice any cracks or gaps in the caulk, it is important to re-caulk immediately to prevent any water damage. With these top 10 tips, you can easily caulk your undermount kitchen sink and ensure a strong and watertight seal. Remember to take your time and follow the proper techniques for a professional-looking finish. Now that you know how to caulk an undermount sink, you can confidently tackle this home improvement project yourself!How Often Should You Caulk an Undermount Sink?


How Often Should You Caulk an Undermount Sink?


Why Caulking is Essential for Undermount Kitchen Sinks
The Importance of Caulking
 When it comes to designing your dream kitchen, every detail matters. From the countertops to the backsplash, every element plays a role in creating the perfect space. One often overlooked but crucial aspect of kitchen design is the caulking of undermount kitchen sinks. While it may seem like a minor detail, caulking plays a significant role in the functionality and aesthetics of your kitchen. In this article, we will discuss the importance of caulking and how it can enhance the overall design of your kitchen.
Preventing Water Damage
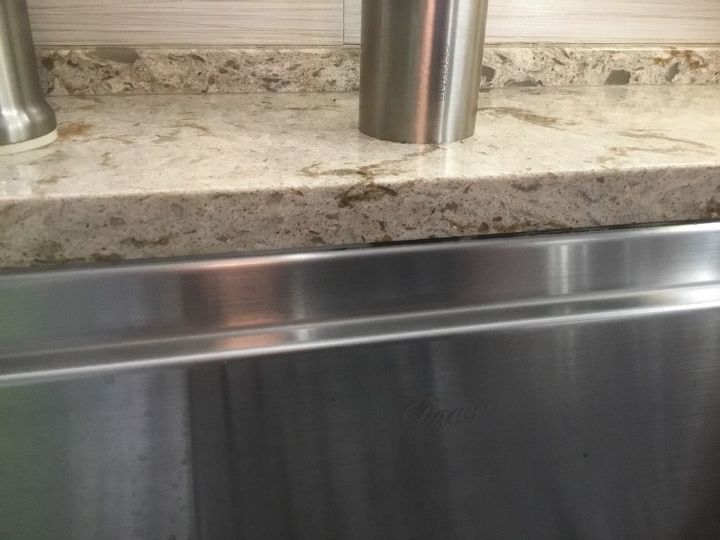
 The primary purpose of caulking an undermount kitchen sink is to prevent water from seeping into the joints between the sink and the countertop. Without proper caulking, water can seep through these gaps and cause damage to your kitchen cabinets and countertops. This can lead to costly repairs and compromise the structural integrity of your kitchen. By properly caulking your undermount kitchen sink, you can ensure that water stays where it belongs – in the sink.
Enhancing Aesthetics
 In addition to preventing water damage, caulking also plays a crucial role in enhancing the aesthetics of your kitchen. With a seamless caulk line, your undermount sink will appear to be seamlessly integrated into your countertop. This creates a clean and polished look, making your kitchen appear more cohesive and well-designed. On the other hand, a poorly caulked sink can be an eyesore and detract from the overall beauty of your kitchen.
Longevity and Maintenance
 Properly caulking your undermount kitchen sink also helps in increasing its longevity and reducing maintenance. When water seeps into the joints between the sink and countertop, it can cause mold and mildew to grow. This not only creates an unpleasant odor but can also lead to health hazards. By regularly caulking your sink, you can prevent these issues and ensure that your sink lasts for years to come.
Professional vs. DIY Caulking
 While caulking may seem like a simple task, it is best to leave it to the professionals. Professional caulking ensures that the job is done correctly and efficiently, using high-quality materials. This not only guarantees a better result but also saves you time and effort. DIY caulking can often lead to mistakes, which can be costly to fix in the long run.
In conclusion, caulking is an essential aspect of undermount kitchen sink installation. It not only prevents water damage but also enhances the overall design of your kitchen. By hiring a professional to properly caulk your sink, you can ensure its longevity and reduce maintenance. So, the next time you design or renovate your kitchen, be sure to pay attention to the caulking of your undermount kitchen sink.
While caulking may seem like a simple task, it is best to leave it to the professionals. Professional caulking ensures that the job is done correctly and efficiently, using high-quality materials. This not only guarantees a better result but also saves you time and effort. DIY caulking can often lead to mistakes, which can be costly to fix in the long run.
In conclusion, caulking is an essential aspect of undermount kitchen sink installation. It not only prevents water damage but also enhances the overall design of your kitchen. By hiring a professional to properly caulk your sink, you can ensure its longevity and reduce maintenance. So, the next time you design or renovate your kitchen, be sure to pay attention to the caulking of your undermount kitchen sink.