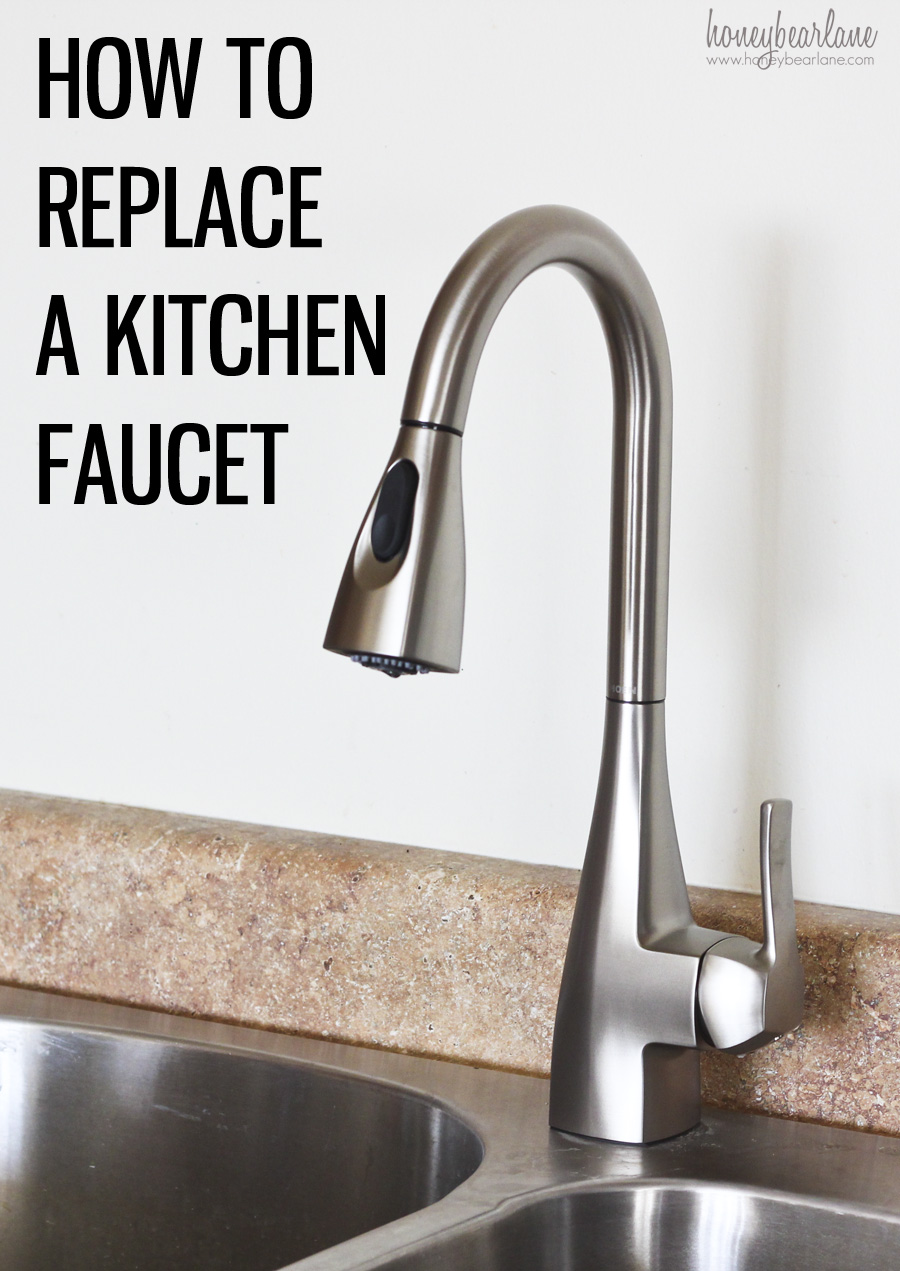
Replacing a Kitchen Sink Faucet: Step-by-Step Instructions
Are you tired of your old, leaky kitchen sink faucet? Or maybe you just want to give your kitchen a new look with a modern faucet. Whatever the reason may be, replacing a kitchen sink faucet is a simple DIY project that can easily be done in a few hours. Follow these step-by-step instructions to learn how to change your kitchen sink faucet and give your kitchen a fresh update.


Replacing a Kitchen Sink Faucet: Step-by-Step Instructions


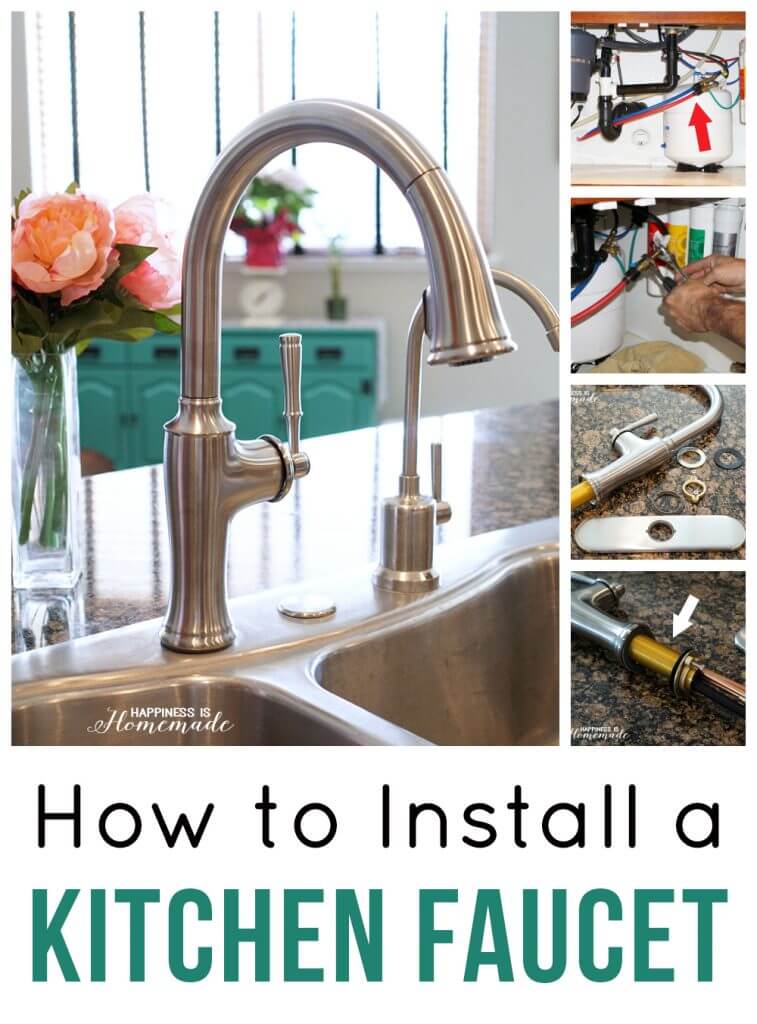
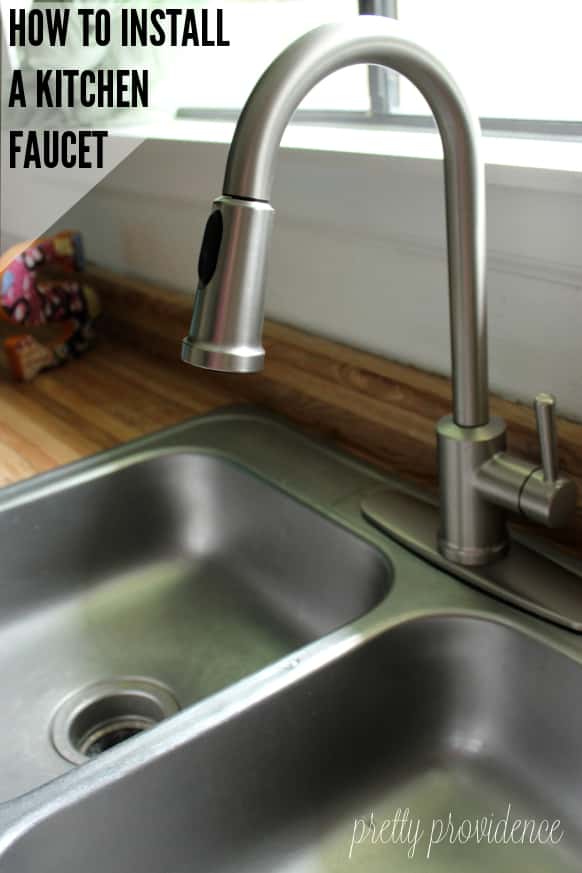
How to Replace a Kitchen Faucet
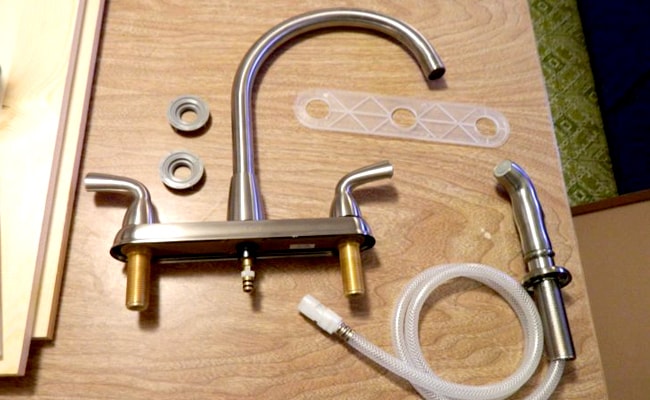
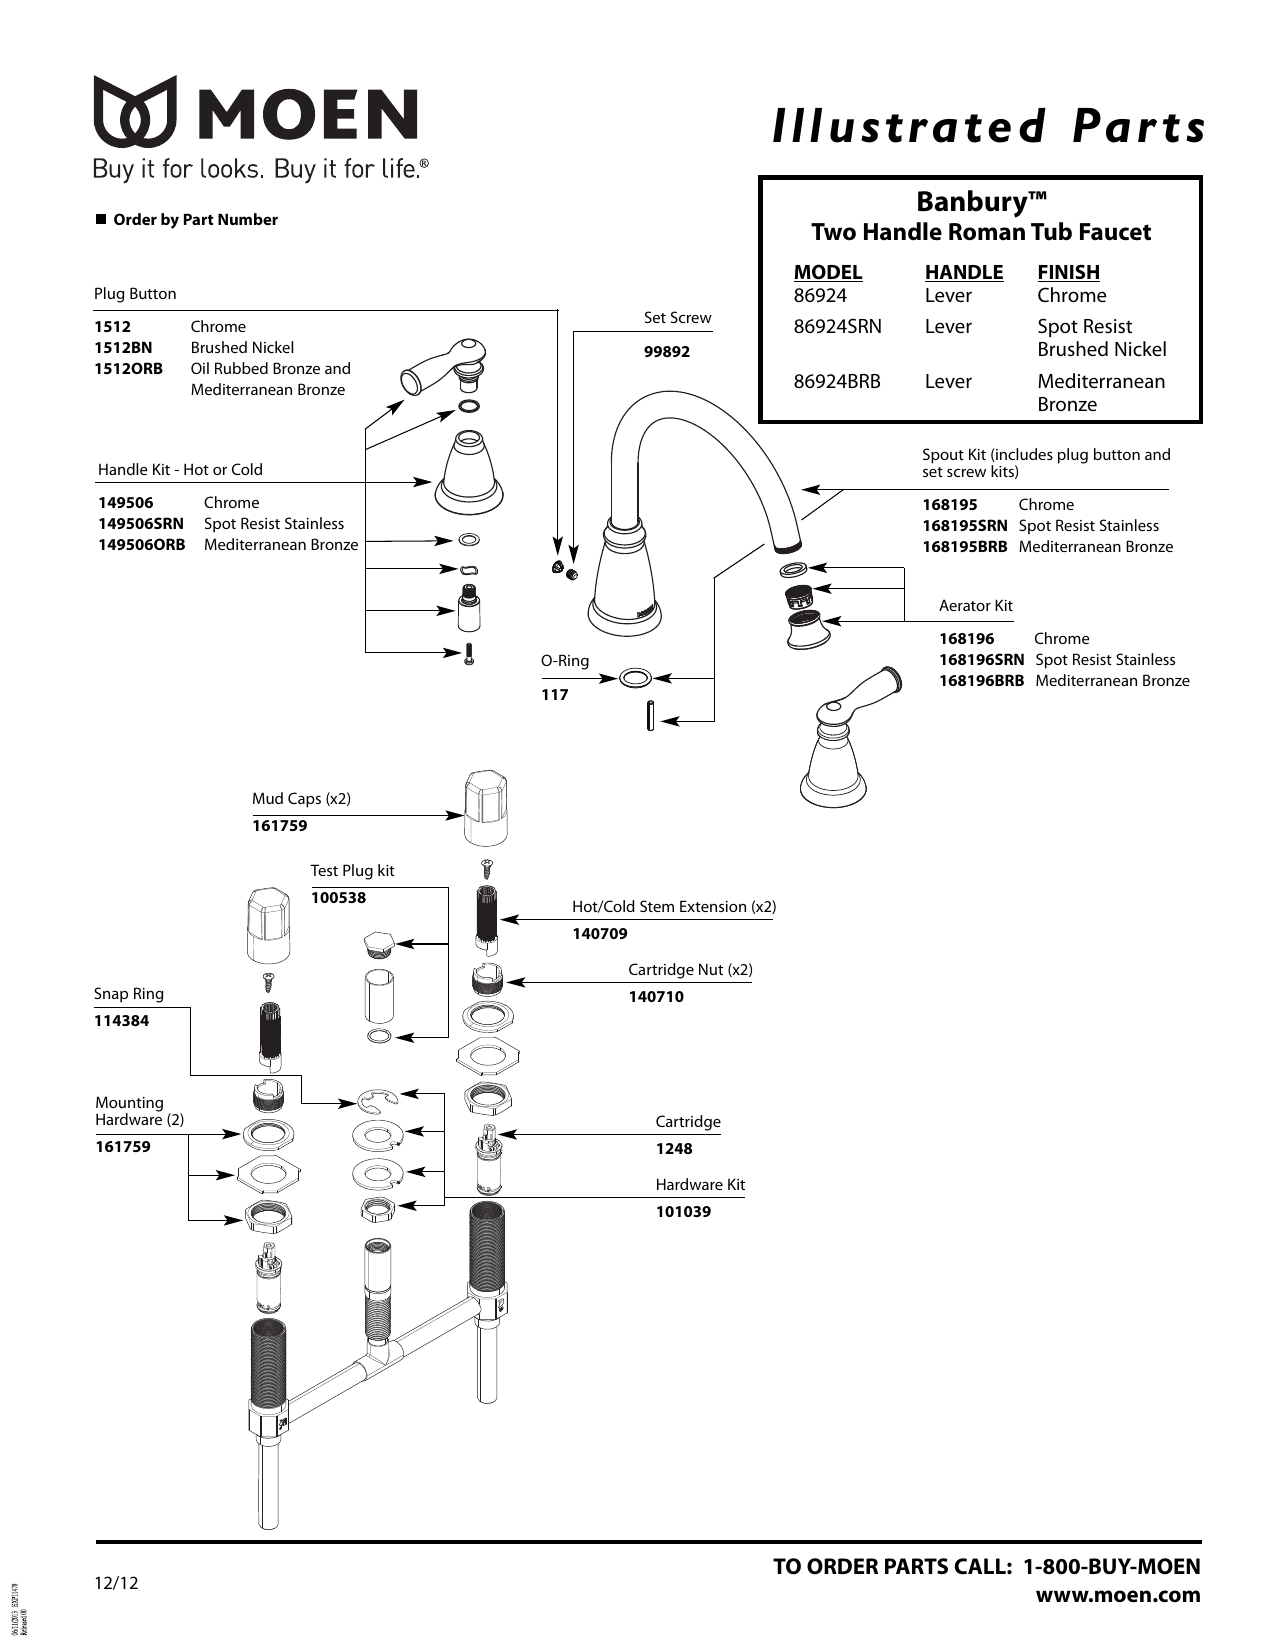
Before you begin, make sure to gather all necessary tools and materials. You will need a new faucet, adjustable wrench, pliers, basin wrench, Teflon tape, and a towel. It's also a good idea to have a bucket or bowl nearby to catch any water that may spill during the process.
Start by turning off the water supply to your sink. Look under your sink for the water shut-off valves and turn them clockwise to close them. Then, turn on the faucet to release any remaining water pressure.
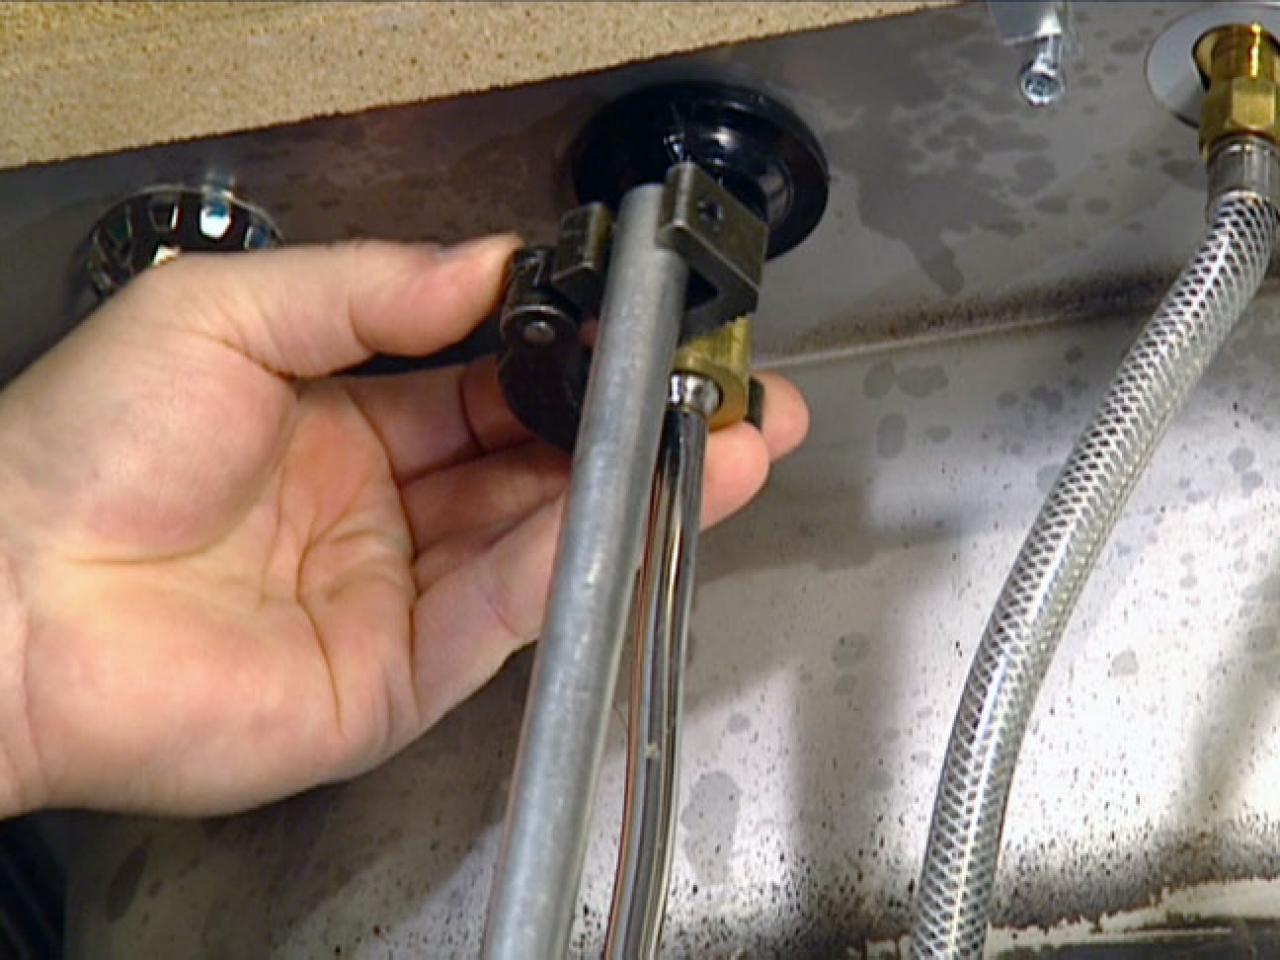
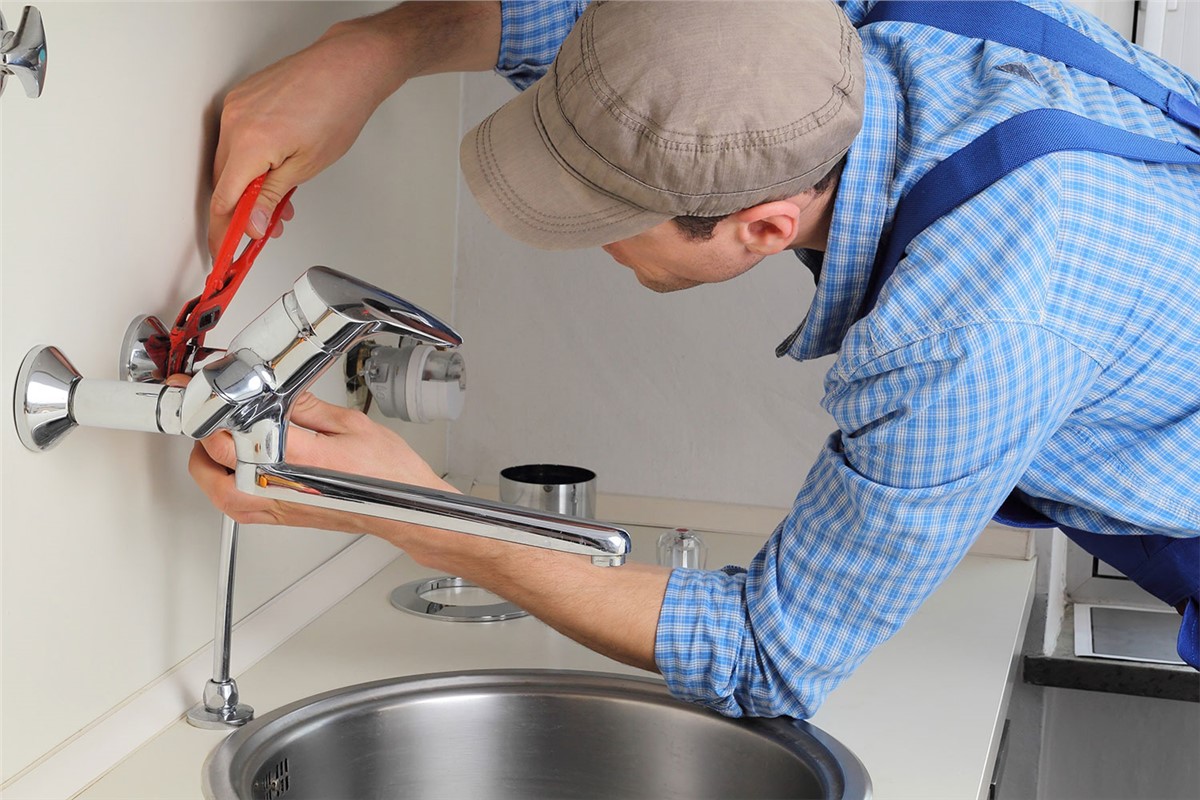
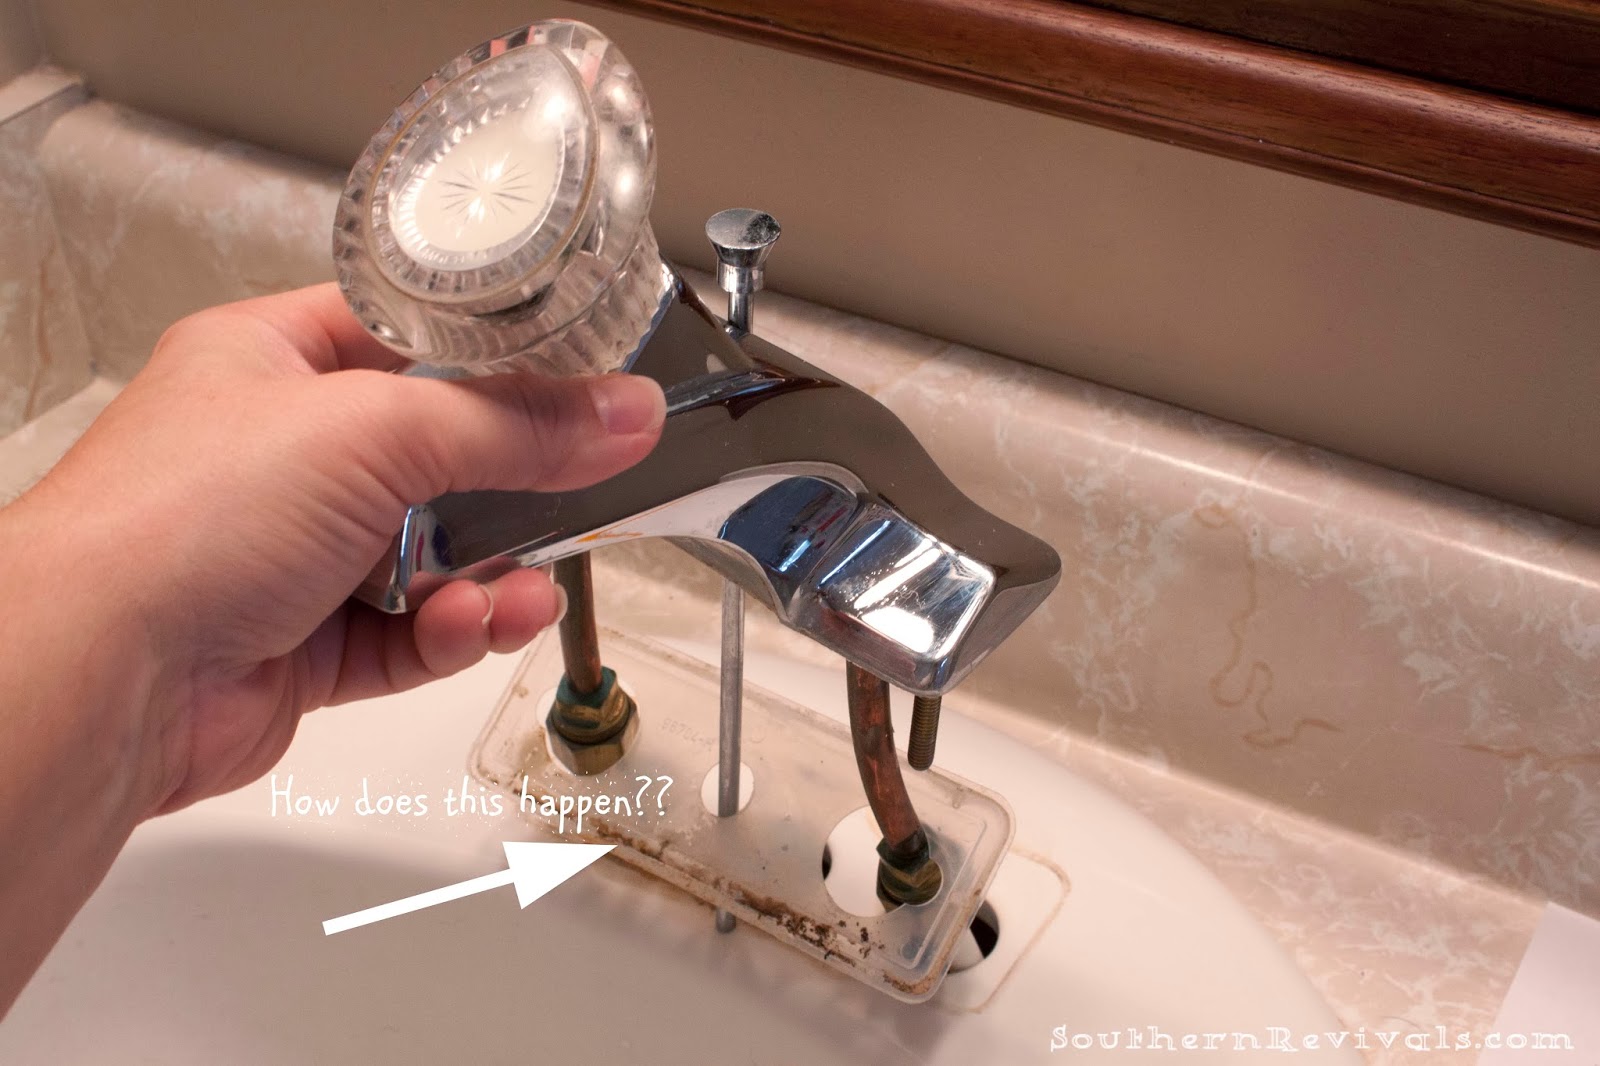
Next, use your adjustable wrench to loosen and remove the nuts that are securing the old faucet to the sink. Once the nuts are removed, lift the old faucet and remove it from the sink.
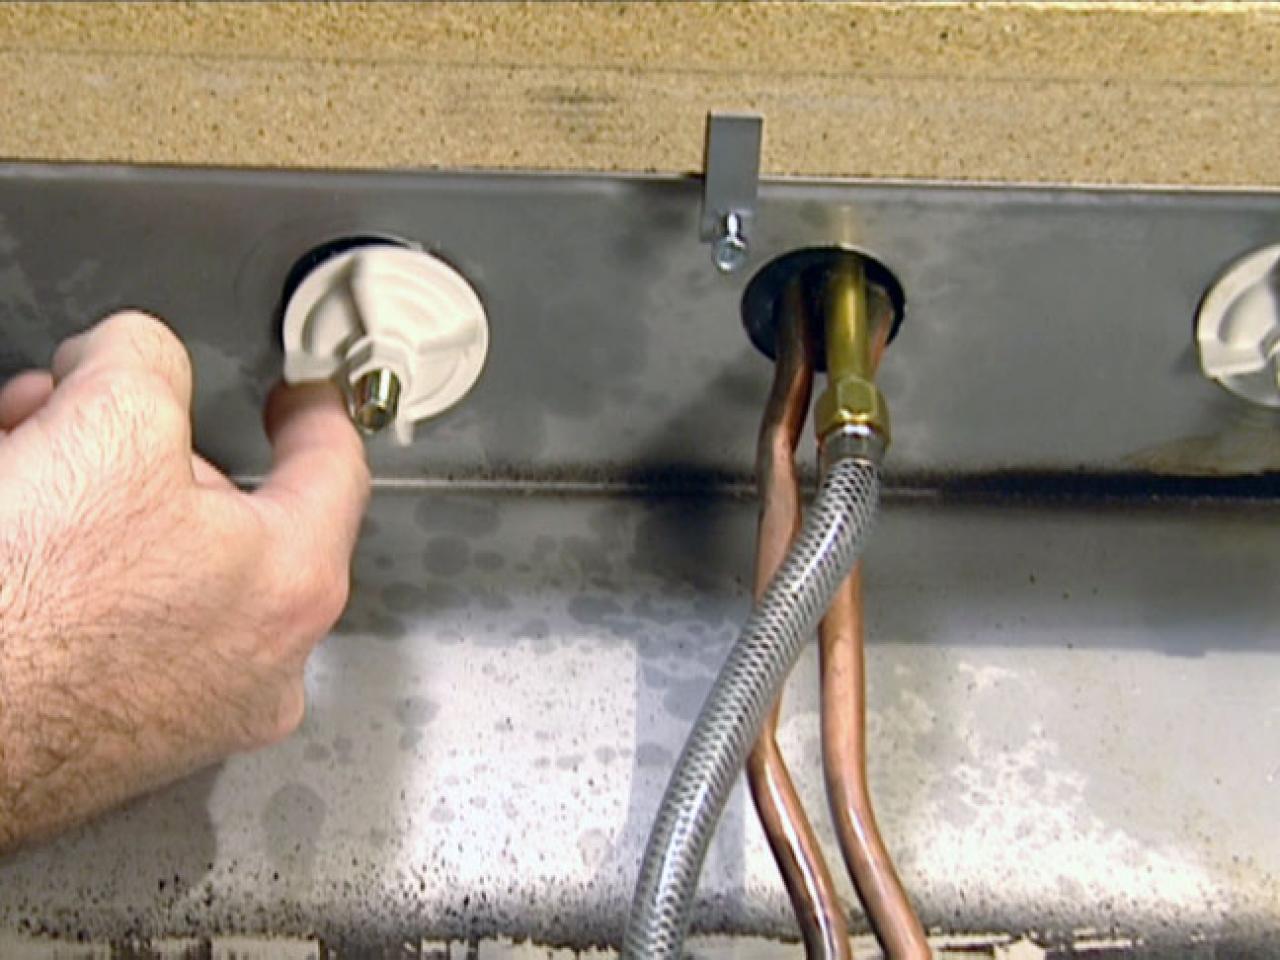
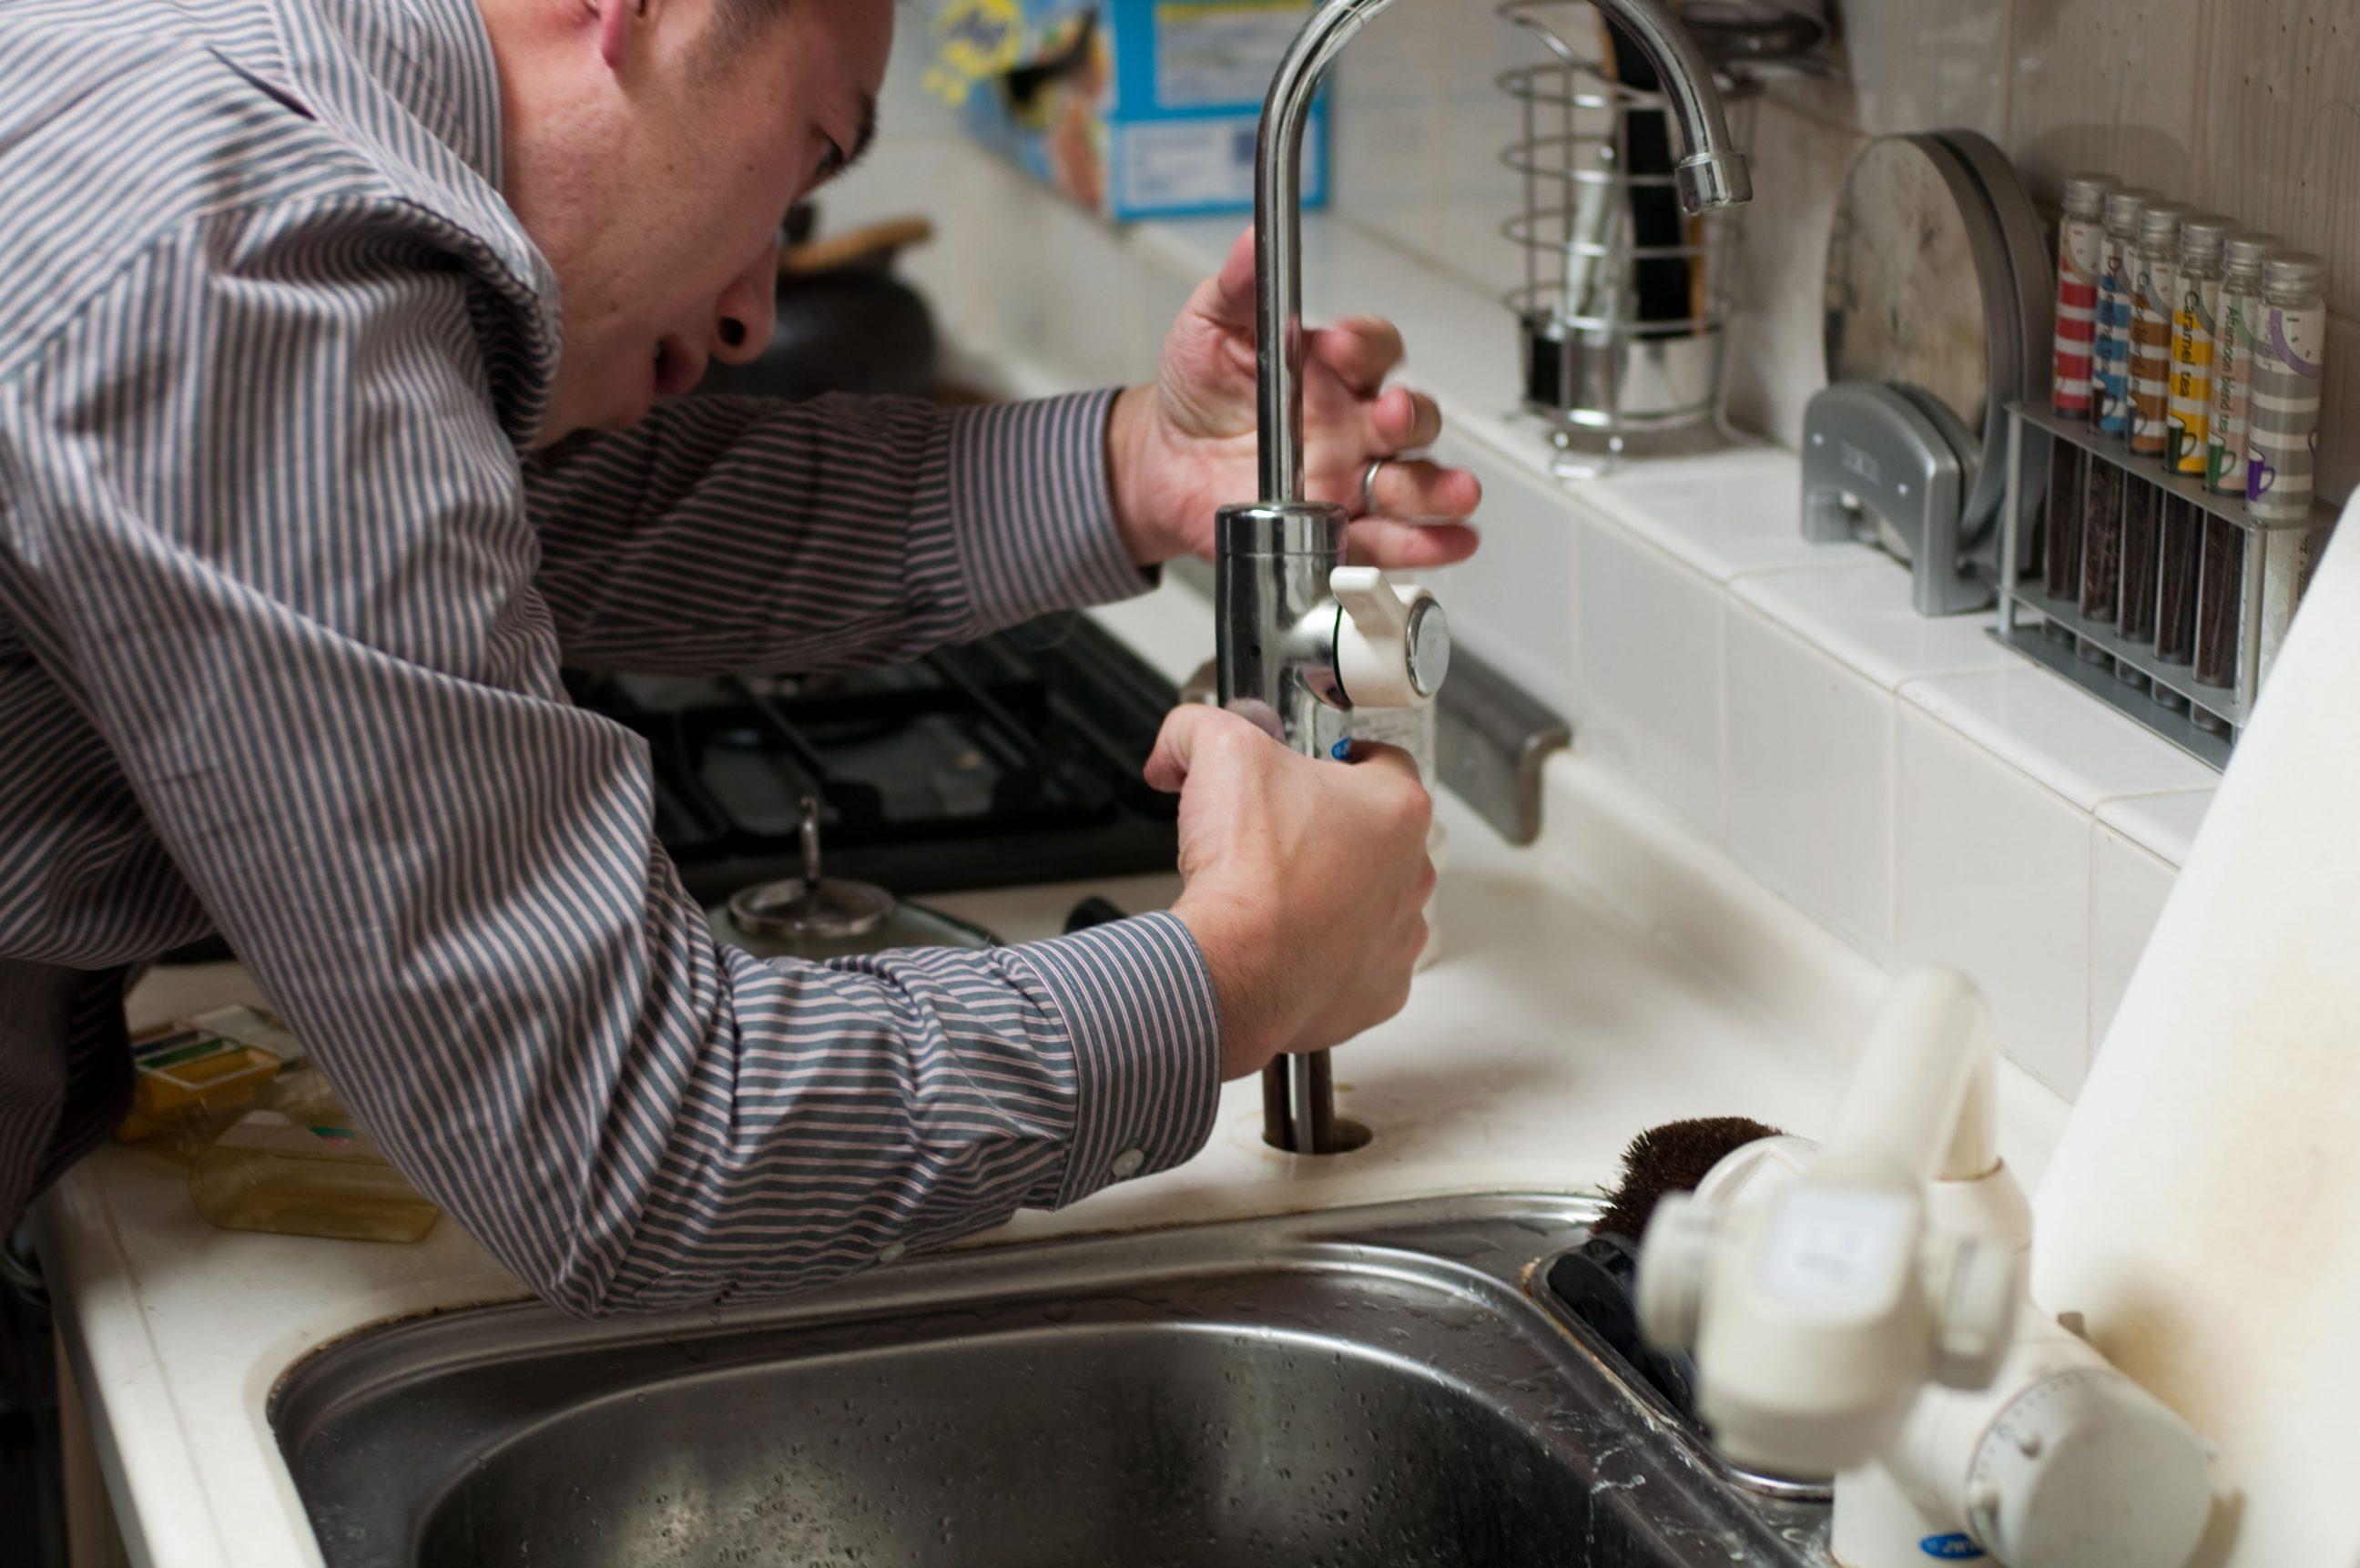
Now it's time to install the new faucet. Start by placing the base plate or gasket onto the sink and then feed the faucet lines through the holes. Use a basin wrench to tighten the mounting nuts from underneath the sink.
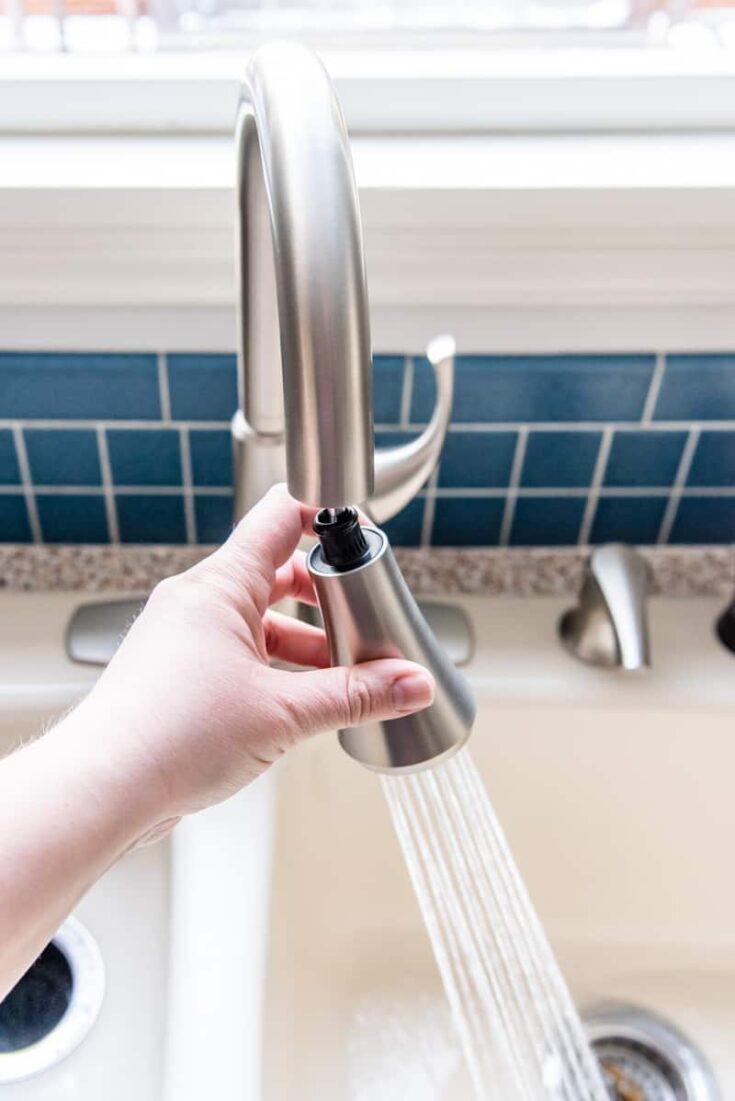
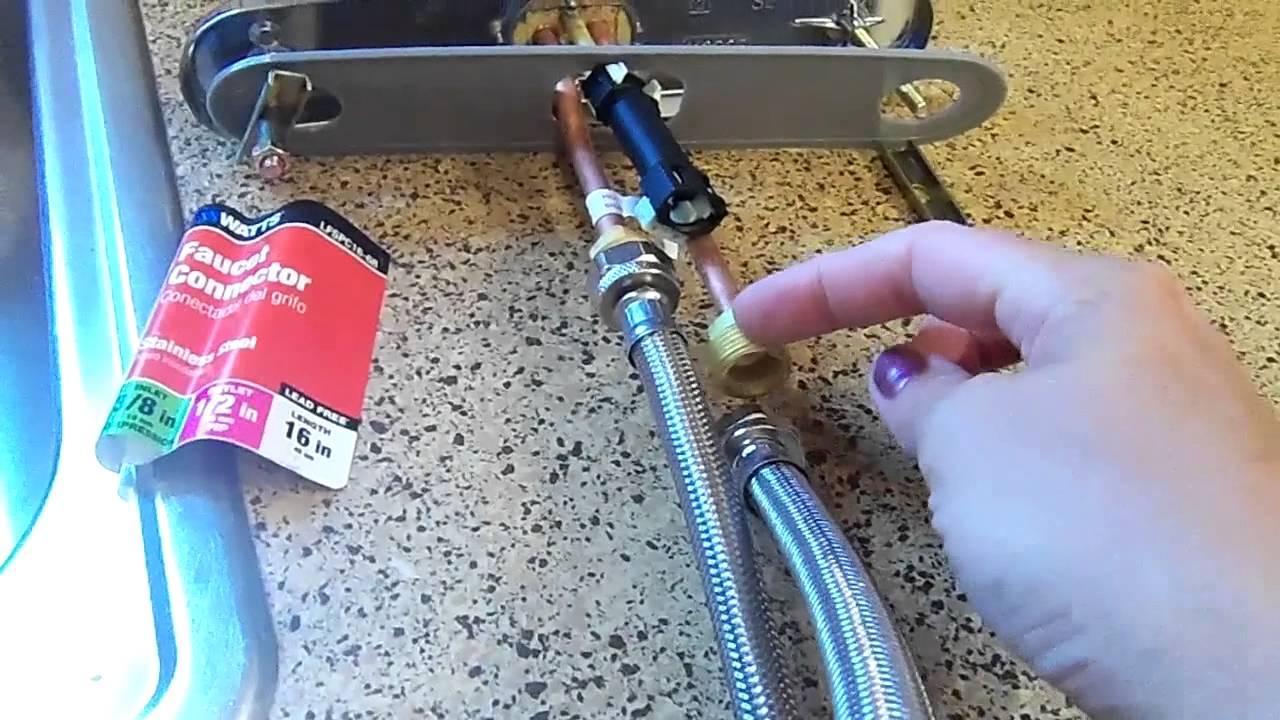
If your new faucet came with a gasket, place it on top of the base plate. If not, wrap Teflon tape around the threads of the faucet lines before attaching them to the water supply lines. Use pliers to tighten the connections.
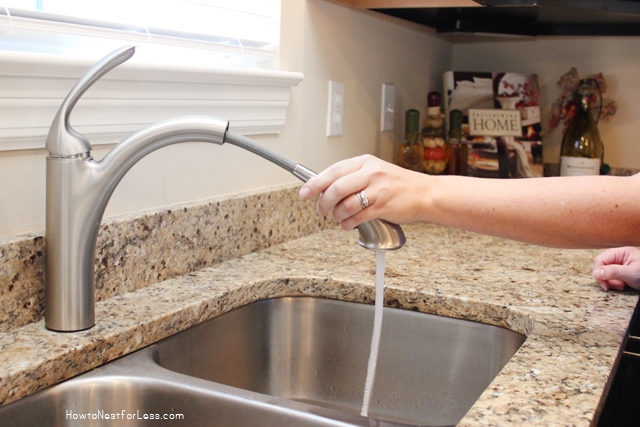
Once the connections are secure, turn on the water supply valves and check for any leaks. If there are no leaks, turn on the faucet and let the water run for a few minutes to flush out any debris.


How to Replace a Kitchen Faucet


DIY: Replacing a Kitchen Faucet
Replacing a kitchen faucet is a great DIY project for beginners because it requires minimal tools and can easily be completed in a few hours. However, there are a few common mistakes that people make when changing a kitchen sink faucet. Here are some tips to help you avoid those mistakes and ensure a successful installation.
Measure Twice, Buy Once: Before purchasing a new faucet, make sure to measure the distance between the faucet holes on your sink. Choosing the wrong size faucet can result in a difficult installation or even having to return the faucet and start the process over again.
Tighten Properly: It's important to tighten all connections securely to prevent any leaks. However, be careful not to over-tighten as this can cause damage to the faucet or sink.
Use Teflon Tape: Teflon tape, also known as plumber's tape, is a must-have when changing a kitchen sink faucet. It helps create a watertight seal and prevent leaks.
Read the Instructions: This may seem like a no-brainer, but it's important to read the manufacturer's instructions before beginning the installation. Each faucet may have slightly different steps or requirements, so it's best to follow the specific instructions for your model.

DIY: Replacing a Kitchen Faucet


Changing a Kitchen Sink Faucet: A Beginner's Guide
If you're new to DIY projects, changing a kitchen sink faucet may seem intimidating. But with the right tools and instructions, it can be a simple task that can save you money and give your kitchen a new look. Here are some additional tips for beginners to help make the process even smoother:
Choose the Right Faucet: When shopping for a new faucet, consider the style and functionality that will work best for your kitchen. Think about the size, finish, and features you want before making a purchase.
Clear the Area: Before starting the installation, make sure to clear out the area under your sink. This will make it easier to access the water supply valves and work on the faucet.
Be Patient: Changing a kitchen sink faucet may require some patience, especially if you encounter any unexpected challenges. Take your time and don't rush the process to ensure a successful installation.


Changing a Kitchen Sink Faucet: A Beginner's Guide


How to Install a Kitchen Faucet
If you're not comfortable with DIY projects or simply don't have the time, you can always hire a professional to install your new kitchen sink faucet. However, if you're up for the challenge, follow these steps to successfully install your new faucet:
Step 1: Gather all necessary tools and materials.
Step 2: Turn off the water supply to your sink.
Step 3: Remove the old faucet.
Step 4: Install the new faucet.
Step 5: Turn on the water supply and check for leaks.
Step 6: Enjoy your new kitchen sink faucet!

How to Install a Kitchen Faucet


Upgrading Your Kitchen Sink Faucet: What You Need to Know
Upgrading your kitchen sink faucet is an easy and affordable way to give your kitchen a fresh update. However, there are a few things you should keep in mind before making a purchase:
Compatibility: Make sure the new faucet is compatible with your existing sink and plumbing. If you have a vintage or unique sink, it may be more difficult to find a compatible faucet.
Budget: Faucets range in price from as low as $50 to as high as $1000. Determine your budget and choose a faucet that fits within that range.
Features: Today's kitchen sink faucets come with a variety of features, such as pull-down sprayers, touchless technology, and water filtration systems. Consider which features are important to you and choose a faucet that meets your needs.


Upgrading Your Kitchen Sink Faucet: What You Need to Know


Replacing a Kitchen Sink Faucet: Common Mistakes to Avoid
As with any DIY project, there are some common mistakes that people make when changing a kitchen sink faucet. Here are a few to keep in mind and avoid:
Not Turning Off the Water: This may seem obvious, but it's important to turn off the water supply before beginning the installation. Failing to do so can result in a big mess and potential water damage.
Forgetting to Clean: Before installing the new faucet, make sure to thoroughly clean the area where the old faucet was removed. This will help prevent any debris from getting into the new faucet and causing problems later on.
Not Tightening Connections: As mentioned before, it's important to tighten all connections securely. If connections are loose, it can lead to leaks and potentially damage your sink and surrounding areas.


Replacing a Kitchen Sink Faucet: Common Mistakes to Avoid


Choosing the Right Kitchen Faucet for Your Sink
With so many options available, it can be overwhelming to choose the right kitchen sink faucet for your sink. Here are a few things to consider before making a purchase:
Number of Holes: Most sinks come with either one, two, three, or four holes for the faucet. Make sure to choose a faucet that matches the number of holes in your sink.
Size and Reach: Consider the size and reach of the faucet, as well as the height of your sink. You want to make sure the faucet you choose will fit comfortably in your sink and allow for easy use.
Style and Finish: Choose a faucet that matches the style and finish of your kitchen. This will help create a cohesive look and add to the overall aesthetic of your space.


Choosing the Right Kitchen Faucet for Your Sink


Step-by-Step Guide to Changing a Kitchen Sink Faucet
Now that you have all the necessary information and tips, here is a step-by-step guide to changing a kitchen sink faucet:
Step 1: Gather all necessary tools and materials.
Step 2: Measure the distance between the faucet holes in your sink.
Step 3: Turn off the water supply to your sink.
Step 4: Remove the old faucet.
Step 5: Install the new faucet.
Step 6: Turn on the water supply and check for leaks.
Step 7: Enjoy your new kitchen sink faucet!


Step-by-Step Guide to Changing a Kitchen Sink Faucet


DIY Kitchen Sink Faucet Replacement: Tips and Tricks
As a final note, here are some additional tips and tricks to keep in mind when replacing a kitchen sink faucet:
Use a Bucket: Place a bucket or bowl under the sink while working to catch any water that may spill during the installation.
Keep the Instructions Handy: Make sure to keep the manufacturer's instructions nearby in case you need to refer to them during the installation.
Be Patient: Changing a kitchen sink faucet may require some patience, but the end result will be worth it. Don't rush the process and take your time to ensure a successful installation.
Now that you have all the information you need, it's time to get started on changing your kitchen sink faucet. With these step-by-step instructions and tips, you'll have a new faucet installed in no time, giving your kitchen a fresh look and improved functionality.


DIY Kitchen Sink Faucet Replacement: Tips and Tricks


Can You Change Your Sink Faucet in the Kitchen?
:no_upscale()/cdn.vox-cdn.com/uploads/chorus_asset/file/19495086/drain_0.jpg)
Why Change Your Sink Faucet?
 When it comes to kitchen design, the sink faucet may seem like a small detail. However, it plays a significant role in the overall functionality and aesthetic of your kitchen. Over time, your sink faucet may start to show signs of wear and tear, such as leaks, rust, or a decrease in water pressure. In addition, you may simply want to update the look of your kitchen with a new faucet. Whatever the reason may be, changing your sink faucet can make a big difference in your kitchen.
Factors to Consider Before Changing Your Sink Faucet
 Before diving into changing your sink faucet, there are a few important factors to consider. First, you need to assess if your current faucet is compatible with the sink and countertop you have. Also, consider the type of faucet you want, such as a single-handle or double-handle, and the style and finish that will complement your kitchen design. It is also crucial to make sure you have the necessary tools and skills to complete the installation process or hire a professional plumber.
Changing Your Sink Faucet: Step-by-Step Guide
1. Turn off the water supply: Before starting any work on your sink faucet, make sure to turn off the water supply using the shut-off valves under the sink.
2. Remove the old faucet: Use a basin wrench to loosen the nuts and bolts holding the faucet in place. Once removed, lift the old faucet out of the sink.
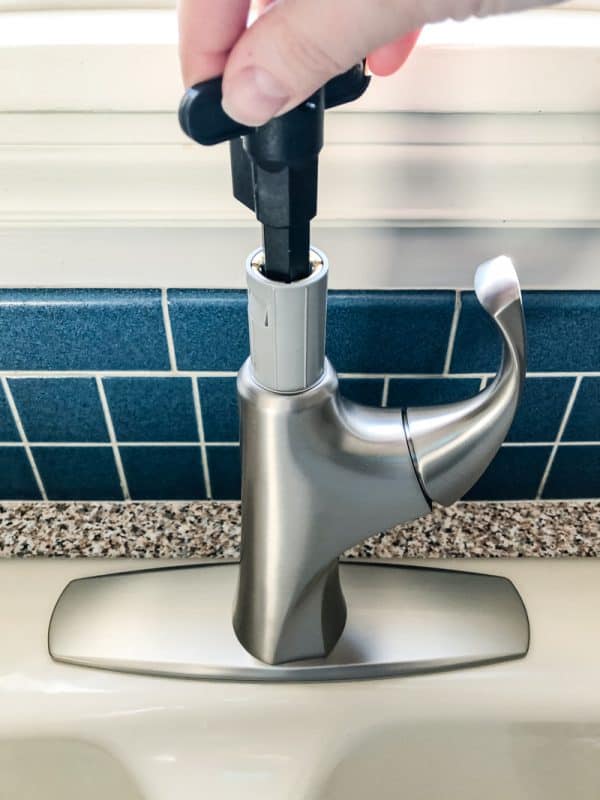
3. Prepare the new faucet: Assemble the new faucet according to the manufacturer's instructions. Make sure to use plumber's tape on any threaded connections to prevent leaks.
4. Install the new faucet: Place the new faucet into the mounting holes on the sink and secure it with the nuts and bolts provided. Use a wrench to tighten them.
5. Connect the water supply lines: Use flexible supply lines to connect the hot and cold water supply to the faucet. Make sure to tighten the connections with a wrench.
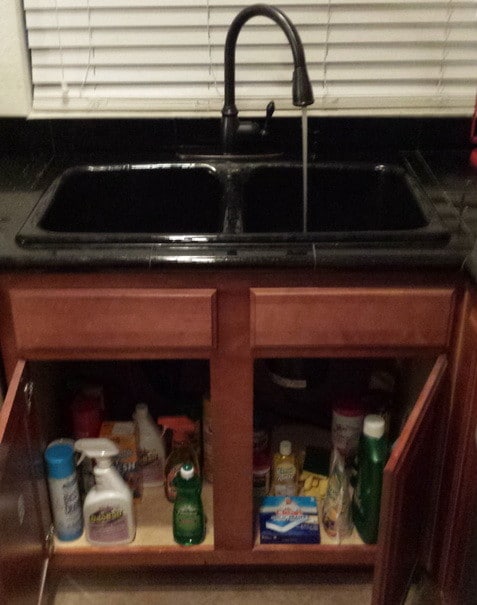
6. Test for leaks: Turn on the water supply and check for any leaks. If there are no leaks, your new sink faucet is ready to use.
Before diving into changing your sink faucet, there are a few important factors to consider. First, you need to assess if your current faucet is compatible with the sink and countertop you have. Also, consider the type of faucet you want, such as a single-handle or double-handle, and the style and finish that will complement your kitchen design. It is also crucial to make sure you have the necessary tools and skills to complete the installation process or hire a professional plumber.
Changing Your Sink Faucet: Step-by-Step Guide
1. Turn off the water supply: Before starting any work on your sink faucet, make sure to turn off the water supply using the shut-off valves under the sink.
2. Remove the old faucet: Use a basin wrench to loosen the nuts and bolts holding the faucet in place. Once removed, lift the old faucet out of the sink.
3. Prepare the new faucet: Assemble the new faucet according to the manufacturer's instructions. Make sure to use plumber's tape on any threaded connections to prevent leaks.
4. Install the new faucet: Place the new faucet into the mounting holes on the sink and secure it with the nuts and bolts provided. Use a wrench to tighten them.
5. Connect the water supply lines: Use flexible supply lines to connect the hot and cold water supply to the faucet. Make sure to tighten the connections with a wrench.
6. Test for leaks: Turn on the water supply and check for any leaks. If there are no leaks, your new sink faucet is ready to use.
Upgrade Your Kitchen with a New Sink Faucet
 Changing your sink faucet is not only a practical decision but can also add a touch of style to your kitchen. With so many options available, you can choose a faucet that not only meets your functional needs but also enhances the overall design of your kitchen. Remember to always consult a professional if you are unsure about changing your sink faucet yourself.
Now that you know the process of changing your sink faucet, go ahead and give your kitchen a fresh new look!
Changing your sink faucet is not only a practical decision but can also add a touch of style to your kitchen. With so many options available, you can choose a faucet that not only meets your functional needs but also enhances the overall design of your kitchen. Remember to always consult a professional if you are unsure about changing your sink faucet yourself.
Now that you know the process of changing your sink faucet, go ahead and give your kitchen a fresh new look!