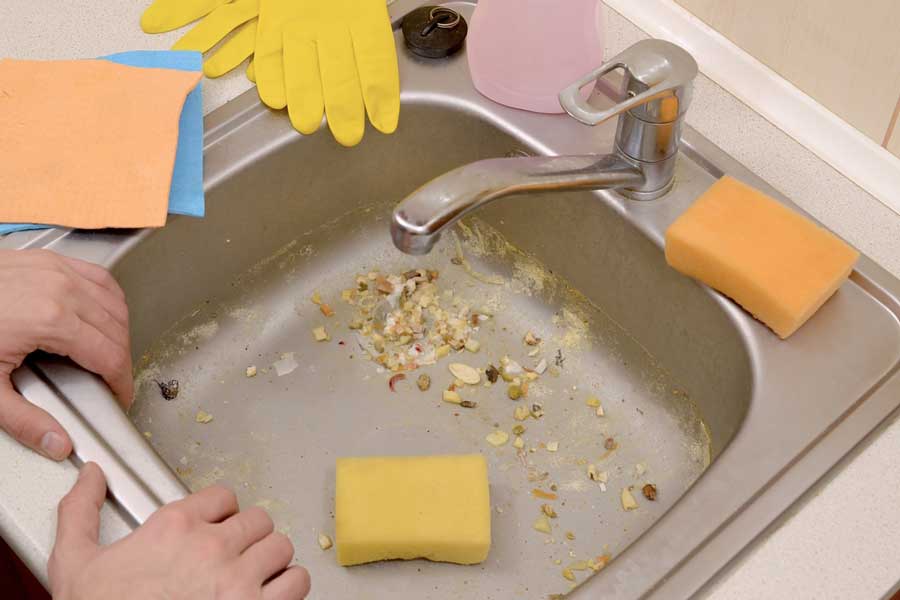
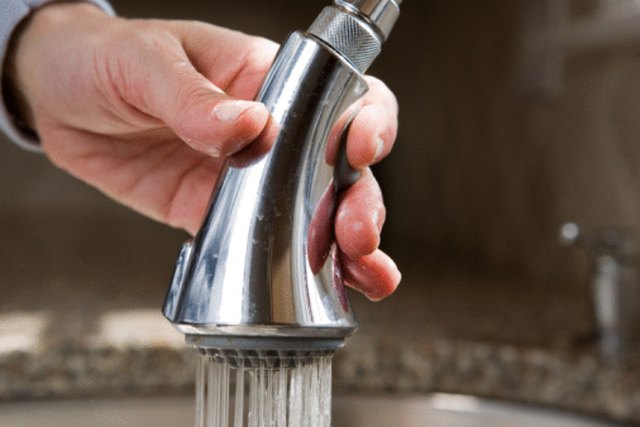
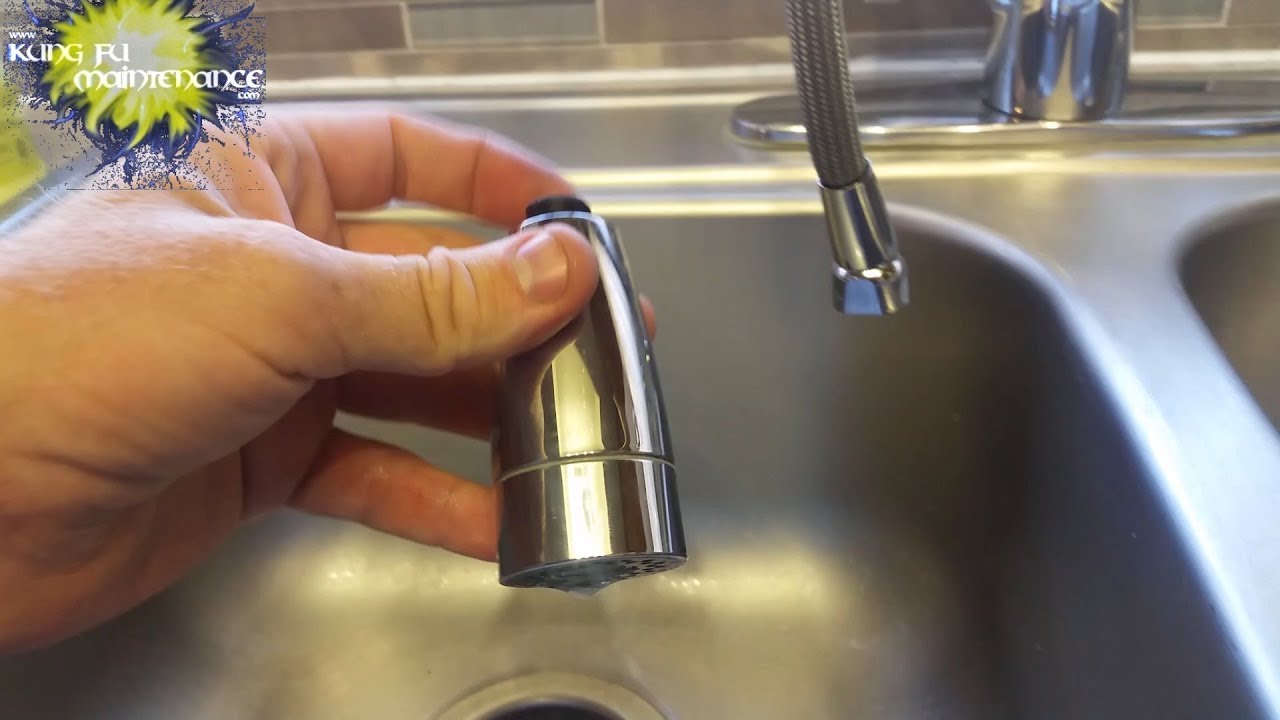
How to Fix a Leaky Kitchen Sink Sprayer
If you're tired of constantly dealing with a leaky kitchen sink sprayer, you're not alone. This common plumbing issue can be frustrating and wasteful, not to mention the potential damage it can cause to your sink and surrounding areas. But fear not, with a little know-how, fixing a leaky kitchen sink sprayer is a simple DIY task that anyone can tackle. Follow these steps to get your sprayer back to working properly in no time.
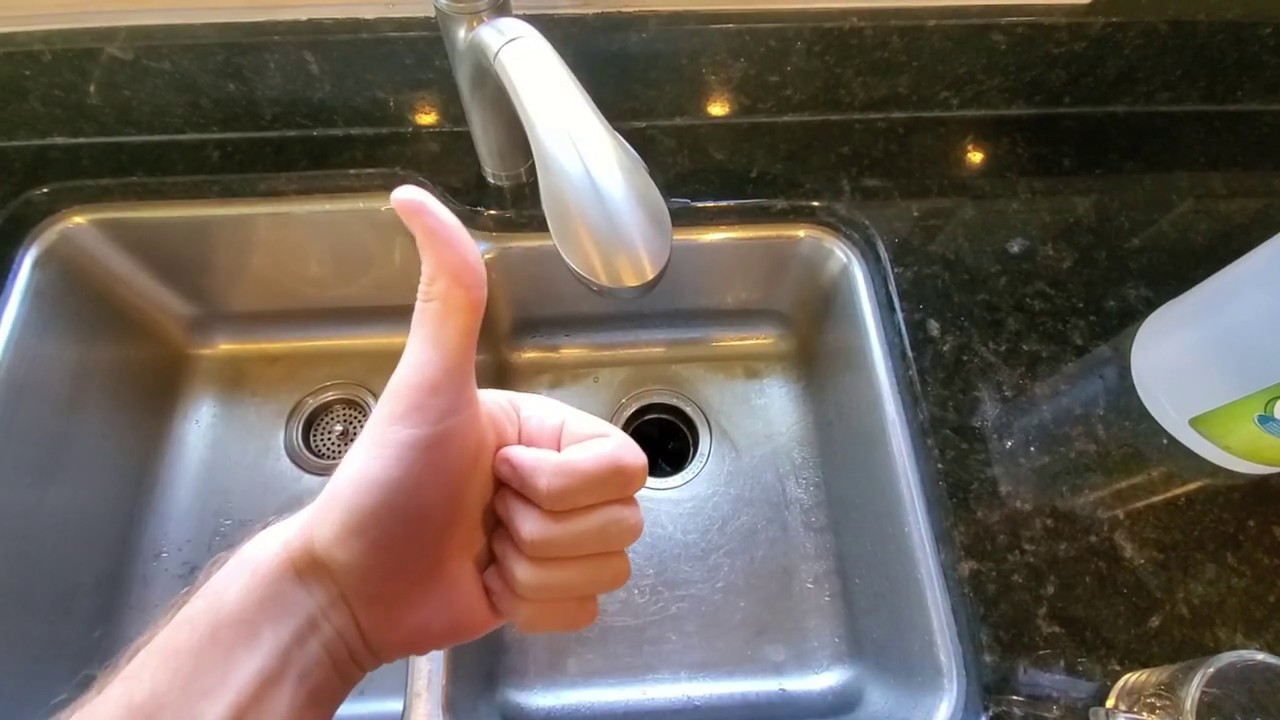
To begin, make sure to turn off the water supply to your sink. You can do this by shutting off the shut-off valve located under the sink or by turning off the main water supply to your house. Once the water is turned off, you can proceed with fixing the leaky sprayer.
The most common cause of a leaky kitchen sink sprayer is a worn or damaged O-ring, which is a small rubber ring located inside the sprayer handle. To fix this issue, start by removing the sprayer head from the hose. You can do this by twisting the head counterclockwise and pulling it off. Once removed, check the O-ring for any signs of wear or damage. If it's damaged, replace it with a new one and reattach the sprayer head.
If the O-ring isn't the issue, the problem may lie with the sprayer hose itself. Check for any kinks or cracks in the hose that could be causing the leak. If you find any, you will need to replace the hose entirely. You can purchase a new sprayer hose at your local hardware store and easily install it yourself.
Once the O-ring and hose have been ruled out as the cause of the leak, the culprit may be the sprayer's diverter. This is a small valve located inside the sprayer head that controls the flow of water. If the diverter is clogged or damaged, it can cause leaks. To fix this, remove the sprayer head and clean the diverter with a mixture of equal parts white vinegar and water. If the diverter is damaged, you will need to replace it.
After fixing the issue, reattach the sprayer head and turn the water supply back on. Test the sprayer to ensure the leak has been resolved. If the problem persists, it may be time to replace the entire sprayer unit.


How to Fix a Leaky Kitchen Sink Sprayer


How to Replace a Kitchen Sink Sprayer
Replacing a kitchen sink sprayer may seem like a daunting task, but with the right tools and knowledge, it can be a simple and cost-effective DIY project. Here's a step-by-step guide on how to replace a kitchen sink sprayer.
Start by turning off the water supply to your sink. You can do this by shutting off the shut-off valve located under the sink or by turning off the main water supply to your house. Once the water is turned off, you can proceed with replacing the sprayer.
Next, remove the old sprayer head by twisting it counterclockwise and pulling it off. Then, unscrew the sprayer hose from the base of the sink. You may need a wrench to loosen the connections. Once the hose is removed, you can discard it.
Take your new sprayer hose and attach it to the base of the sink. Make sure to tighten the connections with a wrench to prevent any leaks. Then, attach the sprayer head to the other end of the hose by twisting it clockwise.
Once everything is securely attached, turn the water supply back on and test the new sprayer. If it's working properly, you're all set. If not, make sure all connections are tight and check for any clogs in the hose or sprayer head.


How to Replace a Kitchen Sink Sprayer


/25089301983_c5145fe85d_o-58418ef15f9b5851e5f392b5.jpg)


How to Install a Kitchen Sink Sprayer
If your sink currently doesn't have a sprayer, installing one can be a game changer. Not only does it make cleaning dishes and the sink itself easier, but it can also add a modern touch to your kitchen. Follow these steps to install a kitchen sink sprayer.
First, make sure your sink has a sprayer hole. If it doesn't, you will need to drill one using a drill bit suitable for your sink material. Next, place the sprayer base into the hole and secure it from underneath with the included washer and nut.
Next, attach the sprayer hose to the base of the sink. Make sure the connections are tight to prevent any leaks. Then, attach the sprayer head to the other end of the hose by twisting it clockwise.
Once everything is securely attached, turn the water supply back on and test the new sprayer. If it's working properly, you're all set. If not, make sure all connections are tight and check for any clogs in the hose or sprayer head.
Installing a kitchen sink sprayer is a relatively easy task, but if you're not comfortable with plumbing work, it's always best to hire a professional to ensure it's done correctly.


How to Install a Kitchen Sink Sprayer


/25089301983_c5145fe85d_o-58418ef15f9b5851e5f392b5.jpg)
How to Troubleshoot a Kitchen Sink Sprayer
Is your kitchen sink sprayer not working as it should? Before calling a plumber, try troubleshooting the issue yourself with these tips.
First, check the water supply to make sure it's turned on. If the water supply is on and the sprayer still isn't working, the problem may lie with the sprayer's diverter. To fix this, remove the sprayer head and clean the diverter with a mixture of equal parts white vinegar and water. If the diverter is damaged, you will need to replace it.
If the sprayer is still not working, the issue may be with the sprayer hose. Check for any kinks or clogs in the hose that could be preventing water from flowing properly. You can also try cleaning the sprayer nozzle with a toothbrush and warm water to remove any buildup.
If none of these solutions work, the problem may be with the shut-off valve or the sprayer head itself. It's best to call a plumber at this point to properly diagnose and fix the issue.


How to Troubleshoot a Kitchen Sink Sprayer


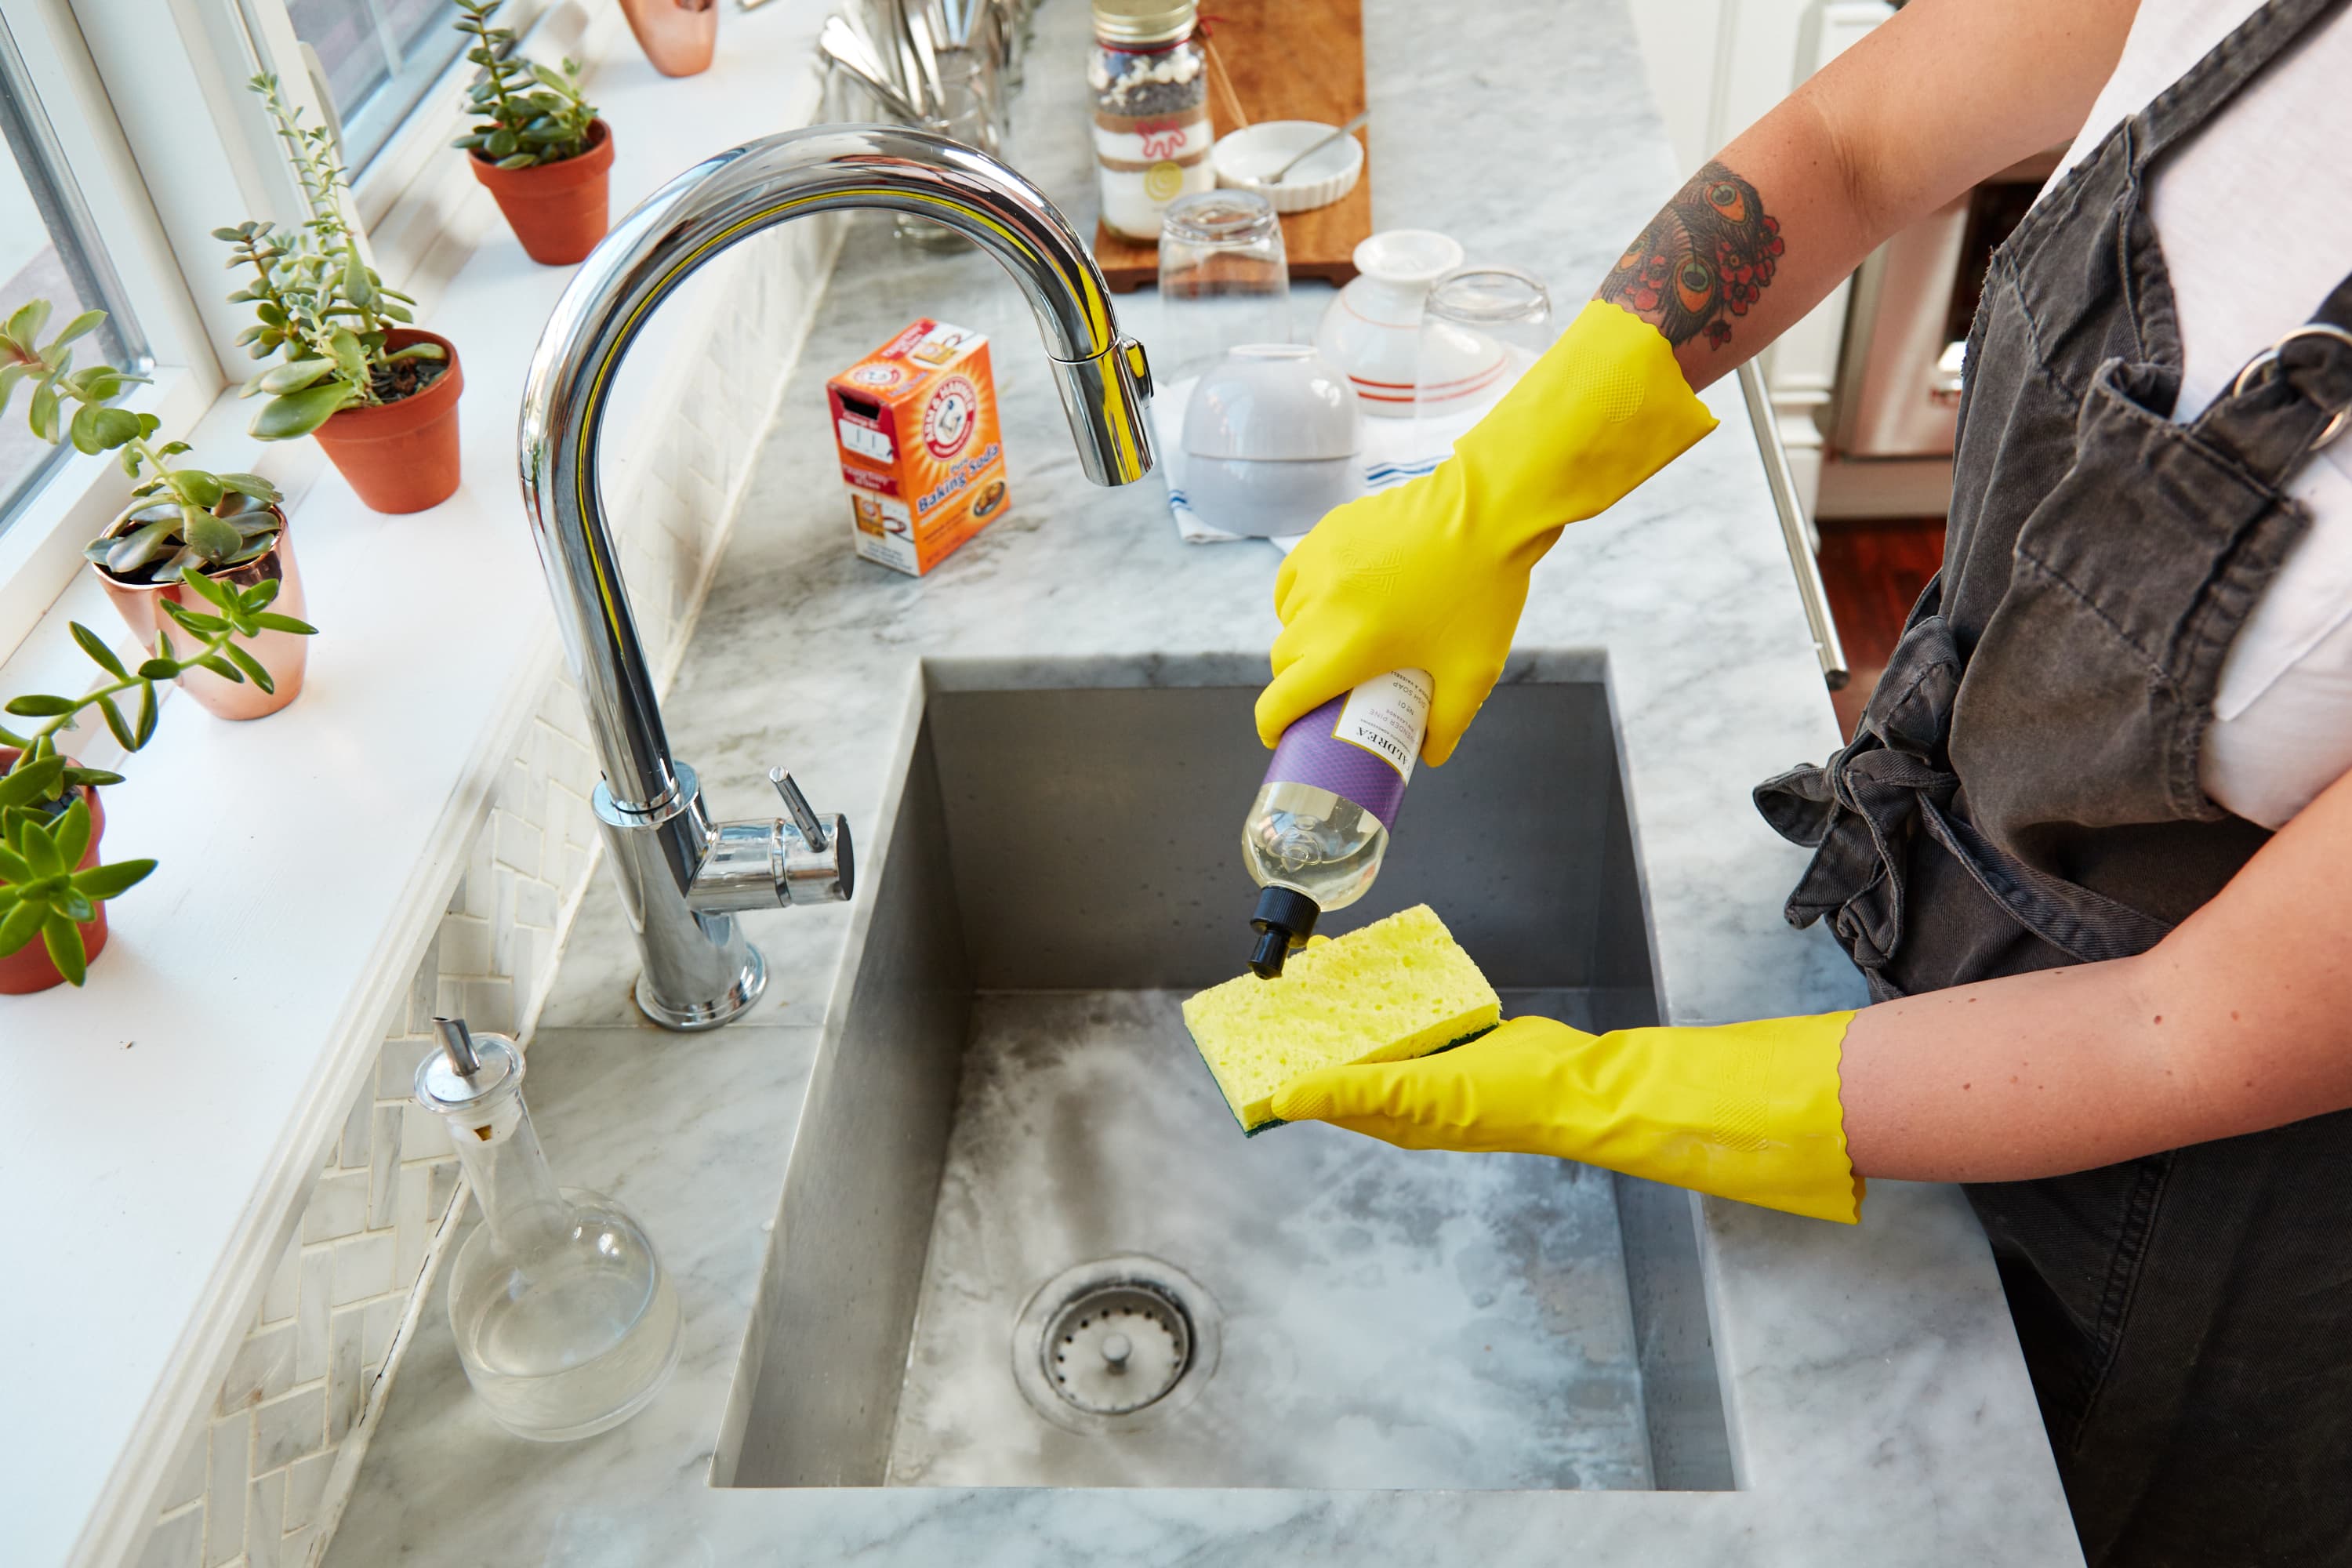
How to Clean a Kitchen Sink Sprayer Nozzle
Over time, your kitchen sink sprayer nozzle can become clogged with mineral deposits and buildup from hard water. This can cause the sprayer to work less effectively or even stop working altogether. Follow these steps to clean your kitchen sink sprayer nozzle and keep it in top working condition.
First, remove the sprayer head from the hose by twisting it counterclockwise. Then, remove the nozzle from the sprayer head. You may need to use pliers to twist it off if it's stuck.
Next, soak the nozzle in a mixture of equal parts white vinegar and water for about an hour. This will help dissolve any mineral deposits and buildup. After soaking, use a toothbrush to scrub the nozzle and remove any remaining buildup.
Rinse the nozzle with warm water and reattach it to the sprayer head. Then, reattach the sprayer head to the hose and test it to ensure it's working properly. If there are still issues, the problem may be with the sprayer head itself and it may need to be replaced.


How to Clean a Kitchen Sink Sprayer Nozzle


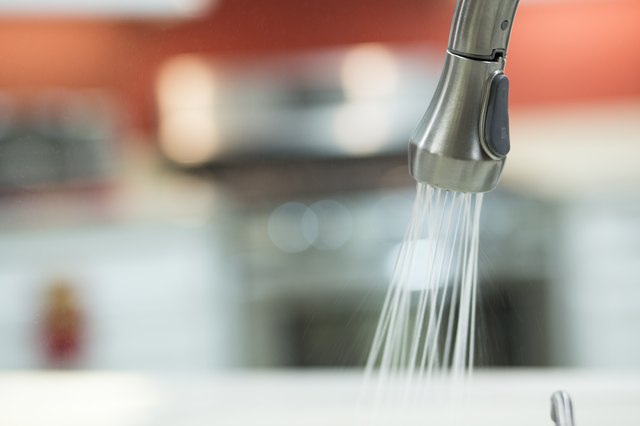
How to Adjust the Water Pressure on a Kitchen Sink Sprayer
Having the right water pressure on your kitchen sink sprayer is essential for efficient and effective use. If you find that your sprayer is not providing enough pressure, you can easily adjust it with these steps.
Start by locating the water pressure regulator, which is typically located under the sink. Use a wrench to loosen the nut on the regulator and adjust it to your desired water pressure. Clockwise will decrease the pressure, while counterclockwise will increase it.
If you can't locate the water pressure regulator or if adjusting it does not improve the water pressure, the issue may be with the sprayer hose. Check for any kinks or clogs in the hose that could be restricting water flow. You can also try cleaning the sprayer nozzle with a toothbrush and warm water to remove any buildup.
If the problem persists, you may need to replace the sprayer hose or nozzle entirely.


How to Adjust the Water Pressure on a Kitchen Sink Sprayer


How to Unclog a Kitchen Sink Sprayer
If you notice that your kitchen sink sprayer is not working at all, the issue may be a clog in the sprayer hose or nozzle. Follow these steps to unclog your kitchen sink sprayer and get it back to working properly.
Start by turning off the water supply to the sink. Then, remove the sprayer head from the hose by twisting it counterclockwise. Use a small brush or pipe cleaner to remove any debris or buildup from the sprayer nozzle.
If the nozzle is clear, the clog may be located in the sprayer hose. Disconnect the hose from the base of the sink and use a pipe cleaner or plumbing snake to push the clog out. Once the clog is cleared, reattach the hose and test the sprayer to ensure it's working properly.


How to Unclog a Kitchen Sink Sprayer


/how-to-unclog-a-kitchen-sink-2718799_sketch_FINAL-8c5caa805a69493ab22dfb537c72a1b7.png)

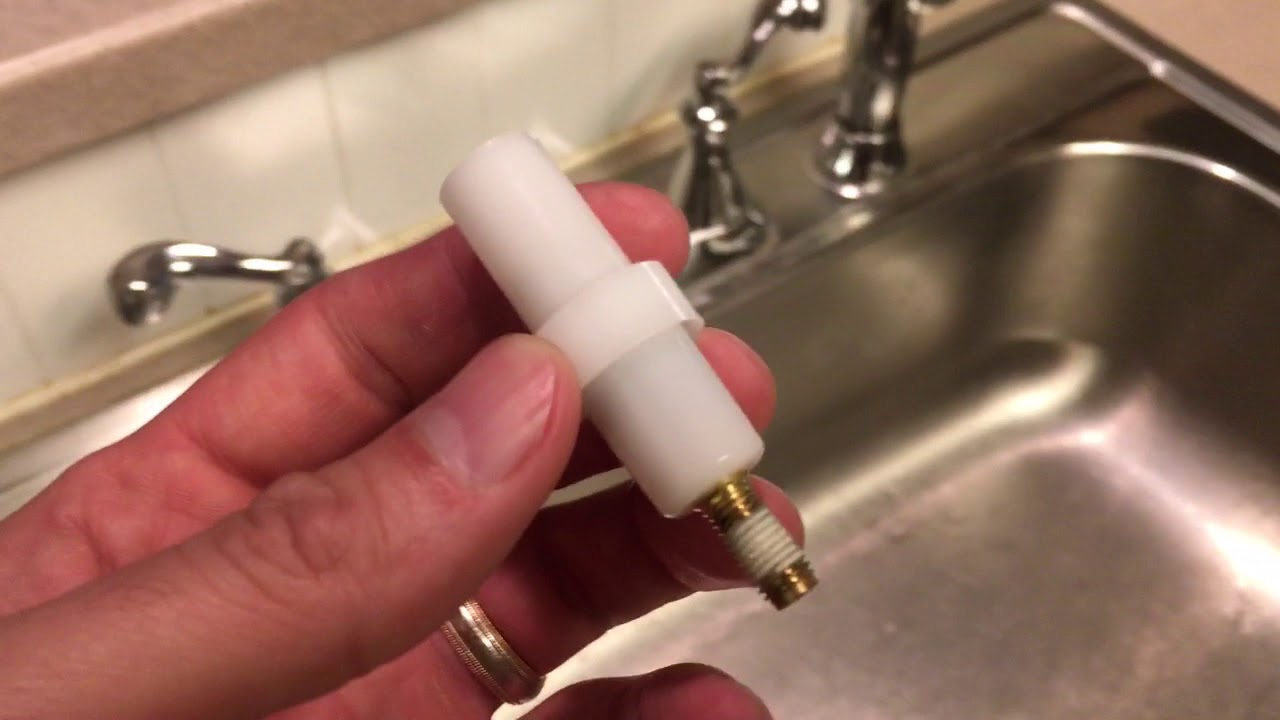
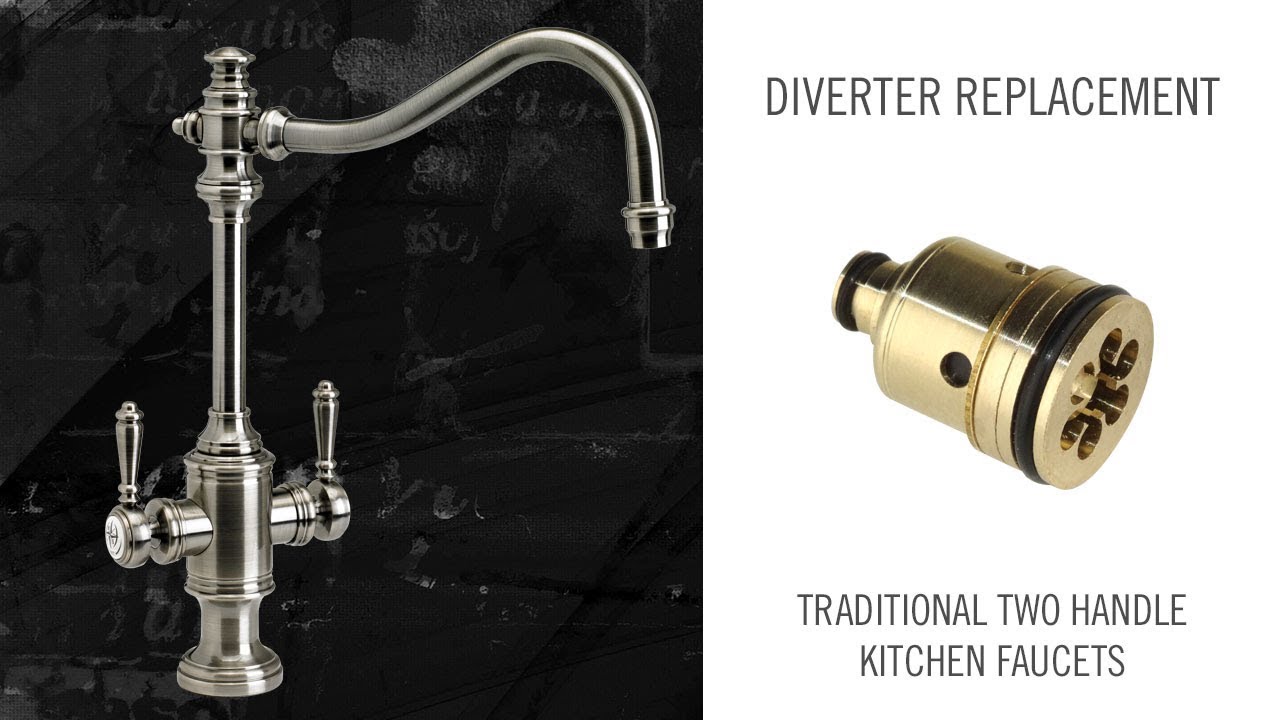
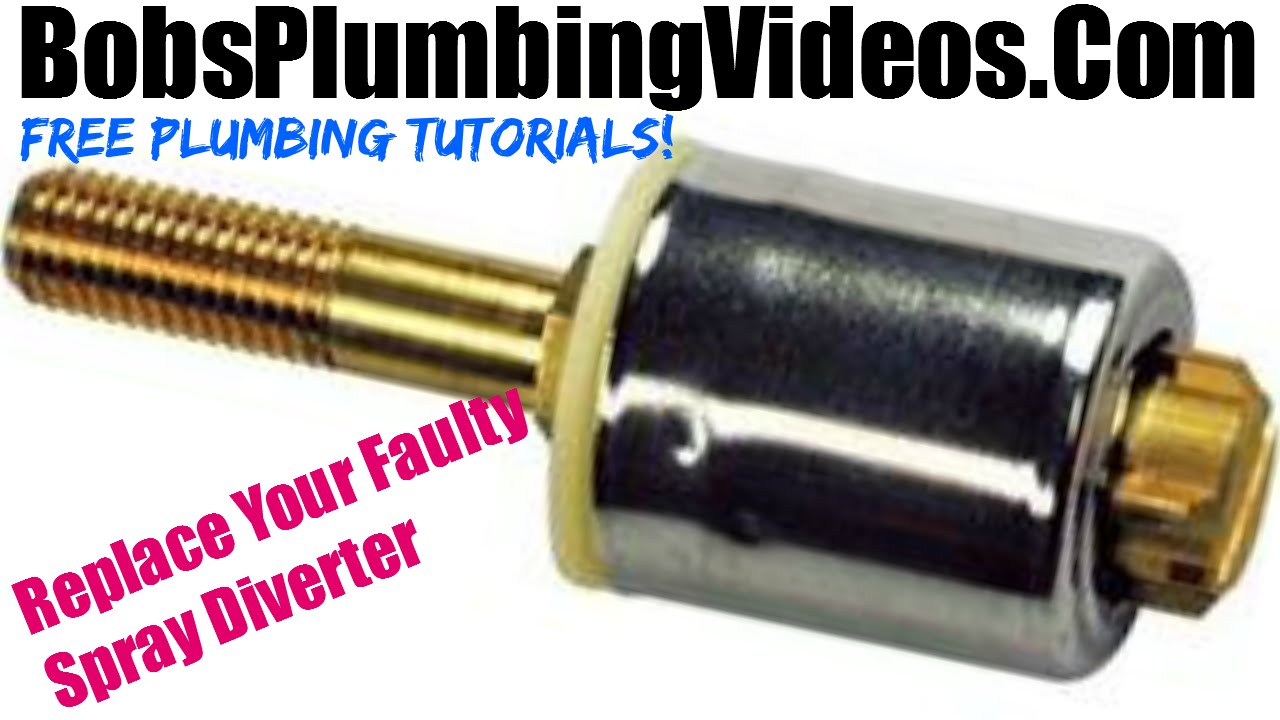
How to Repair a Kitchen Sink Sprayer Diverter
If your kitchen sink sprayer is not working at all, the issue may be with the sprayer's diverter. This small valve controls the flow of water and can become clogged or damaged over time. Follow these steps to repair a kitchen sink sprayer diverter.
Start by turning off the water supply to the sink. Then, remove the sprayer head from the hose by twisting it counterclockwise. Next, unscrew the hose from the base of the sink and remove the sprayer diverter from inside the hose.
Inspect the diverter for any clogs or damage. If it's clogged, clean it with a mixture of equal parts white vinegar and water. If it's damaged, you will need to replace it. Reattach the diverter and the hose to the sink, then reattach the sprayer head and test the sprayer to ensure it's working properly.


How to Repair a Kitchen Sink Sprayer Diverter


How to Remove a Kitchen Sink Sprayer Head
If you need to replace your kitchen sink sprayer head, you will first need to remove the old one. Follow these steps to safely and easily remove a kitchen sink sprayer head.
Start by turning off the water supply to the sink. Then, grip the sprayer head and twist it counterclockwise to remove it from the hose. If it's stuck, you can use pliers to help loosen it.
Once the sprayer head is removed, you can discard it. If you're replacing it with a new sprayer head, simply twist the new head onto the hose clockwise until it's securely attached. Turn the water supply back on and test the sprayer to ensure it's working properly.


How to Remove a Kitchen Sink Sprayer Head


How to Fix a Stuck Kitchen Sink Sprayer
If you find that your kitchen sink sprayer is stuck and won't turn on or off, don't panic. This issue can be easily fixed with these steps.
First, turn off the water supply to the sink. Then, remove the sprayer head from the hose by twisting it counterclockwise. Next, use a wrench to loosen the nut on the base of the sprayer head. Once the nut is loose, you should be able to remove the sprayer head completely.
Inspect the sprayer head for any debris or buildup that could be causing it to stick. Clean it with a toothbrush and warm water if necessary. If the sprayer head is damaged, you will need to replace it with a new one.
After cleaning or replacing the sprayer head, reattach it to the hose and turn the water supply back on. The sprayer should now work properly.

How to Fix a Stuck Kitchen Sink Sprayer


The Benefits of Installing a Kitchen Sink Sprayer in Your Home

Enhance Your Kitchen Experience
 If you're looking for a simple and effective way to upgrade your kitchen, then installing a kitchen sink sprayer is a must. Not only does it add convenience and functionality, but it also adds a touch of elegance to your kitchen design. With just a simple flick of a switch, you can easily switch between a steady stream of water and a powerful spray, making all your kitchen tasks a breeze.
Efficient Cleaning and Washing
 One of the main benefits of a kitchen sink sprayer is its efficiency in cleaning and washing. The powerful spray that it produces helps to easily remove stubborn food particles from dishes, pots, and pans, making them squeaky clean in no time. It also helps to rinse off soap residue from dishes and produce, leaving them spotless and ready to use. With a kitchen sink sprayer, you can say goodbye to the hassle of scrubbing and soaking dishes for hours.
Save Water and Money
 Another advantage of installing a kitchen sink sprayer is its water-saving feature. With a traditional faucet, you may use more water than necessary when washing dishes or rinsing produce. However, with a sprayer, you have better control over the amount of water you use, which can lead to significant water and cost savings in the long run. Plus, using less water is also an environmentally-friendly choice, reducing your carbon footprint and contributing to preserving our planet.
Convenient for Various Tasks
 A kitchen sink sprayer is not just limited to washing dishes and produce. It can also make other kitchen tasks more convenient and efficient. For example, you can use it to fill up pots and pitchers with water, making it easier to pour the right amount without splashing. You can also use it to clean your sink and countertops, giving them a quick and thorough rinse. With a kitchen sink sprayer, you have a versatile tool that can assist you in various tasks.
Upgrade Your Kitchen Today
In conclusion, installing a kitchen sink sprayer is a simple and affordable way to upgrade your kitchen design while adding convenience and functionality. It not only enhances your overall kitchen experience but also saves water and money. With its versatile uses, a kitchen sink sprayer is a valuable addition to any home. So why wait? Upgrade your kitchen today and enjoy the benefits of a kitchen sink sprayer.
A kitchen sink sprayer is not just limited to washing dishes and produce. It can also make other kitchen tasks more convenient and efficient. For example, you can use it to fill up pots and pitchers with water, making it easier to pour the right amount without splashing. You can also use it to clean your sink and countertops, giving them a quick and thorough rinse. With a kitchen sink sprayer, you have a versatile tool that can assist you in various tasks.
Upgrade Your Kitchen Today
In conclusion, installing a kitchen sink sprayer is a simple and affordable way to upgrade your kitchen design while adding convenience and functionality. It not only enhances your overall kitchen experience but also saves water and money. With its versatile uses, a kitchen sink sprayer is a valuable addition to any home. So why wait? Upgrade your kitchen today and enjoy the benefits of a kitchen sink sprayer.


/blue-living-room-ideas-for-every-style-4121681-hero-c32a580f78304212b81c8d5db863d37f.jpg)