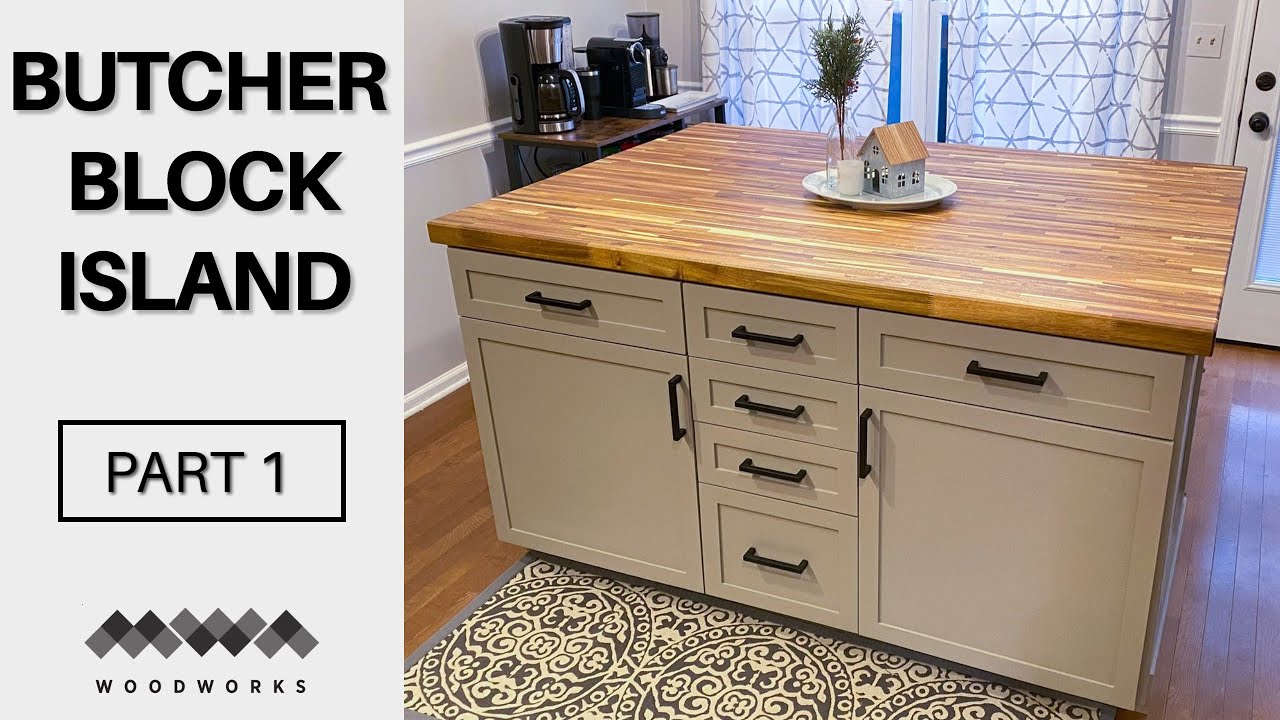
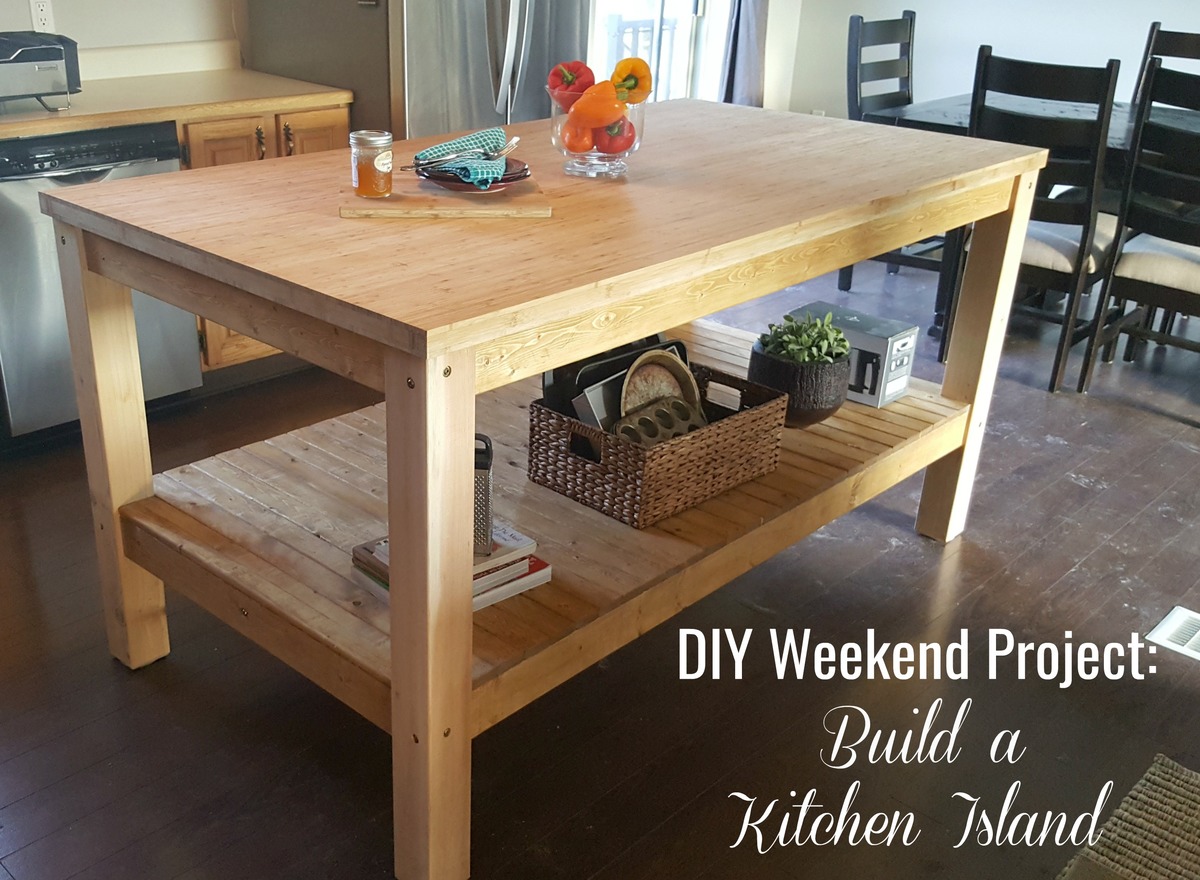
Are you looking to add more storage and counter space to your kitchen? Building a kitchen island out of wall cabinets is a great way to achieve both. Not only is it a practical solution, but it also adds a unique and custom touch to your kitchen. In this guide, we will walk you through the steps of creating your own kitchen island using wall cabinets.How to Build a Kitchen Island Out of Wall Cabinets


How to Build a Kitchen Island Out of Wall Cabinets


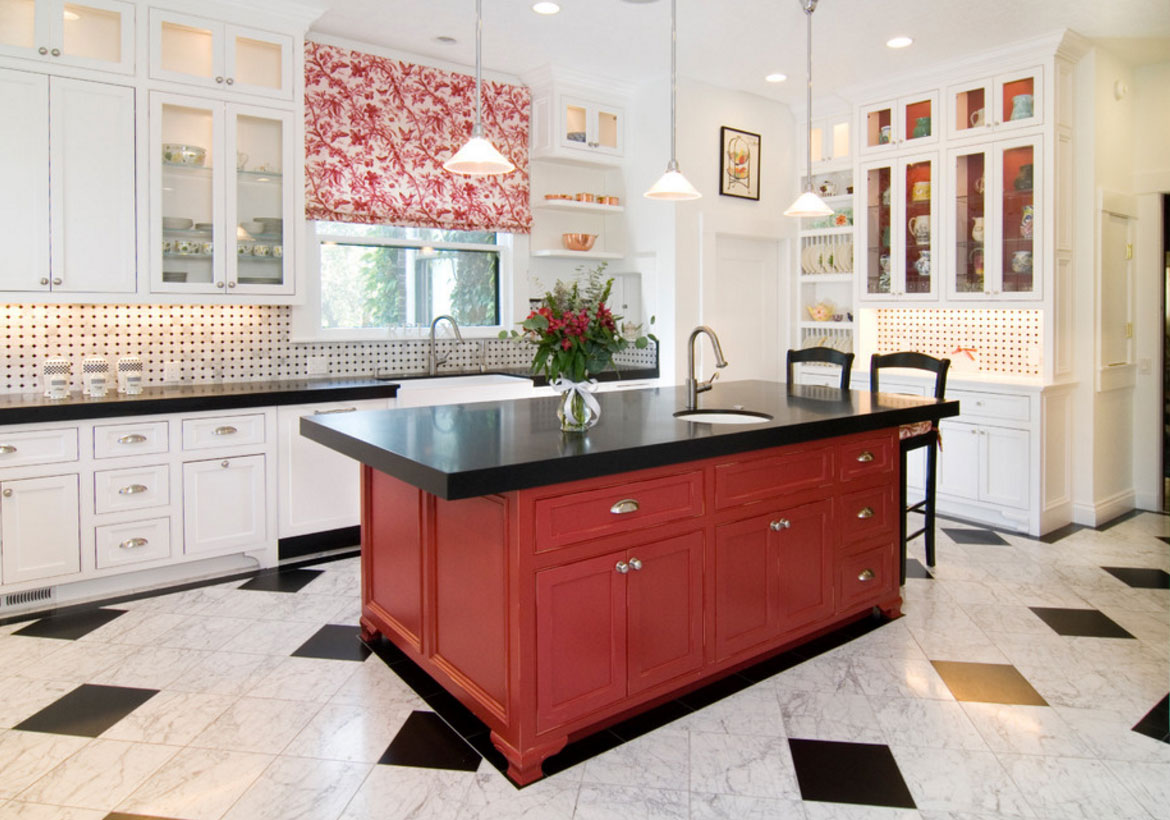
Creating your own kitchen island from wall cabinets is a cost-effective and fun DIY project. You can customize it to fit your specific needs and style. Plus, you can save money by repurposing old or unused wall cabinets instead of buying new ones. With a little bit of creativity and some basic tools, you can transform your kitchen space in no time.DIY Kitchen Island from Wall Cabinets


DIY Kitchen Island from Wall Cabinets


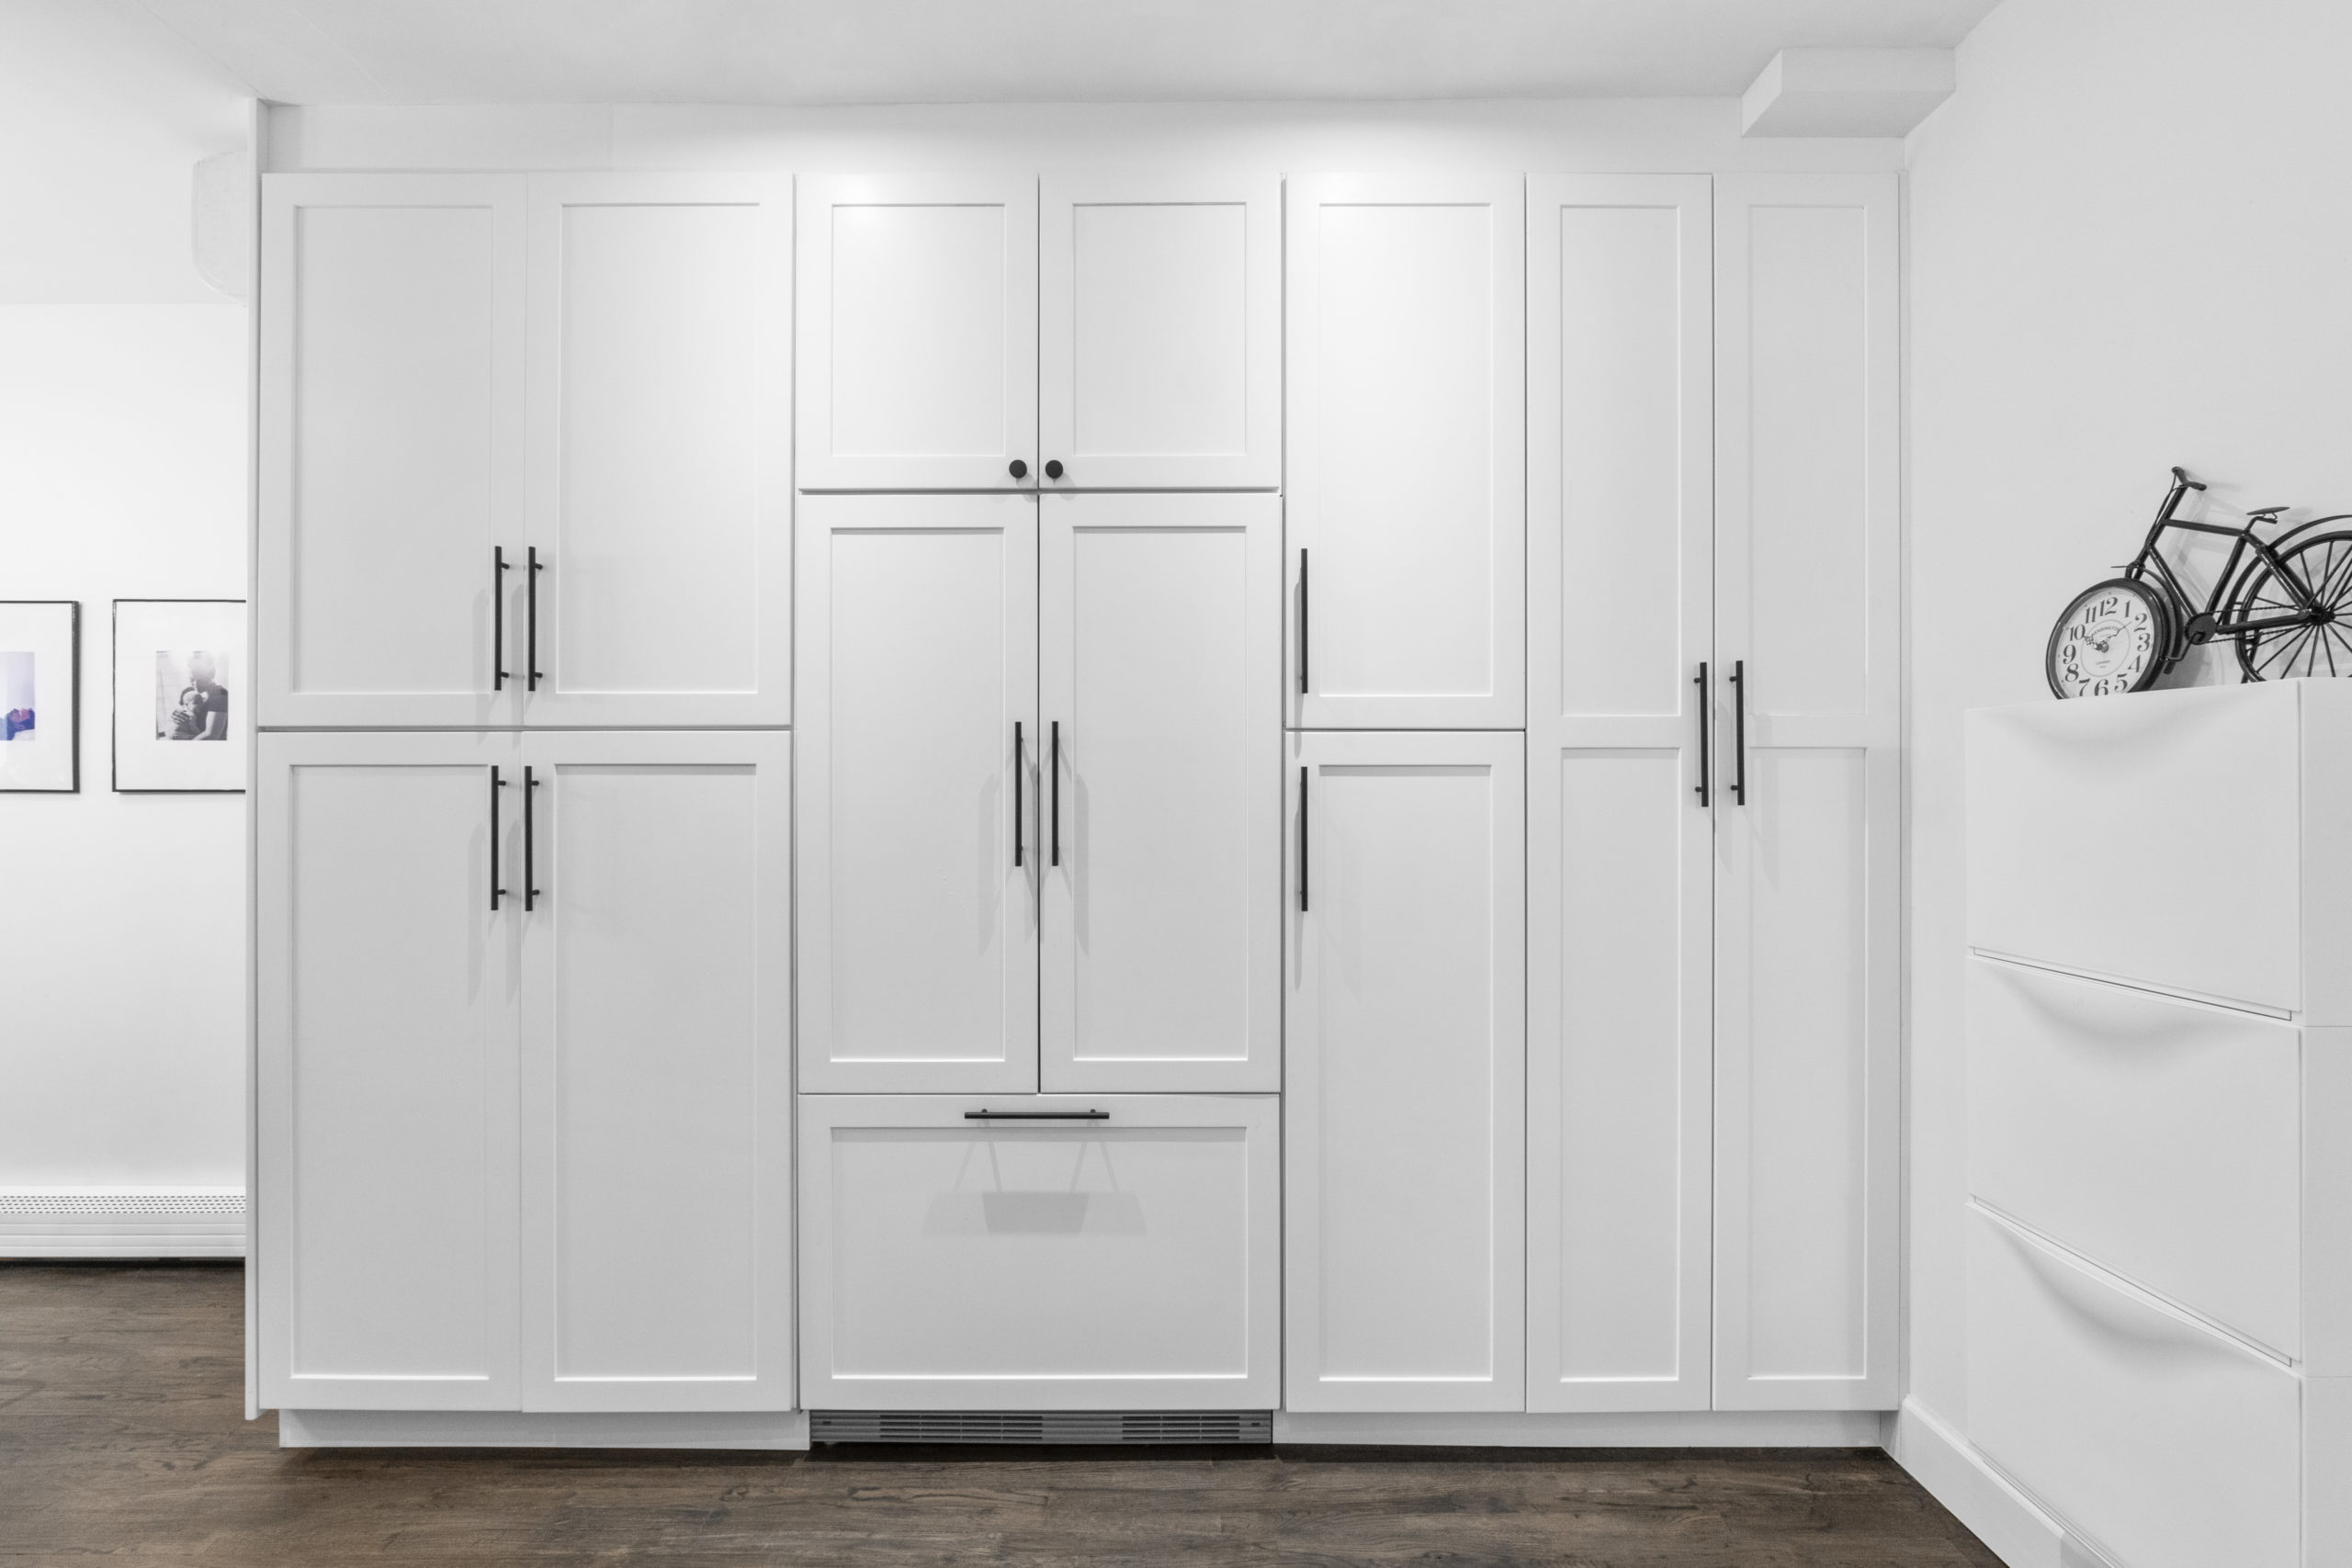
Before you begin, make sure to measure the space where you want your kitchen island to be placed. This will determine the size and number of wall cabinets you will need. It is also important to choose cabinets that are of similar size and depth to create a balanced and cohesive look. Once you have the cabinets, remove any doors, shelves, and hardware. You can also add a fresh coat of paint or stain to match your existing kitchen decor. Next, attach the cabinets together using screws and brackets for added stability. You can also reinforce the bottom of the cabinets with a sheet of plywood for extra support.Transforming Wall Cabinets into a Kitchen Island


Transforming Wall Cabinets into a Kitchen Island


1. Measure and mark the placement of your kitchen island using painter's tape.
2. Assemble the wall cabinets, removing any doors and hardware.
3. Attach the cabinets together using screws and brackets.
4. Reinforce the bottom of the cabinets with a sheet of plywood.
5. Add a countertop of your choice, such as butcher block or granite.
6. Secure the countertop to the cabinets using adhesive and screws.
7. Install any necessary hardware, such as drawer pulls or knobs.
8. Finish the kitchen island with paint or stain to match your kitchen decor.
9. Let the island dry completely before using it.Step-by-Step Guide to Building a Kitchen Island with Wall Cabinets


Step-by-Step Guide to Building a Kitchen Island with Wall Cabinets


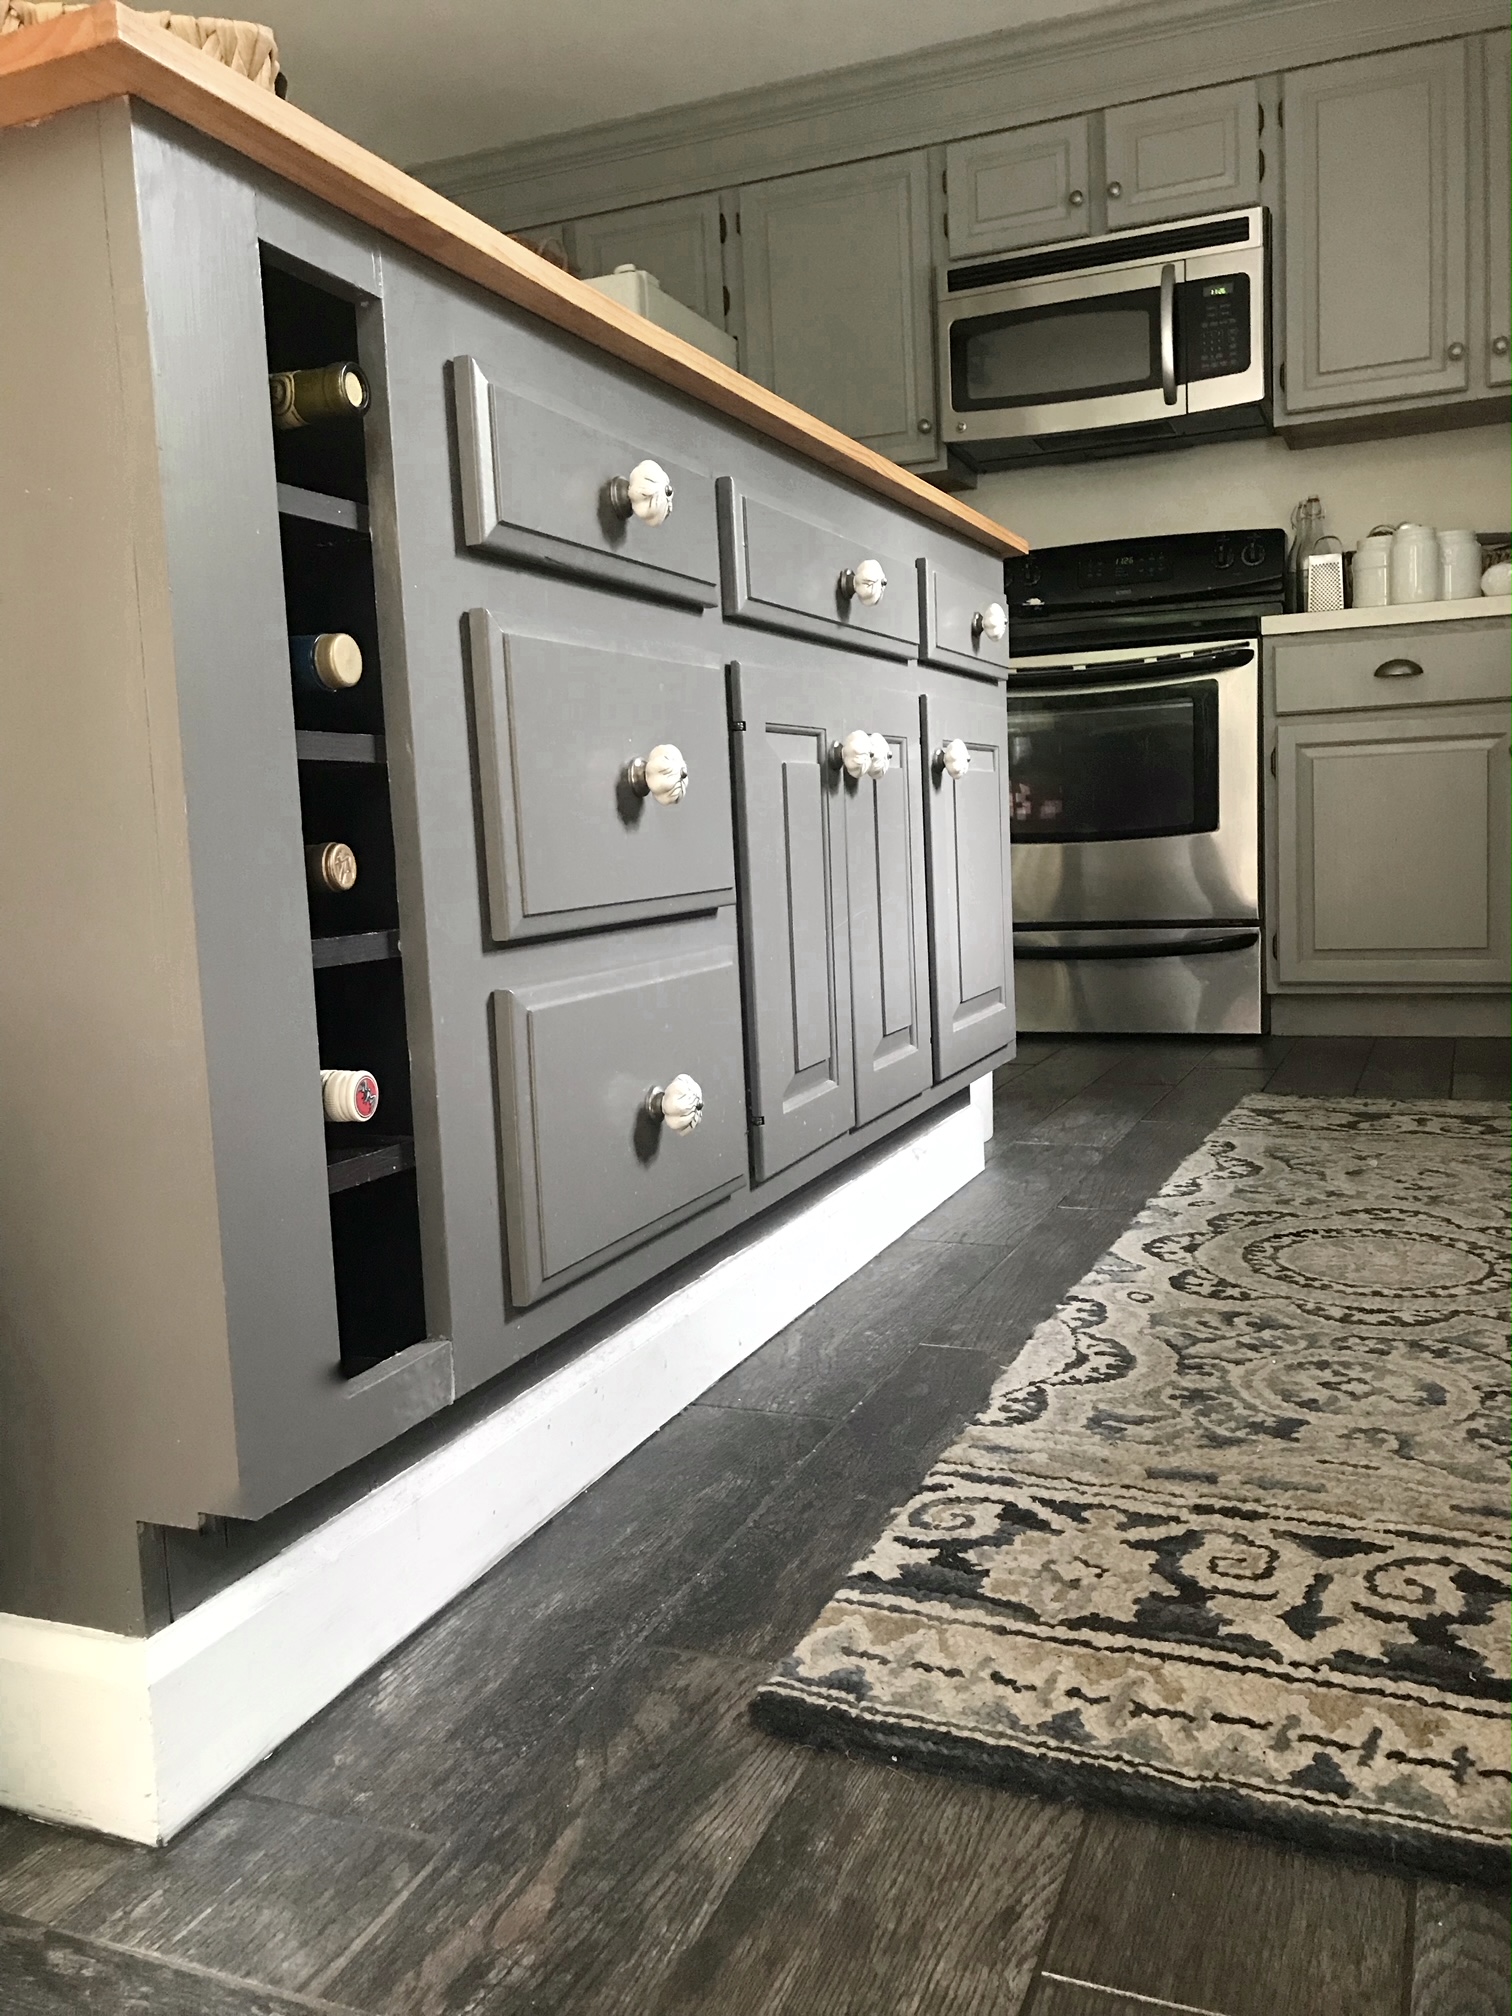
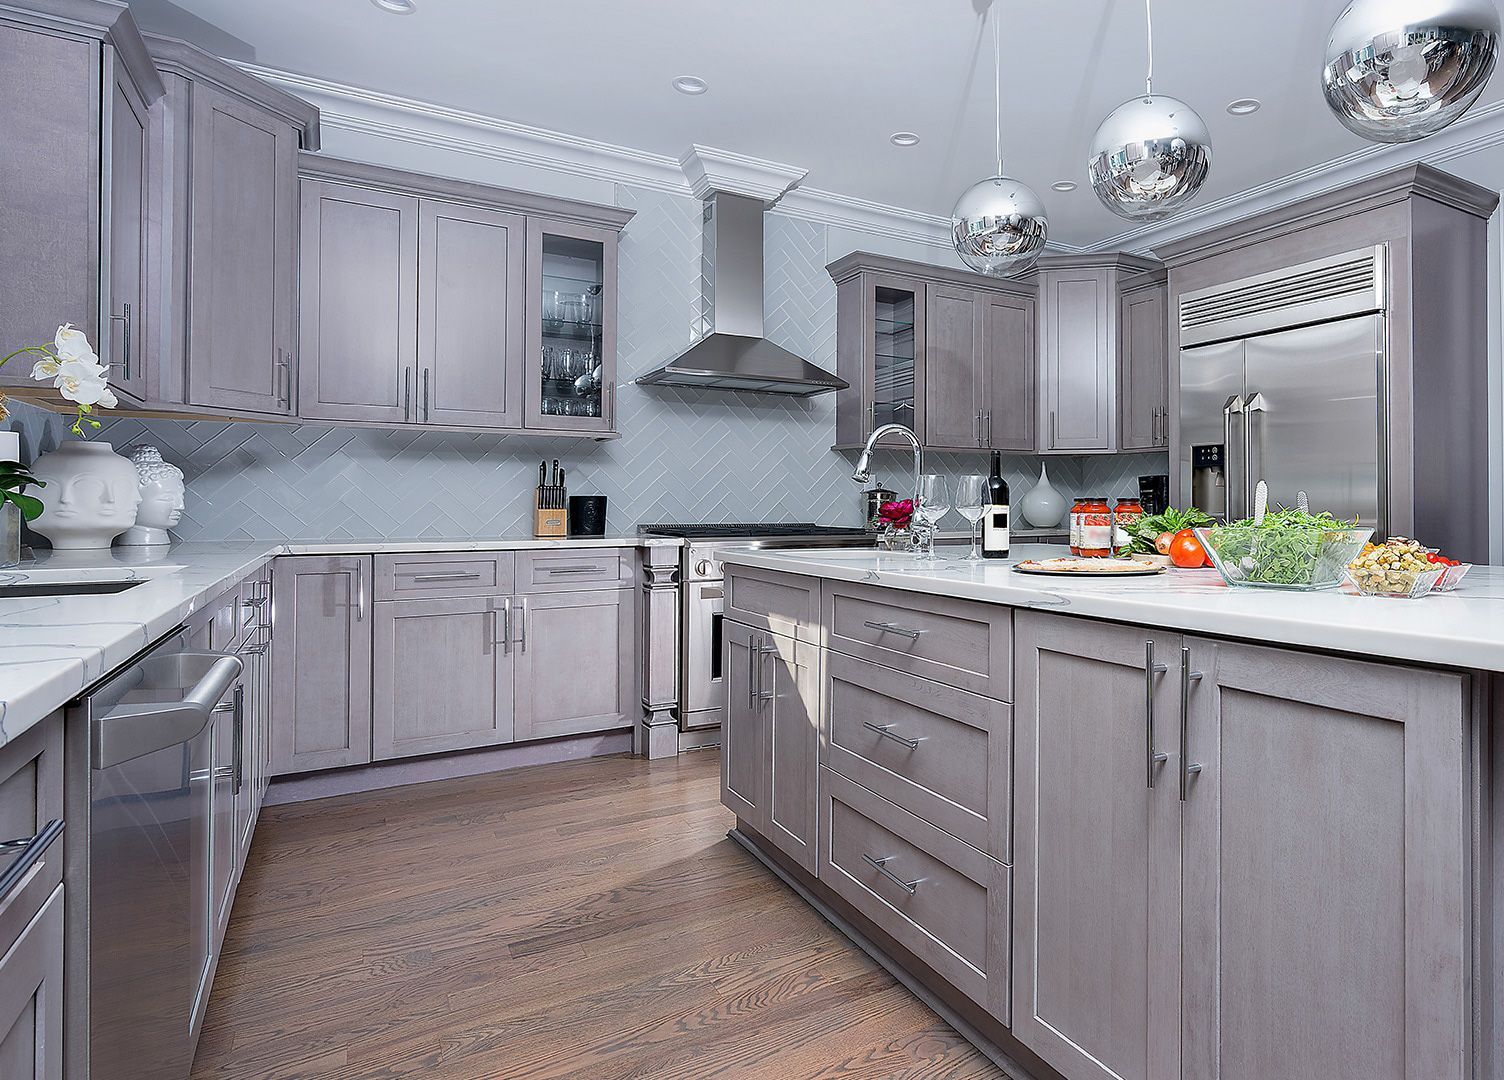
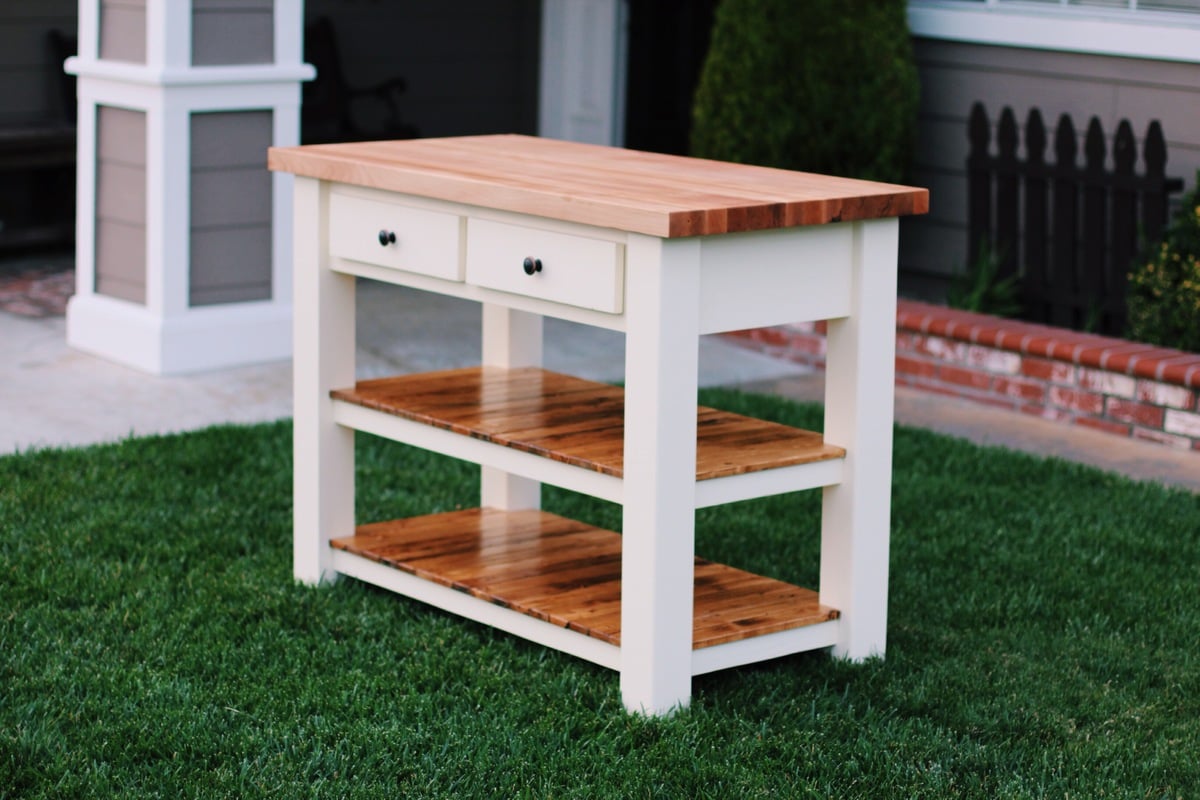
The great thing about building a kitchen island with wall cabinets is the ability to customize it according to your needs. You can add shelves, drawers, or even a wine rack to make it more functional. You can also choose a unique countertop material to make it stand out. Let your creativity flow and design a one-of-a-kind kitchen island that fits your style and needs.Creating a Custom Kitchen Island with Wall Cabinets


Creating a Custom Kitchen Island with Wall Cabinets


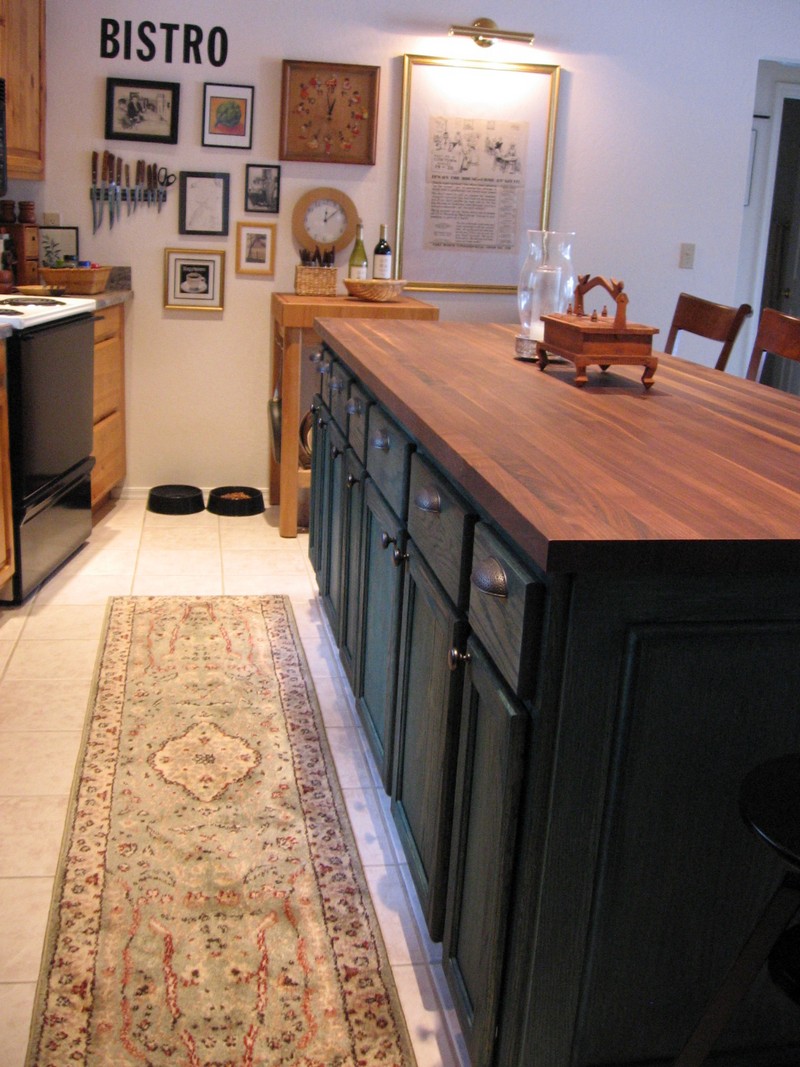
Repurposing old or unused wall cabinets for a kitchen island is not only budget-friendly but also environmentally friendly. Instead of throwing away or getting rid of old cabinets, give them a new life and purpose. You can also add a new coat of paint or stain to match your existing kitchen decor and create a cohesive look.Repurposing Wall Cabinets for a Kitchen Island


Repurposing Wall Cabinets for a Kitchen Island


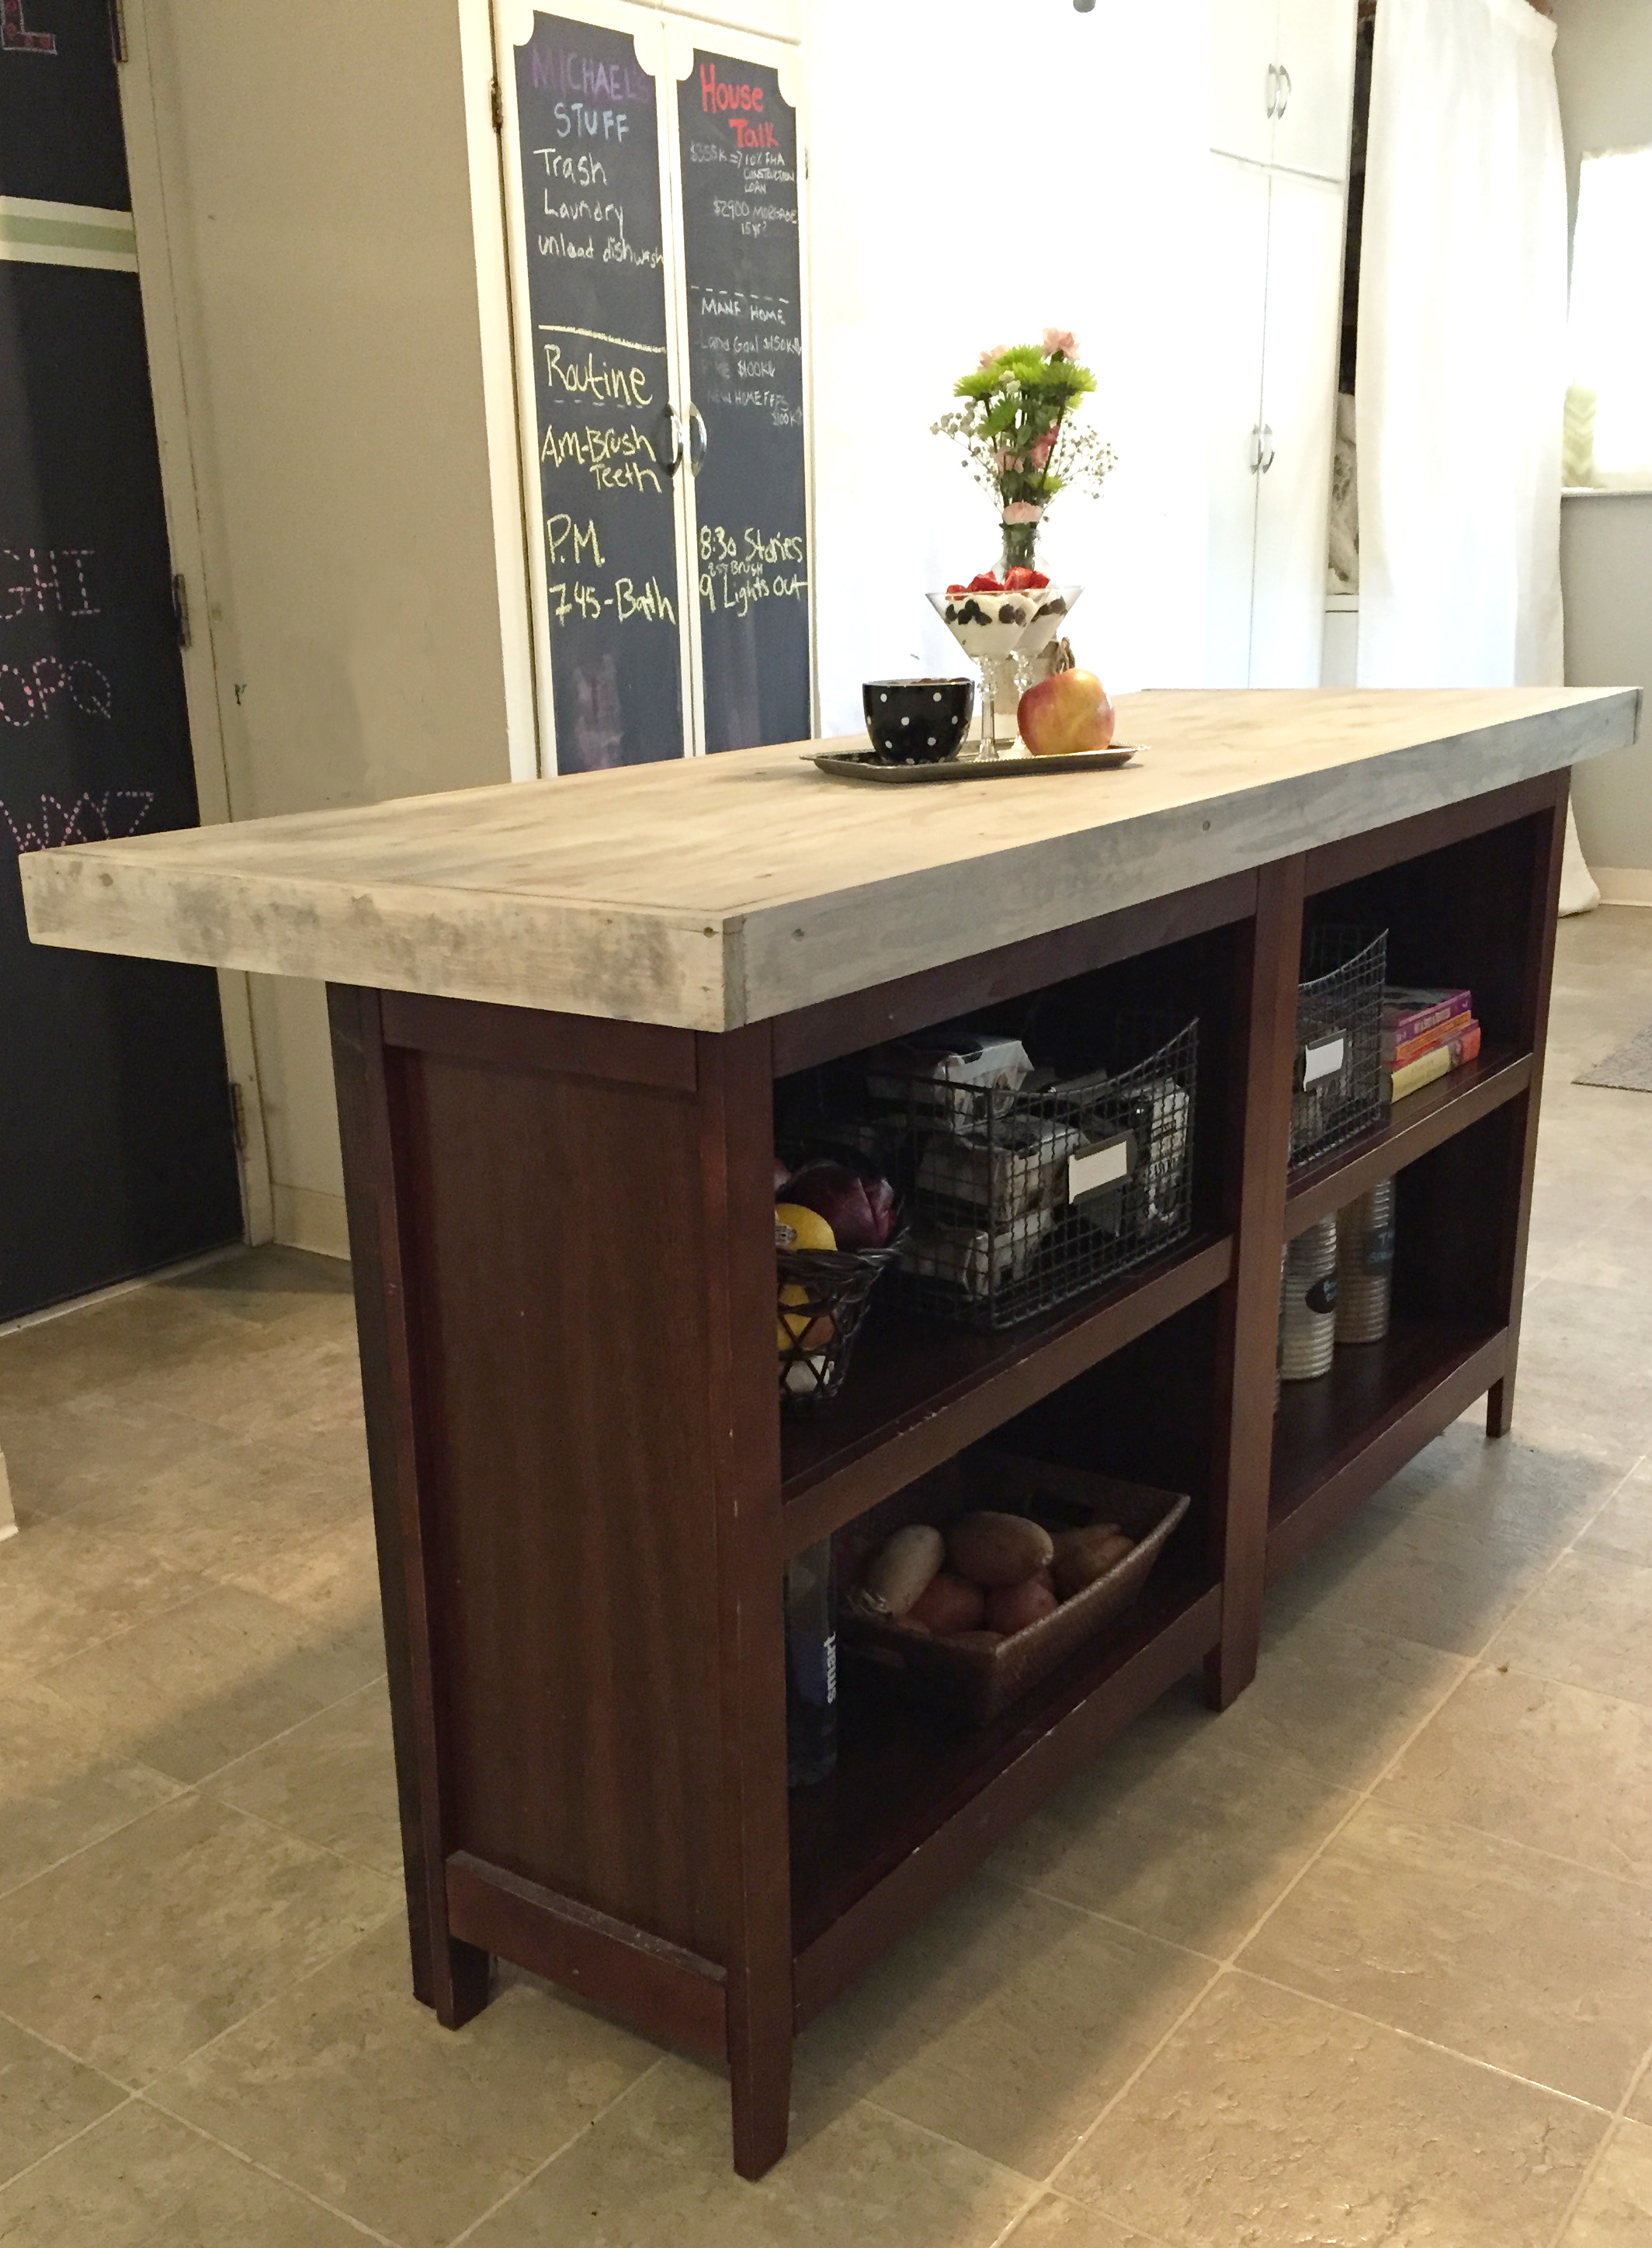
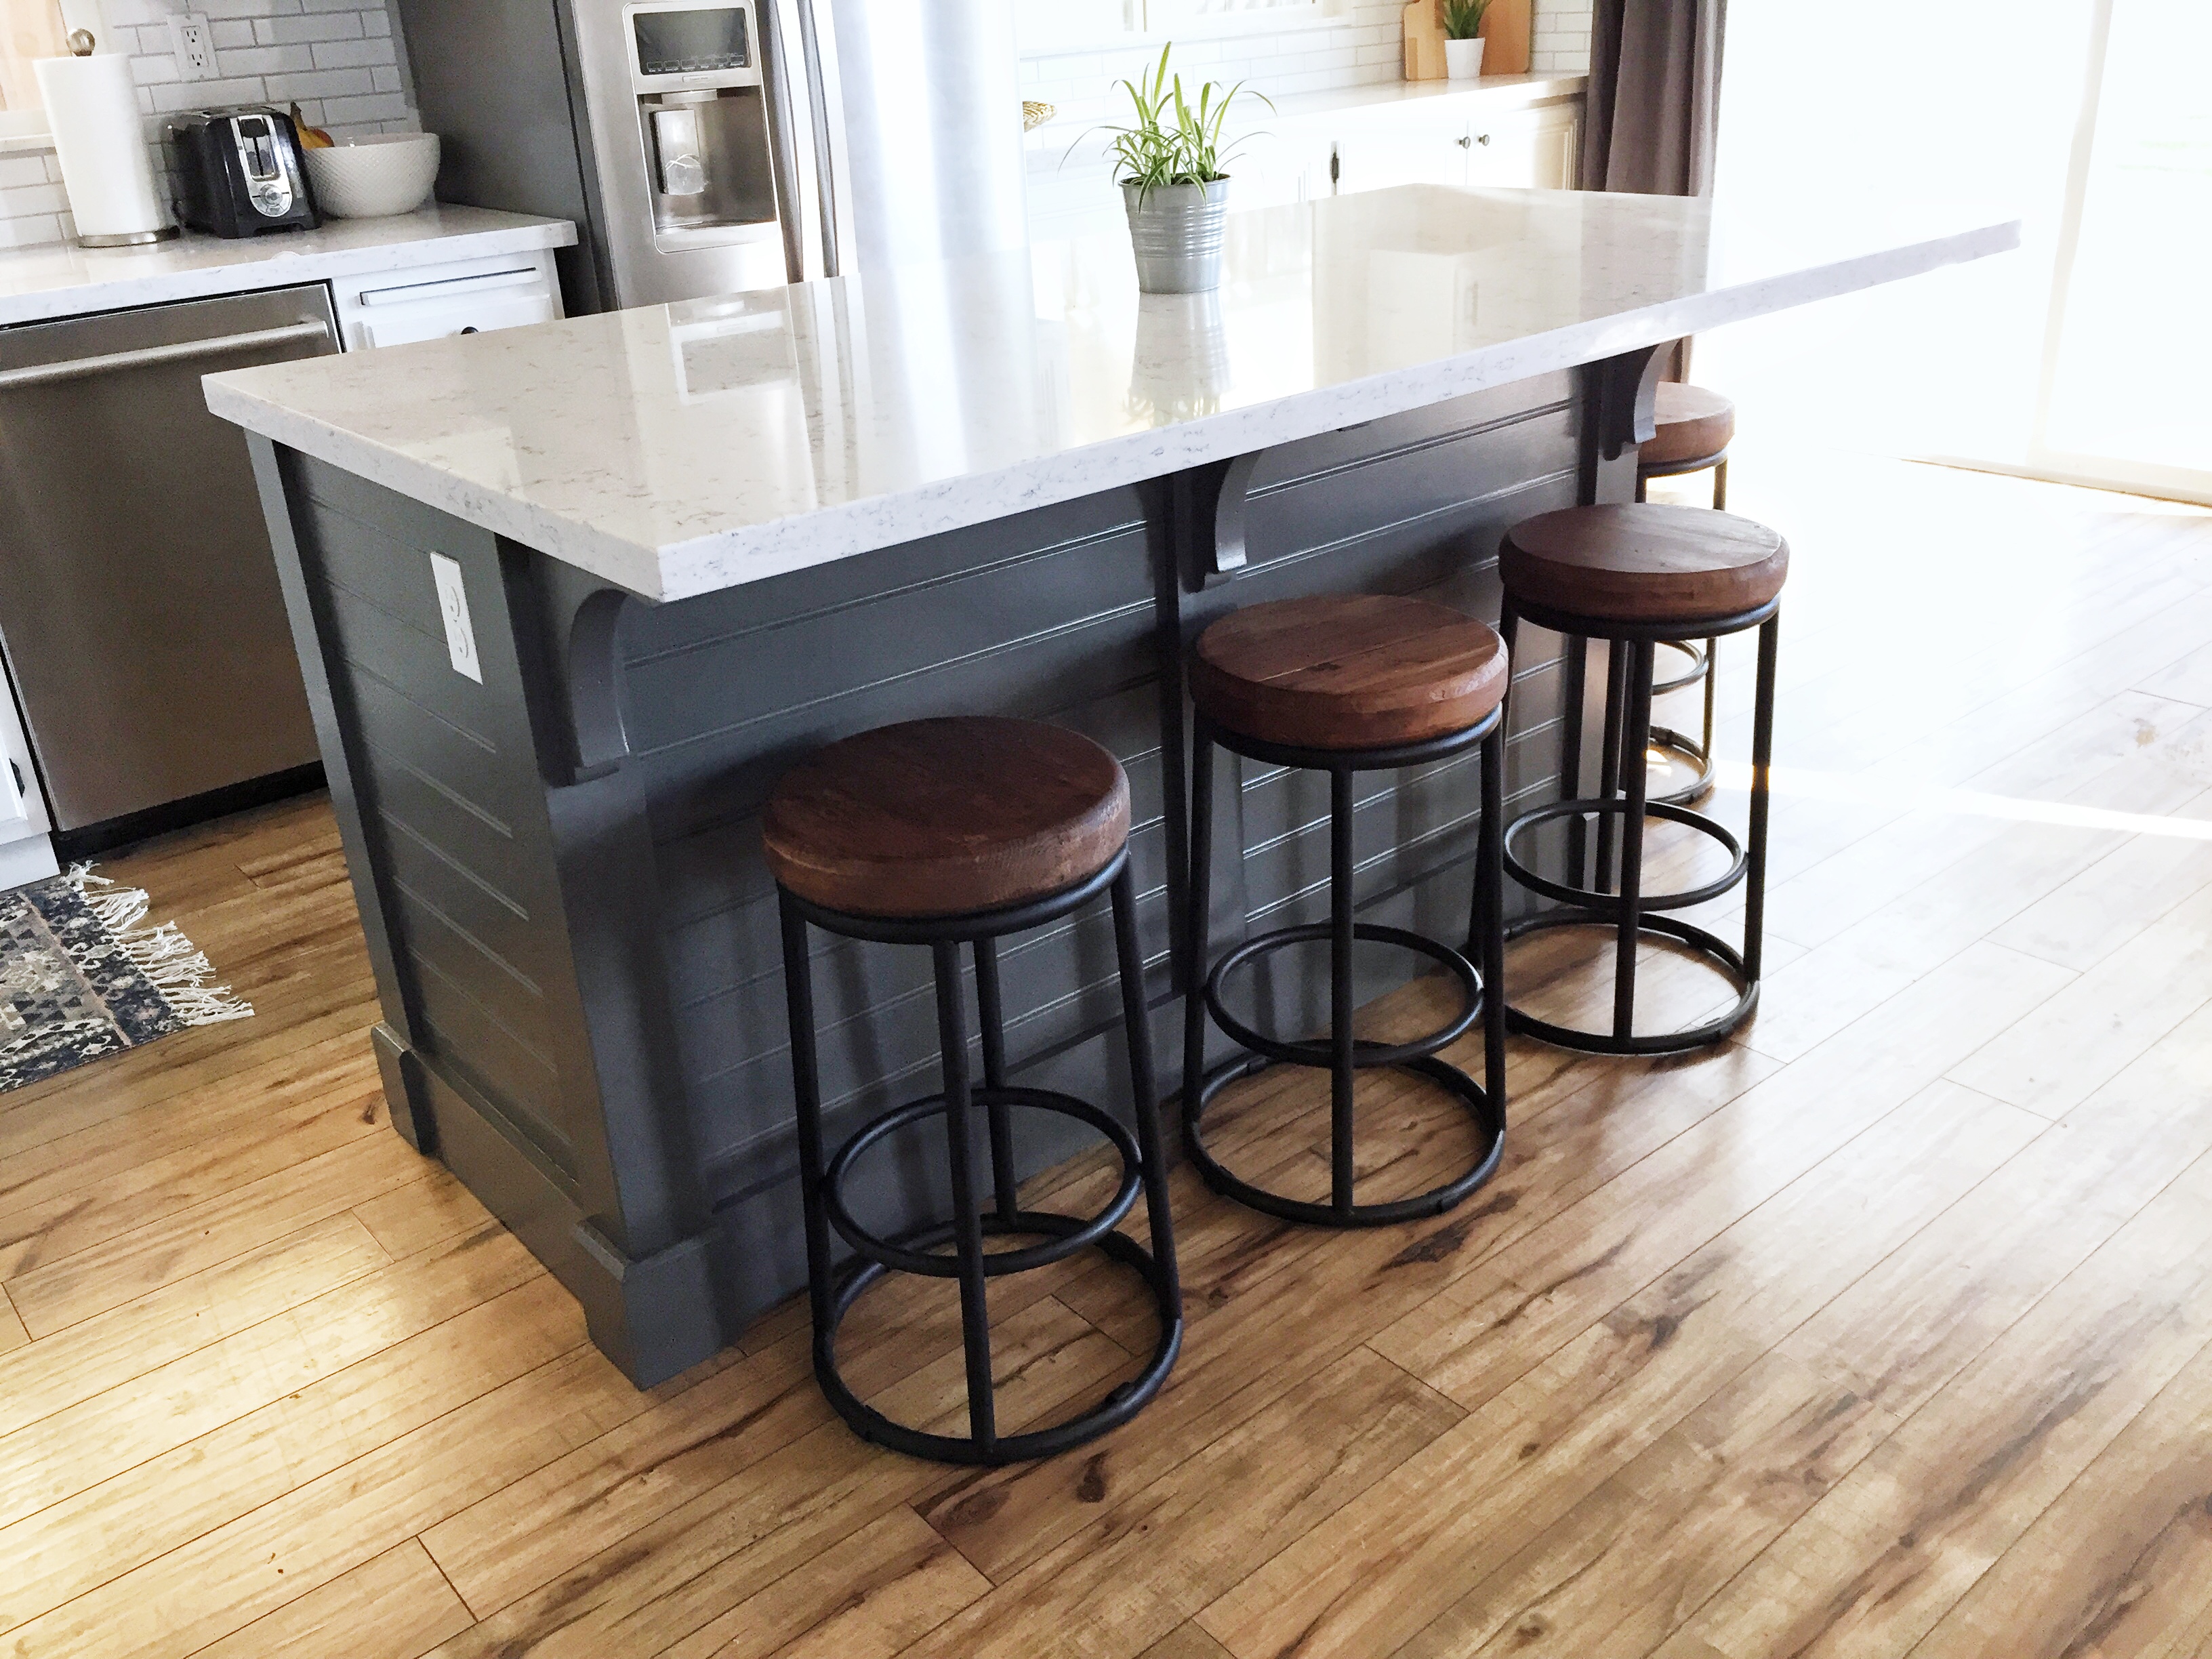
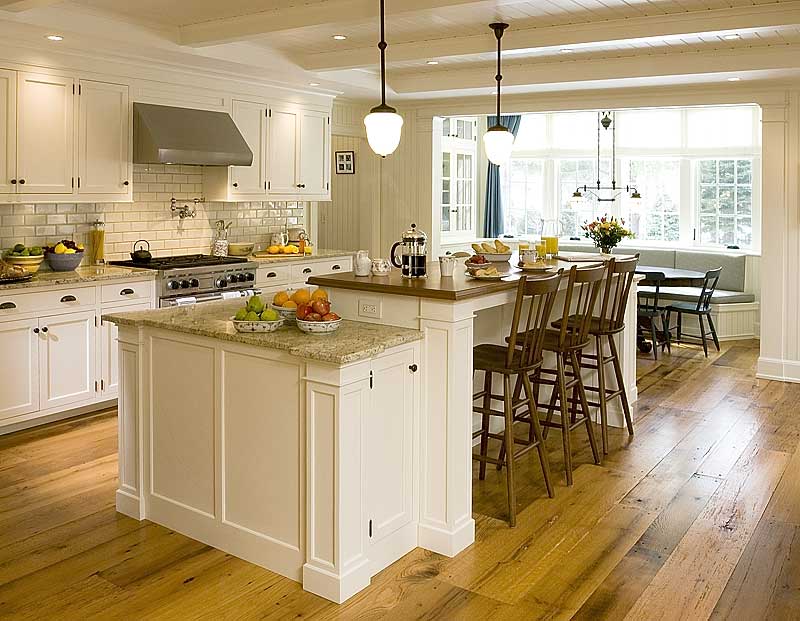
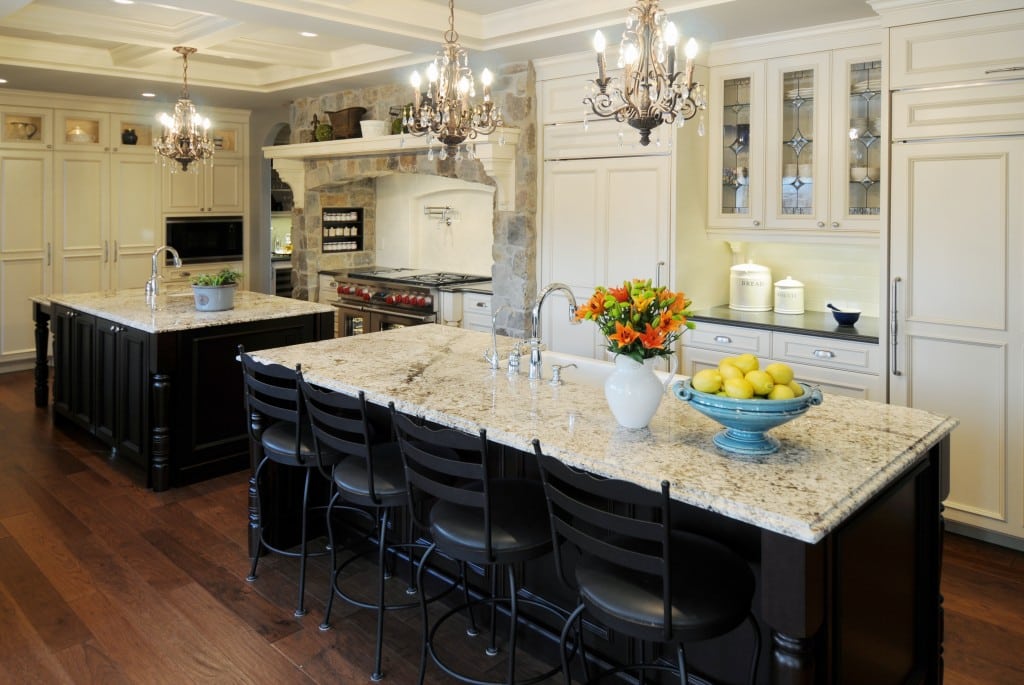
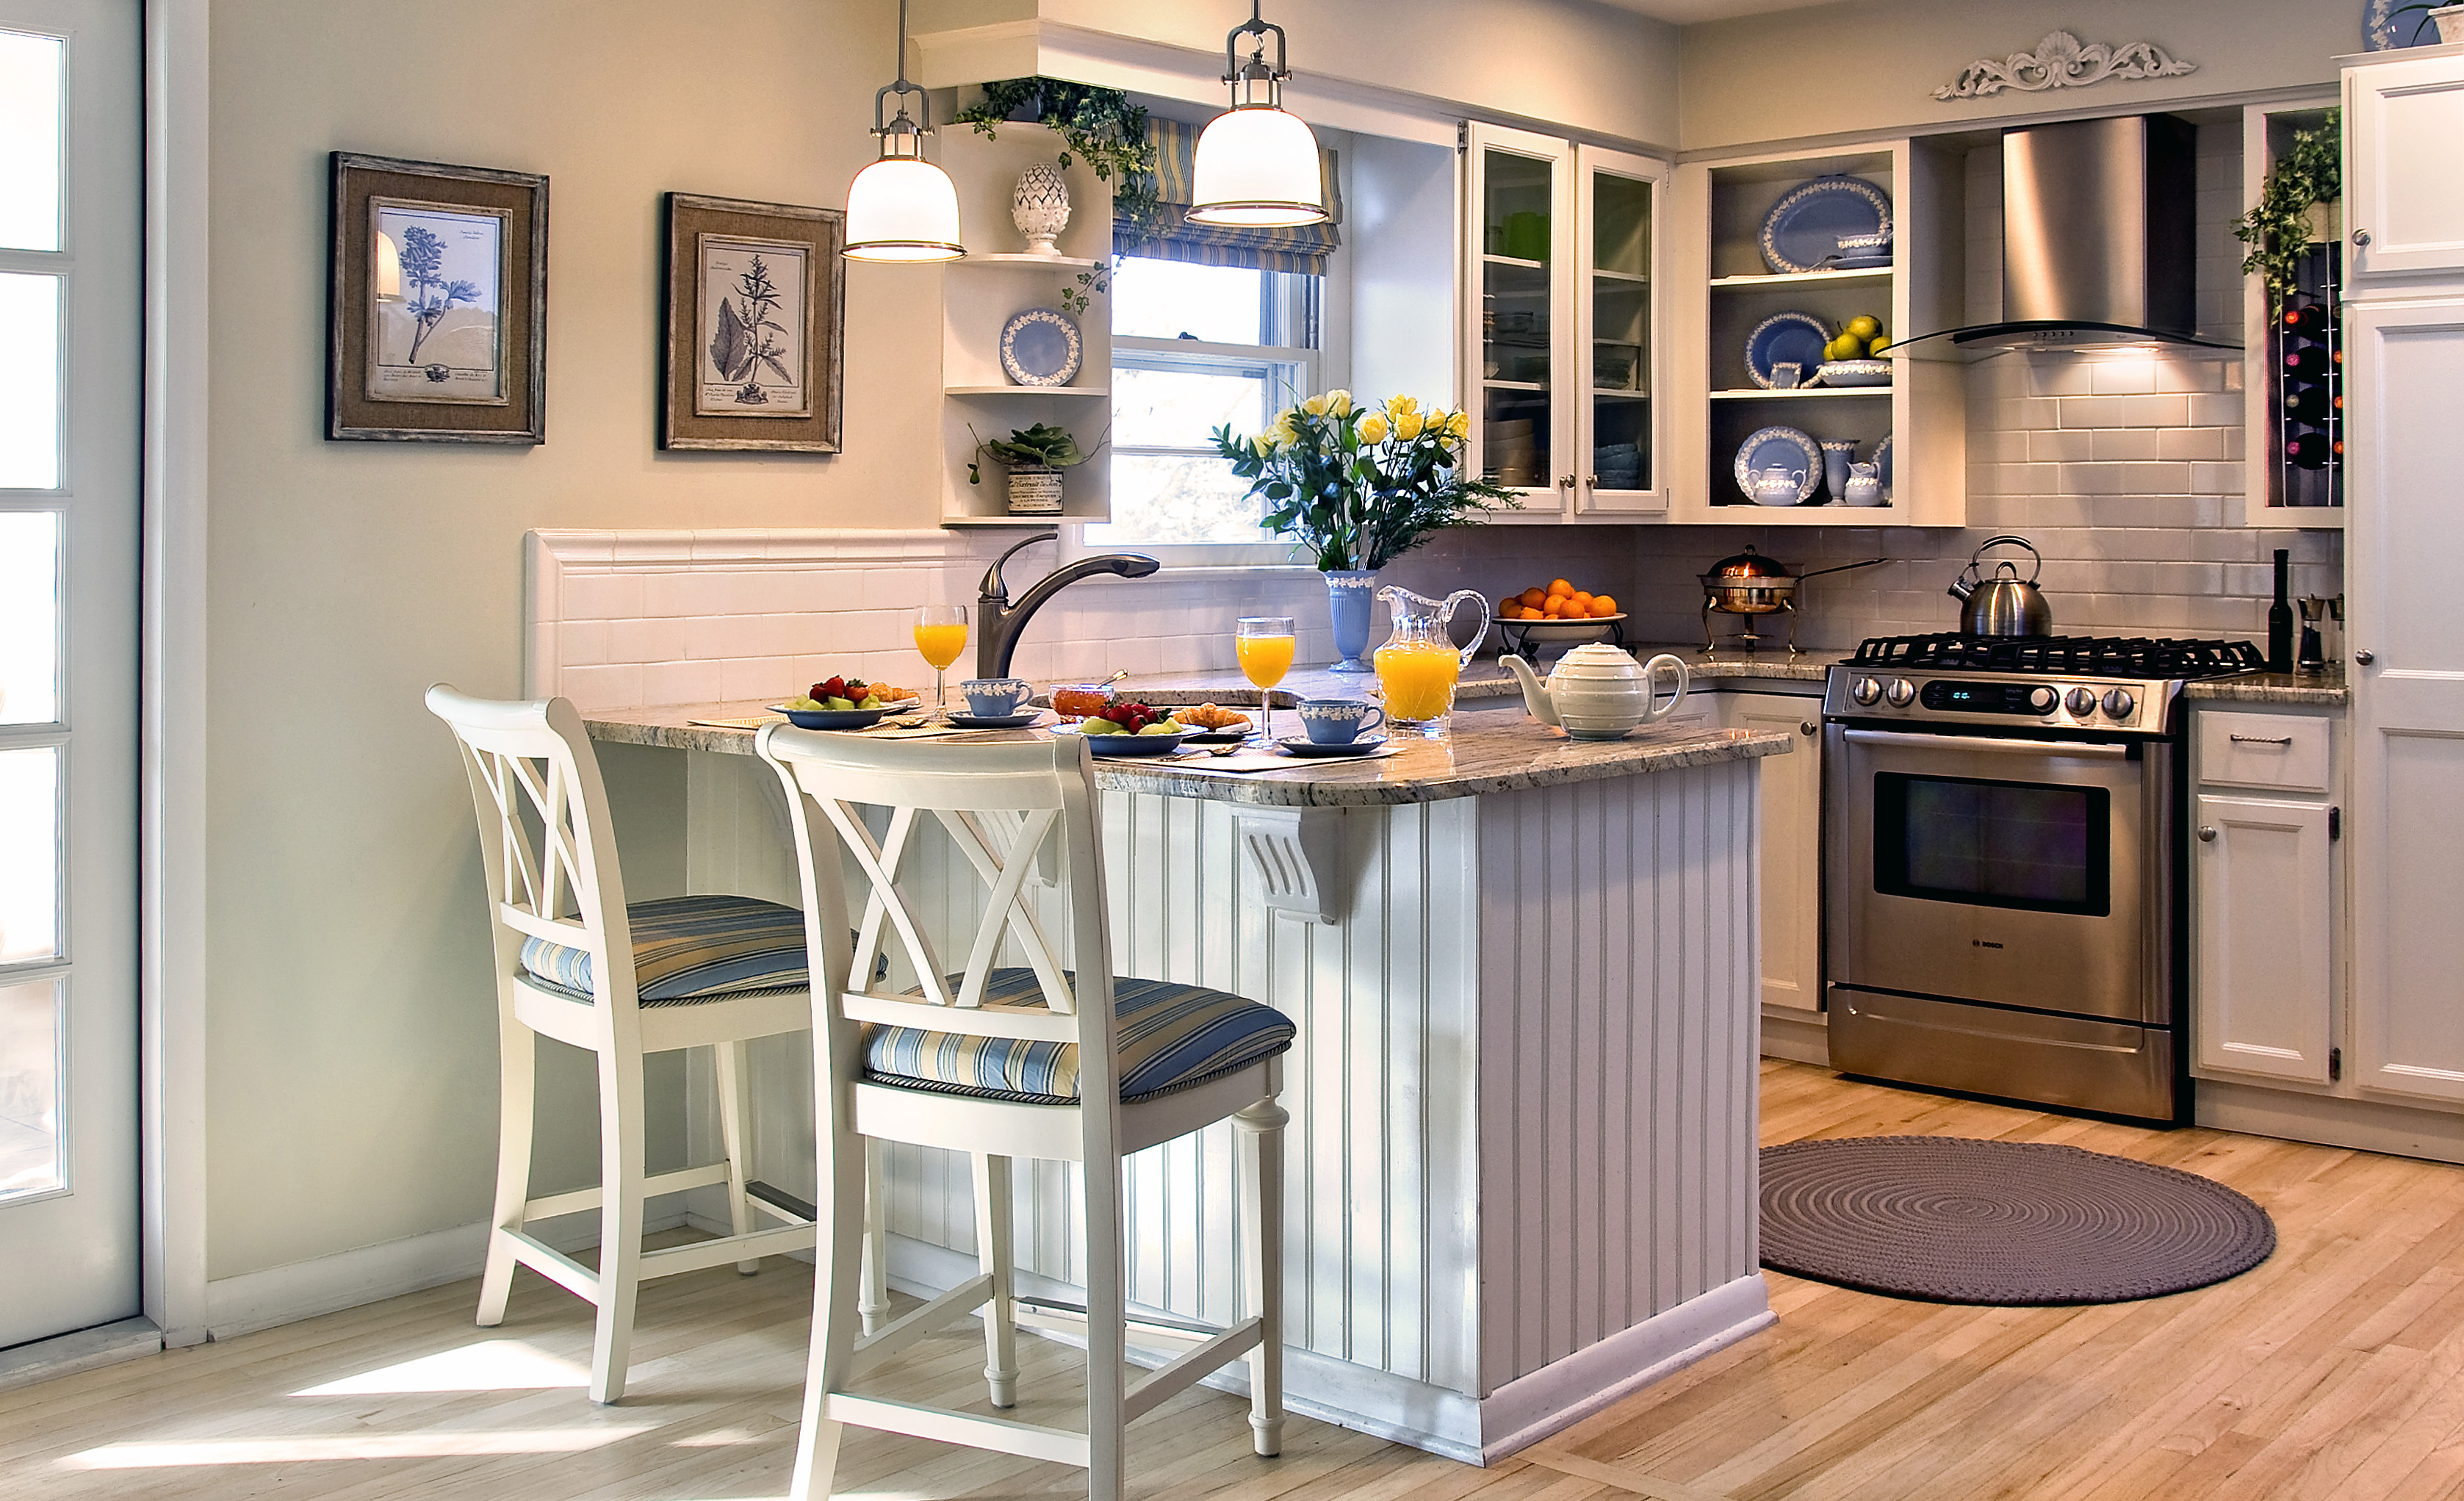
A kitchen island made from wall cabinets and a countertop is a great way to maximize space and add functionality to your kitchen. The cabinets provide ample storage, while the countertop offers additional workspace. You can also add seating on one side of the island to create a casual dining area. This is especially useful for small kitchens where space is limited.Building a Kitchen Island Using Wall Cabinets and a Countertop

Building a Kitchen Island Using Wall Cabinets and a Countertop

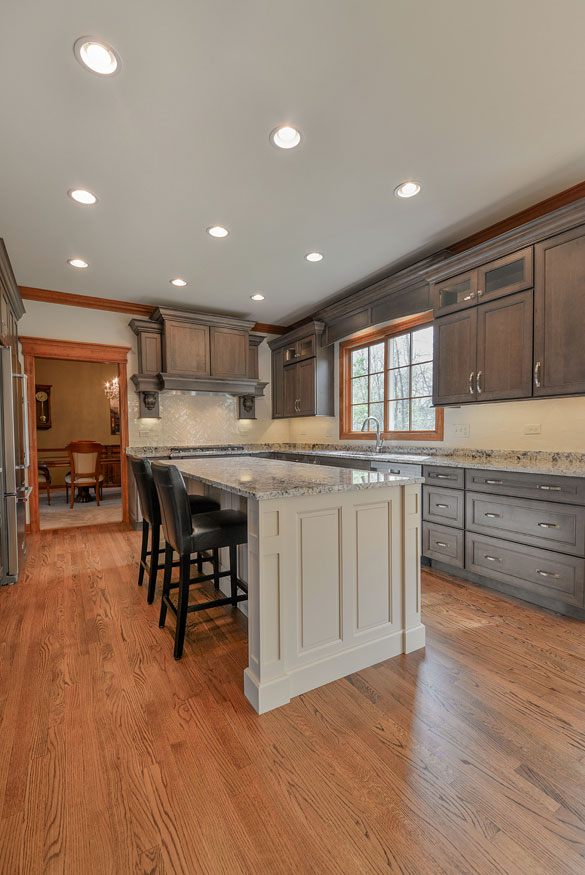
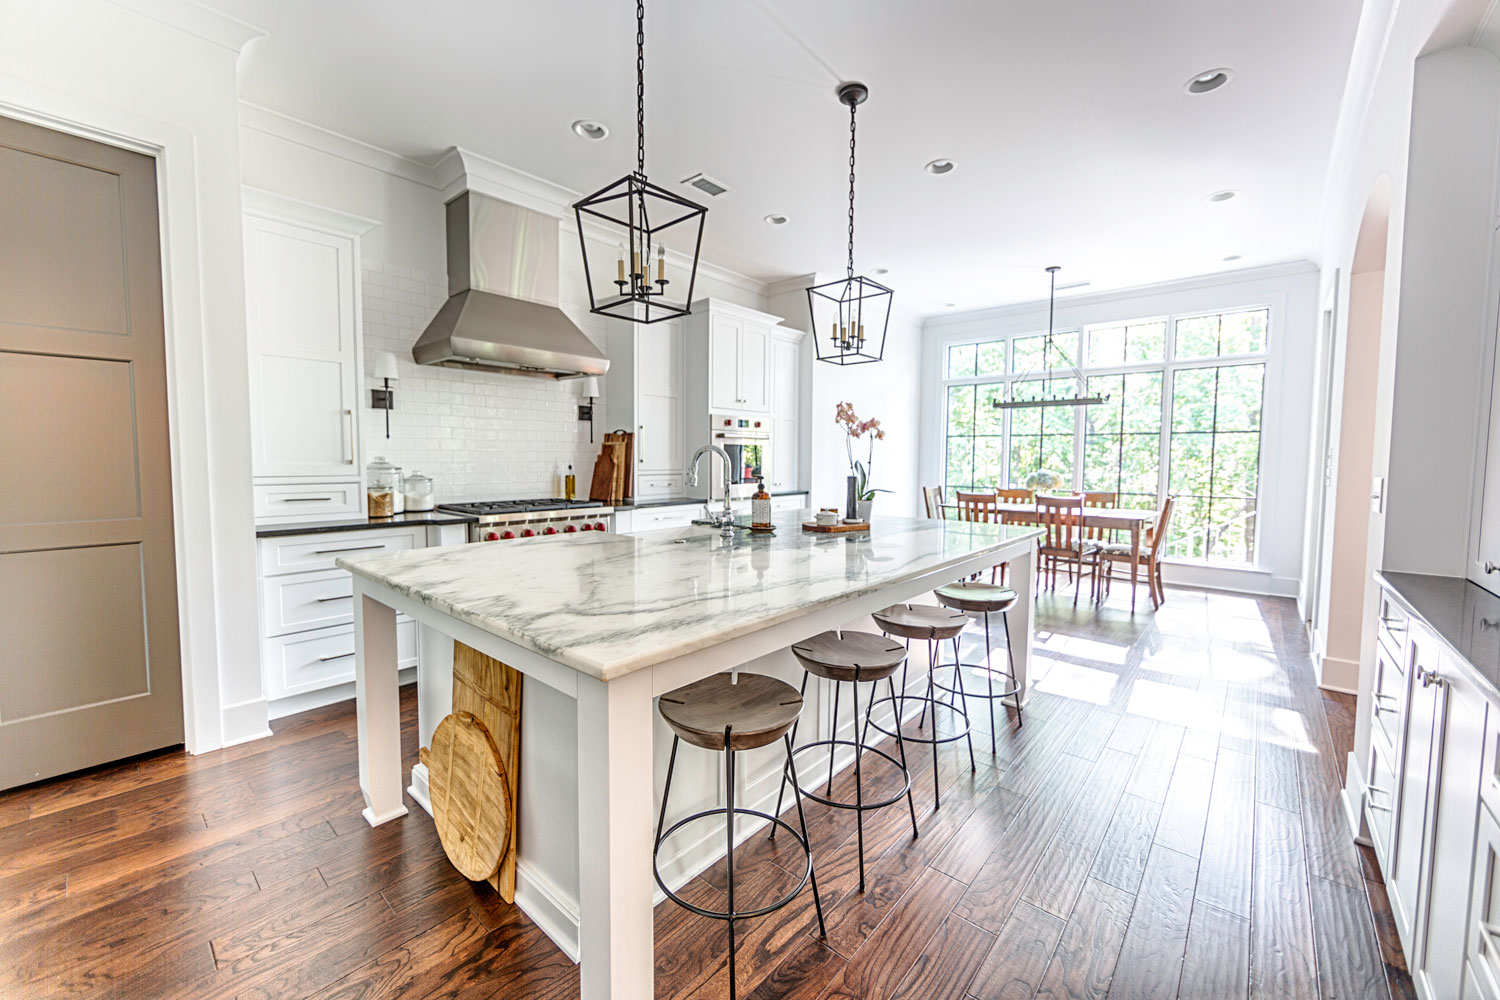
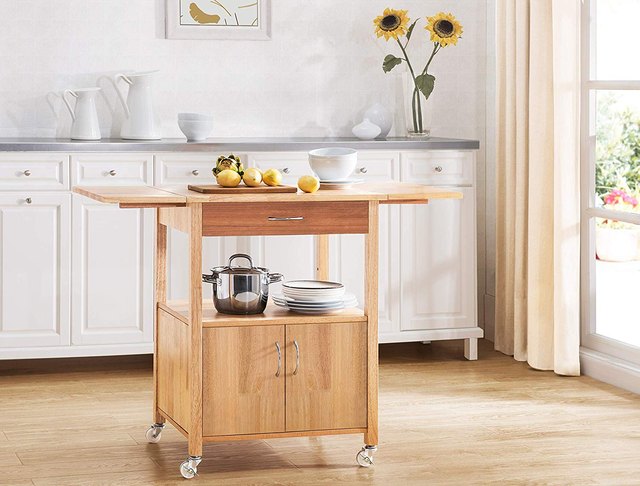
If you have a small kitchen, a kitchen island made from wall cabinets can be a space-saving solution. By utilizing vertical space, you can add more storage and counter space without taking up too much floor space. You can also choose to have a rolling island, which can be moved around and stored when not in use.Maximizing Space with a Kitchen Island Made from Wall Cabinets


Maximizing Space with a Kitchen Island Made from Wall Cabinets


If you're on a budget, building a kitchen island with wall cabinets is a great way to save money. Not only are the cabinets themselves more affordable than a pre-made kitchen island, but you can also choose a less expensive countertop material. This allows you to have a stylish and functional kitchen island without breaking the bank.Inexpensive Kitchen Island Ideas Using Wall Cabinets


Inexpensive Kitchen Island Ideas Using Wall Cabinets


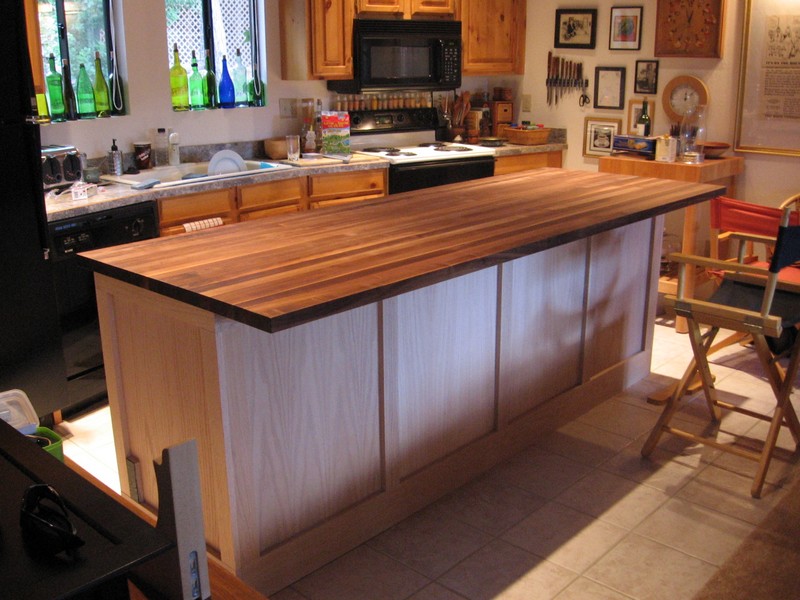
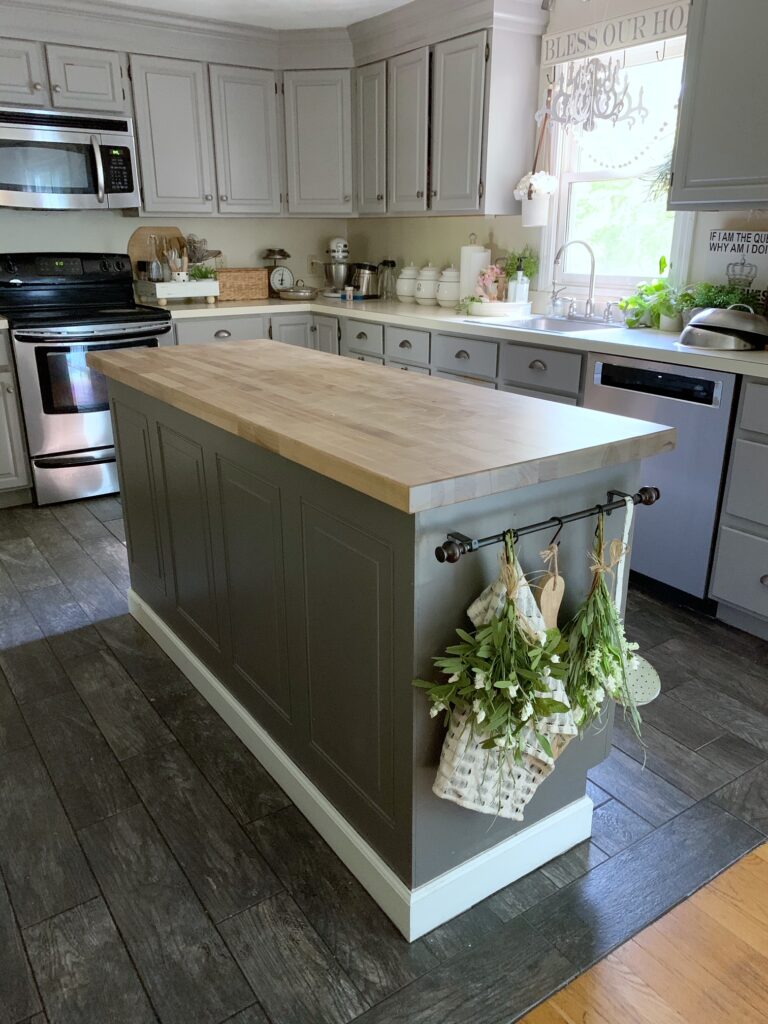
If you love the rustic and warm look of butcher block, you can incorporate it into your kitchen island. Simply add a butcher block countertop to your wall cabinets and secure it with adhesive and screws. This will not only add a unique touch to your kitchen island but also provide a durable and practical workspace for food preparation. In conclusion, building a kitchen island out of wall cabinets is a budget-friendly and customizable solution for adding storage and counter space to your kitchen. With these simple steps, you can create a functional and stylish kitchen island that fits your specific needs and style. So, get creative and start building your own kitchen island today!How to Make a Kitchen Island with Wall Cabinets and Butcher Block


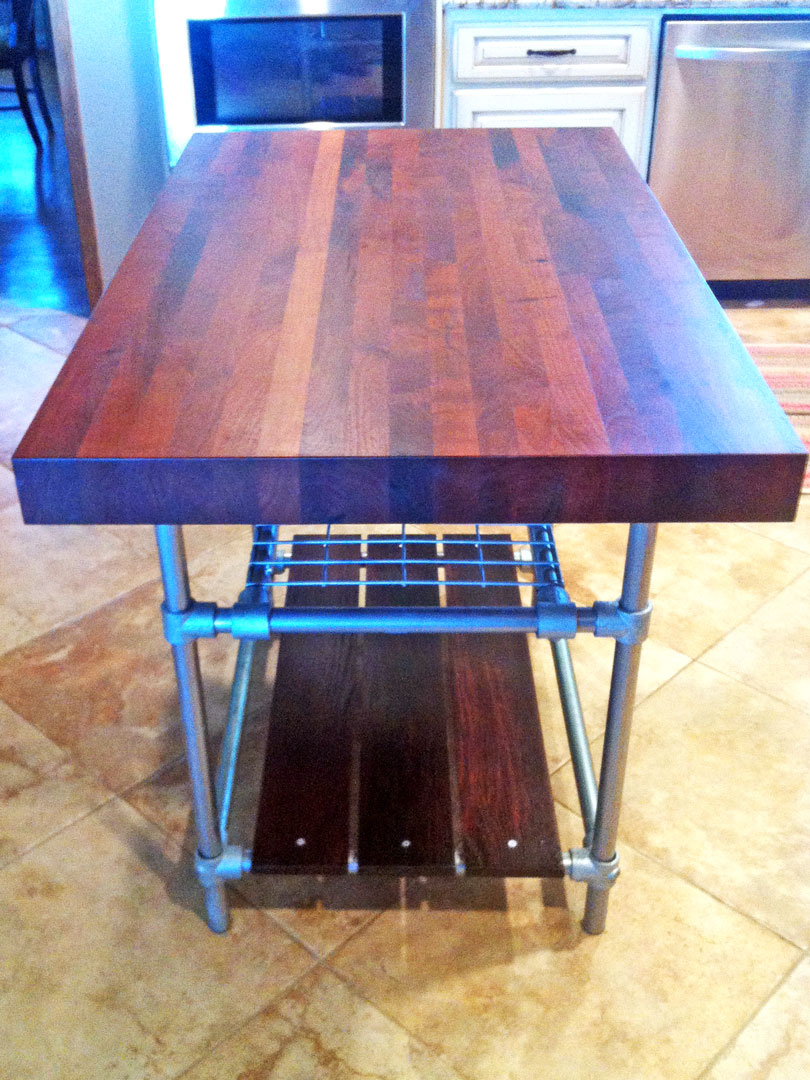
How to Make a Kitchen Island with Wall Cabinets and Butcher Block


How to Build a Kitchen Island Using Wall Cabinets

Introduction
 Are you tired of your small and cramped kitchen? Do you dream of having a spacious kitchen with a functional and stylish island? Look no further, as we have the perfect solution for you. Building a kitchen island using wall cabinets is an excellent way to maximize space and add extra storage to your kitchen. In this article, we will guide you through the process of building a kitchen island using wall cabinets, step by step. So, let's get started!
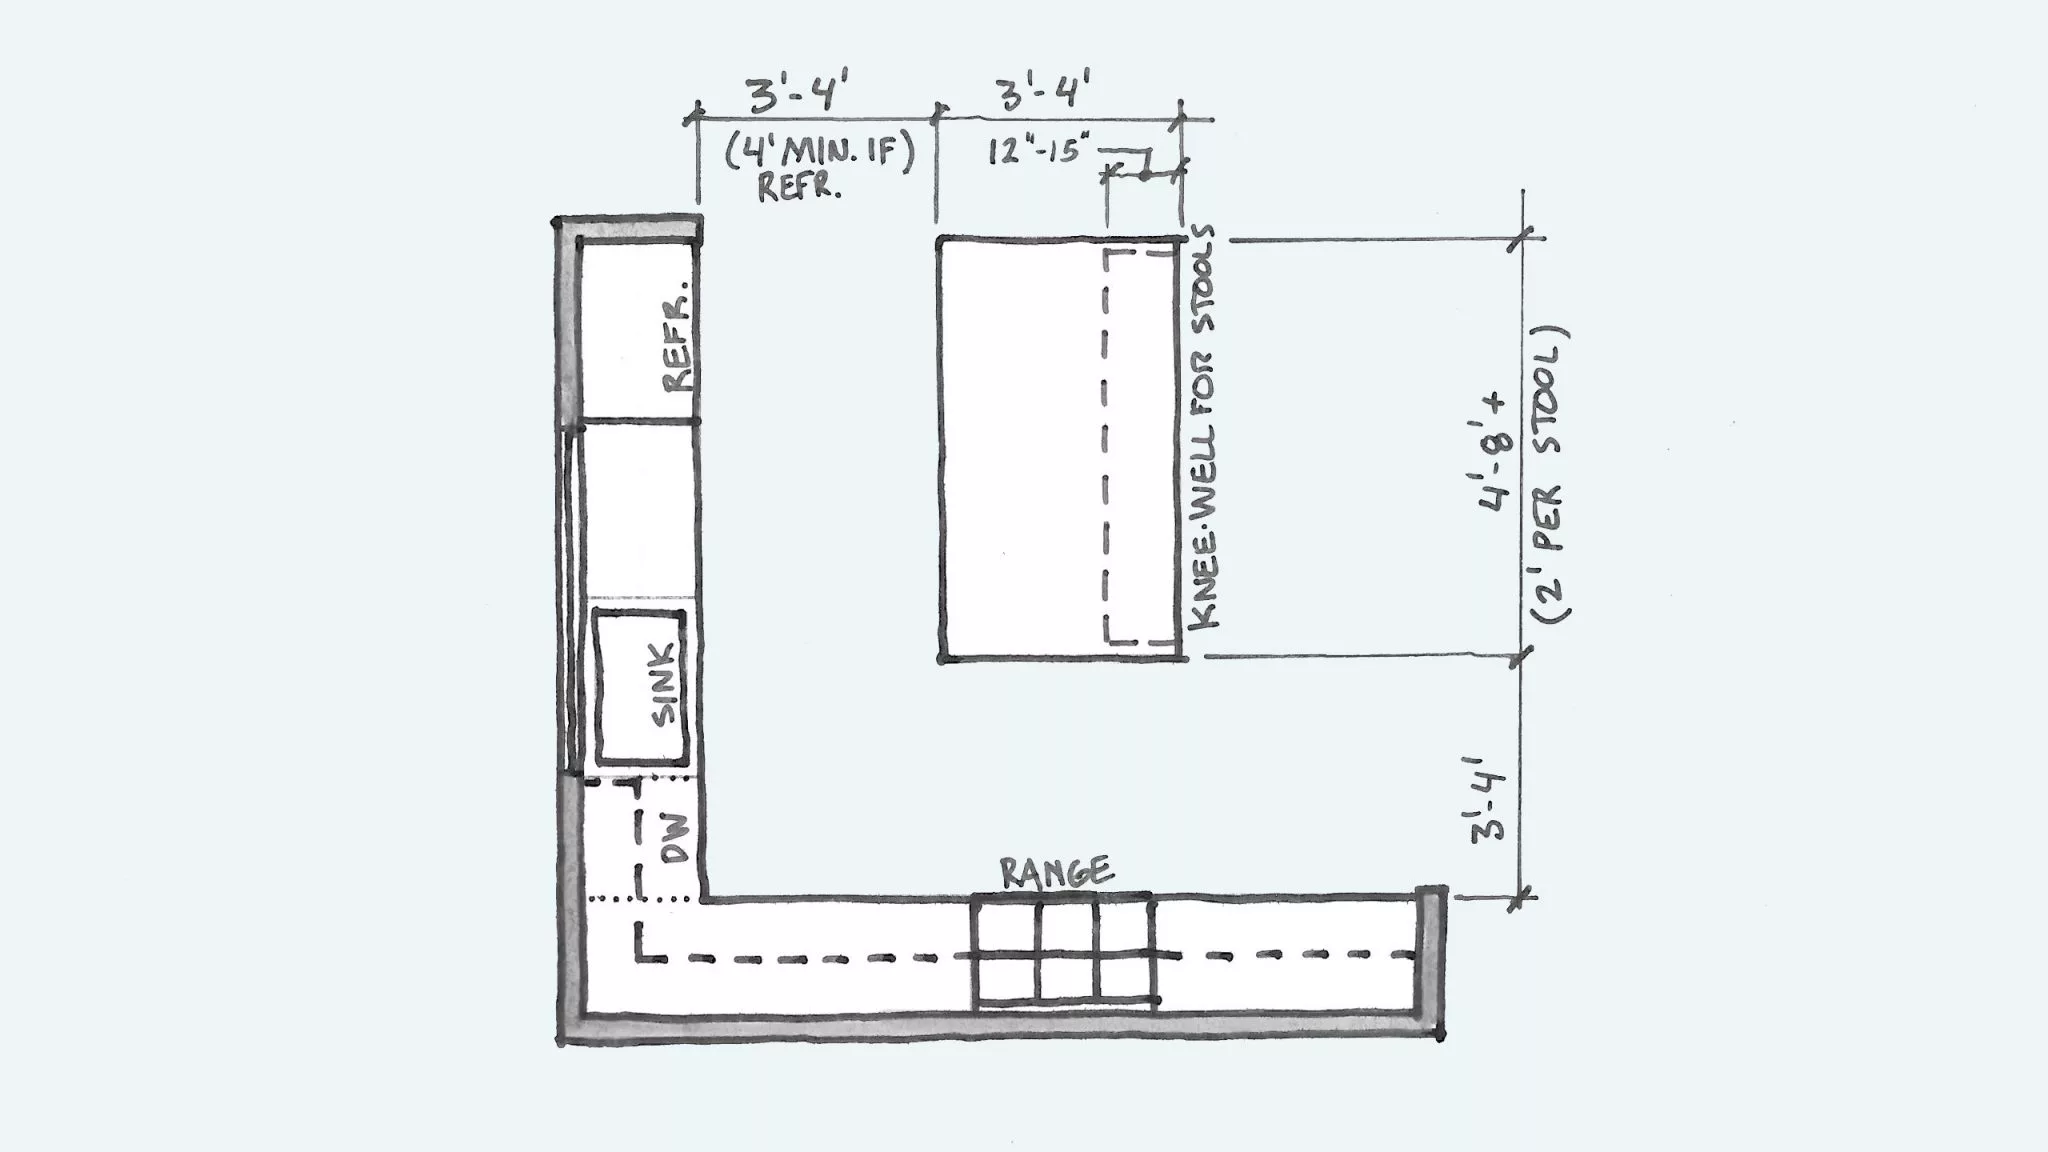
Step 1: Measure and Plan
 The first step in building a kitchen island is to measure the available space in your kitchen. This will help you determine the size and dimensions of your island. Once you have your measurements, you can start planning the layout of your island. Consider the flow of your kitchen and how you want to use the island. Will it be used as a workspace, for storage, or as a dining area? Planning these details will help you determine the number and size of wall cabinets needed for your island.
Step 2: Gather Materials
 Once you have your measurements and a plan in place, it's time to gather the materials needed for your project. You will need wall cabinets, a countertop, screws, a drill, a level, and wood filler. Make sure to choose high-quality materials that will withstand the wear and tear of everyday use.
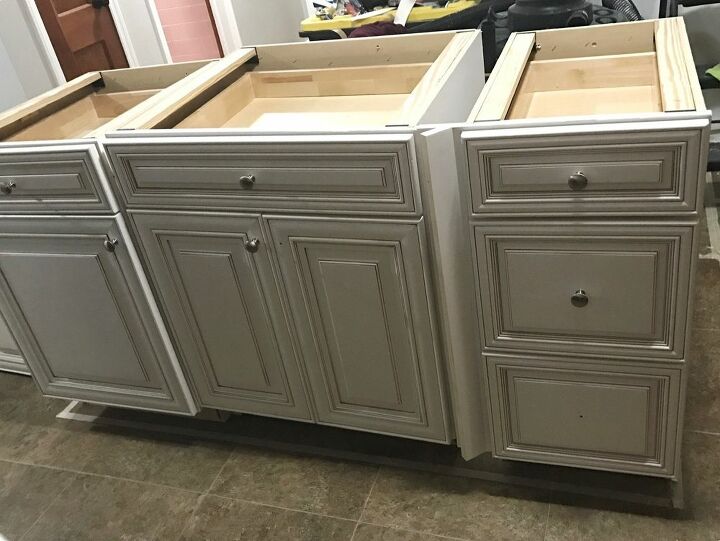
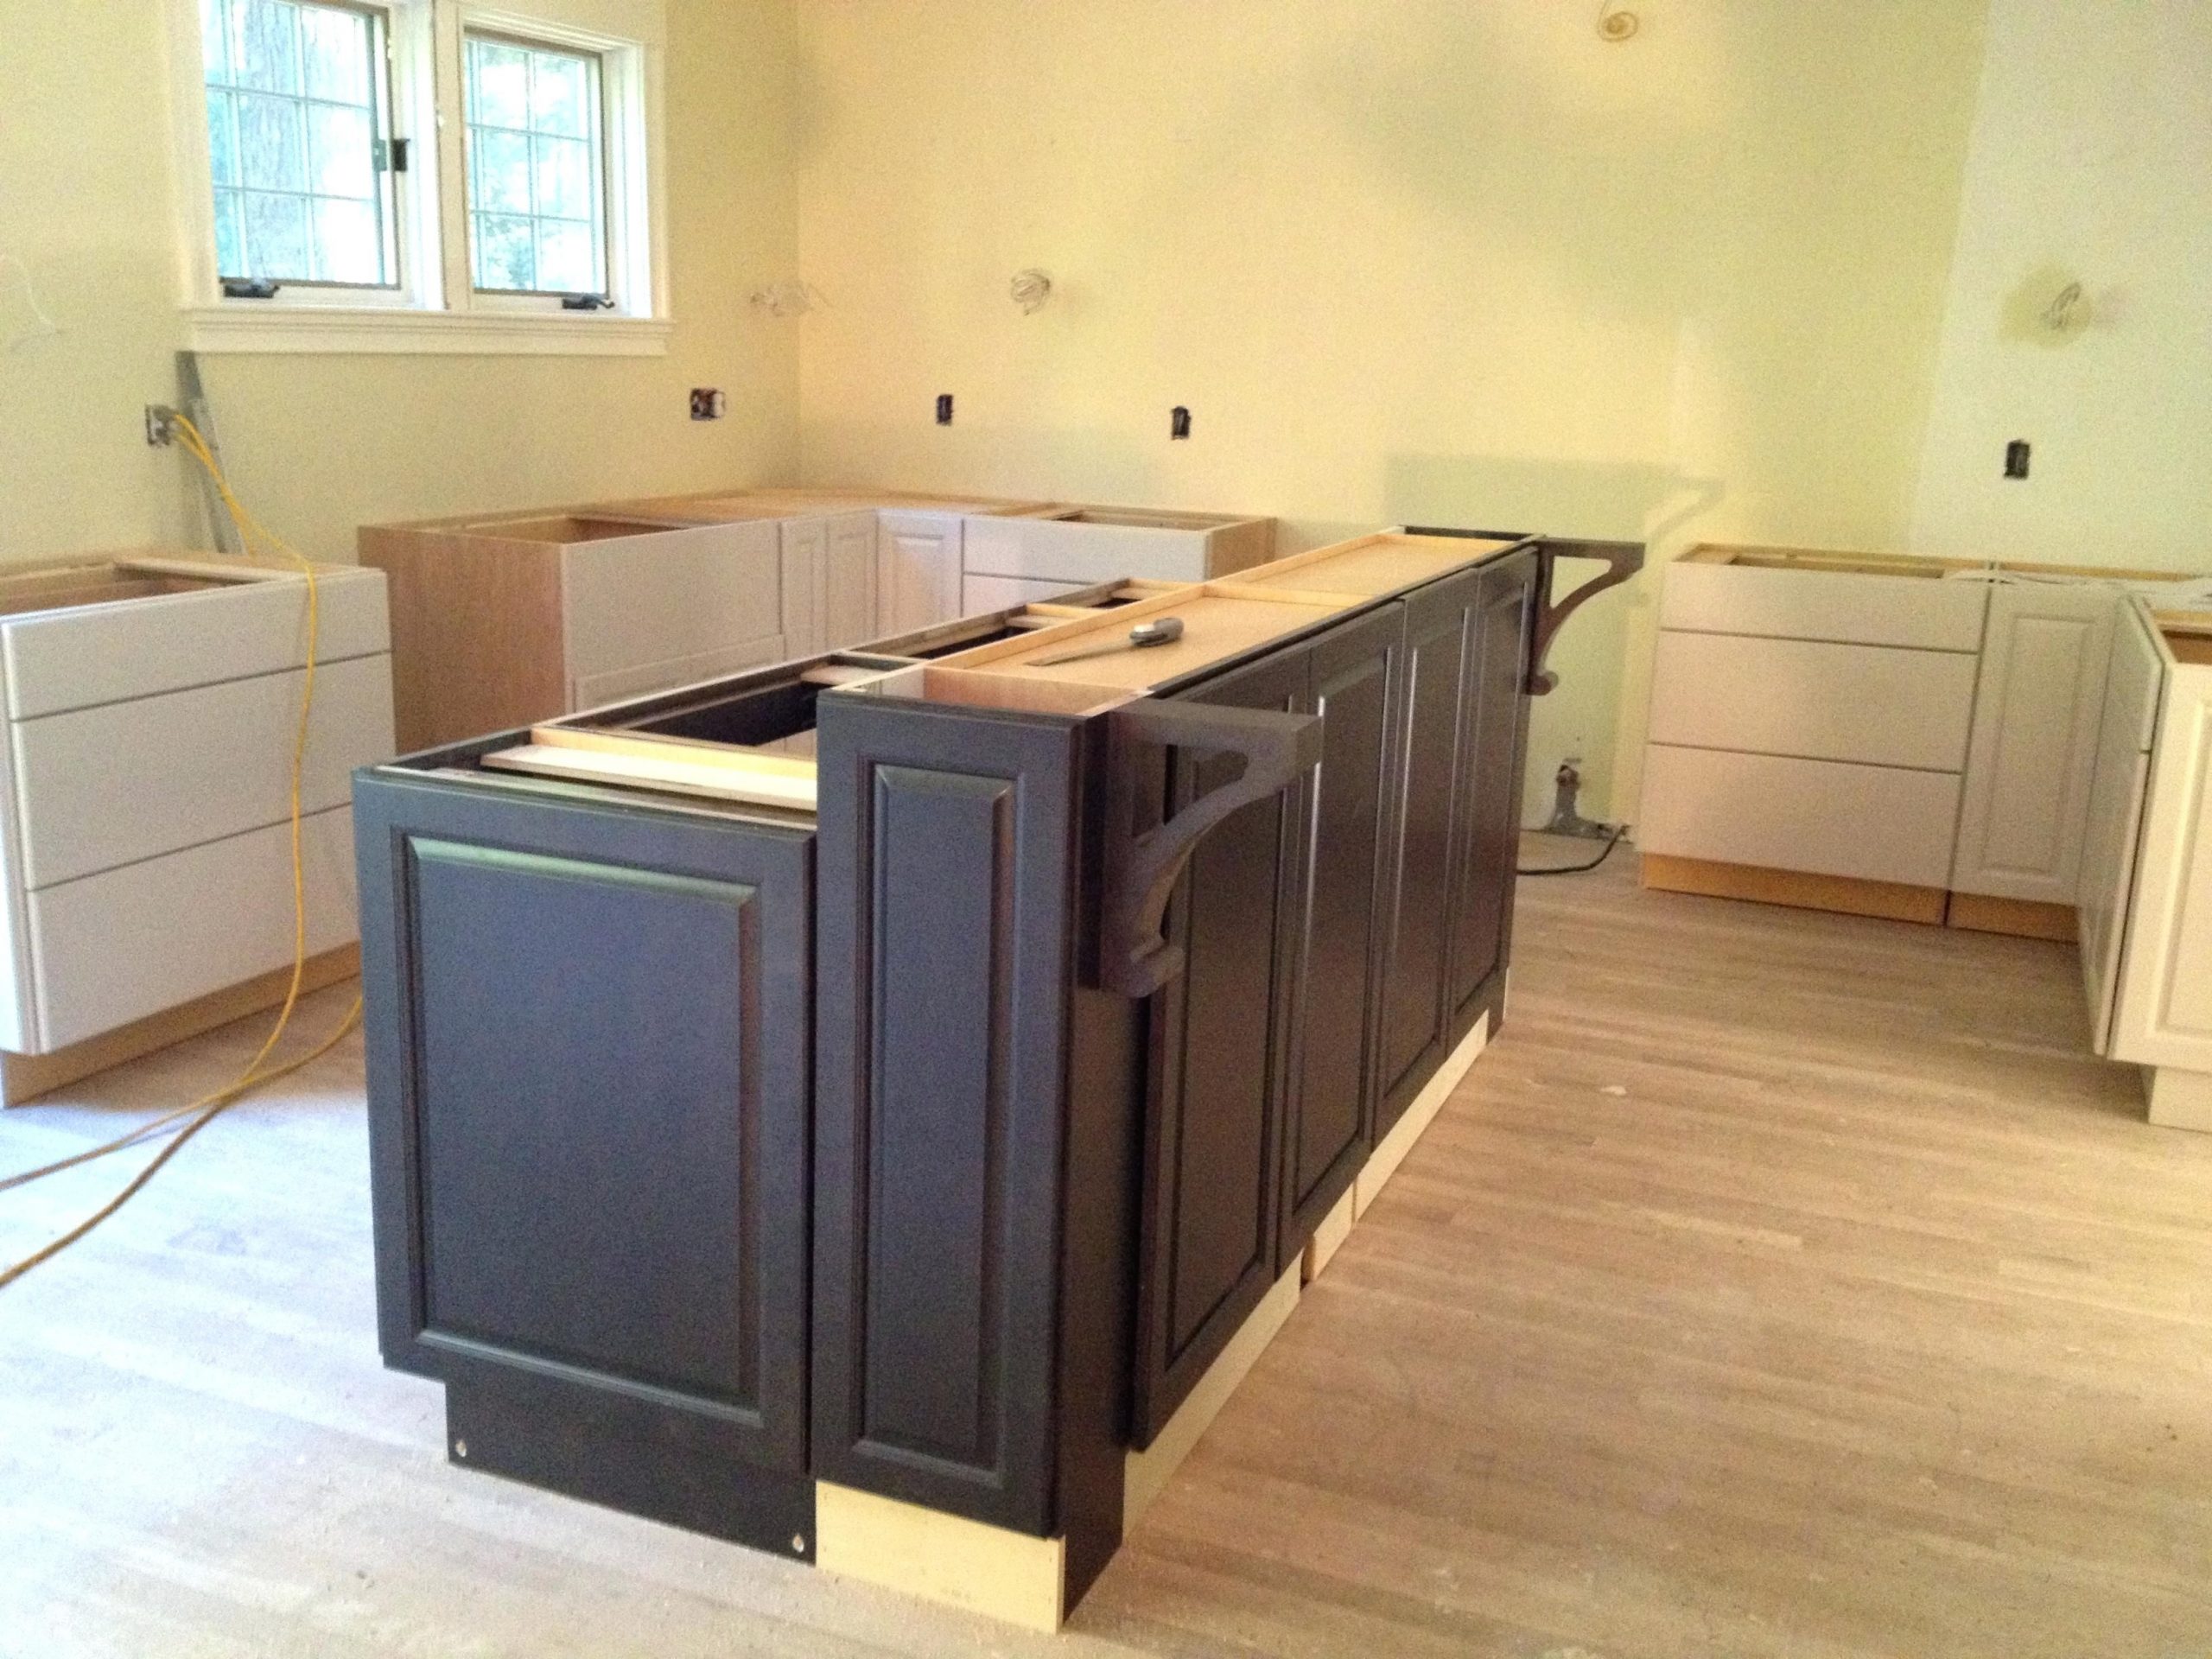
Step 3: Install the Base Cabinets
 Start by installing the wall cabinets on the base of your island. Use a level to ensure that the cabinets are installed evenly and securely. Secure the cabinets to the floor and to each other using screws. You can also use wood filler to cover any visible screw holes for a seamless look.
Step 4: Add the Countertop
 Once the base cabinets are installed, it's time to add the countertop. Measure and cut the countertop to fit your island. You can choose from a variety of materials such as granite, quartz, or butcher block. Make sure to secure the countertop to the base cabinets using screws or adhesive.
Step 5: Finishing Touches
 To give your kitchen island a polished look, you can add some finishing touches. Consider adding decorative molding around the edges of the cabinets and countertop. You can also paint or stain the cabinets to match your kitchen's aesthetic. This will give your island a custom look that will elevate the overall design of your kitchen.
Building a kitchen island using wall cabinets is a cost-effective and space-saving solution for any kitchen. With these simple steps and some creativity, you can transform your kitchen into a functional and stylish space. So, why wait? Start planning and building your very own kitchen island today!
To give your kitchen island a polished look, you can add some finishing touches. Consider adding decorative molding around the edges of the cabinets and countertop. You can also paint or stain the cabinets to match your kitchen's aesthetic. This will give your island a custom look that will elevate the overall design of your kitchen.
Building a kitchen island using wall cabinets is a cost-effective and space-saving solution for any kitchen. With these simple steps and some creativity, you can transform your kitchen into a functional and stylish space. So, why wait? Start planning and building your very own kitchen island today!