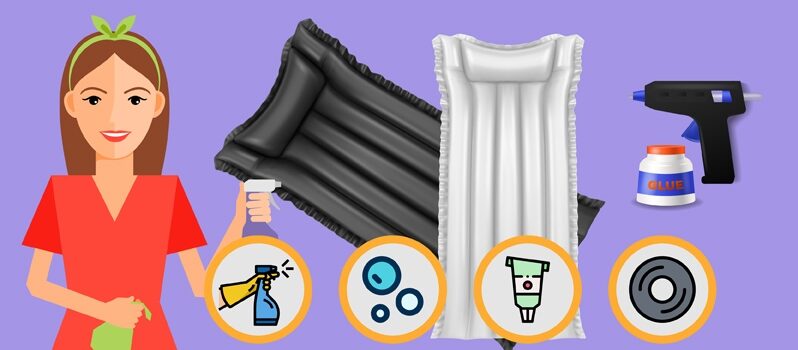
If you find yourself waking up in the middle of the night on a deflated air mattress, don't panic. Patching a hole in an air mattress is a simple and easy process that can save you from having to purchase a new one. The key is to act quickly and use the right materials. First, locate the hole in your air mattress. This can be done by inflating the mattress and listening for any hissing sounds. Once you have found the hole, make sure to mark it with a pen or marker so you can easily find it again. Next, gather your materials. You will need an air mattress repair kit, which can be purchased at most outdoor or camping stores. These kits typically include adhesive patches, a tube of glue, and a small piece of sandpaper. Using the sandpaper, lightly sand around the area of the hole. This will help the adhesive patch stick better. Then, apply a thin layer of glue to the patch and place it over the hole, pressing down firmly to ensure it adheres properly. Allow the glue to dry completely before inflating the mattress again. Once it is fully inflated, check for any leaks by listening for hissing sounds or gently pressing on the patched area. If there are no leaks, your air mattress is ready to use again. This method can also be used for larger holes or tears in the air mattress. Simply cut the adhesive patch to the appropriate size and follow the same steps.1. Patching a Hole in an Air Mattress
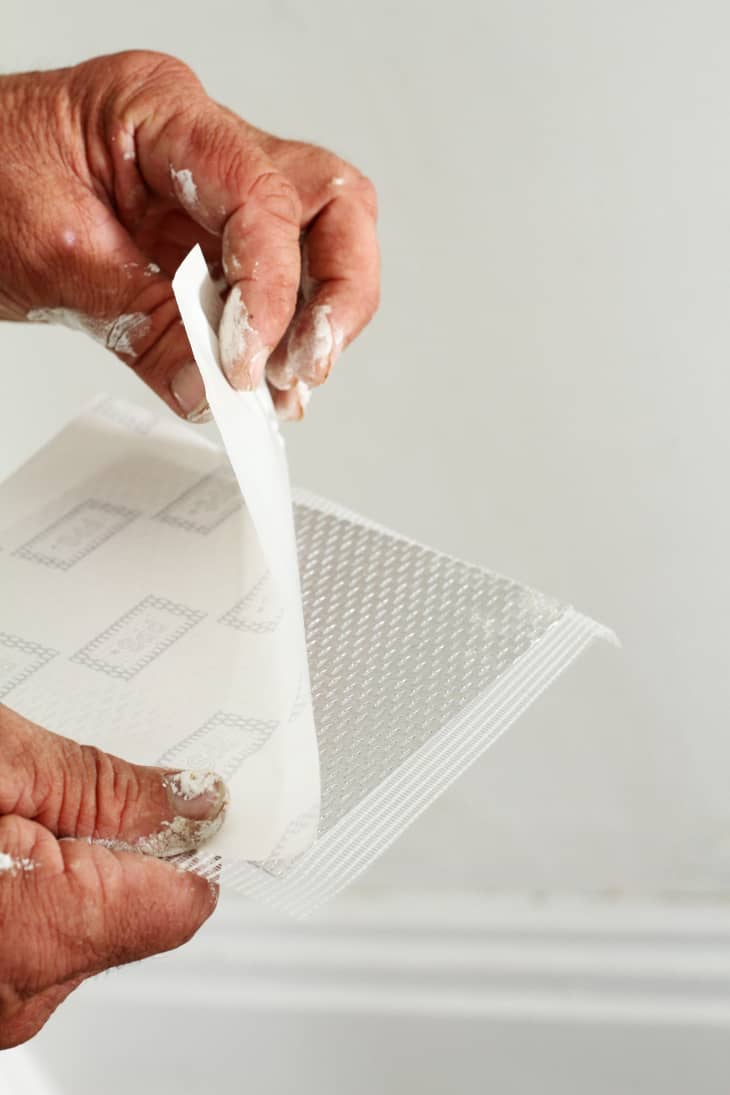

1. Patching a Hole in an Air Mattress


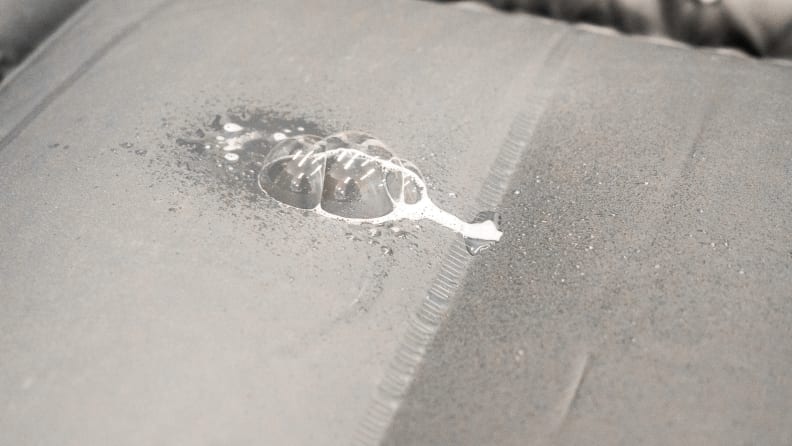


If your air mattress seems to be losing air but you can't find any visible holes, it is likely that there is a small leak that is difficult to locate. Here are some tips for finding and fixing a leak in an air mattress. First, make sure the area you are inflating the mattress on is clean and free of any sharp objects that could puncture the mattress. Next, try inflating the mattress and using a spray bottle filled with soapy water to spray over the surface. If there is a leak, you will see bubbles forming where the air is escaping. Once you have located the leak, follow the steps outlined in the previous section to patch the hole. If you are unable to find the leak using this method, you may need to submerge the mattress in water to locate it. This can be done in a bathtub or large container. Another option for fixing a leak in an air mattress is to use a tire repair kit. These kits can be found at most automotive stores and include a patch and adhesive specifically designed for fixing leaks in inflatable items.2. How to Fix a Leak in an Air Mattress


2. How to Fix a Leak in an Air Mattress


While holes and leaks are common issues with air mattresses, seams can also become damaged and cause the mattress to deflate. Repairing a seam can be a bit trickier, but it is still possible to fix your air mattress and get it back to its fully inflated state. The first step is to locate the damaged seam. This can usually be found by inflating the mattress and looking for any visible gaps or tears in the seam. Once you have found the damaged area, use a seam sealer, which can be purchased at most outdoor or camping stores, to repair the seam. Apply the seam sealer along the damaged area, covering it completely. Then, use a hairdryer on low heat to dry the sealer. Once it is dry, test the mattress to make sure the seal is strong and the seam is no longer leaking.3. Repairing an Air Mattress Seam


3. Repairing an Air Mattress Seam


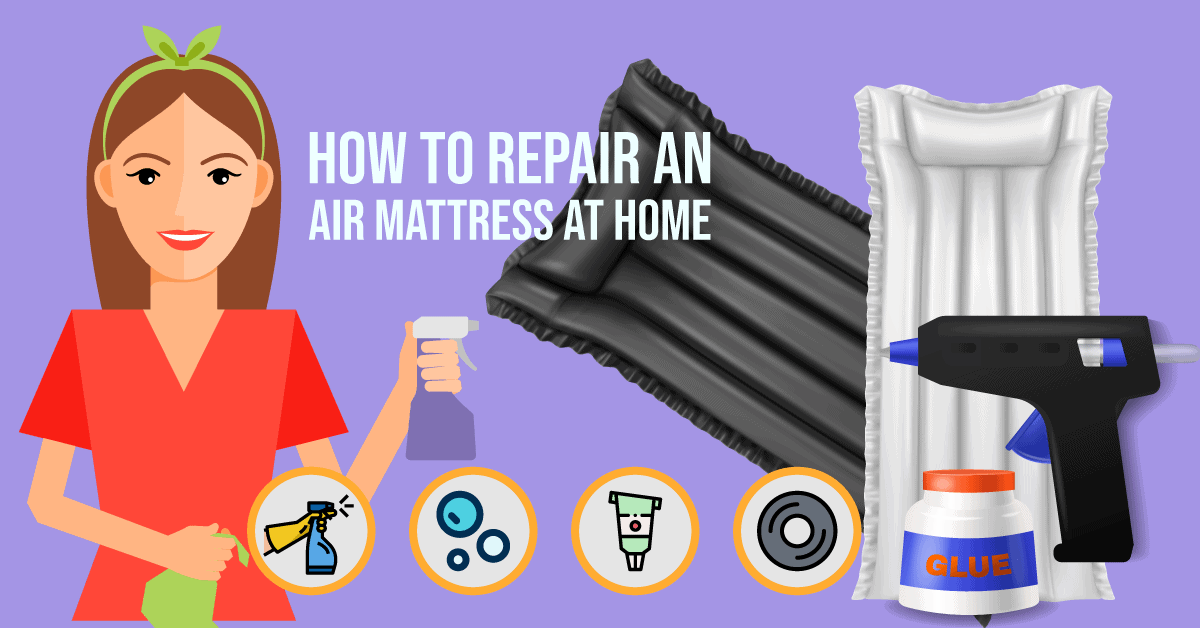
If you are in a pinch and don't have access to an air mattress repair kit or other materials, there are still some DIY methods you can try to fix your air mattress. One option is to use duct tape to cover the hole or leak. While this may not be a permanent solution, it can provide a quick fix until you are able to properly patch the mattress. Another option is to use a hot glue gun to seal the hole. However, be sure to let the glue dry completely before inflating the mattress again. You can also try using super glue or a patch from an old air mattress to repair the hole. Just be sure to follow the same steps as you would for using an adhesive patch from a repair kit.4. DIY Air Mattress Repair


4. DIY Air Mattress Repair


When it comes to repairing an air mattress, the key is to act quickly. The longer you wait to fix a hole or leak, the larger it can become and the harder it will be to repair. As soon as you notice a problem with your air mattress, take the time to locate the issue and patch it as soon as possible. It can also be helpful to keep an air mattress repair kit on hand for any unexpected leaks or damage. This will save you time and money in the long run, as you won't have to constantly replace your air mattress.5. Quick and Easy Air Mattress Repair


5. Quick and Easy Air Mattress Repair


While there are several DIY methods for repairing an air mattress, it is always best to use products specifically designed for this purpose. This ensures a strong and long-lasting repair that will keep your air mattress fully inflated for years to come. There are many different air mattress repair kits available on the market, so it is important to choose one that is high quality and has good reviews. Some popular options include the Intex Deluxe Repair Kit, Coghlan's Airstop, and Gear Aid Seam Grip.6. Best Products for Repairing an Air Mattress


6. Best Products for Repairing an Air Mattress


Here are a few additional tips to keep in mind when repairing an air mattress:7. Tips for Repairing an Air Mattress


7. Tips for Repairing an Air Mattress


As mentioned earlier, finding and fixing a leak in an air mattress can be a bit tricky. Here is a step-by-step guide to help you through the process:8. How to Find and Fix a Leak in an Air Mattress


8. How to Find and Fix a Leak in an Air Mattress

When repairing an air mattress, there are a few common mistakes that people make that can actually make the problem worse. Here are some mistakes to avoid:9. Common Air Mattress Repair Mistakes to Avoid


9. Common Air Mattress Repair Mistakes to Avoid


If you don't have access to an air mattress repair kit, there are some household items you can use to fix your air mattress in a pinch:10. Repairing an Air Mattress with Household Items


10. Repairing an Air Mattress with Household Items


The Importance of Maintaining and Repairing Your Air Mattress
 Air mattresses are a convenient and versatile piece of furniture that can be used for camping, guest accommodations, or as a temporary bed for unexpected visitors. However, over time, they can develop leaks and tears that can make them uncomfortable and unusable. In this article, we will discuss the best way to repair an air mattress to ensure its longevity and functionality.
Repairing an air mattress is a cost-effective solution that can save you from having to buy a new one and also help reduce waste in our environment.
Air mattresses are a convenient and versatile piece of furniture that can be used for camping, guest accommodations, or as a temporary bed for unexpected visitors. However, over time, they can develop leaks and tears that can make them uncomfortable and unusable. In this article, we will discuss the best way to repair an air mattress to ensure its longevity and functionality.
Repairing an air mattress is a cost-effective solution that can save you from having to buy a new one and also help reduce waste in our environment.
Why You Should Repair Your Air Mattress Instead of Replacing It
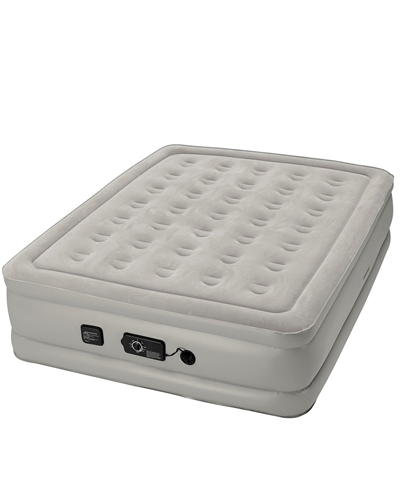
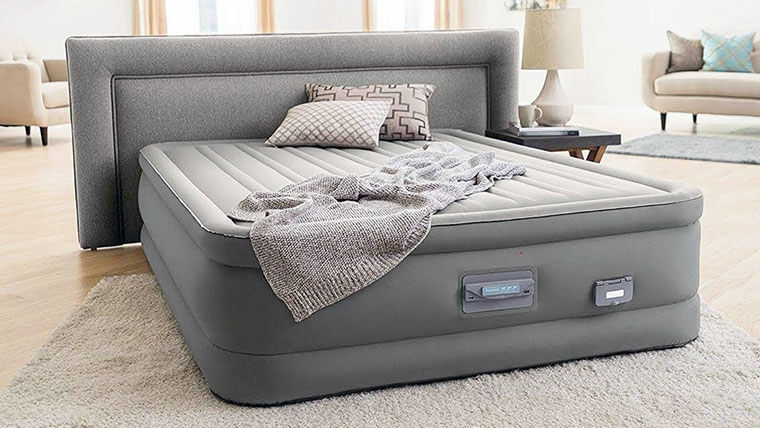
:max_bytes(150000):strip_icc()/aerobed-opti-comfort-queen-air-mattress-with-headboard-93c9f99d65ee4cce88edf90b9411b1cd.jpg) Replacing an air mattress can be expensive and contribute to waste in our environment. By repairing your air mattress, you are not only saving money but also reducing your carbon footprint.
It is a more sustainable and environmentally friendly choice.
Additionally, repairing your air mattress allows you to keep the comfort and familiarity of your current mattress, rather than having to adjust to a new one.
Replacing an air mattress can be expensive and contribute to waste in our environment. By repairing your air mattress, you are not only saving money but also reducing your carbon footprint.
It is a more sustainable and environmentally friendly choice.
Additionally, repairing your air mattress allows you to keep the comfort and familiarity of your current mattress, rather than having to adjust to a new one.
The Best Way to Repair an Air Mattress
 To repair an air mattress, you will need a few supplies, such as a patch kit, scissors, rubbing alcohol, and a marker. First, locate the leak by inflating the mattress and listening for any hissing sounds or feeling for any air escaping. Once you have identified the leak,
use the marker to mark the area for repair.
Next, clean the area with rubbing alcohol and let it dry completely.
It is important to ensure the area is clean and dry to allow for proper adhesion of the patch.
Once the area is dry, follow the instructions on the patch kit to apply the patch over the marked area.
Make sure to apply enough pressure to ensure the patch adheres properly.
Once the patch is applied, let it dry for the recommended amount of time before inflating the mattress again.
It is important to test the patch before fully inflating the mattress to ensure it is holding.
If the patch is holding, you can fully inflate the mattress and enjoy a good night's sleep.
To repair an air mattress, you will need a few supplies, such as a patch kit, scissors, rubbing alcohol, and a marker. First, locate the leak by inflating the mattress and listening for any hissing sounds or feeling for any air escaping. Once you have identified the leak,
use the marker to mark the area for repair.
Next, clean the area with rubbing alcohol and let it dry completely.
It is important to ensure the area is clean and dry to allow for proper adhesion of the patch.
Once the area is dry, follow the instructions on the patch kit to apply the patch over the marked area.
Make sure to apply enough pressure to ensure the patch adheres properly.
Once the patch is applied, let it dry for the recommended amount of time before inflating the mattress again.
It is important to test the patch before fully inflating the mattress to ensure it is holding.
If the patch is holding, you can fully inflate the mattress and enjoy a good night's sleep.
Additional Tips for Maintaining Your Air Mattress
 To prevent future leaks and tears, there are a few things you can do to maintain your air mattress.
Always store your air mattress in a dry and clean place to prevent damage.
When using the mattress, avoid placing it on rough or sharp surfaces that could puncture it. If you have pets, make sure to keep them away from the mattress to prevent any accidental damage.
In conclusion,
repairing your air mattress is a cost-effective and environmentally friendly solution that can save you from having to buy a new one.
By following the steps outlined in this article, you can ensure the longevity and functionality of your air mattress. Remember to always properly store and handle your air mattress to prevent future damage. With proper maintenance and repair, your air mattress can continue to provide comfortable and convenient sleeping arrangements for years to come.
To prevent future leaks and tears, there are a few things you can do to maintain your air mattress.
Always store your air mattress in a dry and clean place to prevent damage.
When using the mattress, avoid placing it on rough or sharp surfaces that could puncture it. If you have pets, make sure to keep them away from the mattress to prevent any accidental damage.
In conclusion,
repairing your air mattress is a cost-effective and environmentally friendly solution that can save you from having to buy a new one.
By following the steps outlined in this article, you can ensure the longevity and functionality of your air mattress. Remember to always properly store and handle your air mattress to prevent future damage. With proper maintenance and repair, your air mattress can continue to provide comfortable and convenient sleeping arrangements for years to come.