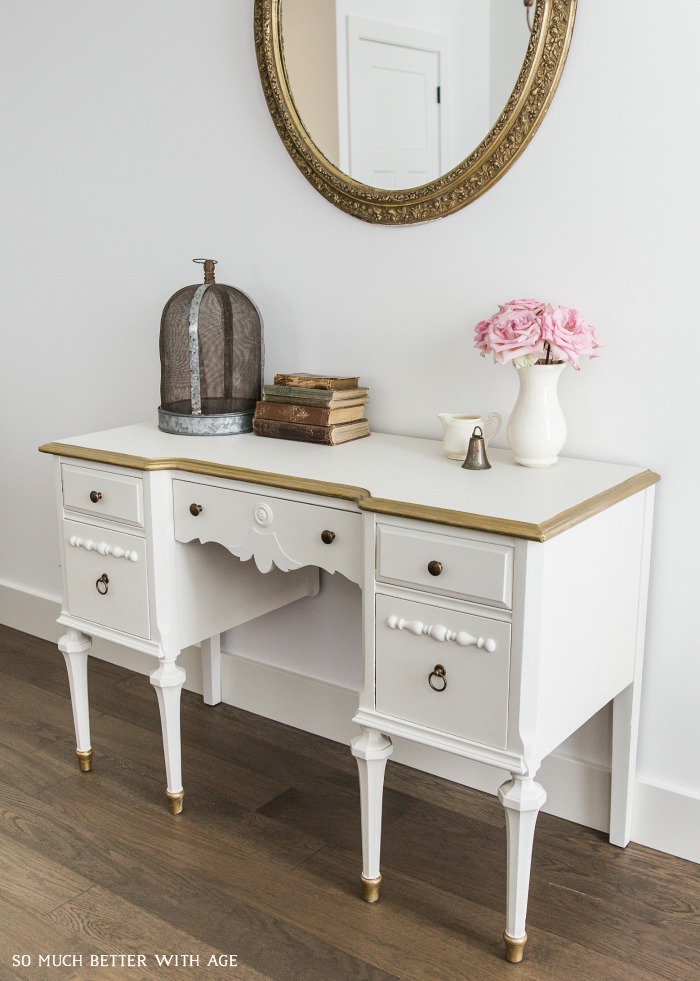
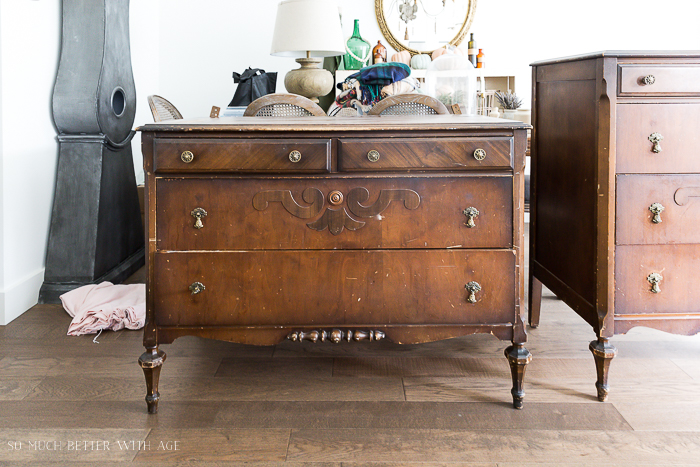
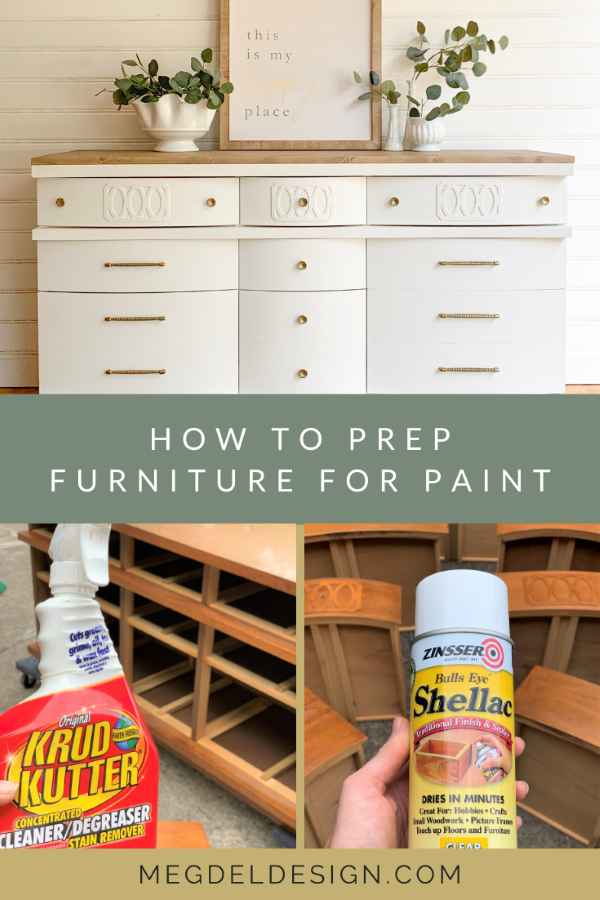
Before beginning to repaint your bedroom furniture, it's important to do some prep work to ensure a smooth and successful project. This will not only save you time and effort, but also help to achieve a professional-looking finish. Here are the top 10 steps for prepping your bedroom furniture for painting.Prep Work
The first step in prepping your furniture for painting is to remove any hardware such as knobs, handles, or hinges. This will make it easier to paint and ensure a clean finish. You can also choose to replace the hardware for a fresh new look.Prep Work for Painting Furniture
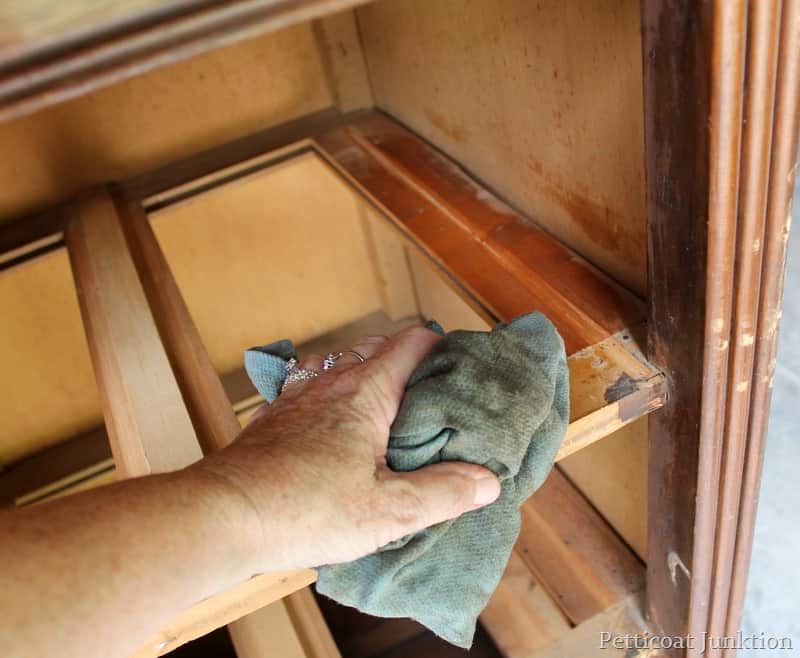
Next, give your furniture a good cleaning to remove any dirt, dust, or grime. You can use a mild soap and water solution or a furniture cleaner specifically designed for the type of material you are working with. Be sure to let it dry completely before moving on to the next step.How to Prep Furniture for Painting
If your furniture has any imperfections such as scratches, dents, or holes, now is the time to fix them. Fill in any holes or dents with wood filler and sand it down to create a smooth surface. For scratches, you can use a wood marker or crayon that matches the color of your furniture.Best Way to Prep Furniture for Painting
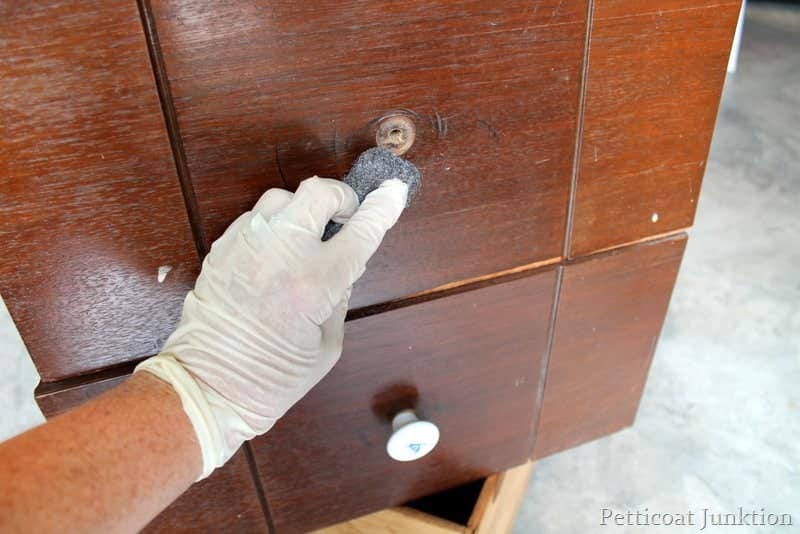
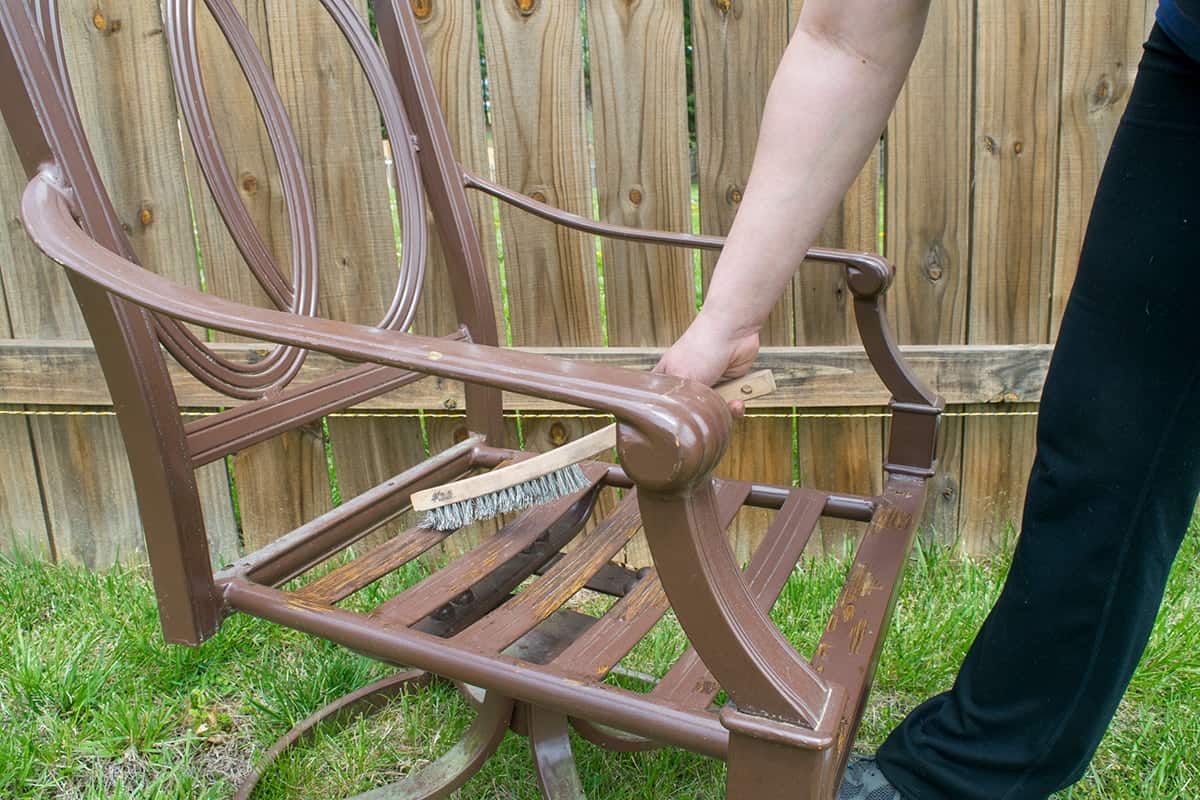
Once the repairs are complete, it's time to sand your furniture. This step is crucial as it will help the paint adhere better to the surface and give you a smooth finish. Use a medium-grit sandpaper and sand in the direction of the grain. Be sure to wipe away any dust with a damp cloth before proceeding.Prepping Furniture for Painting
Before painting, it's important to prime your furniture. This will not only help the paint stick better, but it will also prevent any stains or discoloration from coming through. Choose a primer that is suitable for the type of material you are working with, whether it's wood, metal, or laminate.How to Prepare Furniture for Painting
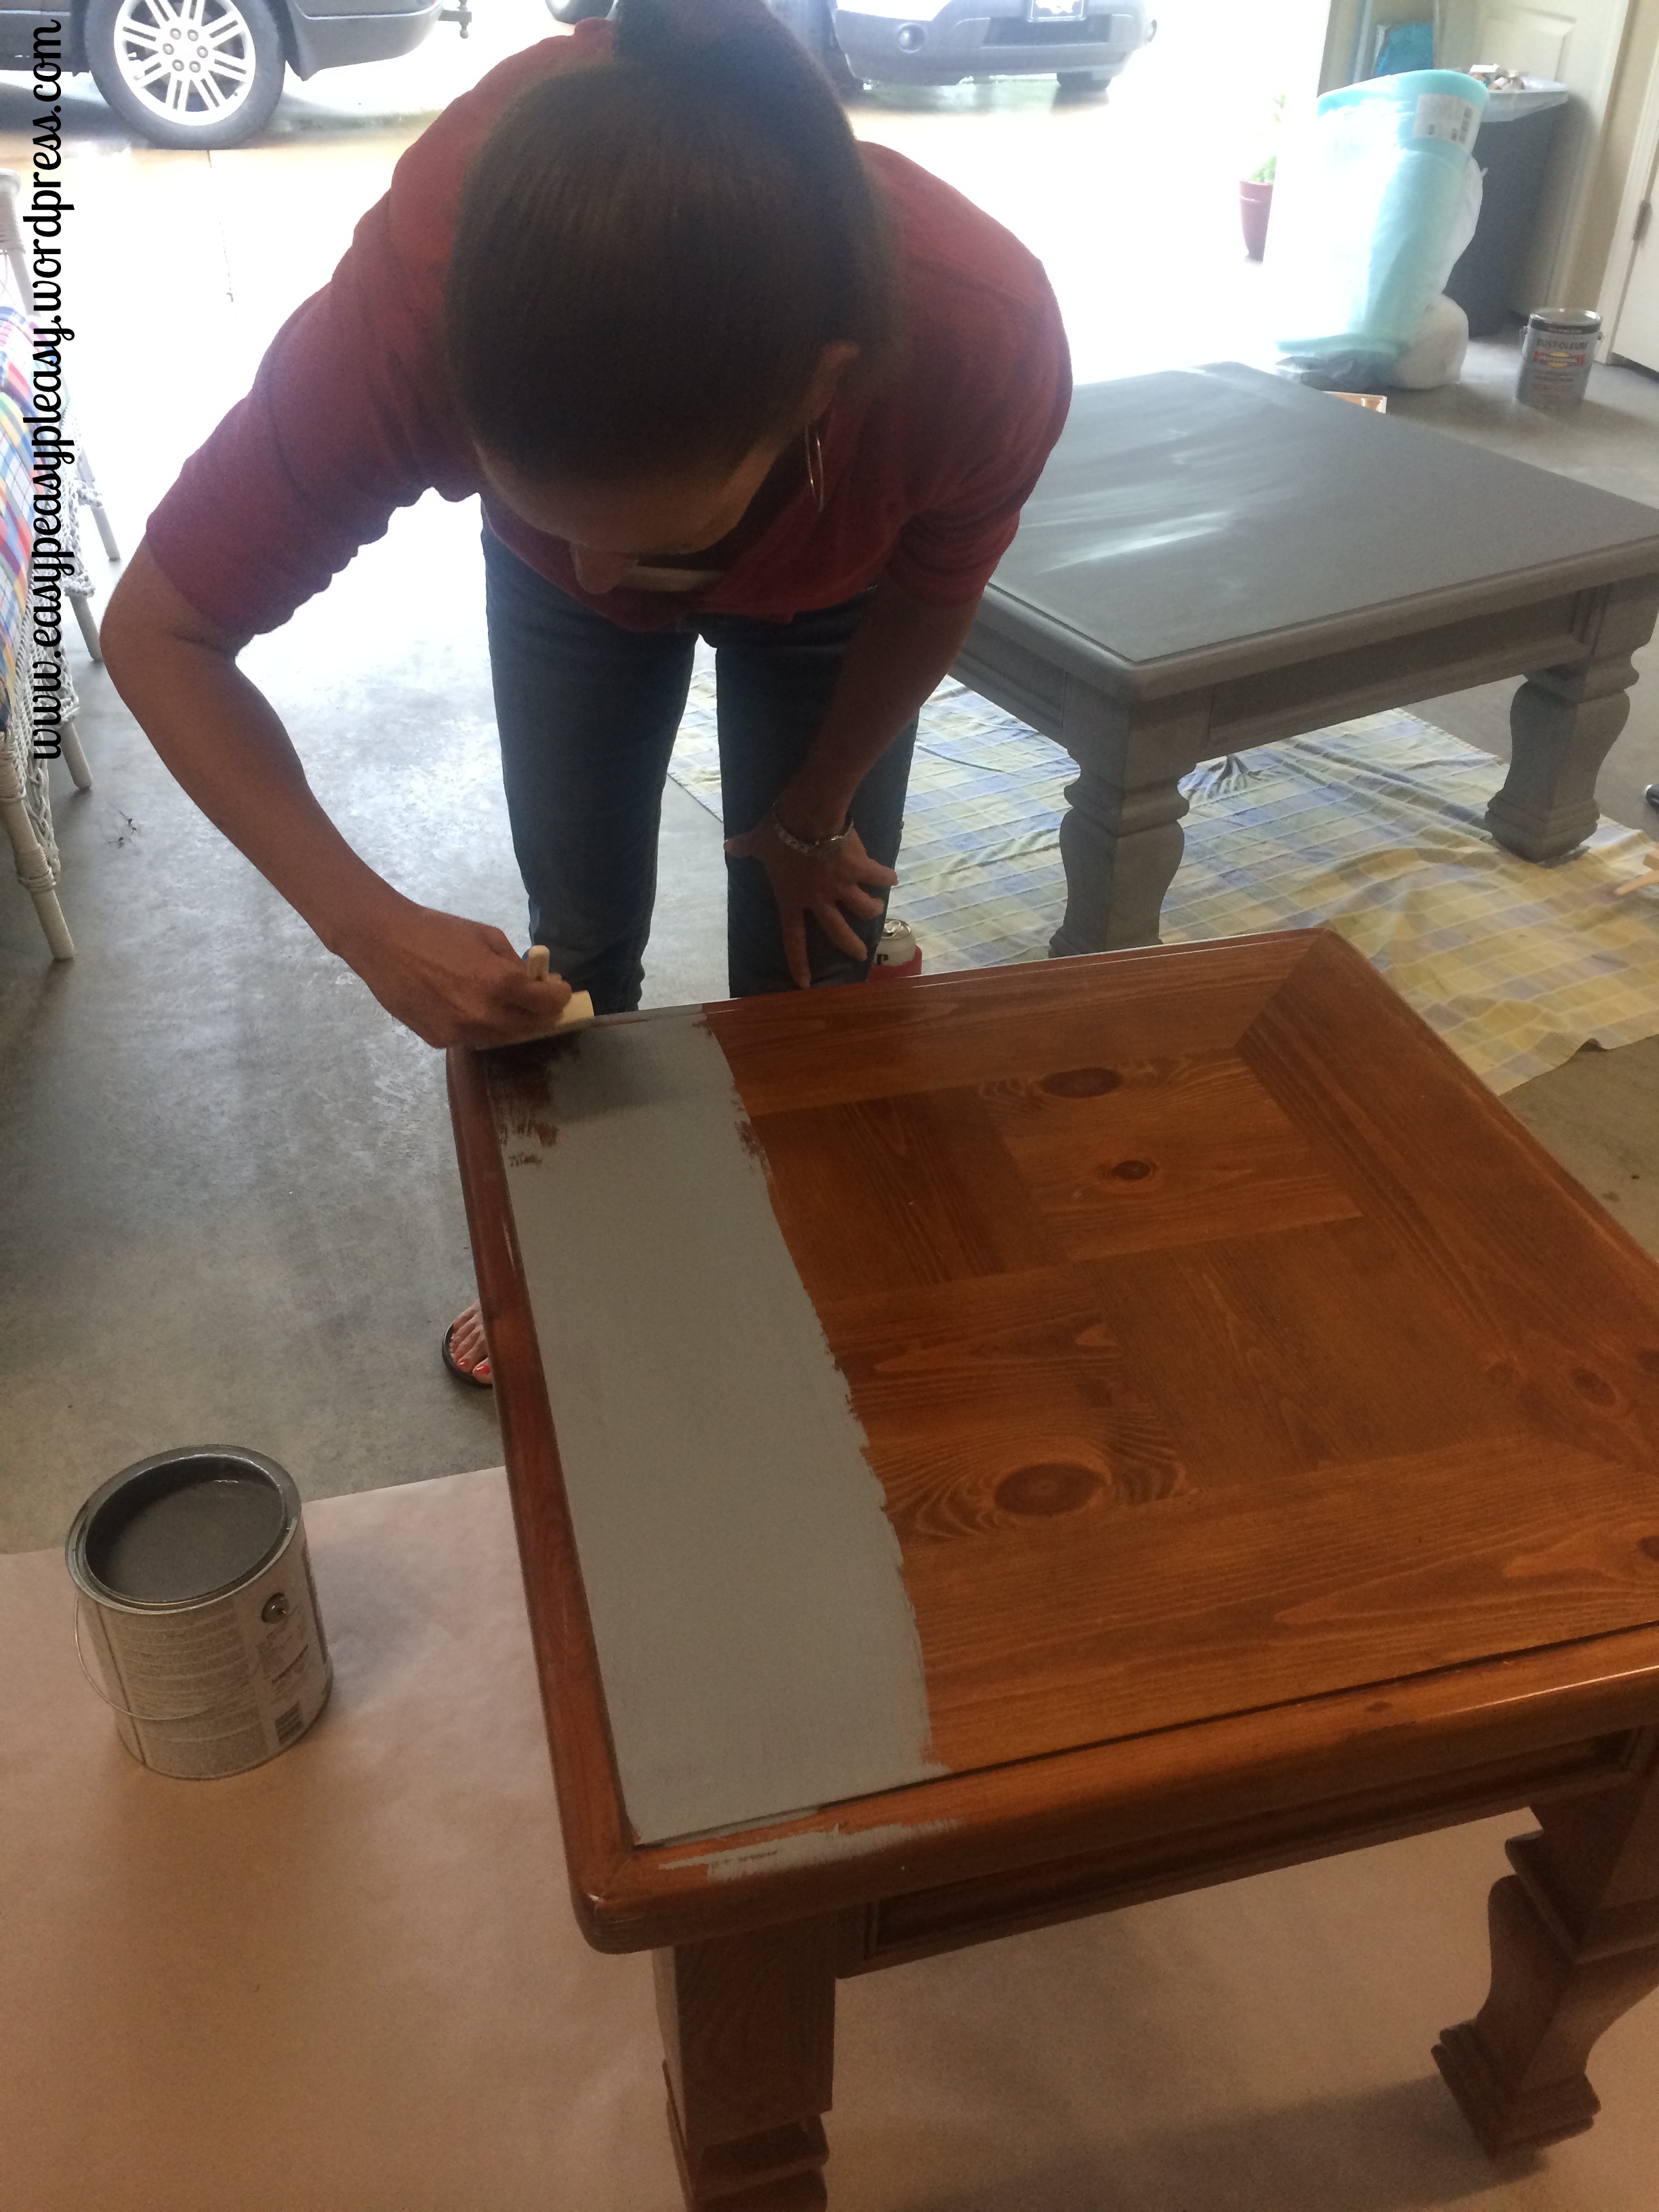
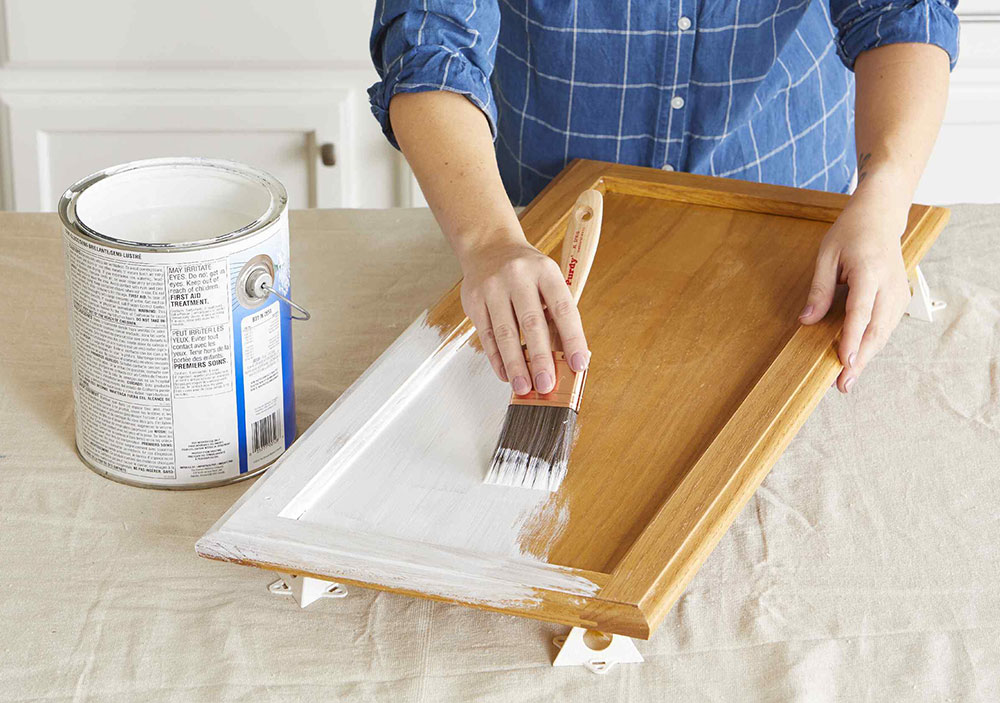
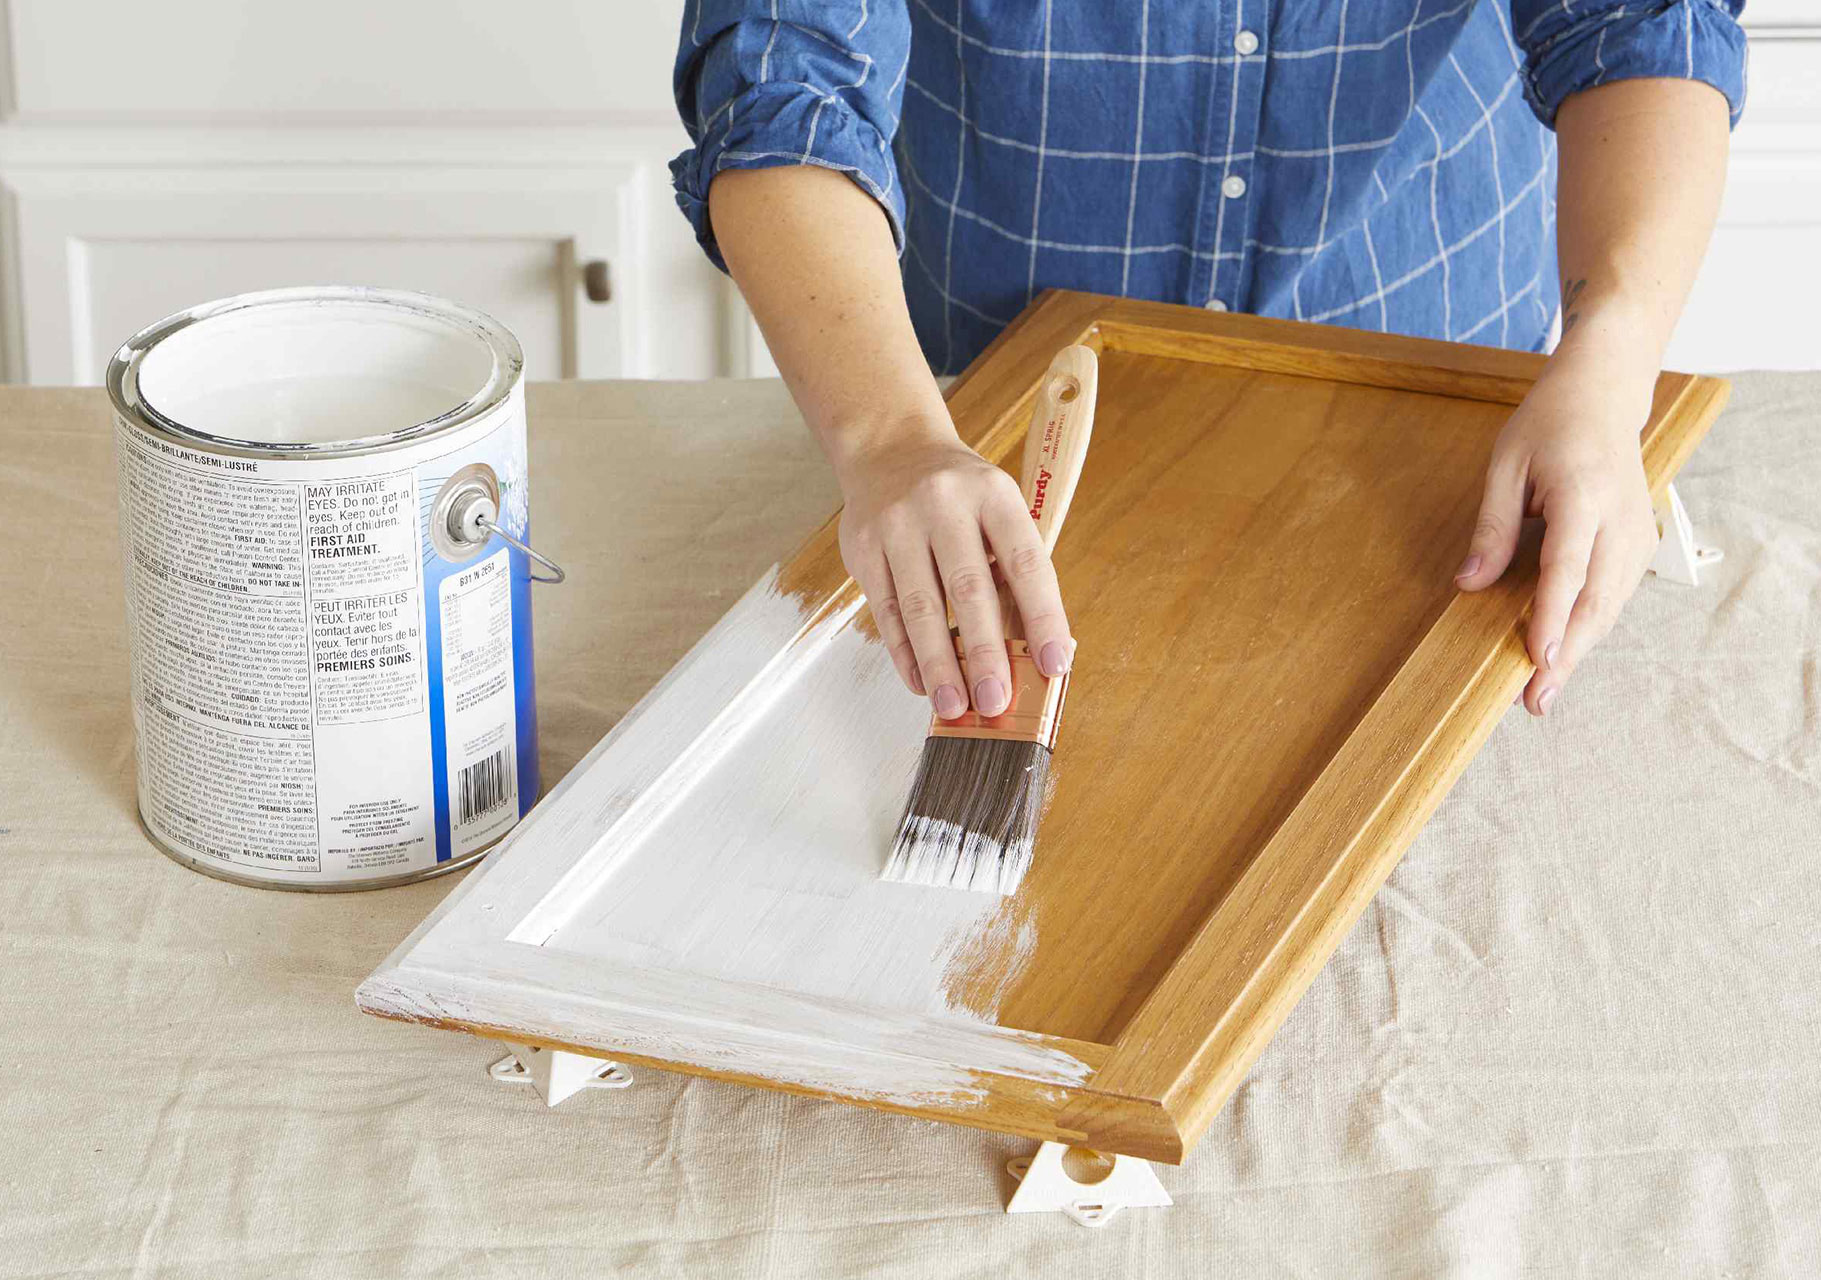
After priming, it's time to paint! Choose a high-quality paint that is specifically designed for furniture. You can use a brush or a roller, depending on the size and shape of your furniture. Be sure to apply thin, even coats and let each coat dry completely before adding another.Steps for Prepping Furniture for Painting
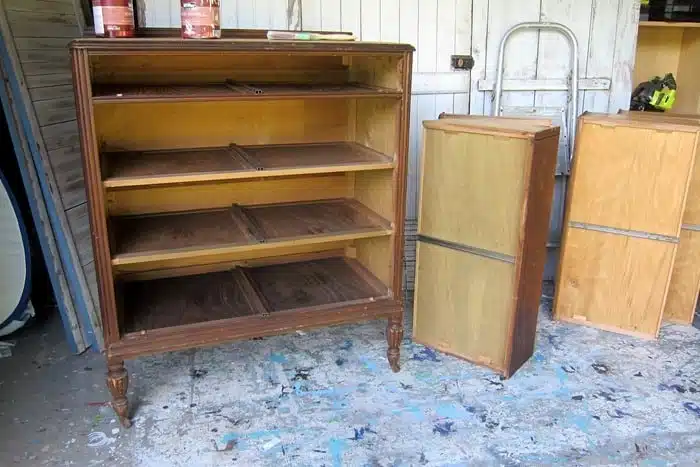
If you are painting a piece of bedroom furniture that has drawers or shelves, it's important to remove them for easier painting. This will also ensure that you get full coverage on all surfaces. You can also paint the inside and back of the furniture for a more professional look.Prepping Bedroom Furniture for Painting
If you are working with wooden furniture, it's important to fill in any holes or gaps with wood filler and sand them down before painting. You may also need to use a wood conditioner to prevent the wood from absorbing too much paint and giving you an uneven finish.Prepping Wooden Furniture for Painting
If you are repainting an old piece of furniture, it's important to check for any lead paint. If your furniture was built before 1978, it may contain lead-based paint which can be harmful. You can purchase a lead test kit from a hardware store or have it tested professionally.Prepping Old Furniture for Painting
The Best Way to Repaint Bedroom Furniture

Preparation Is Key
 When it comes to giving your bedroom furniture a new lease on life, preparation is key. Before diving into the repainting process, it's important to carefully assess the condition of your furniture and decide if it needs any repairs. Look for any loose screws or joints, and tighten or glue them as needed. Sand down any rough or uneven areas, and fill in any cracks or holes with wood filler. This will ensure that your furniture has a smooth and even surface for the paint to adhere to. Additionally, remove any hardware such as handles or knobs from the furniture to avoid getting paint on them.
Choose the Right Paint
 When it comes to repainting furniture, not all paint is created equal. It's important to choose a high-quality paint that is specifically designed for furniture or wood surfaces. Look for paint that has a built-in primer, as this will save you time and effort when it comes to prepping the furniture.
Popular paint options for repainting furniture include chalk paint, milk paint, and acrylic enamel paint.
These types of paint provide a durable and long-lasting finish, and are also easy to work with.
Get the Right Tools
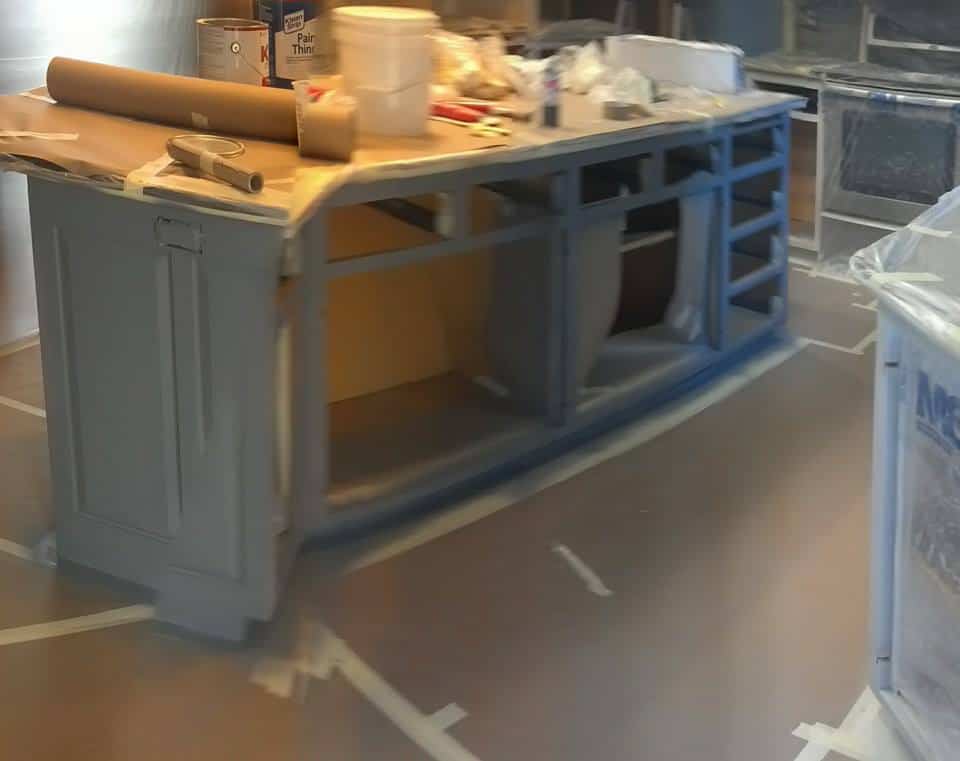
 Having the right tools is essential for achieving a professional-looking finish when repainting furniture. Make sure you have a good quality paintbrush, as well as a foam paint roller for larger surfaces. A foam brush is also useful for getting into smaller areas and achieving a smooth finish. You may also want to invest in painter's tape to protect any areas of the furniture that you don't want to get paint on, such as the hardware or edges.
Proper Technique
 When it comes to actually painting your furniture, there are a few techniques that can help you achieve the best results. Start by applying a thin and even coat of paint using your paintbrush.
This first coat will act as a primer and help the subsequent coats of paint adhere better.
Once the first coat is dry, use your foam roller to apply a thin and even coat of paint, working in one direction to avoid brush strokes.
If you want a distressed look, you can lightly sand the edges and corners of the furniture after the paint has dried.
Finish off with a final coat of paint and let it dry completely before reattaching any hardware.
Don't Forget the Finishing Touches
 After the paint has fully dried, you can add some finishing touches to your repainted bedroom furniture. Consider adding a coat of clear polyurethane to protect the paint and give it a glossy finish. You can also add new hardware or knobs to give your furniture a fresh and updated look. Be creative and have fun with these finishing touches to truly personalize your repainted furniture.
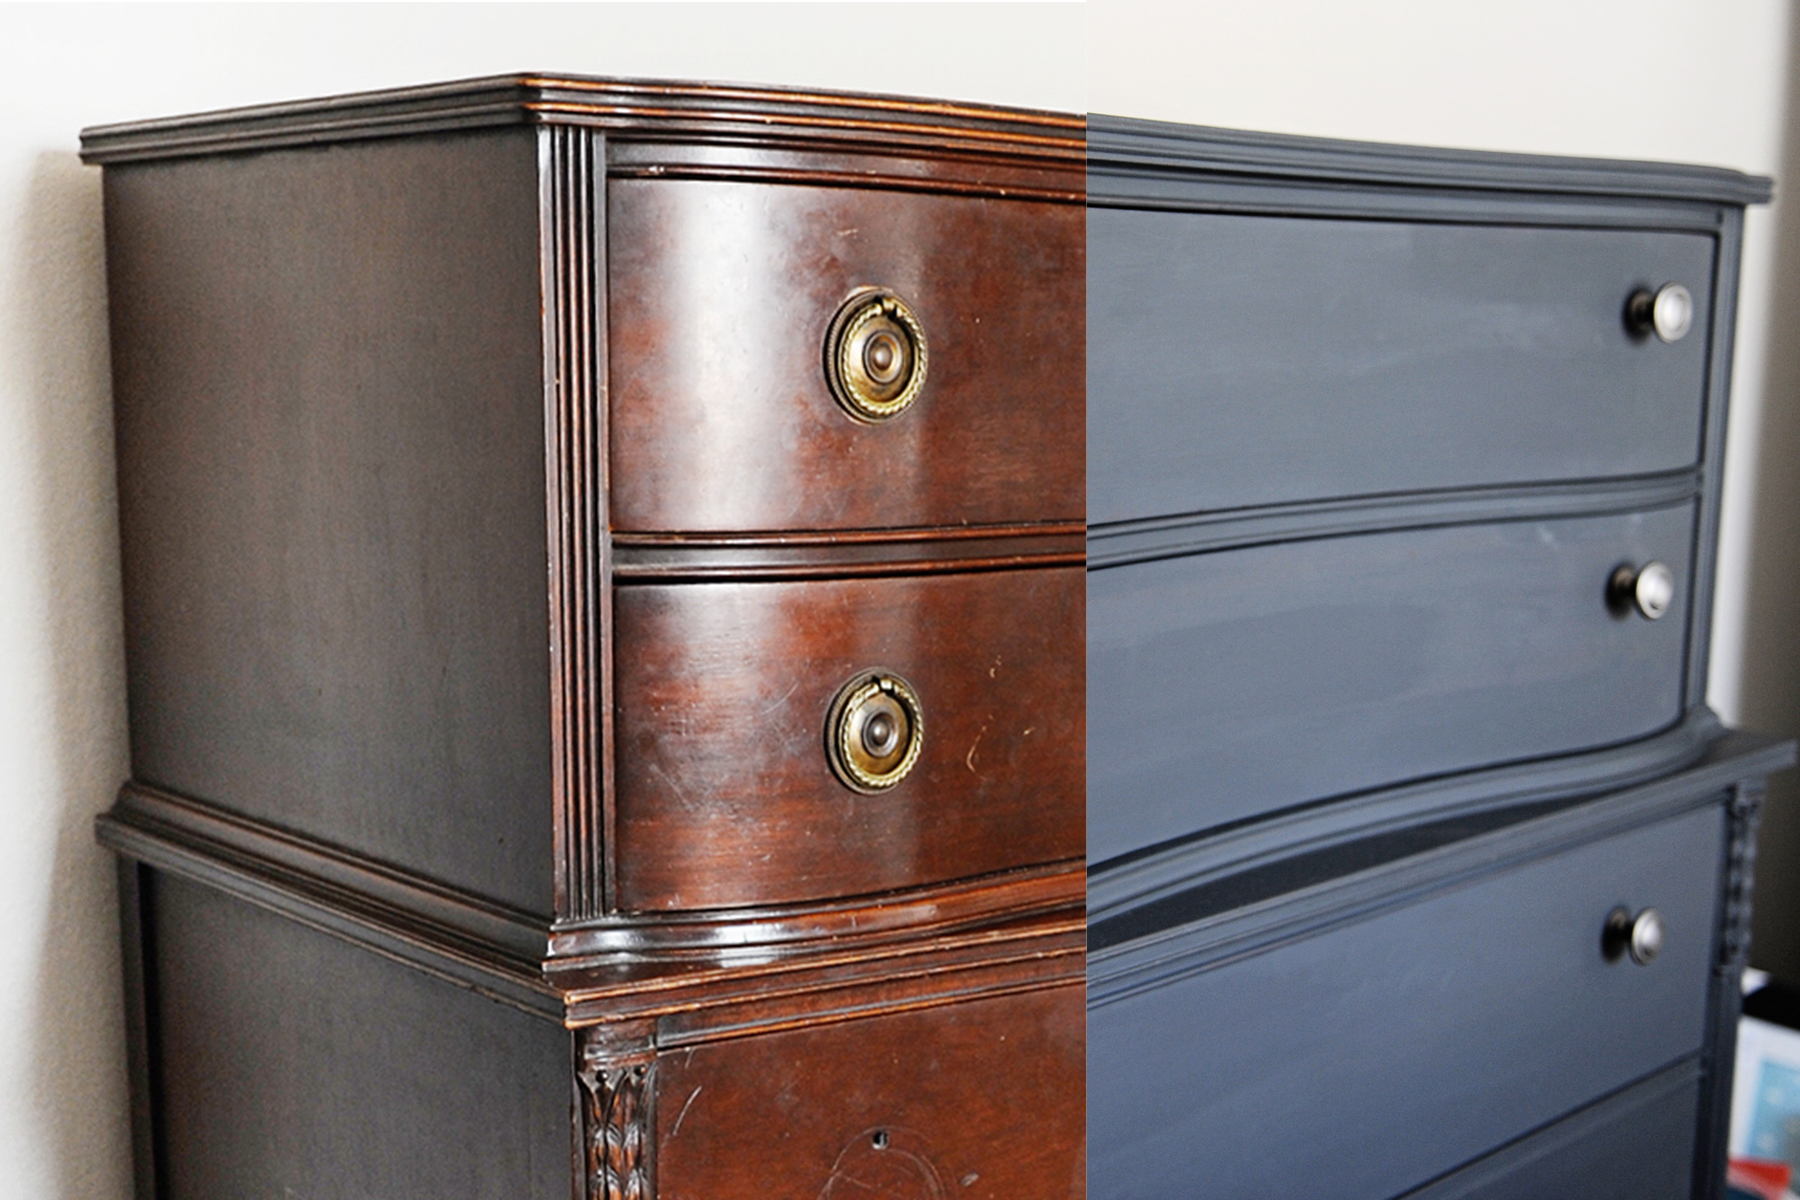
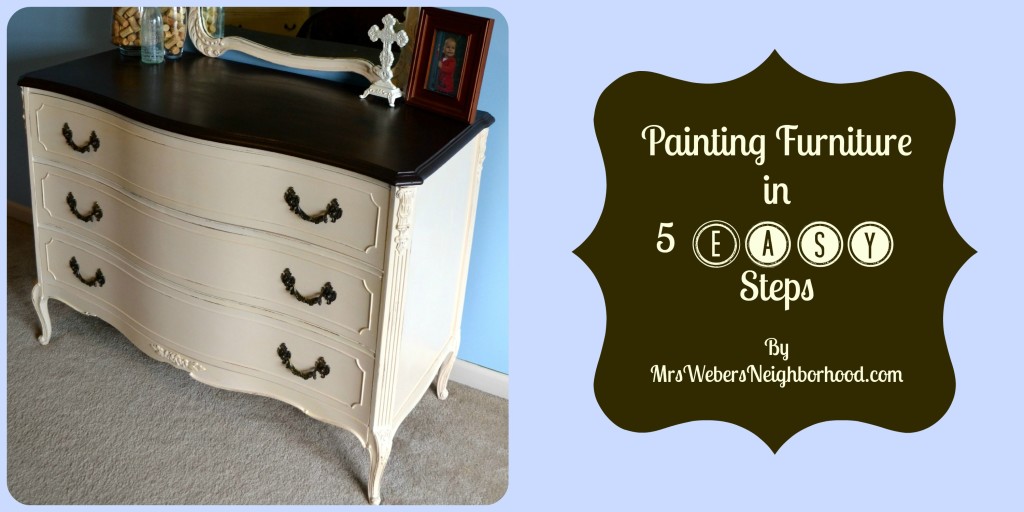
In conclusion, repainting your bedroom furniture is a cost-effective and easy way to give your room a fresh new look. By following these tips and techniques, you can achieve professional results and have furniture that looks brand new. So go ahead and unleash your inner DIY guru and give your bedroom furniture a new life!


