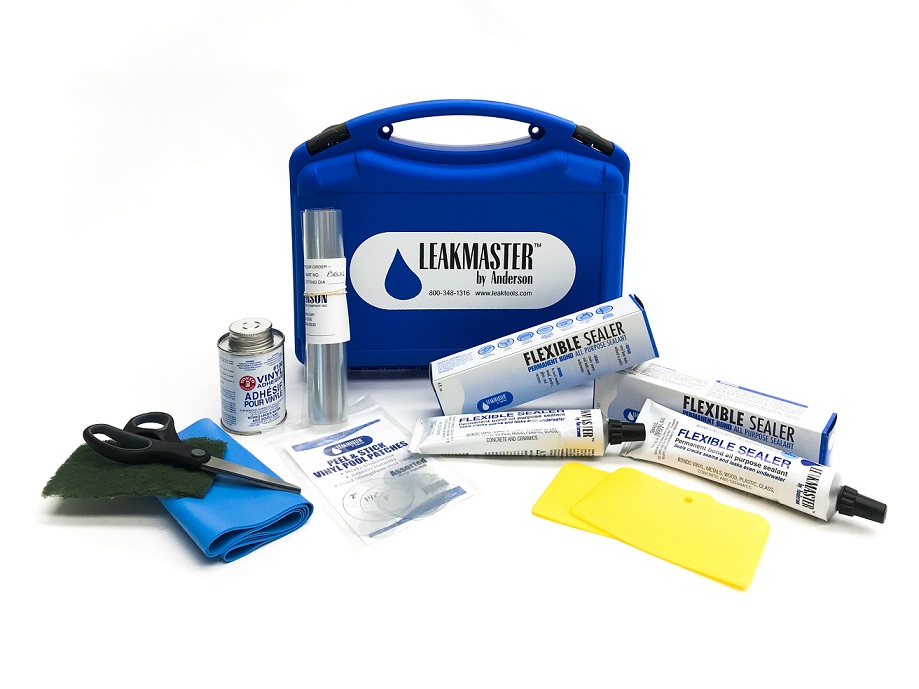
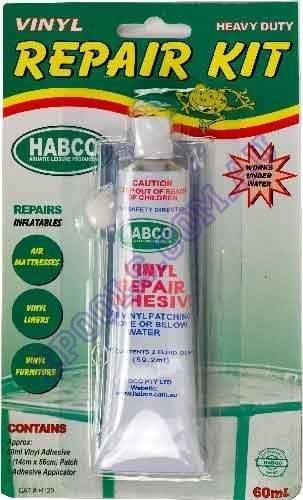
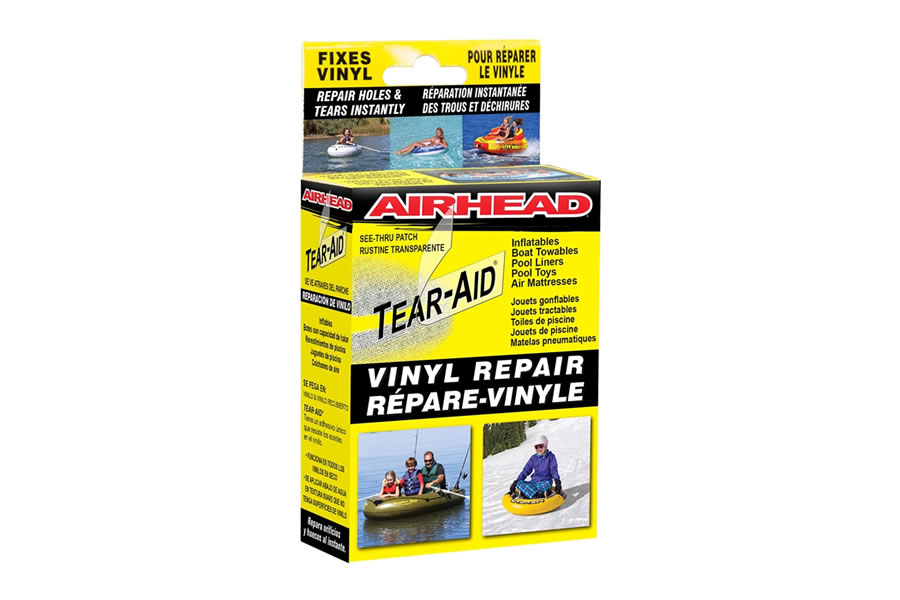
If you have a large hole in your air mattress, a regular patch kit may not be strong enough to hold the air in. That's why it's important to use a patch kit specifically designed for air mattresses. These kits usually come with a stronger adhesive and thicker patches that are better suited for repairing larger holes. One such kit is the Air Mattress Repair Kit, which includes everything you need for a successful patching job, including vinyl patches, adhesive, and a brush for easy application. Investing in a high-quality patch kit can save you from the hassle of constantly re-patching your mattress. 1. Use a Patch Kit Specifically Designed for Air Mattresses


1. Use a patch kit specifically designed for air mattresses


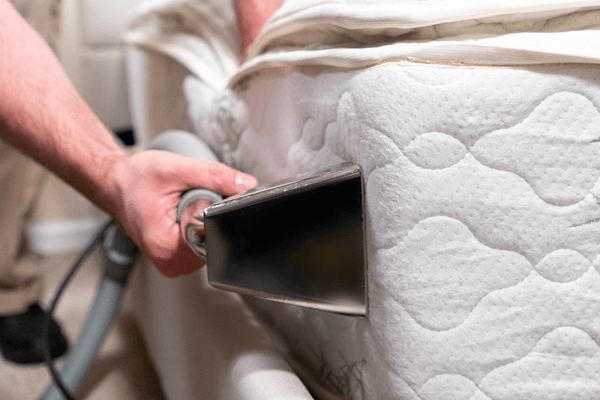
Before applying the patch, it's important to clean and dry the area around the hole. This will ensure that the patch adheres properly and doesn't come off easily. Use a damp cloth to clean the area and then dry it thoroughly with a towel. Make sure to remove any dirt, debris, or residue from the surface, as they can interfere with the bond between the patch and the mattress. This step is crucial for the success of your patching job, so take your time and make sure the area is completely clean and dry before moving on to the next step.2. Clean and Dry the Area Around the Hole Before Patching


2. Clean and dry the area around the hole before patching


The patch should be slightly larger than the hole to ensure that it covers the entire damaged area. Use a pair of scissors to cut the patch to the desired size, making sure to leave at least an inch of extra material around the edges of the hole. This will also help to prevent the patch from peeling off over time. If you're using a patch with a self-adhesive backing, you can skip this step and simply use the pre-cut patch provided in the kit.3. Cut the Patch to a Size Slightly Larger than the Hole


3. Cut the patch to a size slightly larger than the hole


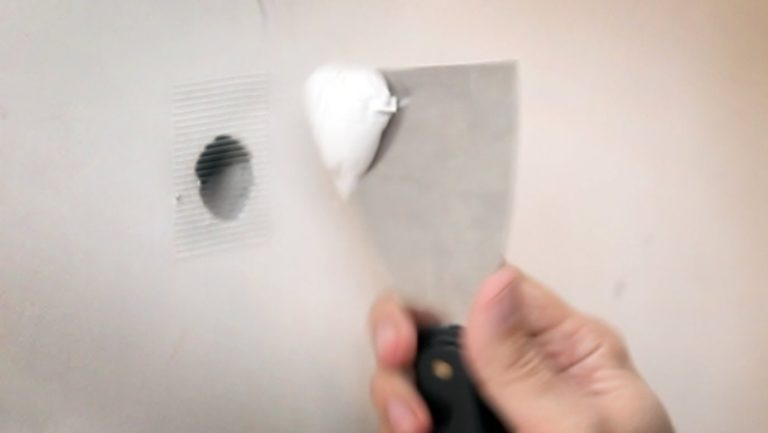
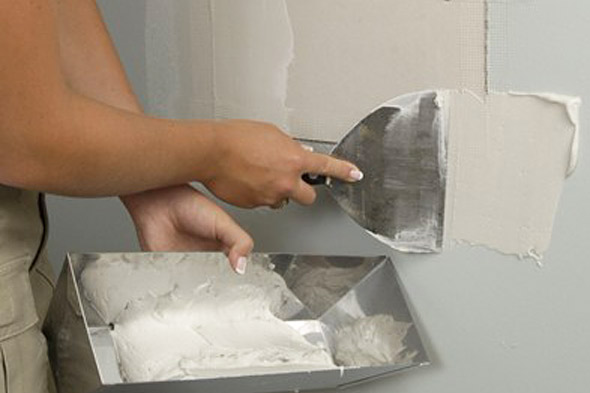
Next, apply a thin layer of adhesive to both the patch and the area around the hole. This will help to create a strong bond between the patch and the surface of the mattress. Use a brush or the applicator provided in the kit to spread the adhesive evenly. Be careful not to apply too much adhesive, as it can seep through the patch and create lumps. A thin, even layer is all you need for a strong bond.4. Apply a Thin Layer of Adhesive to the Patch and the Area Around the Hole


4. Apply a thin layer of adhesive to the patch and the area around the hole


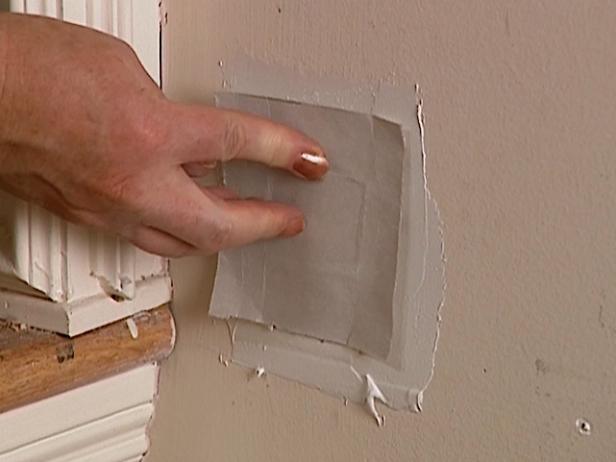
Once the adhesive is applied, carefully place the patch over the hole and press it down firmly. Use your hand or a rolling pin to smooth out any air bubbles and ensure that the patch is firmly in place. If you're using a vinyl repair kit, you may need to hold the patch in place for a few minutes to allow the adhesive to set. Refer to the instructions provided in your kit for the recommended drying time.5. Press the Patch Firmly onto the Hole and Smooth Out Any Air Bubbles


5. Press the patch firmly onto the hole and smooth out any air bubbles


After applying the patch, it's important to let it dry completely before using the mattress. This will ensure that the adhesive has fully bonded with the surface and the patch is secure. Depending on the type of adhesive used, this can take anywhere from a few hours to overnight. It's best to err on the side of caution and wait a little longer than the recommended drying time to ensure that the patch is fully set. This will prevent any air leaks and ensure that your mattress is ready for use.6. Allow the Patch to Dry Completely Before Inflating the Mattress


6. Allow the patch to dry completely before inflating the mattress


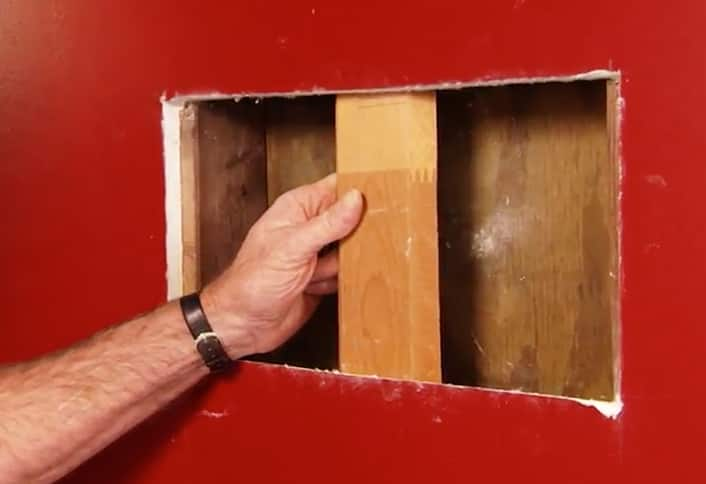
If your air mattress has a large tear or multiple holes, a regular patch kit may not be sufficient. In this case, it's best to use a vinyl repair kit, which is specifically designed for repairing larger damages. These kits usually come with a patch or patches that can cover a larger area and provide a stronger bond. The Vinyl Repair Patch Kit is a great option for repairing large holes or tears. It comes with a clear vinyl patch that can be cut to the desired size, making it suitable for various sizes and shapes of damages. It also includes a strong adhesive and a brush for easy application.7. Use a Vinyl Repair Kit for Larger Holes or Tears


7. Use a vinyl repair kit for larger holes or tears


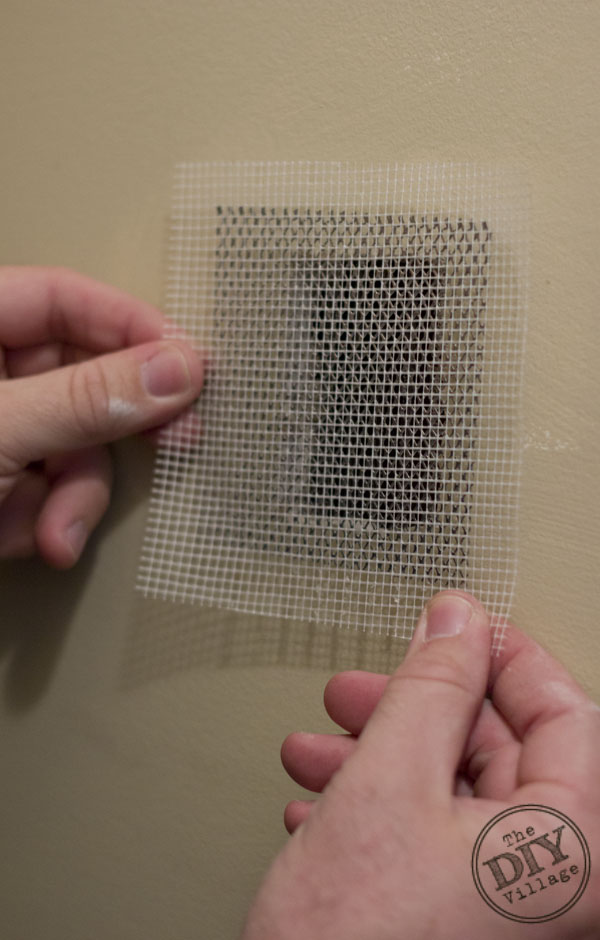
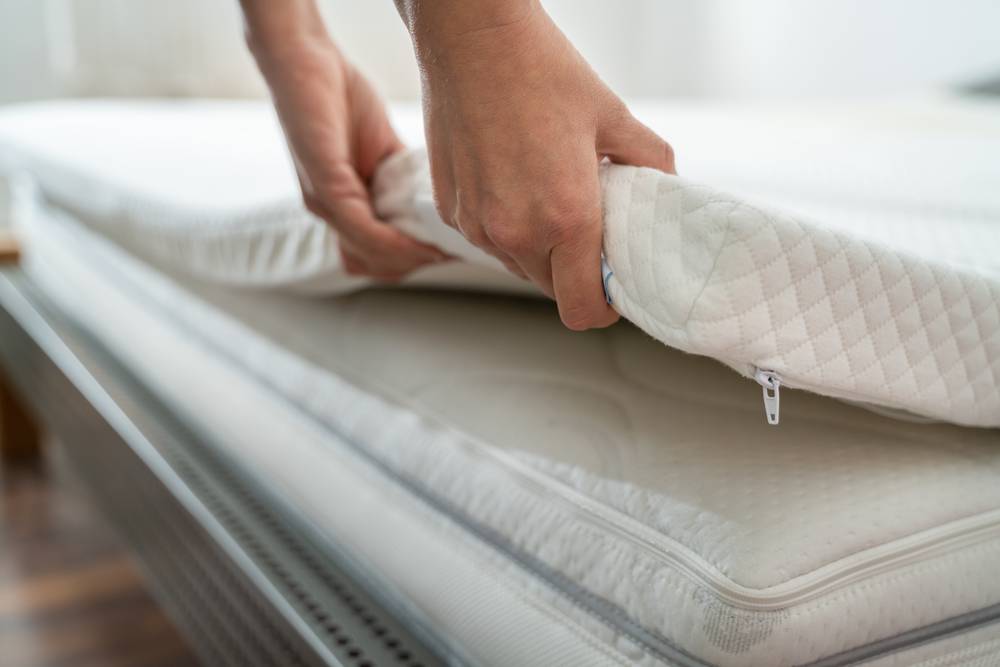
If you're not confident in your patching skills, or if you simply want a quicker and easier solution, consider using a patch with a self-adhesive backing. These patches come with a pre-applied adhesive, so all you have to do is peel off the backing and stick it onto the hole. The Self-Adhesive Vinyl Patch Kit is a great option for those who want a hassle-free patching experience. The patches are pre-cut and come with a strong adhesive that is specifically designed for air mattresses. Simply peel off the backing, stick the patch onto the hole, and apply pressure to ensure a secure bond.8. Consider Using a Patch with a Self-Adhesive Backing for Easier Application


8. Consider using a patch with a self-adhesive backing for easier application


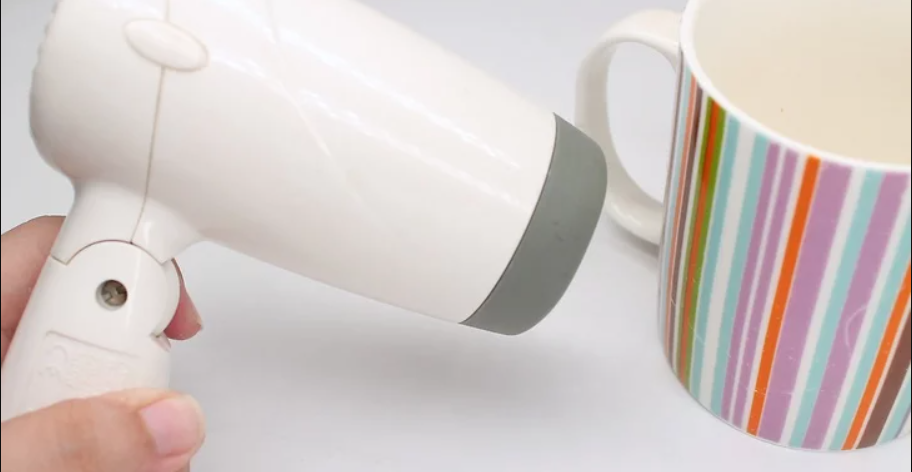
If you're short on time and need to use your air mattress right away, you can use a hairdryer to speed up the drying process. Set it to a low or medium heat setting and hold it a few inches away from the patch. This will help to dry the adhesive faster and allow you to use the mattress sooner. However, be careful not to use too much heat, as it can damage the material of the patch and the mattress. Keep the hairdryer moving and avoid focusing on one spot for too long.9. Use a Hairdryer to Speed Up the Drying Process


9. Use a hairdryer to speed up the drying process


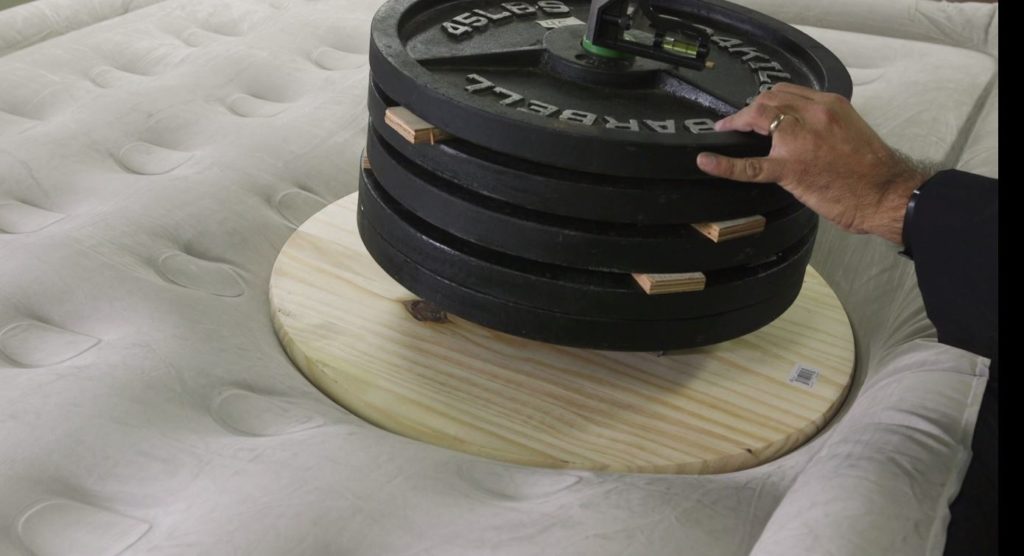
Before using your air mattress, it's important to test the patch to ensure that it has been applied correctly and there are no air leaks. Inflate the mattress and listen for any hissing sounds, which can indicate a leak. You can also run your hand over the patched area to feel for any air escaping. If you notice any leaks, you may need to reapply the patch or try a different method of repair. It's always a good idea to have a backup plan in case the first patching attempt doesn't work.10. Test the Patch Before Using the Mattress by Inflating It and Checking for Any Leaks


10. Test the patch before using the mattress by inflating it and checking for any leaks


The Best Way to Patch a Large Air Mattress Hole

Why Patching Your Air Mattress is Important
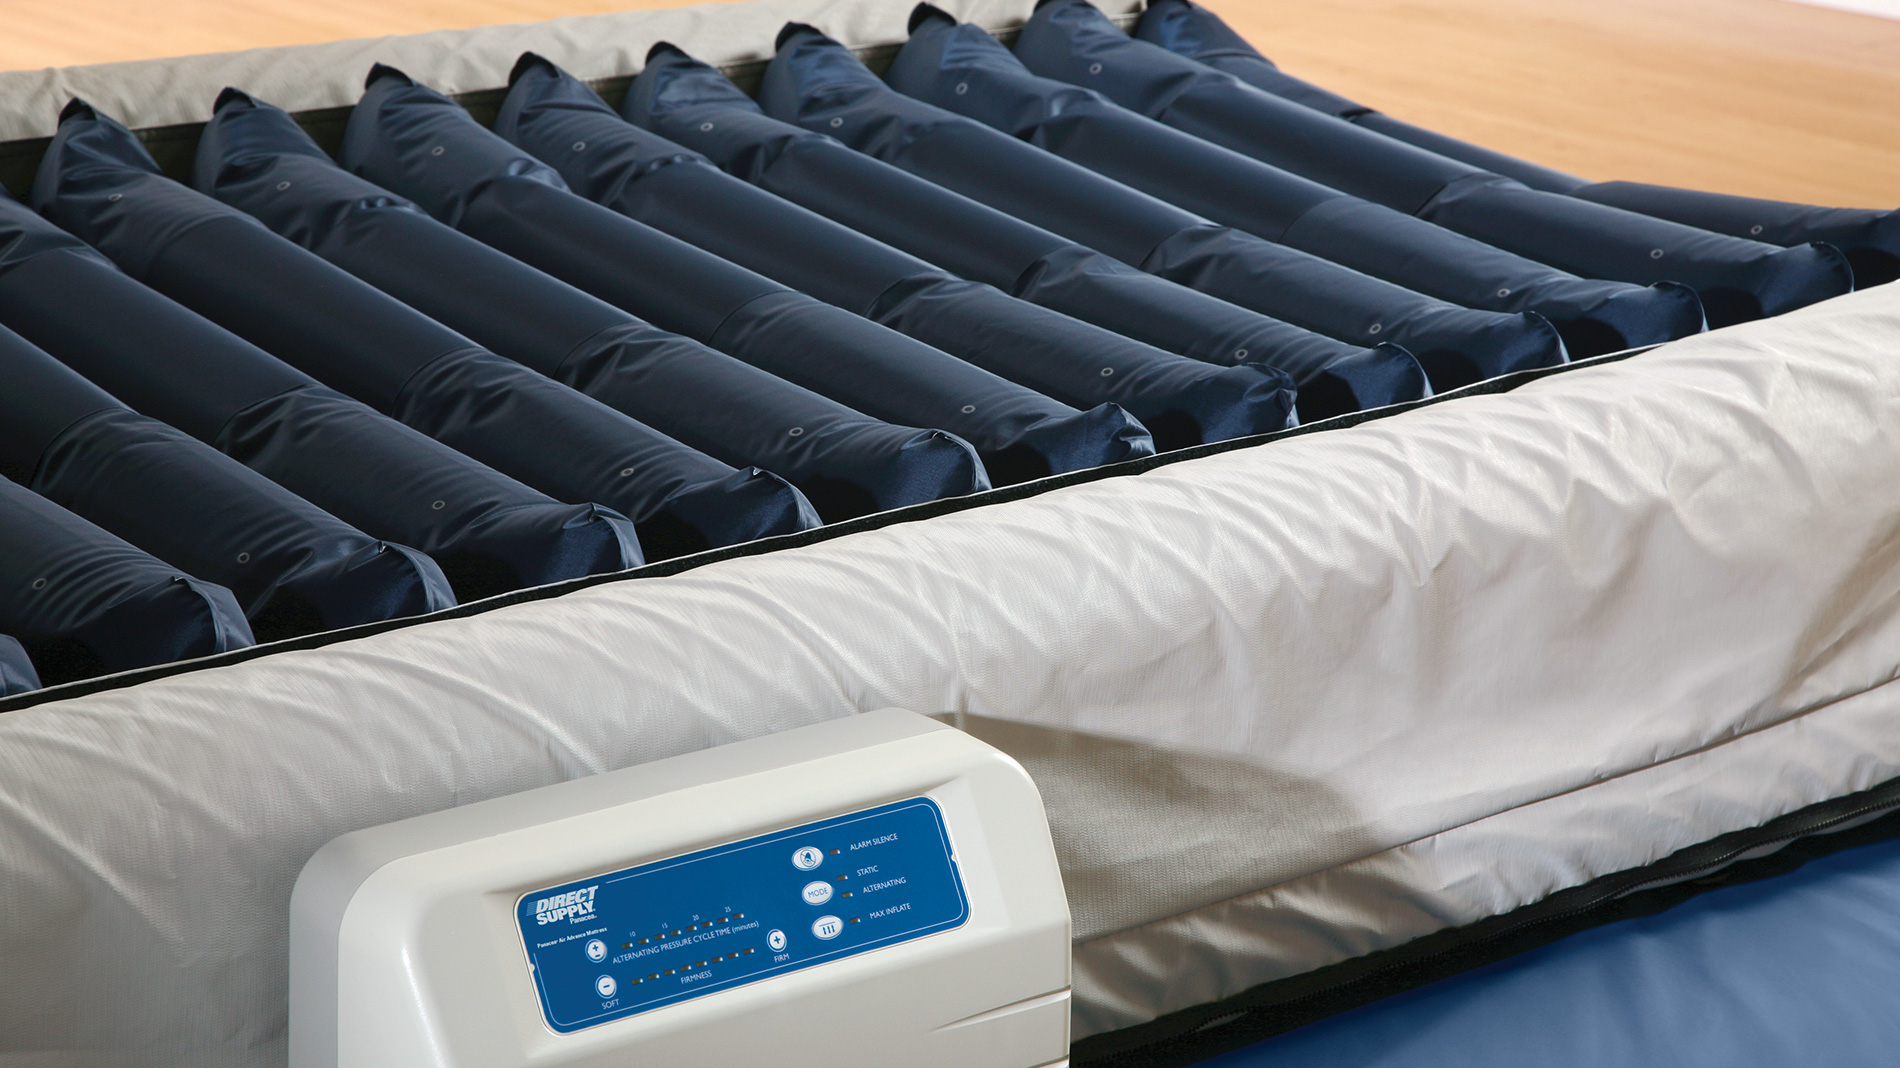
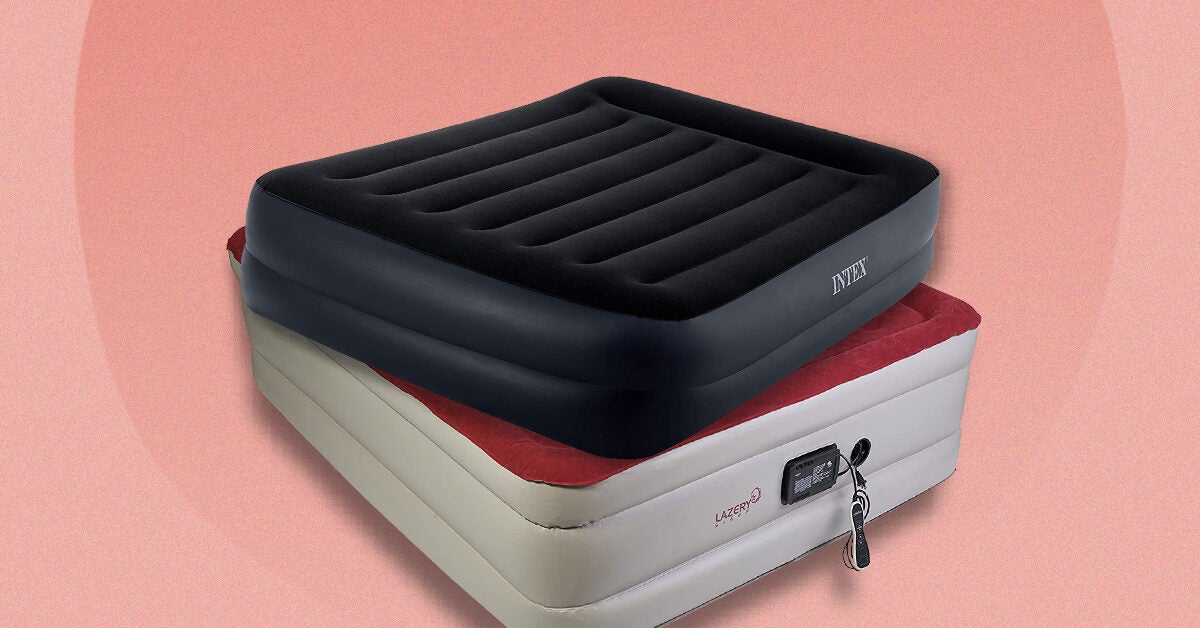
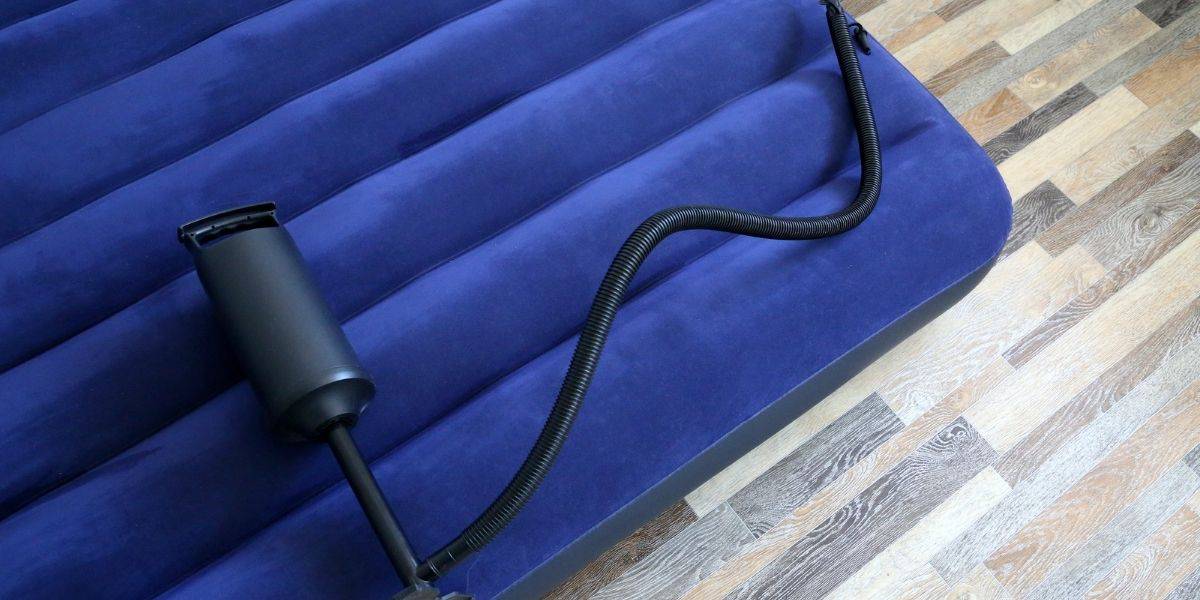
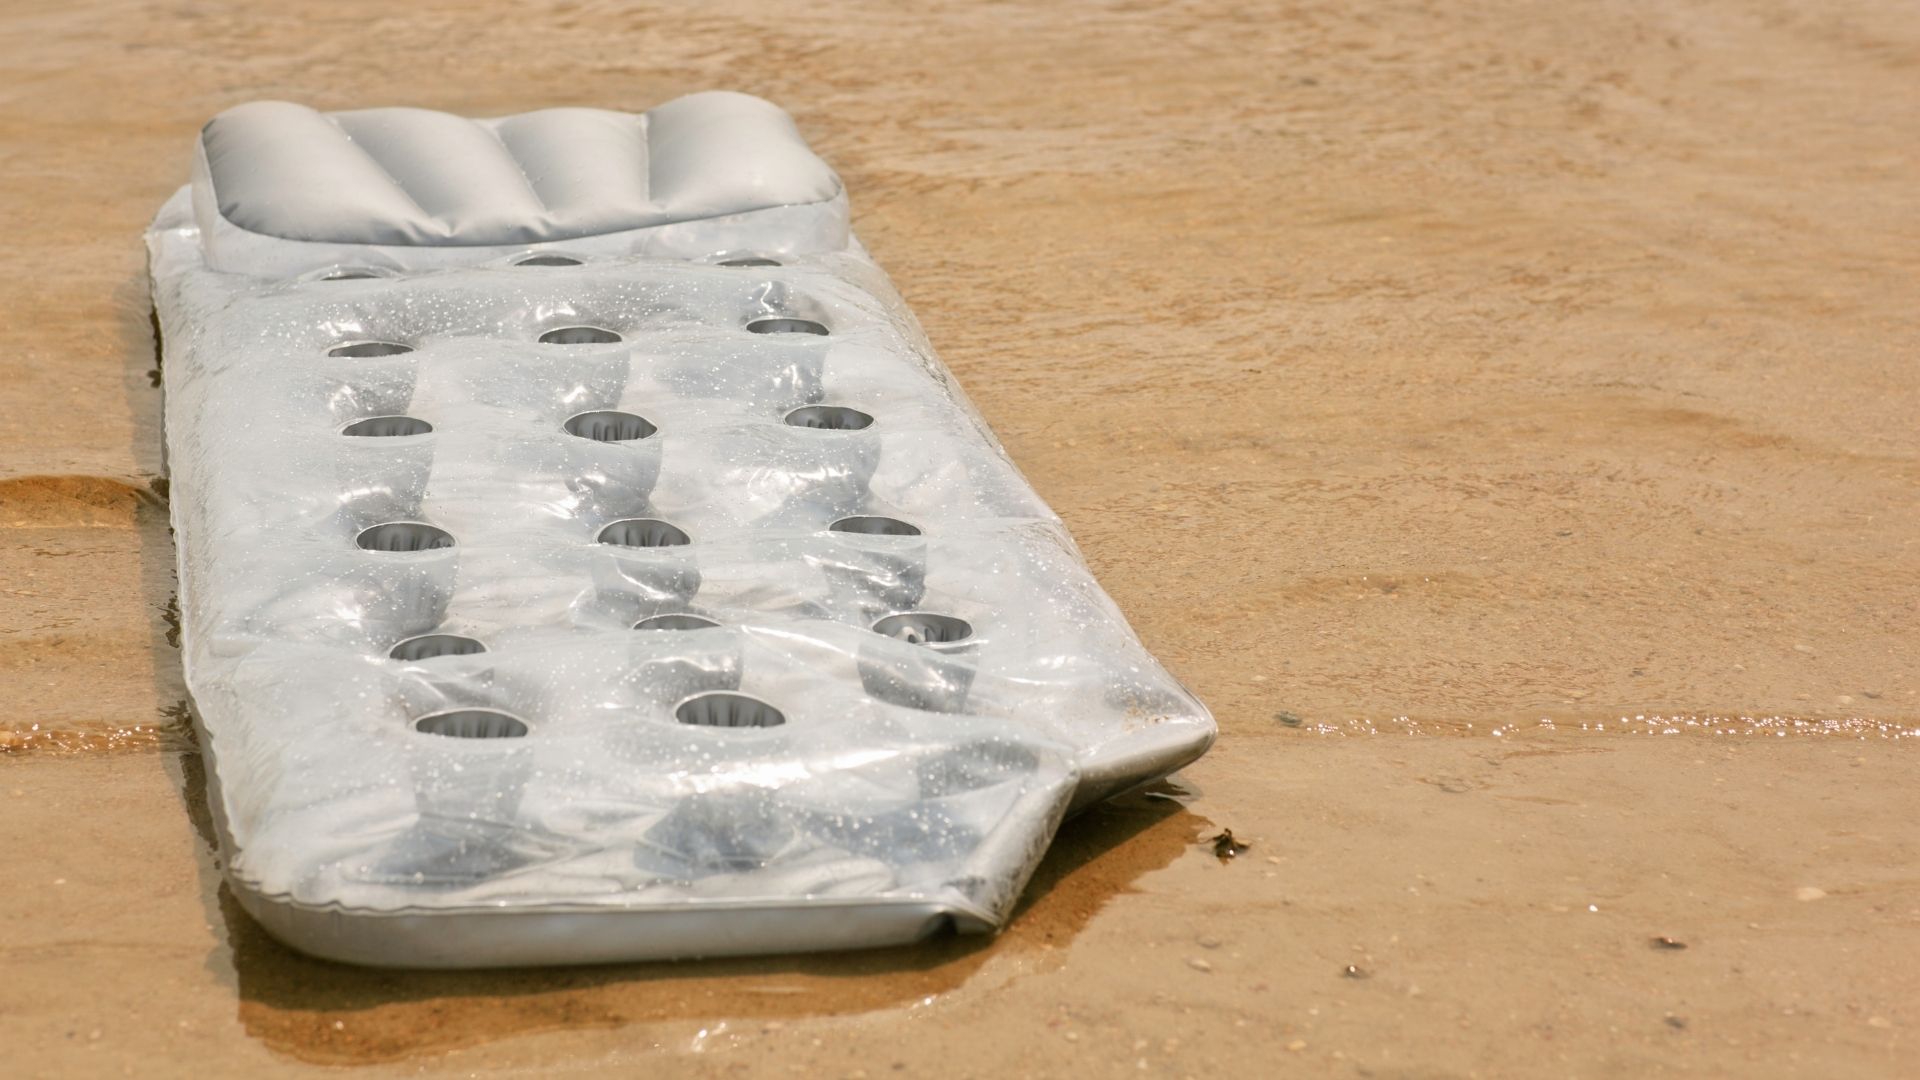
 Air mattresses are a popular choice for many people due to their portability and convenience. They are perfect for camping trips, accommodating guests, and even as a temporary bed for those who are moving. However, with frequent use, air mattresses are prone to developing holes and tears, especially if they are used outdoors. These holes can significantly impact the comfort and usability of the mattress, and if left untreated, they can render it completely unusable. Therefore, it is crucial to know the best way to patch a large air mattress hole to extend its lifespan and ensure a comfortable night's sleep.
Materials You Will Need
 Before beginning the patching process, it is essential to gather all the necessary materials. These include a patch kit specifically designed for air mattresses, rubbing alcohol, scissors, and a marker. It is crucial to use a patch kit specifically made for air mattresses as it will have all the necessary materials and instructions to ensure a proper and long-lasting patch.
The Patching Process
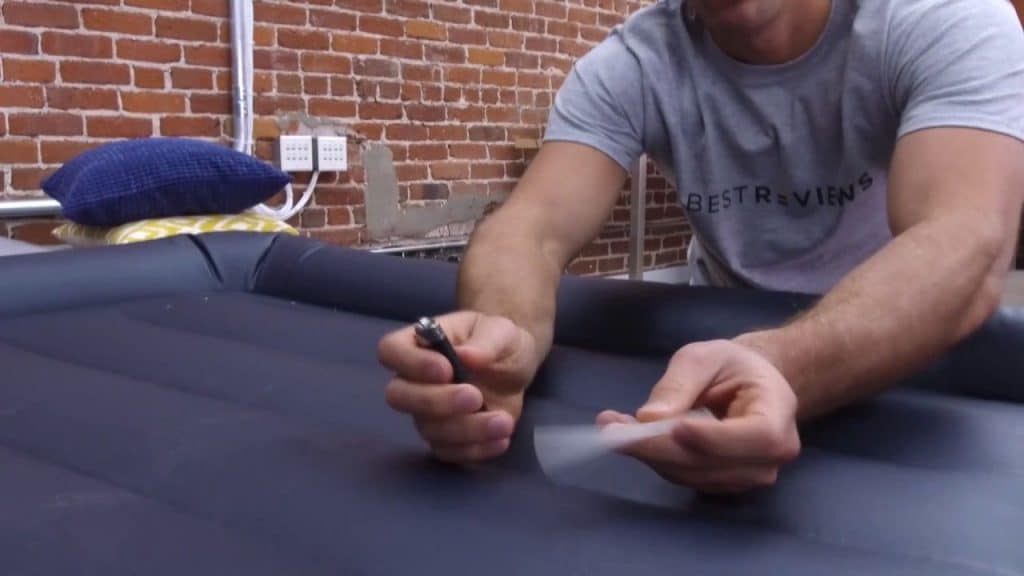
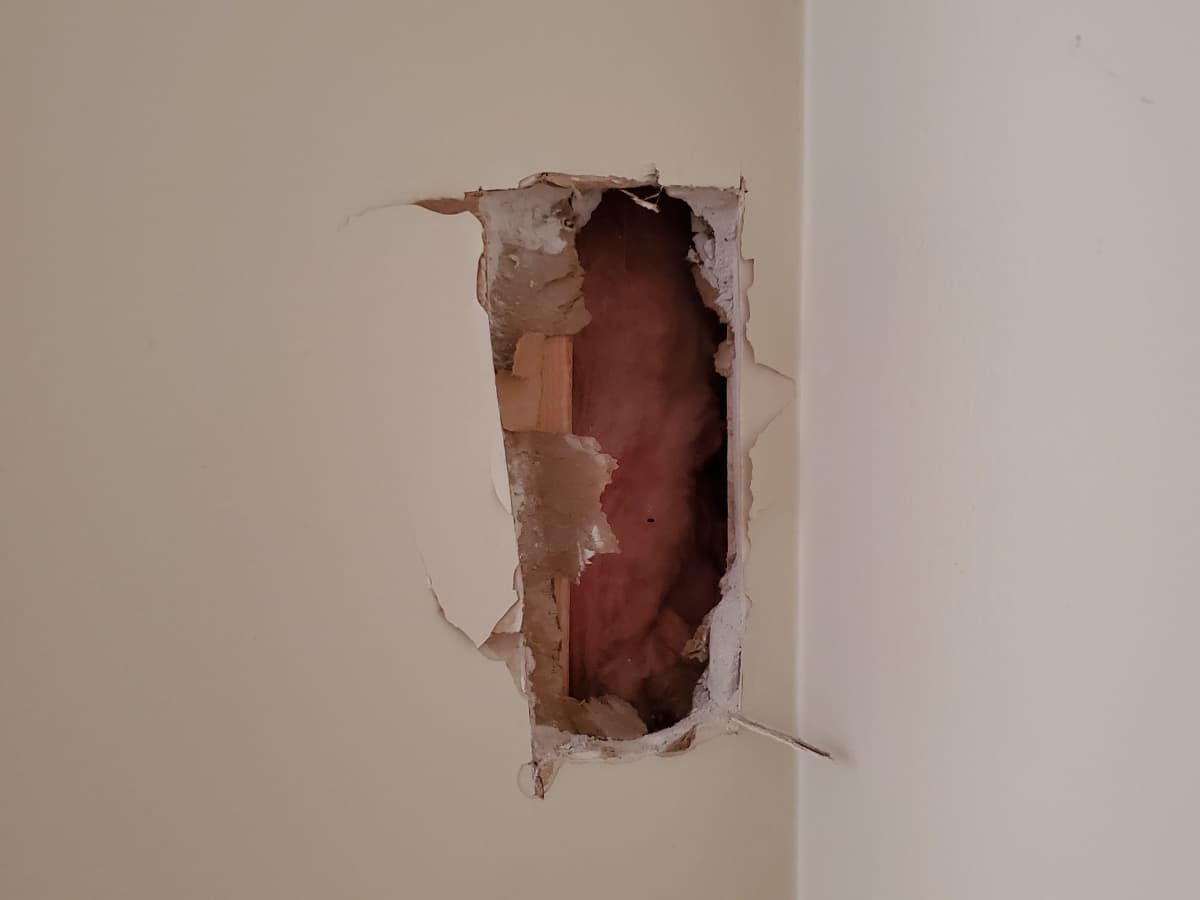
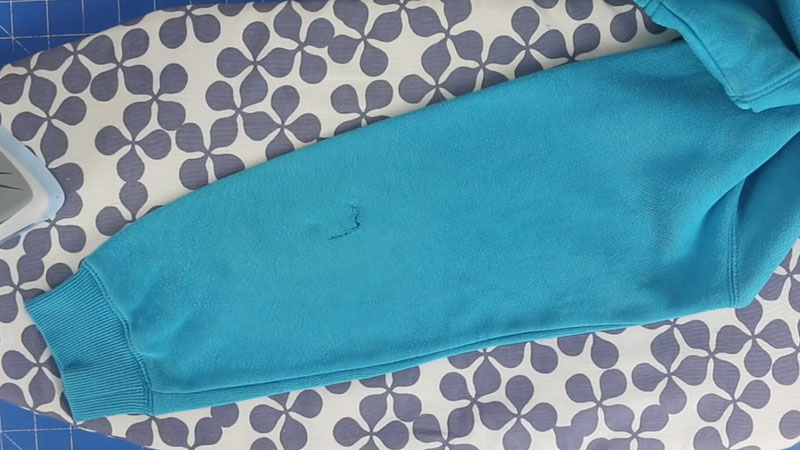
 The first step is to locate the hole in your air mattress. If it is a large hole, it will be easily visible, but if it is a small tear, you may need to inflate the mattress and listen for the sound of air escaping. Once the hole is located, use the marker to mark its perimeter. This will help you determine the size of the patch needed.
Next, clean the area around the hole with rubbing alcohol. This will remove any dirt or debris and ensure that the patch adheres properly. Once the area is clean and dry, carefully cut out a patch from the patch kit, making sure it is slightly bigger than the marked perimeter.
Apply the adhesive included in the patch kit to the back of the patch and the area around the hole. Place the patch over the hole and press down firmly for a few minutes to ensure a secure bond. It is recommended to leave the patch to dry for at least 24 hours before using the air mattress again.
The first step is to locate the hole in your air mattress. If it is a large hole, it will be easily visible, but if it is a small tear, you may need to inflate the mattress and listen for the sound of air escaping. Once the hole is located, use the marker to mark its perimeter. This will help you determine the size of the patch needed.
Next, clean the area around the hole with rubbing alcohol. This will remove any dirt or debris and ensure that the patch adheres properly. Once the area is clean and dry, carefully cut out a patch from the patch kit, making sure it is slightly bigger than the marked perimeter.
Apply the adhesive included in the patch kit to the back of the patch and the area around the hole. Place the patch over the hole and press down firmly for a few minutes to ensure a secure bond. It is recommended to leave the patch to dry for at least 24 hours before using the air mattress again.
Additional Tips
 To ensure a successful patch, make sure to read and follow the instructions included in the patch kit carefully. It is also essential to properly maintain and store your air mattress to prevent future holes and tears. Always make sure the surface you are placing the air mattress on is clean and free of sharp objects. And if you are using the air mattress outdoors, consider laying a protective tarp underneath it.
In conclusion, knowing the best way to patch a large air mattress hole is crucial for extending the life of your mattress and ensuring a comfortable sleeping experience. With the right materials and proper technique, you can easily and effectively patch any holes that may arise. So the next time you find a hole in your air mattress, don't panic, follow these steps, and your mattress will be as good as new in no time.
To ensure a successful patch, make sure to read and follow the instructions included in the patch kit carefully. It is also essential to properly maintain and store your air mattress to prevent future holes and tears. Always make sure the surface you are placing the air mattress on is clean and free of sharp objects. And if you are using the air mattress outdoors, consider laying a protective tarp underneath it.
In conclusion, knowing the best way to patch a large air mattress hole is crucial for extending the life of your mattress and ensuring a comfortable sleeping experience. With the right materials and proper technique, you can easily and effectively patch any holes that may arise. So the next time you find a hole in your air mattress, don't panic, follow these steps, and your mattress will be as good as new in no time.