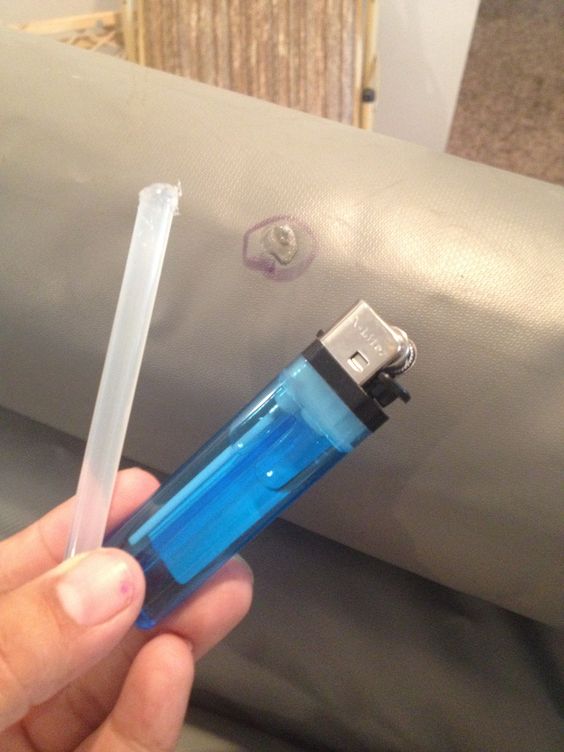
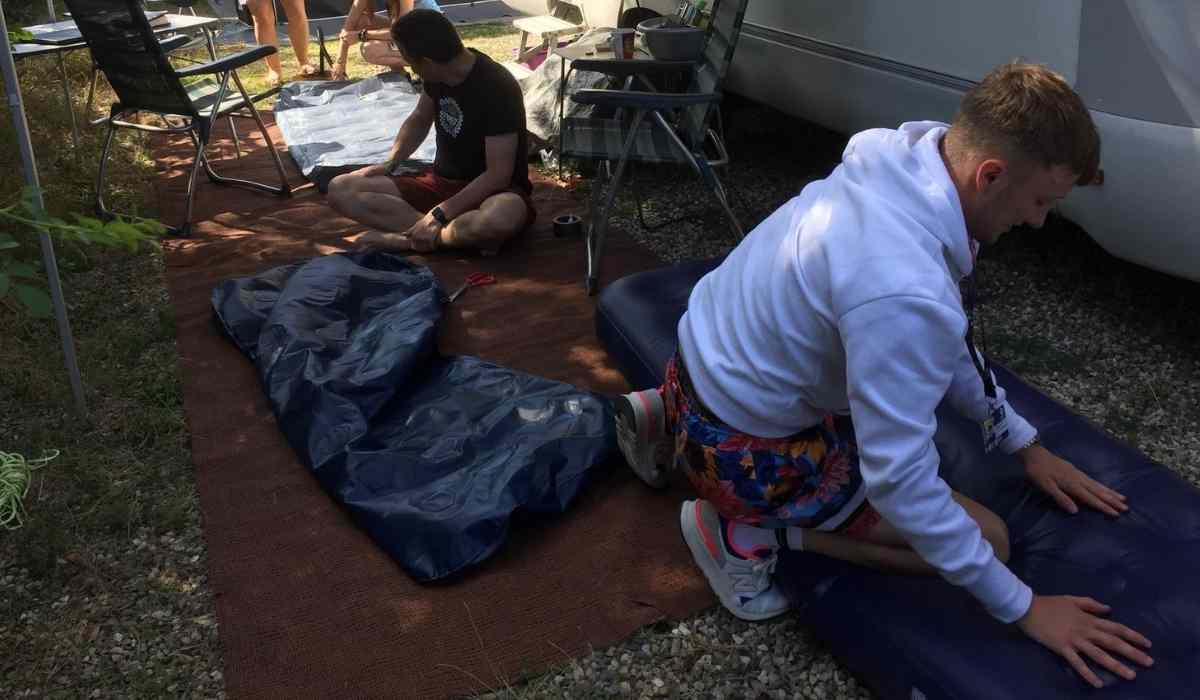
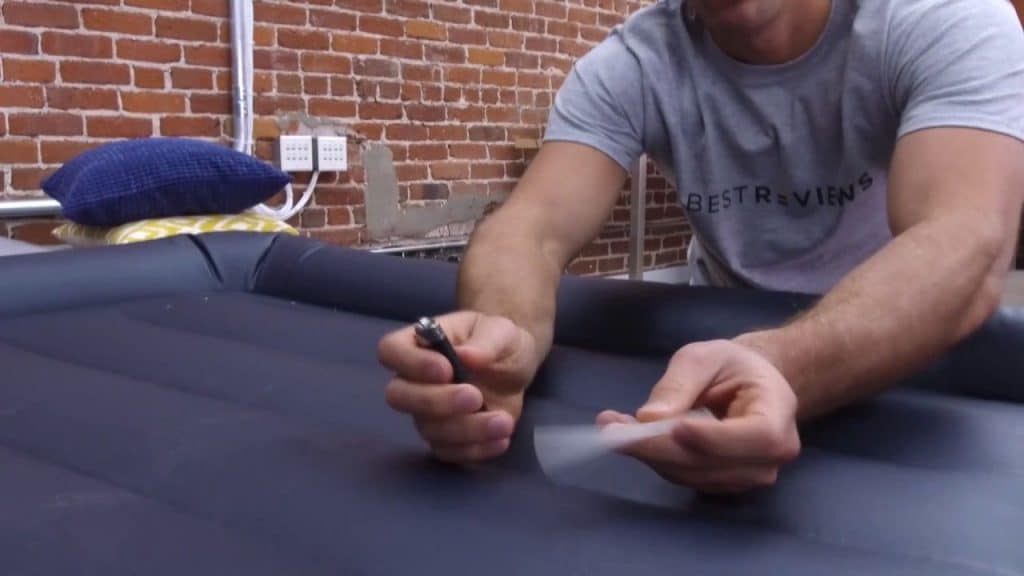
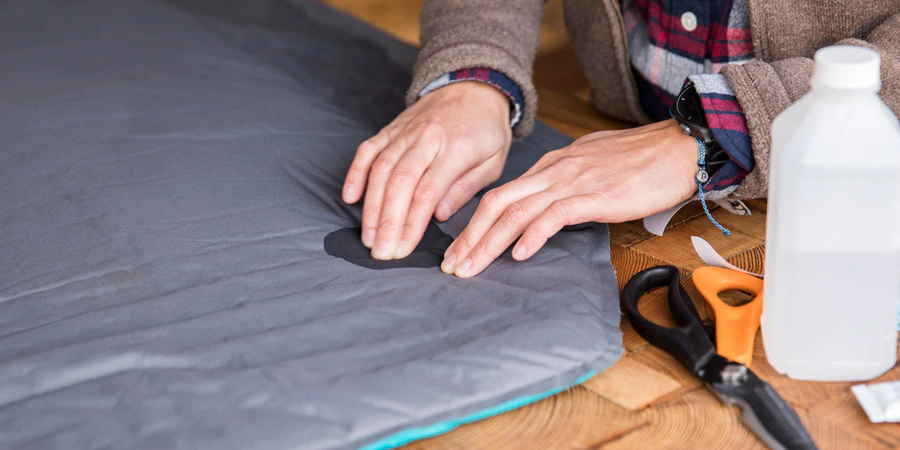
If you've ever found yourself lying on an air mattress that seems to be slowly losing air, you know how frustrating it can be. The culprit is often a small hole or puncture that can be easily fixed with the right techniques. Here's how to patch a hole in an air mattress and get back to a comfortable night's sleep. First, you'll need to locate the hole. Inflate the mattress to its full capacity and then press down on different areas, feeling for any escaping air. Once you've found the hole, mark it with a bold marker or piece of tape so you can easily find it again. Next, clean the area around the hole with a damp cloth and let it dry completely. This will ensure the patch adheres properly. You can also use sandpaper to rough up the surface for better adhesion. Now it's time to patch the hole. You can use a patch kit specifically designed for air mattresses, or you can make your own patch using a piece of thick plastic, such as a shower curtain or tarp. Cut the patch to be slightly larger than the hole. Apply a layer of strong adhesive, such as rubber cement, to the patch and place it over the hole, pressing down firmly. Make sure there are no air bubbles under the patch. Let it dry completely before using the air mattress again.1. Patching a Hole in an Air Mattress
Seams are another common area for air mattress leaks, as they can become worn or damaged over time. If you find a leak along a seam, don't panic – it can be fixed. The first step is to deflate the mattress completely and then clean the area around the seam with a damp cloth. Let it dry completely before proceeding. Next, you'll need to create a patch for the seam. This can be done using a piece of strong fabric, such as denim or canvas. Cut the fabric into a rectangle that is longer than the damaged area and wide enough to cover the entire seam. Using a heavy-duty sewing needle and thread, stitch the patch over the damaged seam, making sure to secure it tightly. You can also use a hot glue gun for extra reinforcement. Let it dry completely before using the mattress again.2. How to Fix an Air Mattress Seam
If you're in a pinch and don't have any patching materials on hand, there are a few DIY methods you can try to fix your air mattress. These may not be as reliable as using a patch kit or creating a patch with fabric, but they can work in a pinch. One method is to use a piece of duct tape to cover the hole or leak. First, clean the area around the hole and let it dry. Then, cut a piece of duct tape that is slightly larger than the hole and place it over the hole, pressing down firmly. This should provide a temporary fix until you can properly patch the hole. You can also try using a bike tire patch kit to fix a hole in an air mattress. These kits typically come with adhesive and a patch that can be cut to size. Just follow the instructions on the kit to patch the hole.3. DIY Air Mattress Repair
For a quick and easy fix, you can try using a product specifically designed for fixing air mattresses, such as an adhesive sealant or liquid rubber. These products can be applied directly to the leak and will seal it up quickly. When using these products, make sure to follow the instructions carefully and let the sealant dry completely before using the mattress again. These fixes may not be as long-lasting as using a patch, but they can provide a quick solution in a pinch.4. Quick and Easy Air Mattress Fix
Duct tape is a versatile tool that can come in handy for fixing a variety of household items, including air mattresses. If your air mattress has a small hole or leak, you can use duct tape to cover it up and provide a temporary fix. First, clean the area around the leak and let it dry. Then, cut a piece of duct tape that is slightly larger than the hole and place it over the hole, pressing down firmly. Make sure there are no air bubbles under the tape. This should provide a temporary fix until you can properly patch the hole.5. Repairing an Air Mattress with Duct Tape
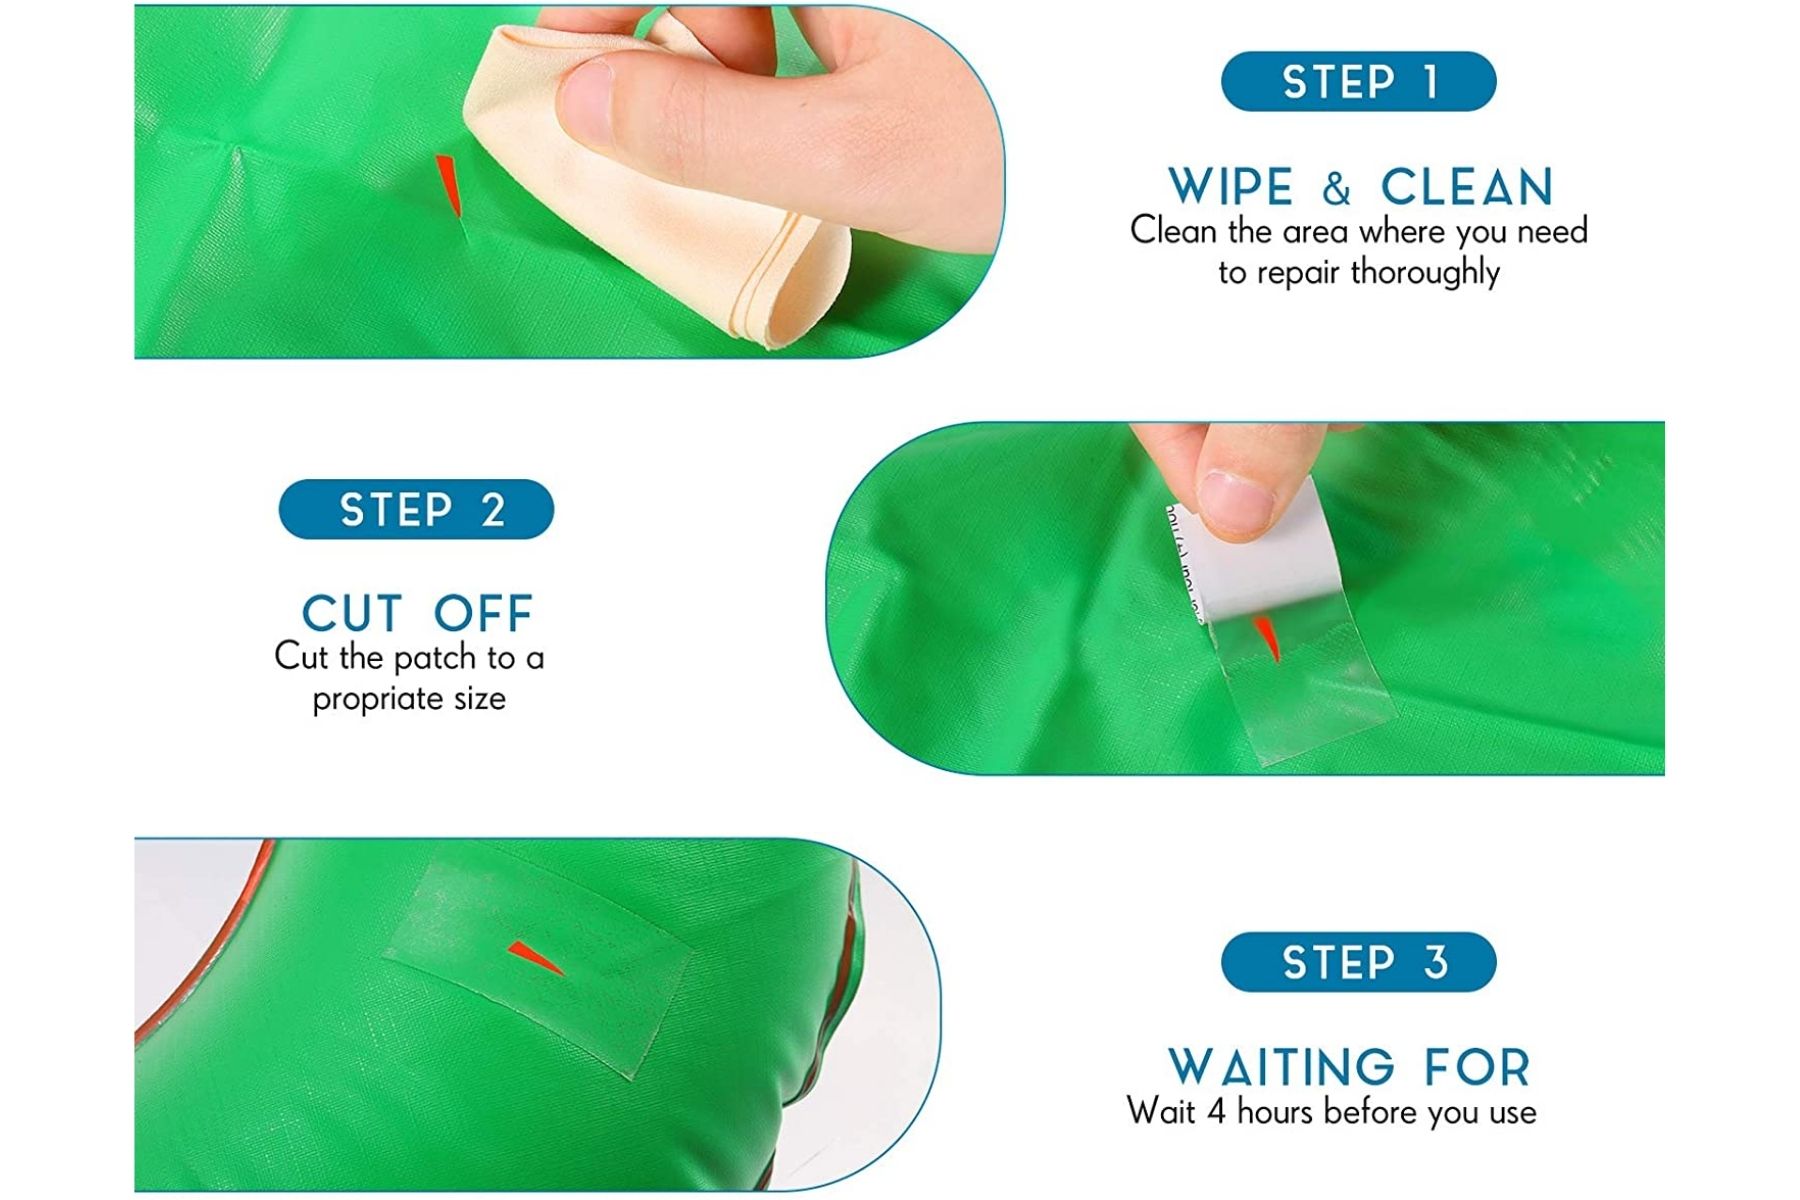
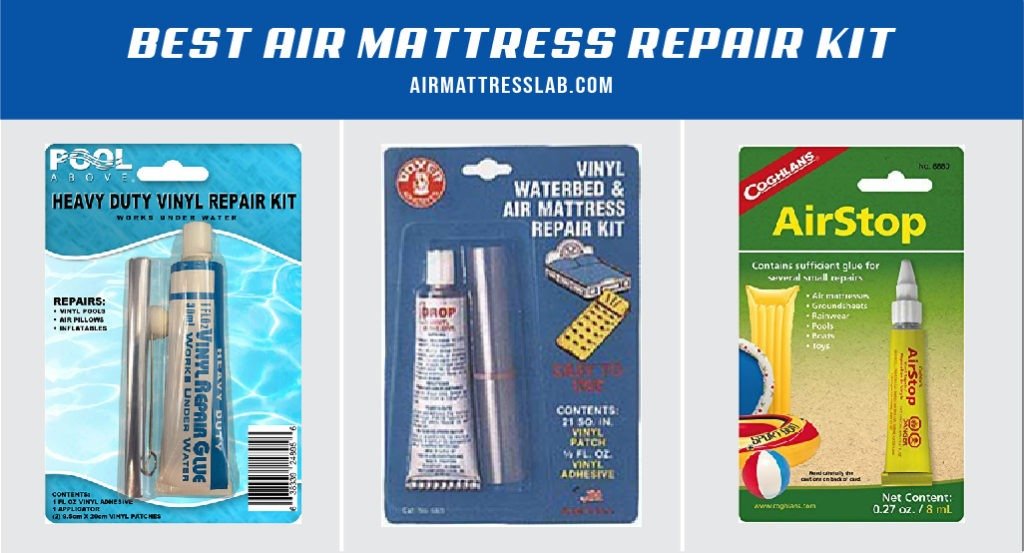
If you have a puncture or leak in your air mattress, using a repair kit specifically designed for air mattresses is the best way to ensure a long-lasting fix. These kits typically come with adhesive and a patch that can be cut to size. First, locate the hole and clean the area around it with a damp cloth. Let it dry completely before proceeding. Then, follow the instructions on the kit to apply the adhesive and patch over the hole. Make sure to let it dry completely before using the mattress again.6. Using a Repair Kit for an Air Mattress
Leaks can be a bit trickier to fix than holes, as they can be harder to locate. If you suspect your air mattress has a leak, the first step is to inflate it to its full capacity and then press down on different areas, feeling for any escaping air. Once you've found the leak, mark it with a bold marker or piece of tape so you can easily find it again. Then, follow the instructions for patching a hole or seam, depending on the location of the leak.7. Fixing an Air Mattress Leak
Here are a few additional tips to keep in mind when repairing an air mattress: - Always clean the area around the hole or leak before attempting to patch it. This will ensure the patch adheres properly. - Make sure to let the patch dry completely before using the air mattress again. - If possible, use a patch kit specifically designed for air mattresses for the most reliable and long-lasting fix. - Check for any additional leaks or holes while you have the mattress inflated and fix them at the same time to save time and effort.8. Tips for Repairing an Air Mattress
If you don't have a patch kit on hand, you can still fix your air mattress using materials you likely have at home. One method is to use a piece of thick plastic, such as a shower curtain or tarp, as a patch. First, clean the area around the hole and let it dry. Then, cut a piece of plastic that is slightly larger than the hole and place it over the hole, pressing down firmly. You can use a heavy-duty adhesive, such as rubber cement, to secure the patch in place. Let it dry completely before using the mattress again.9. How to Patch an Air Mattress Without a Kit
When it comes to fixing an air mattress, the best method will depend on the type and location of the damage, as well as the materials you have on hand. Patch kits and DIY patches made from strong materials, such as fabric or plastic, will likely provide the most reliable and long-lasting fix. However, in a pinch, you can also try using duct tape or other adhesive products specifically designed for fixing air mattresses. Just make sure to follow the instructions carefully and let the patches dry completely before using the mattress again. With the right techniques and materials, you can easily fix an air mattress and get back to a comfortable night's sleep. Remember to properly clean and dry the area before patching, and always follow the instructions for the best results. Happy sleeping!10. Best Methods for Fixing an Air Mattress
The Best Way to Repair an Air Mattress: Tips and Tricks
:max_bytes(150000):strip_icc()/aerobed-opti-comfort-queen-air-mattress-with-headboard-93c9f99d65ee4cce88edf90b9411b1cd.jpg)
Introduction
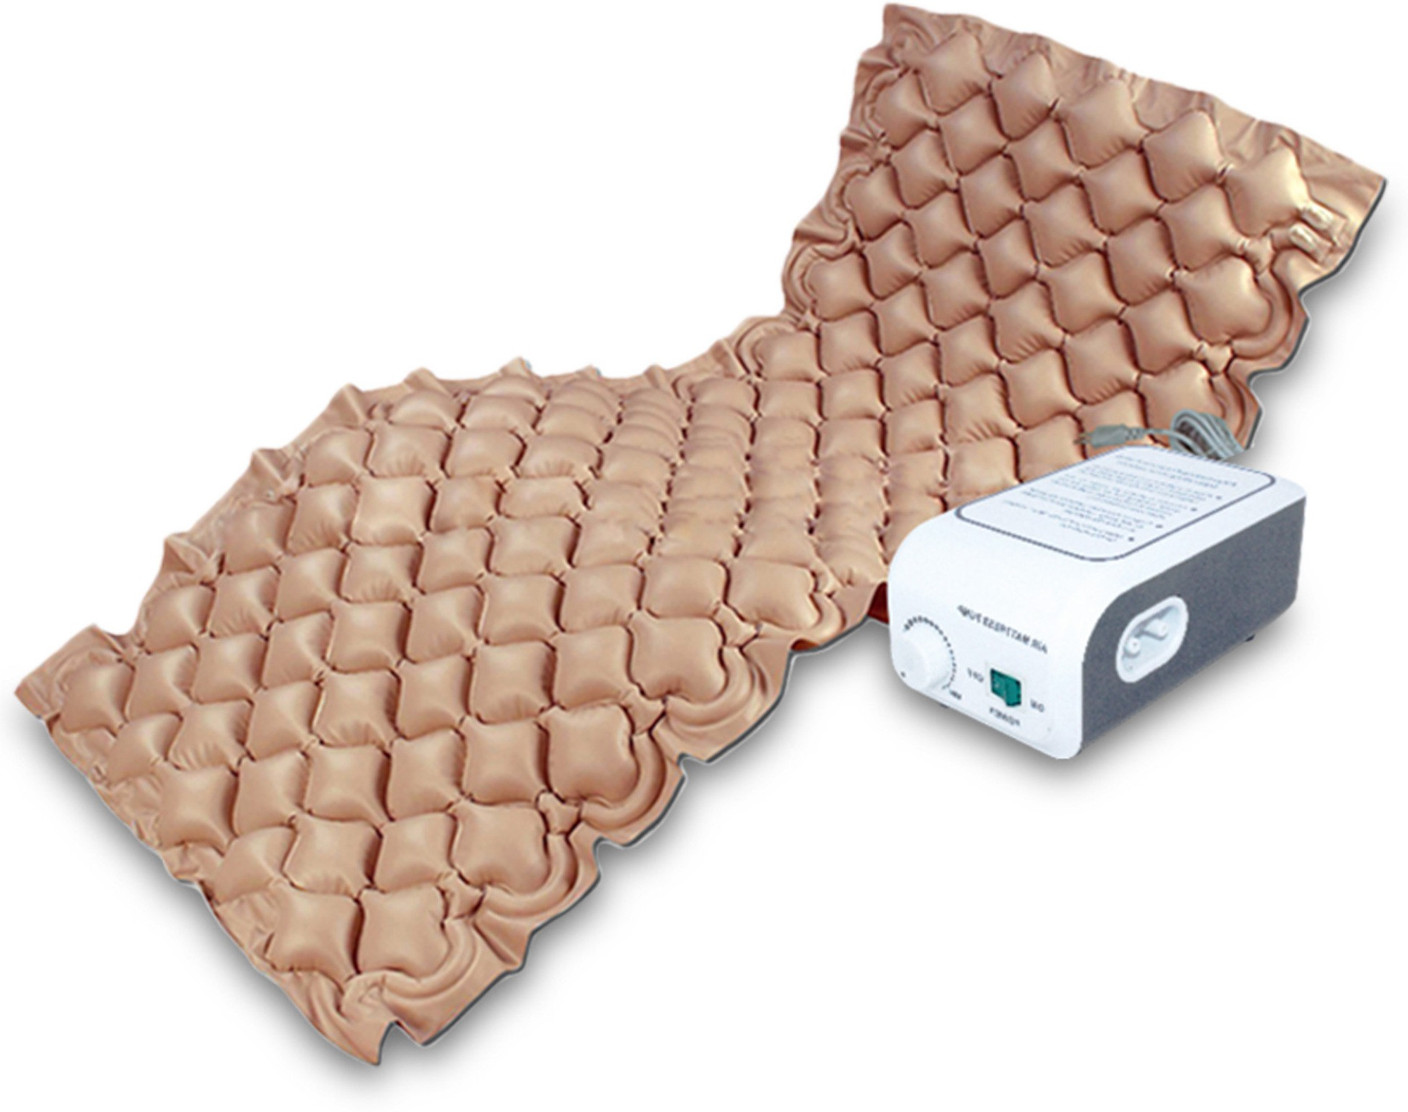
 Air mattresses are a convenient and versatile piece of furniture to have in any household. They can be used for guests, camping trips, or even as a temporary bed during a move. However, with frequent use, air mattresses are prone to developing leaks and tears that can render them unusable. If you find yourself with a deflated air mattress, don't fret! There are simple and effective ways to fix it without having to spend a lot of money on a replacement. In this article, we will discuss the best way to repair an air mattress and keep it in top condition for years to come.
Identify the Source of the Leak
 The first step in repairing an air mattress is to locate the source of the leak. This can be done by inflating the mattress and listening for the sound of escaping air or by using a spray bottle filled with soapy water and spraying it over the mattress. Bubbles will appear at the site of the leak, making it easier to identify. Once you have found the leak, mark it with a piece of tape or a marker to make it easier to find later.
Gather Your Materials
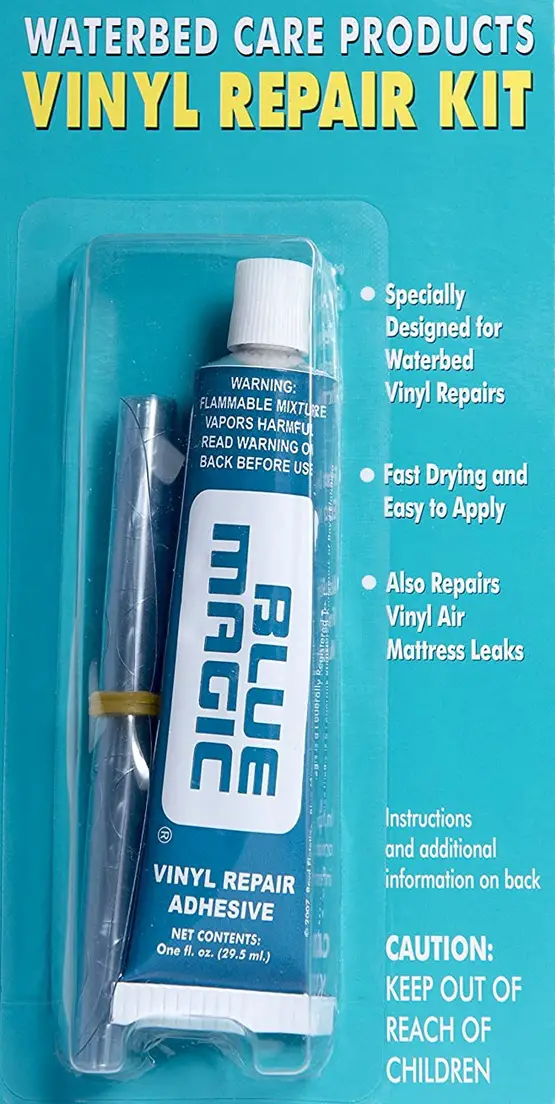
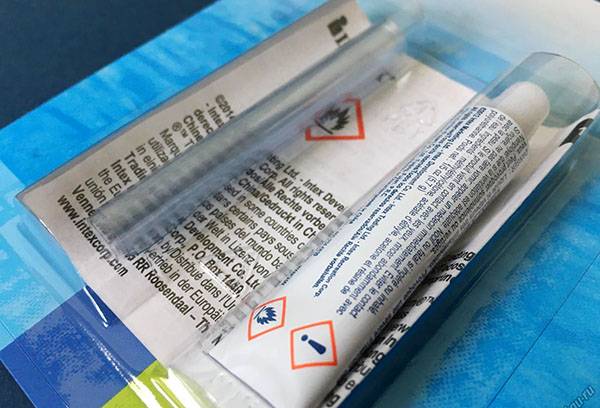
 Before you begin the repair process, make sure you have all the necessary materials on hand. This includes a patch kit, which can be purchased at most outdoor or camping stores, or a vinyl repair kit. You will also need rubbing alcohol, a clean cloth, and scissors.
Clean and Prep the Area
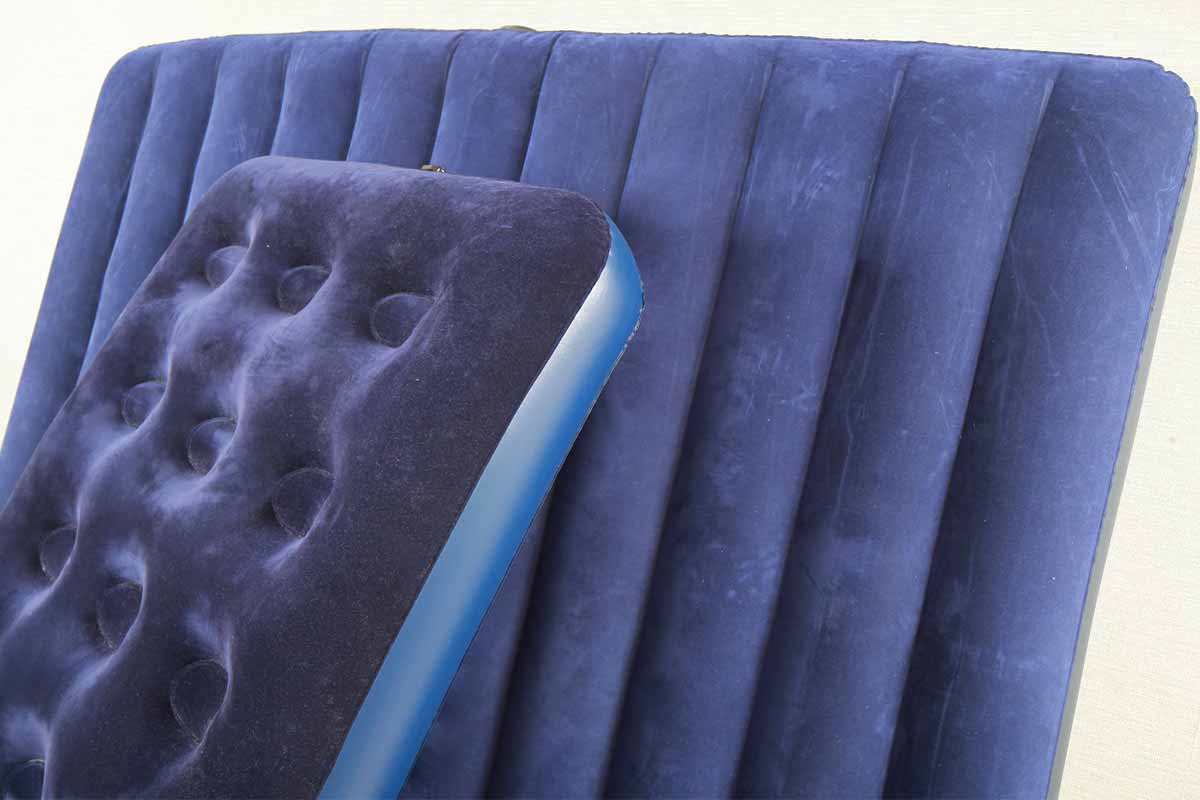 To ensure a strong and long-lasting repair, it is important to properly clean and prep the area around the leak. Use rubbing alcohol and a clean cloth to wipe down the area, removing any dirt or debris. This will help the patch or repair adhesive to adhere better to the surface.
Apply the Patch or Repair Adhesive
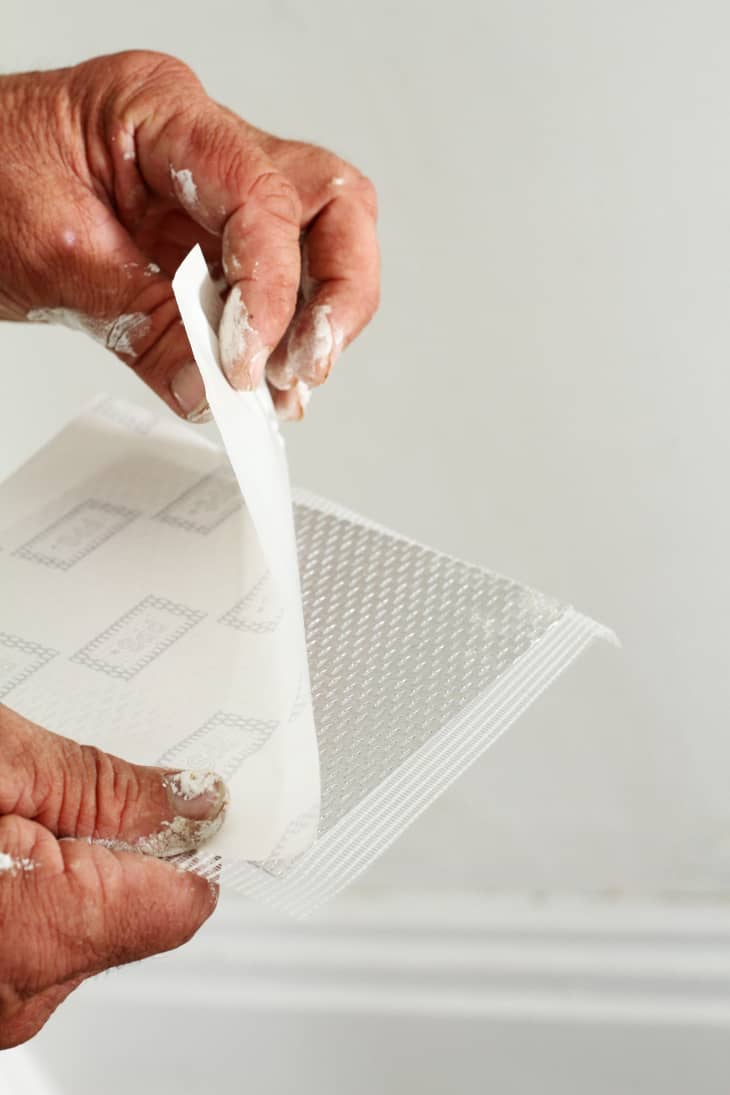
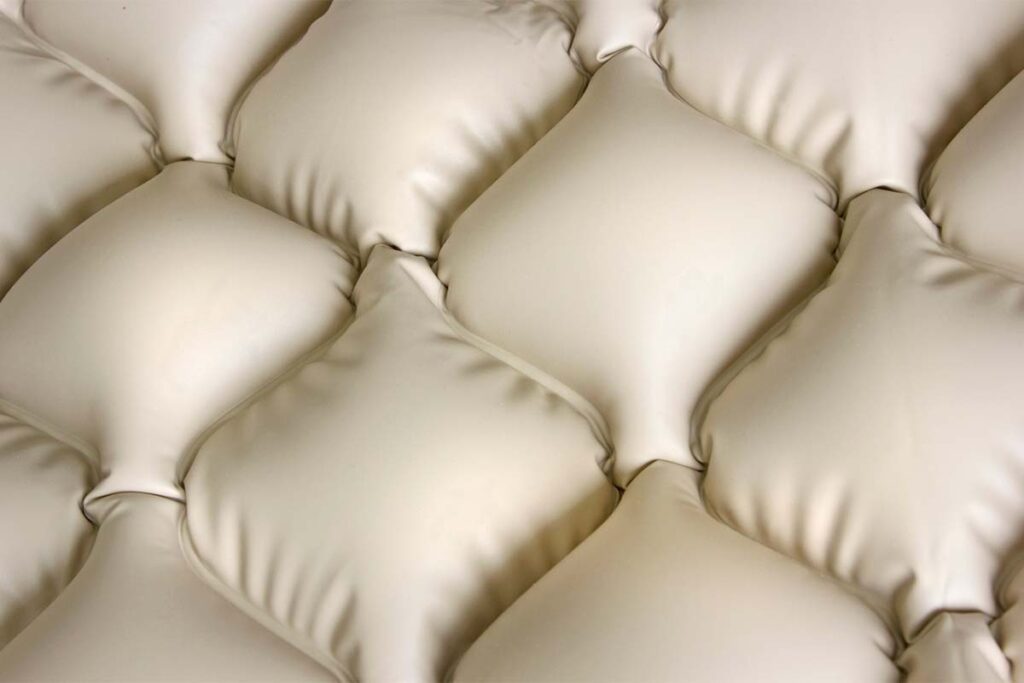 If you are using a patch kit, follow the instructions provided to cut the patch to the appropriate size and shape. Make sure the patch is slightly bigger than the area to be repaired. If you are using a vinyl repair kit, apply the adhesive directly to the leak using the applicator provided. Press down firmly to ensure a strong bond.
Allow Time for the Repair to Set
Inflate and Test the Mattress
 Once the repair has set, you can inflate the mattress and test it for any remaining leaks. If the mattress holds air without any issues, then the repair was successful. If there are still leaks, repeat the process until the mattress is fully sealed.
Conclusion
 In conclusion, repairing an air mattress is a simple and cost-effective solution to keep it in top condition. By following these tips and tricks, you can easily fix any leaks or tears and extend the lifespan of your air mattress. Remember to properly clean and prep the area, use the right materials, and allow time for the repair to set for the best results. With these steps, you can say goodbye to deflated air mattresses and enjoy a good night's sleep.
