1. "Air Mattress Repair Kit"
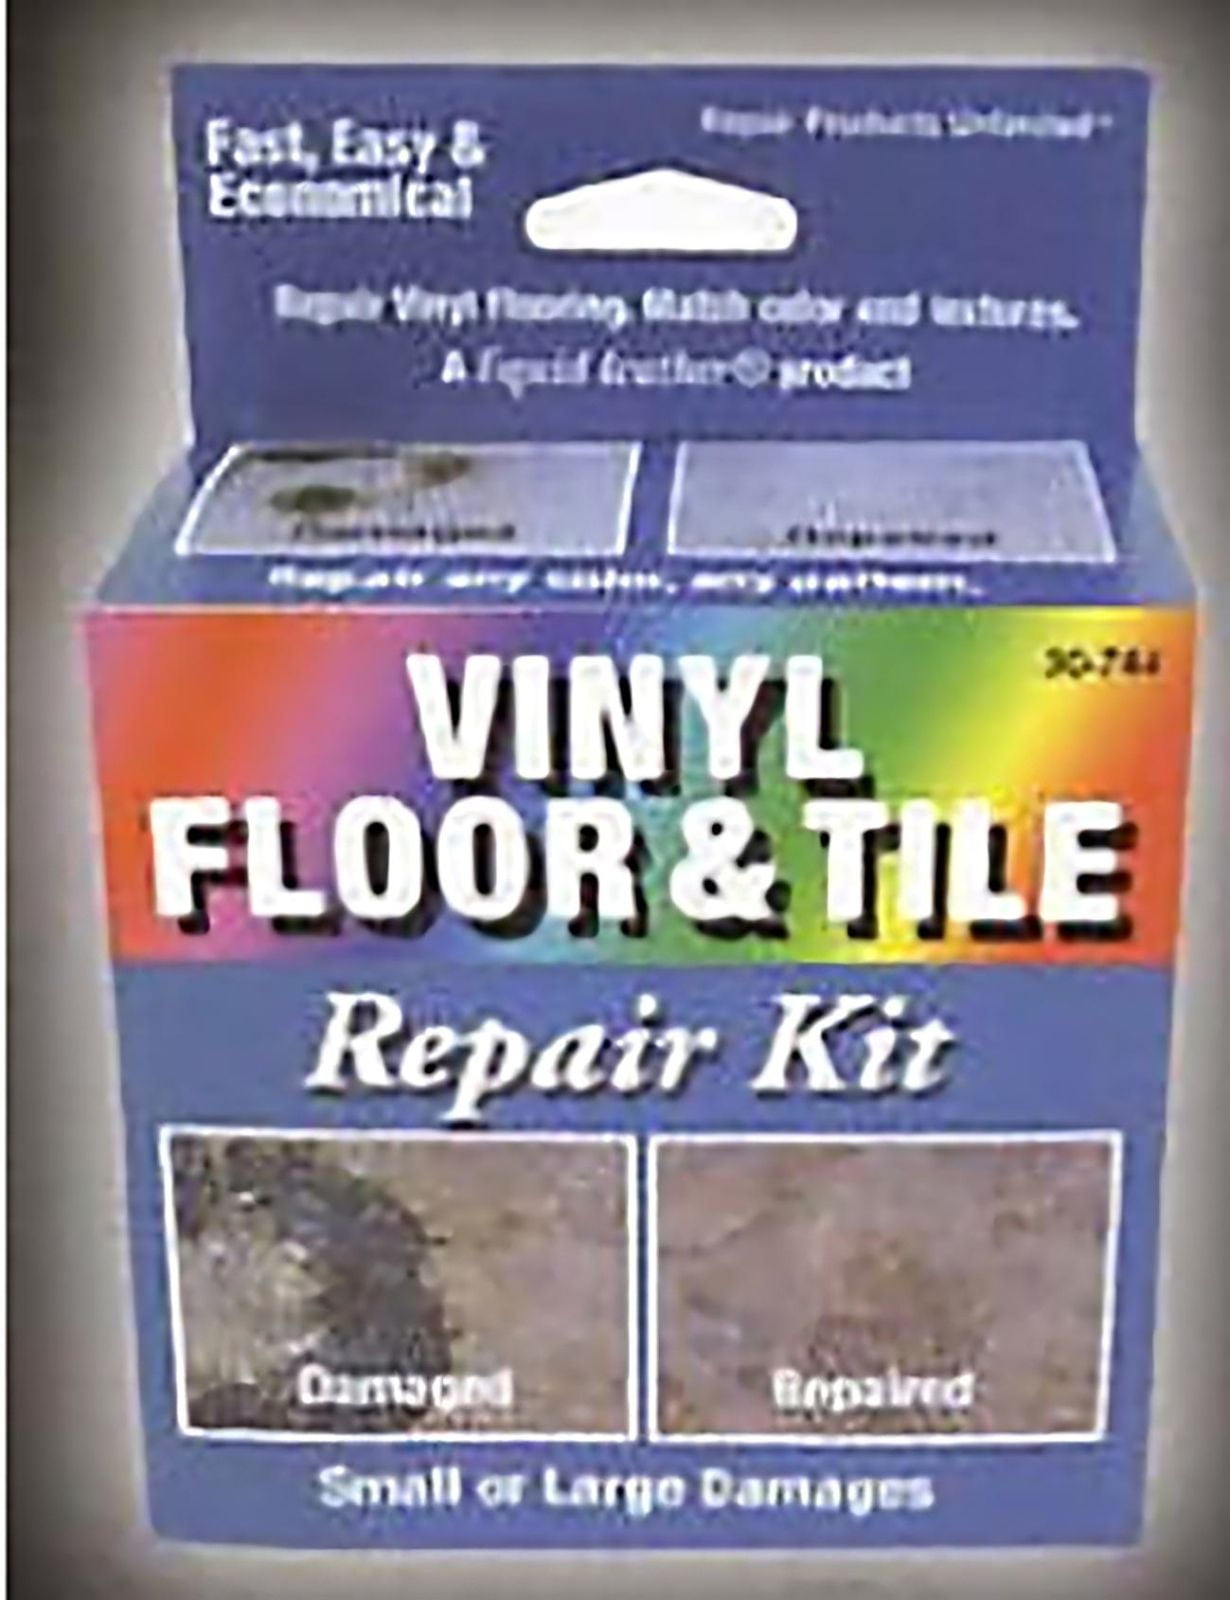
When it comes to fixing a punctured air mattress, having the right tools is key. That's why a repair kit specifically designed for air mattresses is a must-have. These kits usually come with everything you need to patch up a leak, including patches, adhesive, and even a pump to help inflate the mattress afterwards. Keep one of these handy kits in your home for quick and easy repairs.


1. "Air Mattress Repair Kit"

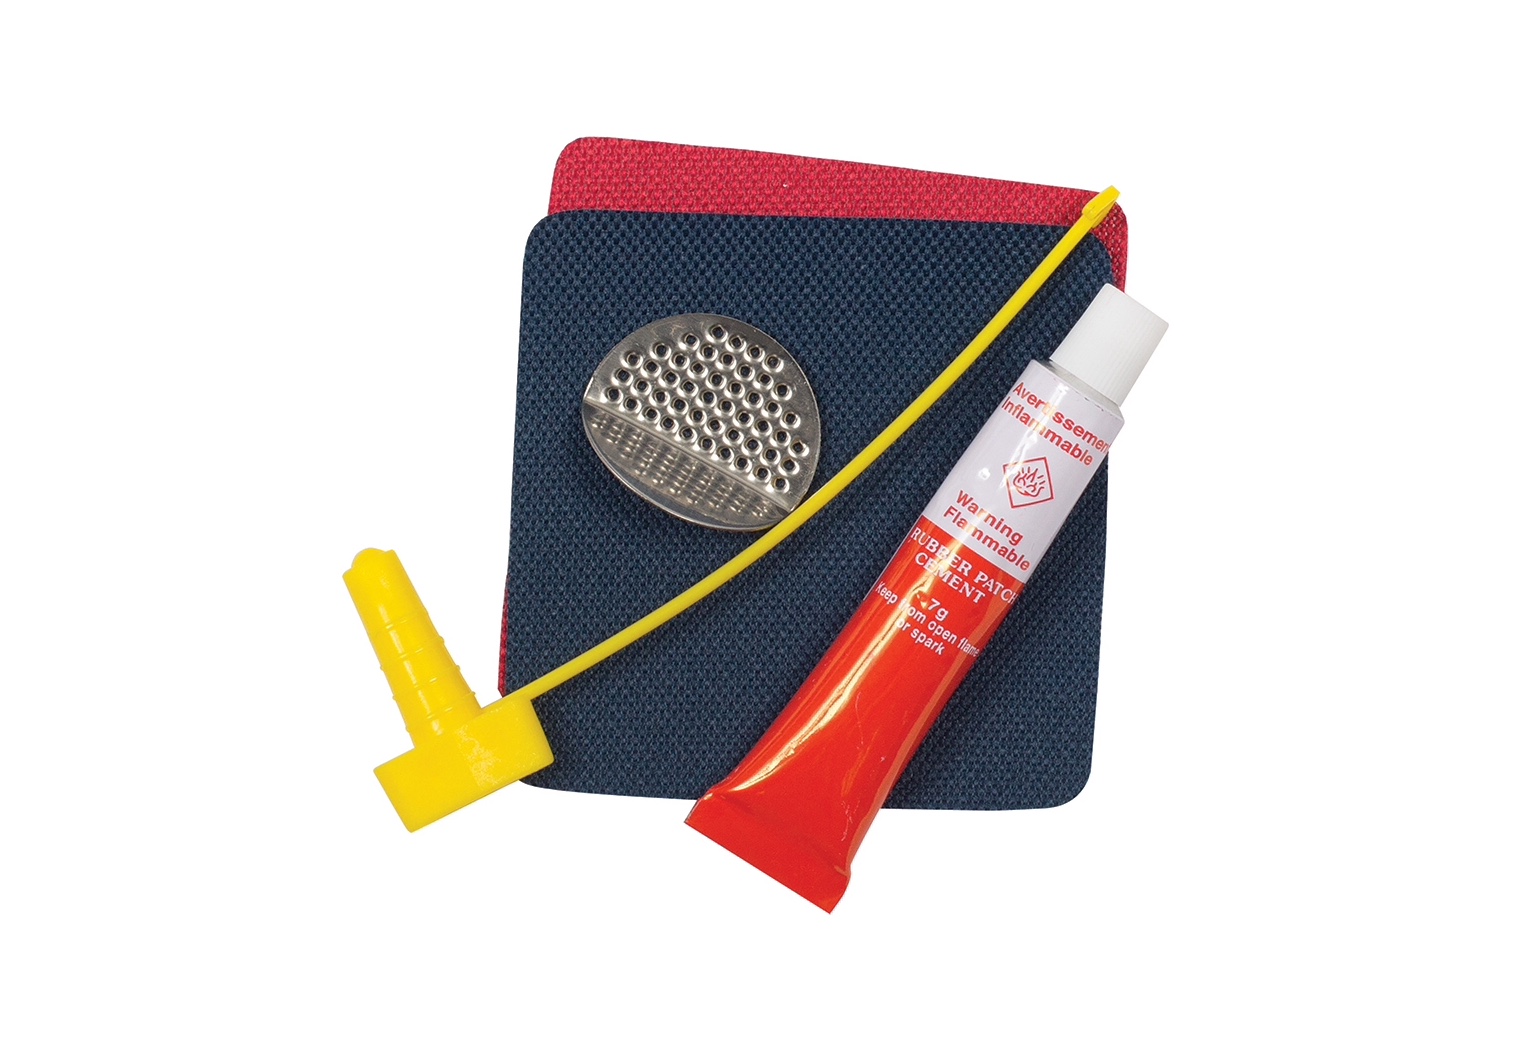


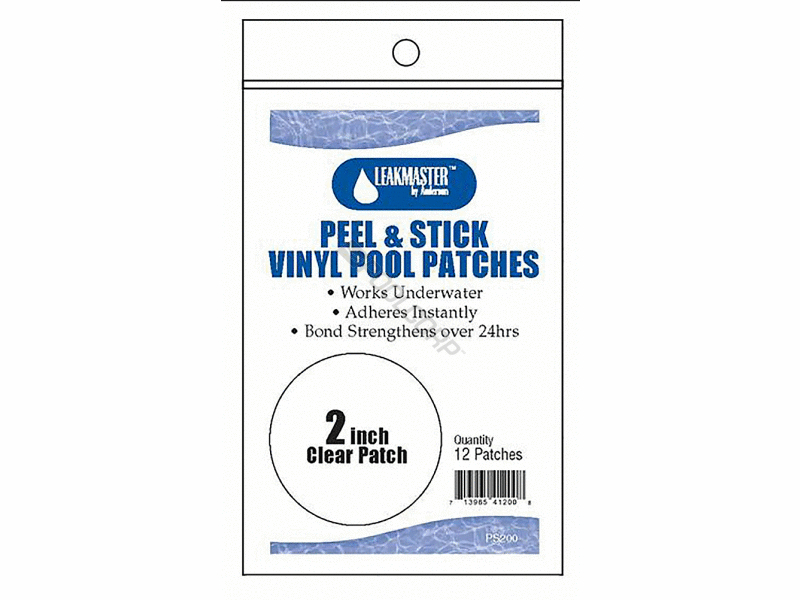
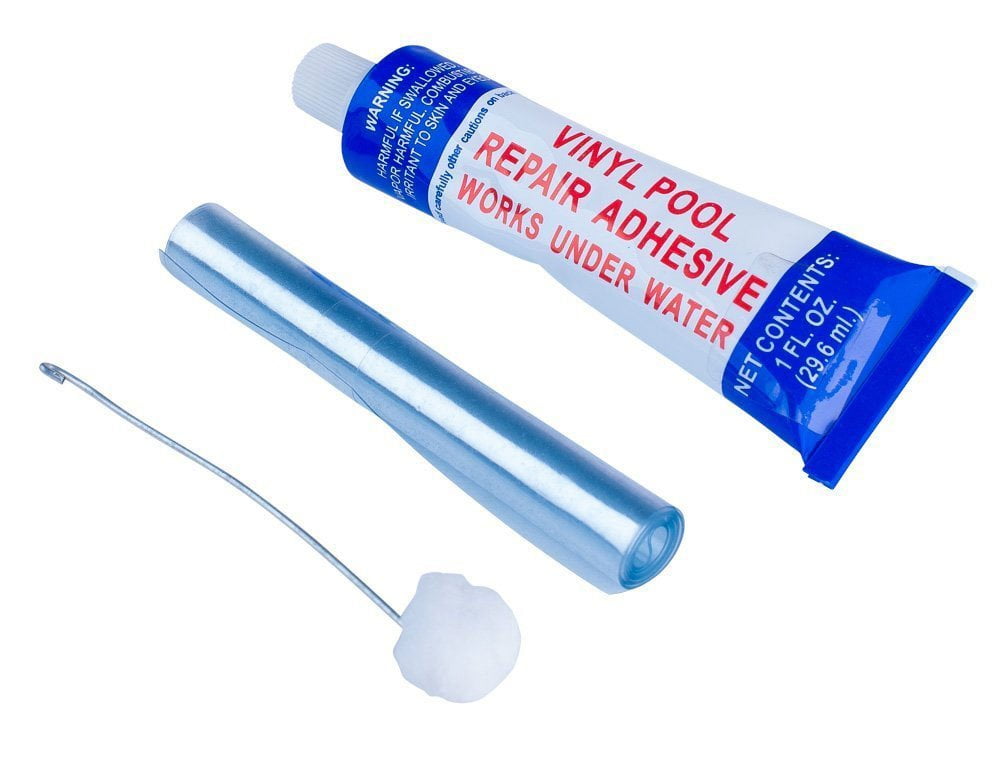
2. "Vinyl Repair Patch"
For smaller holes and tears in your air mattress, a vinyl repair patch is a great solution. These patches are made specifically for vinyl materials, so they adhere easily and create a strong bond. Simply cut the patch to size, apply some adhesive, and press it onto the damaged area. Let it dry completely before inflating the mattress again.
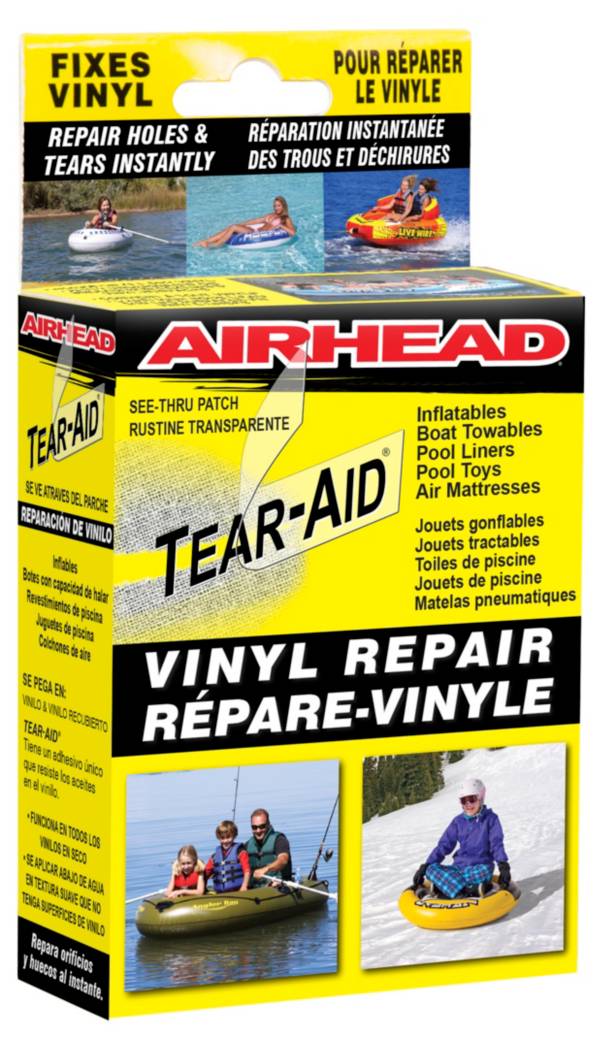
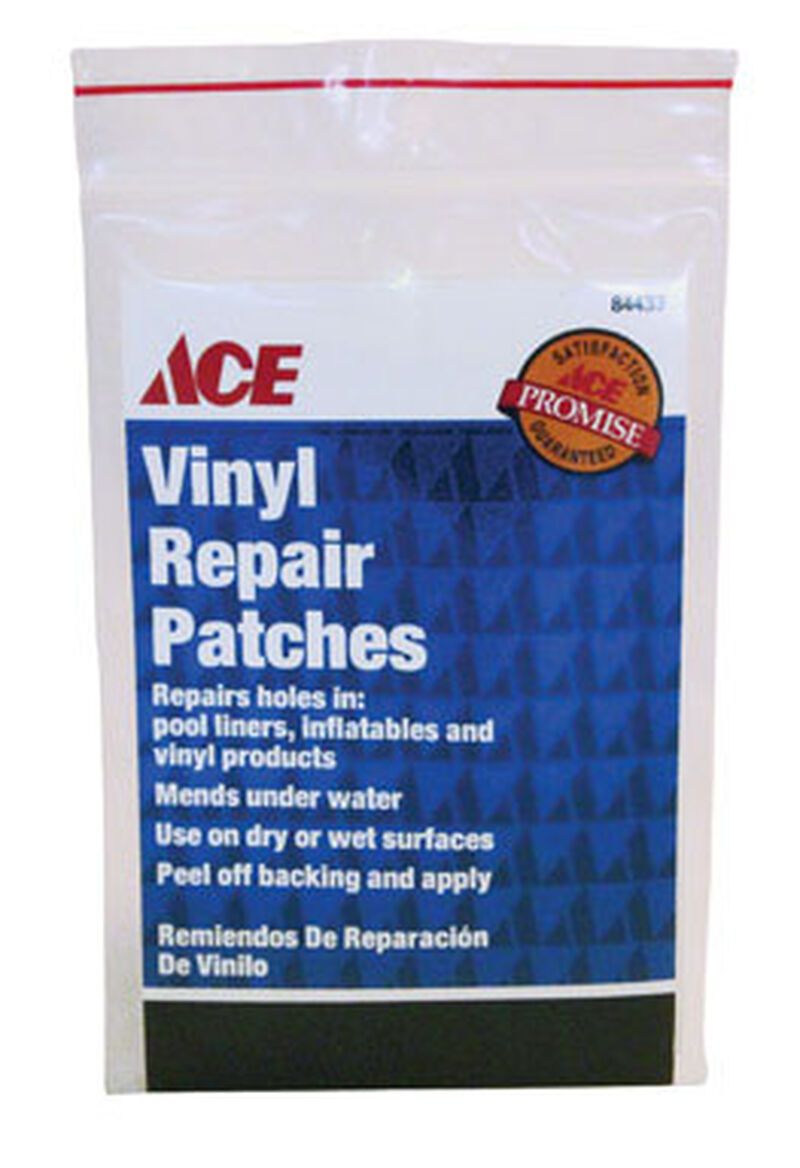
2. "Vinyl Repair Patch"


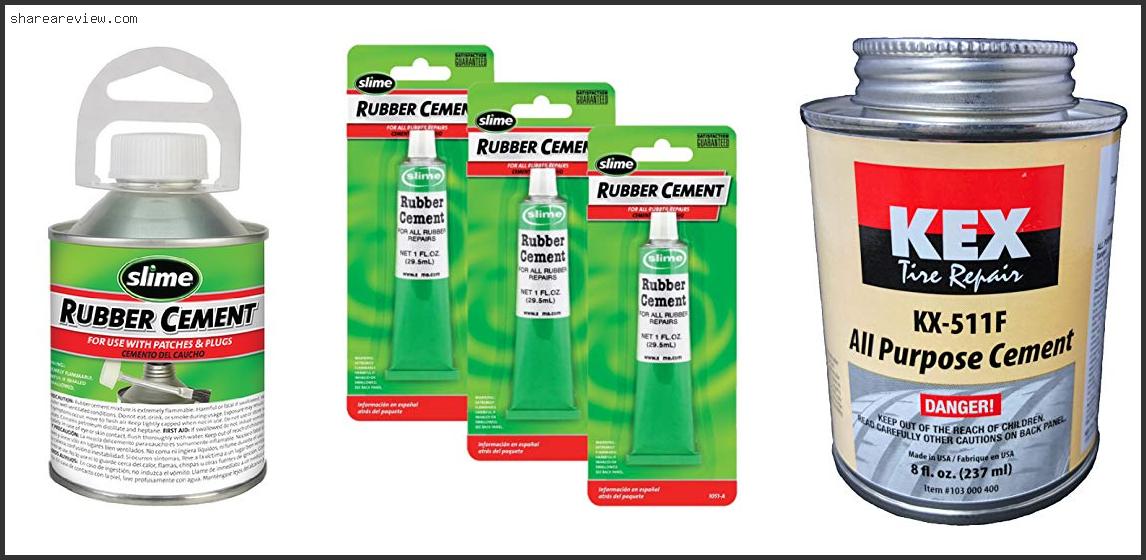
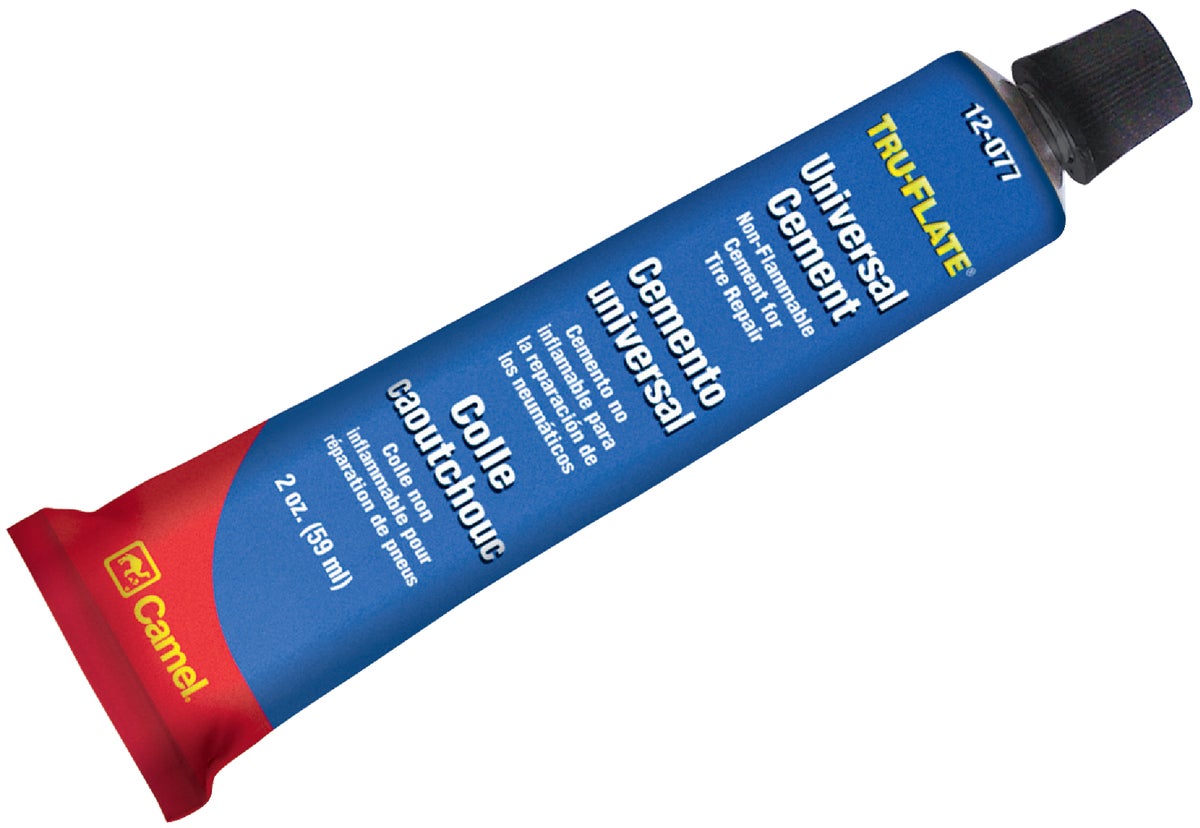
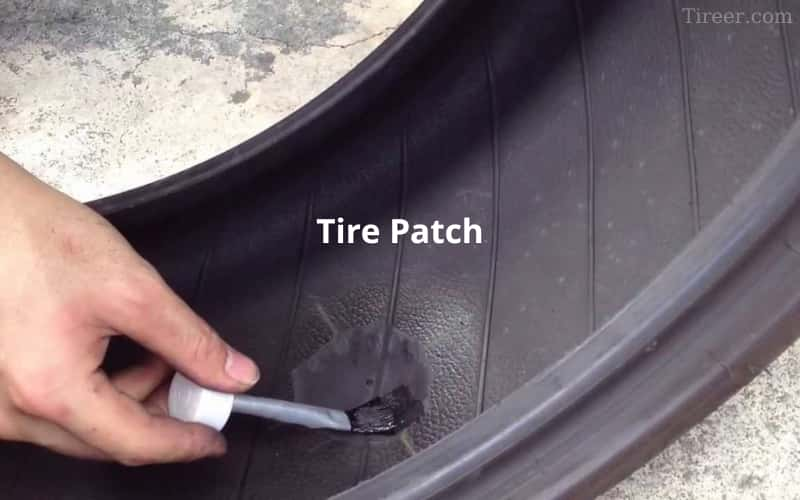
3. "Rubber Cement"
Rubber cement is a versatile adhesive that can be used for a variety of repairs, including fixing an air mattress. Its strong bond and flexibility make it great for sealing up holes and tears. Apply a thin layer of rubber cement to the damaged area and let it dry before pressing a patch on top. This method works best for smaller holes or tears.


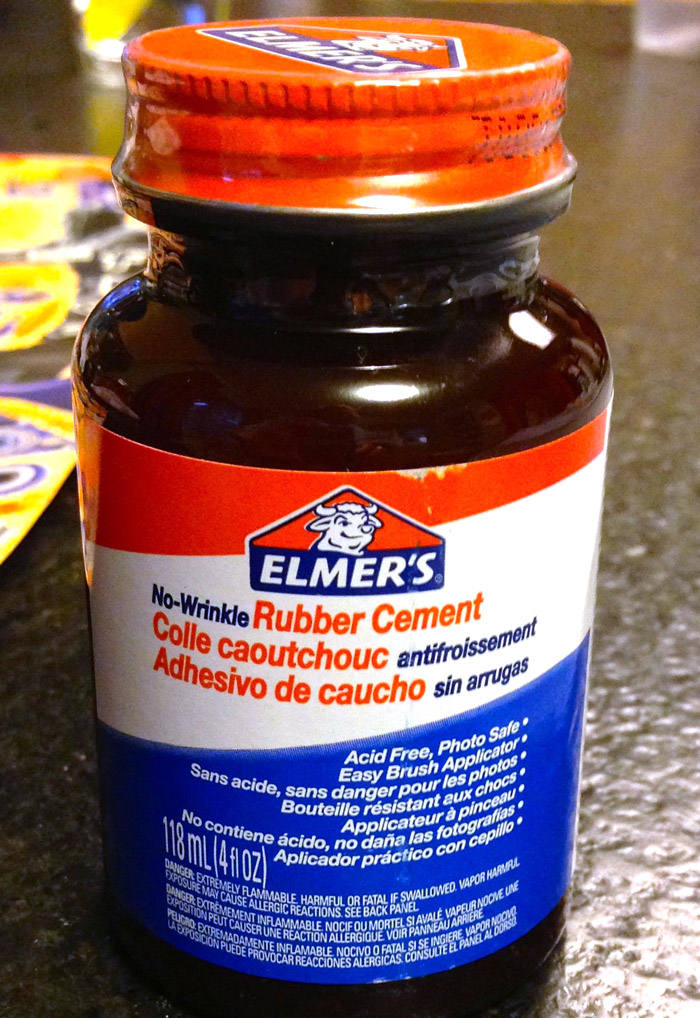
3. "Rubber Cement"


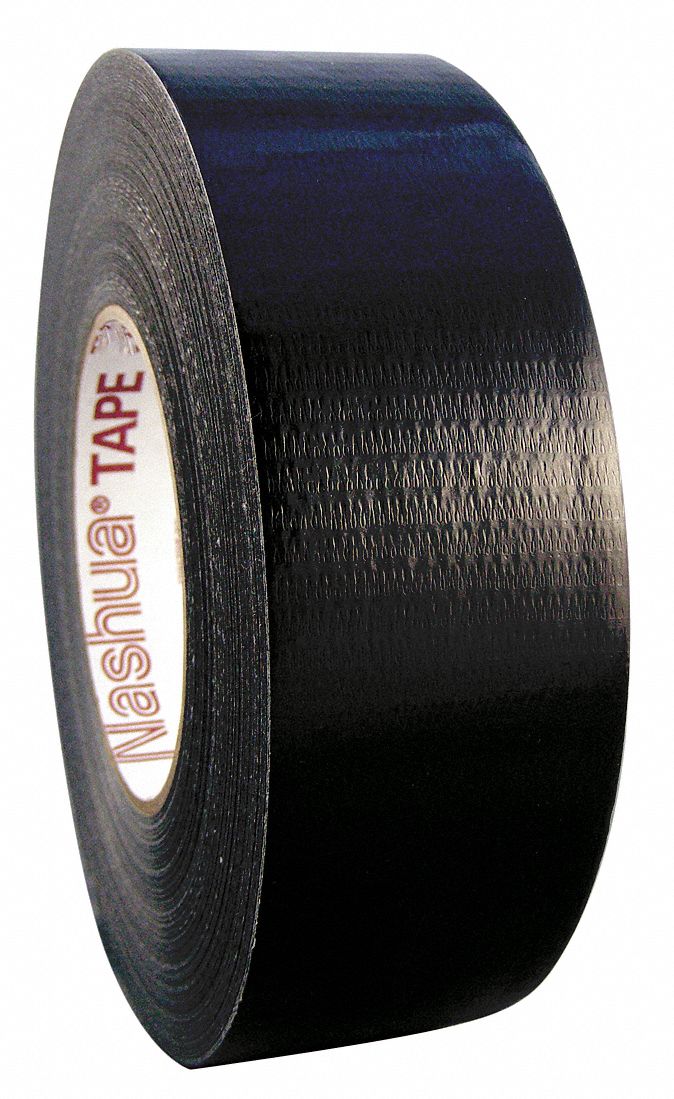
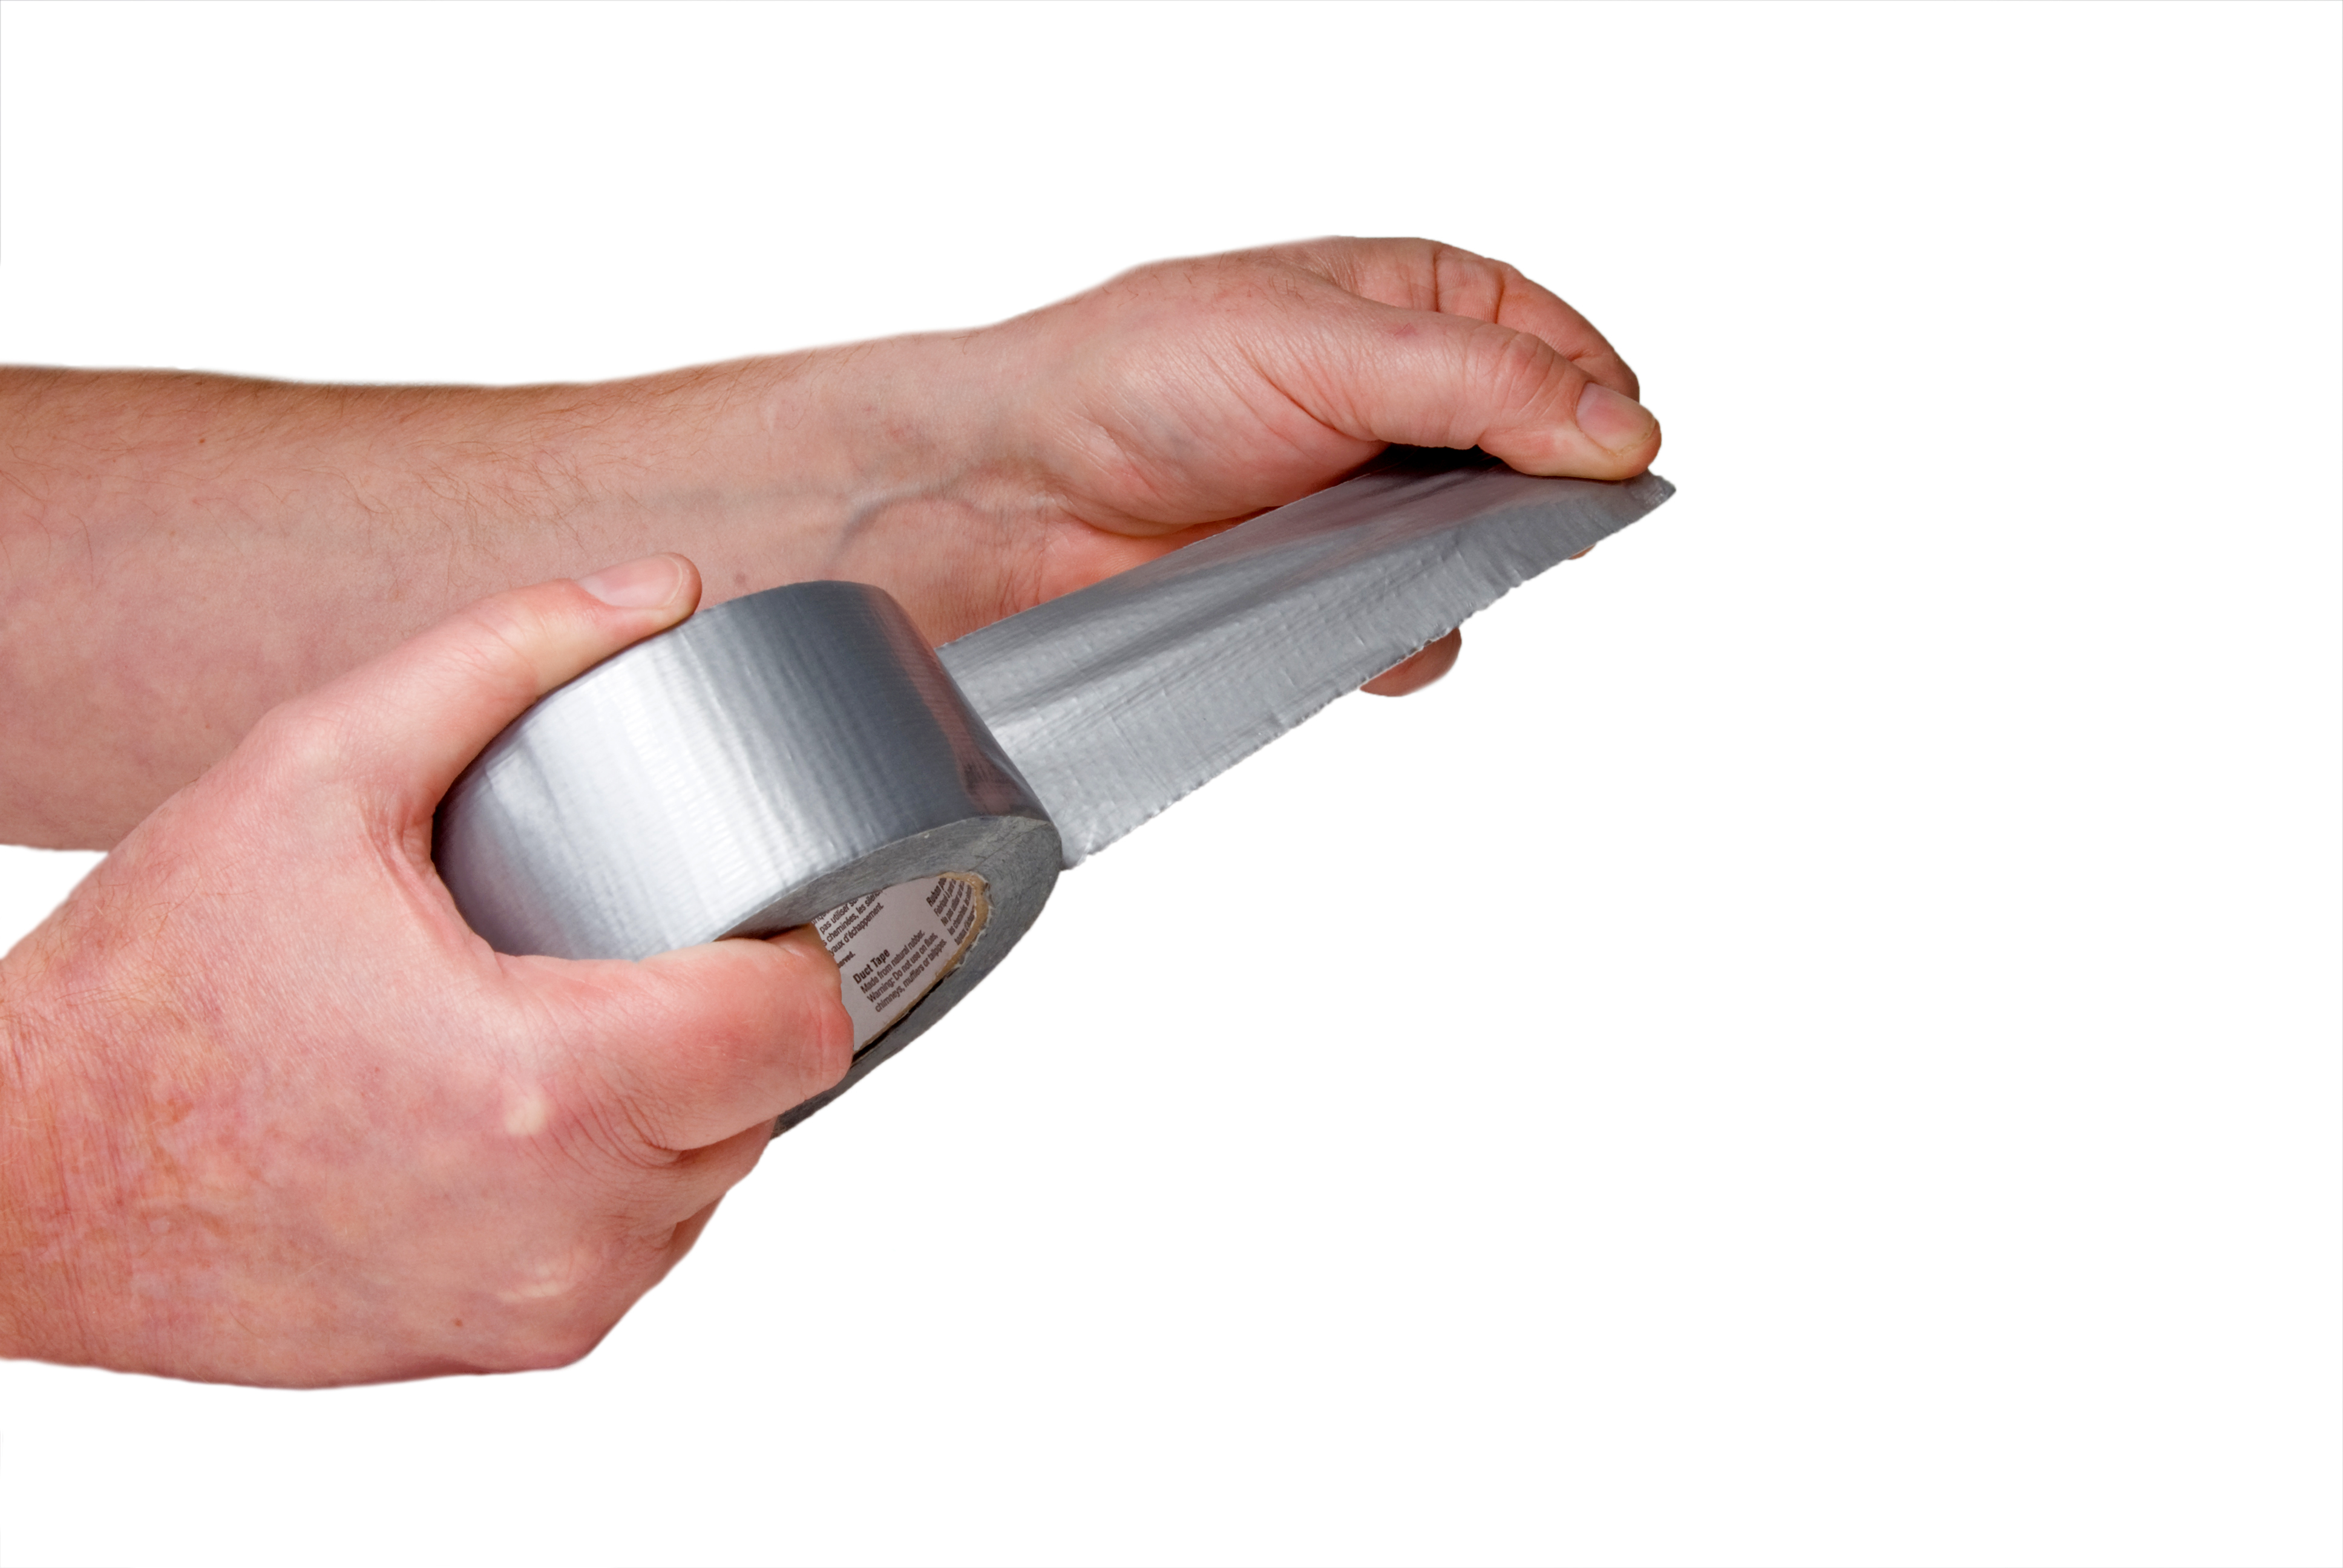
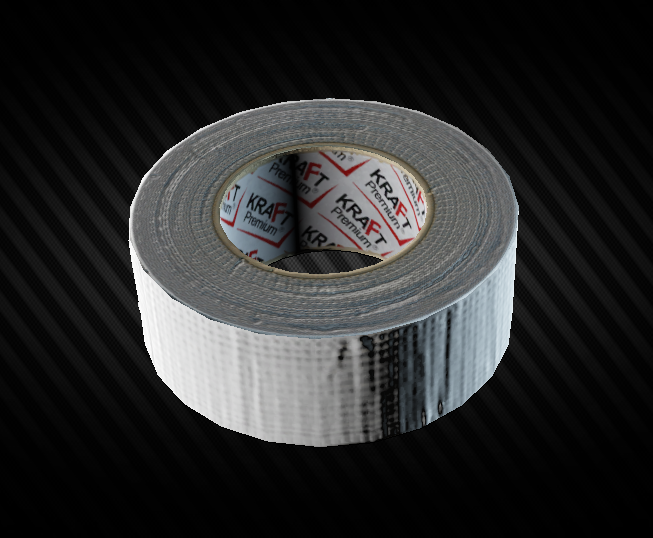
4. "Duct Tape"
A household staple, duct tape can also be a handy tool for repairing an air mattress. While it may not create as strong of a bond as other methods, it can be a quick fix for small holes or tears. Cut a piece of duct tape to size and press it onto the damaged area. Just be sure to replace the tape with a more permanent solution as soon as possible.
4. "Duct Tape"


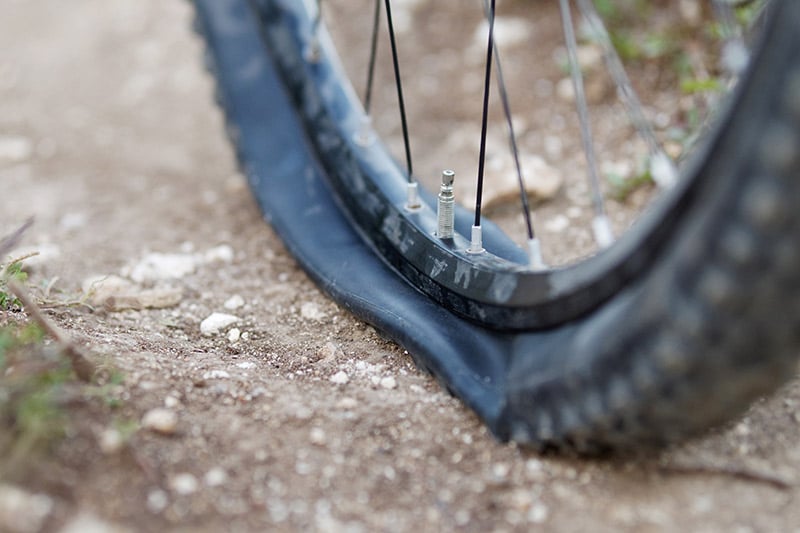
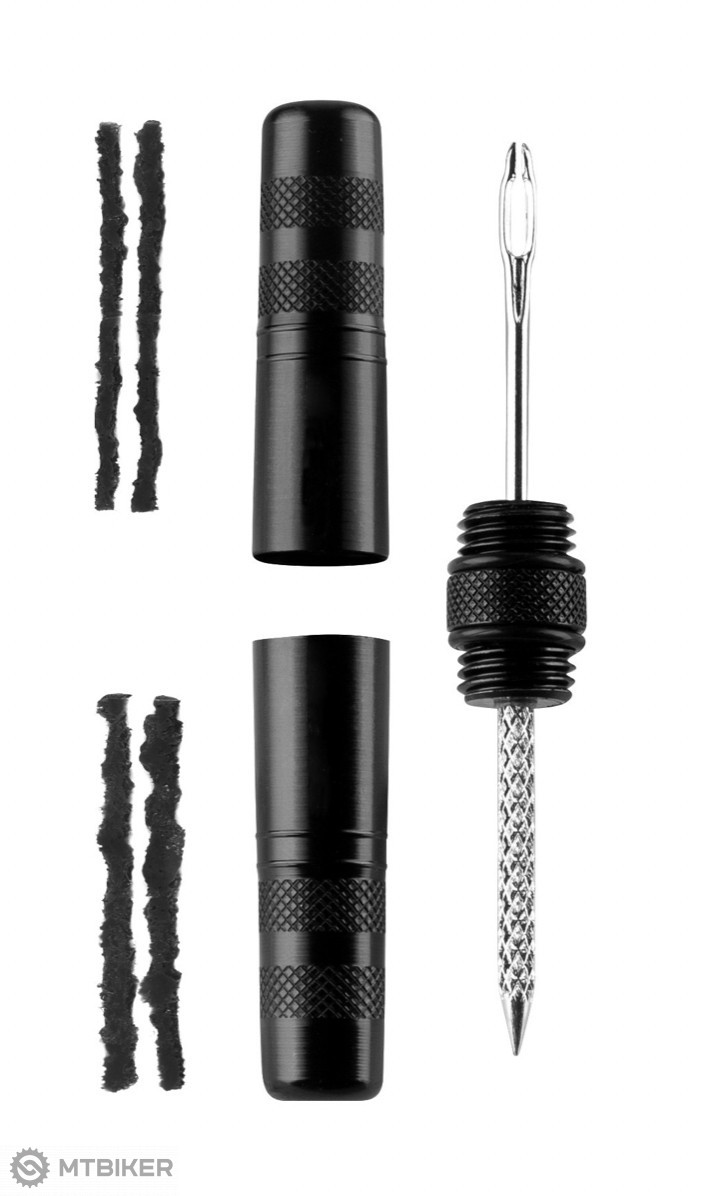
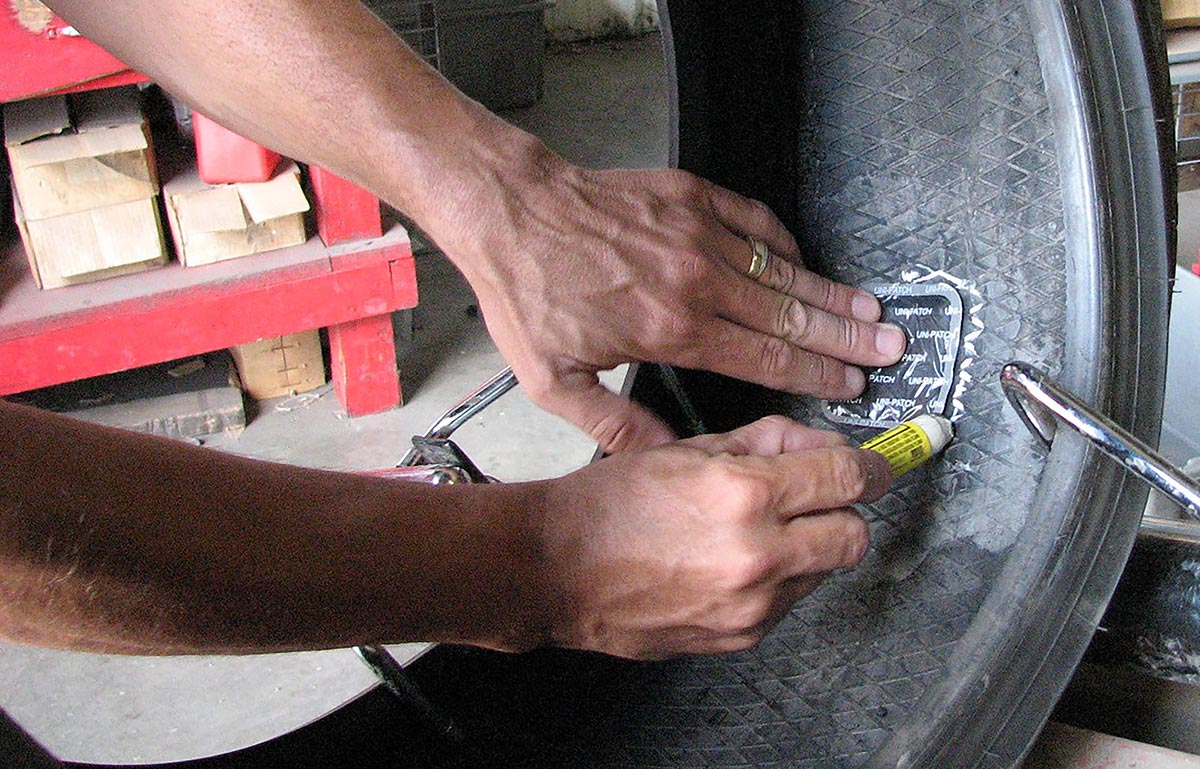
5. "Bicycle Tire Patch Kit"
Believe it or not, a bicycle tire patch kit can also come in handy for fixing an air mattress. The patches in these kits are specifically designed for rubber materials, making them great for fixing air mattresses. Simply follow the instructions on the kit to apply the patch and let it dry before inflating the mattress.
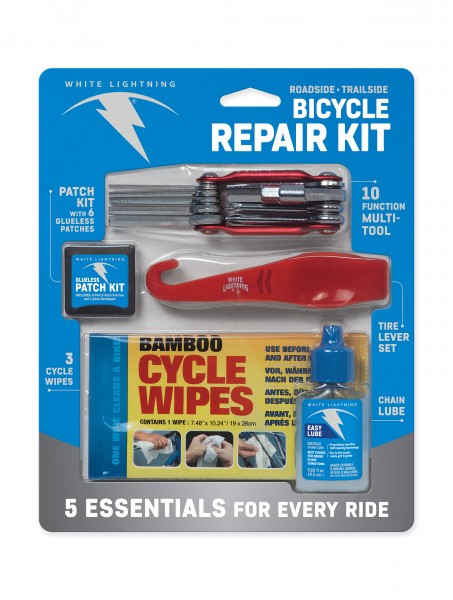

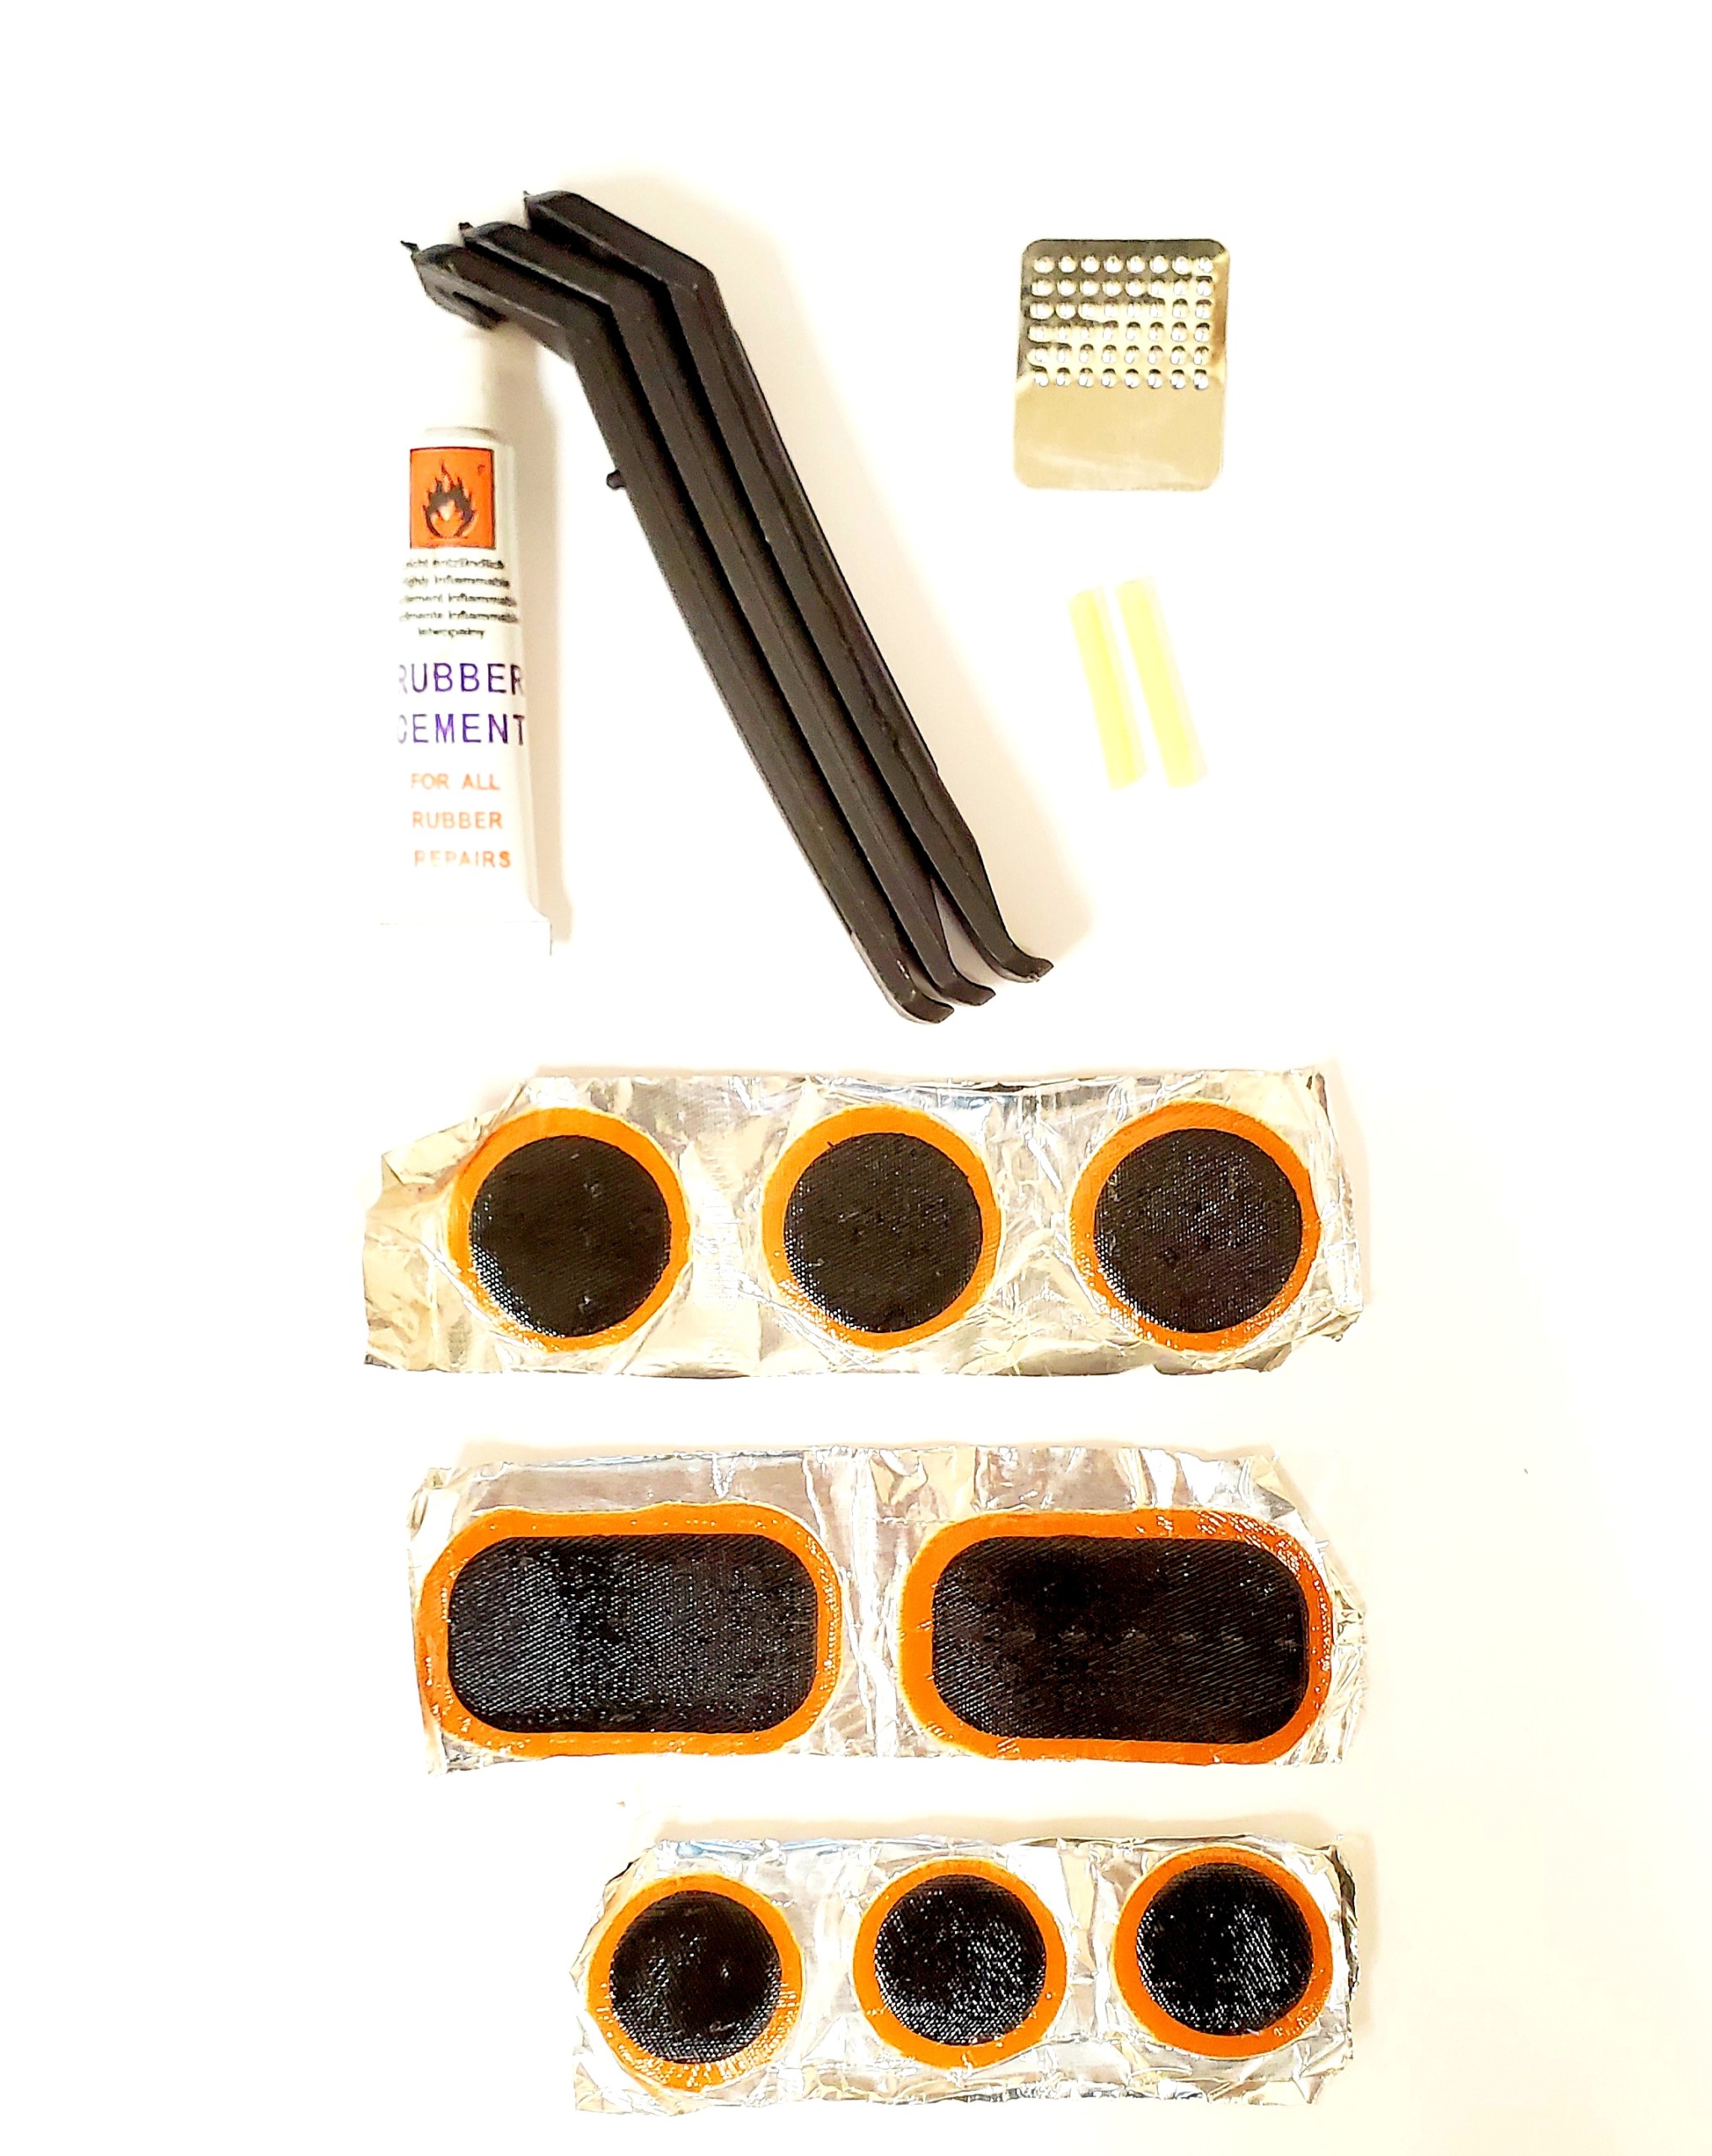
5. "Bicycle Tire Patch Kit"


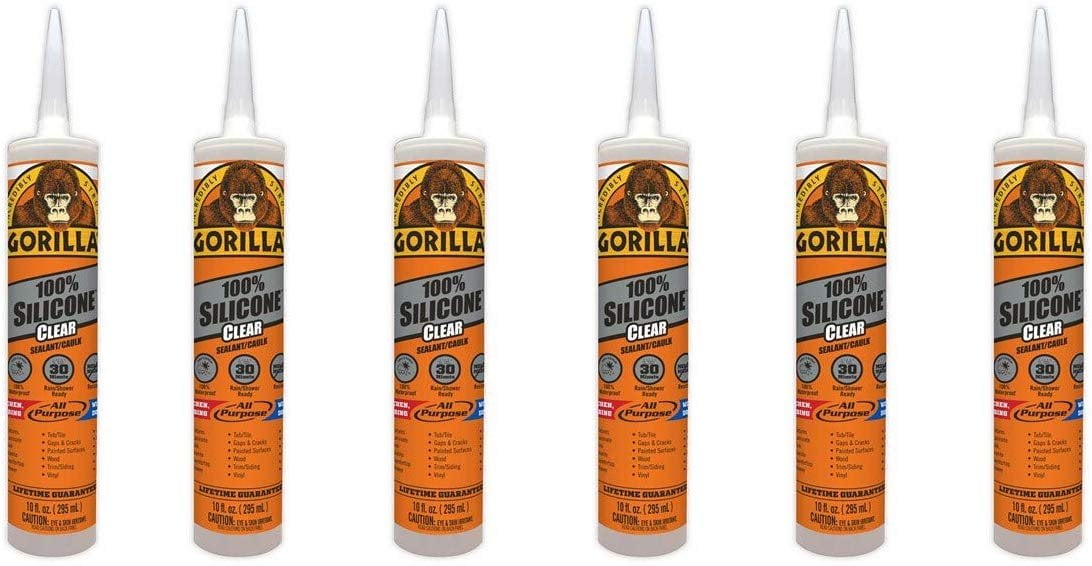
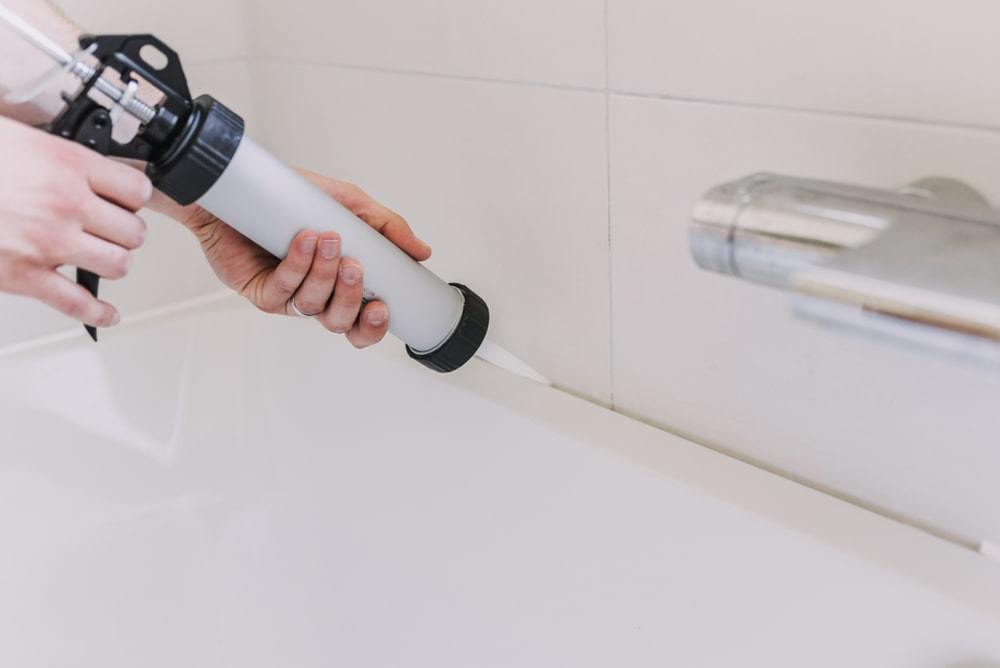
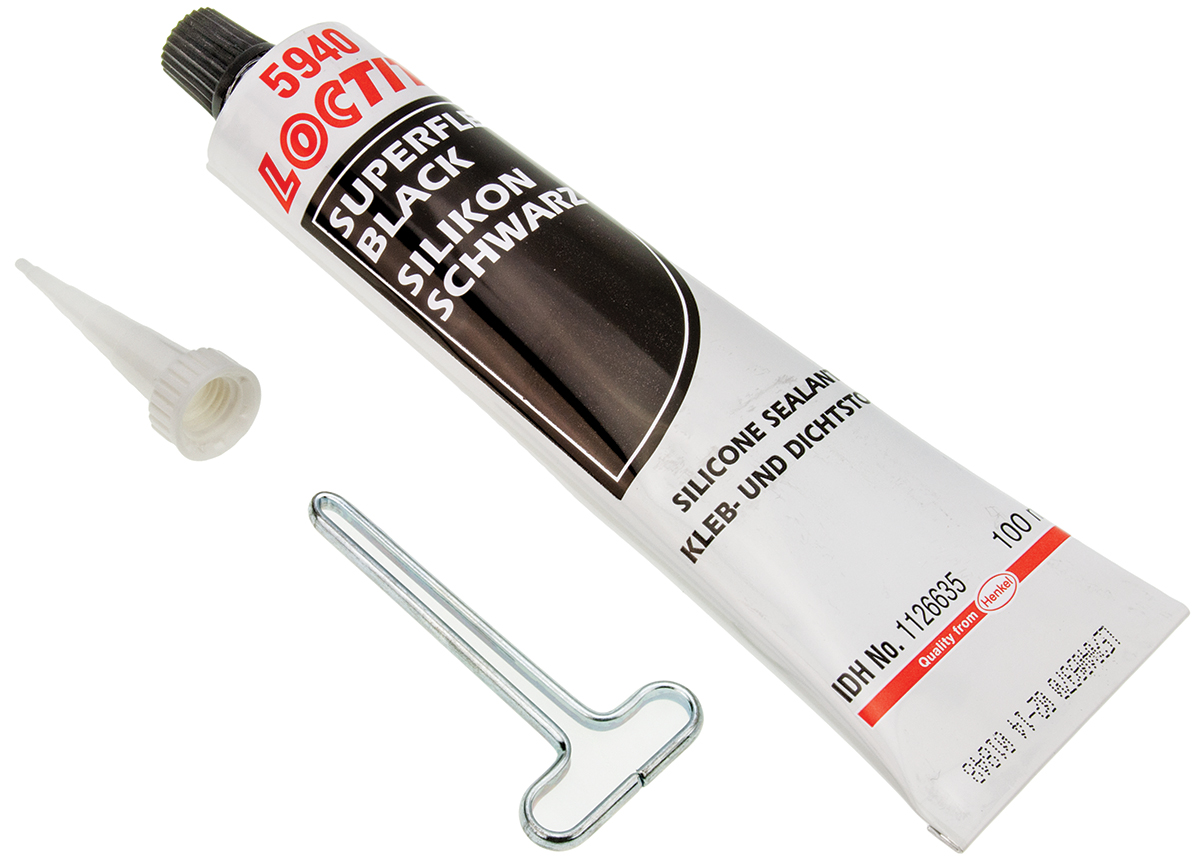
6. "Silicone Sealant"
Silicone sealant is another adhesive that can be used to repair an air mattress. Its waterproof properties make it ideal for sealing up leaks. Apply a thin layer of silicone sealant to the damaged area and let it dry completely before using the mattress again. This method is best for smaller holes or tears.


6. "Silicone Sealant"


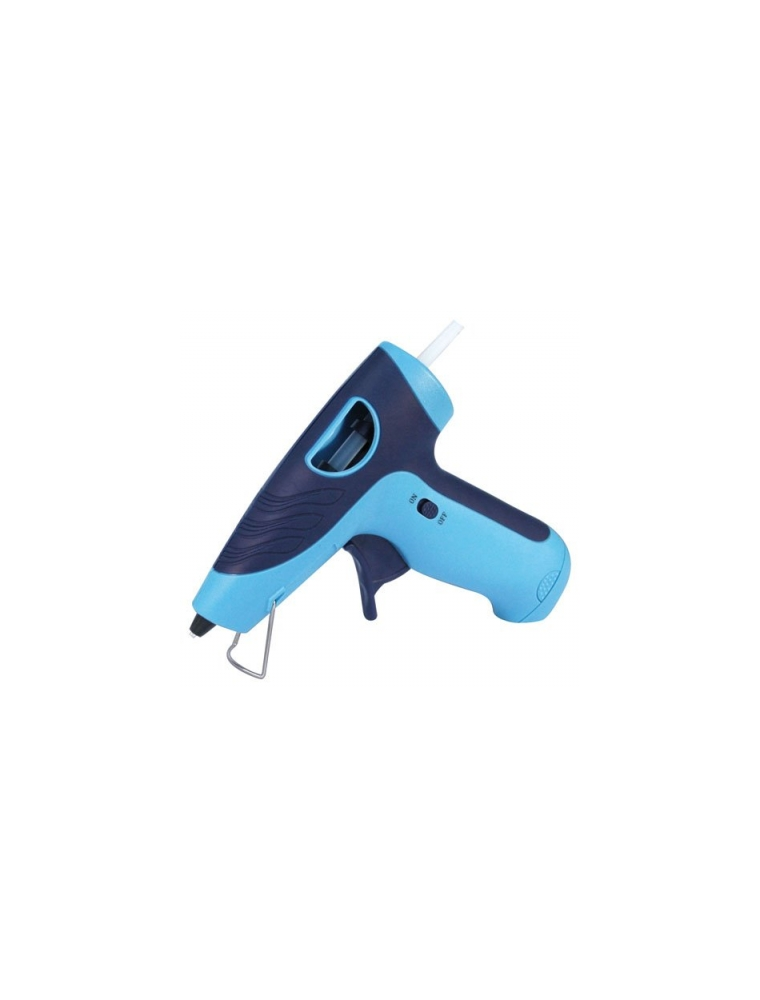
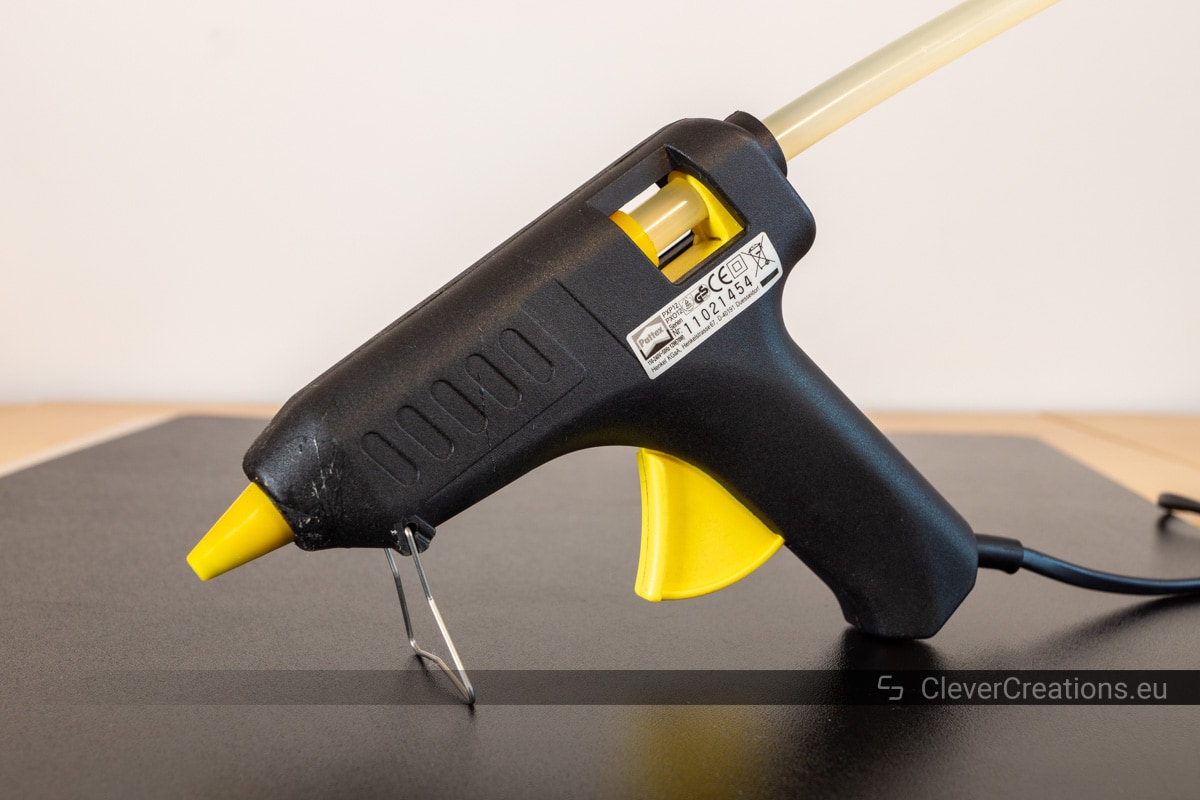
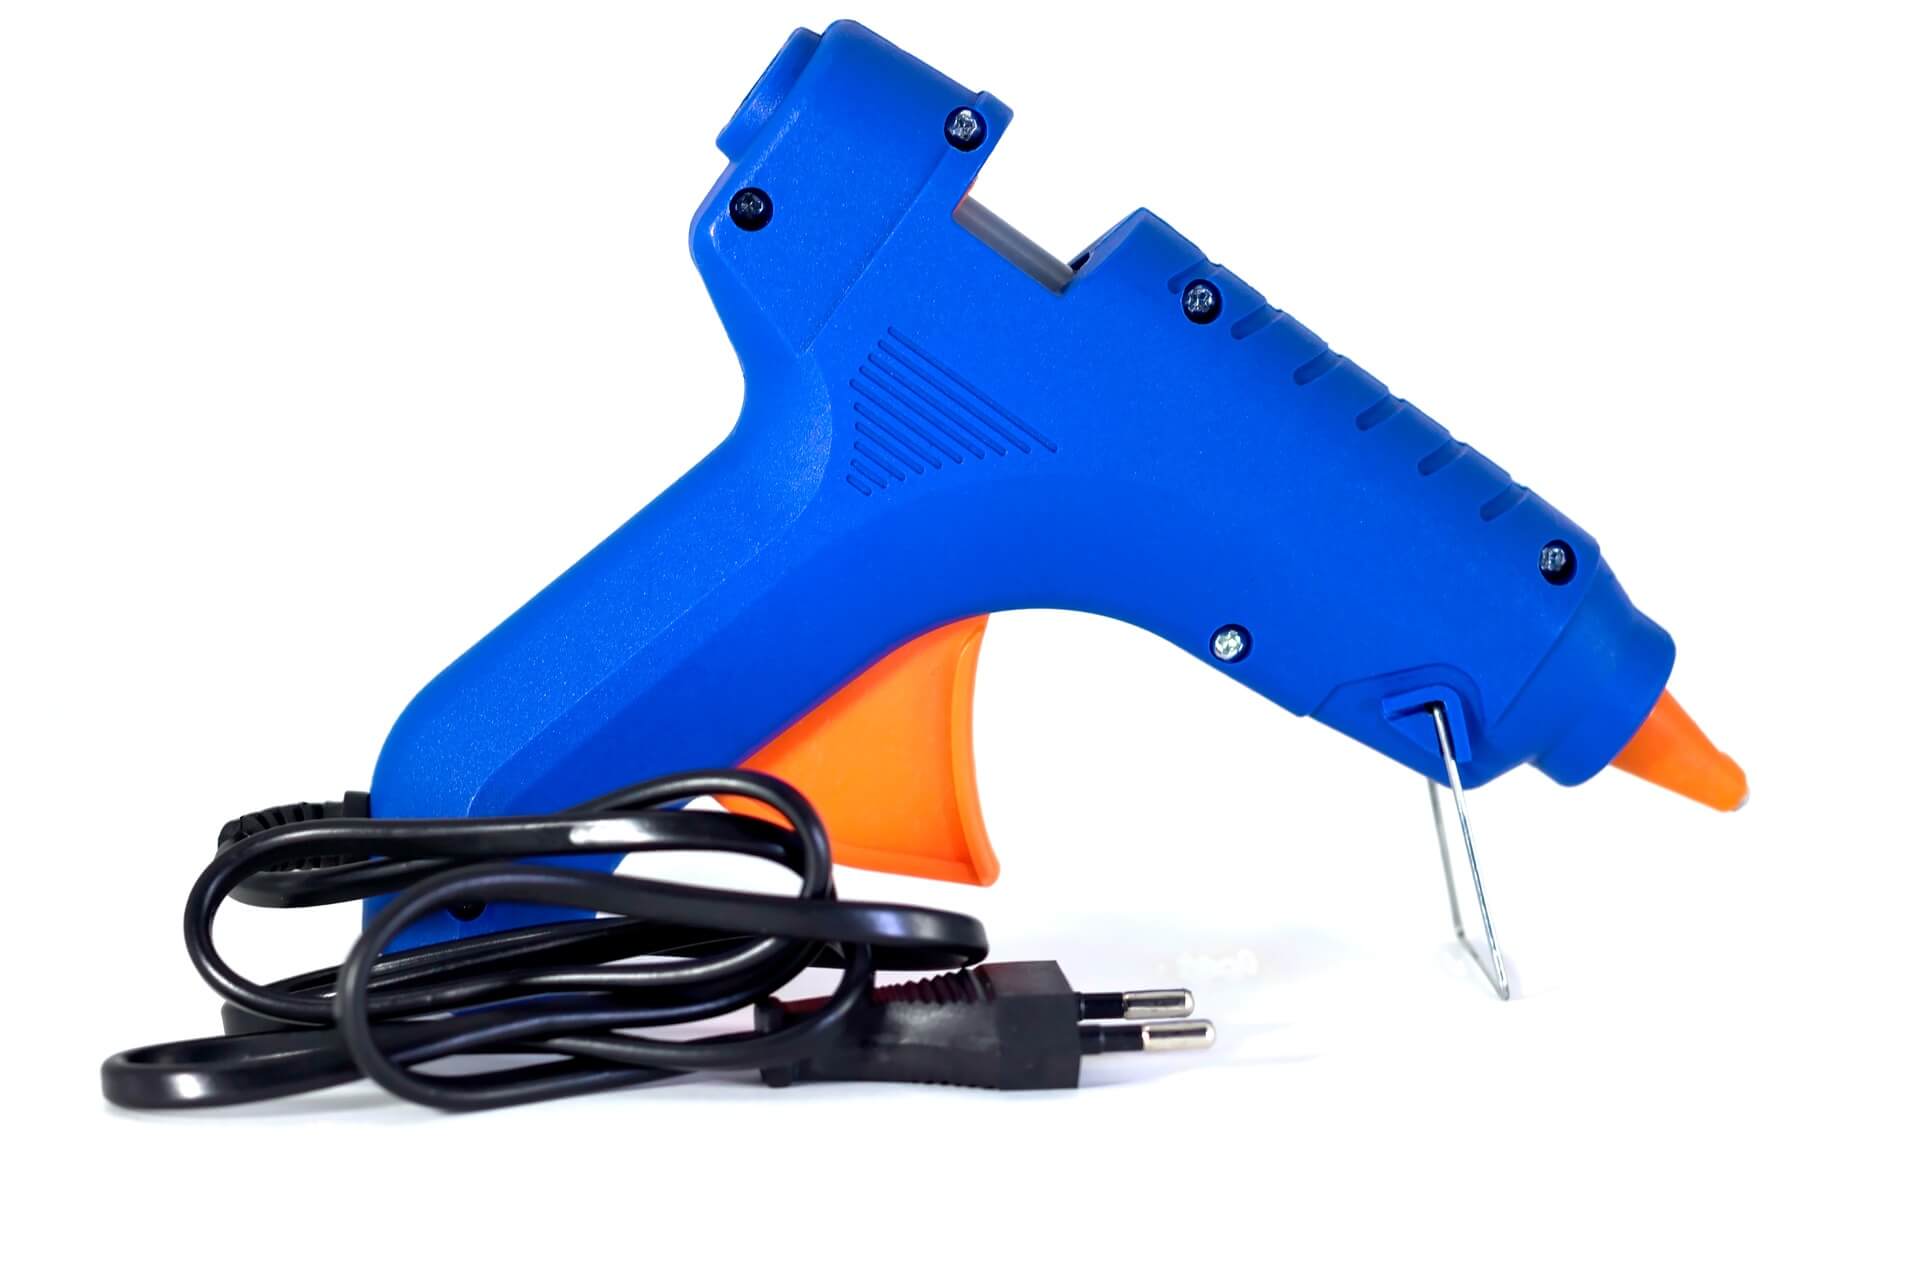
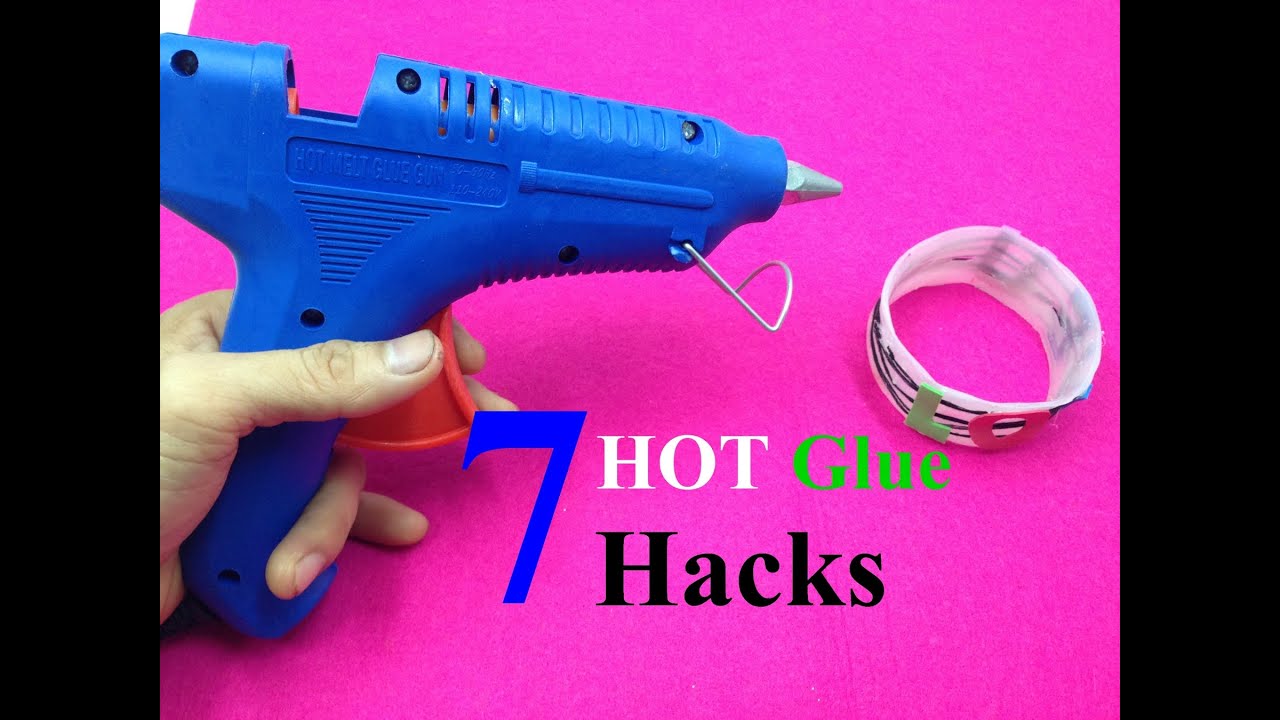
7. "Hot Glue Gun"
If you have a hot glue gun on hand, it can also be a useful tool for fixing an air mattress. The hot glue creates a strong bond and can be applied quickly. Be sure to use a low heat setting to avoid damaging the mattress material. This method is best for smaller holes or tears.

7. "Hot Glue Gun"


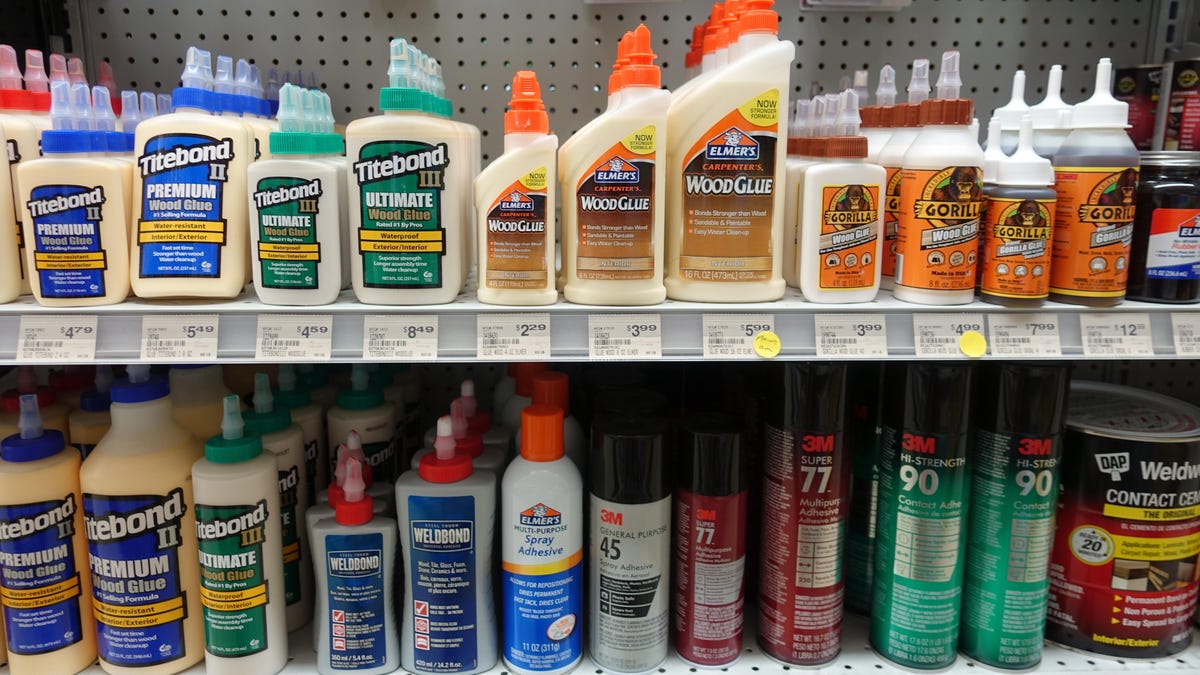
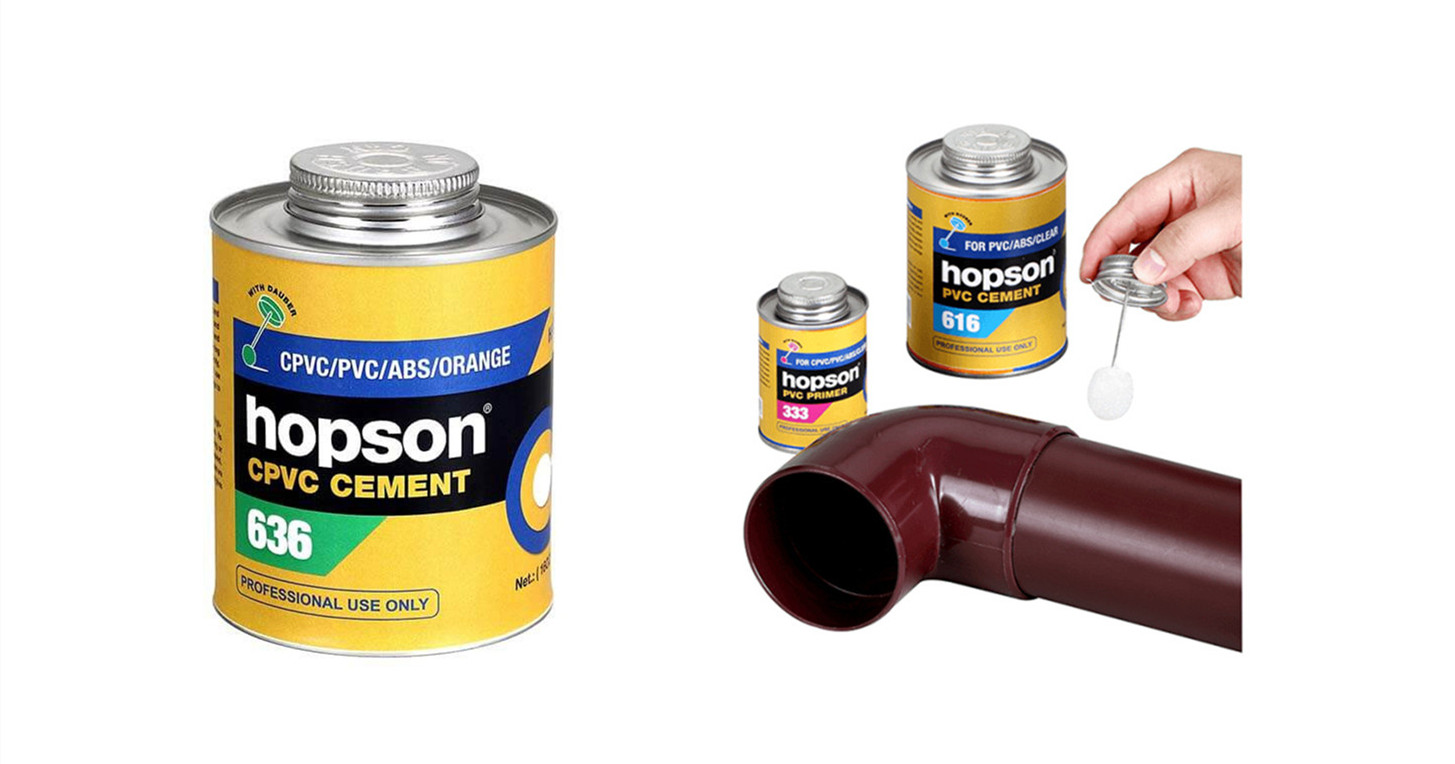
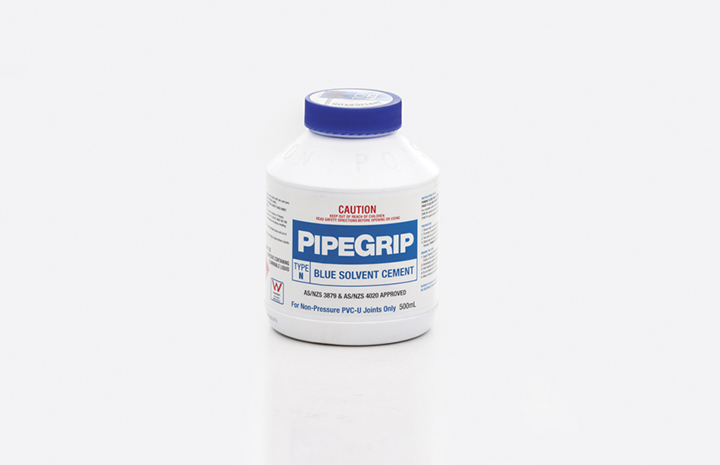
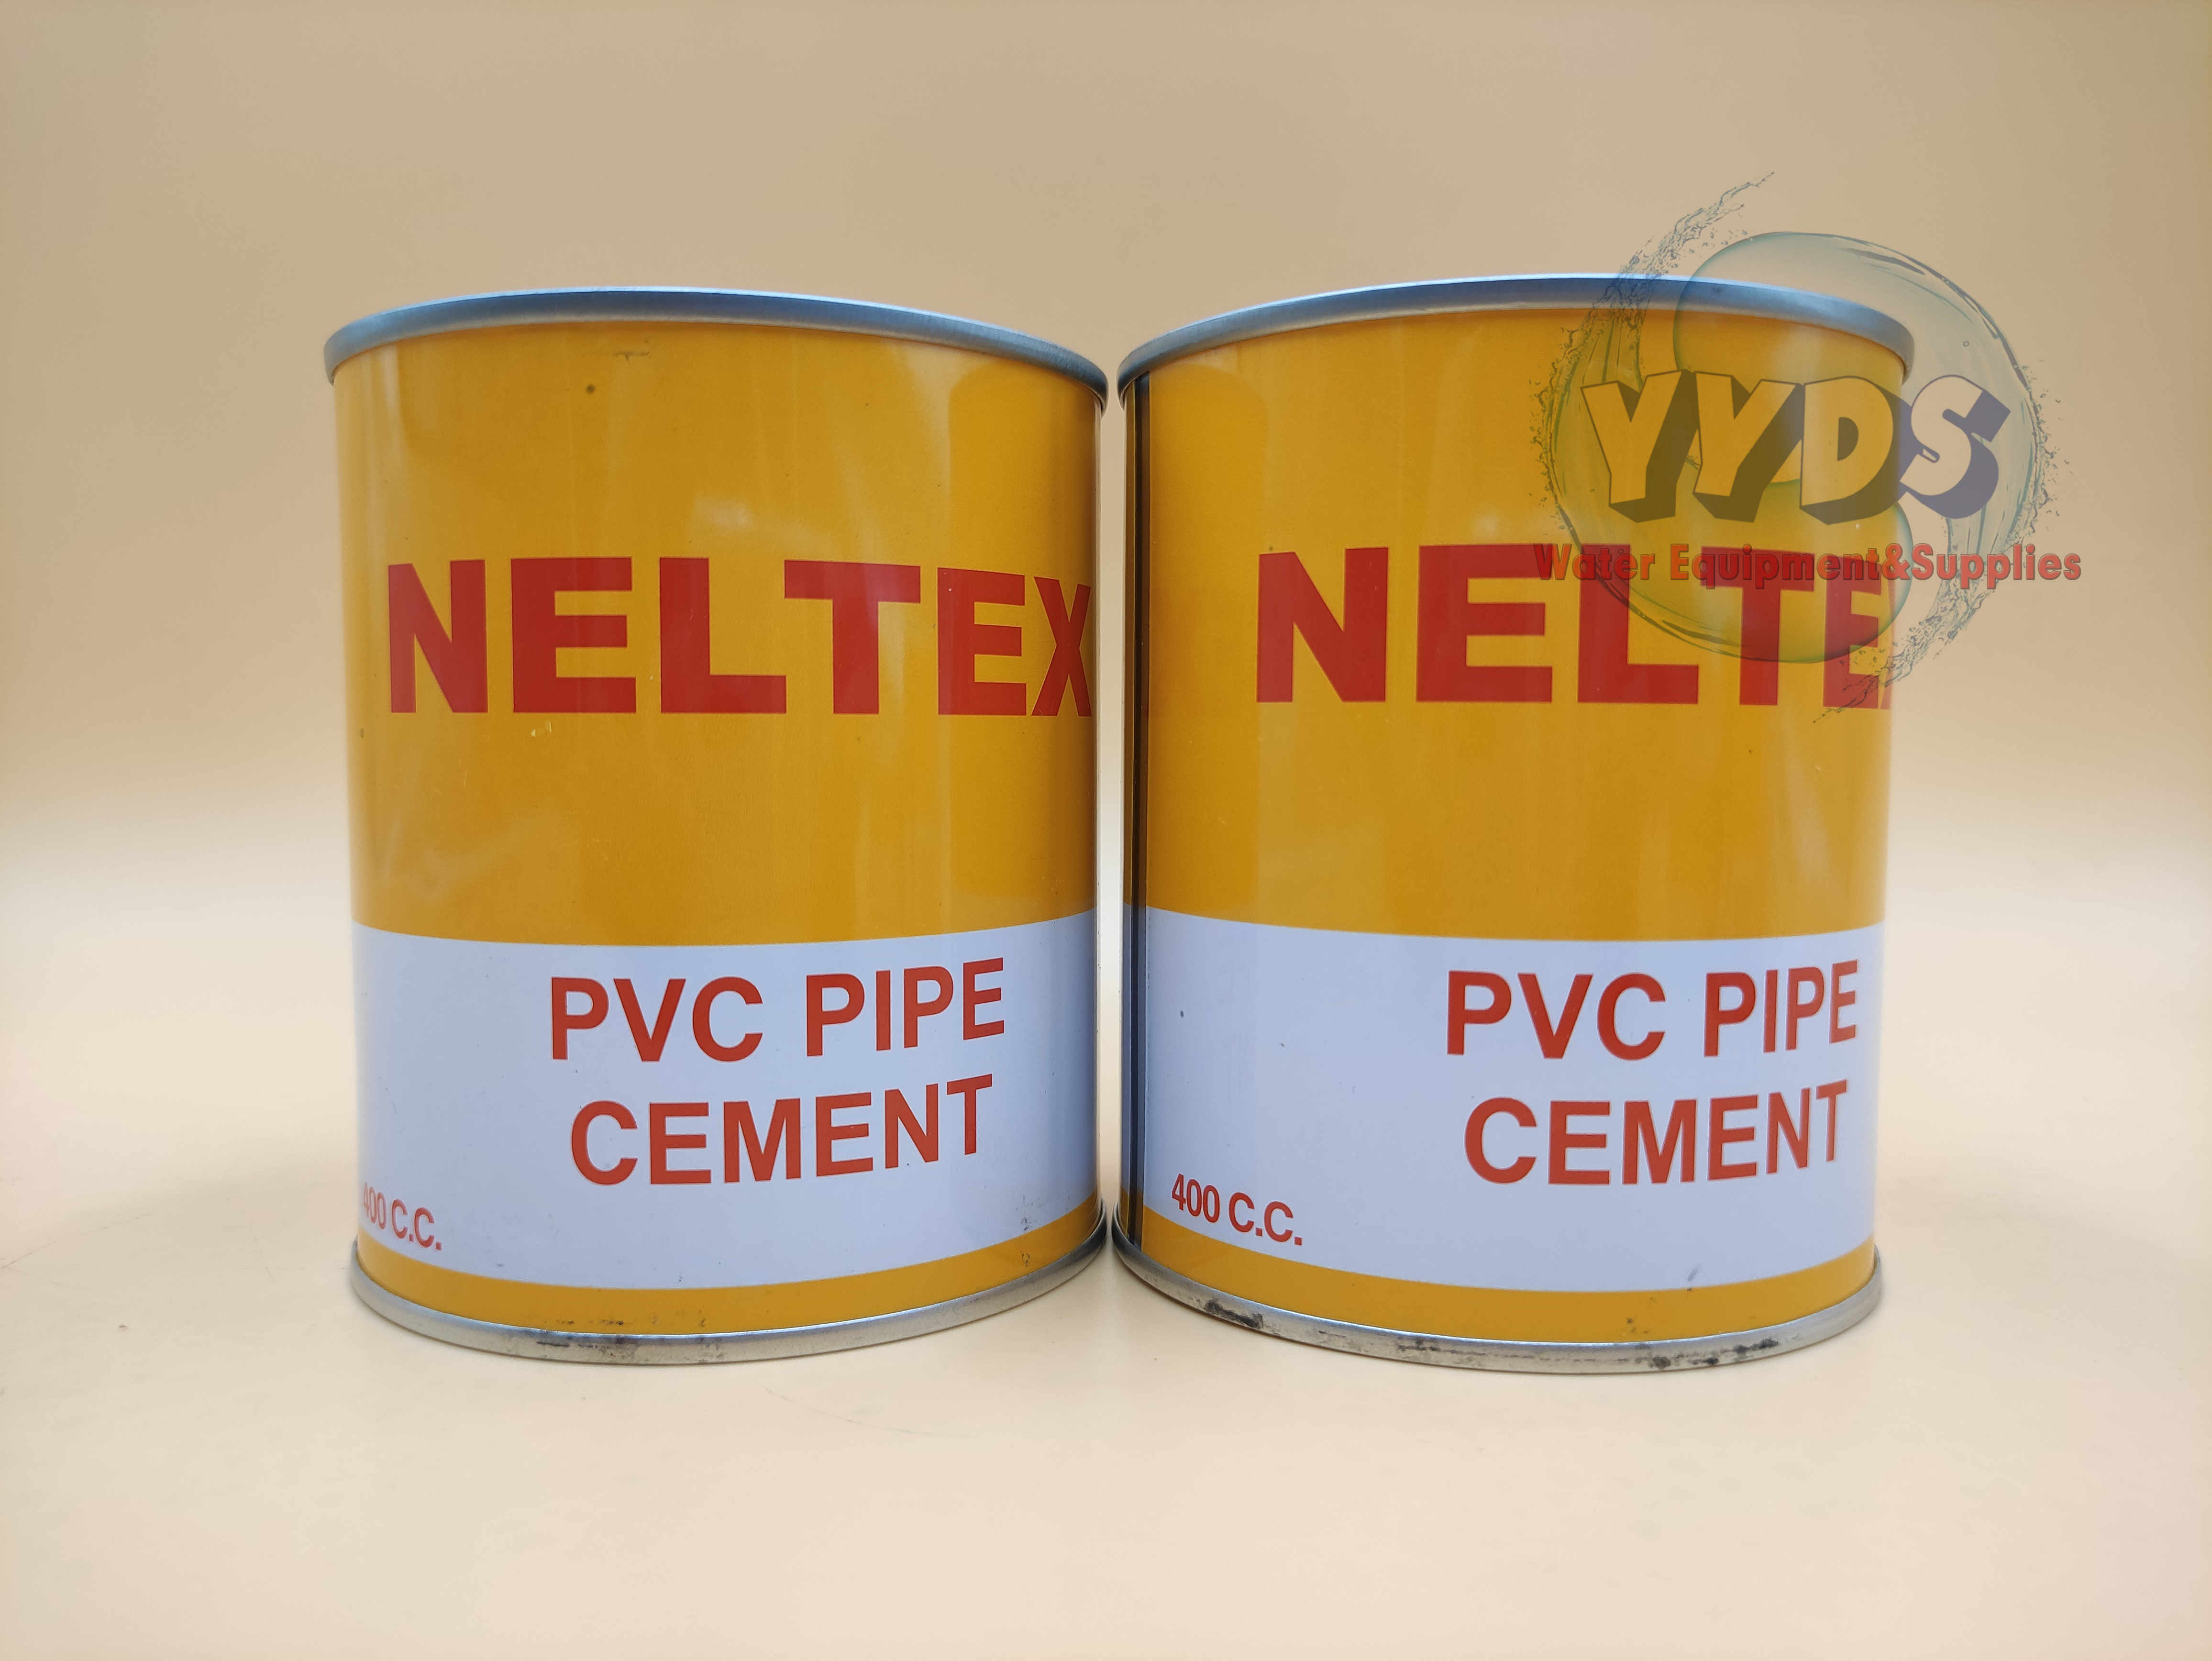
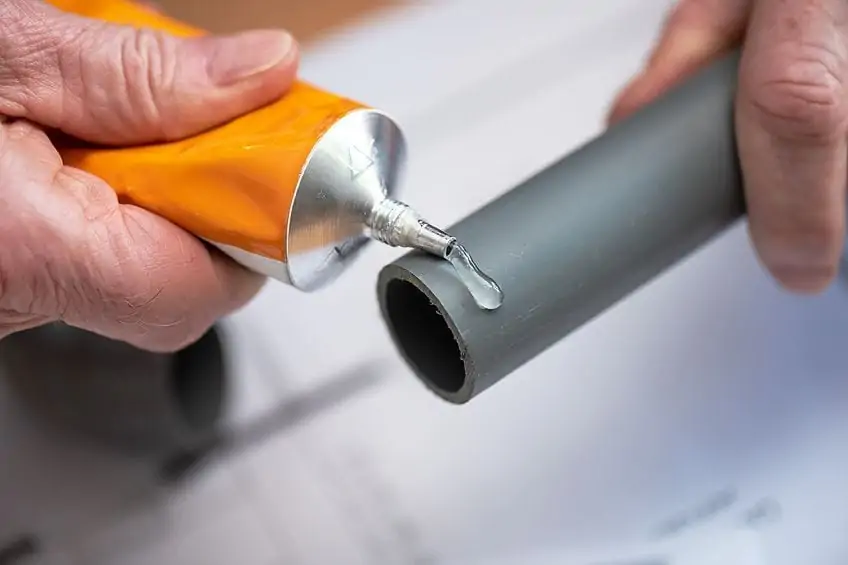
8. "PVC Pipe Cement"
PVC pipe cement is a strong adhesive that can also be used to repair an air mattress. Its bond is especially strong on PVC and other plastic materials, so it's a great option if your air mattress is made of these materials. Apply a thin layer of the cement to the damaged area and let it dry completely before inflating the mattress.

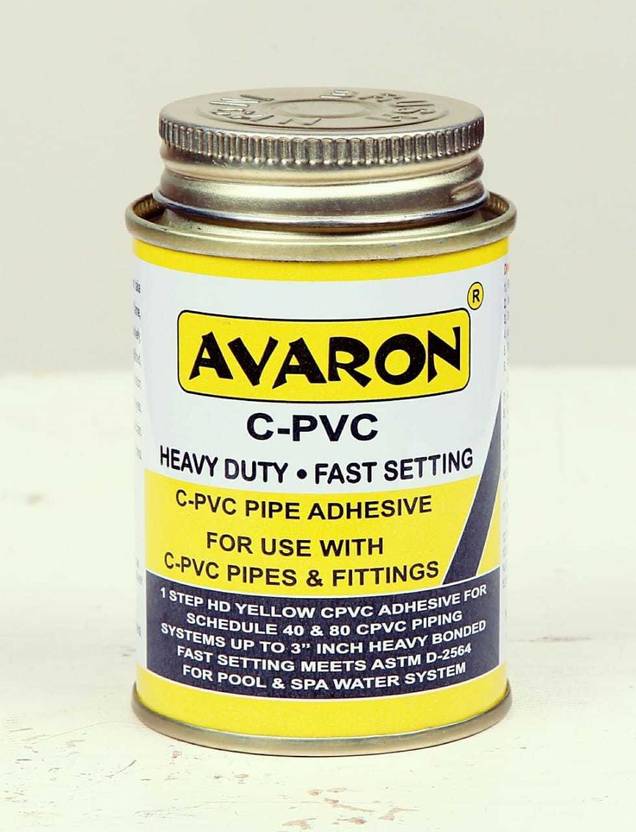
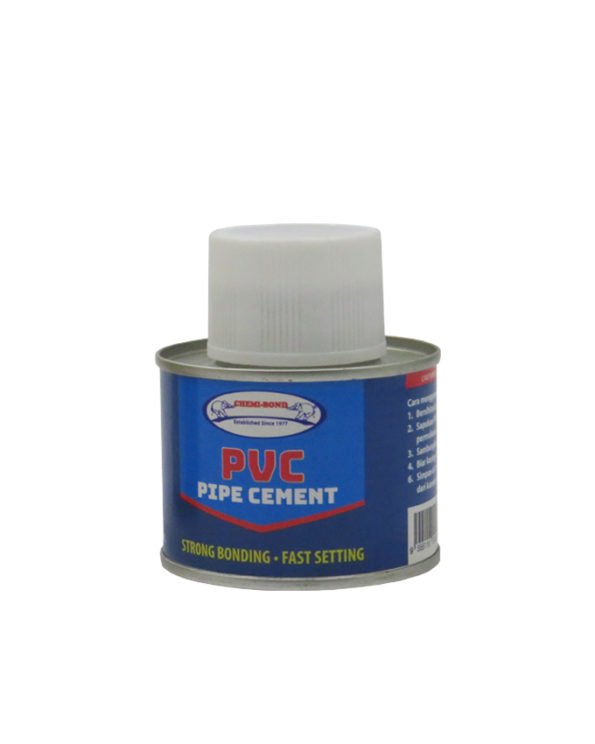
8. "PVC Pipe Cement"


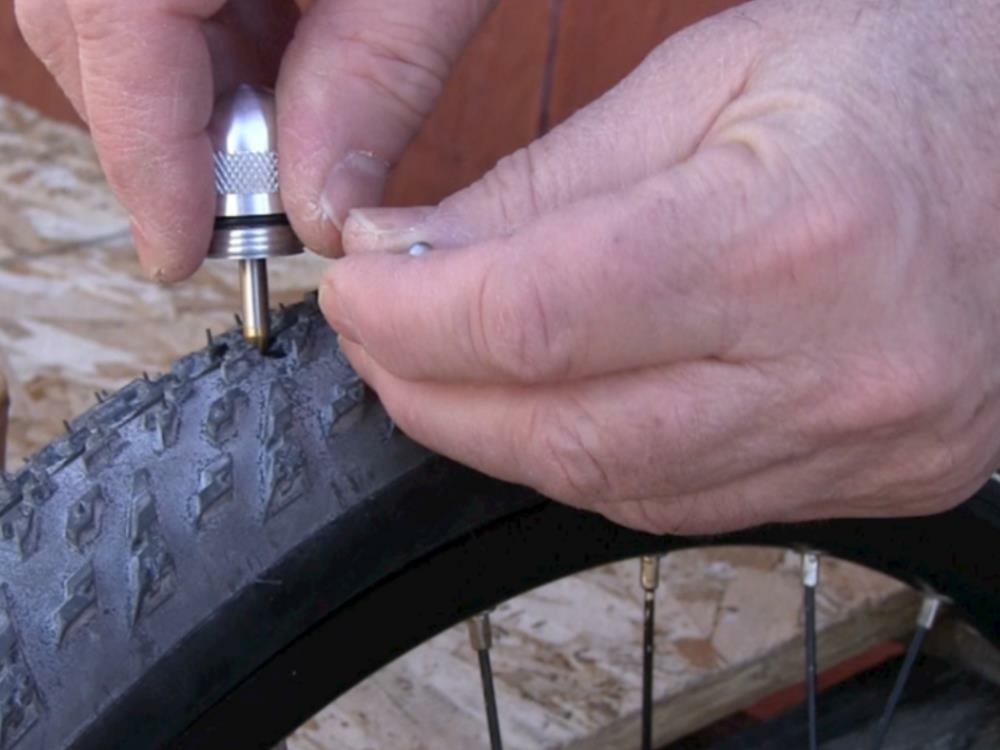
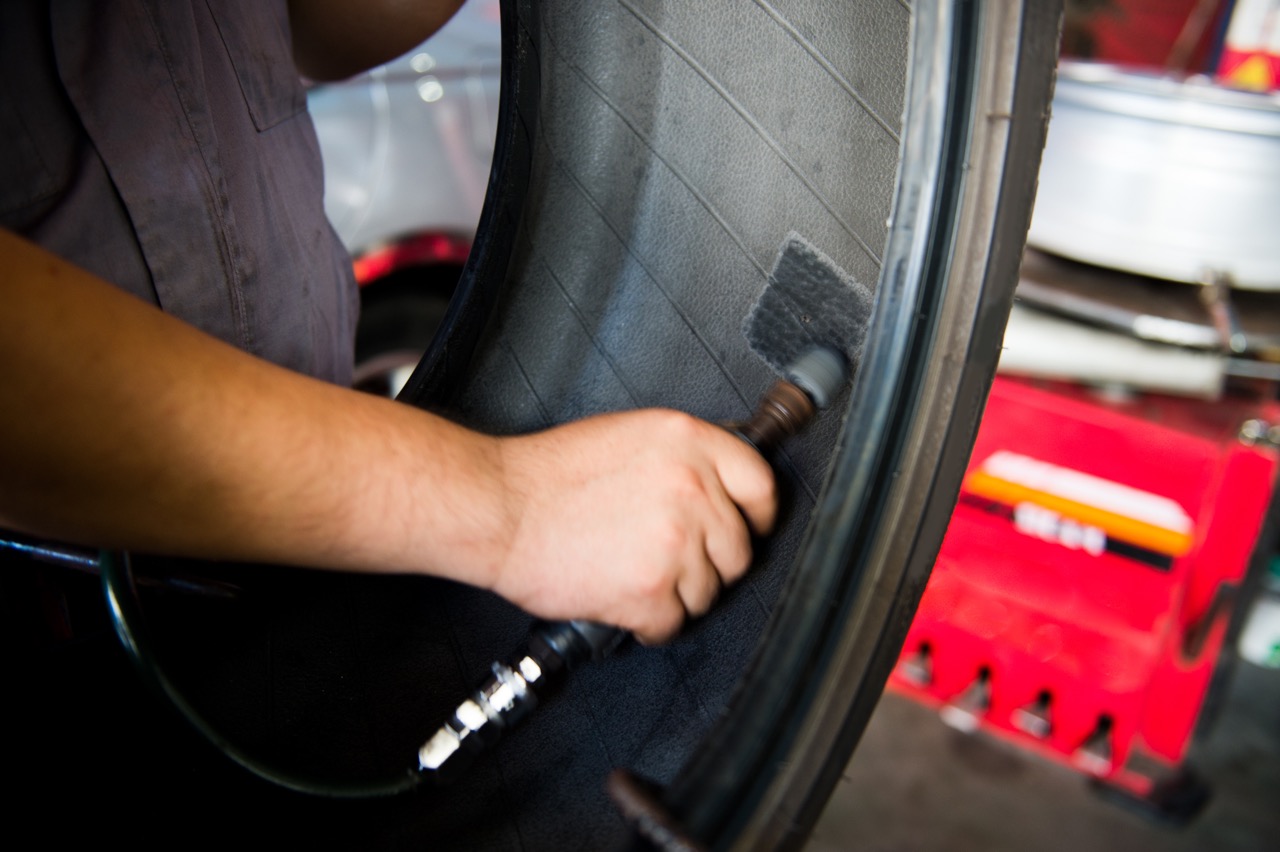
9. "Tire Repair Patch"
Similar to a bicycle tire patch, a tire repair patch can also be used to fix an air mattress. These patches are specifically designed for rubber materials and are great for creating a strong bond. Simply follow the instructions on the patch kit to apply it to the damaged area and let it dry before inflating the mattress again.


9. "Tire Repair Patch"


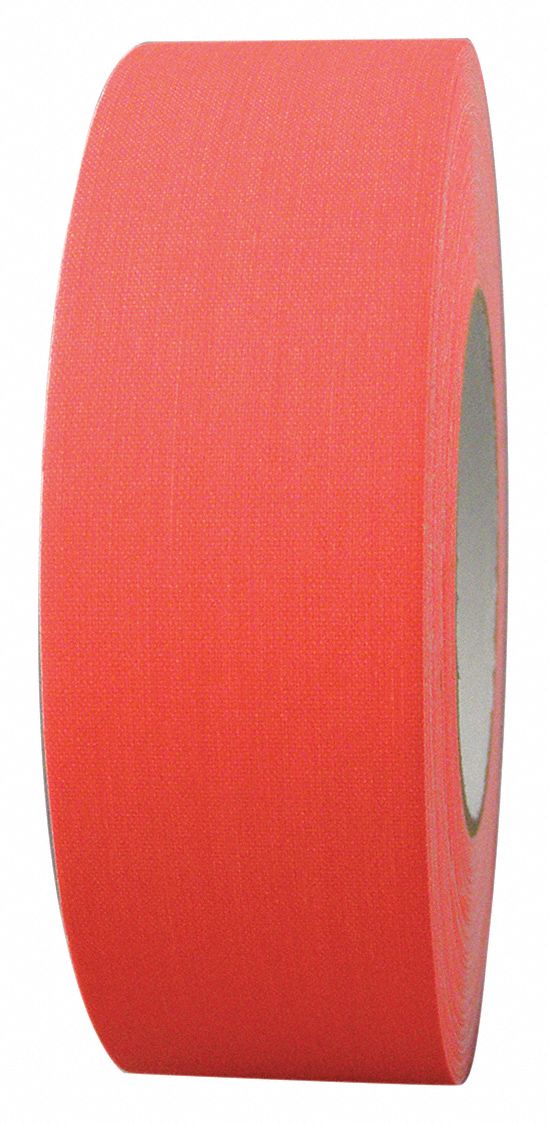
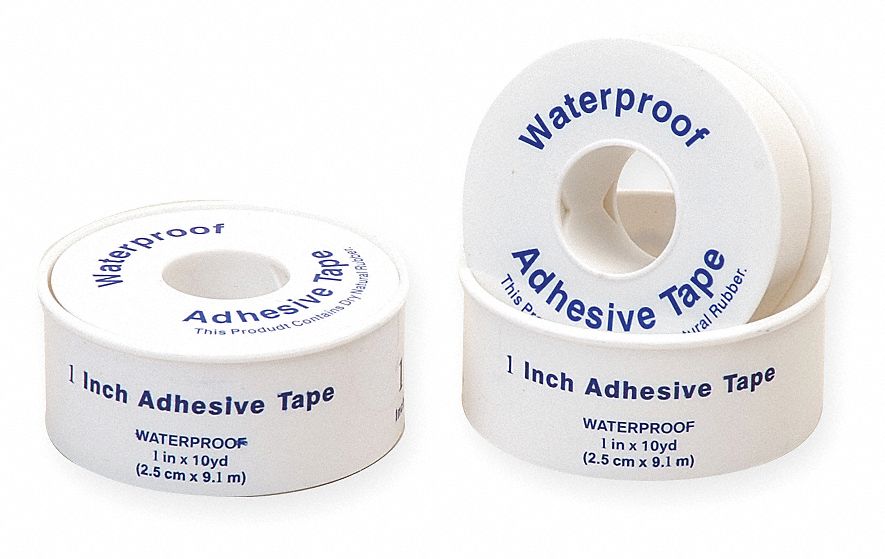
10. "Waterproof Adhesive Tape"
If you're in a pinch and need a quick fix for your air mattress, waterproof adhesive tape can do the trick. While it may not create as strong of a bond as other methods, it can be a temporary solution for small holes or tears. Cut a piece of the tape to size and press it onto the damaged area. Just be sure to replace it with a more permanent solution as soon as possible.
With these top 10 best things to patch an air mattress, you'll be prepared for any unexpected leaks or tears. Whether you prefer a DIY approach or a ready-to-use kit, these options will help you fix your air mattress quickly and easily. Just be sure to follow the instructions carefully and let the repairs dry completely before using the mattress again.
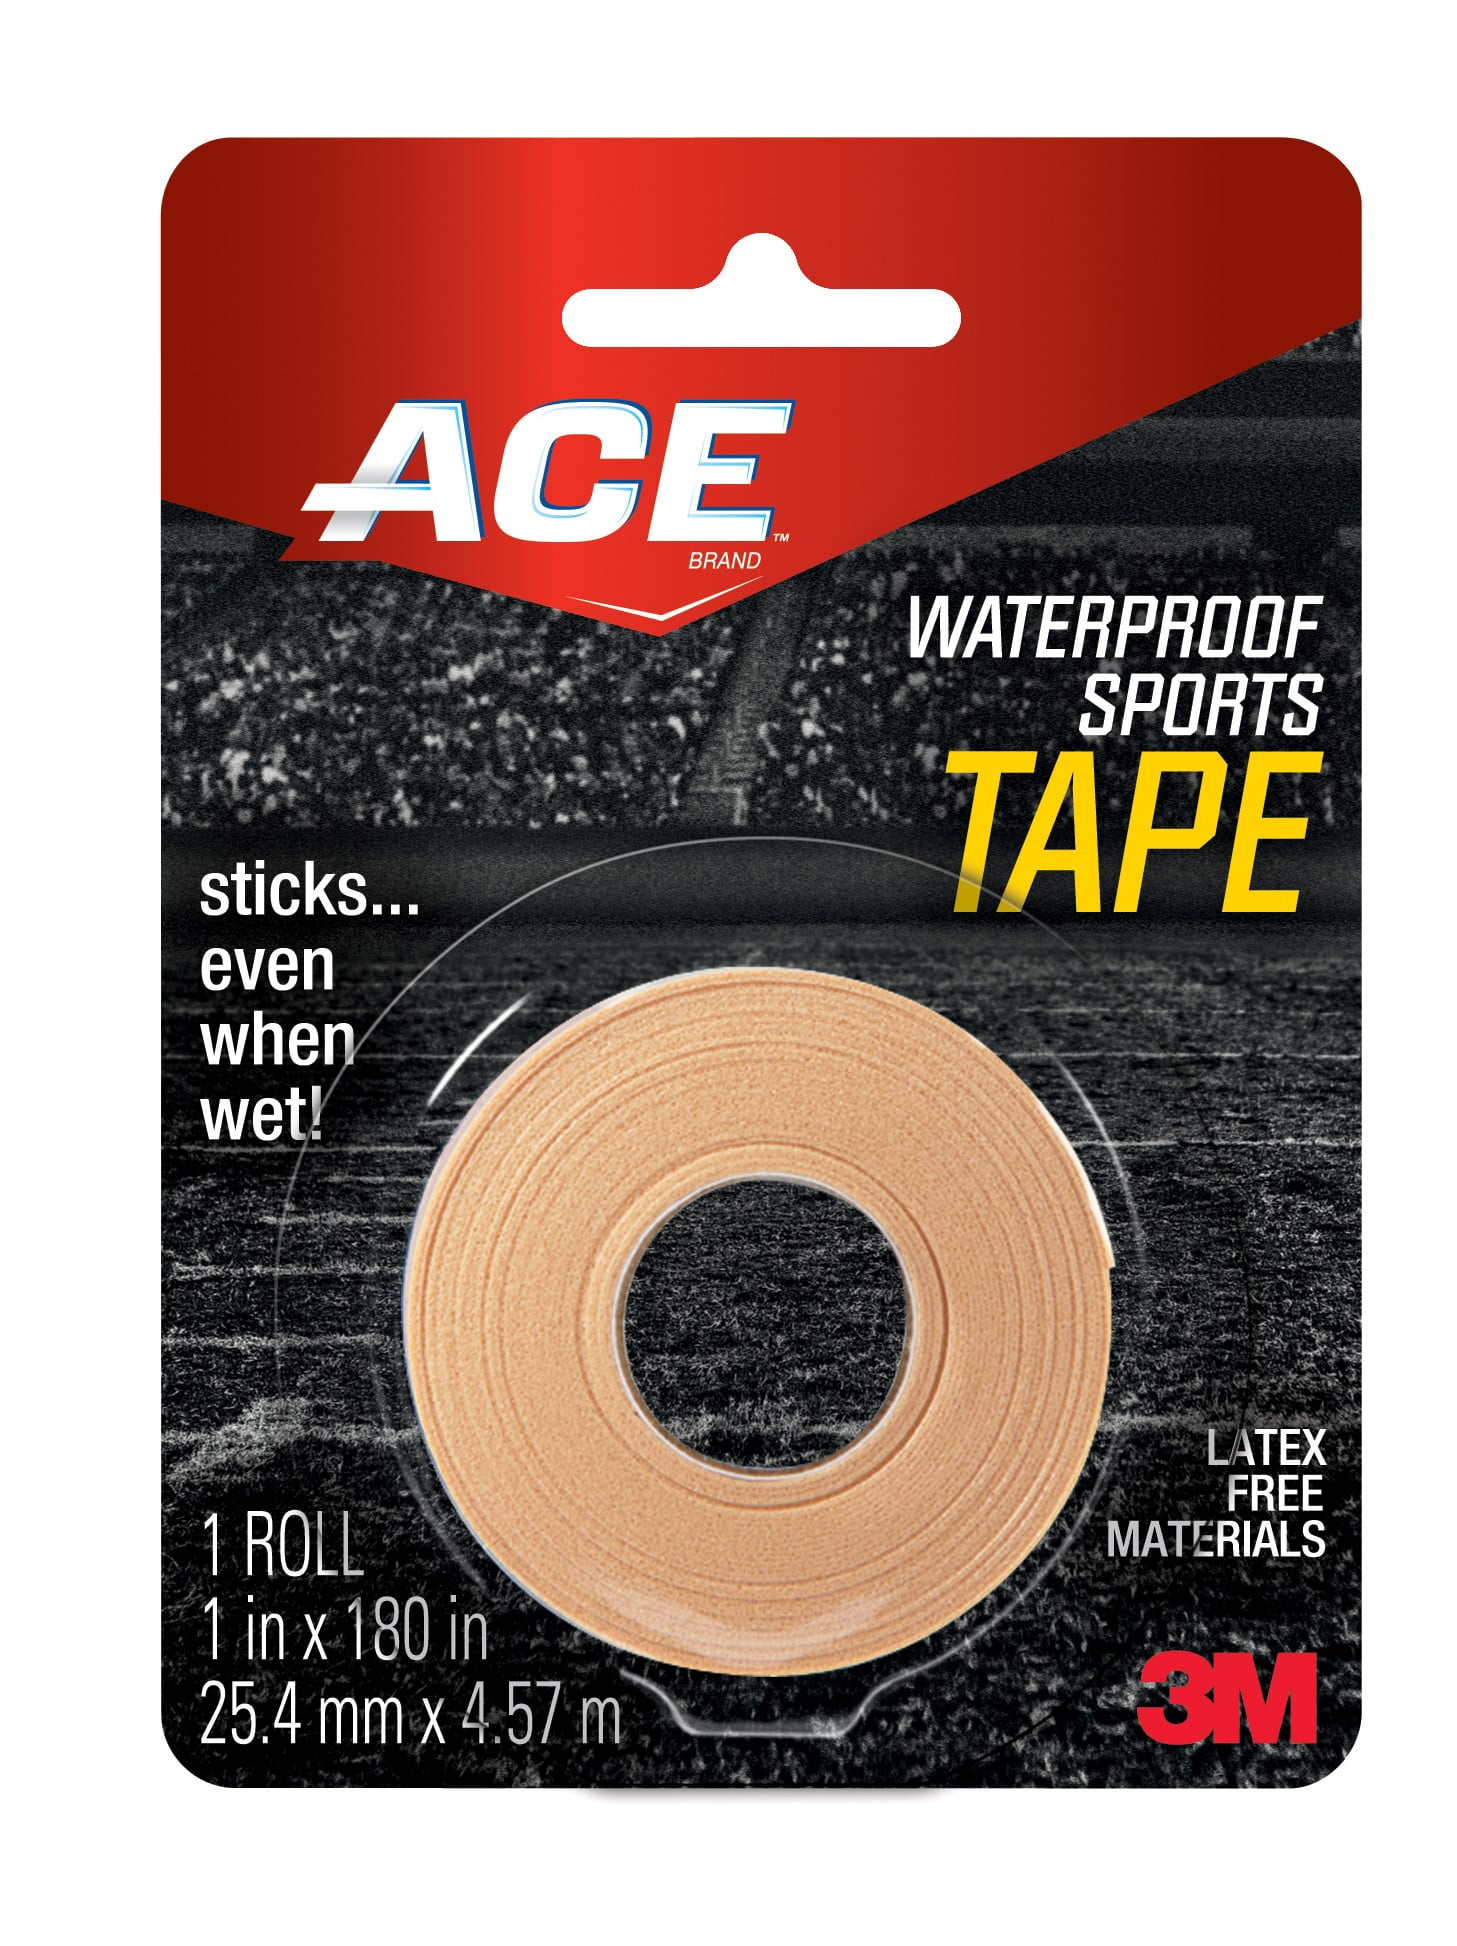
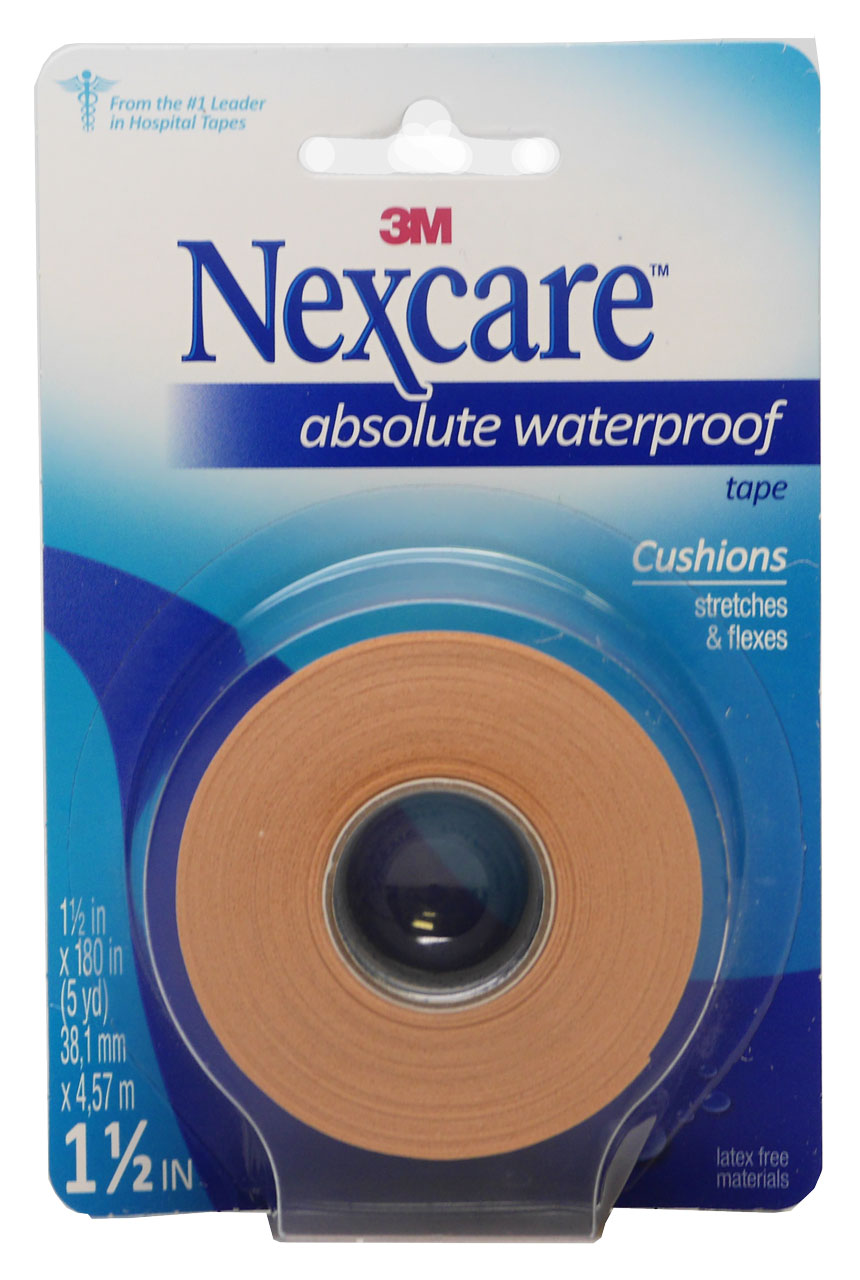

10. "Waterproof Adhesive Tape"


The Best Way to Patch an Air Mattress for a Good Night's Sleep

Why Patching an Air Mattress is Important
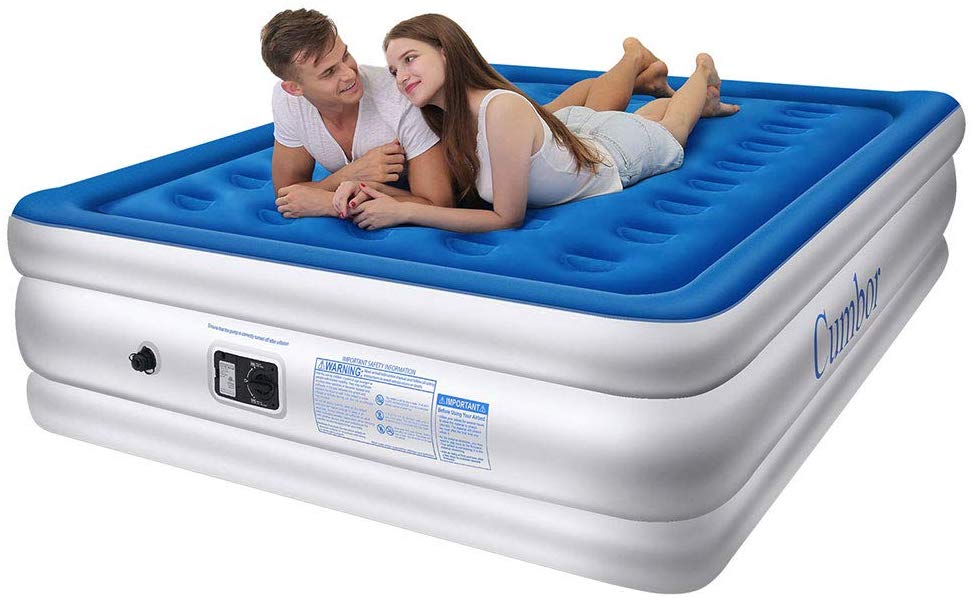
 When it comes to sleeping comfortably, a good quality mattress is crucial. But what happens when your trusty air mattress gets a hole and starts losing air? Suddenly, your once comfortable bed turns into a lumpy, deflated disaster, making it almost impossible to get a good night's sleep. That's where patching comes in.
Patching
an air mattress is essential for maintaining its durability and ensuring a restful sleep.
When it comes to sleeping comfortably, a good quality mattress is crucial. But what happens when your trusty air mattress gets a hole and starts losing air? Suddenly, your once comfortable bed turns into a lumpy, deflated disaster, making it almost impossible to get a good night's sleep. That's where patching comes in.
Patching
an air mattress is essential for maintaining its durability and ensuring a restful sleep.
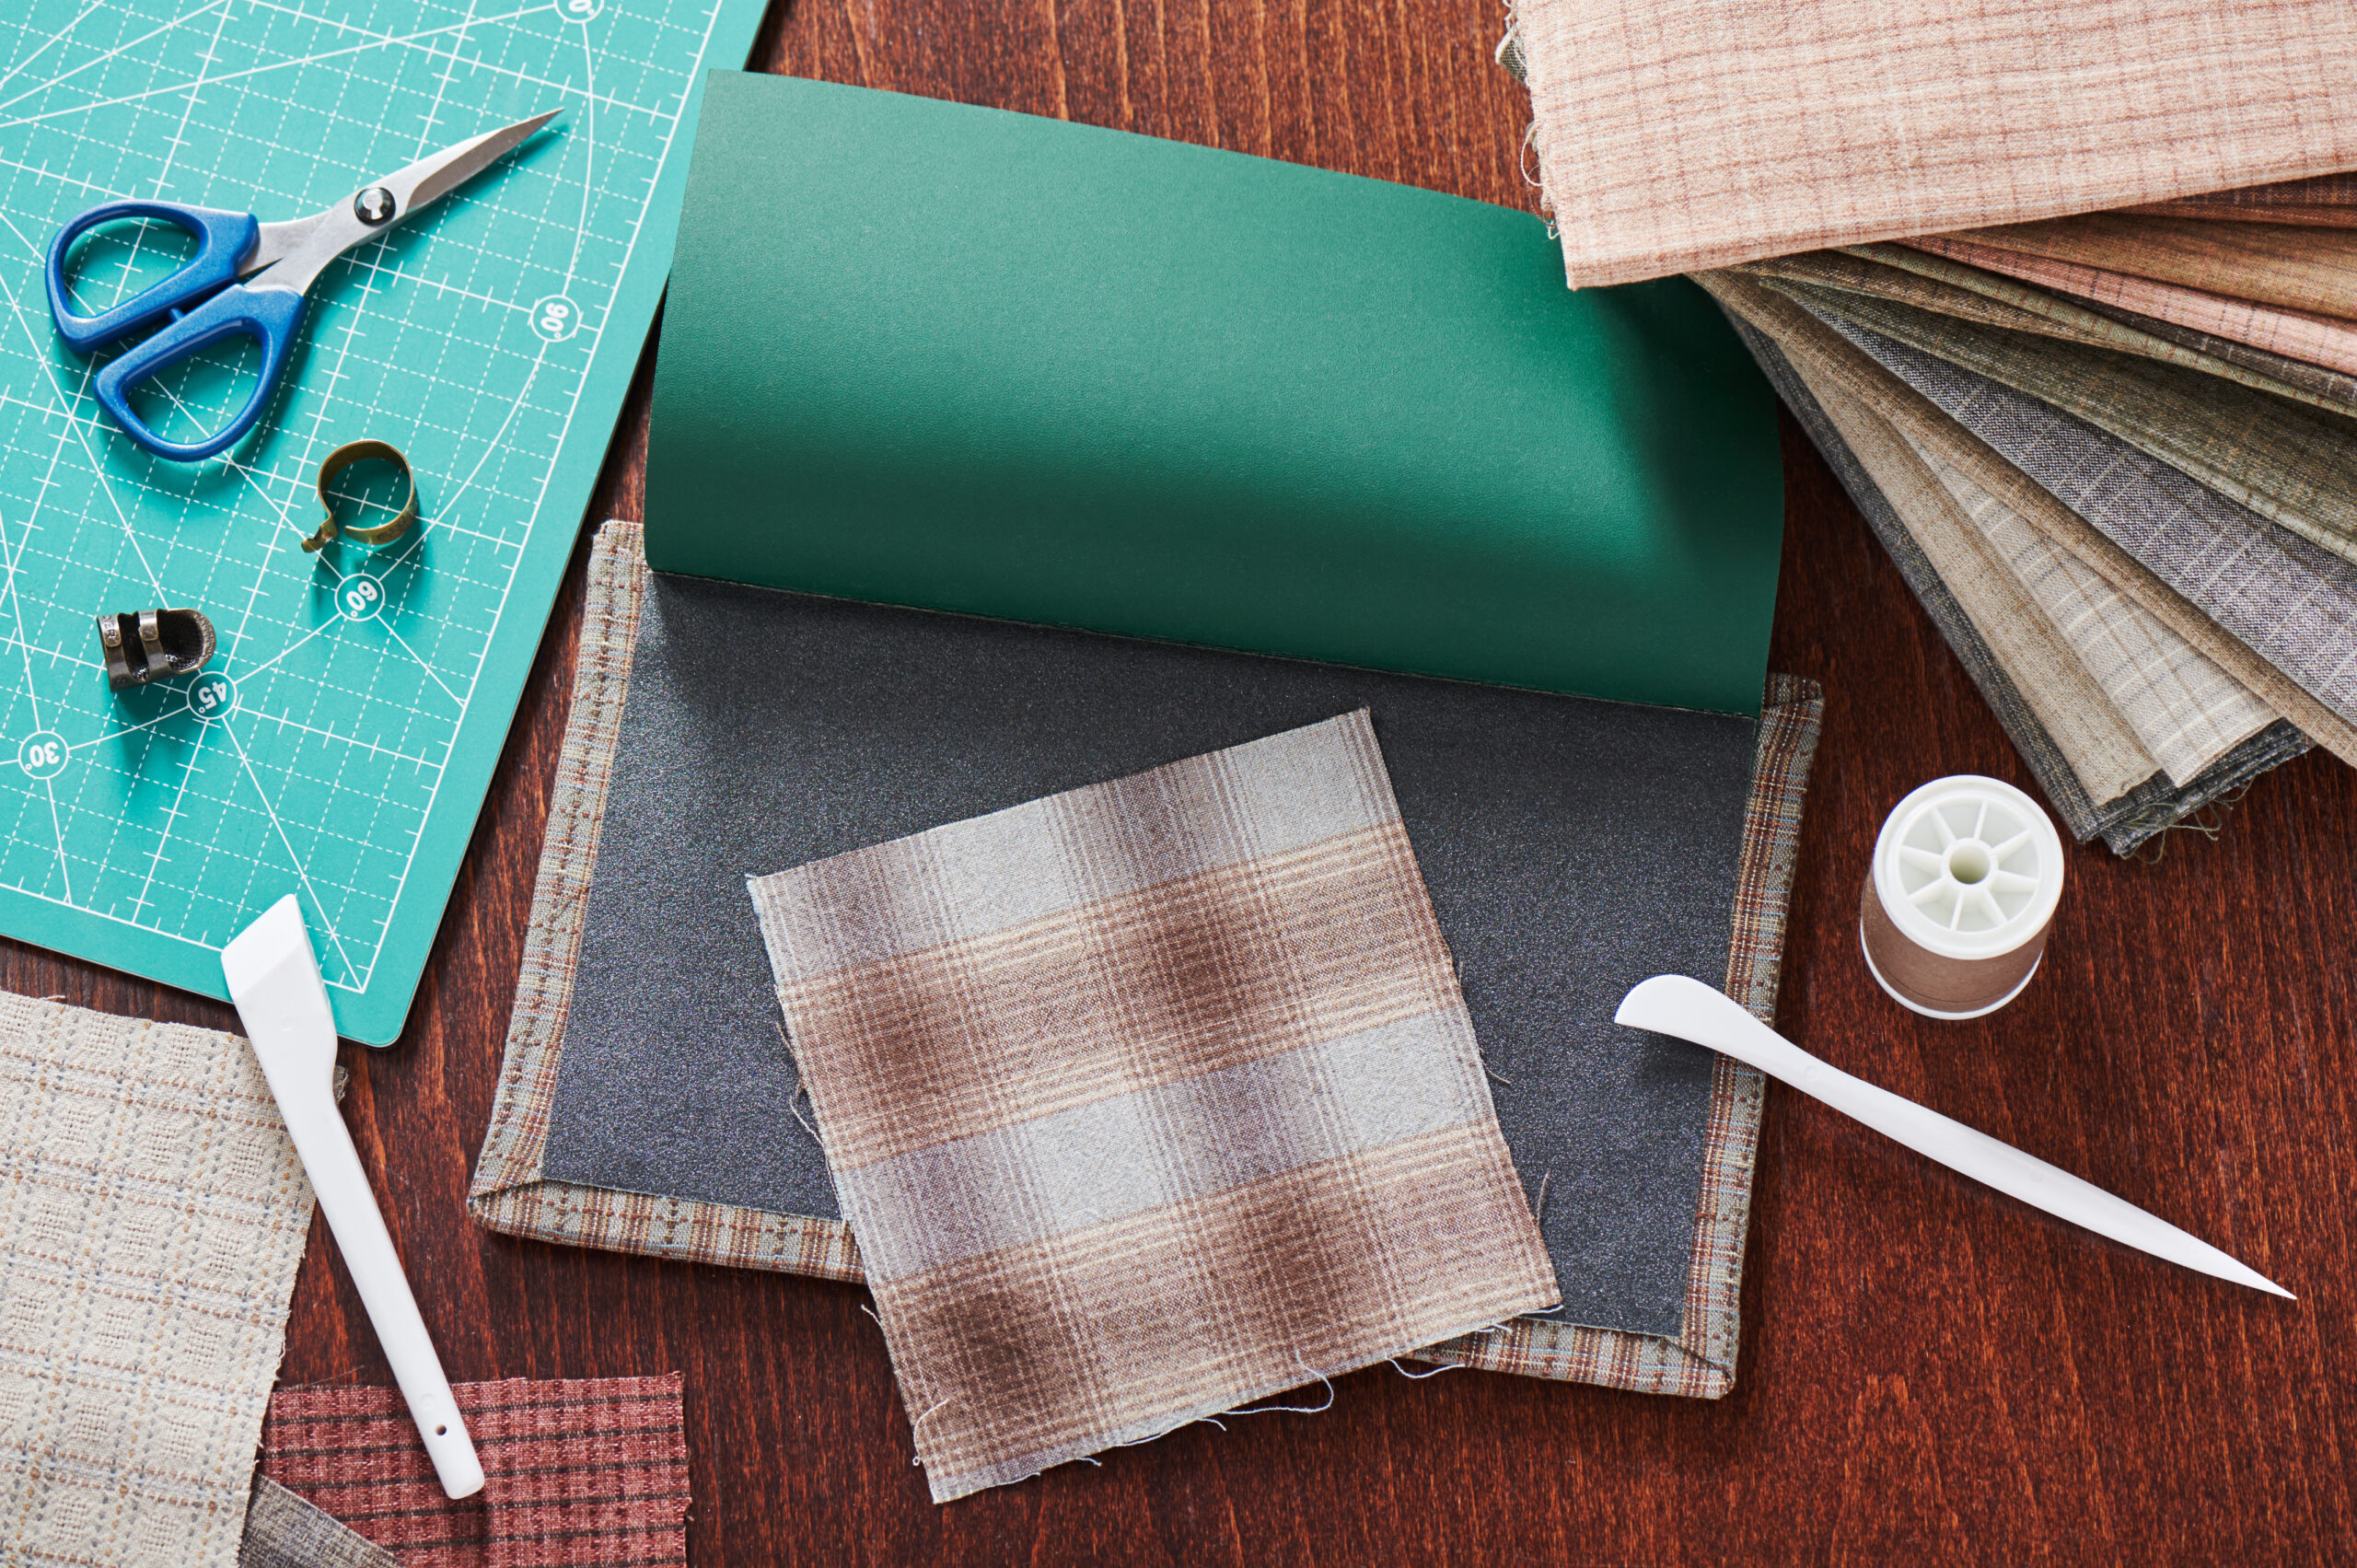
Materials You Will Need
 To patch an air mattress, you will need a few essential materials. These include a patch kit (easily available at any hardware store), rubbing alcohol, a pair of scissors, and a clean cloth.
It's important to note that not all patch kits are created equal, so make sure to choose one that is specifically designed for air mattresses and follow the instructions carefully.
To patch an air mattress, you will need a few essential materials. These include a patch kit (easily available at any hardware store), rubbing alcohol, a pair of scissors, and a clean cloth.
It's important to note that not all patch kits are created equal, so make sure to choose one that is specifically designed for air mattresses and follow the instructions carefully.
The Step-by-Step Guide to Patching an Air Mattress
:max_bytes(150000):strip_icc()/inflatable-mattress-in-an-empty-room-1165771286-cdef8878a02c456188562f33c8f66d5d.jpg) Now that you have all the necessary materials, it's time to get to work. Here are the steps to follow to successfully patch your air mattress:
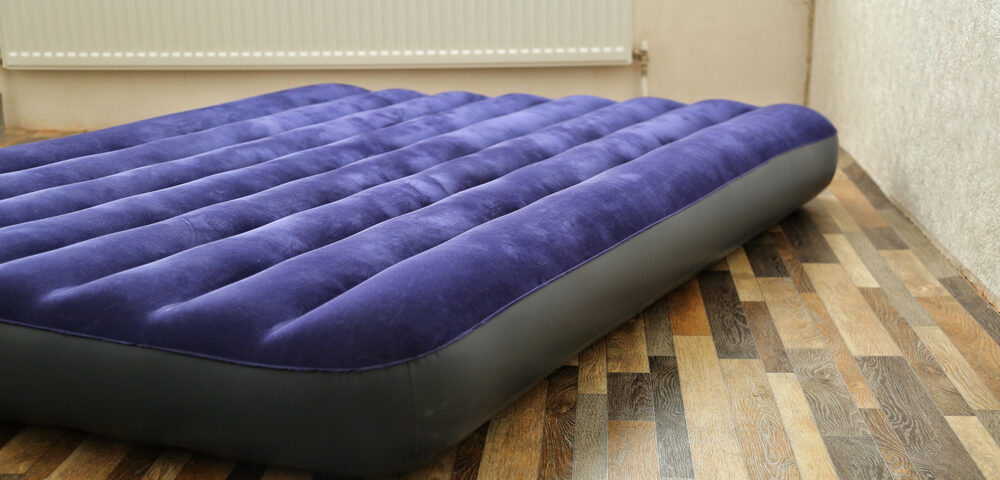
1. Locate the hole:
The first step is to find where the air is leaking from. Inflate the mattress and run your hand over the surface, feeling for any noticeable holes or tears. If you can't find the hole, try listening for the sound of air escaping or using a spray bottle with soapy water to identify any bubbles forming.
2. Clean the area:
Once you have located the hole, clean the area around it with rubbing alcohol to remove any dirt, dust, or oils that may prevent the patch from sticking properly.
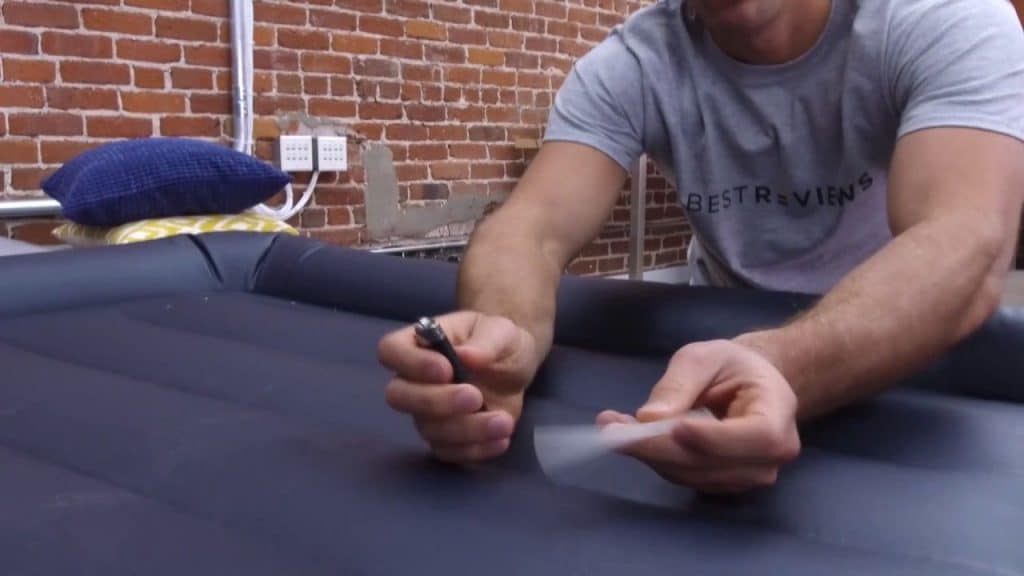
3. Cut the patch:
Using the scissors, cut a patch from the patch kit that is slightly larger than the hole.
4. Apply the patch:
Peel off the backing of the patch and carefully place it over the hole, pressing down firmly to ensure a secure bond.
5. Let it dry:
Allow the patch to dry for the recommended amount of time as per the instructions on the patch kit.
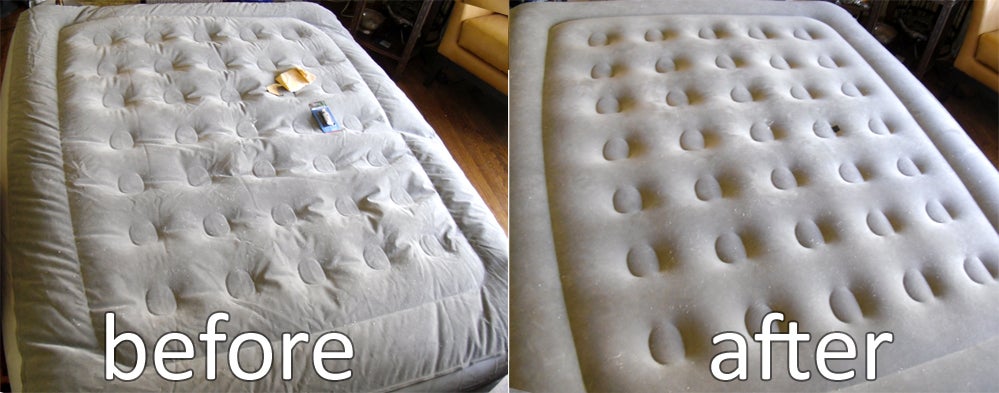
6. Test it out:
Once the patch is dry, test it out by inflating the mattress again and checking for any air leaks. If the patch holds, your air mattress is as good as new!
Now that you have all the necessary materials, it's time to get to work. Here are the steps to follow to successfully patch your air mattress:
1. Locate the hole:
The first step is to find where the air is leaking from. Inflate the mattress and run your hand over the surface, feeling for any noticeable holes or tears. If you can't find the hole, try listening for the sound of air escaping or using a spray bottle with soapy water to identify any bubbles forming.
2. Clean the area:
Once you have located the hole, clean the area around it with rubbing alcohol to remove any dirt, dust, or oils that may prevent the patch from sticking properly.
3. Cut the patch:
Using the scissors, cut a patch from the patch kit that is slightly larger than the hole.
4. Apply the patch:
Peel off the backing of the patch and carefully place it over the hole, pressing down firmly to ensure a secure bond.
5. Let it dry:
Allow the patch to dry for the recommended amount of time as per the instructions on the patch kit.
6. Test it out:
Once the patch is dry, test it out by inflating the mattress again and checking for any air leaks. If the patch holds, your air mattress is as good as new!
Preventative Measures for a Longer Lasting Air Mattress
 While patching an air mattress is a quick and easy fix, there are some preventative measures you can take to avoid having to do it in the first place.
Investing in a high-quality air mattress, properly inflating and deflating it, and avoiding placing it on rough surfaces can all help extend its lifespan.
While patching an air mattress is a quick and easy fix, there are some preventative measures you can take to avoid having to do it in the first place.
Investing in a high-quality air mattress, properly inflating and deflating it, and avoiding placing it on rough surfaces can all help extend its lifespan.
The Bottom Line
 Patching an air mattress is a simple and cost-effective way to fix a common household problem. By following these steps and taking preventative measures, you can ensure your air mattress stays in good condition for a peaceful and comfortable night's sleep.
HTML Code:

The Best Way to Patch an Air Mattress for a Good Night's Sleep
Why Patching an Air Mattress is Important
When it comes to sleeping comfortably, a good quality mattress is crucial. But what happens when your trusty air mattress gets a hole and starts losing air? Suddenly, your once comfortable bed turns into a lumpy, deflated disaster, making it almost impossible to get a good night's sleep. That's where patching comes in. Patching an air mattress is essential for maintaining its durability and ensuring a restful sleep.
Materials You Will Need

To patch an air mattress, you will need a few essential materials. These include a patch kit (easily available at any hardware store), rubbing alcohol, a pair of scissors, and a clean cloth. It's important to note that not all patch kits are created equal, so make sure to choose one that is specifically designed for air mattresses and follow the instructions carefully.
The Step-by-Step Guide to Patching an Air Mattress

Now that you have all the necessary materials, it's time to get to work. Here are the steps to follow to successfully patch your air mattress:
- Locate the hole: The first step is to find where the air is leaking from. Inflate the mattress


