Replacing a bathroom sink valve may seem like a daunting task, but with the right tools and knowledge, it can be a relatively simple and cost-effective DIY project. A faulty sink valve can cause leaks and other plumbing issues, so it's important to address the problem as soon as possible. In this article, we'll guide you through the process of replacing a bathroom sink valve in 10 easy steps.How to Replace a Bathroom Sink Valve
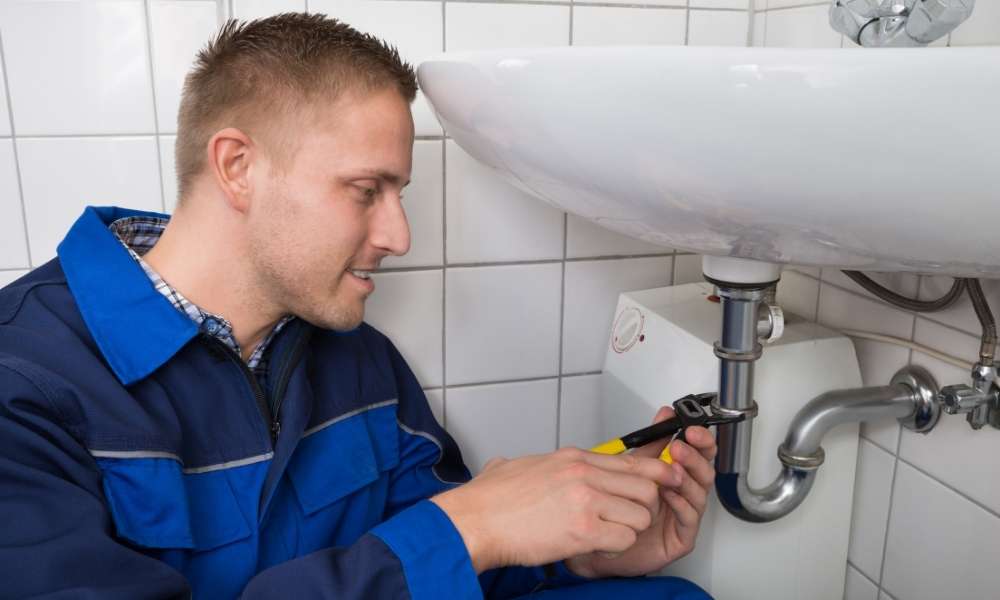
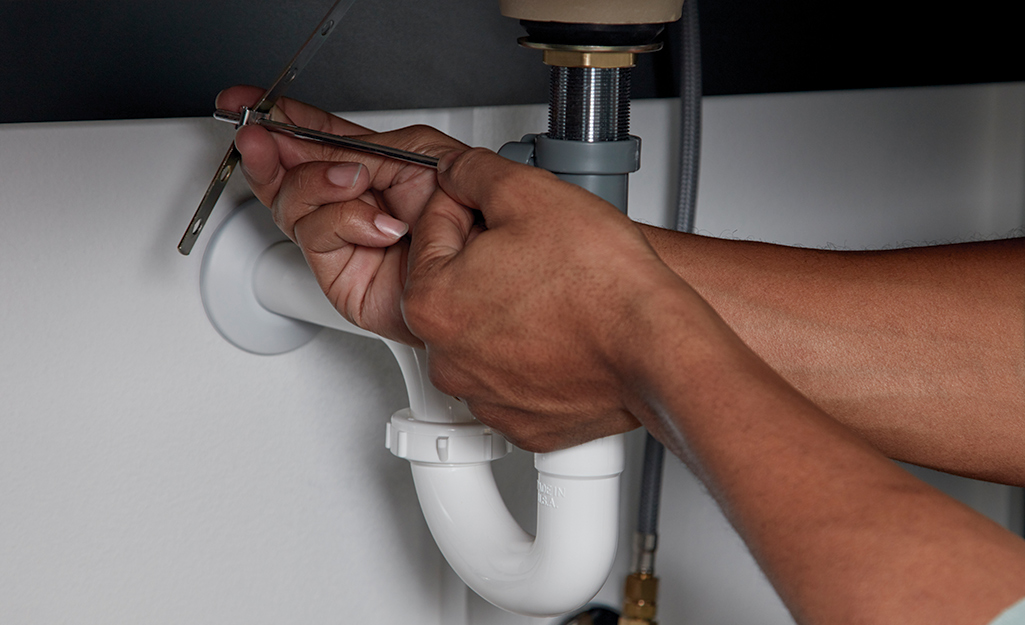
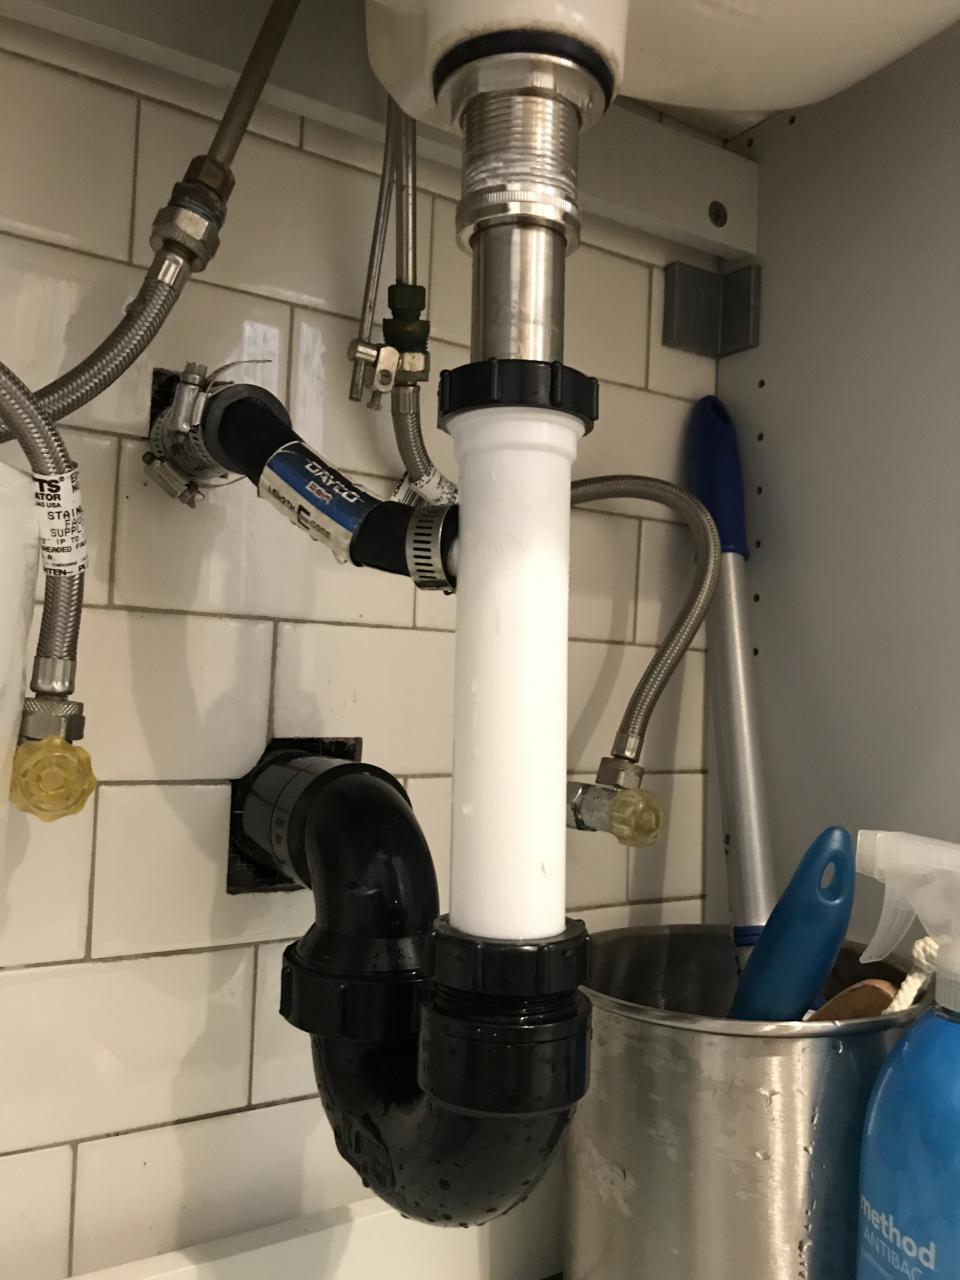
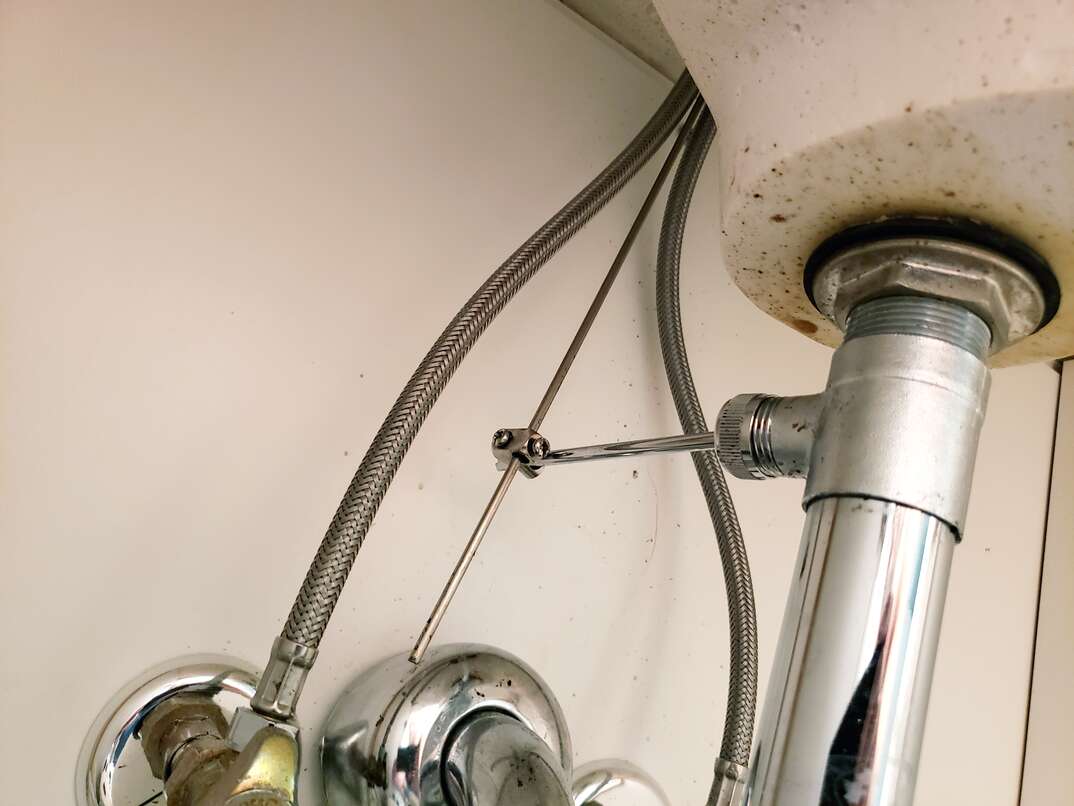
Step 1: Turn off the Water Supply - Before you begin any plumbing project, it's important to turn off the water supply to the affected area. Locate the shut-off valve for your bathroom sink and turn it clockwise to shut off the water flow. Step 2: Gather Your Tools and Materials - You'll need a few tools and materials to replace your bathroom sink valve, including an adjustable wrench, pliers, screwdrivers, replacement valve, and plumber's tape. Step 3: Remove the Old Valve - Use your adjustable wrench to loosen and remove the old valve from the water supply line. If necessary, use pliers to hold the valve in place while loosening it. Step 4: Clean the Area - Before installing the new valve, make sure to clean the area around the water supply line to ensure a proper seal. You can use a cloth or brush to remove any debris or buildup. Step 5: Wrap the Threads with Plumber's Tape - To prevent leaks, wrap the threads of the water supply line with plumber's tape. This will create a tight seal between the valve and the supply line. Step 6: Install the New Valve - Carefully screw the new valve onto the water supply line, using pliers to tighten it if necessary. Make sure it is securely in place and facing the correct direction for the hot or cold water supply. Step 7: Connect the Water Supply Line - Reattach the water supply line to the new valve and use your adjustable wrench to tighten it in place. Again, use pliers if necessary to hold the valve in place while tightening. Step 8: Turn on the Water Supply - Once the new valve is installed, turn the water supply back on and check for any leaks. If you notice a leak, try tightening the valve further or reapplying plumber's tape. Step 9: Test the Valve - Turn on the bathroom sink faucet and check that the water is flowing properly and there are no leaks. If everything looks good, you're ready to move on to the final step. Step 10: Reattach the Handle and Trim - Finally, reattach the handle and trim to the new valve. Make sure everything is aligned properly and securely in place.Step-by-Step Guide to Replacing a Bathroom Sink Valve
Now that you know the steps for replacing a bathroom sink valve, you may be wondering if it's a project you can tackle on your own. The answer is yes! As long as you have the necessary tools and follow the steps carefully, replacing a bathroom sink valve can be a DIY project. Not only will you save money on hiring a plumber, but you'll also gain a sense of accomplishment from completing the project yourself.DIY Bathroom Sink Valve Replacement
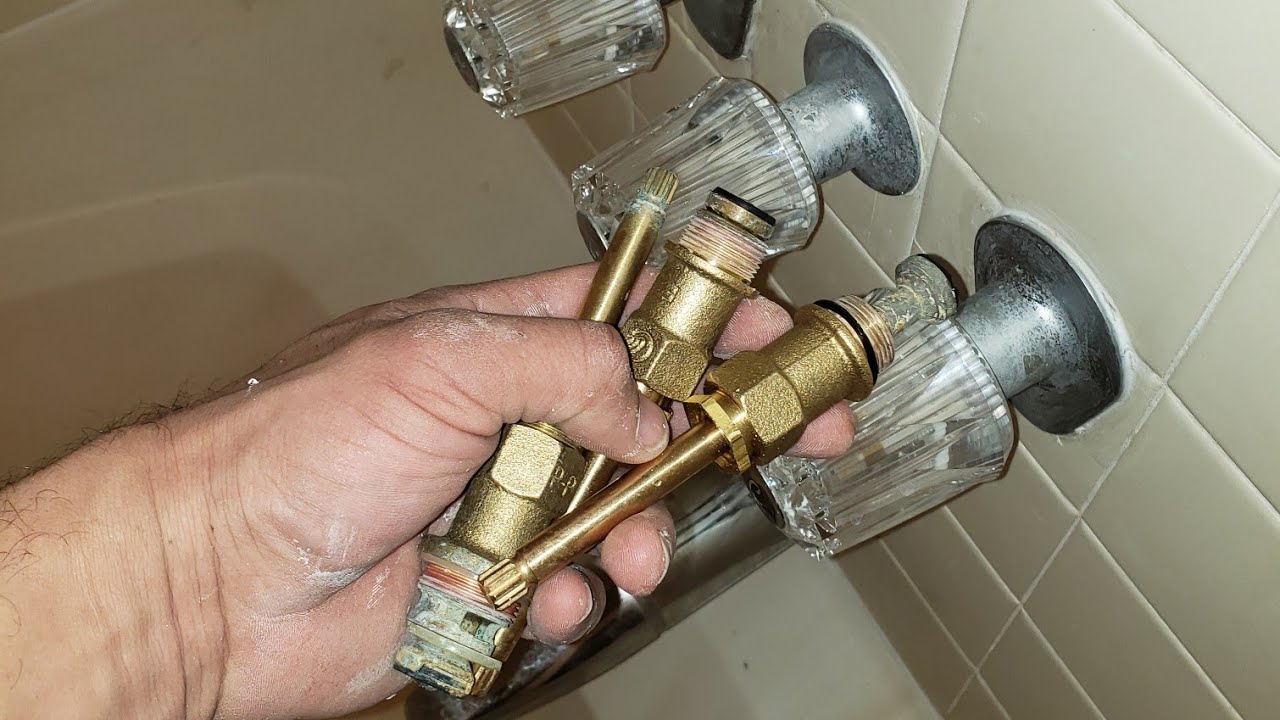
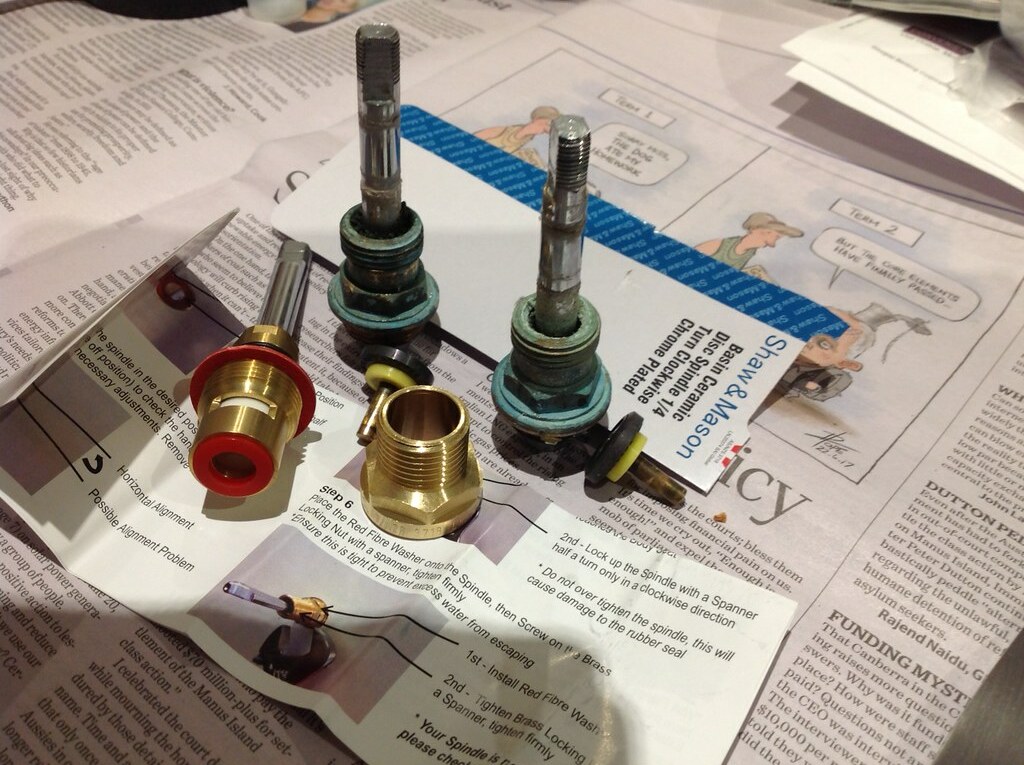
Replacing a bathroom sink valve is not only important for preventing leaks and other plumbing issues, but it can also improve the overall functionality of your sink. If you notice any of the following signs, it may be time to replace your bathroom sink valve: - Leaking or dripping faucet - Difficulty turning water on or off - Inconsistent water flow - Rust or corrosion on the valve By replacing a faulty valve, you can ensure that your bathroom sink is functioning properly and avoid any potential water damage to your home.Replacing a Bathroom Sink Valve: What You Need to Know
To successfully replace a bathroom sink valve, you'll need the following tools and materials: - Adjustable wrench - Pliers - Screwdrivers - Replacement valve - Plumber's tape Having these items on hand will make the process much easier and ensure that you have everything you need to complete the project.Tools and Materials Needed for Replacing a Bathroom Sink Valve
When selecting a replacement valve for your bathroom sink, there are a few things to keep in mind: - Make sure the valve matches the type and size of your existing valve. - Consider upgrading to a higher quality, more durable valve to prevent future issues. - If you're unsure, consult a professional or take a picture of your current valve to a hardware store for assistance.Tips for Choosing the Right Replacement Bathroom Sink Valve
While replacing a bathroom sink valve can be a DIY project, it may be best to hire a professional if you're not confident in your plumbing skills. Improper installation can lead to leaks and other issues down the road, so it's important to know your limitations and seek help if needed. However, if you feel comfortable and have the necessary tools and knowledge, DIY bathroom sink valve replacement can save you money and give you a sense of accomplishment. Just make sure to follow the steps carefully and take your time to ensure a successful installation. With these 10 steps and tips, you can easily replace a faulty bathroom sink valve and improve the functionality of your bathroom. Remember to always turn off the water supply before beginning any plumbing project and seek professional help if needed. Happy DIY-ing!Professional vs. DIY Bathroom Sink Valve Replacement: Which is Best?
Why Replacing Your Bathroom Sink Valve is Essential for Your House Design

Investing in Your Bathroom Design
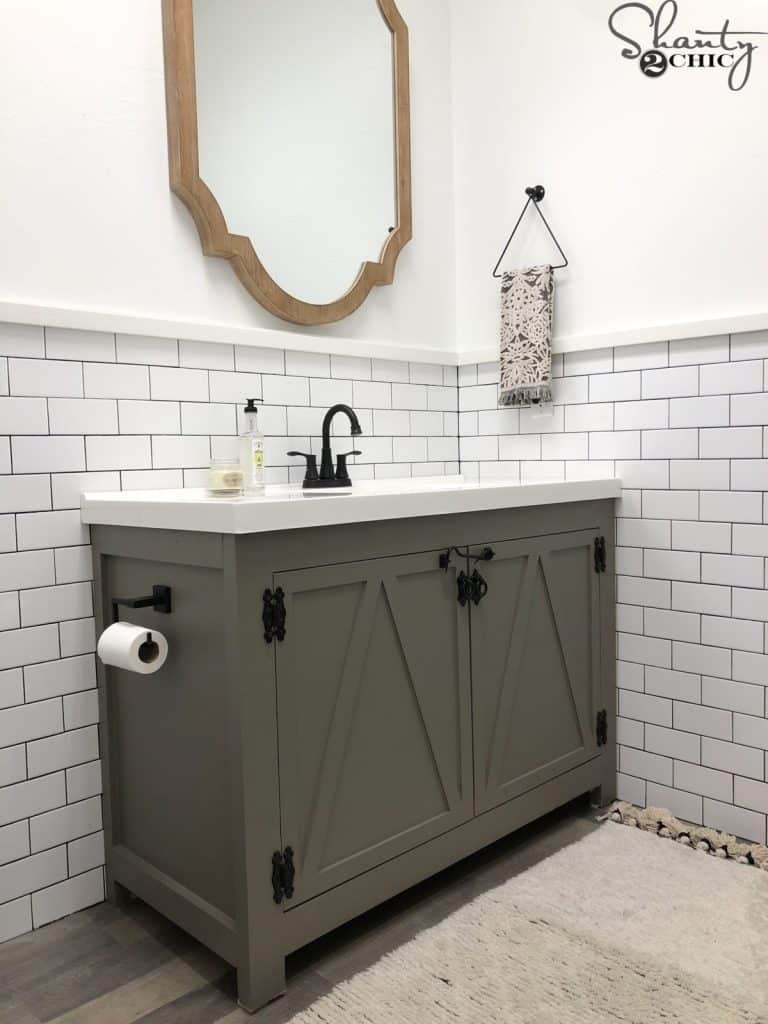
 When it comes to house design, the bathroom is often an overlooked space. However, it is a room that is used every day and can greatly impact the overall aesthetic and functionality of your home. One important element of the bathroom design is the sink valve. The sink valve is responsible for controlling the flow of water in your bathroom sink and plays a crucial role in the overall efficiency and appearance of your bathroom.
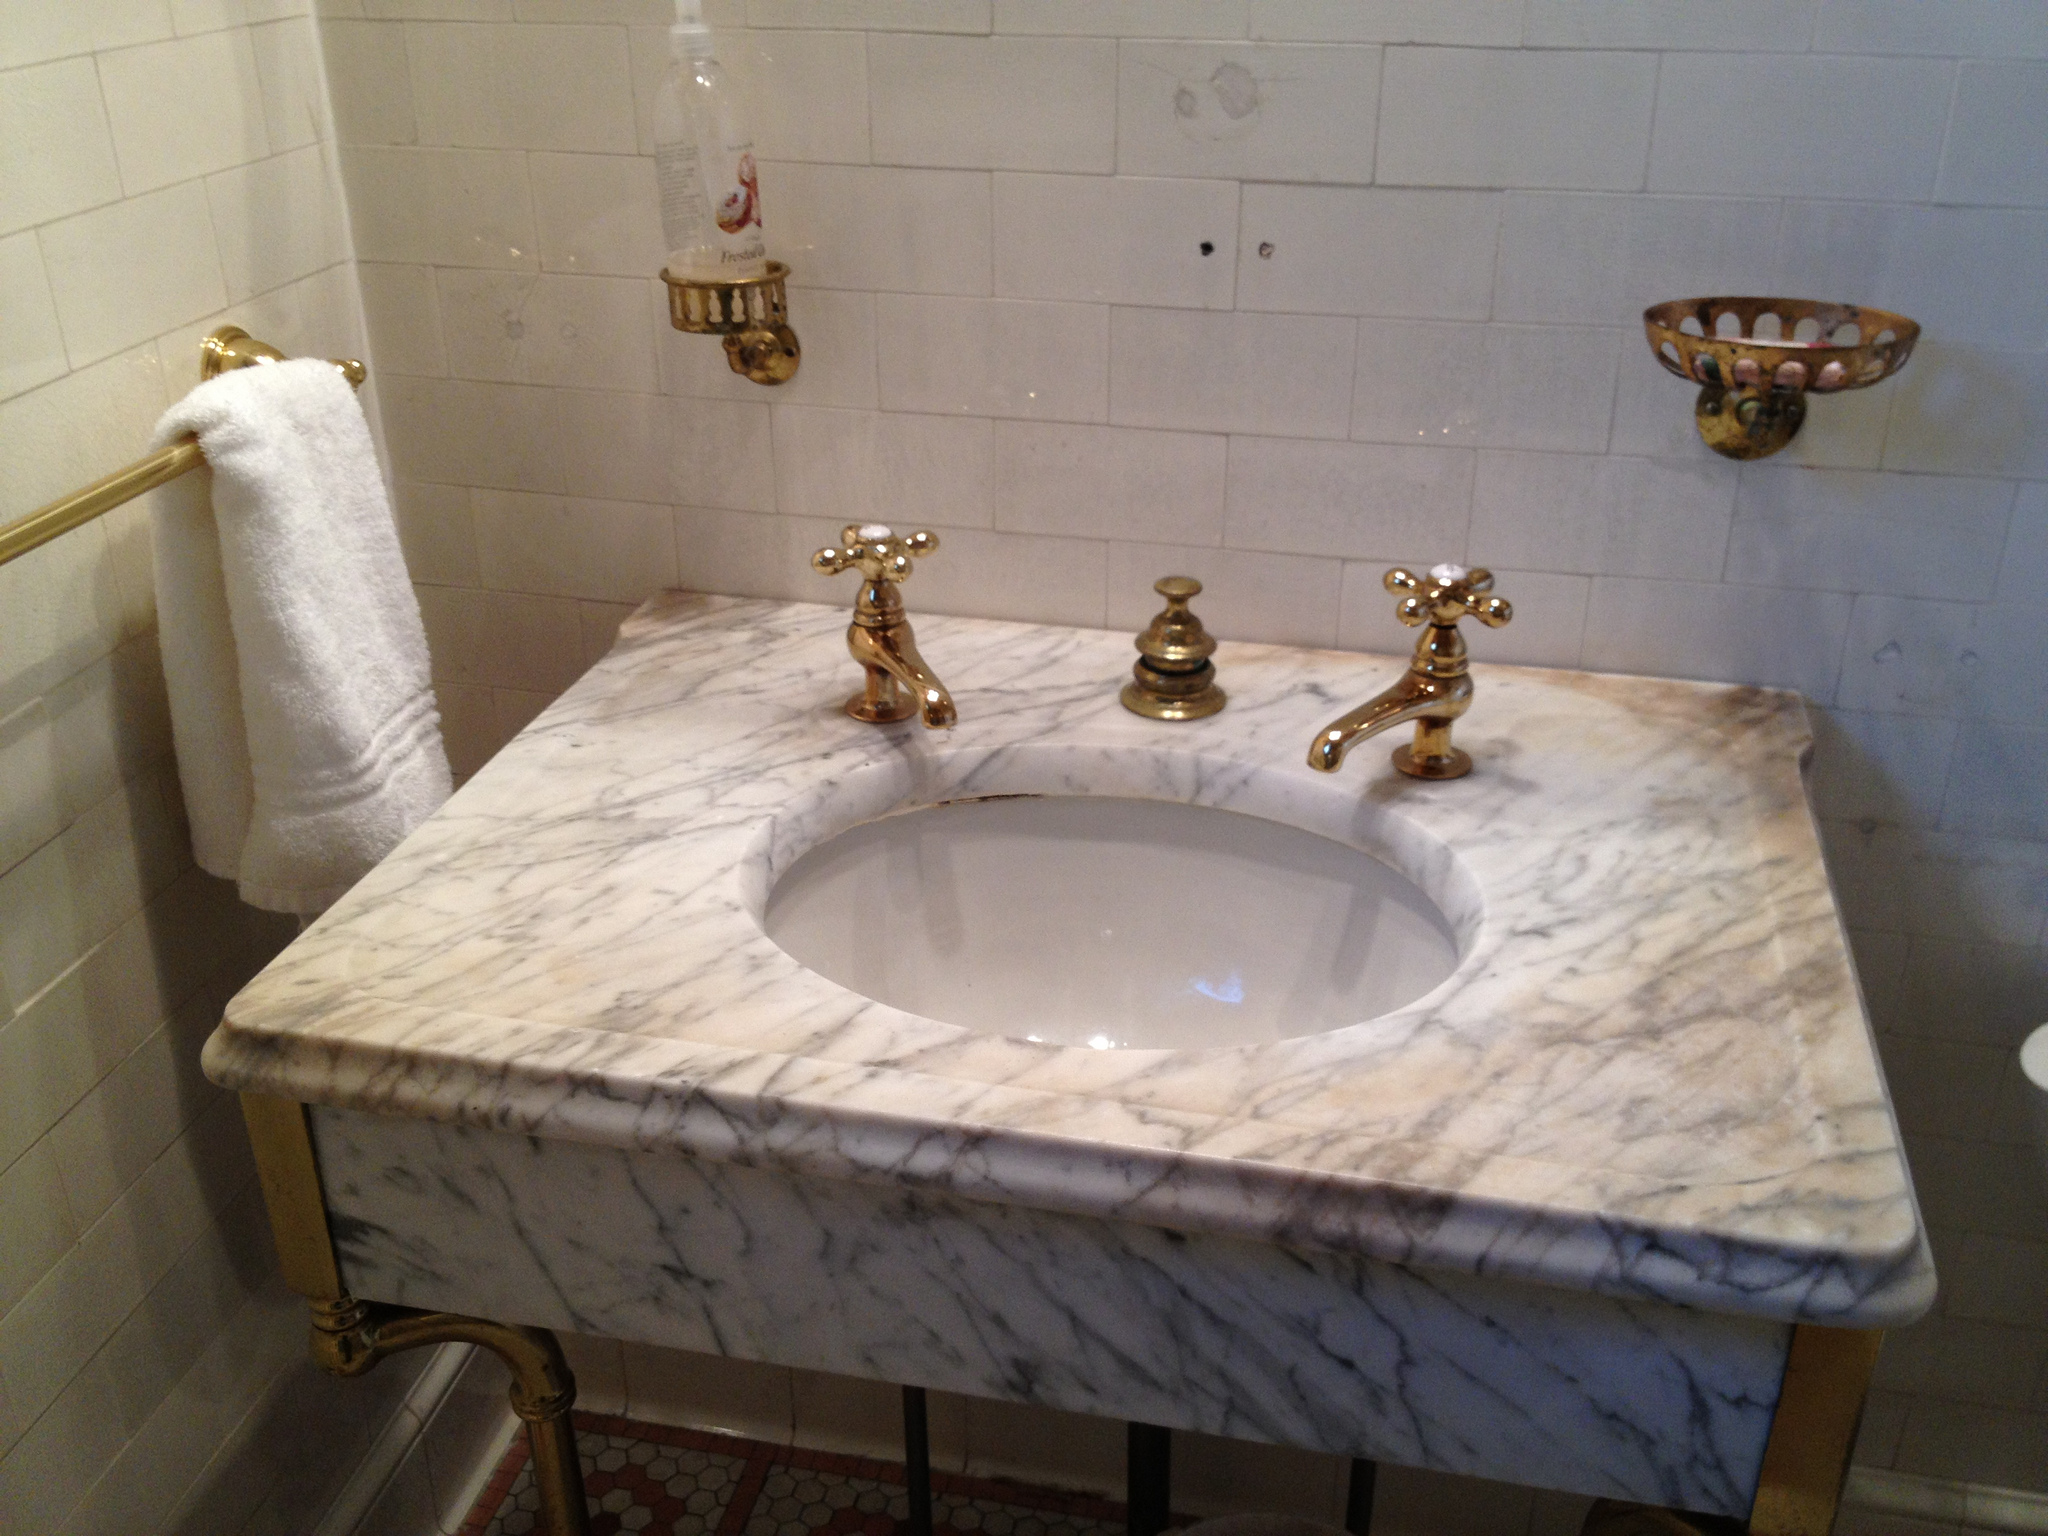
Replacing your bathroom sink valve is not only essential for maintaining a functional bathroom, but it can also greatly enhance the design of your space.
The Importance of a Properly Functioning Sink Valve
 A faulty or outdated sink valve can cause a multitude of problems in your bathroom. It can lead to low water pressure, leaks, and even water damage to your countertops and cabinets.
These issues not only affect the functionality of your bathroom, but they can also greatly impact the overall design and aesthetic of the space.
A leaky or outdated sink valve can be an eyesore and take away from the overall appeal of your bathroom.
Enhancing Your Bathroom Design
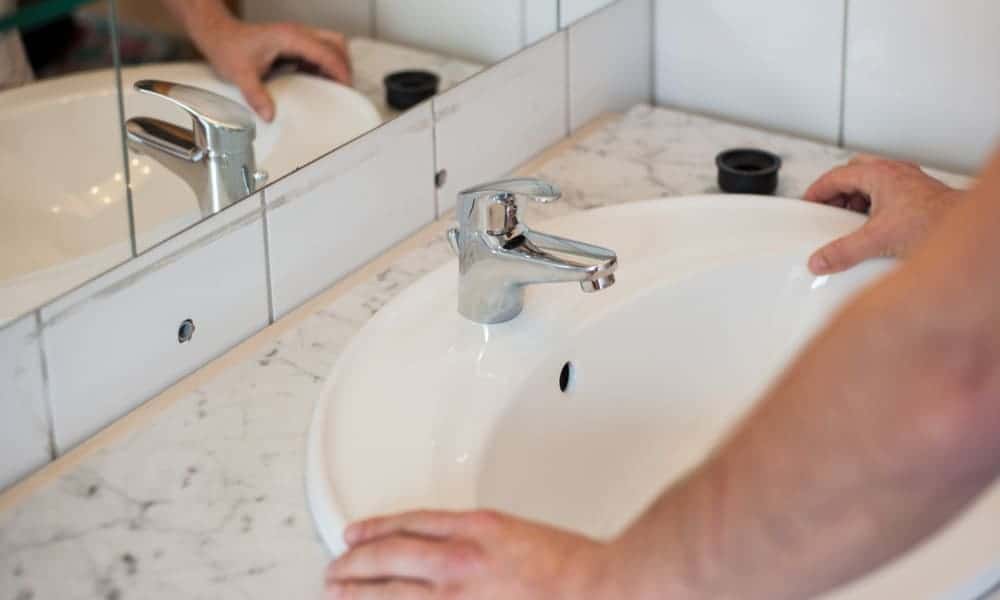
 By replacing your bathroom sink valve, you not only ensure that your bathroom is functioning properly, but you also have the opportunity to enhance the design of your space. With advancements in technology and design, there are now a variety of
stylish and modern sink valves
to choose from. This allows you to
incorporate a unique and personalized touch to your bathroom design
while also improving its functionality.
Choosing the Right Sink Valve for Your Style
Professional Installation for Optimal Results
 While it may be tempting to try and replace your bathroom sink valve yourself, it is important to
hire a professional for optimal results
. A professional plumber can ensure that the valve is properly installed and functioning correctly. They can also
provide advice and recommendations on the best sink valve for your specific bathroom design and needs
.
In conclusion,
replacing your bathroom sink valve is not only essential for maintaining a functional bathroom, but it can also greatly enhance the design and aesthetic of your space
. By investing in a high-quality and stylish sink valve and hiring a professional for installation, you can achieve a beautiful and efficient bathroom design that will make a positive impact on your daily routine and overall house design.
















/sink-pipe-under-wash-basin-119001607-75542e154b364e7bb52032249f293908.jpg)


