If you're looking to update your bathroom or just need to replace a damaged sink, you may need to remove the plastic flange that is holding your sink in place. This may seem like a daunting task, but with the right tools and techniques, it can be a simple process. In this article, we'll guide you through the steps of removing a plastic flange from your bathroom sink without any hassle. How to Remove a Bathroom Sink Plastic Flange


How to Remove a Bathroom Sink Plastic Flange


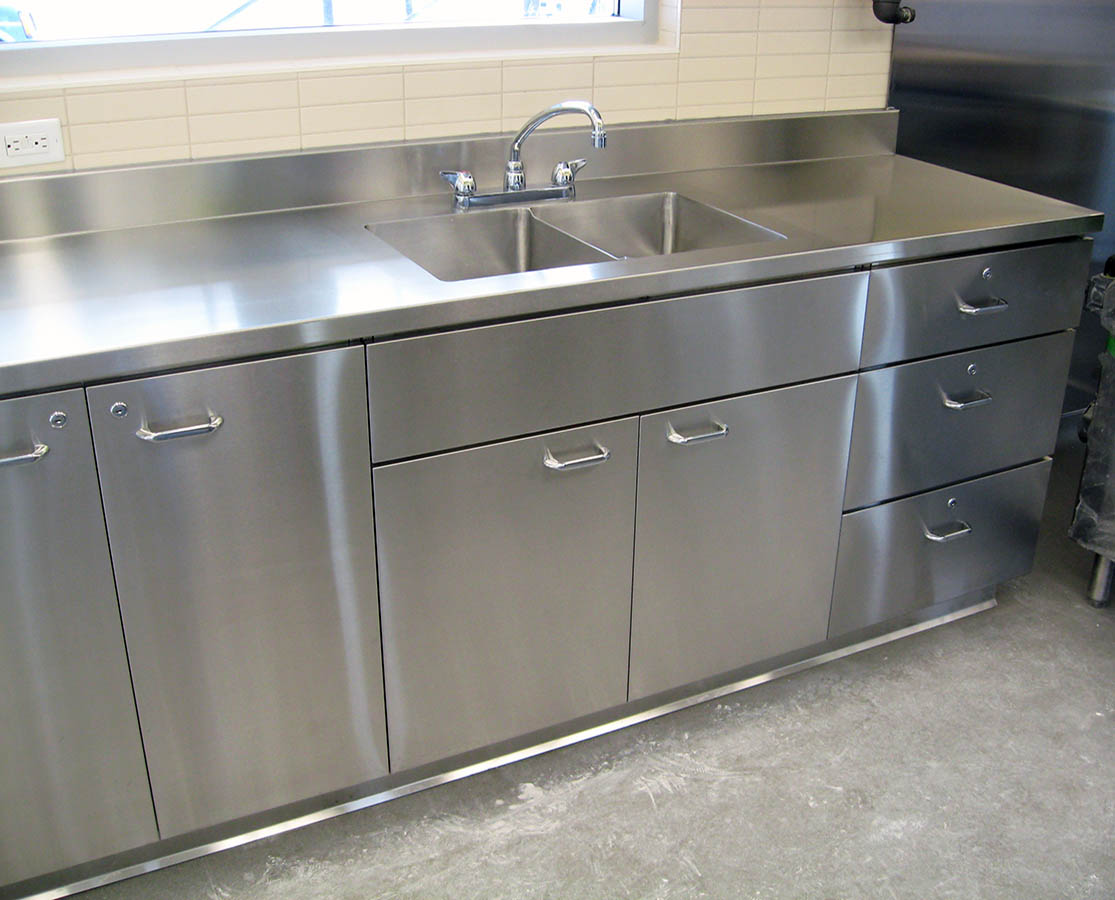
The plastic flange is an essential part of your bathroom sink as it keeps the sink stable and prevents leaks. However, over time, the flange may become damaged or need to be replaced for aesthetic reasons. To remove the plastic flange, you'll need some basic tools such as pliers, a putty knife, and a screwdriver. Let's dive into the step-by-step guide for removing a plastic flange from your bathroom sink.Removing a Plastic Flange from a Bathroom Sink


Removing a Plastic Flange from a Bathroom Sink
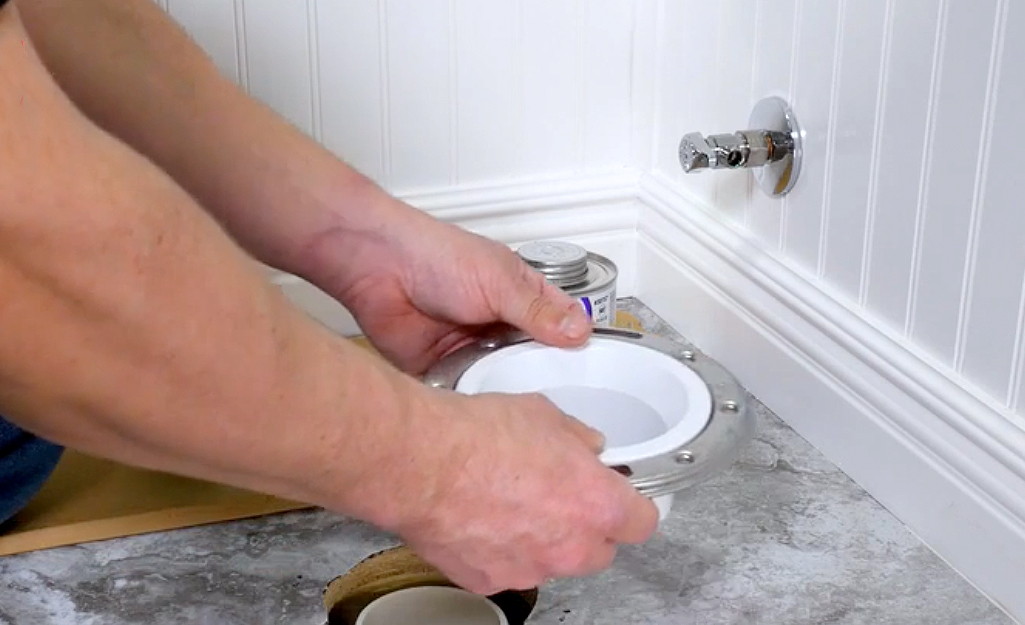


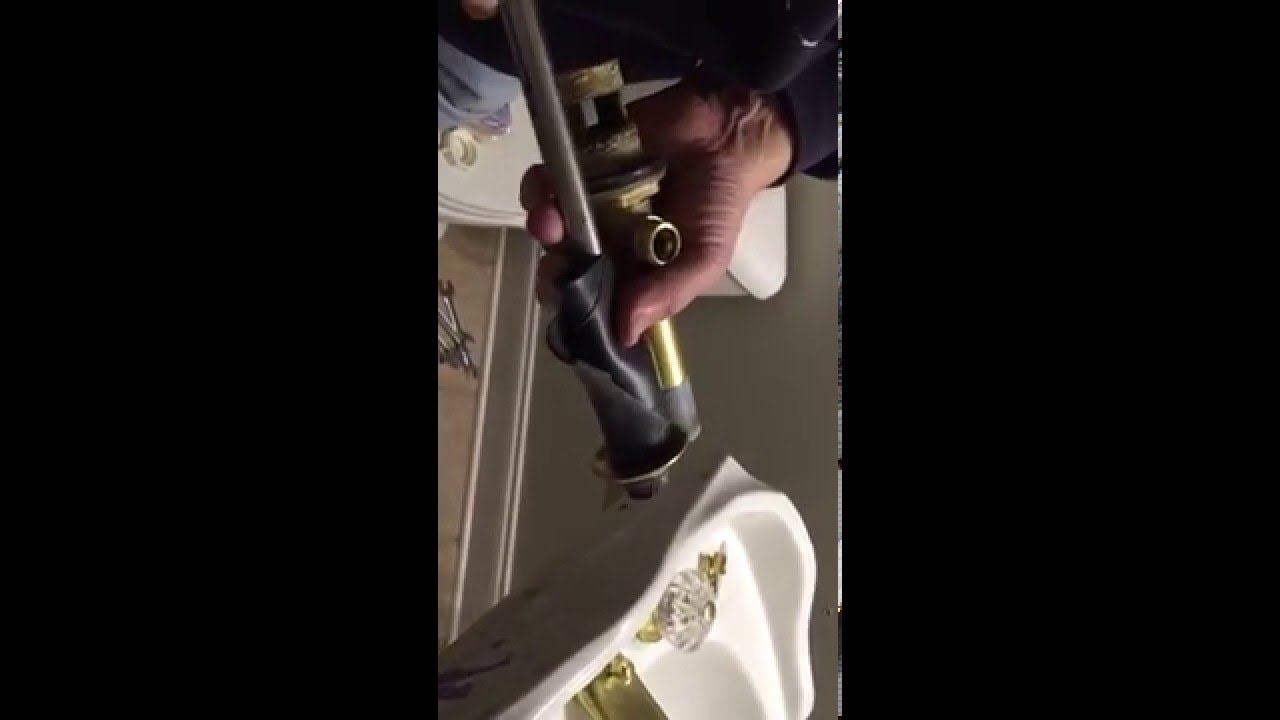


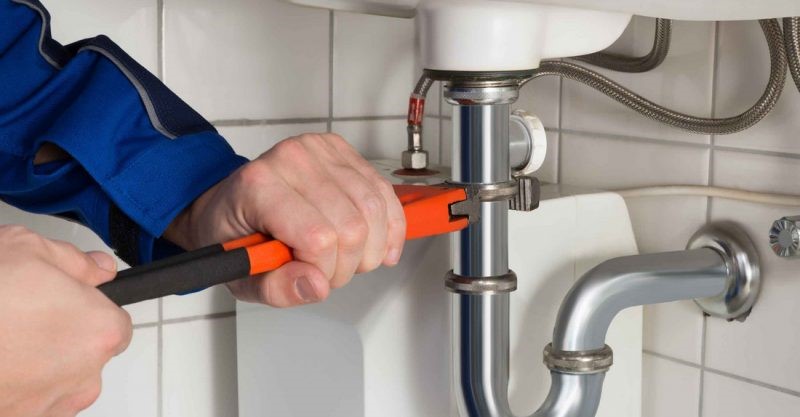
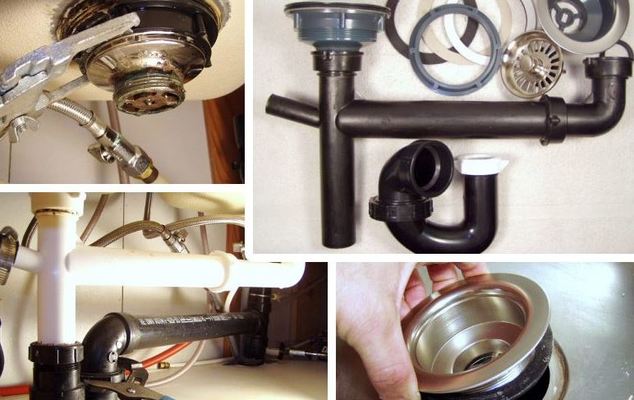
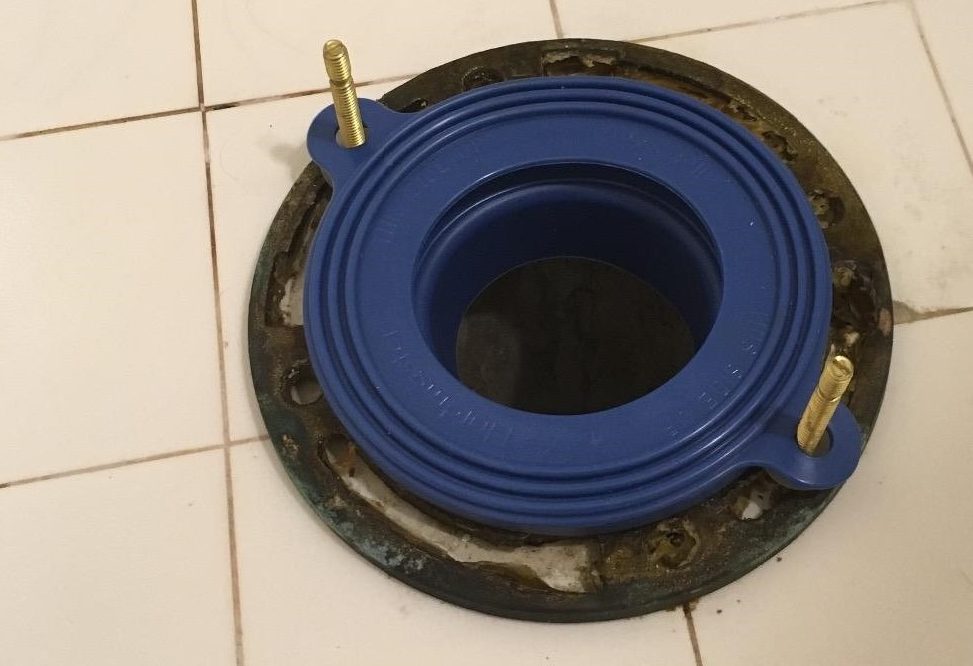
Step 1: Start by turning off the water supply to your sink. You can do this by shutting off the main water valve for your house or by turning off the water valves located under the sink. This will prevent any potential water damage during the removal process. Step 2: Next, you'll need to disconnect the sink's drain pipes. This can usually be done by unscrewing the nut that connects the sink to the drainpipe using a pair of pliers. Make sure to have a bucket or towel handy to catch any water that may spill out. Step 3: Once the drain pipes are disconnected, you can move on to removing the sink from the countertop. Use a putty knife to gently pry the sink from the countertop. Start at one end of the sink and work your way around until the sink is completely loose. Step 4: Underneath the sink, you'll find the plastic flange attached to the drain hole. Use a screwdriver to remove the screws that hold the flange in place. You may need to use pliers to hold the screws in place while removing them. Step 5: Once the screws are removed, you can gently pull the flange out of the drain hole. Be careful not to damage the sink or countertop during this process.Step-by-Step Guide for Removing a Plastic Flange from a Bathroom Sink


Step-by-Step Guide for Removing a Plastic Flange from a Bathroom Sink


Removing a plastic flange from your bathroom sink is a relatively straightforward process, but it's essential to be cautious and take your time to avoid any damage. Here are some tips and tricks to keep in mind while removing a plastic flange from your bathroom sink. Tip 1: Before starting the removal process, it's a good idea to take a picture of the sink and its components. This will serve as a reference when it's time to reinstall the sink. Tip 2: If the plastic flange is stuck, you can use a hairdryer to soften the caulk or putty around it. This will make it easier to remove without damaging the sink or countertop. Tip 3: If the flange is difficult to remove, you can use a lubricant such as WD-40 to loosen it. Apply the lubricant and let it sit for a few minutes before attempting to remove the flange. Tip 4: It's always a good idea to have a spare flange on hand in case the original one is damaged during the removal process. Removing a Plastic Flange from Your Bathroom Sink: A Comprehensive Guide


Removing a Plastic Flange from Your Bathroom Sink: A Comprehensive Guide


If you're a DIY enthusiast and prefer to handle home improvement tasks on your own, removing a plastic flange from your bathroom sink is a project you can tackle. With the right tools and techniques, you can successfully remove the flange and have your sink looking as good as new in no time.DIY: Removing a Plastic Flange from Your Bathroom Sink


DIY: Removing a Plastic Flange from Your Bathroom Sink


Even with the right tools and techniques, there are some common mistakes you should avoid when removing a plastic flange from your bathroom sink. Mistake 1: Not turning off the water supply before starting the removal process. This can lead to water damage and unnecessary mess. Mistake 2: Using excessive force while removing the flange. This can cause damage to the sink or countertop. Mistake 3: Not taking the time to properly disconnect the sink's drain pipes before attempting to remove the sink. This can result in water spillage and added difficulty in removing the flange.Removing a Plastic Flange from Your Bathroom Sink: Tips and Tricks

Removing a Plastic Flange from Your Bathroom Sink: Tips and Tricks
Removing a plastic flange may seem like a daunting task, but with the right tools and techniques, it can be a simple and straightforward process. Just remember to take your time, be cautious, and follow the steps outlined in this article, and you'll have your plastic flange removed in no time. The Easy Way to Remove a Plastic Flange from Your Bathroom Sink


The Easy Way to Remove a Plastic Flange from Your Bathroom Sink


Now that you know how to remove a plastic flange from your bathroom sink, you can confidently tackle this task whenever the need arises. Remember to have the necessary tools on hand, take your time, and avoid common mistakes for a smooth and successful removal process. With a little effort, you'll have a new plastic flange installed and your sink looking brand new in no time.Removing a Plastic Flange from Your Bathroom Sink: What You Need to Know

Removing a Plastic Flange from Your Bathroom Sink: Common Mistakes to Avoid
Why Changing Your Bathroom Sink's Plastic Flange Can Transform Your House Design

A Small Change with Big Impact
 If you're looking to upgrade your house design without breaking the bank, a simple change in your bathroom sink's plastic flange can make a big difference. This often overlooked component plays a crucial role in the overall aesthetic of your bathroom. By removing the old and worn plastic flange and replacing it with a new and stylish one, you can instantly elevate the look and feel of your bathroom.
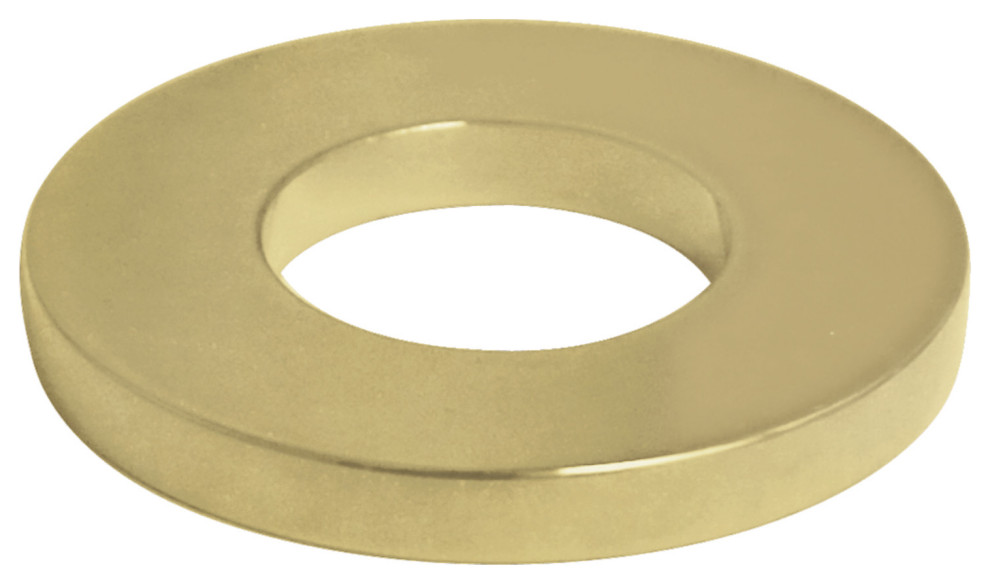
Plastic Flange: What is it and Why Does it Matter?
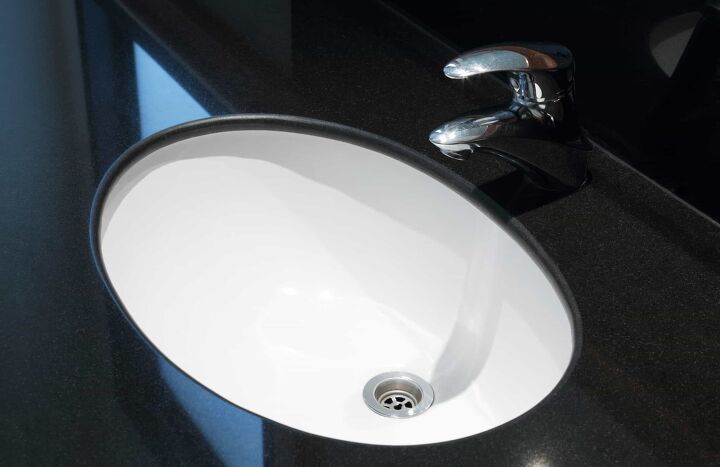
Before we dive into the process of removing and replacing your bathroom sink's plastic flange, let's first understand its purpose. The plastic flange, also known as a sink drain flange, is the visible outer rim of the drain that connects the sink to the plumbing system. It not only provides a sleek finish to your sink but also helps to prevent water from leaking out.
The Benefits of Changing Your Plastic Flange
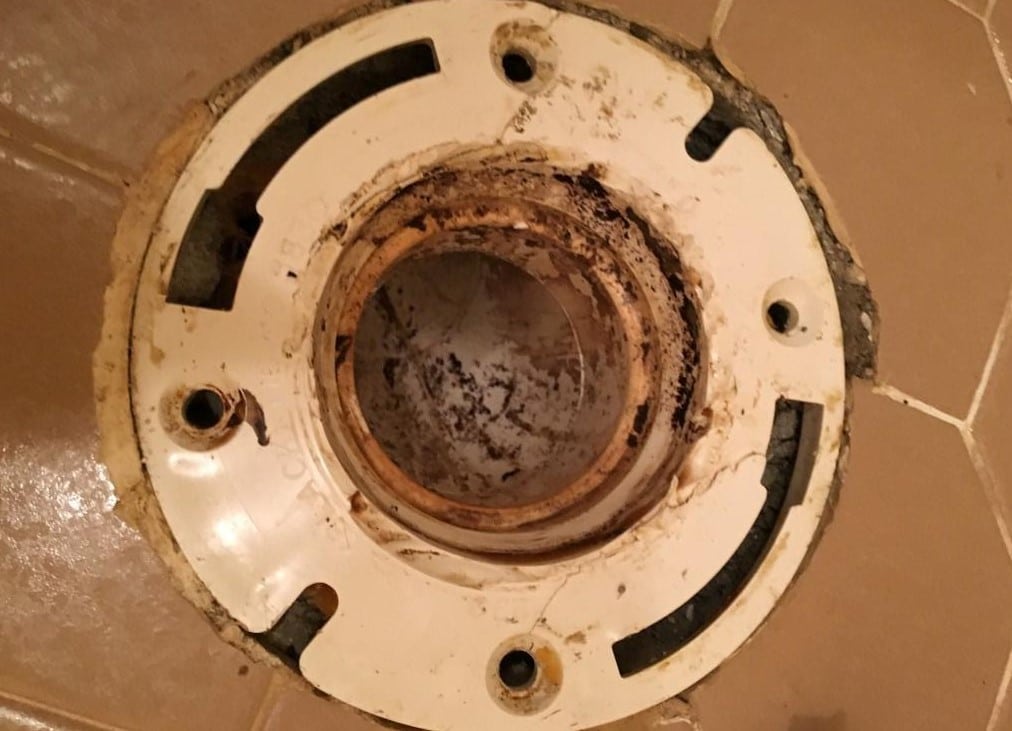
Over time, plastic flanges can become discolored, cracked, and worn out due to constant exposure to water and cleaning products. This can not only make your sink look old and unappealing, but it can also lead to water damage and mold growth. By replacing your plastic flange, you not only improve the overall aesthetics of your bathroom but also prevent potential plumbing issues and improve the functionality of your sink.
Choosing the Right Plastic Flange
When it comes to selecting a new plastic flange for your bathroom sink, there are various designs and finishes to choose from. From classic chrome to modern matte black, you can find a flange that complements your bathroom's design and adds a touch of personality. Make sure to measure the size of your current flange before purchasing a new one to ensure a proper fit.
The Process of Removing and Replacing
Now that you understand the importance of a plastic flange and the benefits of changing it, let's get to the process. First, you'll need to turn off the water supply to your sink and remove the old flange by unscrewing it from the sink drain. Next, clean the area where the old flange was attached and apply plumber's putty to the new flange before screwing it into place. Finally, turn the water supply back on and test for any leaks.
Transform Your Bathroom's Design Today
In conclusion, changing your bathroom sink's plastic flange may seem like a small and insignificant task, but the impact it can have on your house design is significant. With a wide range of options available and a relatively straightforward process, there's no reason not to upgrade your bathroom's look and functionality. So go ahead, make the change and see the difference it can make in transforming your bathroom's design.
If you're looking to upgrade your house design without breaking the bank, a simple change in your bathroom sink's plastic flange can make a big difference. This often overlooked component plays a crucial role in the overall aesthetic of your bathroom. By removing the old and worn plastic flange and replacing it with a new and stylish one, you can instantly elevate the look and feel of your bathroom.
Plastic Flange: What is it and Why Does it Matter?
Before we dive into the process of removing and replacing your bathroom sink's plastic flange, let's first understand its purpose. The plastic flange, also known as a sink drain flange, is the visible outer rim of the drain that connects the sink to the plumbing system. It not only provides a sleek finish to your sink but also helps to prevent water from leaking out.
The Benefits of Changing Your Plastic Flange
Over time, plastic flanges can become discolored, cracked, and worn out due to constant exposure to water and cleaning products. This can not only make your sink look old and unappealing, but it can also lead to water damage and mold growth. By replacing your plastic flange, you not only improve the overall aesthetics of your bathroom but also prevent potential plumbing issues and improve the functionality of your sink.
Choosing the Right Plastic Flange
When it comes to selecting a new plastic flange for your bathroom sink, there are various designs and finishes to choose from. From classic chrome to modern matte black, you can find a flange that complements your bathroom's design and adds a touch of personality. Make sure to measure the size of your current flange before purchasing a new one to ensure a proper fit.
The Process of Removing and Replacing
Now that you understand the importance of a plastic flange and the benefits of changing it, let's get to the process. First, you'll need to turn off the water supply to your sink and remove the old flange by unscrewing it from the sink drain. Next, clean the area where the old flange was attached and apply plumber's putty to the new flange before screwing it into place. Finally, turn the water supply back on and test for any leaks.
Transform Your Bathroom's Design Today
In conclusion, changing your bathroom sink's plastic flange may seem like a small and insignificant task, but the impact it can have on your house design is significant. With a wide range of options available and a relatively straightforward process, there's no reason not to upgrade your bathroom's look and functionality. So go ahead, make the change and see the difference it can make in transforming your bathroom's design.