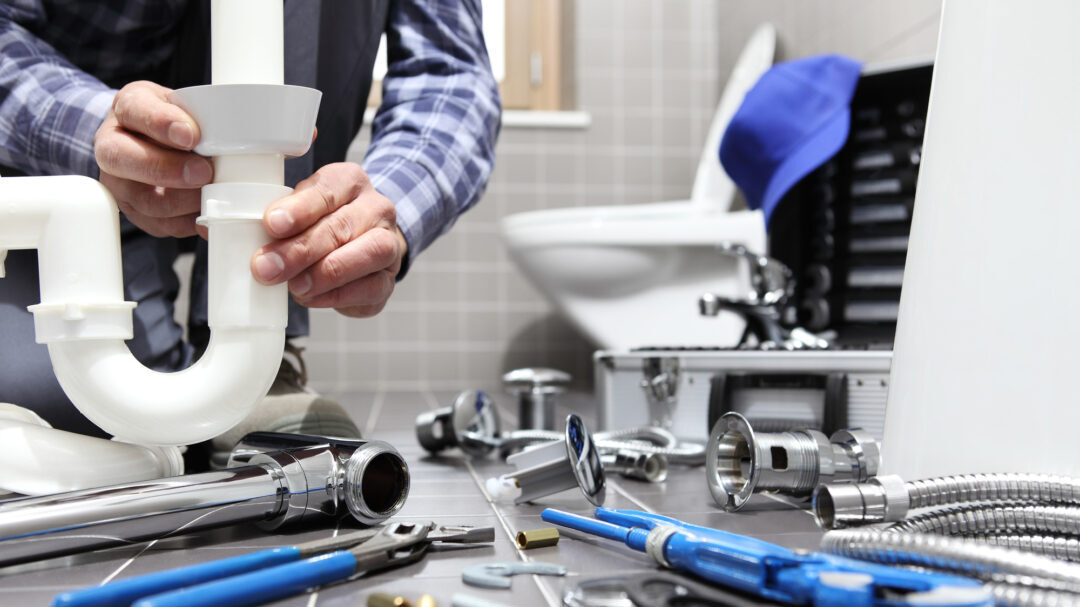
Removing a bathroom sink drain may seem like a daunting task, but with the right tools and knowledge, it can be a relatively simple DIY project. Whether you're looking to update your bathroom sink or have a clog that requires removal, this guide will walk you through the steps to successfully remove your bathroom sink plumbing.Removing a Bathroom Sink Drain


Removing a Bathroom Sink Drain


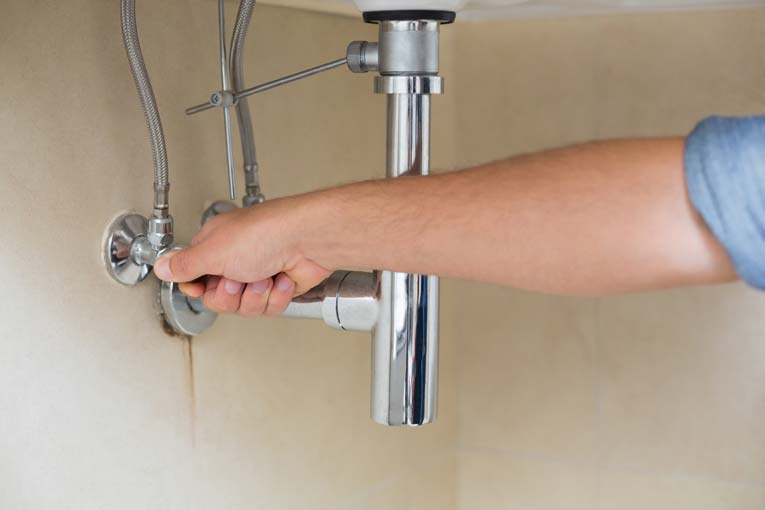
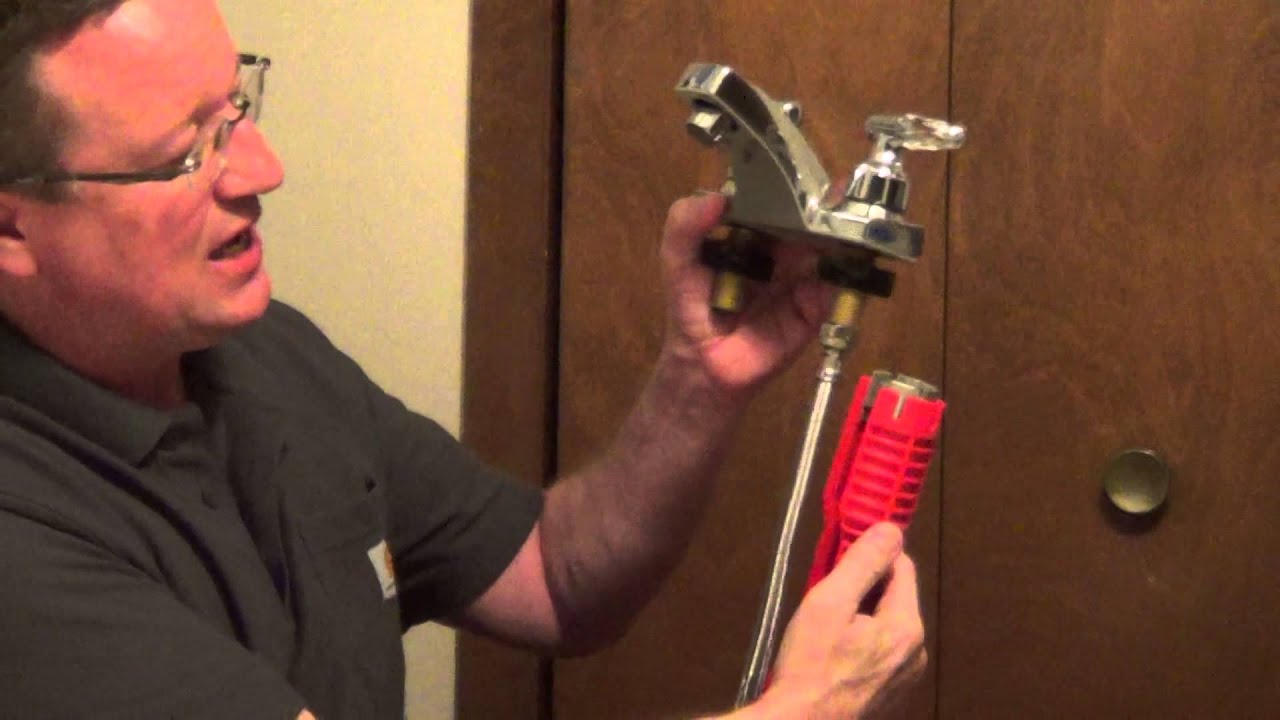
Before beginning the removal process, it's important to gather all necessary tools and materials. This includes a basin wrench, pliers, screwdriver, and plumber's putty. It's also a good idea to have a bucket or towel handy to catch any water that may spill during the removal process. To start, shut off the water supply to your sink by turning off the shut-off valve under the sink. Next, use the basin wrench to loosen and remove the water supply lines connected to the sink. Use pliers to remove the drain trap and any other parts connected to the sink.How to Remove a Bathroom Sink


How to Remove a Bathroom Sink
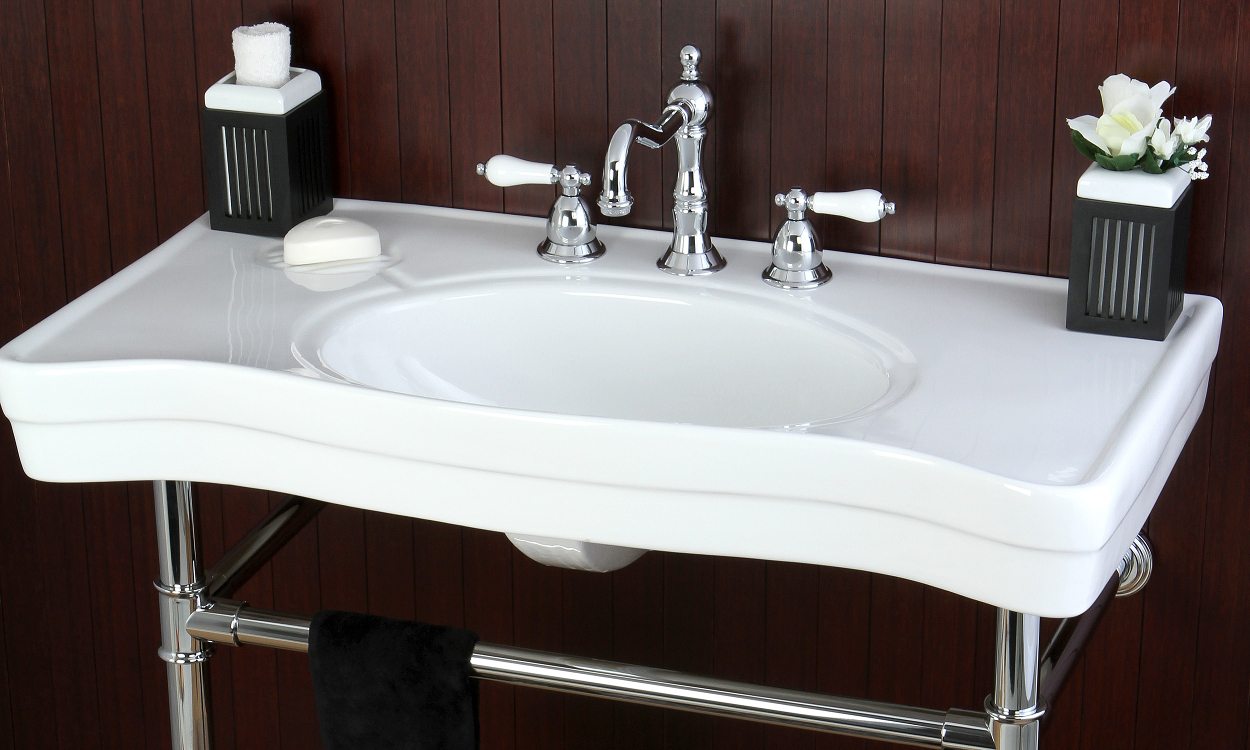


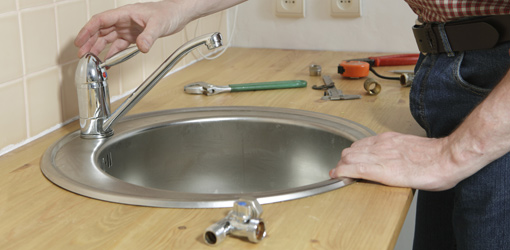
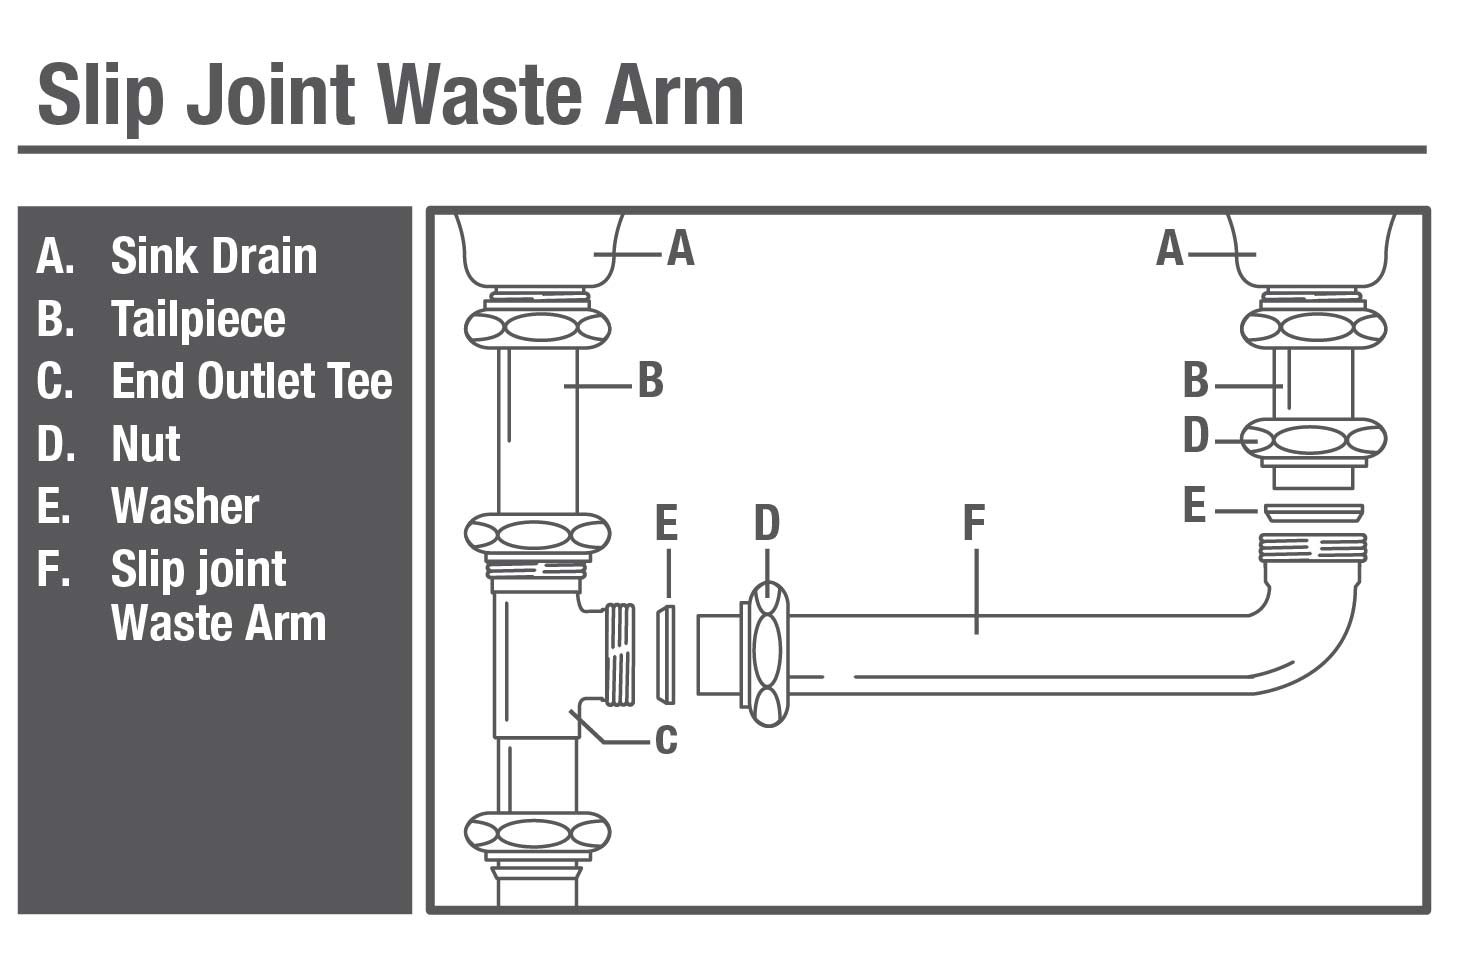
Now that you have all the necessary tools and materials, it's time to begin the actual removal process. The first step is to remove the sink stopper by unscrewing the nut on the back of the drain assembly. Once the stopper is removed, use a screwdriver to loosen and remove the screws holding the sink to the countertop or vanity. Carefully lift the sink off the countertop and set it aside. Next, use pliers to loosen and remove the nut connecting the drain flange to the drain pipe. Once the nut is removed, you should be able to pull the drain flange out of the sink. If the flange is stuck, you may need to wiggle it back and forth to loosen it.Bathroom Sink Plumbing Removal Guide


Bathroom Sink Plumbing Removal Guide
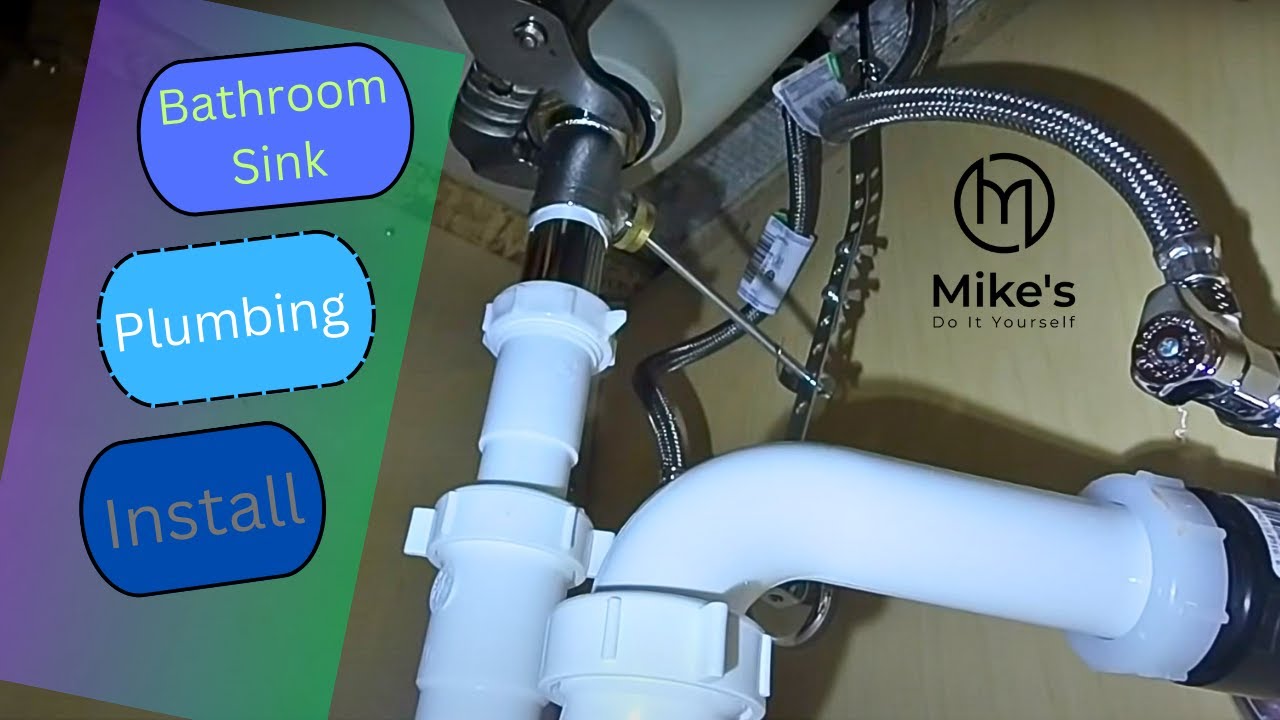


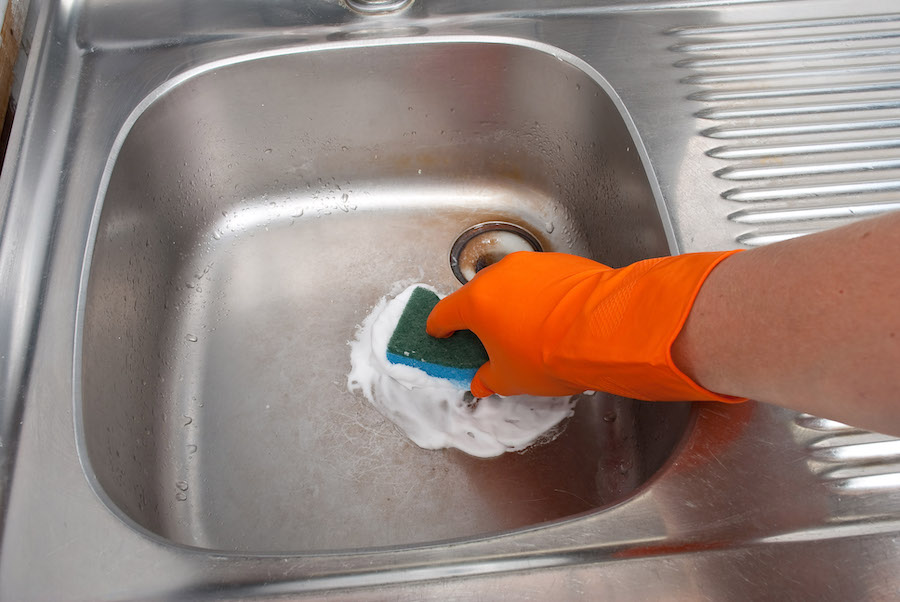
With the drain flange removed, you can now focus on removing the rest of the plumbing. Use a wrench to loosen and remove the remaining nuts and connectors. As you remove each piece, be sure to keep them in a safe place, as you will need them when installing the new sink. Once all the plumbing has been removed, you can then clean the area around the drain hole and remove any old putty or sealant. This will ensure a clean and secure fit for the new sink.DIY Bathroom Sink Plumbing Removal


DIY Bathroom Sink Plumbing Removal


Now that you have successfully removed all the plumbing from the sink, it's time to clean and prepare the sink for installation. Use a putty knife to scrape off any old sealant or putty from the underside of the sink. Once clean, you can then install the new sink by following the instructions provided by the manufacturer. Once the new sink is installed, you can then begin reconnecting the plumbing. Be sure to use plumber's tape on all threaded connections to ensure a tight seal. Once everything is connected, turn the water supply back on and test for any leaks.Step-by-Step Bathroom Sink Plumbing Removal


Step-by-Step Bathroom Sink Plumbing Removal


Here are a few tips to keep in mind during the bathroom sink plumbing removal process:Bathroom Sink Plumbing Removal Tips


Bathroom Sink Plumbing Removal Tips


As mentioned earlier, there are a few tools and materials you will need for a successful bathroom sink plumbing removal. These include:Tools Needed for Bathroom Sink Plumbing Removal

Tools Needed for Bathroom Sink Plumbing Removal


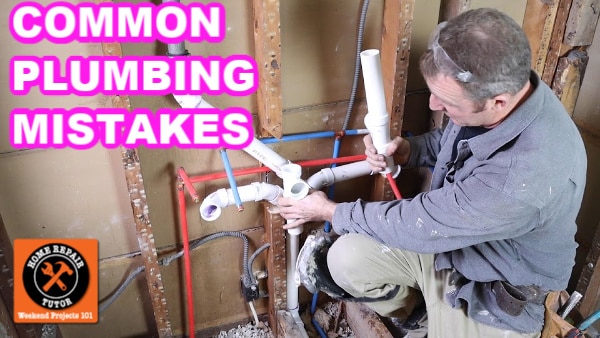
While removing a bathroom sink plumbing may seem straightforward, there are a few common mistakes that can lead to problems down the line. These include:Common Mistakes in Bathroom Sink Plumbing Removal


Common Mistakes in Bathroom Sink Plumbing Removal


When working with plumbing, it's important to take safety precautions to avoid injury or damage. Here are a few safety tips to keep in mind during the bathroom sink plumbing removal process:Bathroom Sink Plumbing Removal Safety Precautions

Bathroom Sink Plumbing Removal Safety Precautions


If you're not comfortable with DIY projects or simply don't have the time or tools to remove your bathroom sink plumbing, you can always hire a professional. A plumber will have the necessary tools and expertise to safely and efficiently remove your sink plumbing without causing damage. While it may be an additional cost, it can save you time and potential headaches in the long run. Plus, you can rest assured that the job will be done correctly and any potential issues can be addressed by the professional. With this step-by-step guide and helpful tips, you should now have the knowledge and confidence to successfully remove your bathroom sink plumbing. Whether you're looking to update your sink or have a clog that requires removal, following these steps will ensure a smooth and efficient process. Remember to take your time, be patient, and prioritize safety to achieve a successful bathroom sink plumbing removal.Professional Bathroom Sink Plumbing Removal Services

Professional Bathroom Sink Plumbing Removal Services


Introduction to Bathroom Sink Plumbing Removal

The Importance of Proper Bathroom Sink Plumbing Removal
 When it comes to house design, the bathroom is often considered one of the most important rooms. It is a space where we start and end our day, and it should be functional, comfortable, and aesthetically pleasing. However, if the plumbing in your bathroom is not properly installed or maintained, it can cause a lot of problems. One of the most common issues homeowners face is the need to remove their bathroom sink plumbing. Whether it's due to a remodel, repair, or simply upgrading to a new sink, it is important to understand the process and do it correctly. In this article, we will discuss the steps to properly remove your bathroom sink plumbing.
Step 1: Gather Your Tools and Materials
 Before you begin, make sure you have all the necessary tools and materials. This includes a bucket, pliers, adjustable wrench, putty knife, and any new pipes or fittings you may need. It is also important to turn off the water supply to your sink before starting any work.
Related keyword:
bathroom sink plumbing, bathroom sink, plumbing removal, bathroom remodel
Before you begin, make sure you have all the necessary tools and materials. This includes a bucket, pliers, adjustable wrench, putty knife, and any new pipes or fittings you may need. It is also important to turn off the water supply to your sink before starting any work.
Related keyword:
bathroom sink plumbing, bathroom sink, plumbing removal, bathroom remodel
Step 2: Disconnect the Water Supply Lines
 Using your adjustable wrench, loosen the nuts connecting the water supply lines to the faucet. Once they are loose, use your pliers to finish removing them. Be sure to have your bucket handy to catch any excess water that may drip out.
Related keyword:
water supply lines, faucet, adjustable wrench, pliers, bucket
Using your adjustable wrench, loosen the nuts connecting the water supply lines to the faucet. Once they are loose, use your pliers to finish removing them. Be sure to have your bucket handy to catch any excess water that may drip out.
Related keyword:
water supply lines, faucet, adjustable wrench, pliers, bucket
Step 3: Remove the Sink Drain
 Next, you will need to remove the sink drain. Using your pliers, loosen the nut that connects the drain to the bottom of the sink. Once it is loose, you can remove the drain and set it aside.
Related keyword:
sink drain, pliers, nut, bottom of sink
Next, you will need to remove the sink drain. Using your pliers, loosen the nut that connects the drain to the bottom of the sink. Once it is loose, you can remove the drain and set it aside.
Related keyword:
sink drain, pliers, nut, bottom of sink
Step 4: Loosen and Remove the Tailpiece
 The tailpiece is the pipe that connects the sink drain to the main drain pipe. Using your pliers, loosen the nut that connects the tailpiece to the main drain pipe. Once it is loose, you can remove the tailpiece from the sink.
Related keyword:
tailpiece, main drain pipe, pliers, nut
The tailpiece is the pipe that connects the sink drain to the main drain pipe. Using your pliers, loosen the nut that connects the tailpiece to the main drain pipe. Once it is loose, you can remove the tailpiece from the sink.
Related keyword:
tailpiece, main drain pipe, pliers, nut
Step 5: Remove the Sink from the Vanity
 Now that all the plumbing is disconnected, you can remove the sink from the vanity. Use a putty knife to loosen any caulking around the edges of the sink. Once it is loose, you can lift the sink out and set it aside.
Related keyword:
vanity, putty knife, caulking
Now that all the plumbing is disconnected, you can remove the sink from the vanity. Use a putty knife to loosen any caulking around the edges of the sink. Once it is loose, you can lift the sink out and set it aside.
Related keyword:
vanity, putty knife, caulking
Step 6: Clean and Inspect the Plumbing
 With the sink and plumbing removed, you can now clean the area and inspect the plumbing for any damage or wear. This is also a good time to replace any old or faulty pipes and fittings.
Related keyword:
clean, inspect, plumbing, damage, pipes, fittings
With the sink and plumbing removed, you can now clean the area and inspect the plumbing for any damage or wear. This is also a good time to replace any old or faulty pipes and fittings.
Related keyword:
clean, inspect, plumbing, damage, pipes, fittings
Conclusion
 Removing your bathroom sink plumbing may seem like a daunting task, but with the right tools and knowledge, it can be done easily and efficiently. By following the steps outlined in this article, you can ensure that your bathroom sink plumbing removal is done properly, avoiding any potential issues in the future. Remember to always turn off the water supply before starting any work and to seek professional help if needed. With a little bit of effort, you can have a fully functional and beautiful bathroom sink in no time.
Featured keyword:
bathroom sink plumbing removal
Removing your bathroom sink plumbing may seem like a daunting task, but with the right tools and knowledge, it can be done easily and efficiently. By following the steps outlined in this article, you can ensure that your bathroom sink plumbing removal is done properly, avoiding any potential issues in the future. Remember to always turn off the water supply before starting any work and to seek professional help if needed. With a little bit of effort, you can have a fully functional and beautiful bathroom sink in no time.
Featured keyword:
bathroom sink plumbing removal